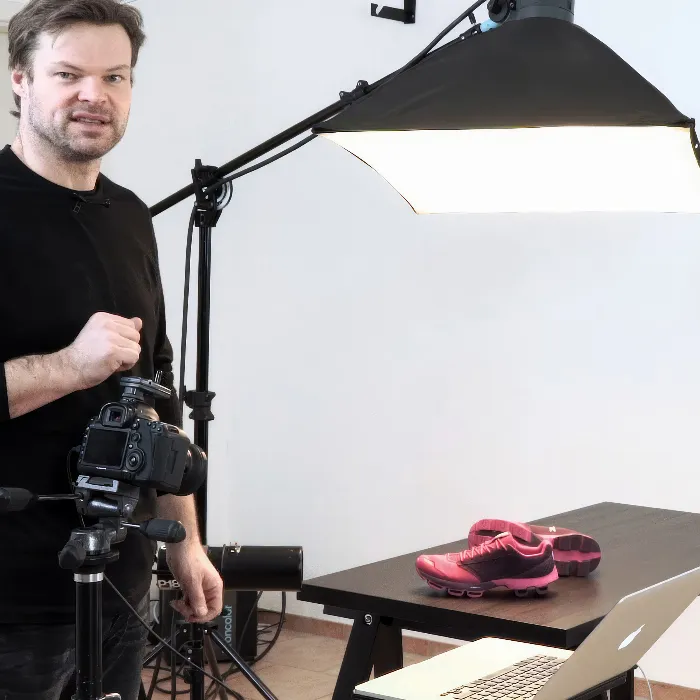
The right placement of products in product photography can make the difference between an average photo and an impressive image. In this tutorial, you will learn how to start with the simplest means, such as a white cardboard, and which steps you should follow to present your products attractively.
Key insights
- The choice of background is crucial for the image effect.
- An appropriate lighting setup is necessary to optimally illuminate the product.
- The camera settings must be determined before the lighting setup.
Step-by-step guide
Step 1: Prepare the set
At the beginning of the process, it is important to prepare a suitable environment for the shoot. You need a white background that should be laid out without wrinkles to minimize later retouching. A wrinkle-free background ensures that you have your product in focus without distractions.
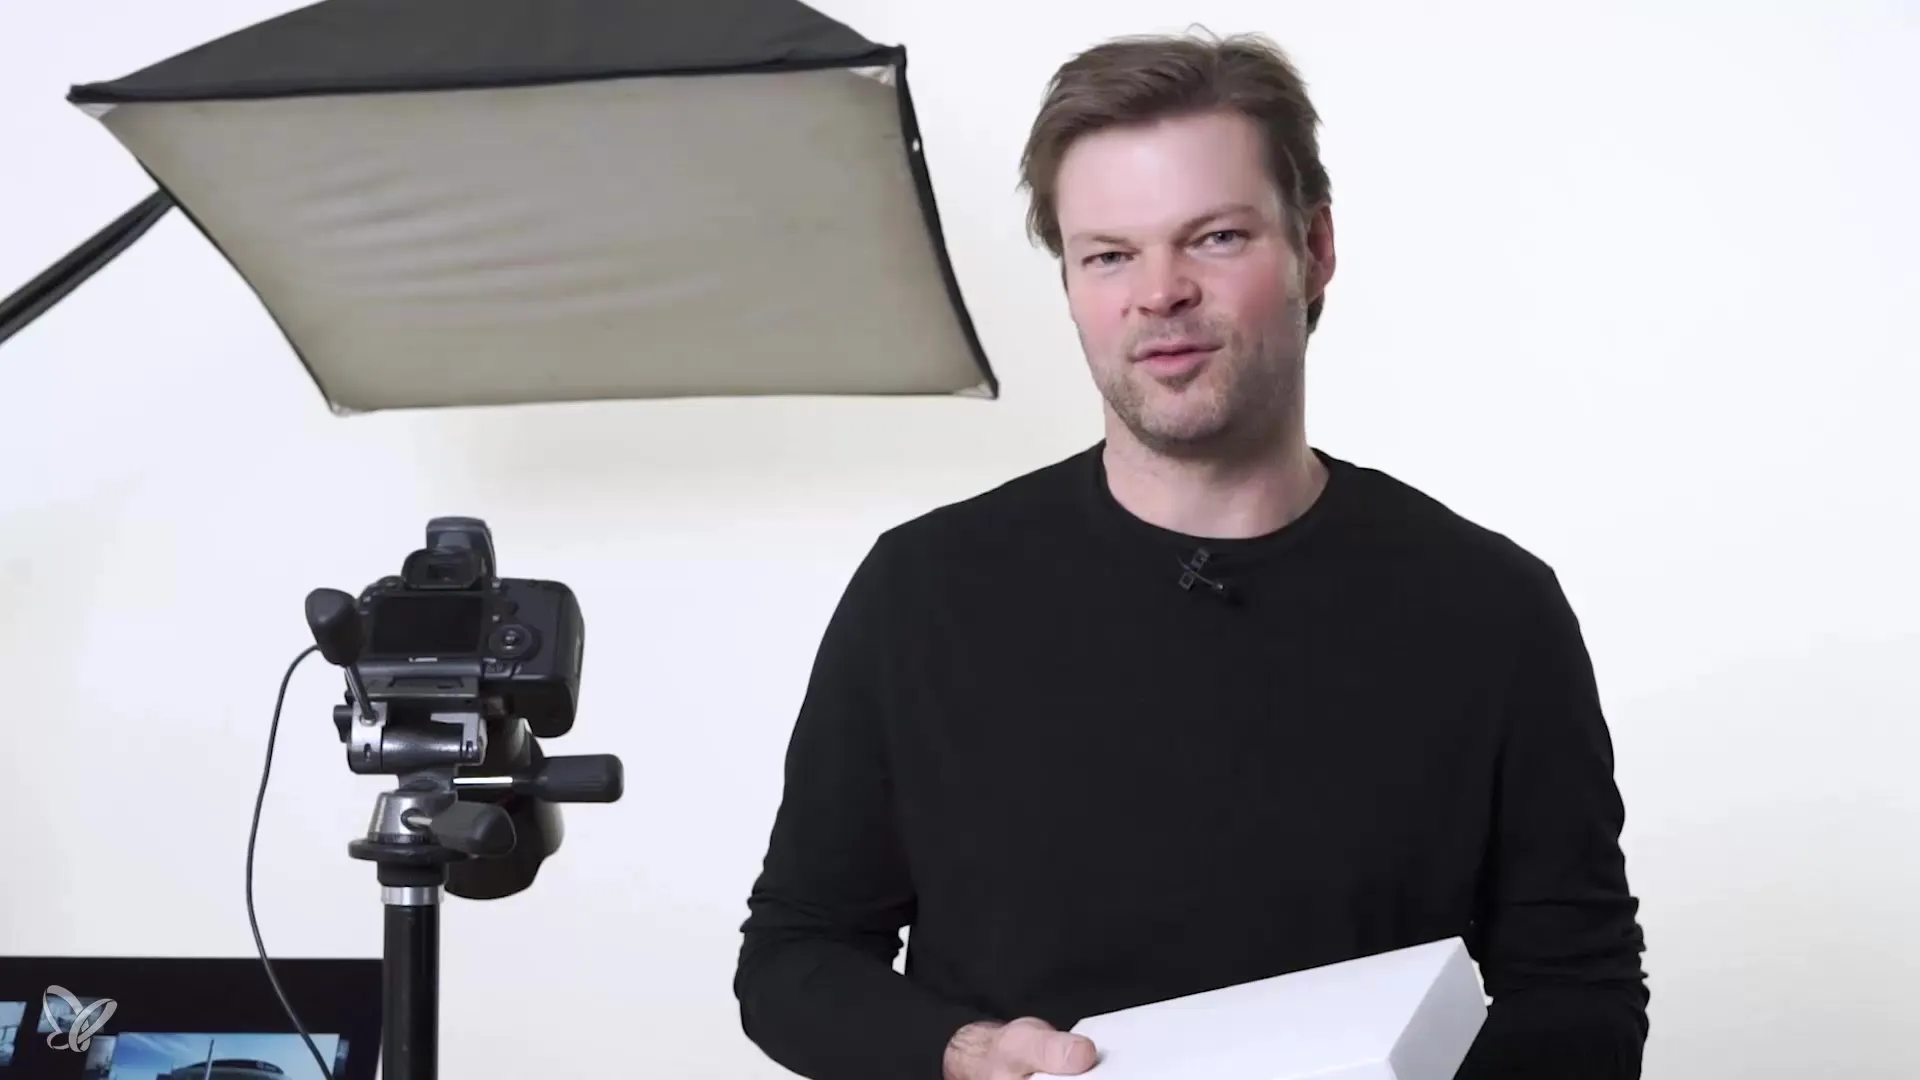
Step 2: Set up the background
The white background should be positioned so that it is free of tears or wrinkles. Make sure you have enough space around the set so you can walk around the product and make adjustments at any time.
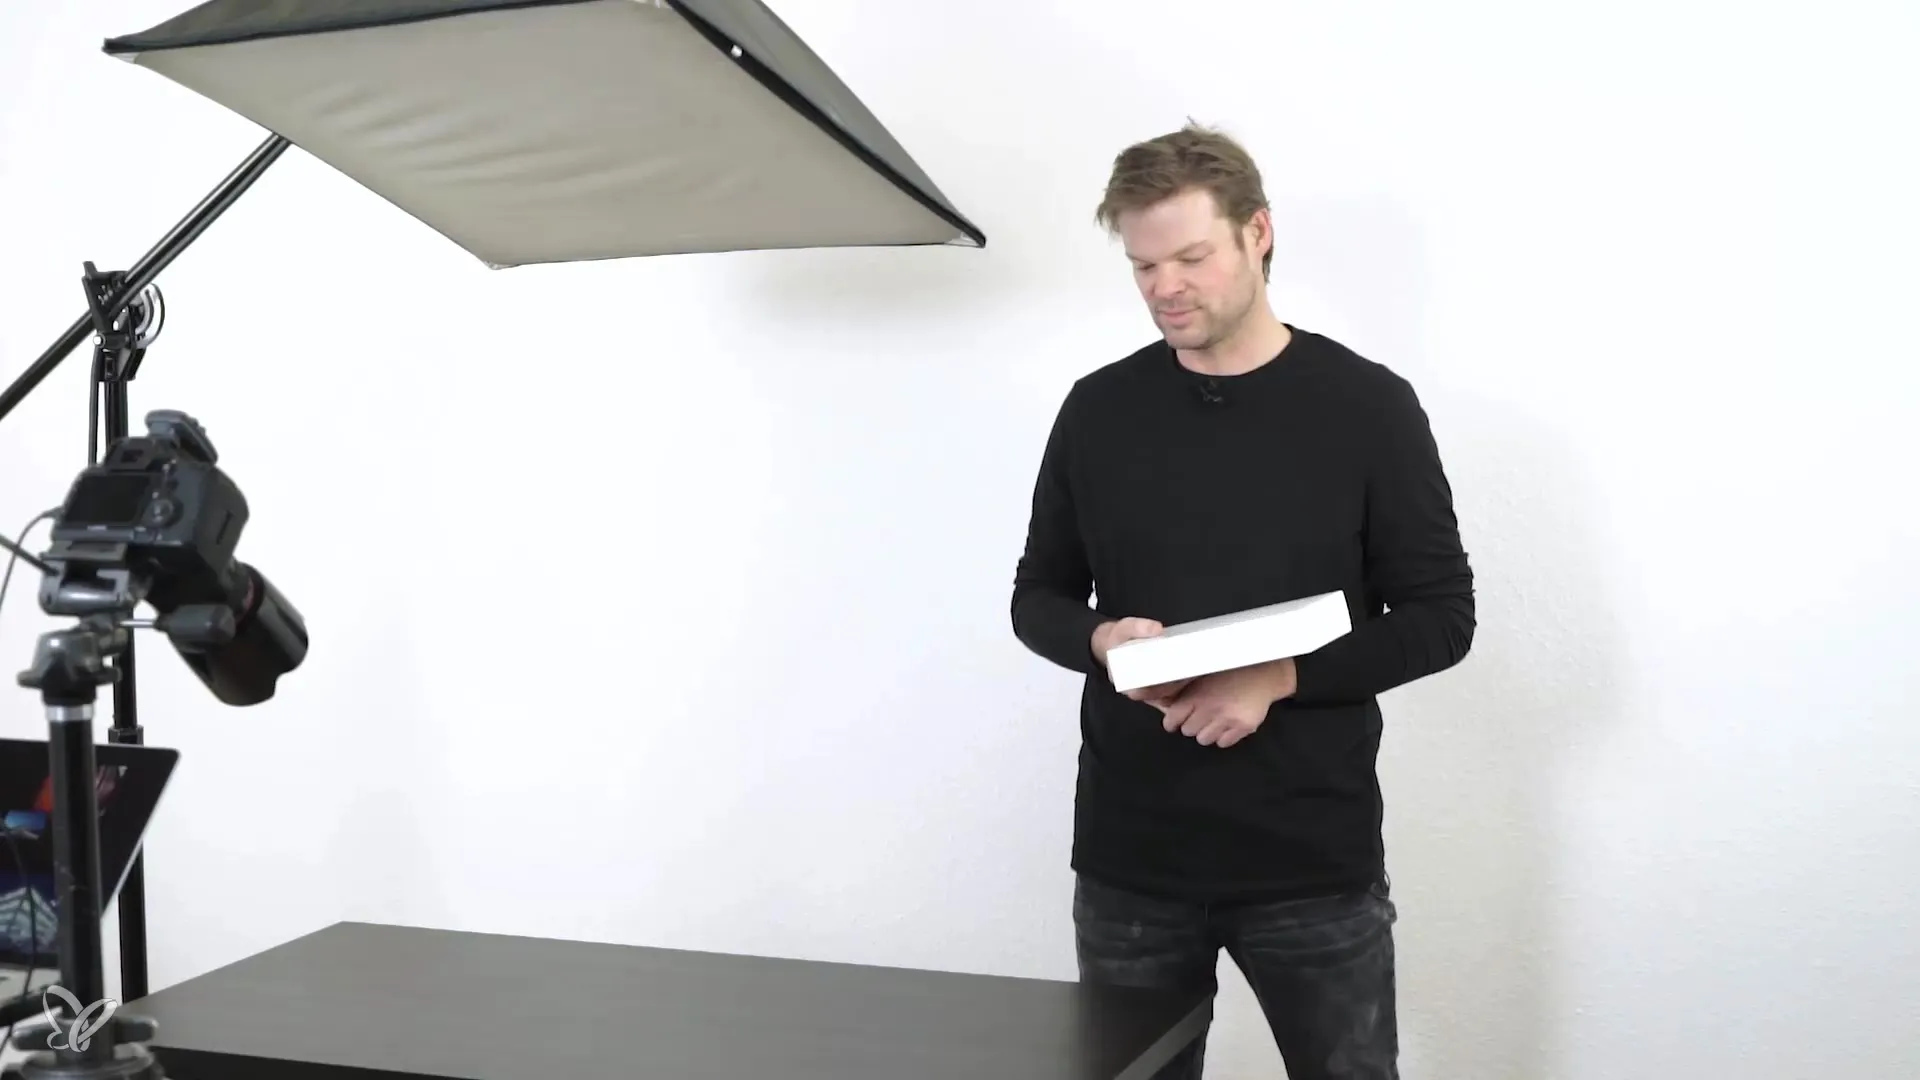
Step 3: Position the product
Once the background is set, it's time to position the product. Make sure to take a rough alignment, which can later be optimized according to the camera settings. Use marking weights or other objects to hold the position of your product while you continue preparing.

Step 4: Prepare the product
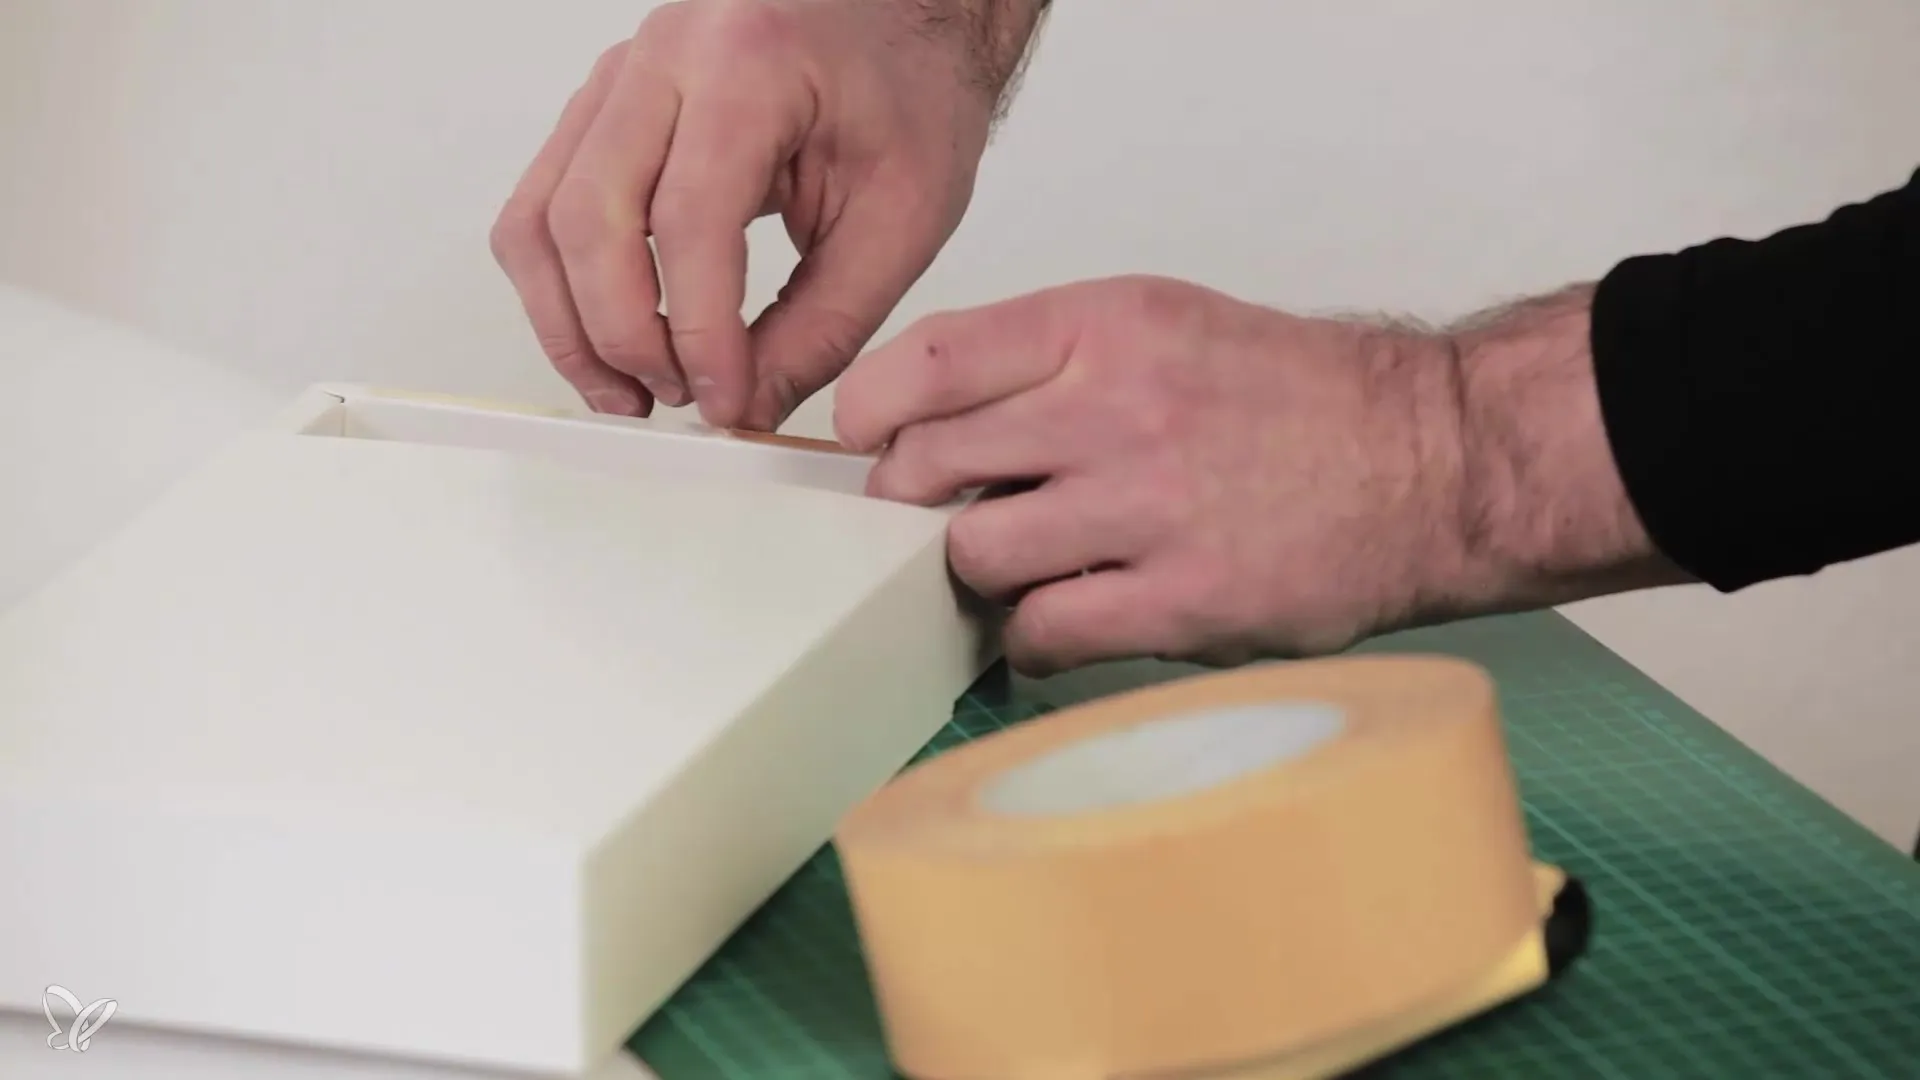
Now it's time to prepare your product for the shoot. Double-sided tape can be useful here to ensure that everything stays in place. Choose a high-quality double-sided tape that holds securely and is not visible to facilitate post-processing.
Step 5: Set up the lighting
Light is a crucial element for successful product photos. First, turn on the light and orient it so that you can make the shadows visible for your product. Use the softbox to create an even base light and pay attention to how the light falls on the product.
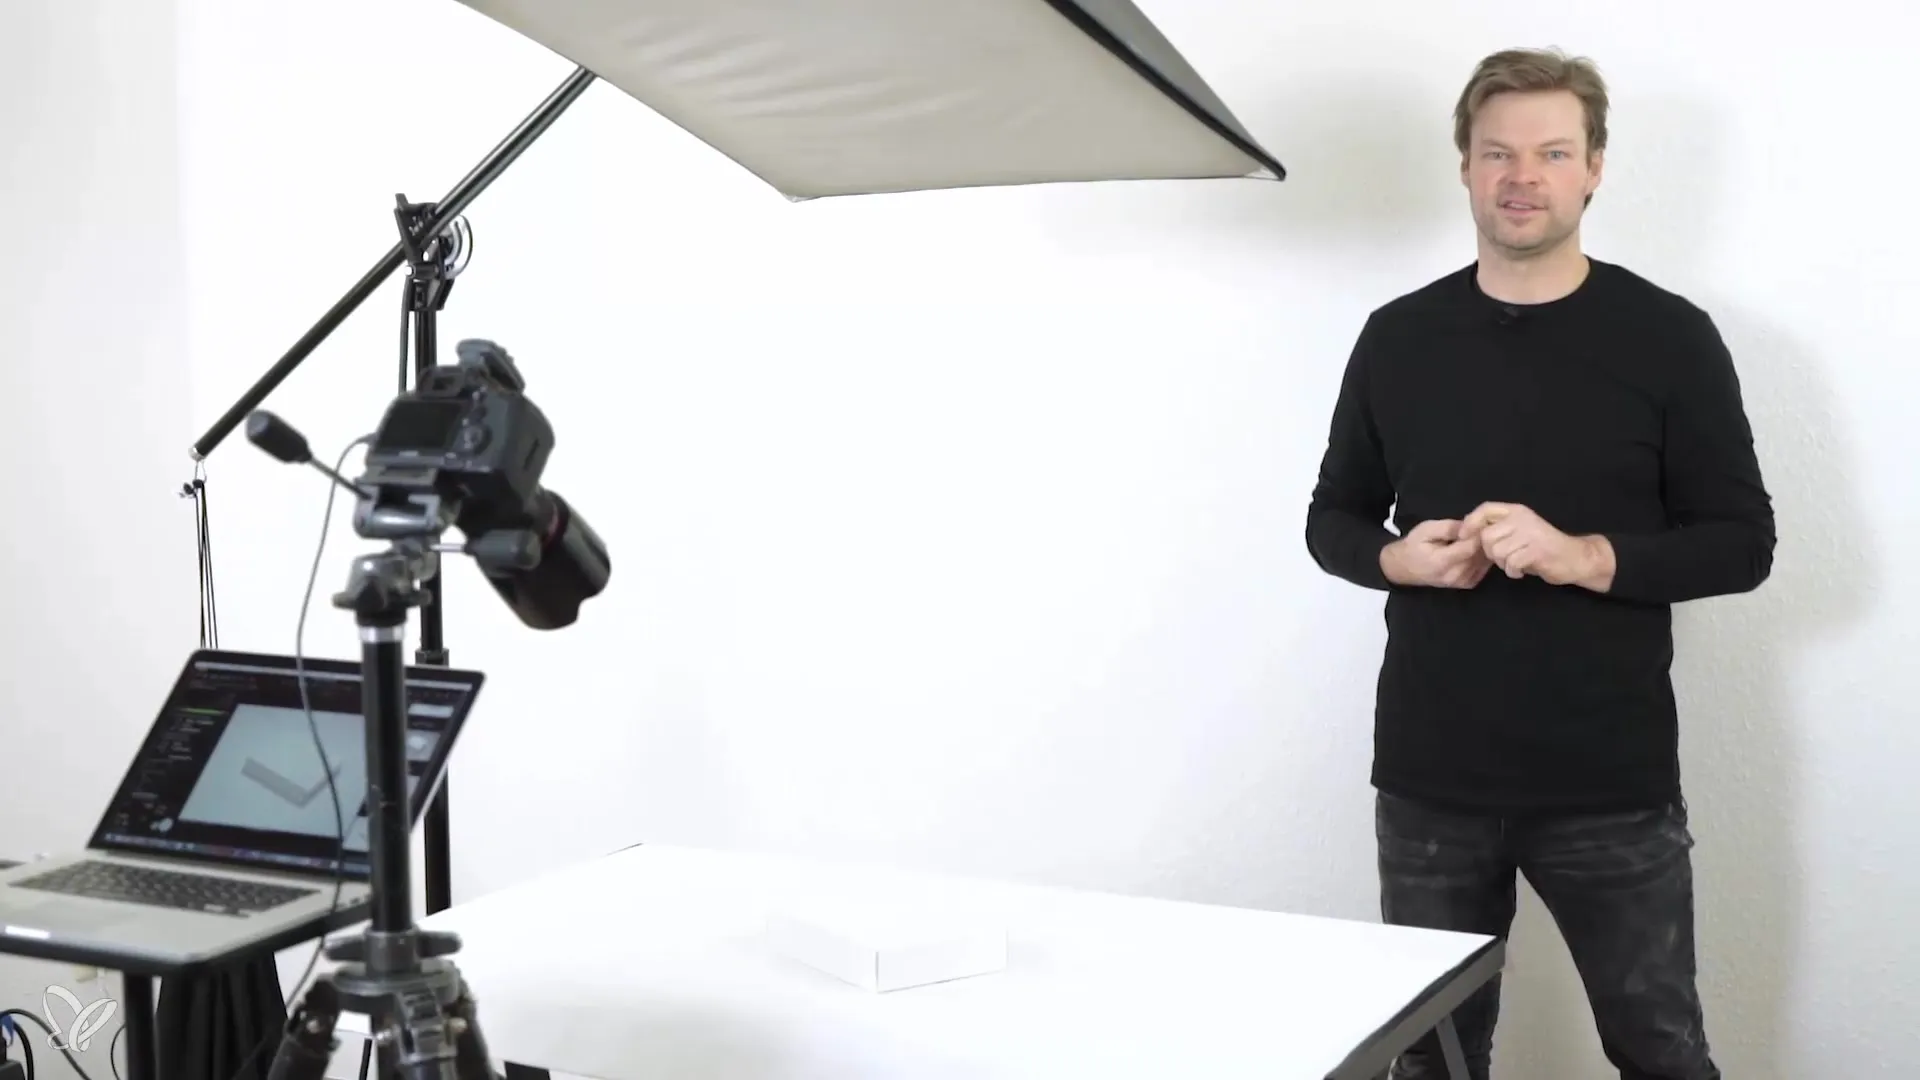
Step 6: Set the camera
Before you work on the lighting setup, it is important to set the camera. Take your time and set up the camera so that your product fits perfectly within the frame. Once the camera is optimally positioned, you can then adjust and optimize the light accordingly.
Step 7: Optimize the light
With the camera now correctly aligned, you have a base on which you can further optimize the light. Ensure that the light not only showcases your product but also adequately illuminates the background to avoid distracting shadows.
Summary – Introduction to Product Photography: Properly Placing Products
In this tutorial, you learned how to effectively place and prepare products to create appealing photos. The correct setup of the set, the choice of light, and the right camera position are all central steps to achieving high-quality product photos.
Frequently Asked Questions
How important is the background for product photography?The background is crucial as it highlights the product and minimizes distractions.
What should be considered in the lighting setup?The light should be evenly distributed to avoid shadows.
What type of double-sided tape should I use?It is advisable to use a fabric-based double-sided tape, as it has good adhesion and is optimal for product preparation.
How do I best set up the camera?The camera should initially be positioned so that the product is optimally visible in the frame before adjusting the light.
