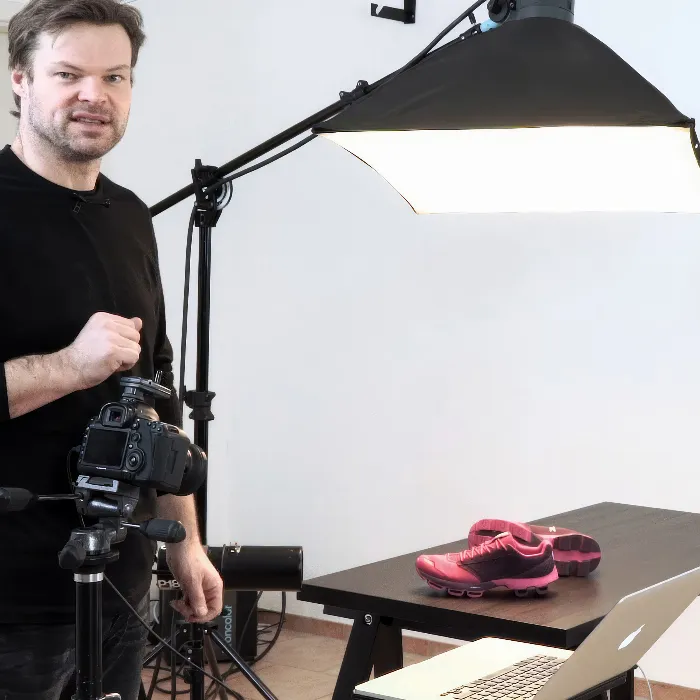
The art of product photography gives you the opportunity to present objects in a new light and highlight their features. The right lighting plays a crucial role. In this tutorial, you will learn how to reposition light sources with simple techniques and work with hard light to create more character in your images. With a stronger focus on your product, you can present it in a more exciting way and potentially increase the purchase incentive. Let’s dive into the exciting world of product photography.
Main insights
- The use of a tube can direct the light precisely, reducing unwanted reflections.
- By experimenting with different light intensities, you can direct the focus onto the product and strengthen its character.
- Creative lighting techniques and the precise placement of your light sources can influence the overall aesthetics of your photos.
Step-by-Step Guide
Step 1: Preparing the Set and Evaluation
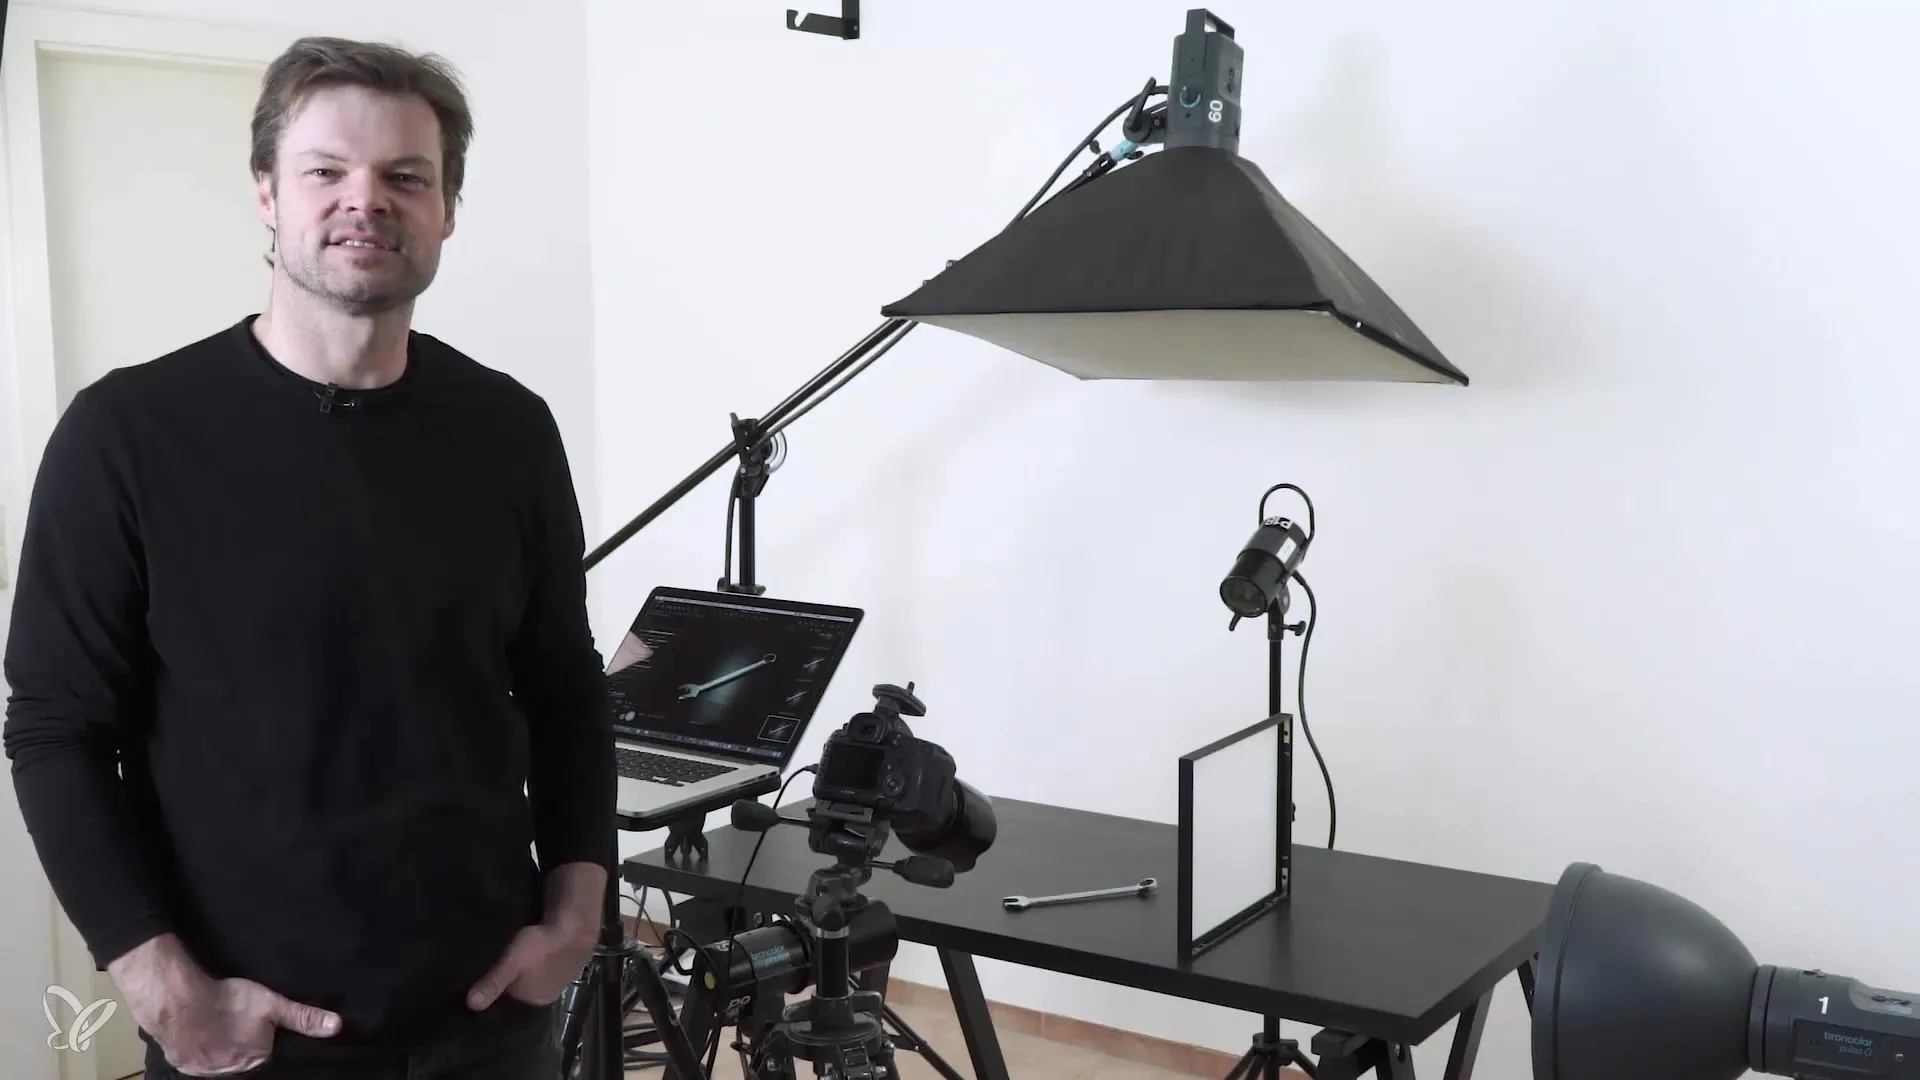
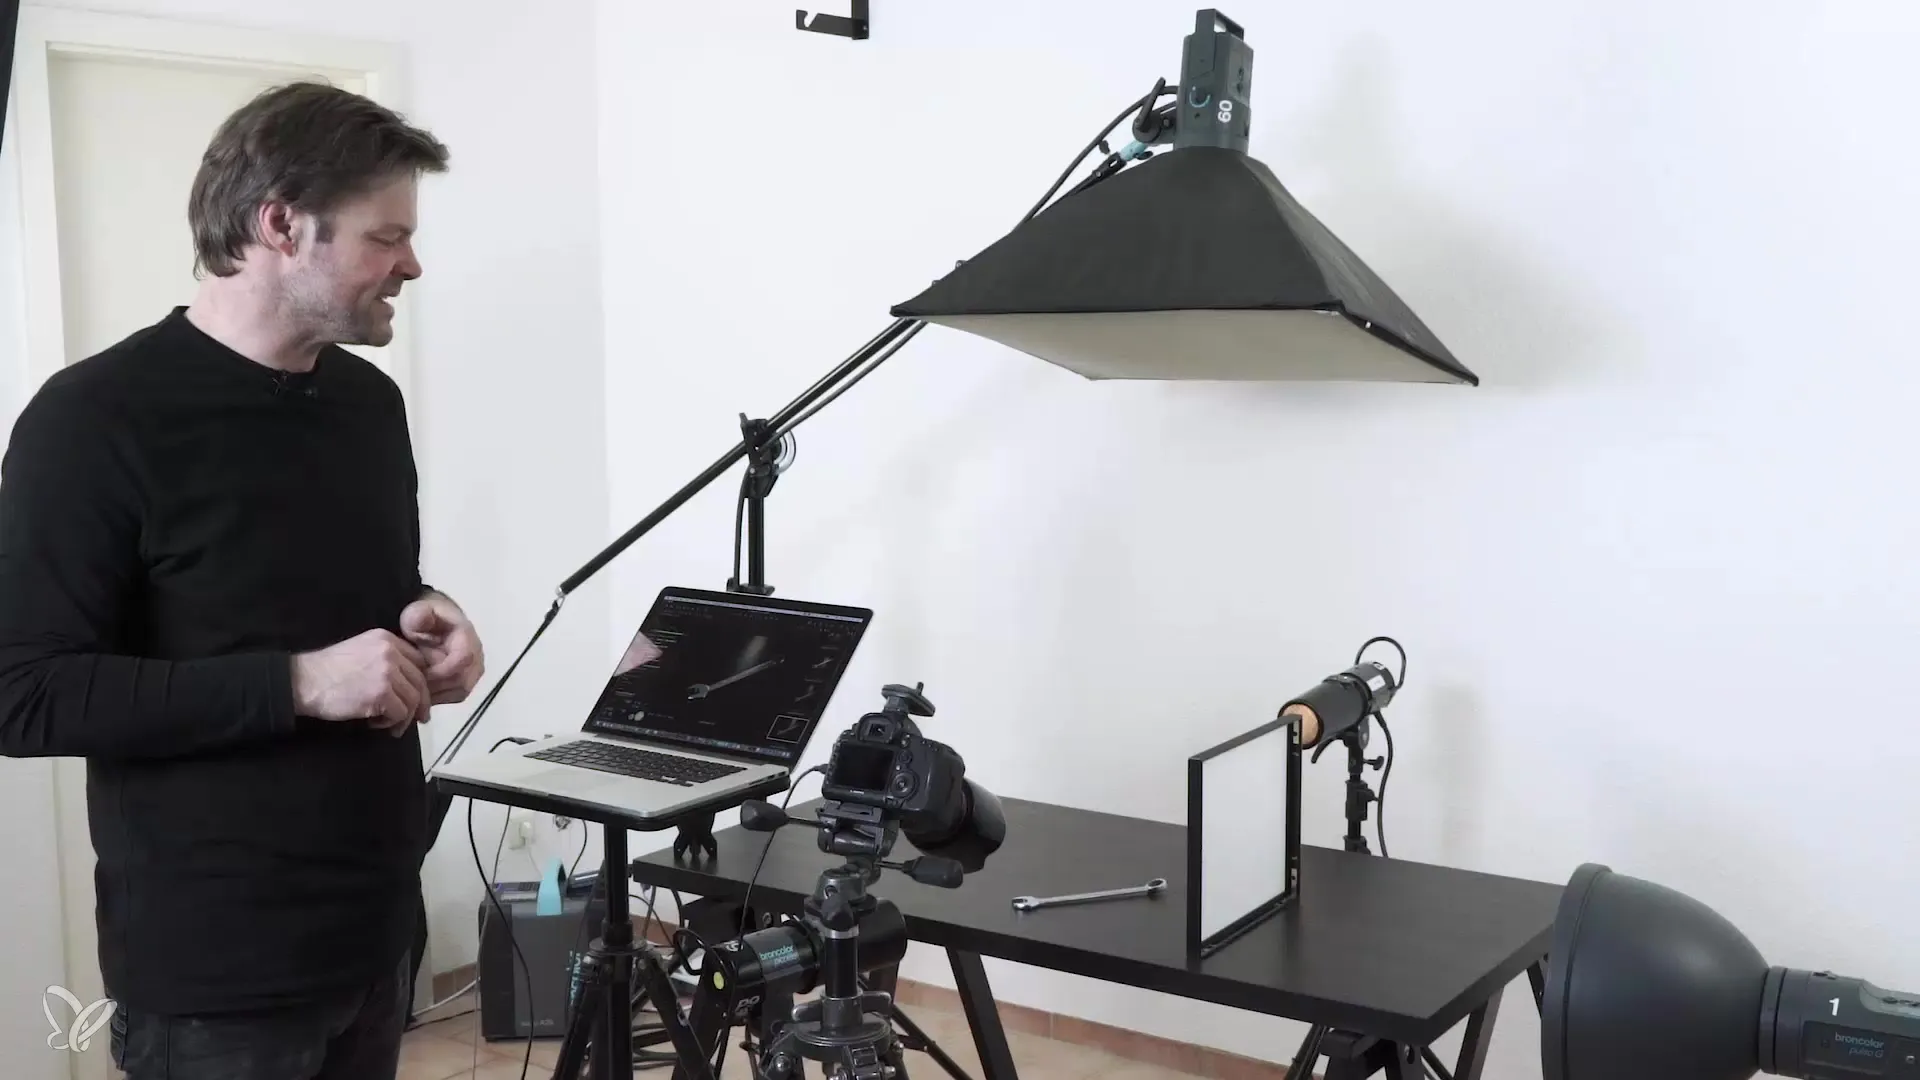
The first step you take is to evaluate your existing set. It is important to examine the current arrangement of lights. A small change can often have a significant impact on the final result. You already have a light as a backlight, and now you will adjust it.
Step 2: Using the Tube
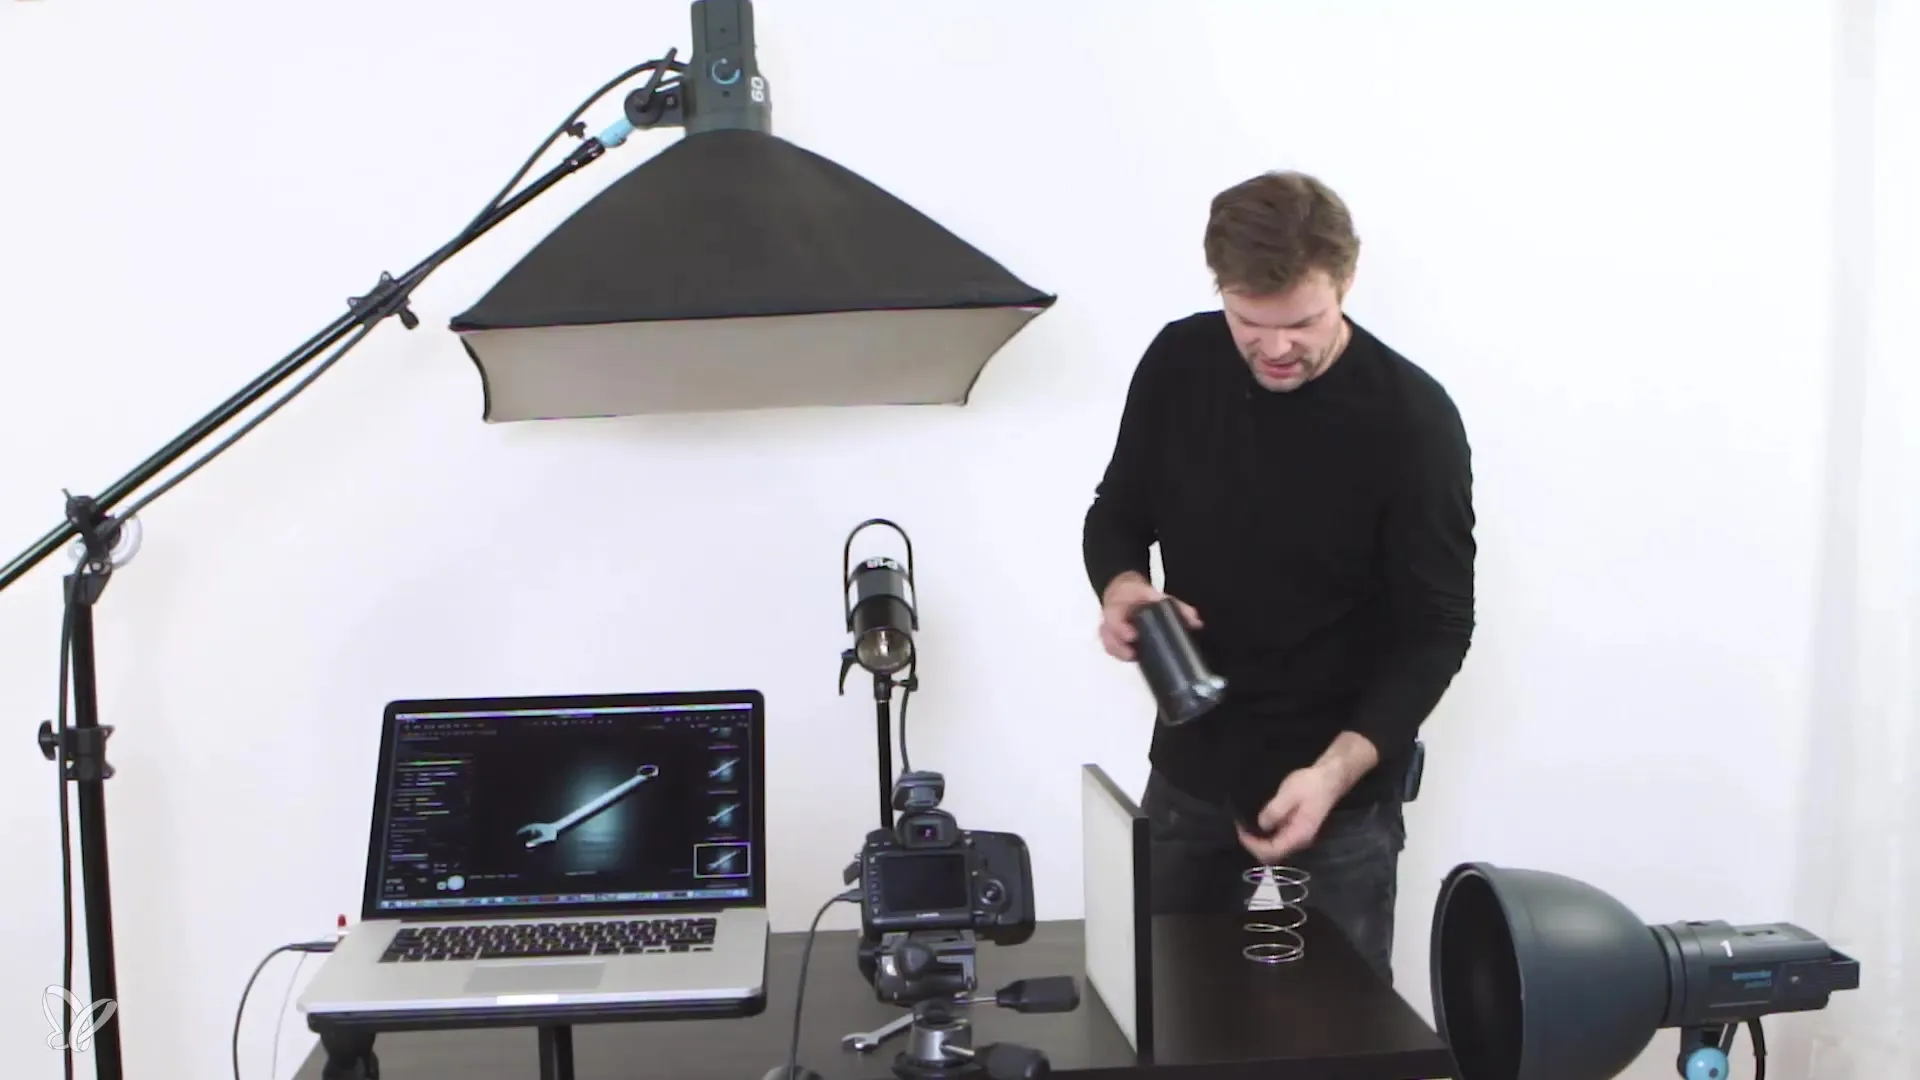
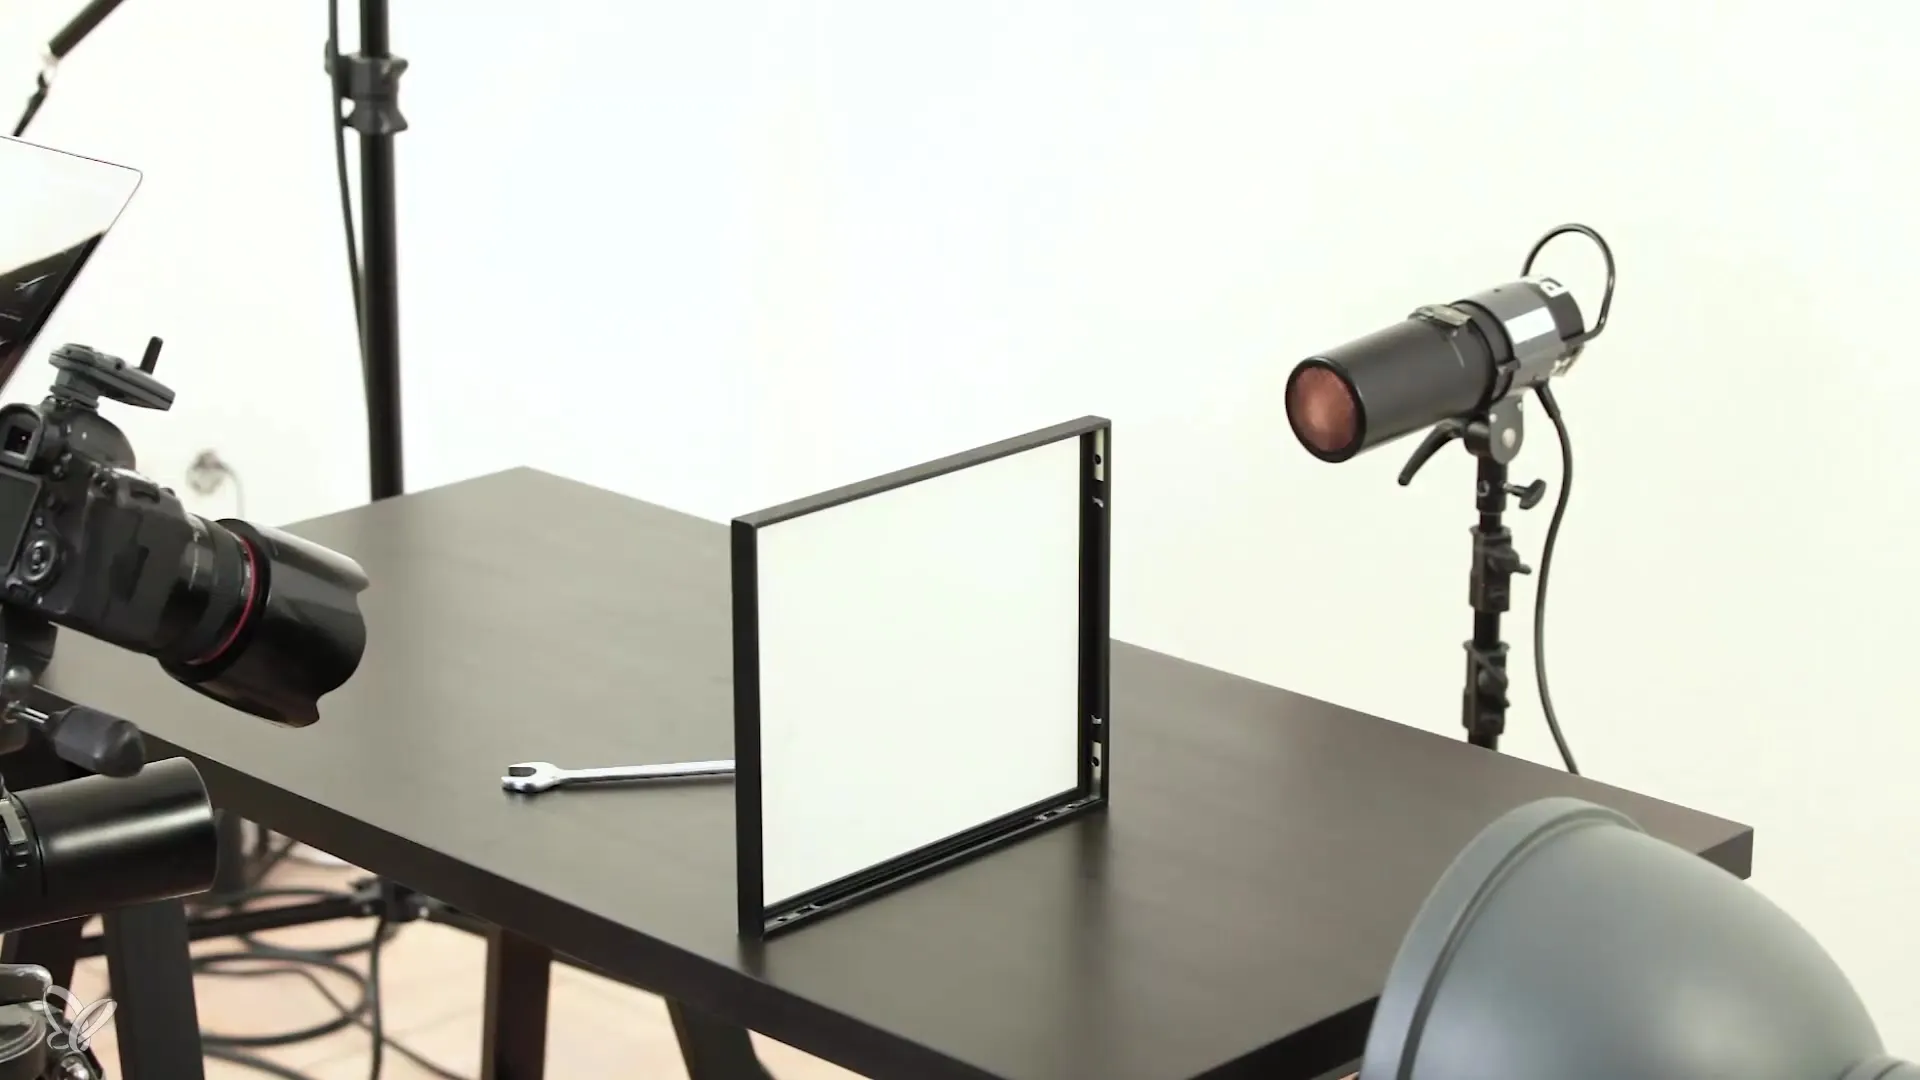
Now take the tube that you want to use as a light modifier. Place it on the previously mentioned light. The goal is to recognize the effects of this modification and analyze the reflections on the product. By adding the tube, the light is directed more precisely, which positively affects the image quality.
Step 3: Observing the Change in Light
After attaching the tube, observe the result. You should notice that the previous reflections on the product have been reduced. This targeted light source ensures that the light scatters less and thus highlights the product's details better. It already looks promising!
Step 4: Correcting the Light Source
It's important to note that the lamp may not yet be optimally positioned. Take your time to adjust the height and direction of the light source as needed. Consider how the light beam affects the product and the camera. This is where you can apply the principle of reflection to achieve the best results.
Step 5: Taking the First Result Shot
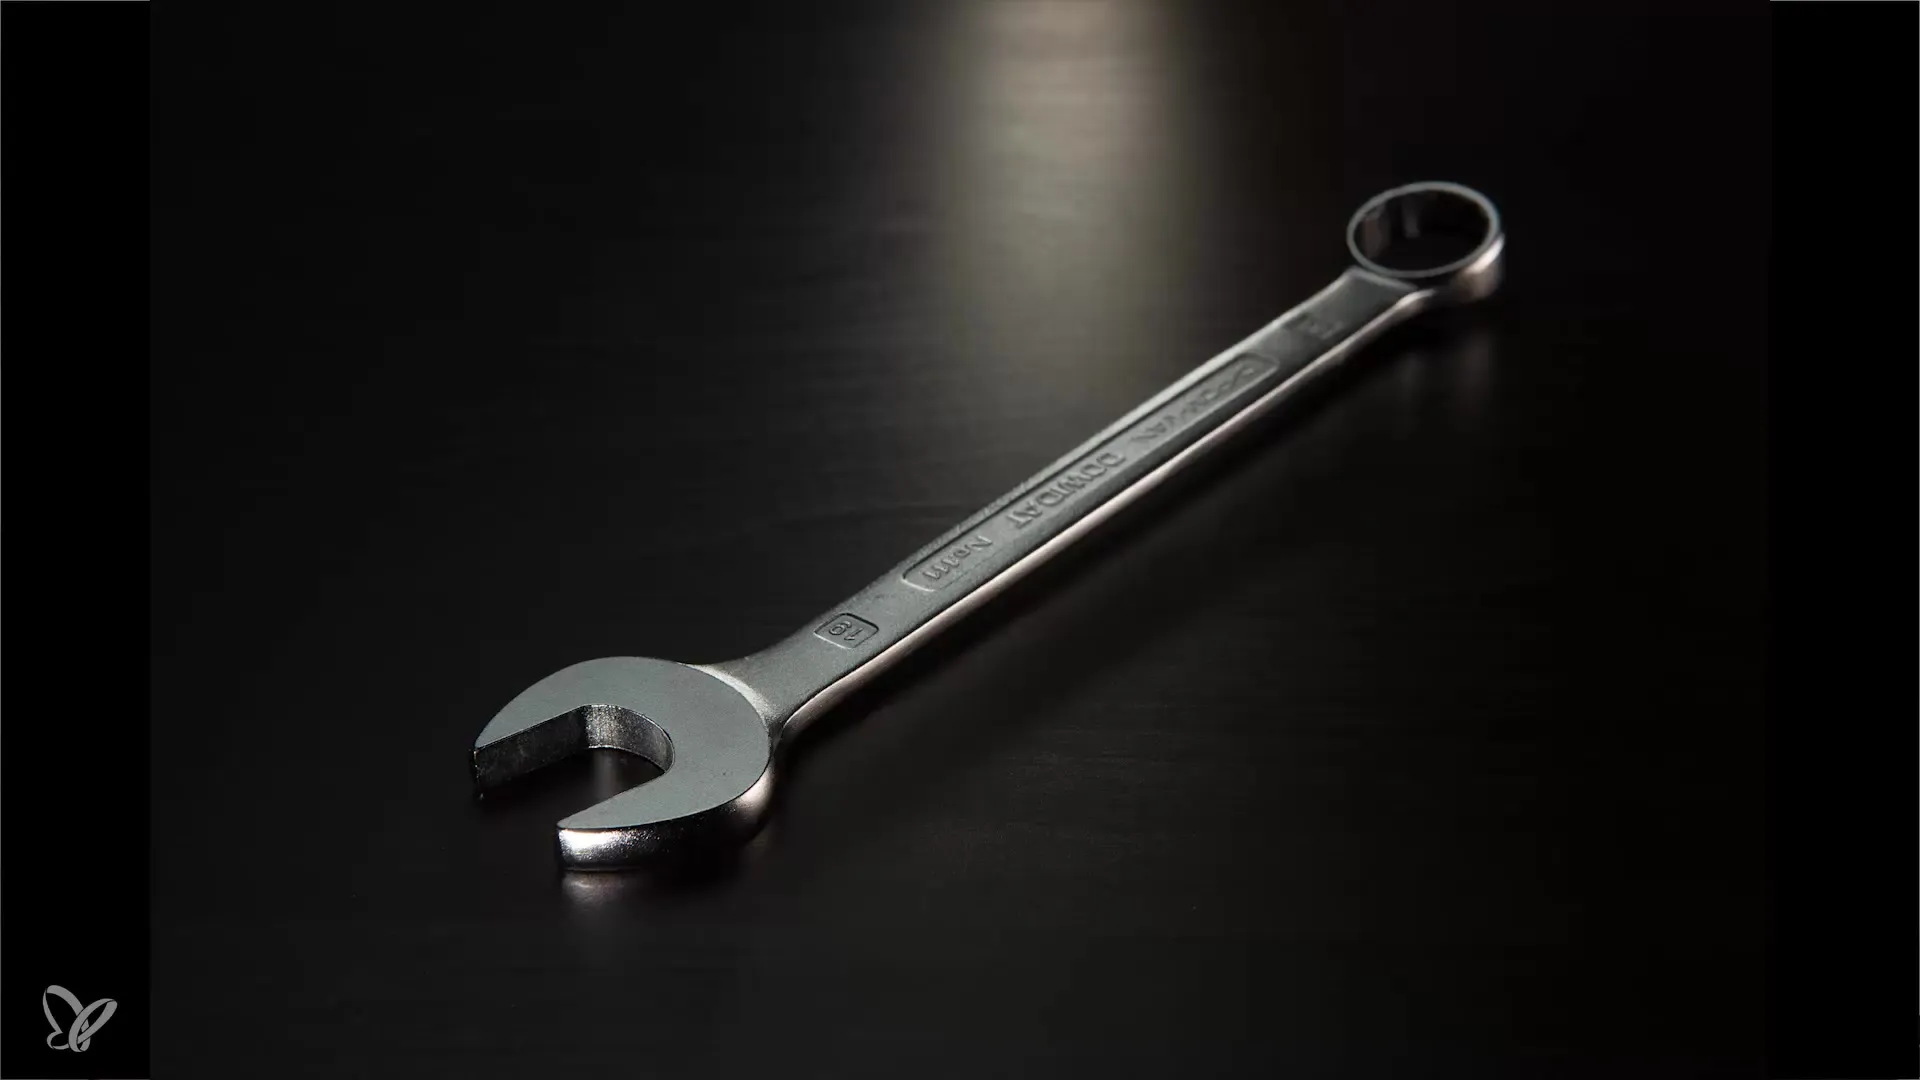
Once you are satisfied with the position of the lamp and the light is hitting the product well, take your first test shots. You will notice a significant difference – the image appears more cohesive and exciting. This is the first step towards a higher production value for your photos.
Step 6: Adjusting the Light Intensity
To further optimize the light, you will now experiment with the light intensity of the lamp. Increase the power setting to obtain a stronger light beam. This adjustment makes the background slightly disappear and brings your product more into focus. A higher light value provides a more appealing presentation.
Step 7: Final Adjustments and Conclusion
In the final step, you prepare to photograph the product from a black plate onto a glass plate. This change separates your product from the background and provides an elegantly isolated impression. With this last step, the focus is completely on the product, improving the overall aesthetics of your photos.
Summary – Introduction to Product Photography – Hard Light for More Character
In this tutorial, you learned how to significantly improve your product photography by using a tube and deliberately experimenting with different light sources. You could observe how light direction and intensity directly affect the quality of your photos. Use these techniques to create compelling product shots that capture your customers' attention!
Frequently Asked Questions
How does a tube improve the light in product photography?A tube helps to direct the light precisely and reduces unwanted reflections.
What light is ideal for product photography?Hard light can highlight details and add character, ideal for products that emphasize texture.
How can I make the background disappear?By increasing the light intensity and directing the light more towards the product, the background becomes less visible.
