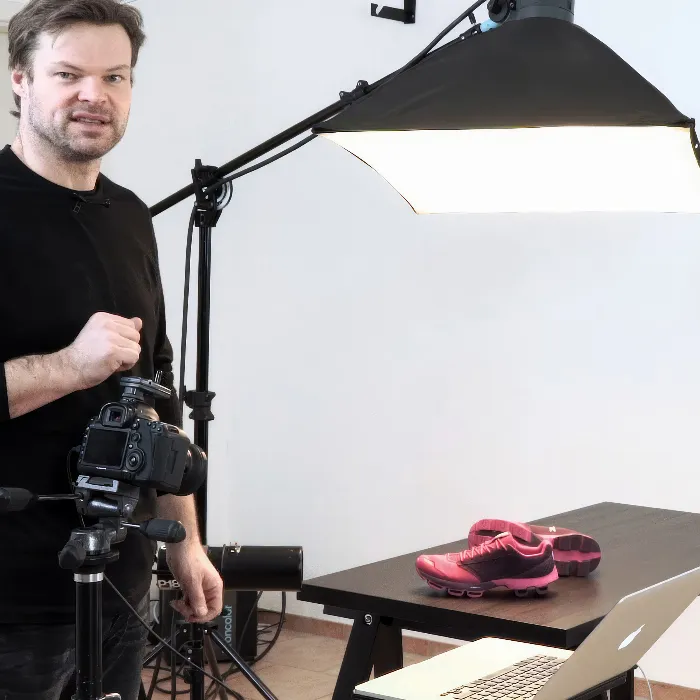
Glass, and especially wine glasses, present a particular challenge in product photography that is also fascinating. The play with light and reflections gives an image character and depth. However, without the right techniques, the task often seems complex. In this guide, I will show you how to easily light wine glasses properly and achieve impressive results.
Main Insights
- The cleanliness of the glasses plays a crucial role.
- The right lighting technique highlights the subject and creates three-dimensional effects.
- Reflections can work both positively and negatively, so their control is essential.
Step-by-Step Guide
Step 1: Preparing the Glass
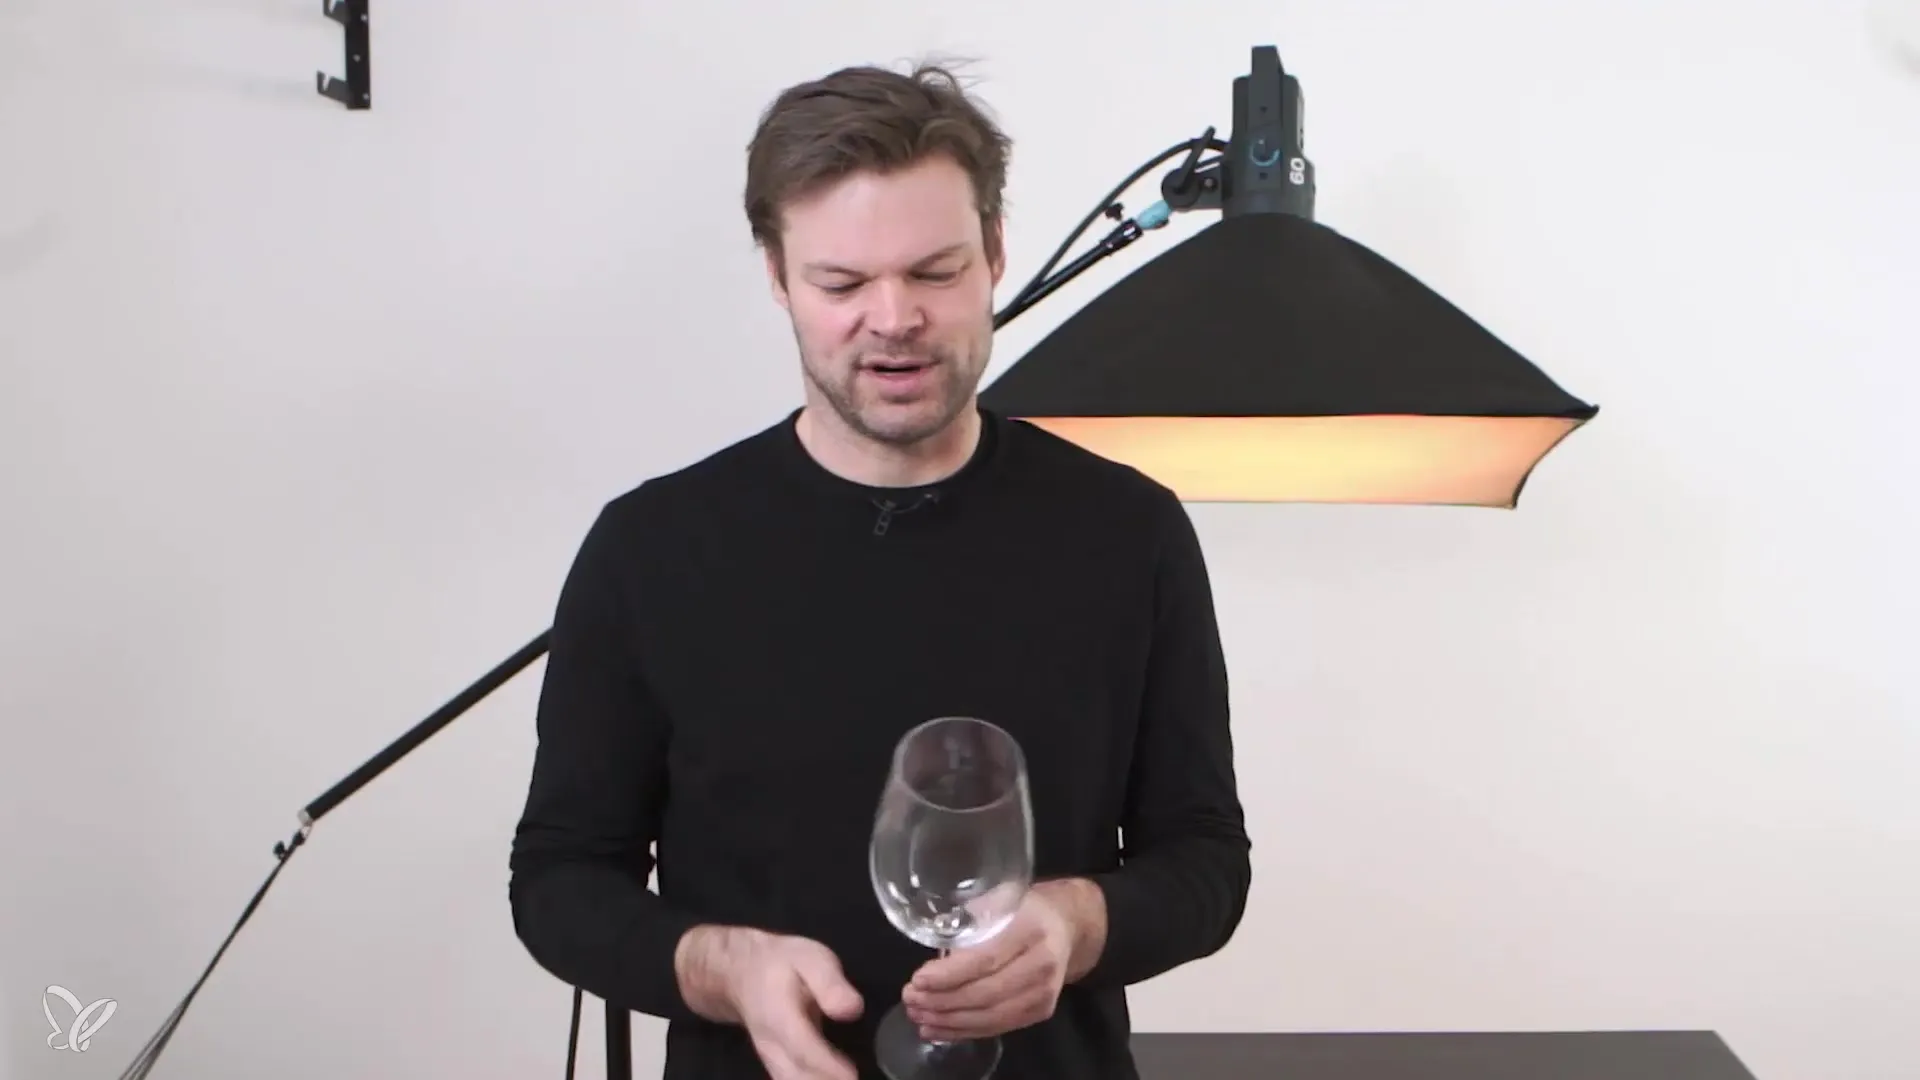
Start with thoroughly cleaning the wine glass. Any small detail, such as fingerprints or dust, could affect the final result. A common glass cleaner helps you keep the glass shiny and spotless. After cleaning the glass, use a dry cloth to remove any residue.
Step 2: Setting Up the Background
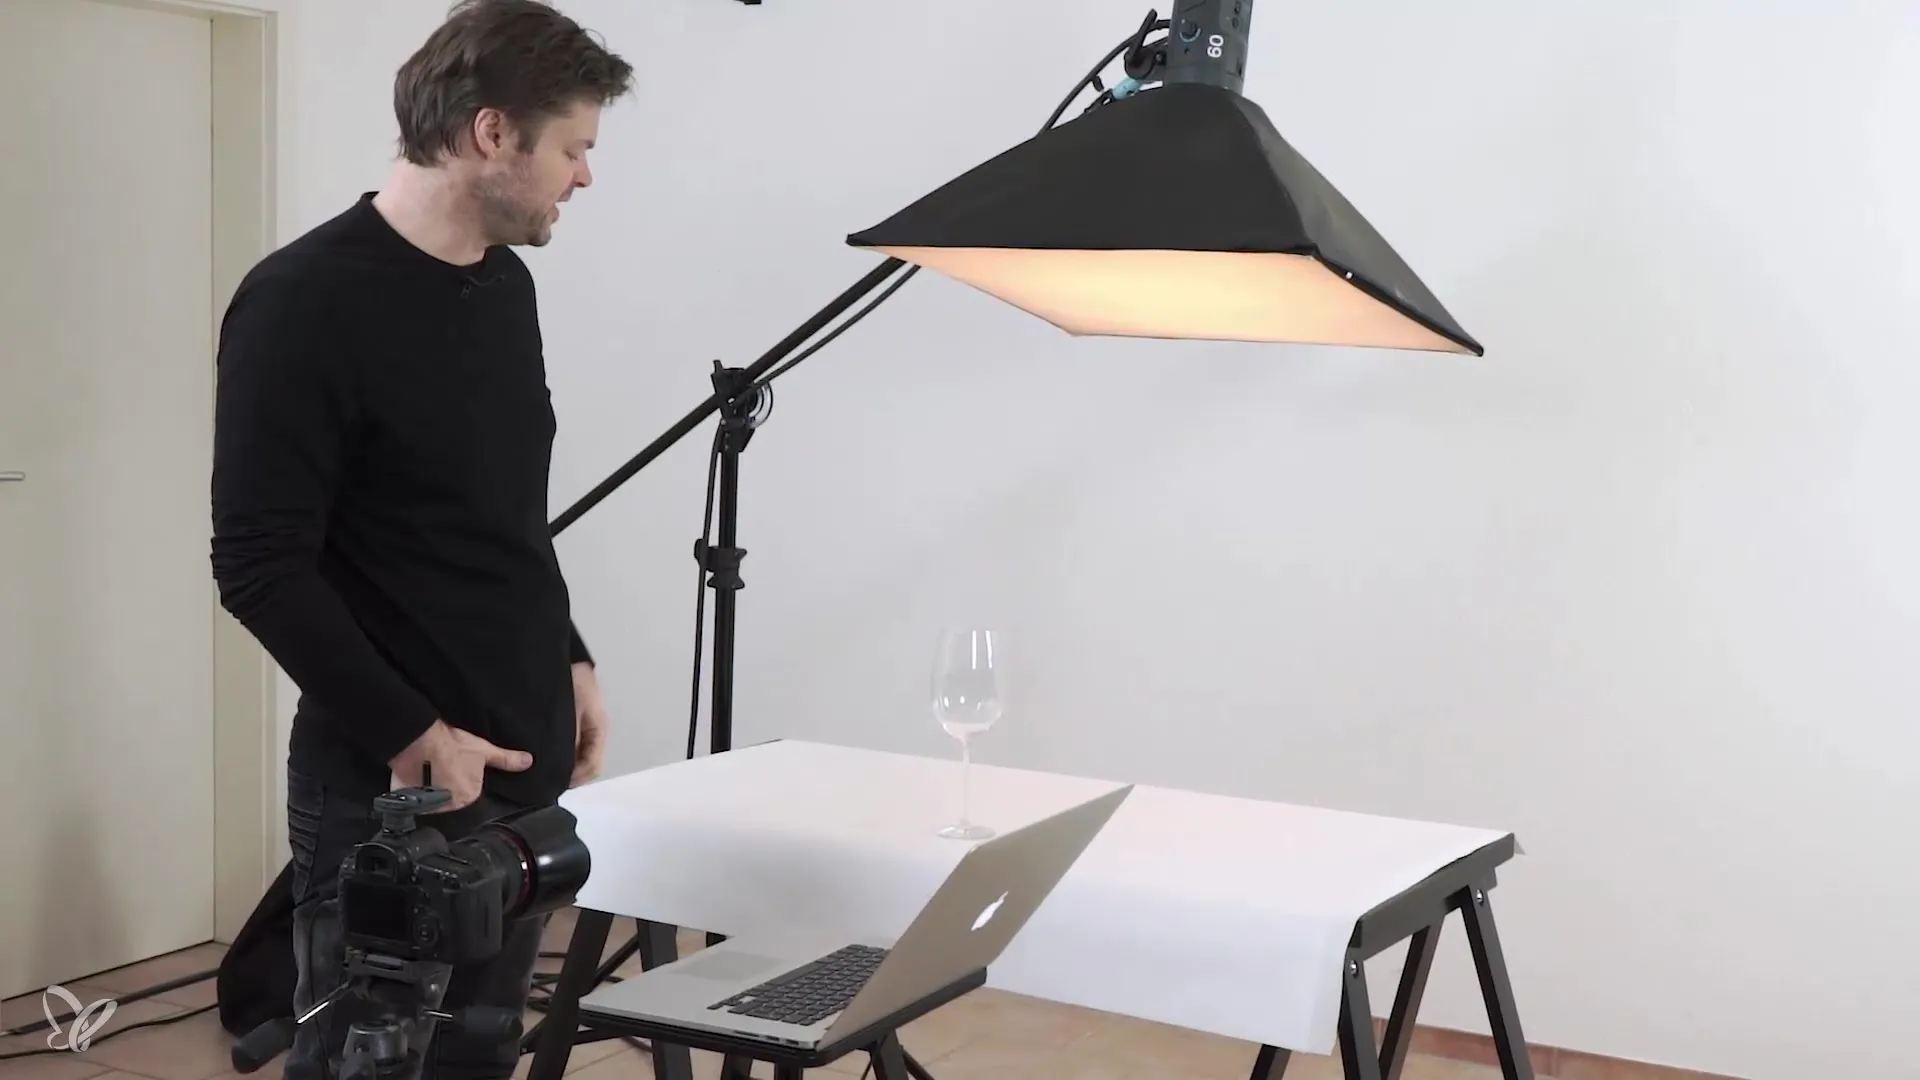
Choose a white background for your photography. Typically, a simple white wallpaper works well as it serves as a neutral backdrop. Position the wine glass as centrally as possible on the background to showcase it optimally.
Step 3: Positioning the First Light Source
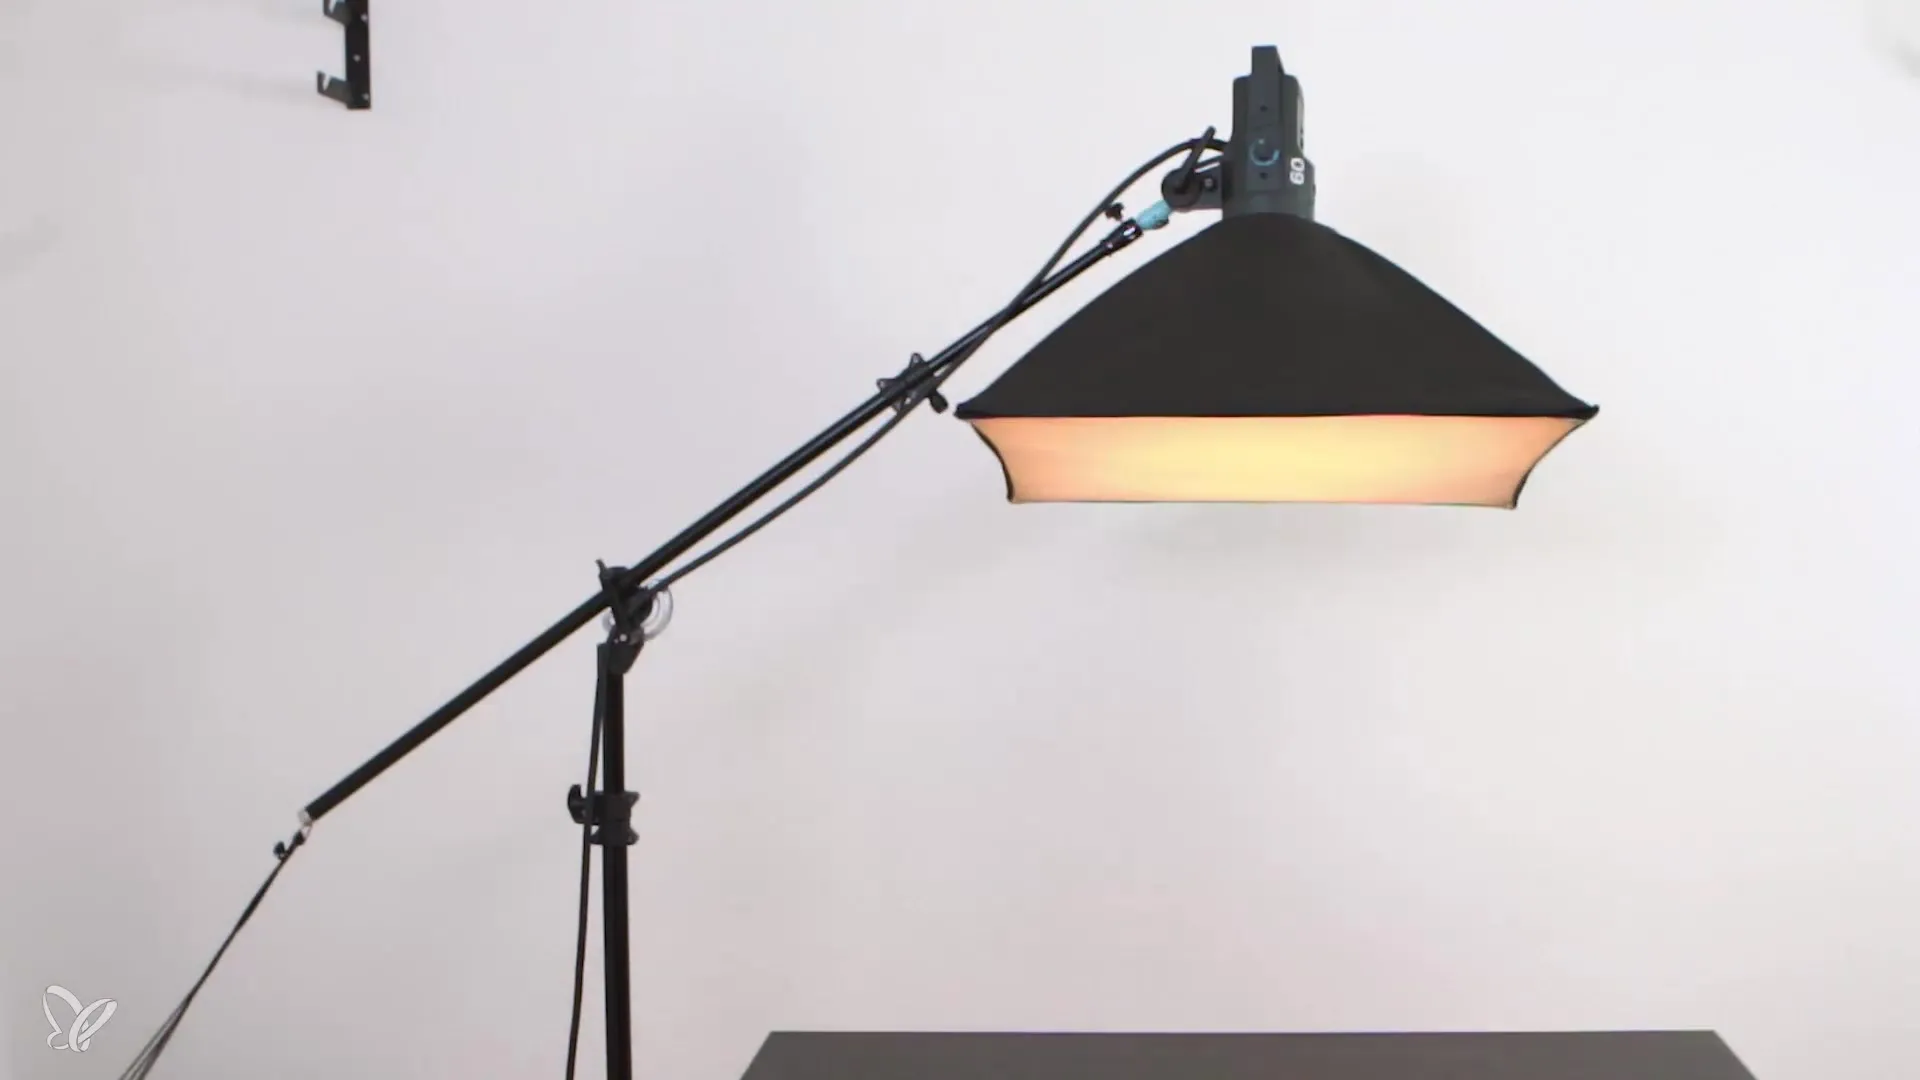
Use a softbox as the main light source. Place the softbox above the wine glass to create a uniform base light. Set the power of the softbox and take a test shot. Check the initial results and adjust the light intensity if necessary to get a clear view of the glass.
Step 4: Adding a Second Light Source
To better highlight the glass, add a second lamp. This should not be directed straight at the glass but rather used to illuminate the background. Position the lamp at the right height to optimize light conditions and enhance the impact of your shot.
Step 5: Adjusting Light Intensity
Take further test shots to find the correct lighting conditions. It is important that the brightness and colors are right to achieve an appealing base composition. Meanwhile, you can continuously adjust the lamp's position to get the best reflections.
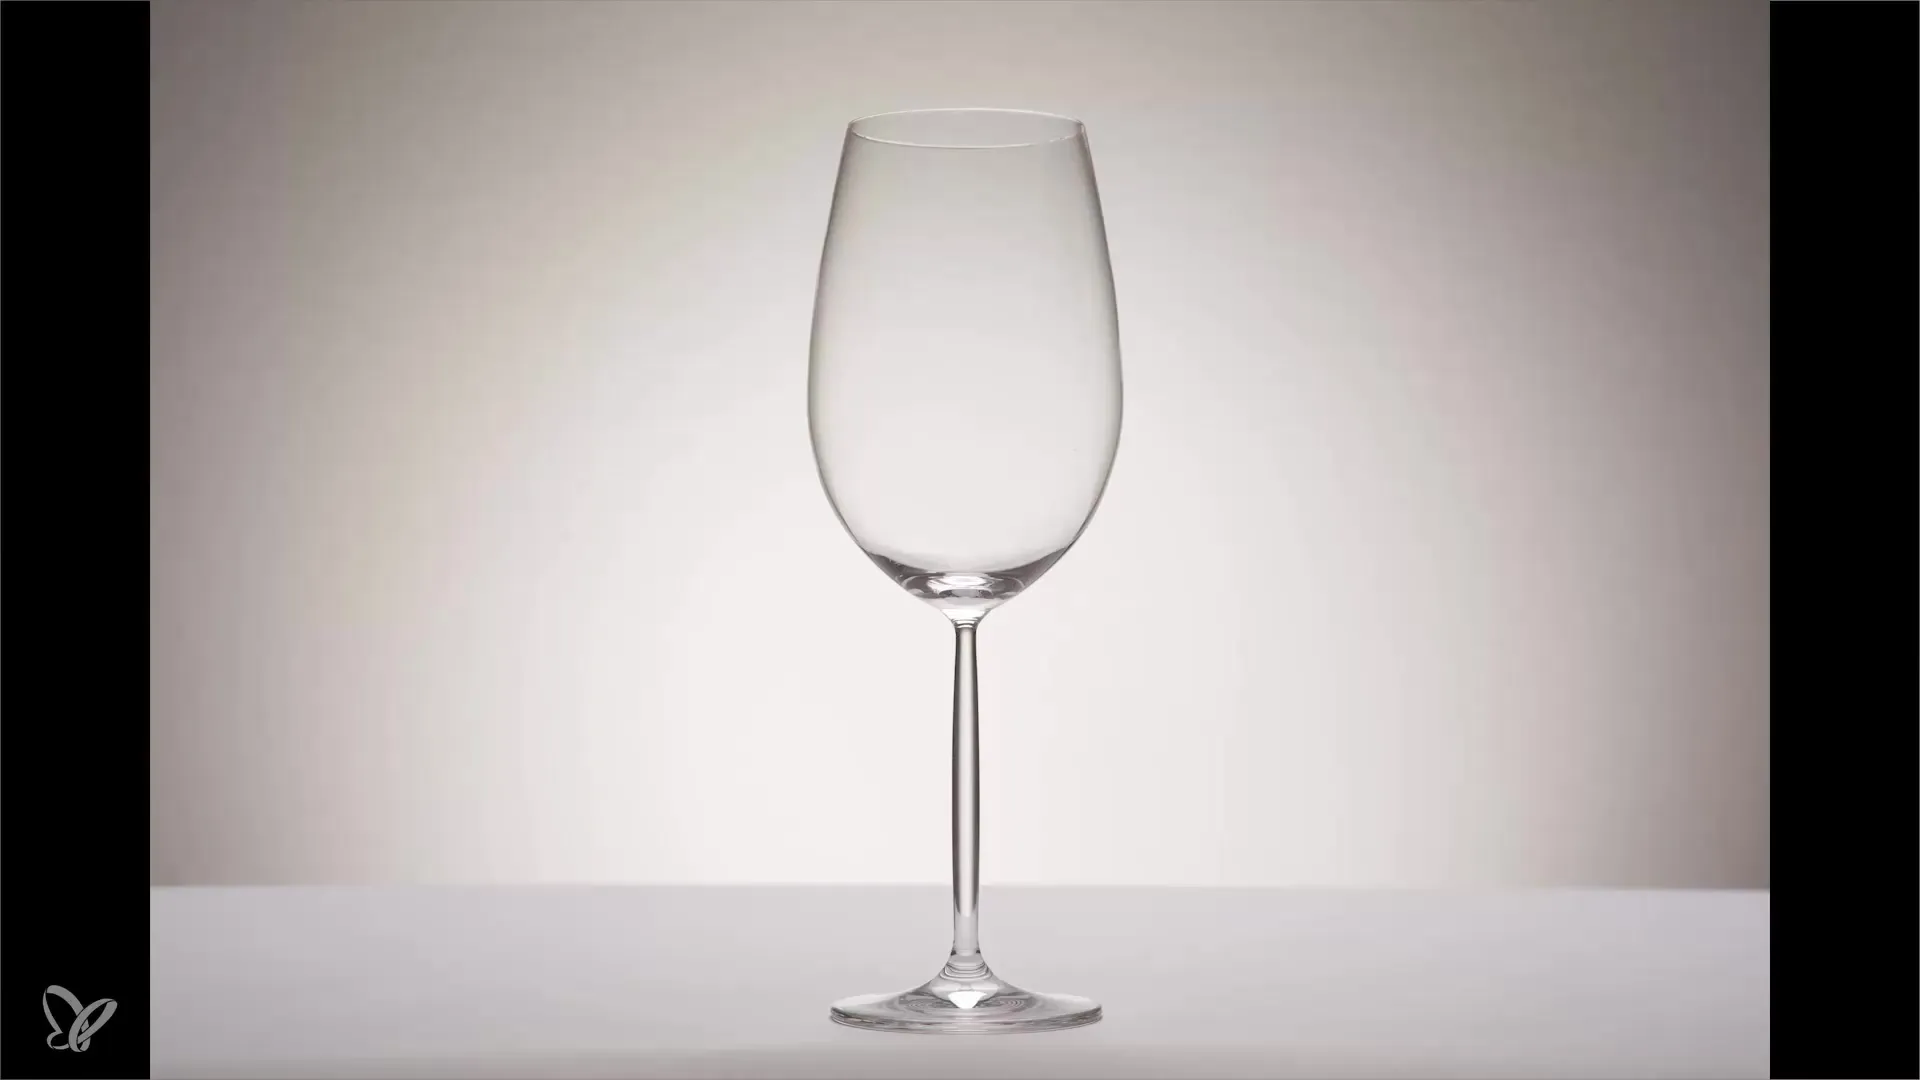
Step 6: Fine-Tuning the Reflections
To control the reflections, additionally use a small light, also known as a spotlight. Angle this light slightly to the side to create a three-dimensional effect. Ensure that the reflections on the glass appear harmonious. Occasionally, it may be necessary to adjust the position or intensity of the light.
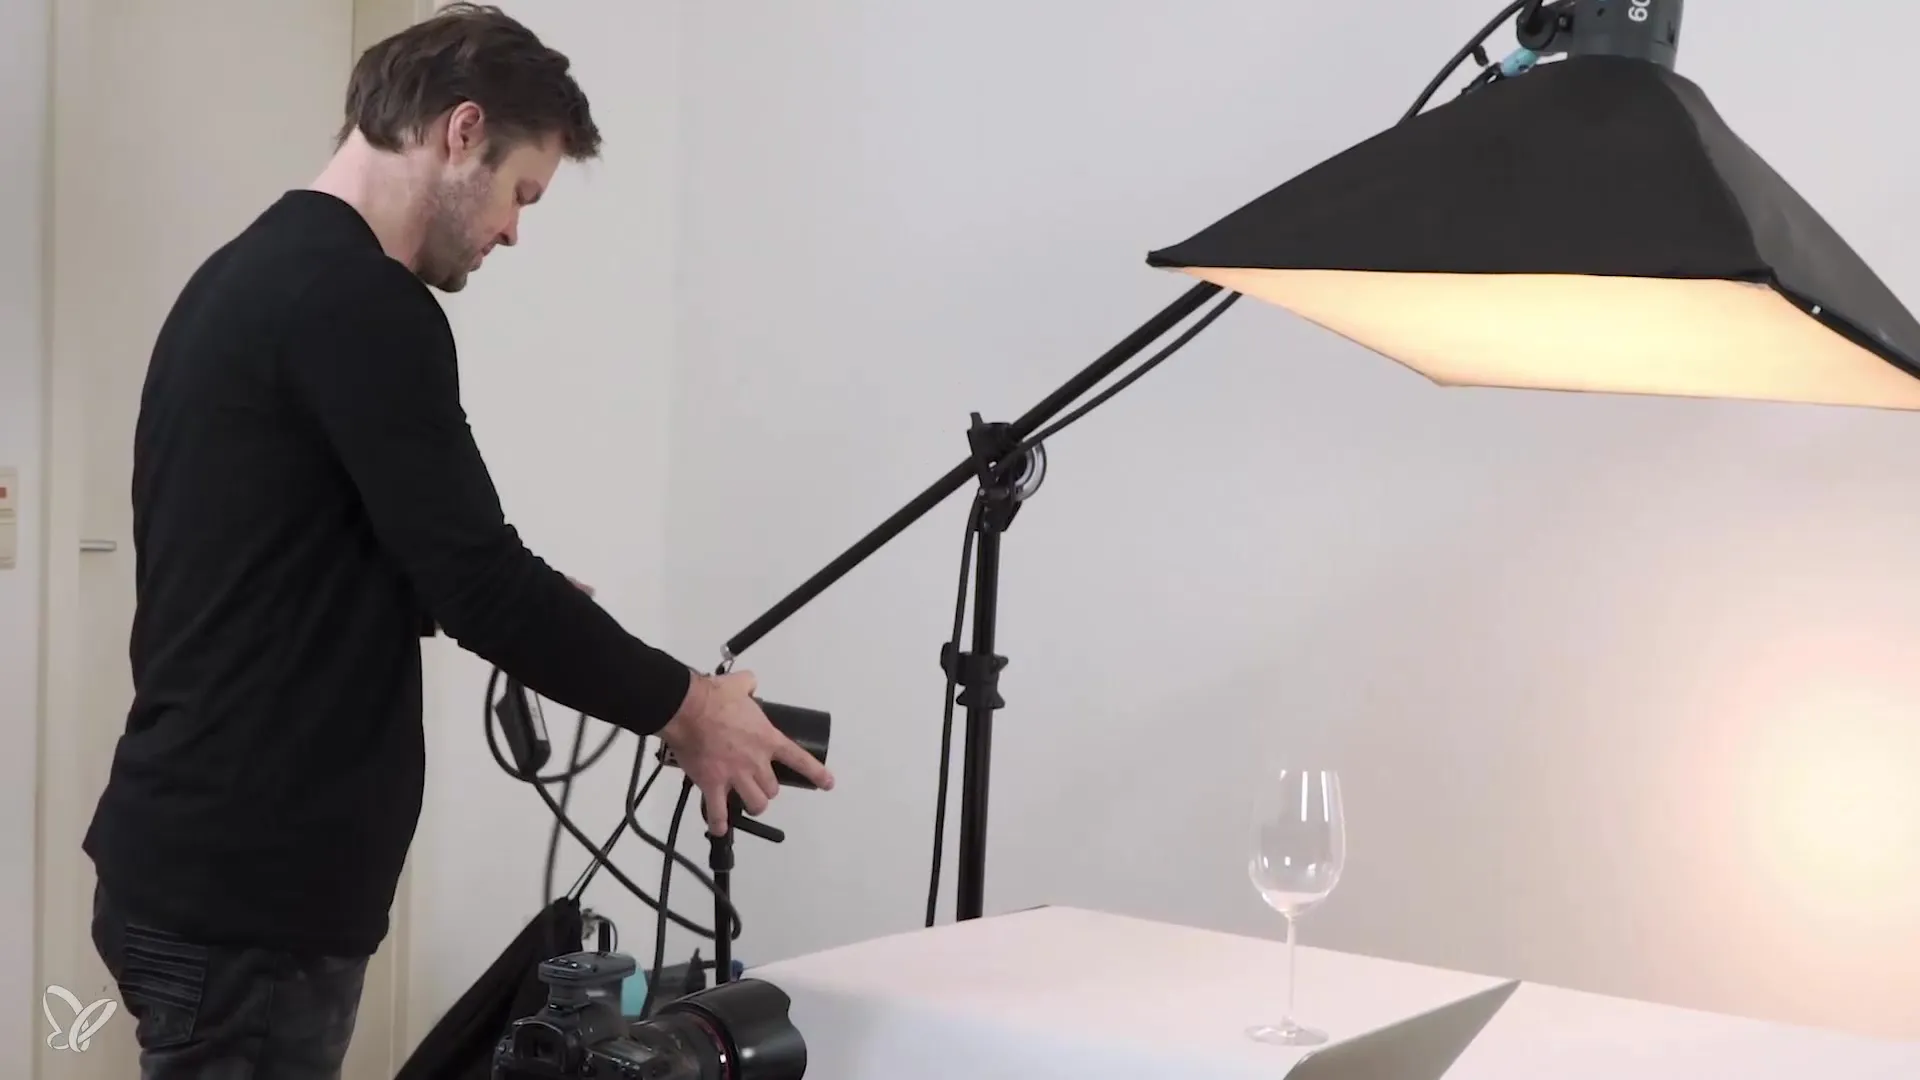
Step 7: Final Adjustments Before Shooting
Before you take the final images, check all the settings. Make sure that the light sources are evenly distributed and that the reflections do not look exaggerated. For even better image results, let the background come slightly into focus by prolonging and controlling the light adjustment.
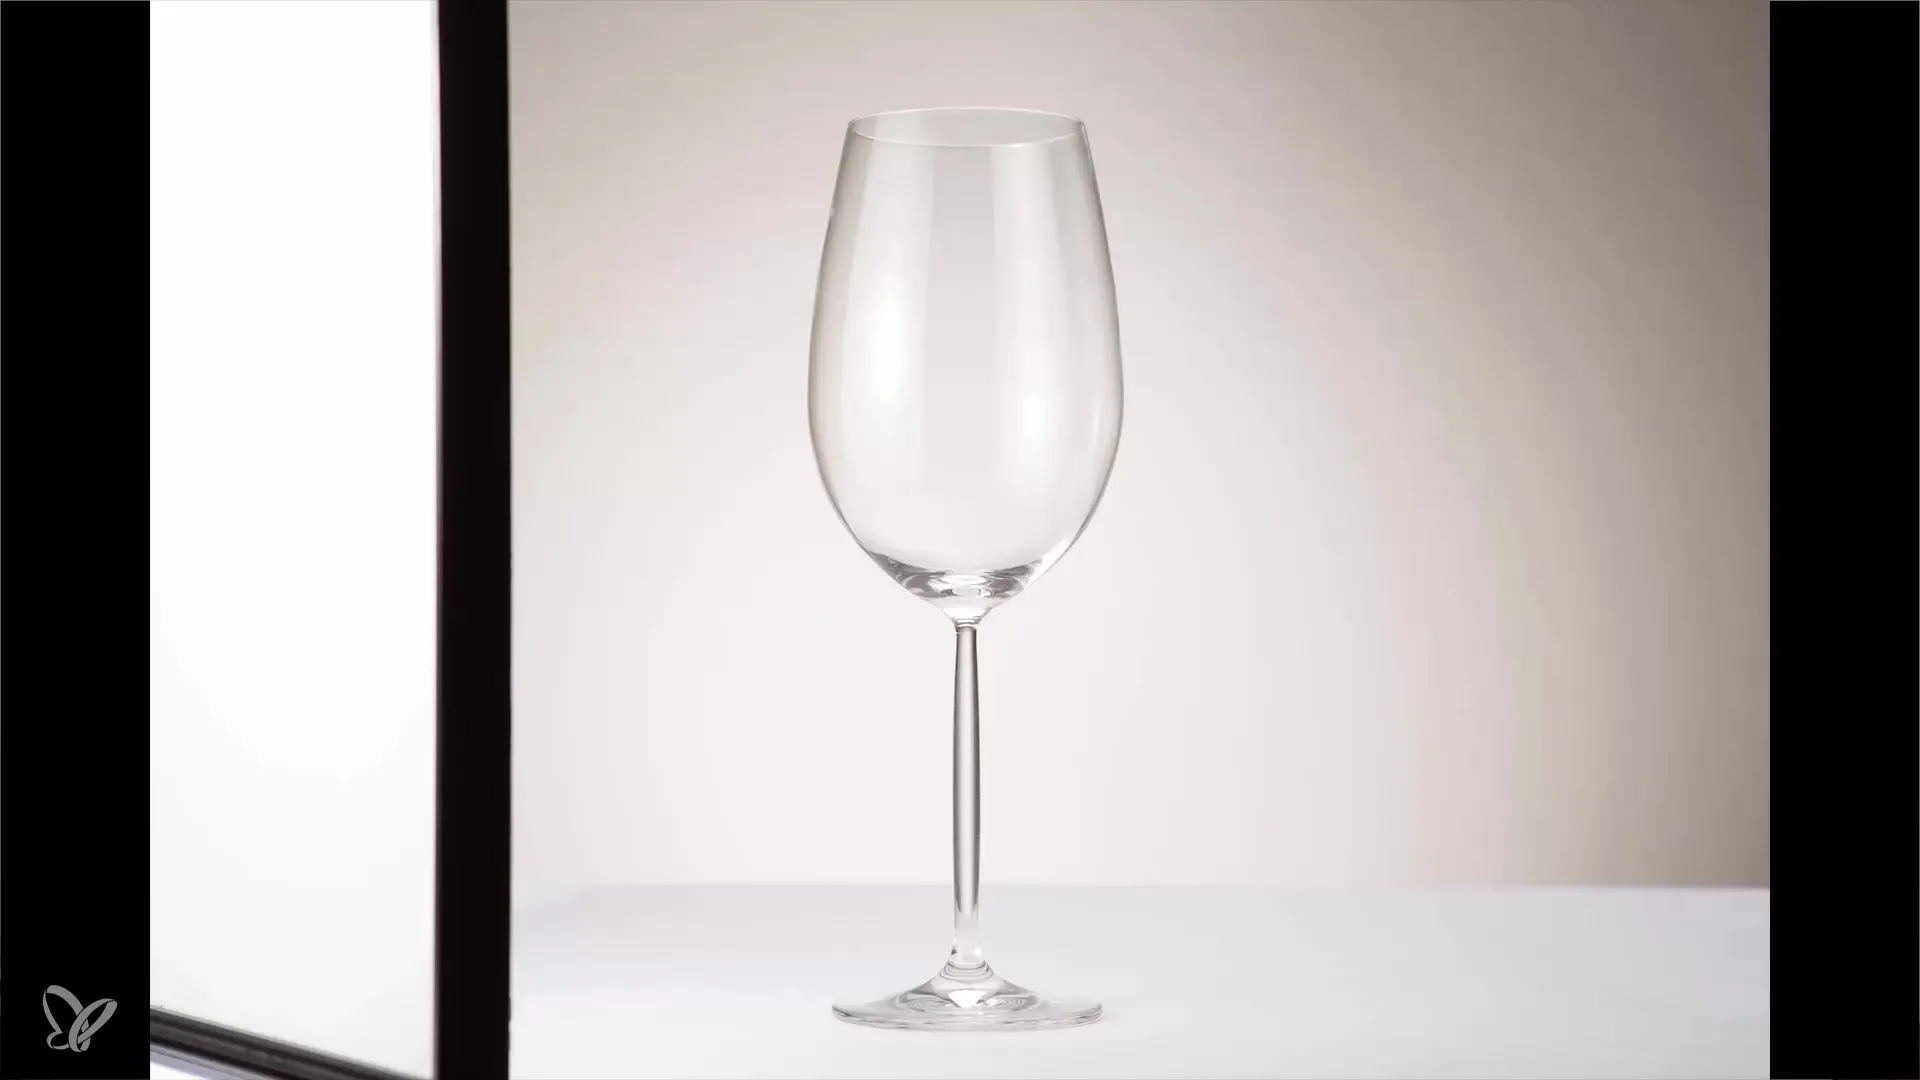
Step 8: The Final Shot
Once everything is set, execute your final test shots. Ensure that the reflections are prominent both at the front and at the back. These details are crucial for the quality of your product photography. If you are satisfied with the result, you can export the images for post-processing.
Conclusion – Getting Started in Product Photography: Skillfully Presenting Wine Glasses
The right setup for photographing wine glasses is crucial. Clean glasses and thoughtful lighting design are the keys to aesthetic images. With the technique described here, you will be able to create impressive product photos that highlight the character of the glass.
Frequently Asked Questions
What is the most important component in glass photography?The cleanliness of the glass is crucial for achieving good reflections.
What light is best for illuminating wine glasses?A softbox as the main light source combined with another light for illuminating the background.
How do I handle reflections?It is important to position the light sources so that the reflections appear harmonious and appealing.
Can I use other backgrounds as well?Yes, besides wallpapers, photographic backdrops are also suitable as long as they are bright and neutral.
How can I tell if my lighting conditions are right?Regularly test with the camera and adjust the light intensity and position to achieve the best results.
