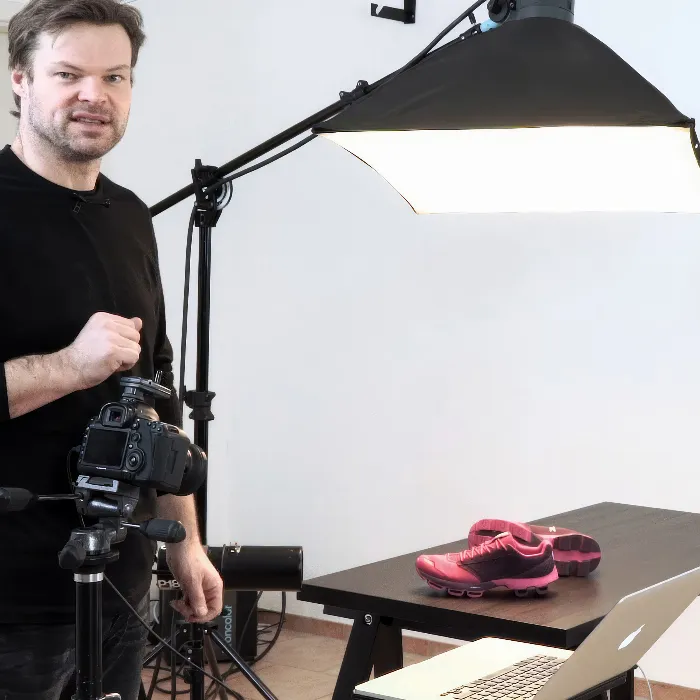
Product photography is more than just capturing an object; it is art and craftsmanship combined. Especially in product photography, light is one of the central components that determines the success of a photo. Often, flash light is used, but what if you want to rely on continuous light? In this guide, I will show you how to achieve impressive results with simple LED panels without sacrificing quality. Let's dive into the world of continuous light and find out how to illuminate your product correctly.
Key insights
- Continuous light allows for creative lighting and additional control over the light.
- Different light sources can be combined to achieve the desired effect.
- Dynamic perspectives and reflectors can significantly enhance the image.
Step-by-Step Guide
Step 1: Preparing the Setup
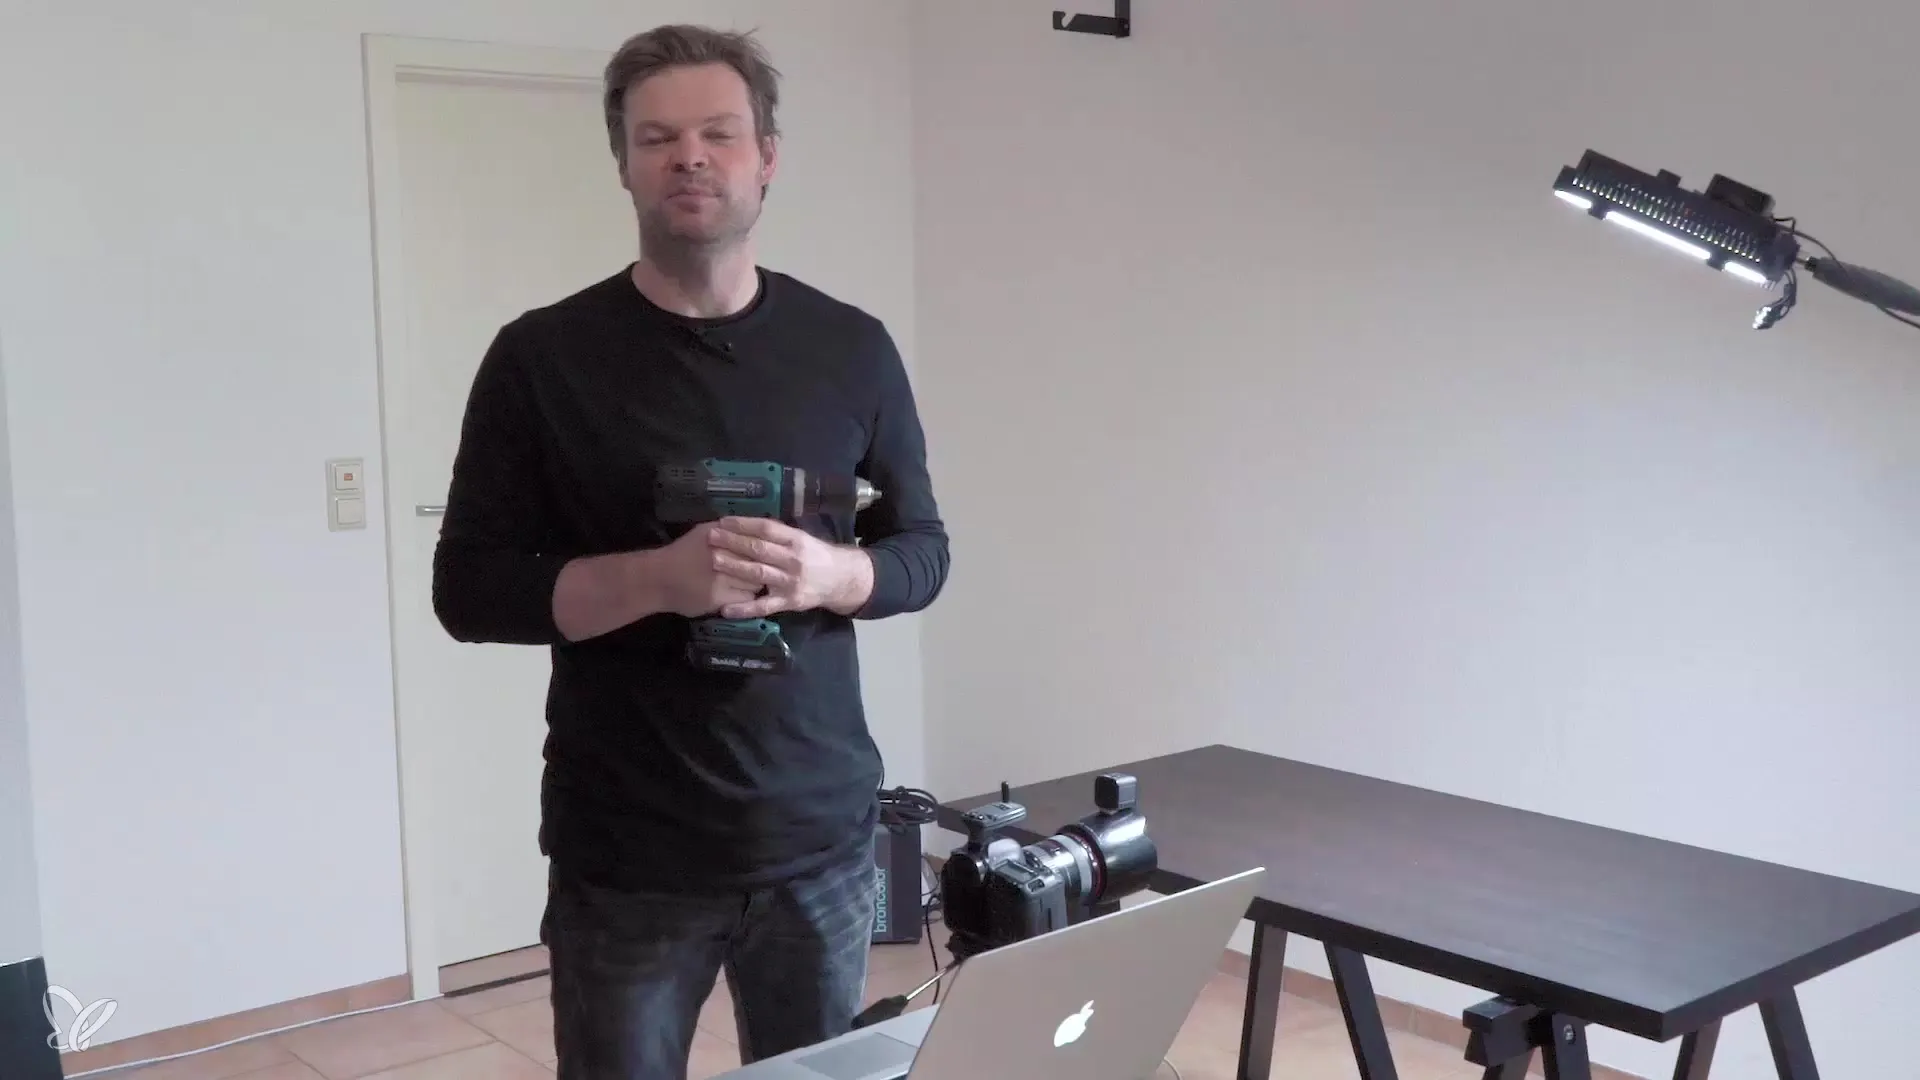
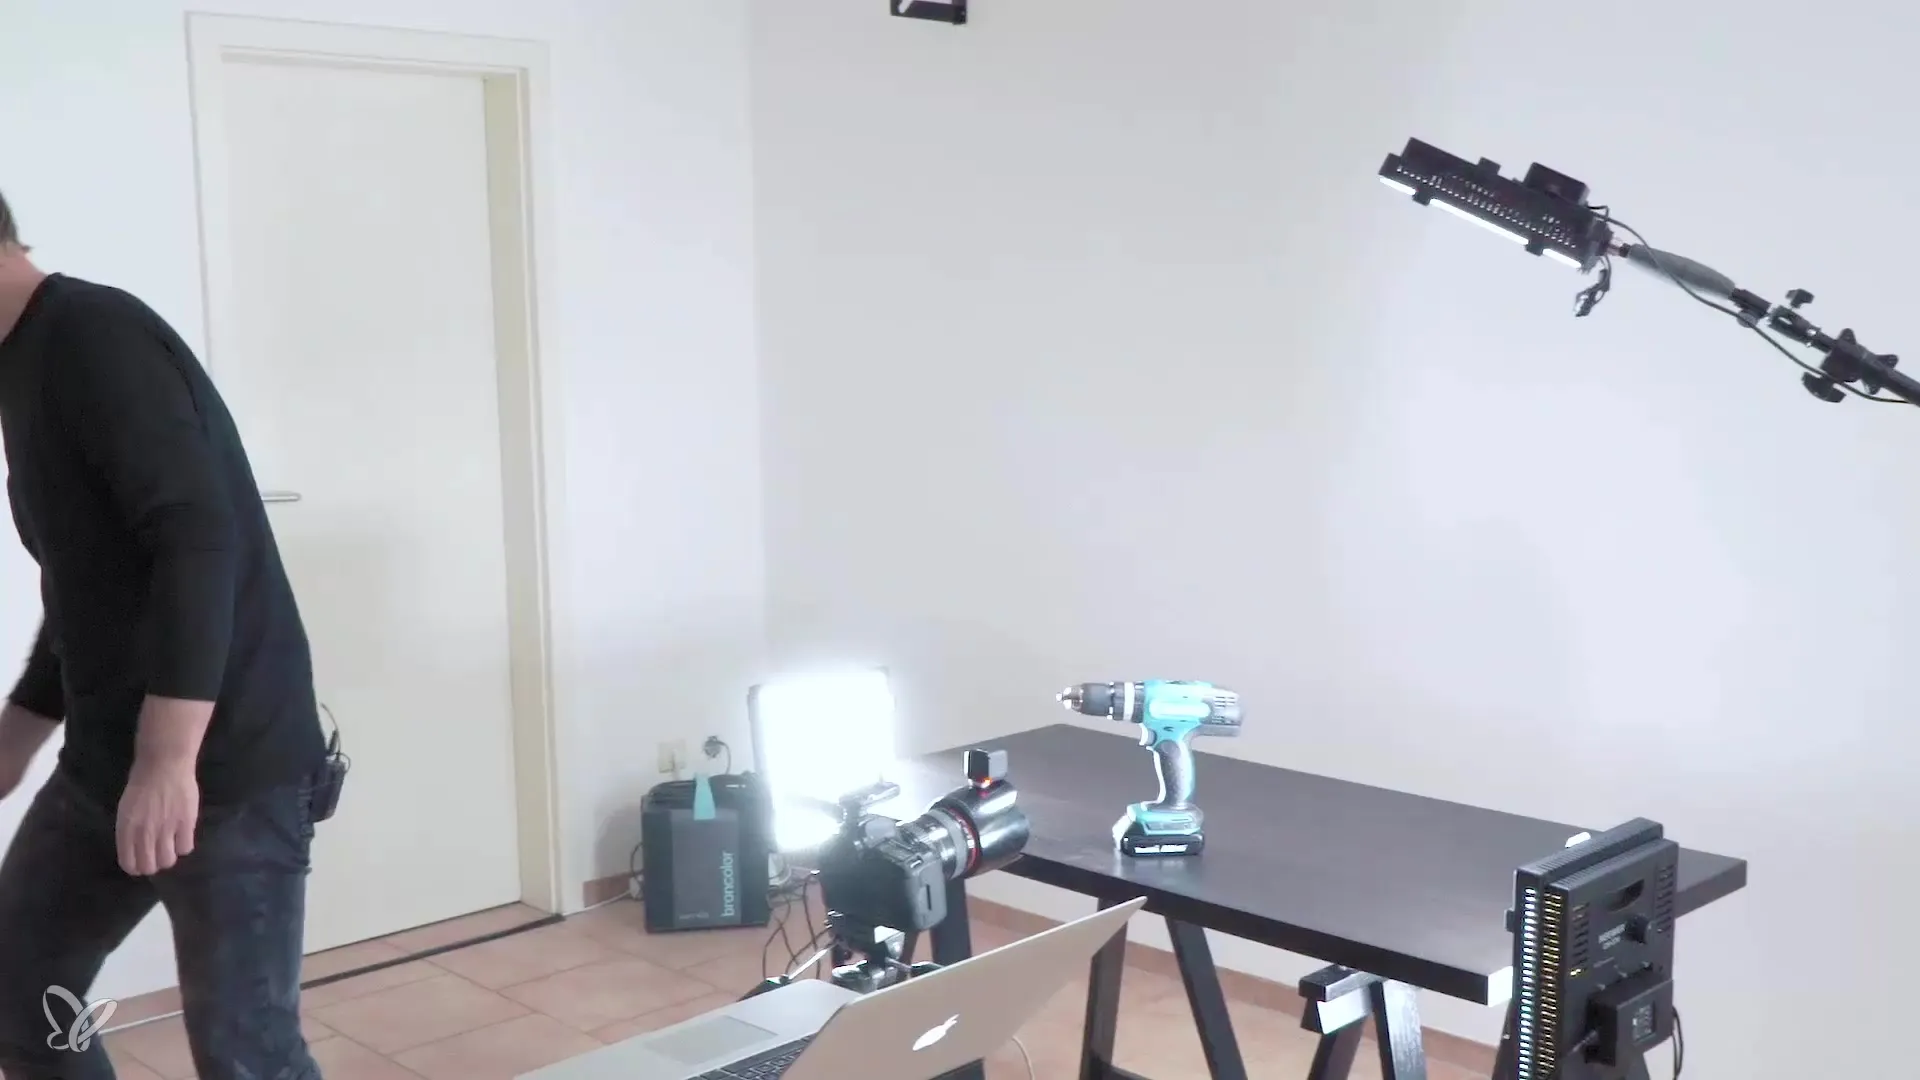
At the beginning of your product photography session, make sure your setup is ready. I decided to photograph a power drill using three LED panels to create appealing light. These panels provide a cost-effective alternative to traditional flash lights. You should position the panels strategically to create different light accents. Ensure that the background color is neutral so it doesn’t distract from the main subject.
Step 2: Choosing the Camera and Initial Settings
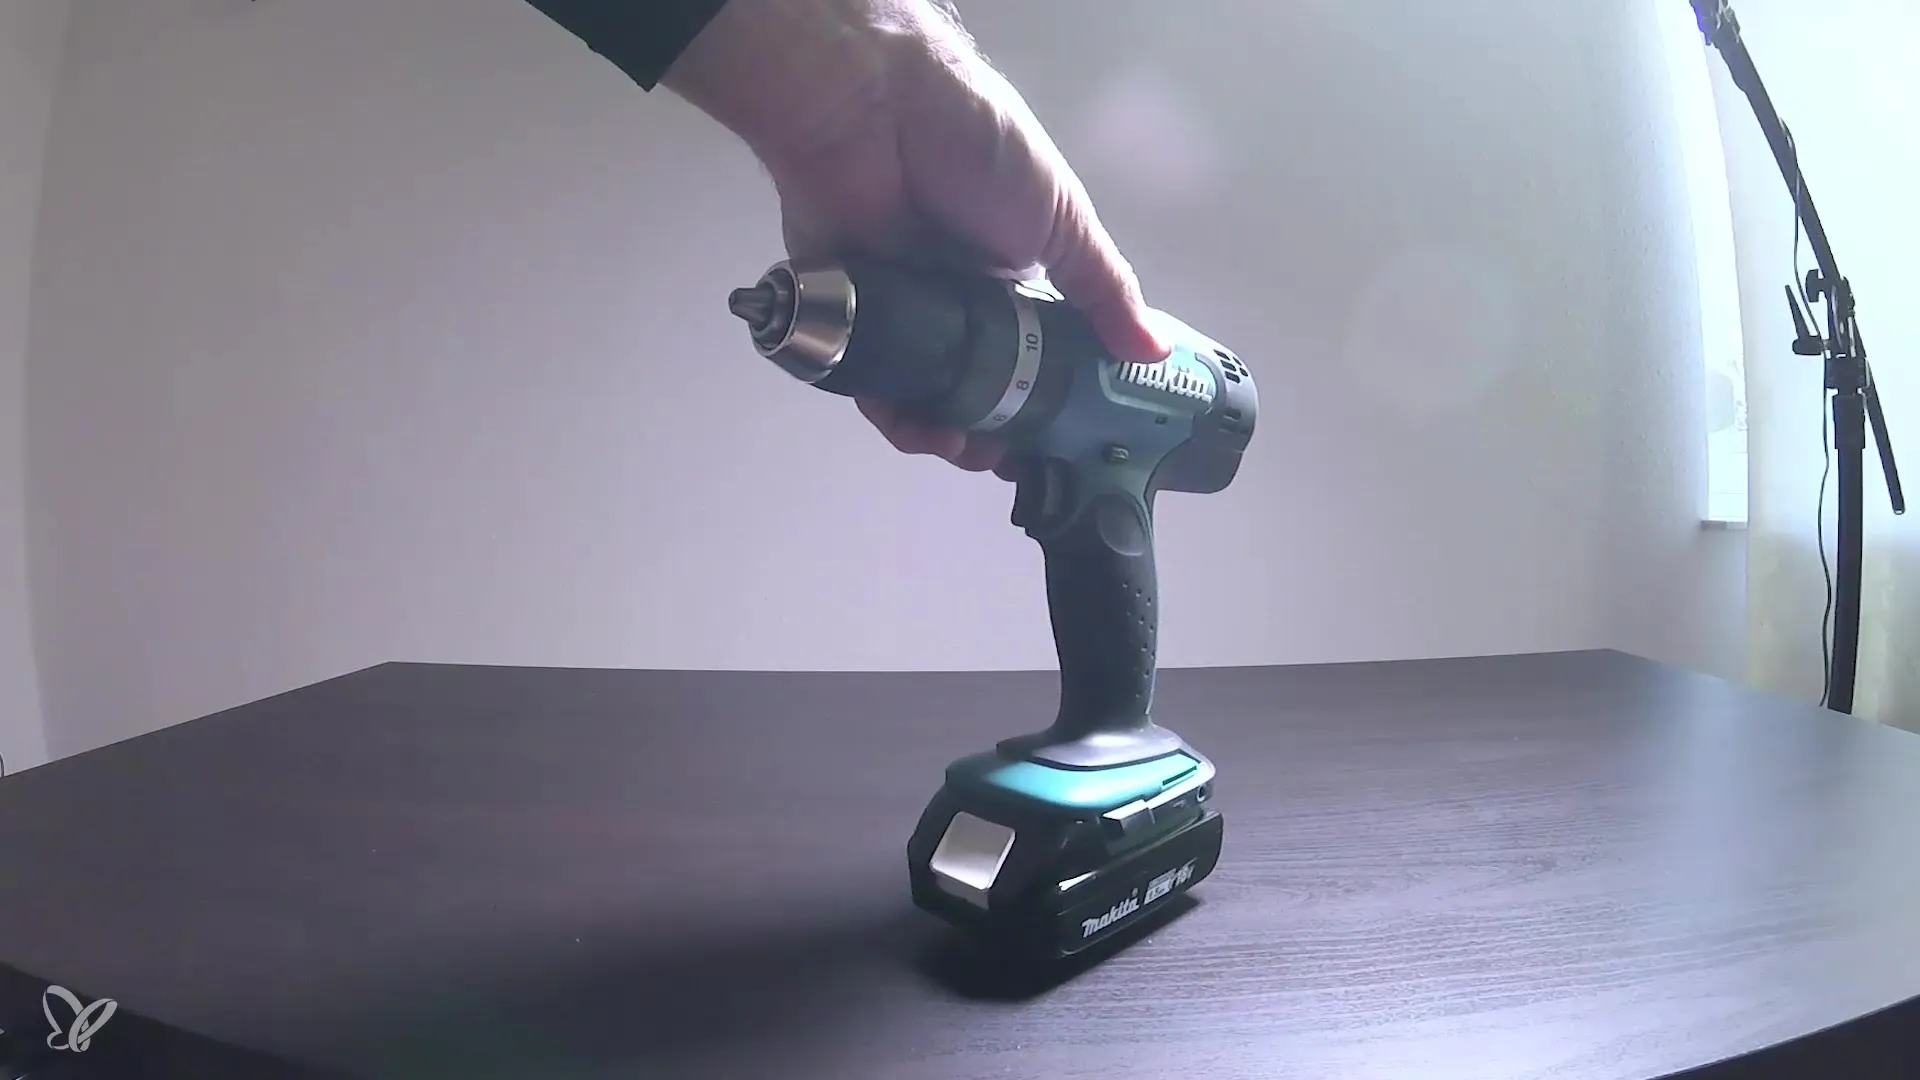
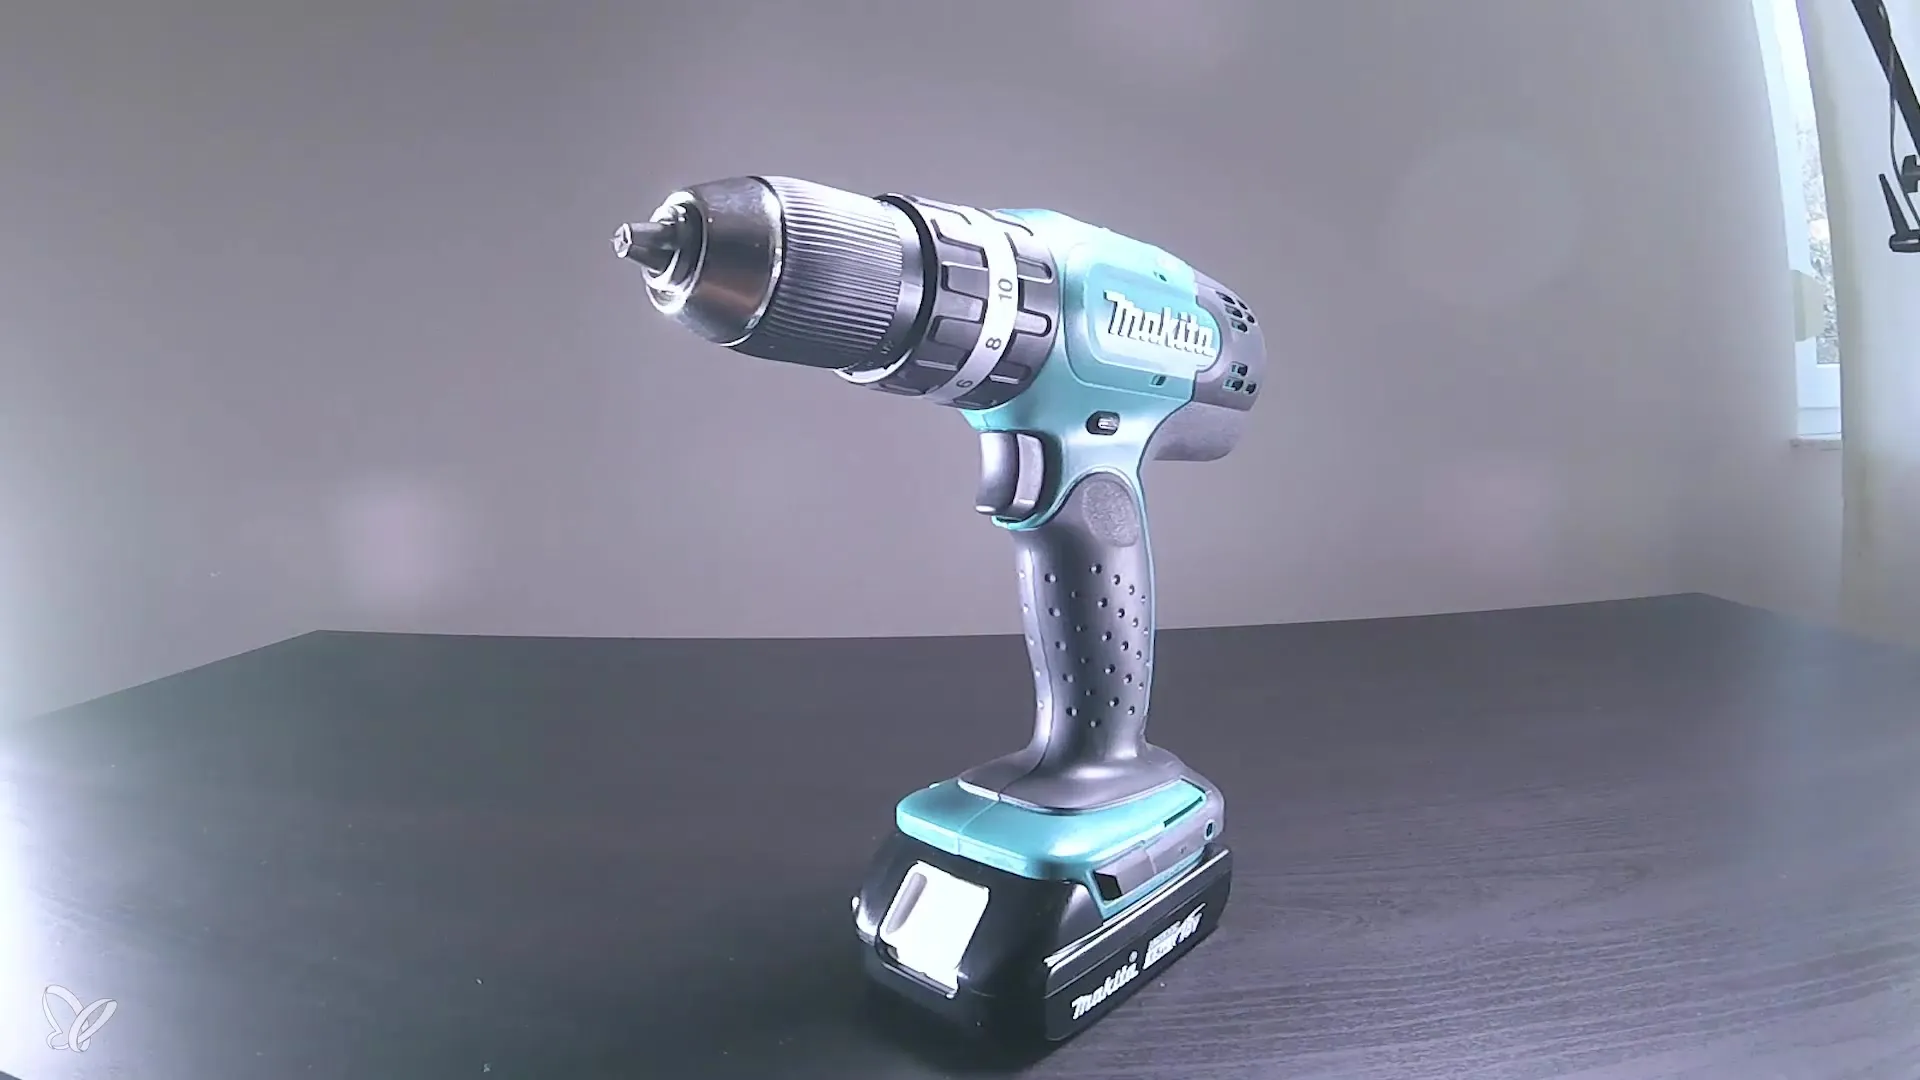
To get an interesting perspective, position the camera at grip height. This will give you a dynamic view of your power drill and add more depth to the image. Be sure to select the right camera settings such as shutter speed and aperture. My first attempt starts with an aperture of 11 and a shutter speed of 1/30 seconds.
Step 3: Test Shot and Initial Adjustments
The first test shows that the brightness is not optimal yet. Increase the brightness of your LED panels by two levels to make more details visible in the scene. Observe how the light affects the product and ensure that you can also see the background well in the shot.
Step 4: Adding Additional Light Sources
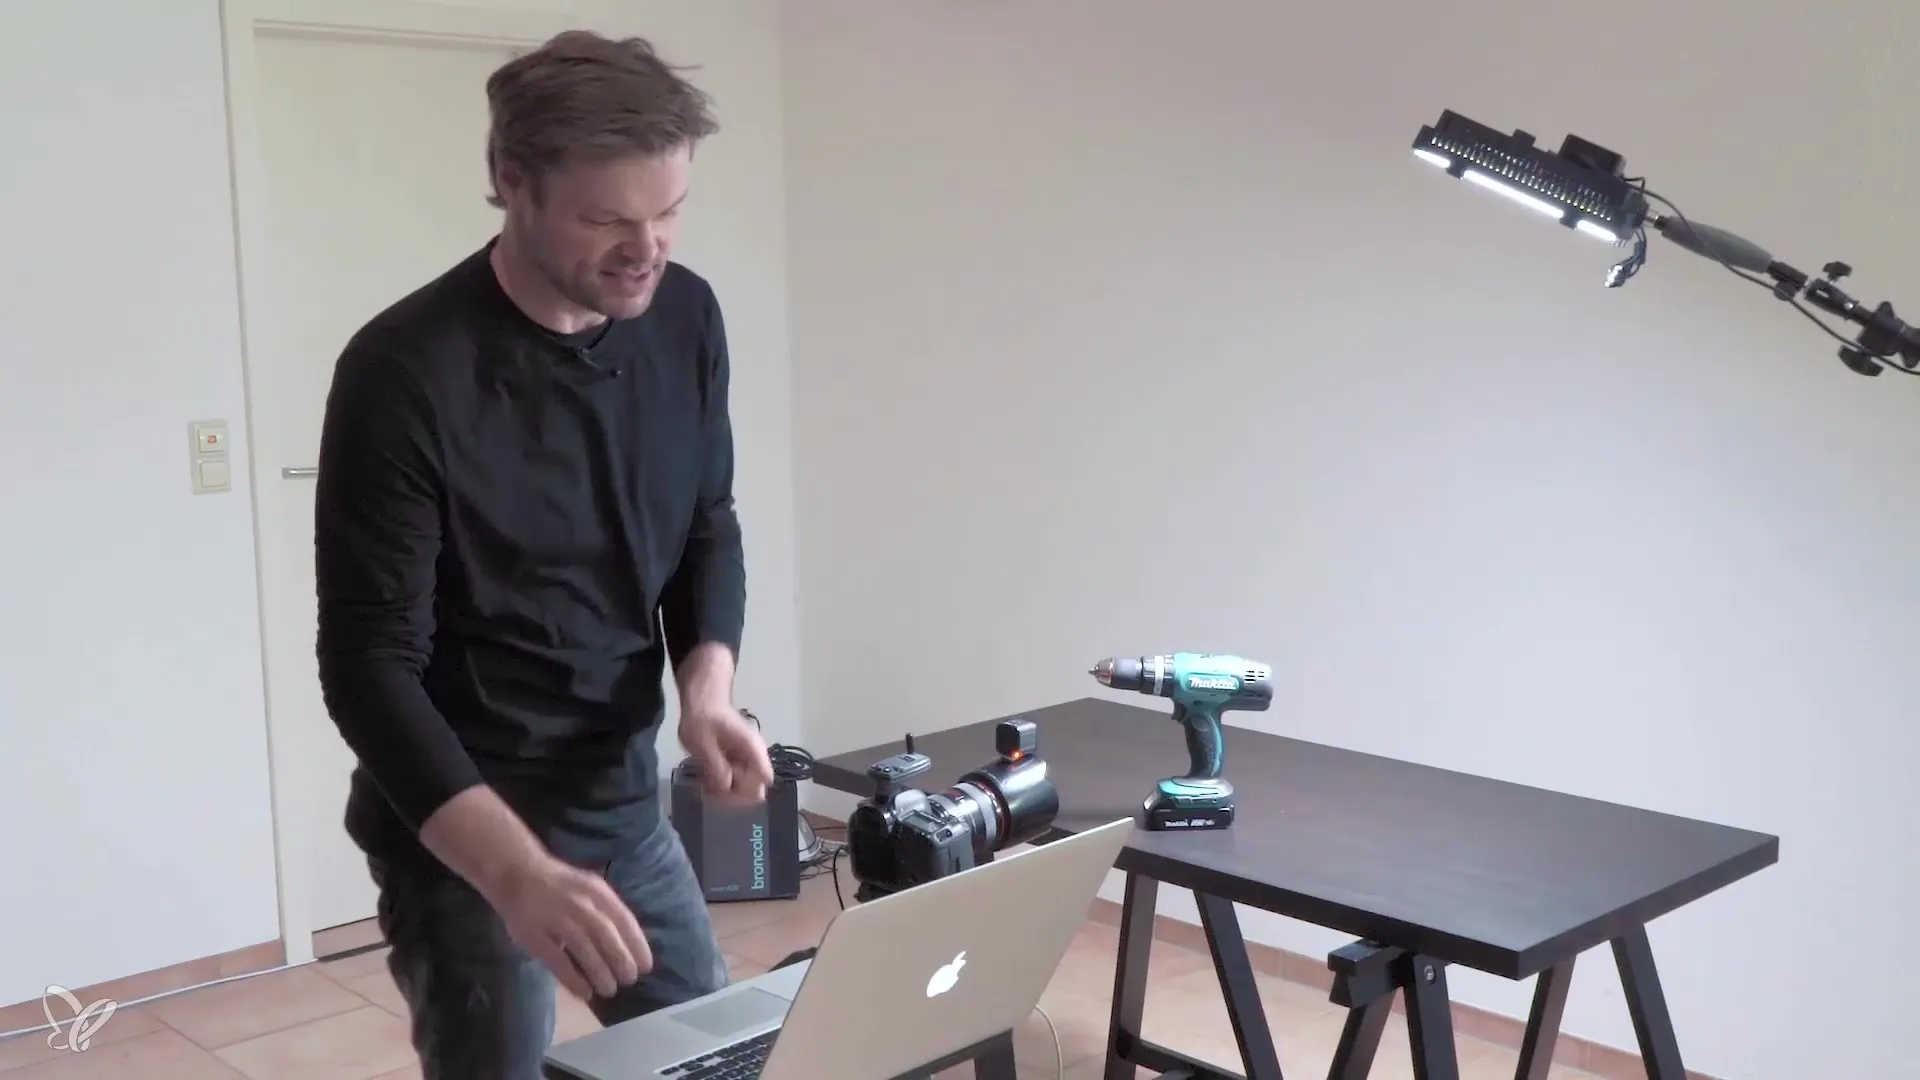
Now I will introduce the third LED panel. This additional light source will be positioned at table height and should also be adjustable to modify the brightness. Take another test shot to check the new lighting conditions and make corrections if necessary.
Step 5: Using a Reflector
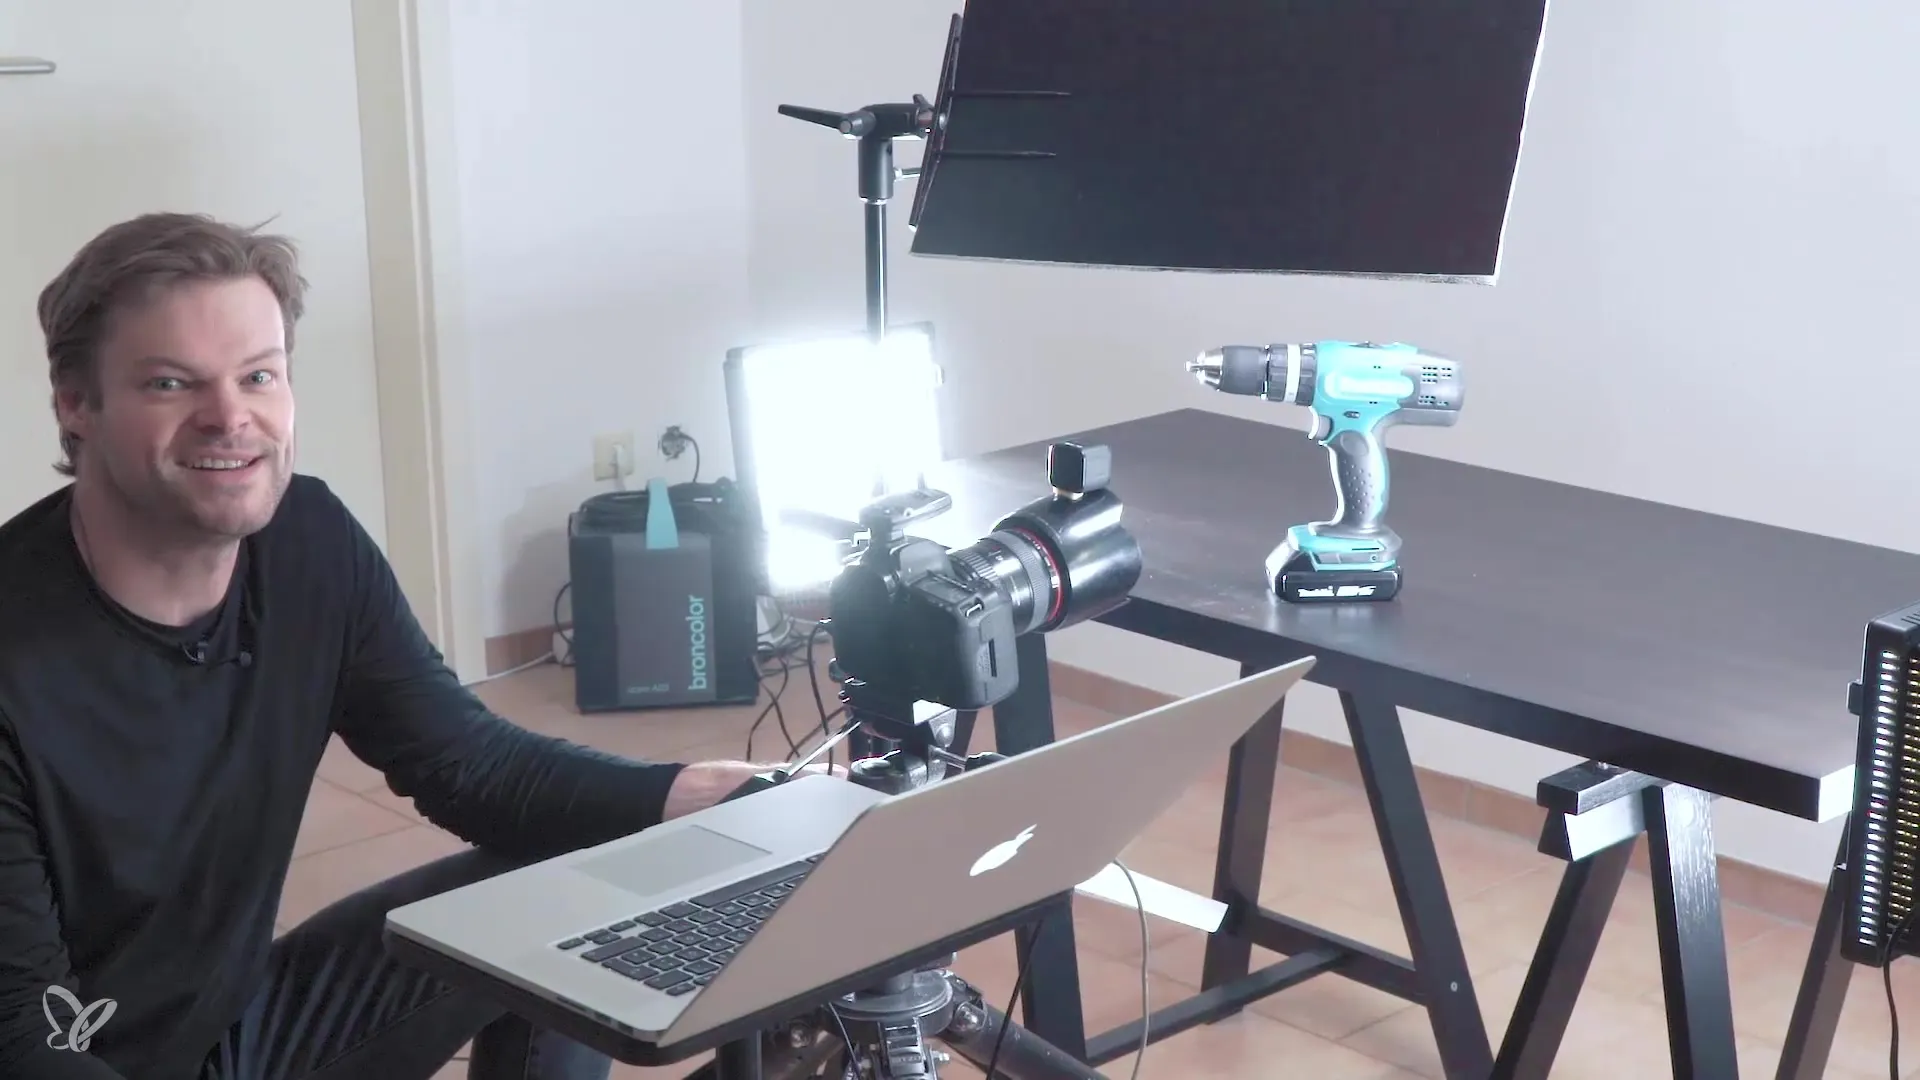
To optimize light distribution, you can use a reflector. In this step, I experiment with a homemade reflector to concentrate light from above and bounce it back onto the object. This creates interesting light effects and highlights details.
Step 6: Experimenting with Different Materials
Use simple materials like sheet paper or aluminum foil to create soft lighting effects. Hold the sheet of paper underneath the power drill to create an appealing reflection and observe the impact on the overall result.
Step 7: Shaping the Background
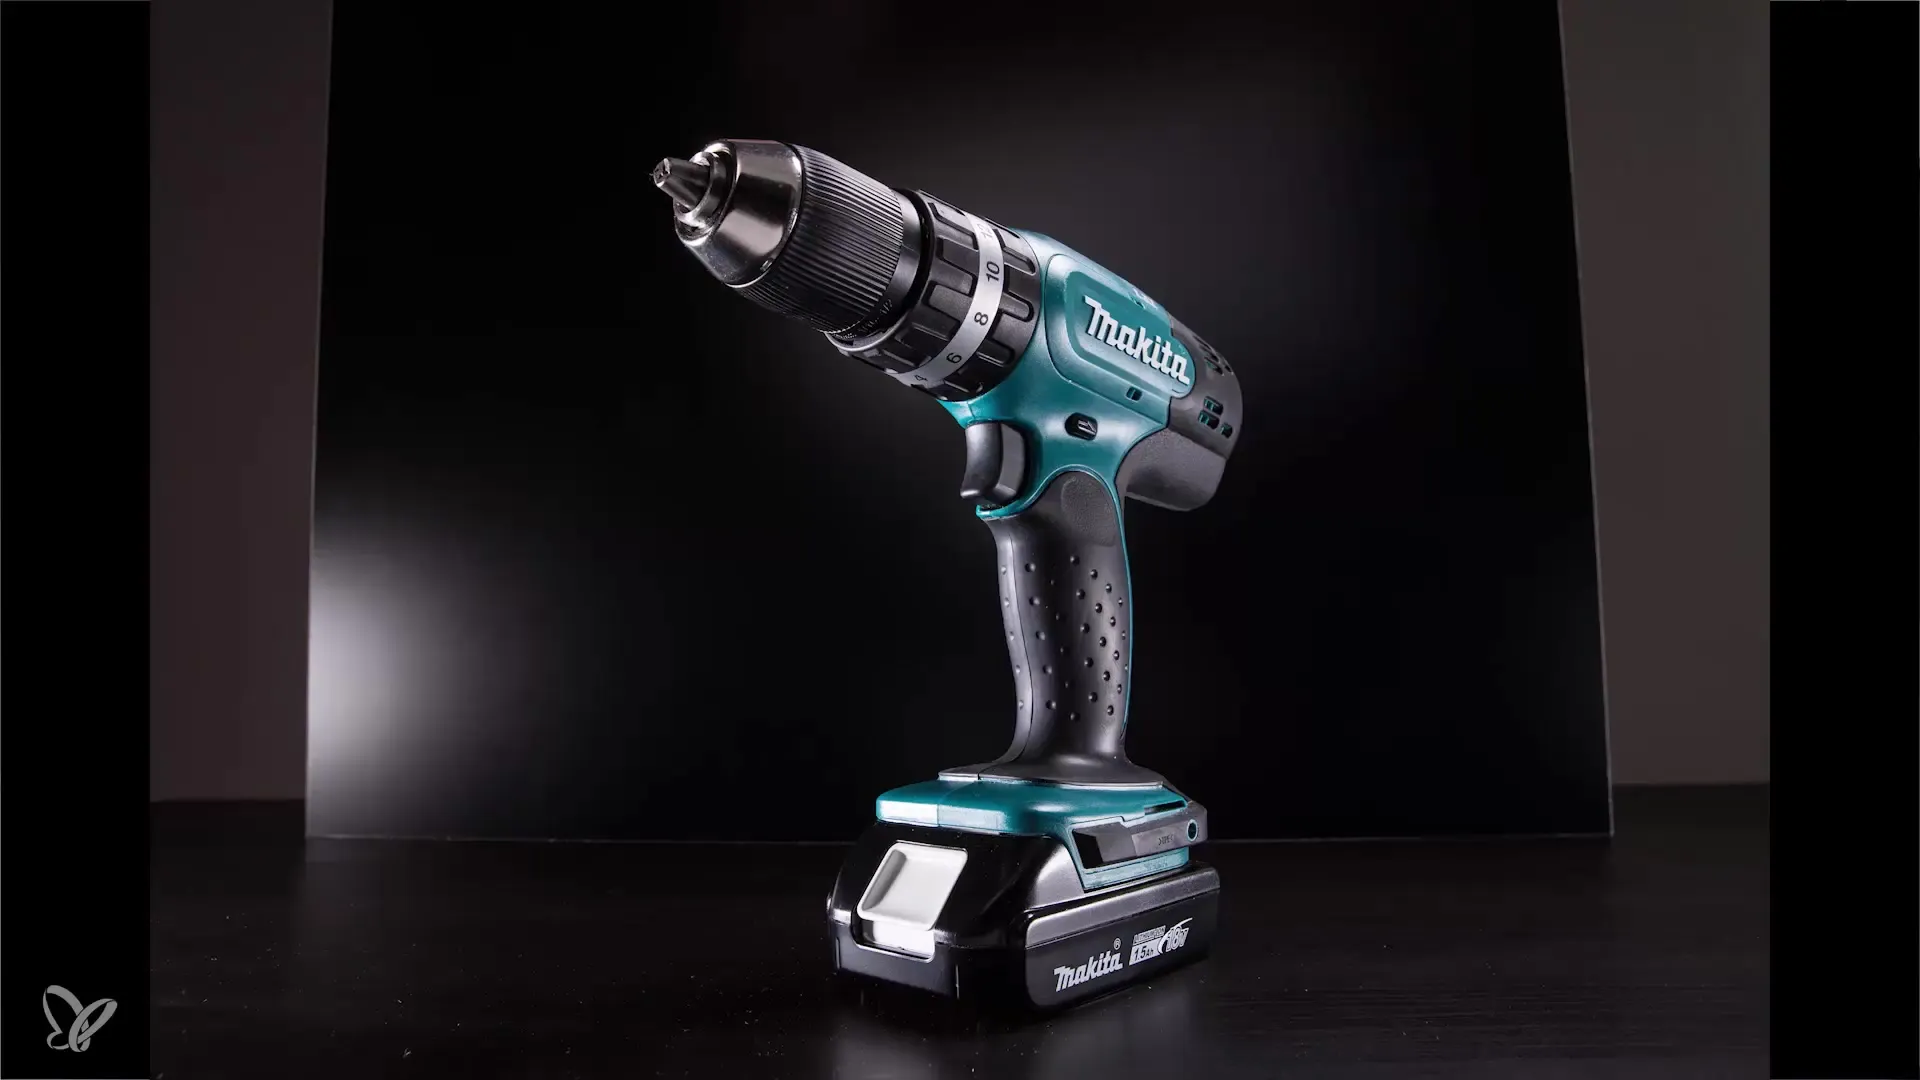
An interesting background can work wonders. I use a black depot plate integrated into the setup. Observe the reflections and colors that emerge when you move or tilt the background. Experiment with how the image changes and adjust the light sources if necessary.
Summary – Getting Started with Product Photography Using Continuous Light
Product photography using continuous light offers a variety of creative possibilities to showcase the product in the best light. By combining LED panels, different light sources, reflectors, and carefully selected backgrounds, you can create high-quality images that will appeal to your target audience. Experiment and discover which combinations and settings work best for you.
Frequently Asked Questions
How can I adjust the brightness of my LED panels?Most LED panels have a dimmer function that allows you to adjust the brightness accordingly.
Which aperture is best for product photography?An aperture between f/8 and f/11 is often recommended as it provides good depth of field and image quality.
Are reflectors expensive?Reflectors can be easily made yourself, e.g., using sheet paper or aluminum foil, making them very cost-effective.
Can I use continuous light for all types of photography?Yes, continuous light is very versatile and can be used in many photography styles, including portrait and landscape photography.
Is it necessary to work with software like Capture One?Capture One offers advantages in image editing and camera control, but it is not strictly necessary. There are also other software solutions you can use.
