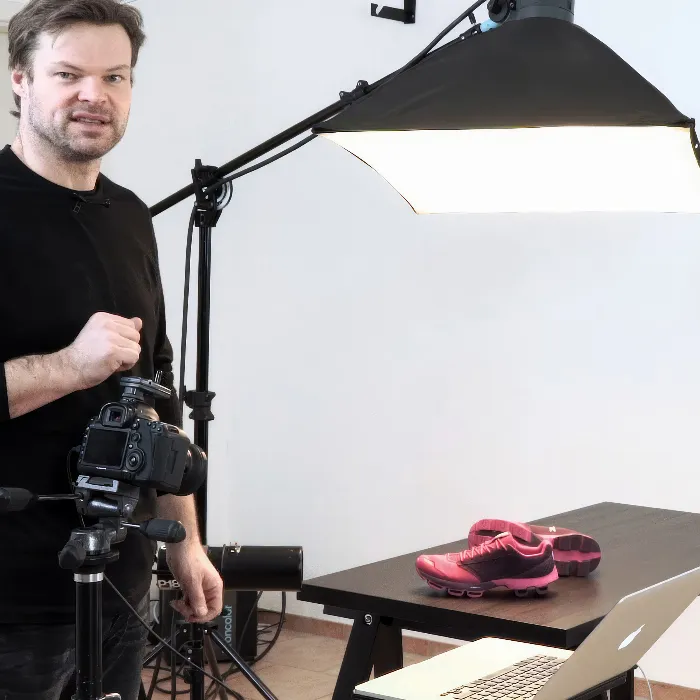
The art of product photography requires not only technical know-how but also creativity and a sense for staging objects. In this guide, I will show you how to effectively photograph a simple wrench. Especially with metallic surfaces, specific techniques are necessary to control reflections and highlight the product.
Key insights
- The proper cleaning of the object is crucial.
- Different light sources and techniques can significantly influence the product presentation.
- The use of reflectors and diffusers improves light guidance.
- Different perspectives create visual interest.
Step-by-Step Guide
Preparing the Set
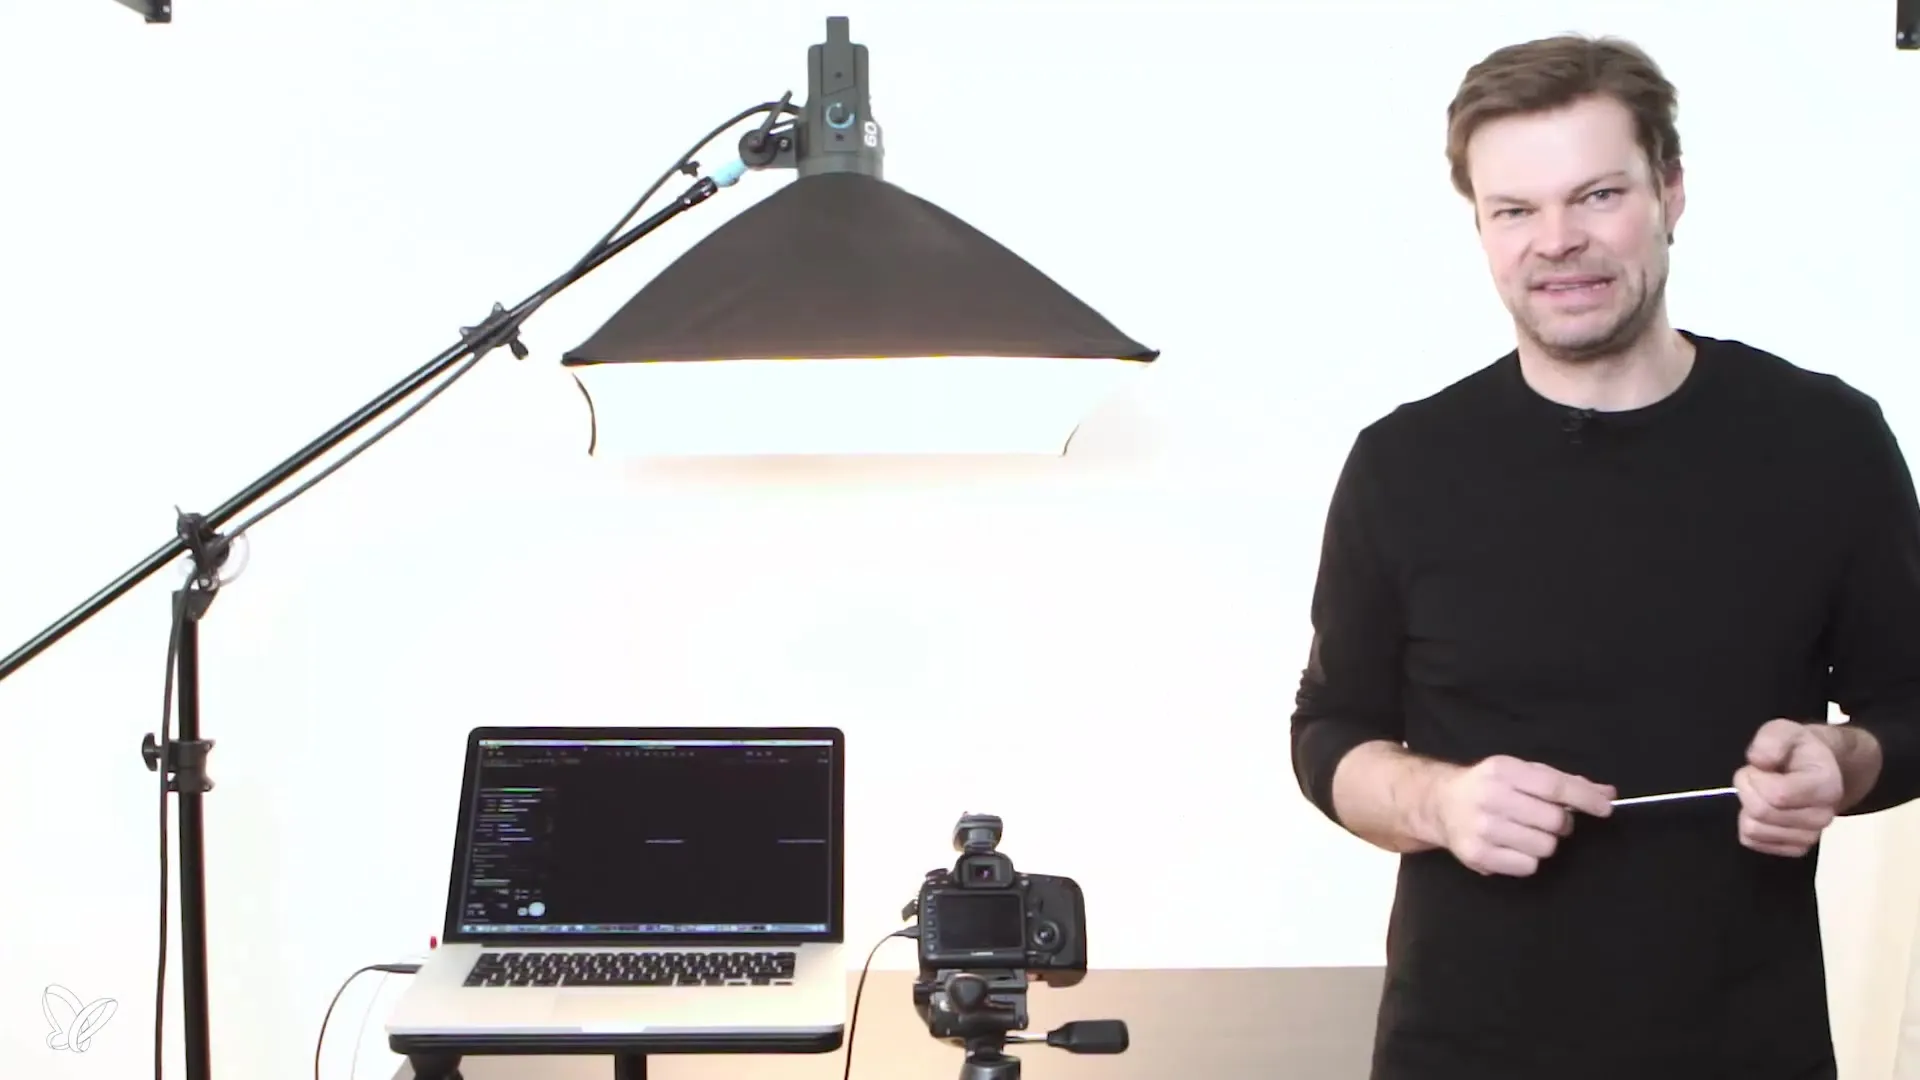
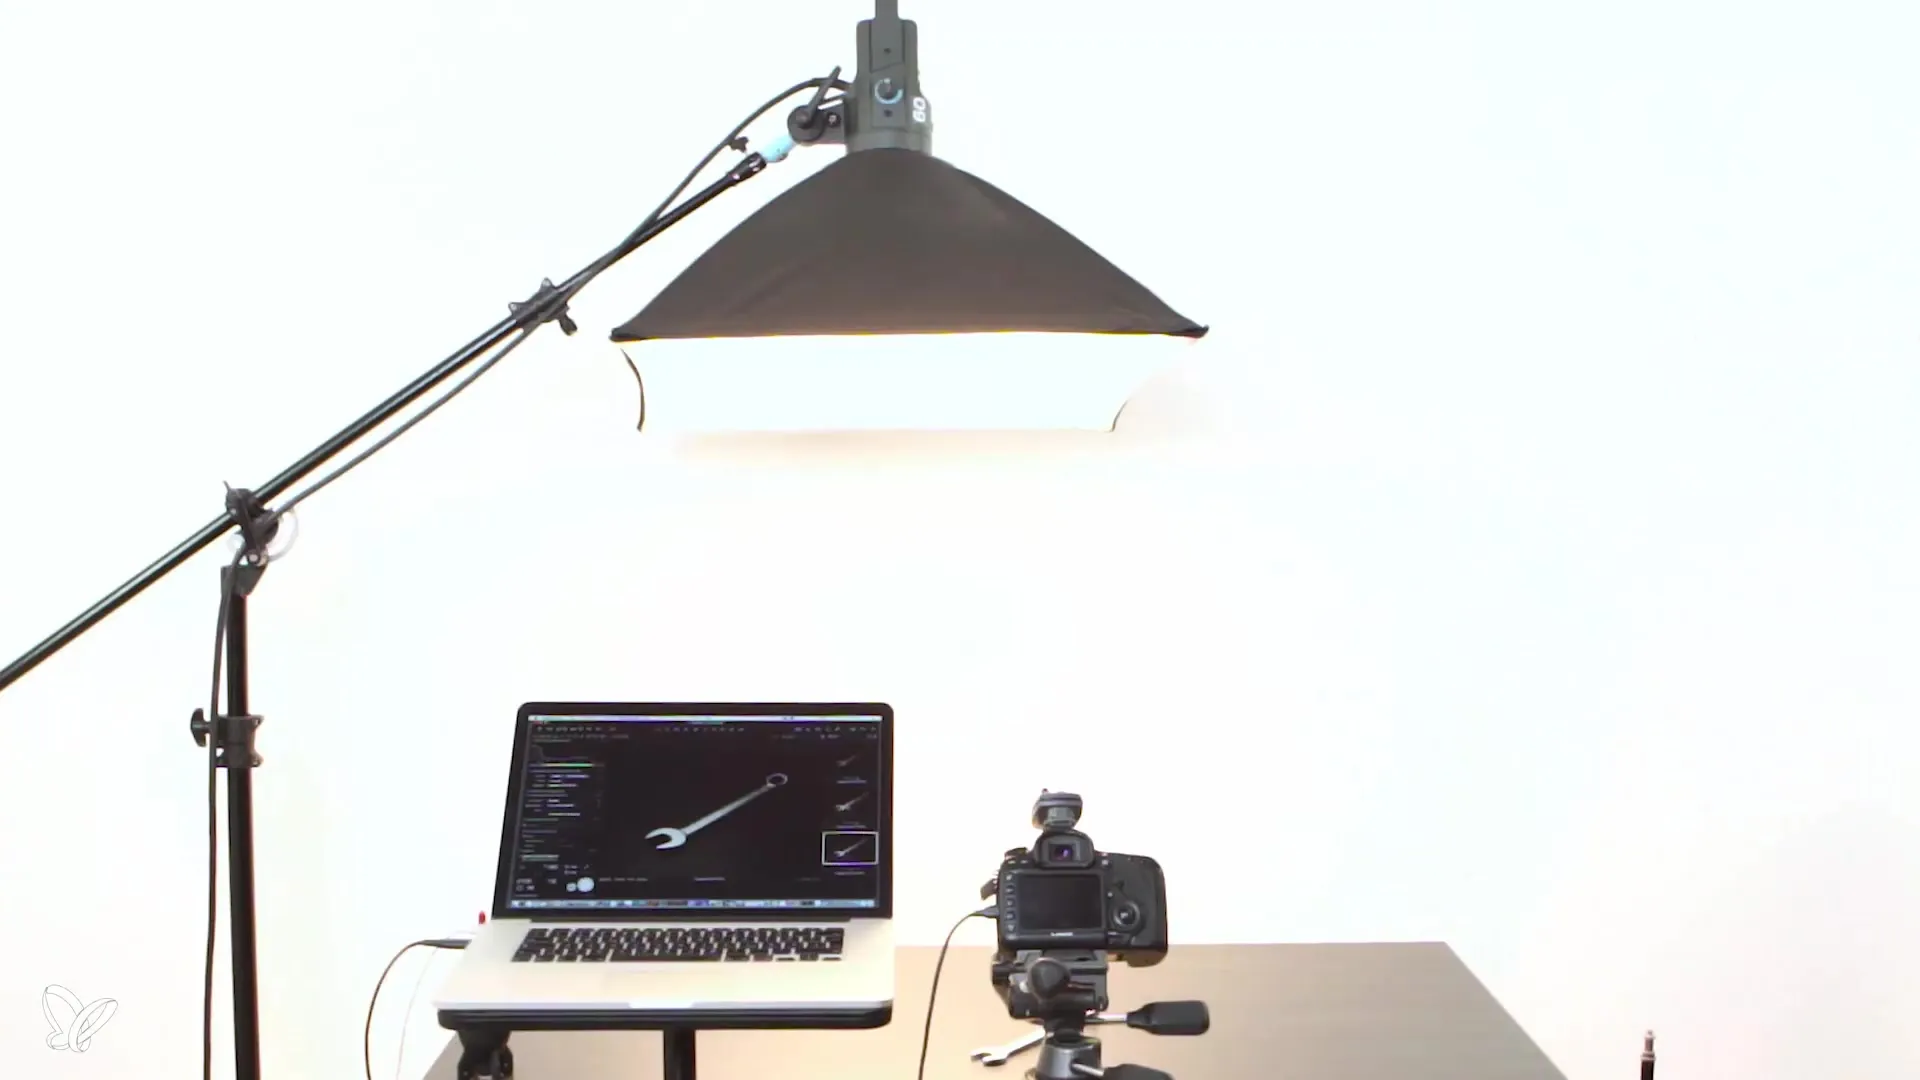
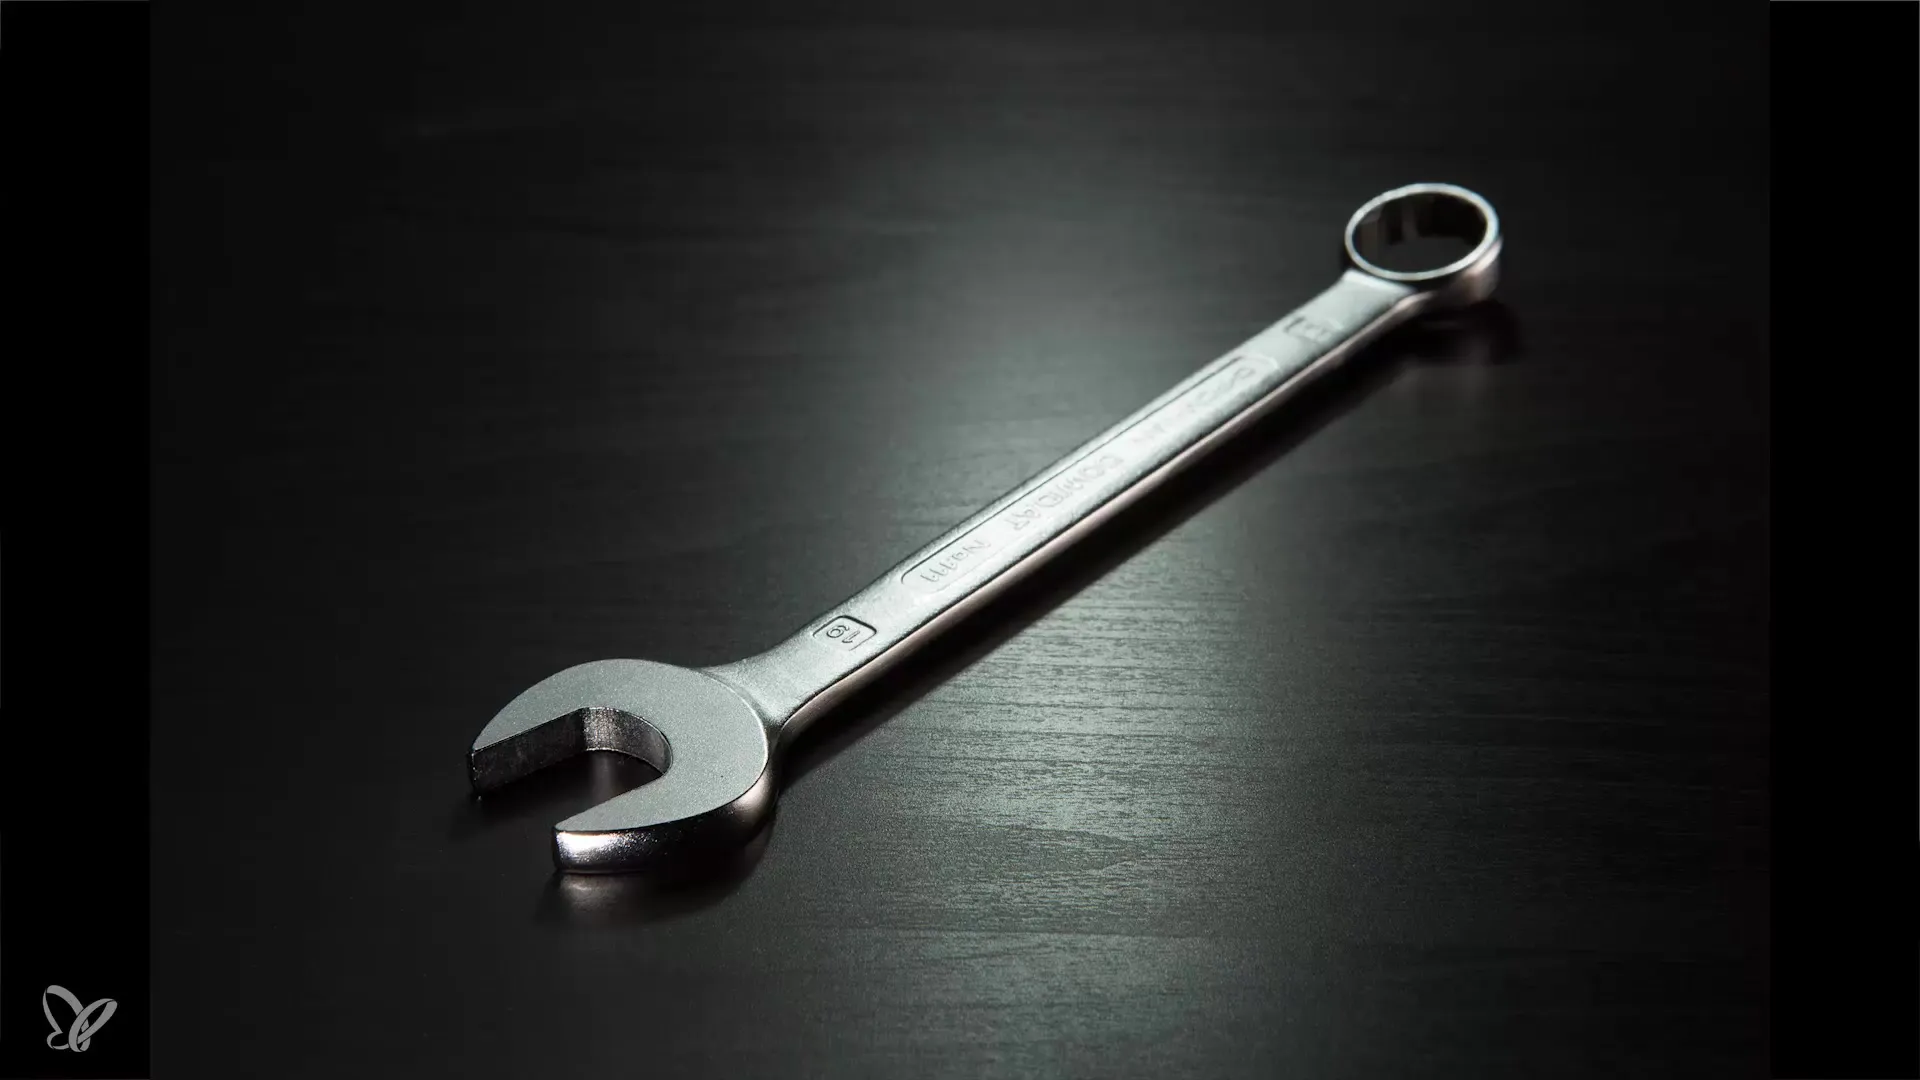
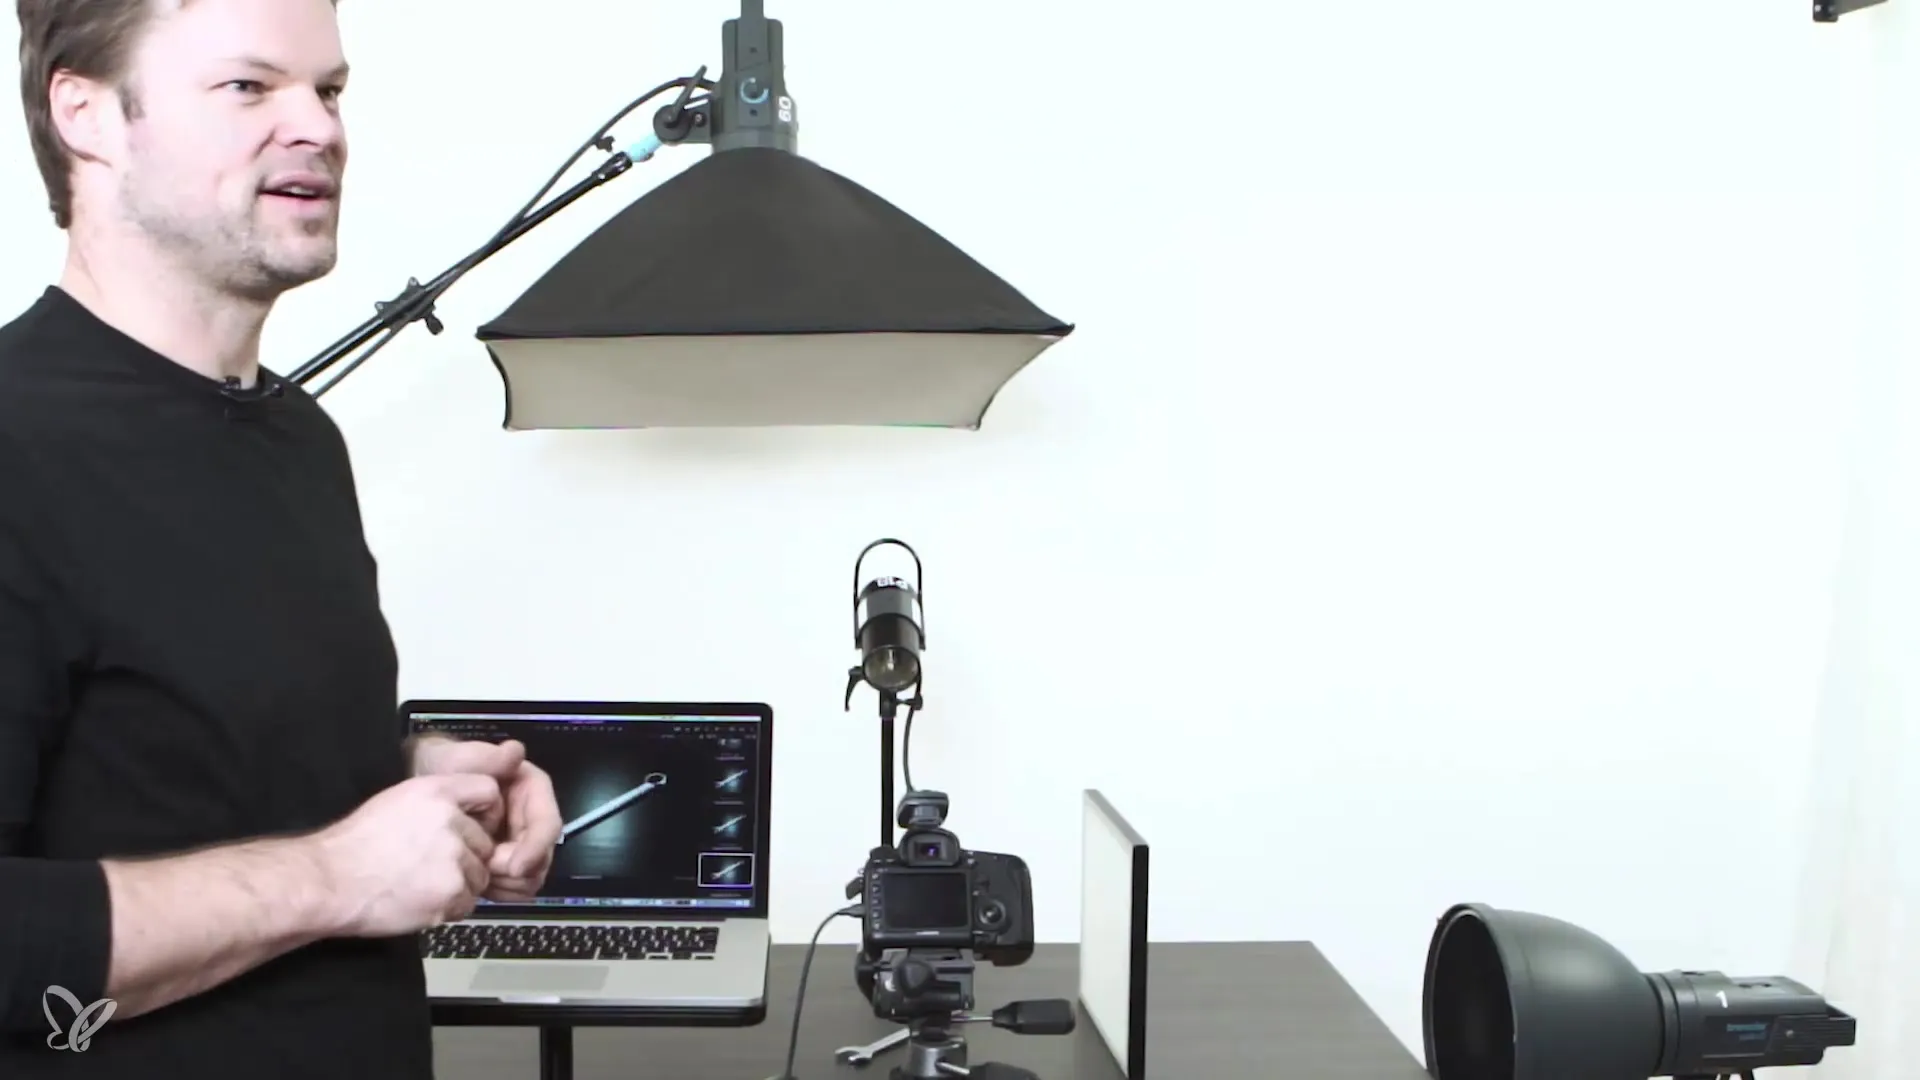
Start with a dark background. This creates a strong contrast and draws attention to the wrench. Use a basic work surface and position a softbox from above to create the key light. Place the wrench centrally on the work surface and check the lighting.
Camera Settings and Initial Shots
Set the camera, ideally choosing a slightly dynamic perspective to make the product appear more interesting. A test shot will give you initial hints about exposure. You may need to adjust the flash power to achieve the correct brightness.
Cleaning the Object
If the wrench has stains or dirt, thorough cleaning is essential. Try different cleaning agents to achieve the best effect. In this case, spirits work particularly well to clean matte metal.
Optimizing Light Guidance
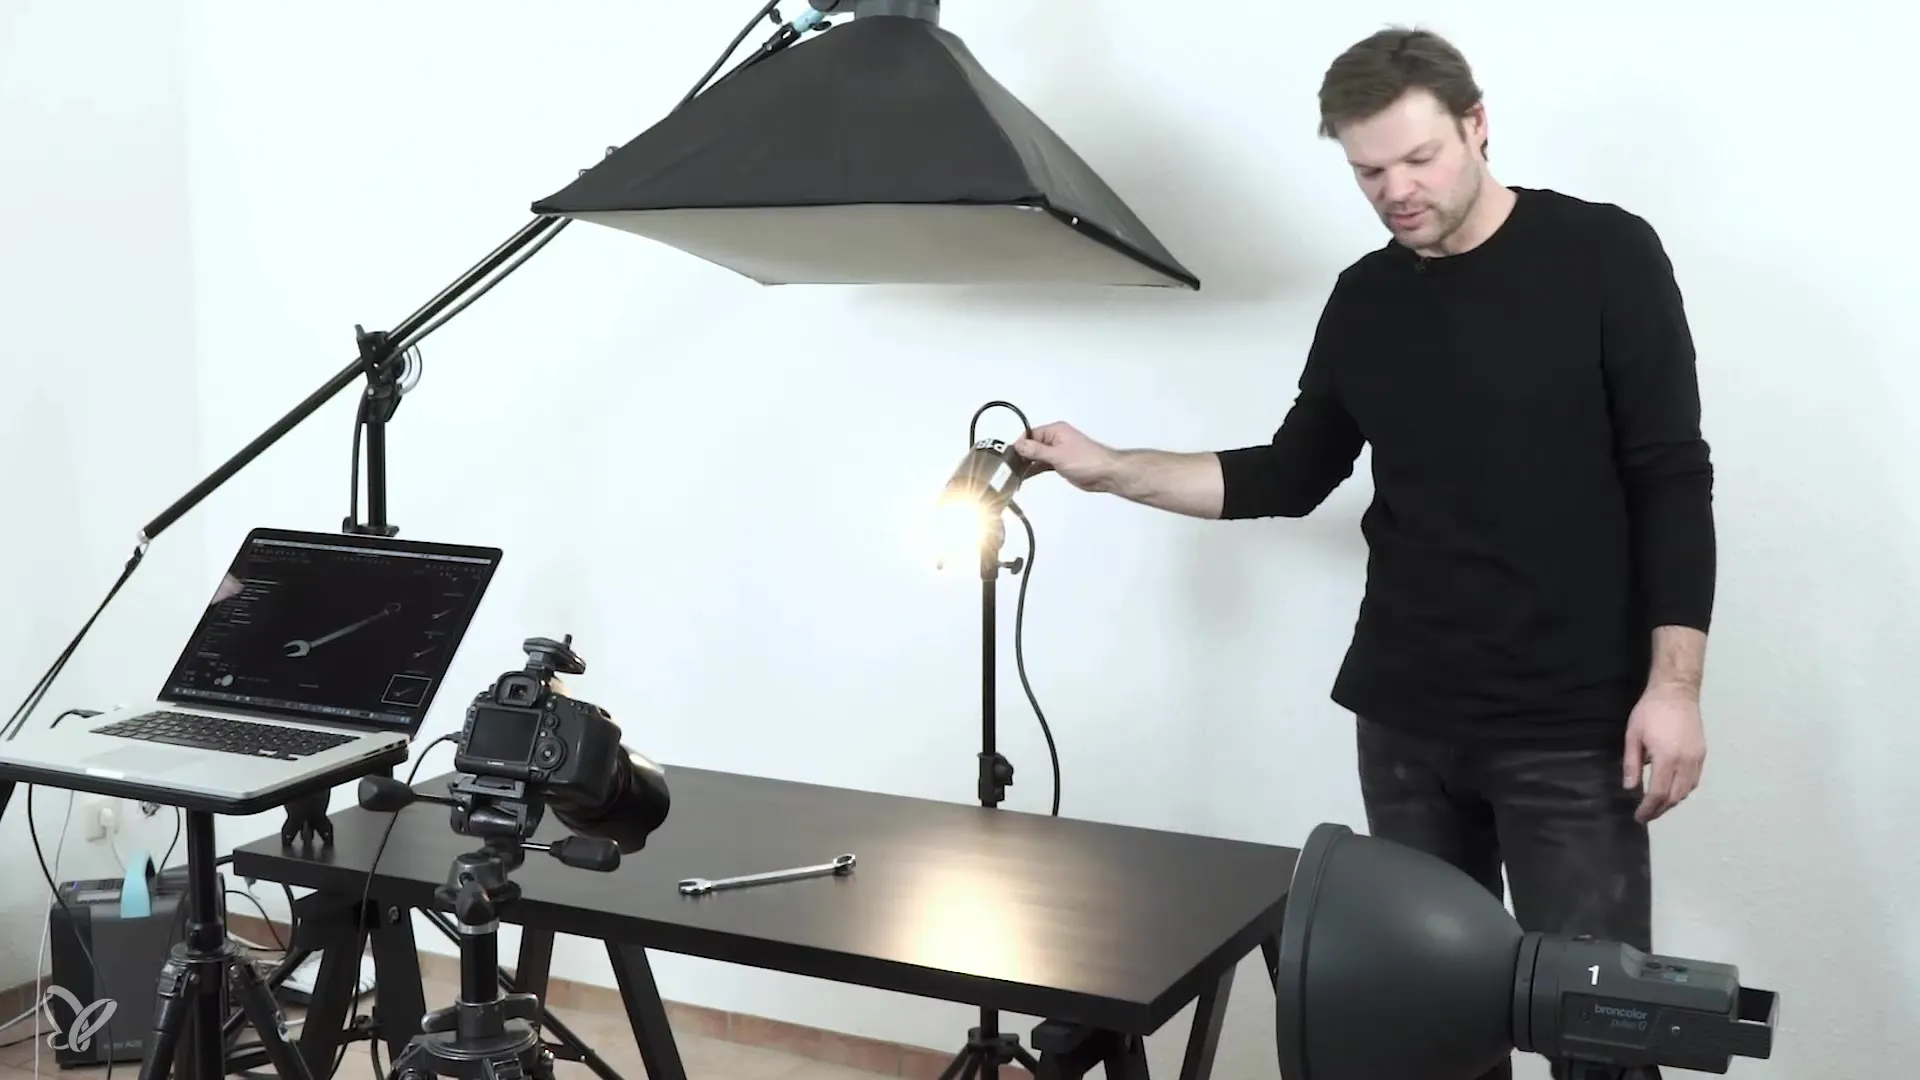
Add a second light with a normal reflector to improve light distribution. A fine honeycomb grid reduces scattering, allowing the light to be directed more precisely onto the product. Position the lamp at about table height and experiment with different reflection angles to find the perfect illumination.
Integrating Additional Light Sources
In addition to the main light sources, you can also use additional lamps to enhance the desired effect. If necessary, use a frost foil to make the light softer.
Comparing Light Configurations
Compare the image results between shots with and without frost foil. Observe how the light guidance affects the perception of the product. A homogeneous light creates more dimension and a more appealing overall image.
Using a Glass Plate
To give the image an additional dimension, you can place the wrench on a glass plate. This makes the background less dominant and allows the light to be focused more individually on the product.
Summary – Professionally Staging a Wrench
In this guide, you have learned how to effectively photograph a simple wrench using the right technique, light guidance, and an appealing setup. By combining cleaning, clever light placement, and an interesting background, you can achieve professional results.
Frequently Asked Questions
What are the best light sources for product photography?Ambient lights, flash units, and softboxes are ideal for achieving the desired light distribution.
How do I properly clean a metallic product?Use special cleaning agents like spirits and work thoroughly to remove fingerprints.
What is the best background for product photography?Dark backgrounds often provide the best contrast for metallic products and create visual tension.
How can I control light scattering?Use reflectors or honeycomb filters to reduce light scattering and direct it at the product.
