The filling out and signing of documents can often be tedious, especially when there are no predefined input fields in the PDFs. However, with Adobe Acrobat, you can effectively fill out documents effortlessly and digitally sign them. In this guide, I will show you how to efficiently edit a document, such as a purchase contract, and then send it to the recipient. Let's get started!
Key Insights
- Adobe Acrobat allows you to fill out PDF documents without predefined input fields.
- You can enter text, check boxes, and digitally sign your document.
- The entire process is intuitive and can be done in one step directly on your computer or iPad.
Step-by-Step Guide
1. Open Document
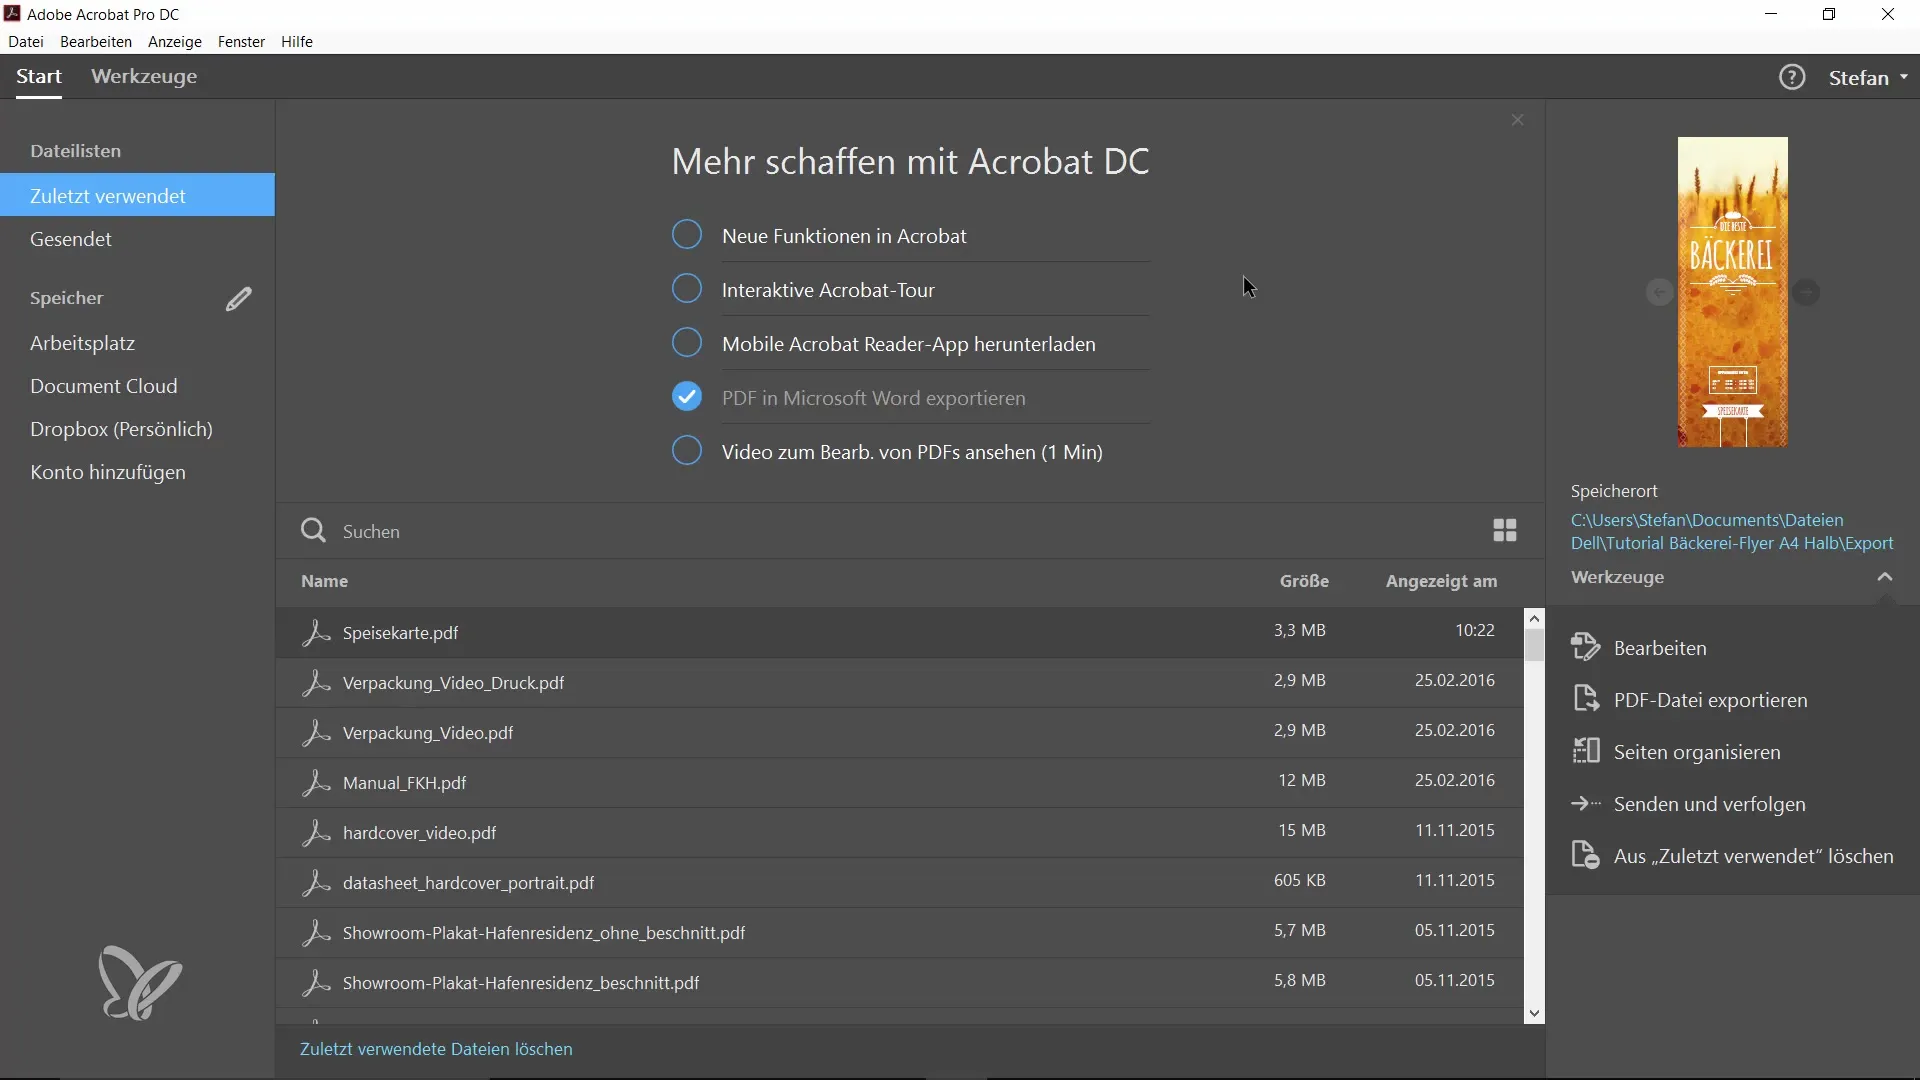
To get started, you first need the corresponding purchase contract as a PDF file. Open the file in Adobe Acrobat. Go to "File" and select your purchase contract.
2. Select “Fill and Sign” Function
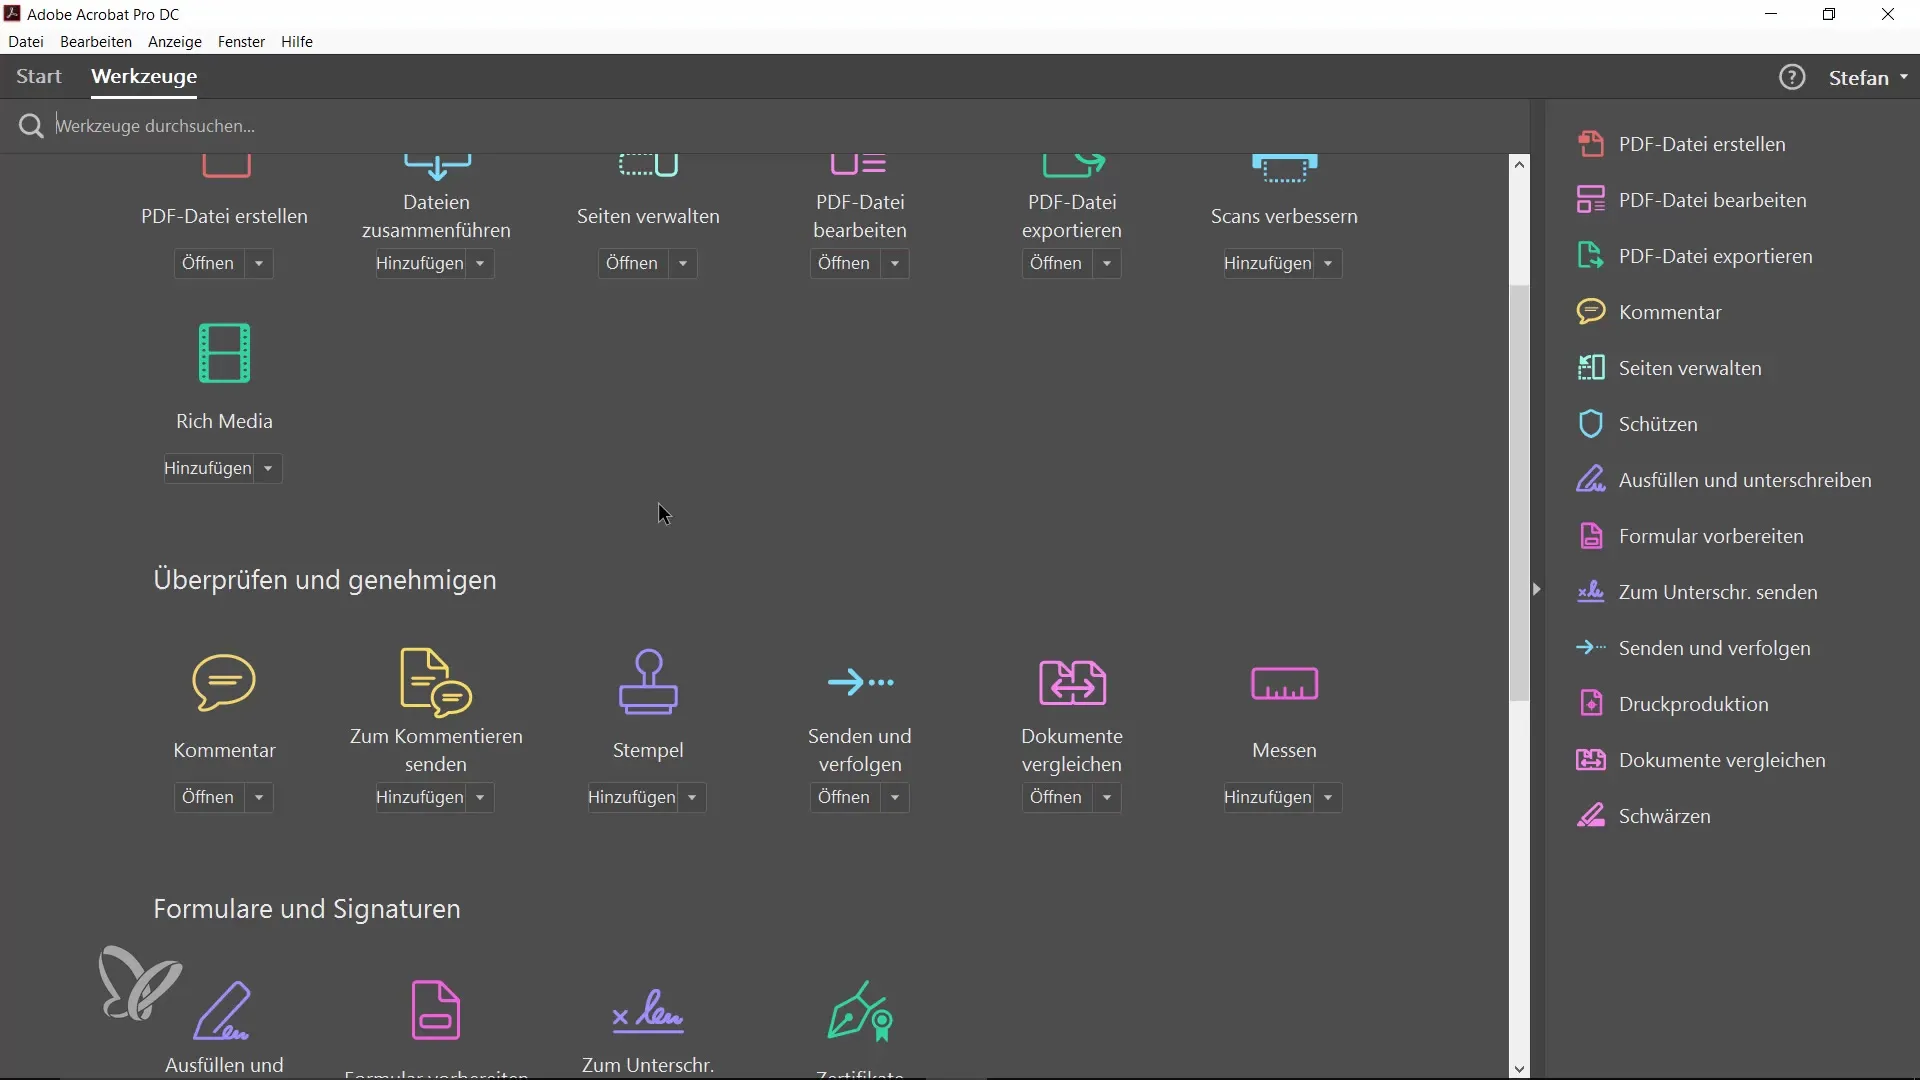
Once your document is open, navigate to the tool list at the top and select the “Fill and Sign” function. This feature allows you to interactively edit the document.
3. Enter Text
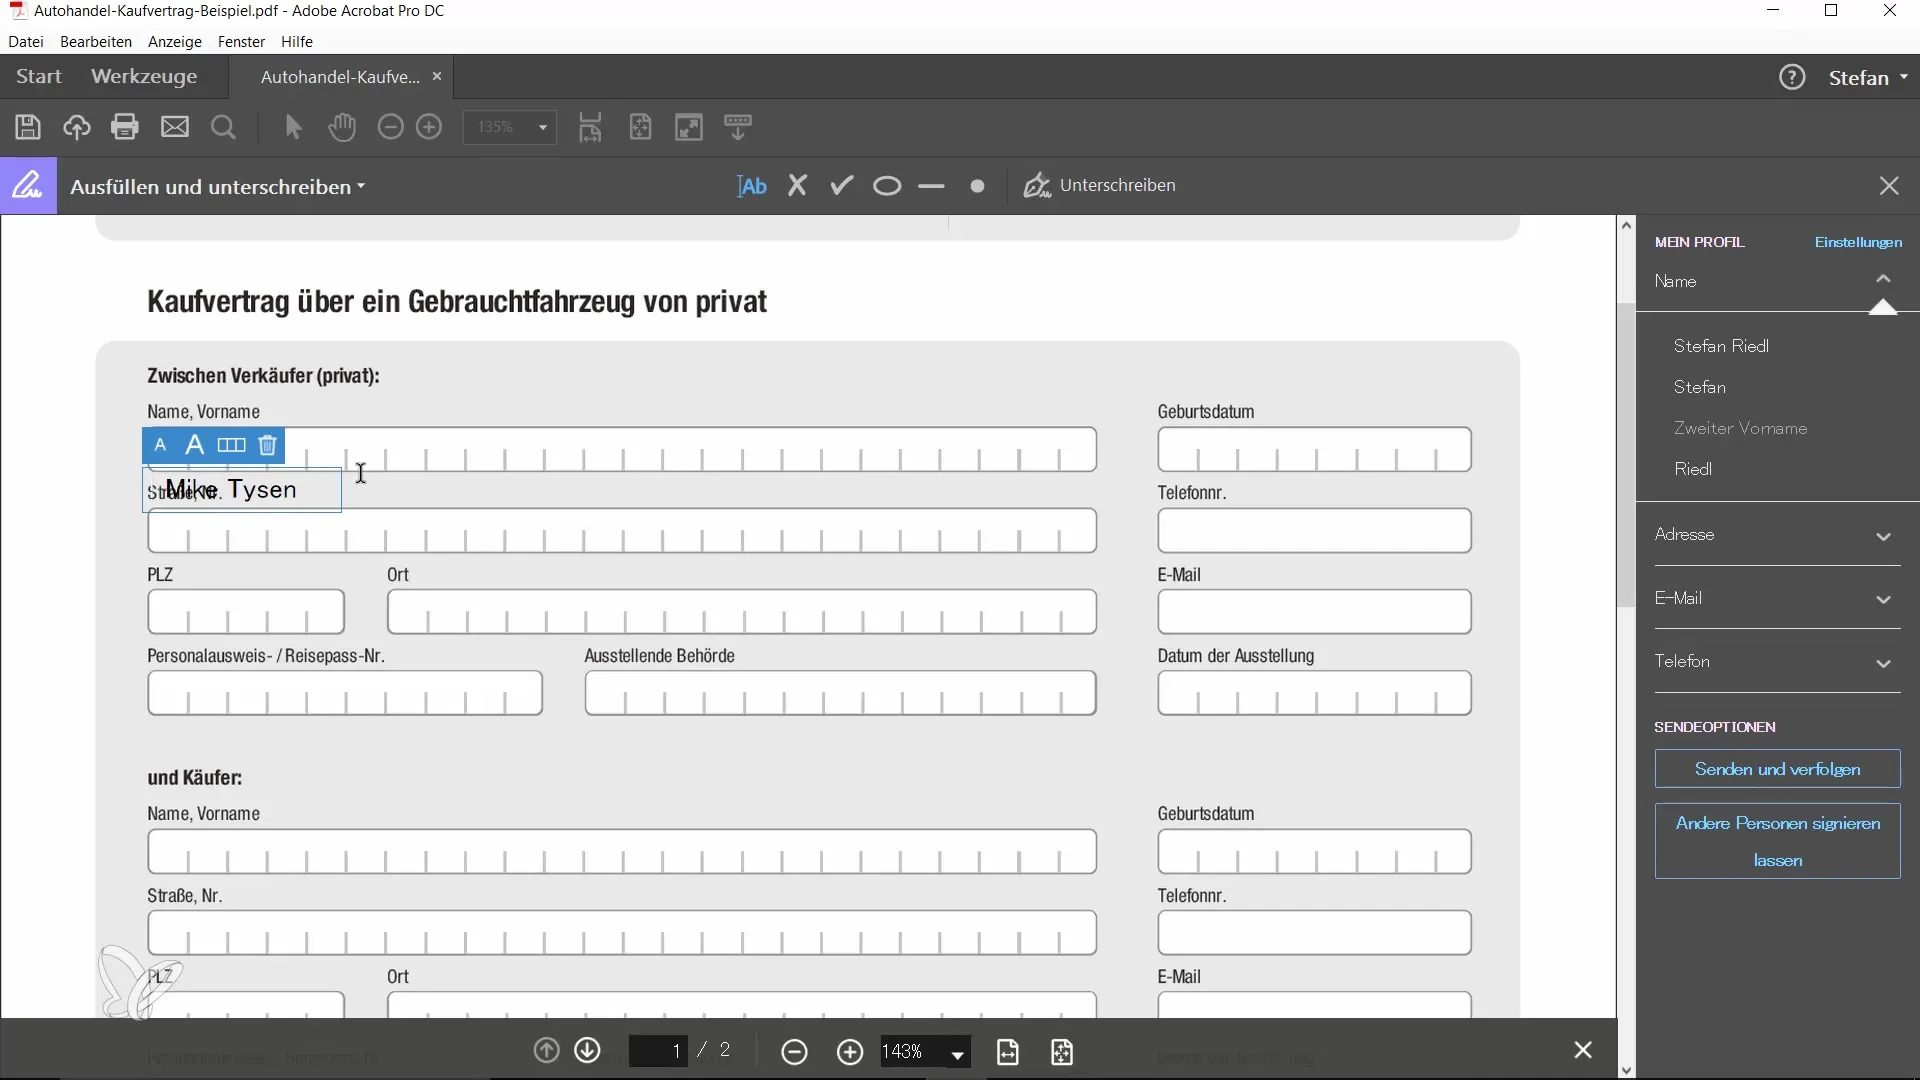
Click on the spot in the document where you want to enter text. Now insert the required information, such as the name of the seller. If you accidentally clicked elsewhere, you can simply drag the text field to the correct position.
4. Adjust Font Size
If you wish, you can adjust the font size using the up and down arrow keys. This way, you can ensure that the entered data is easy to read.
5. Check Boxes
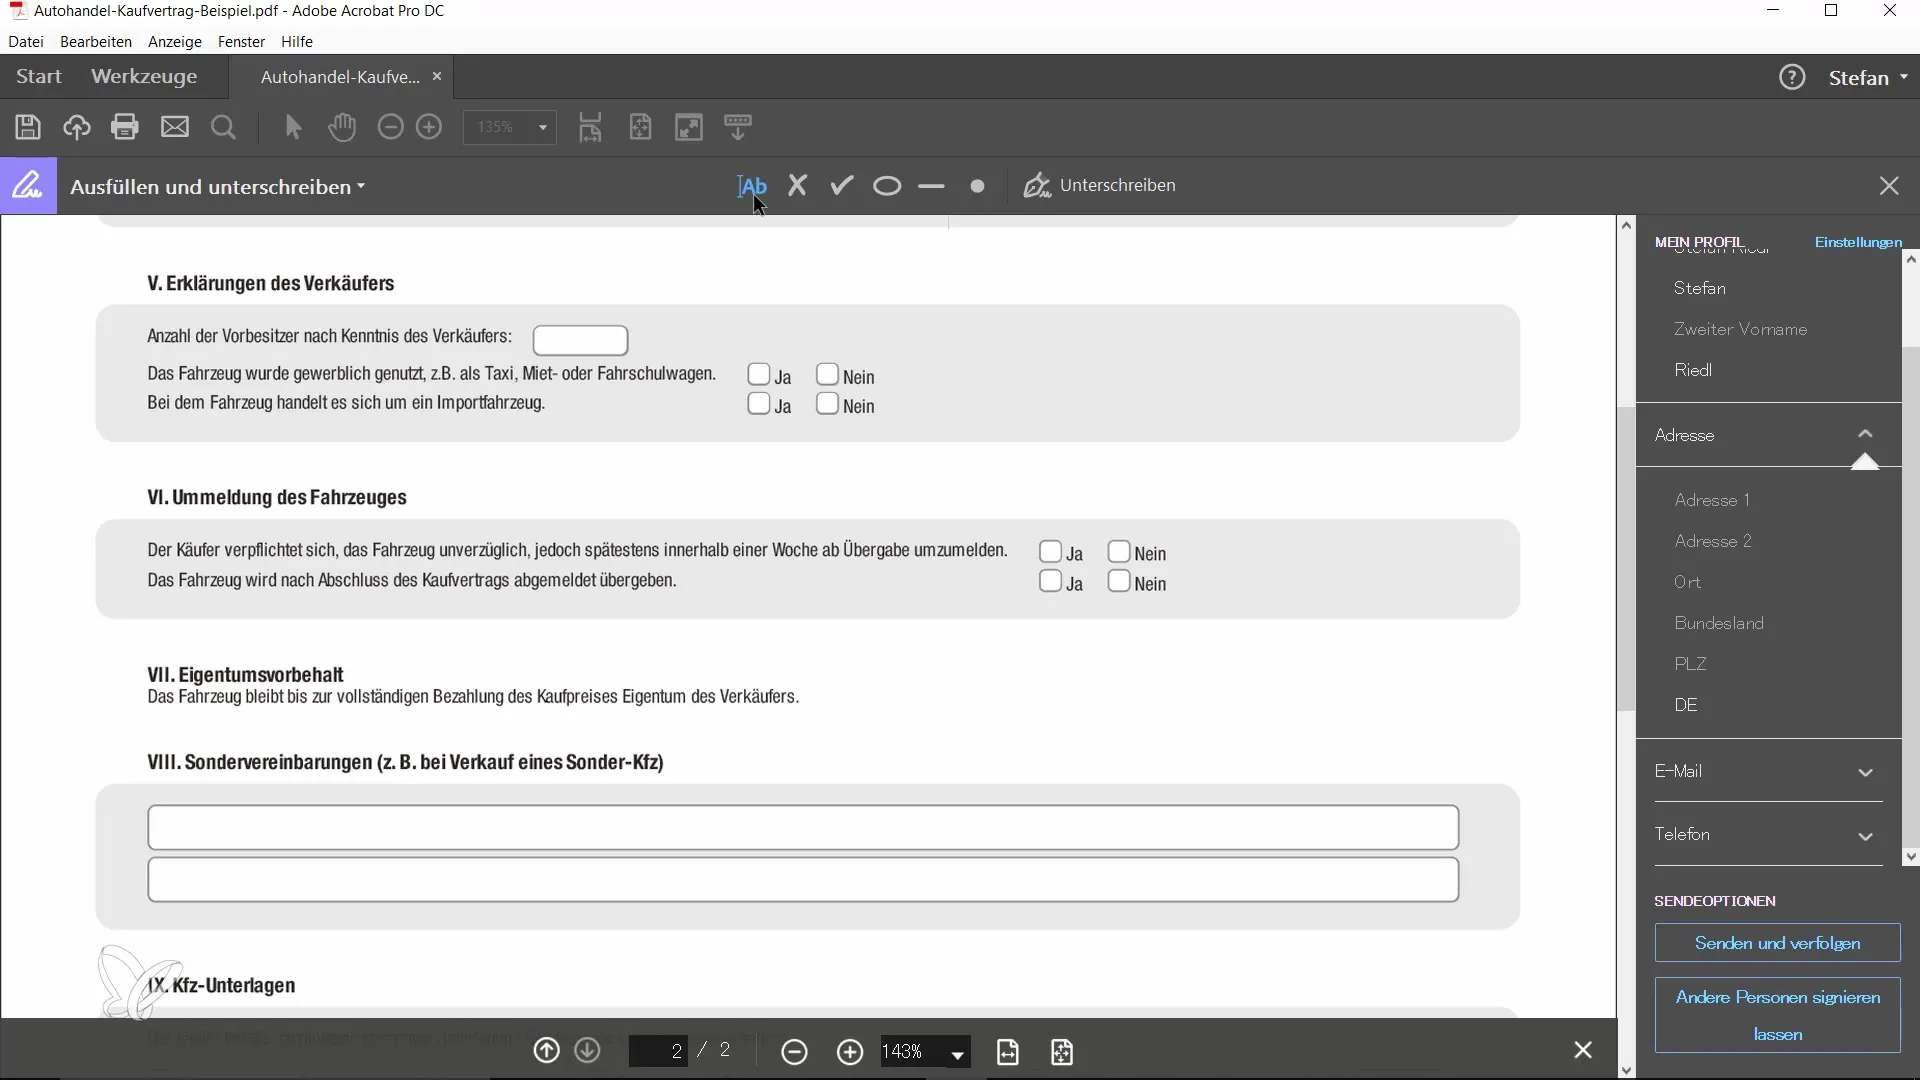
Go to the next page of the document, where there may be check boxes. For example, if the vehicle was used commercially, you can check the corresponding box. Simply click on the check mark icon to confirm your selection.
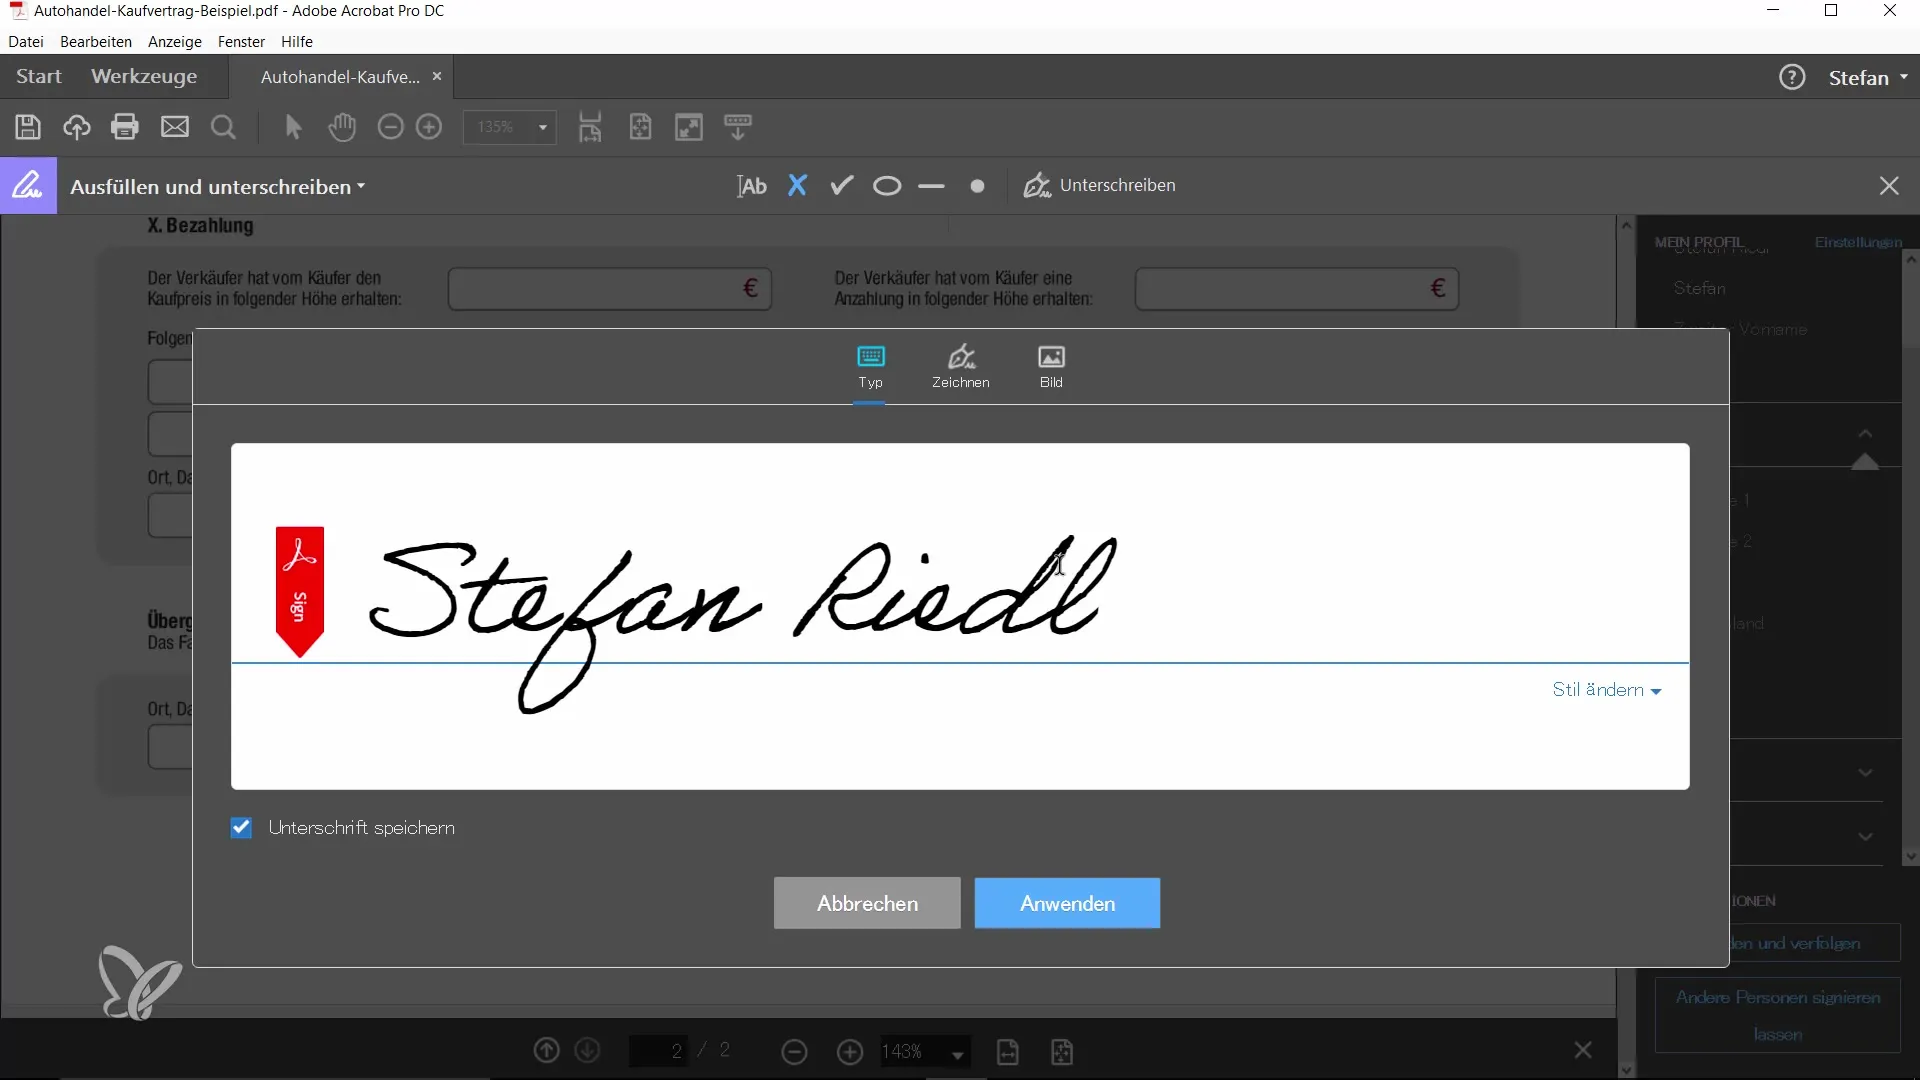
6. Add Signature
The last and crucial step is the digital signature. Click on “Add Signature.” You now have the option to draw a signature, upload a saved signature, or even use your image.
7. Adjust Signature
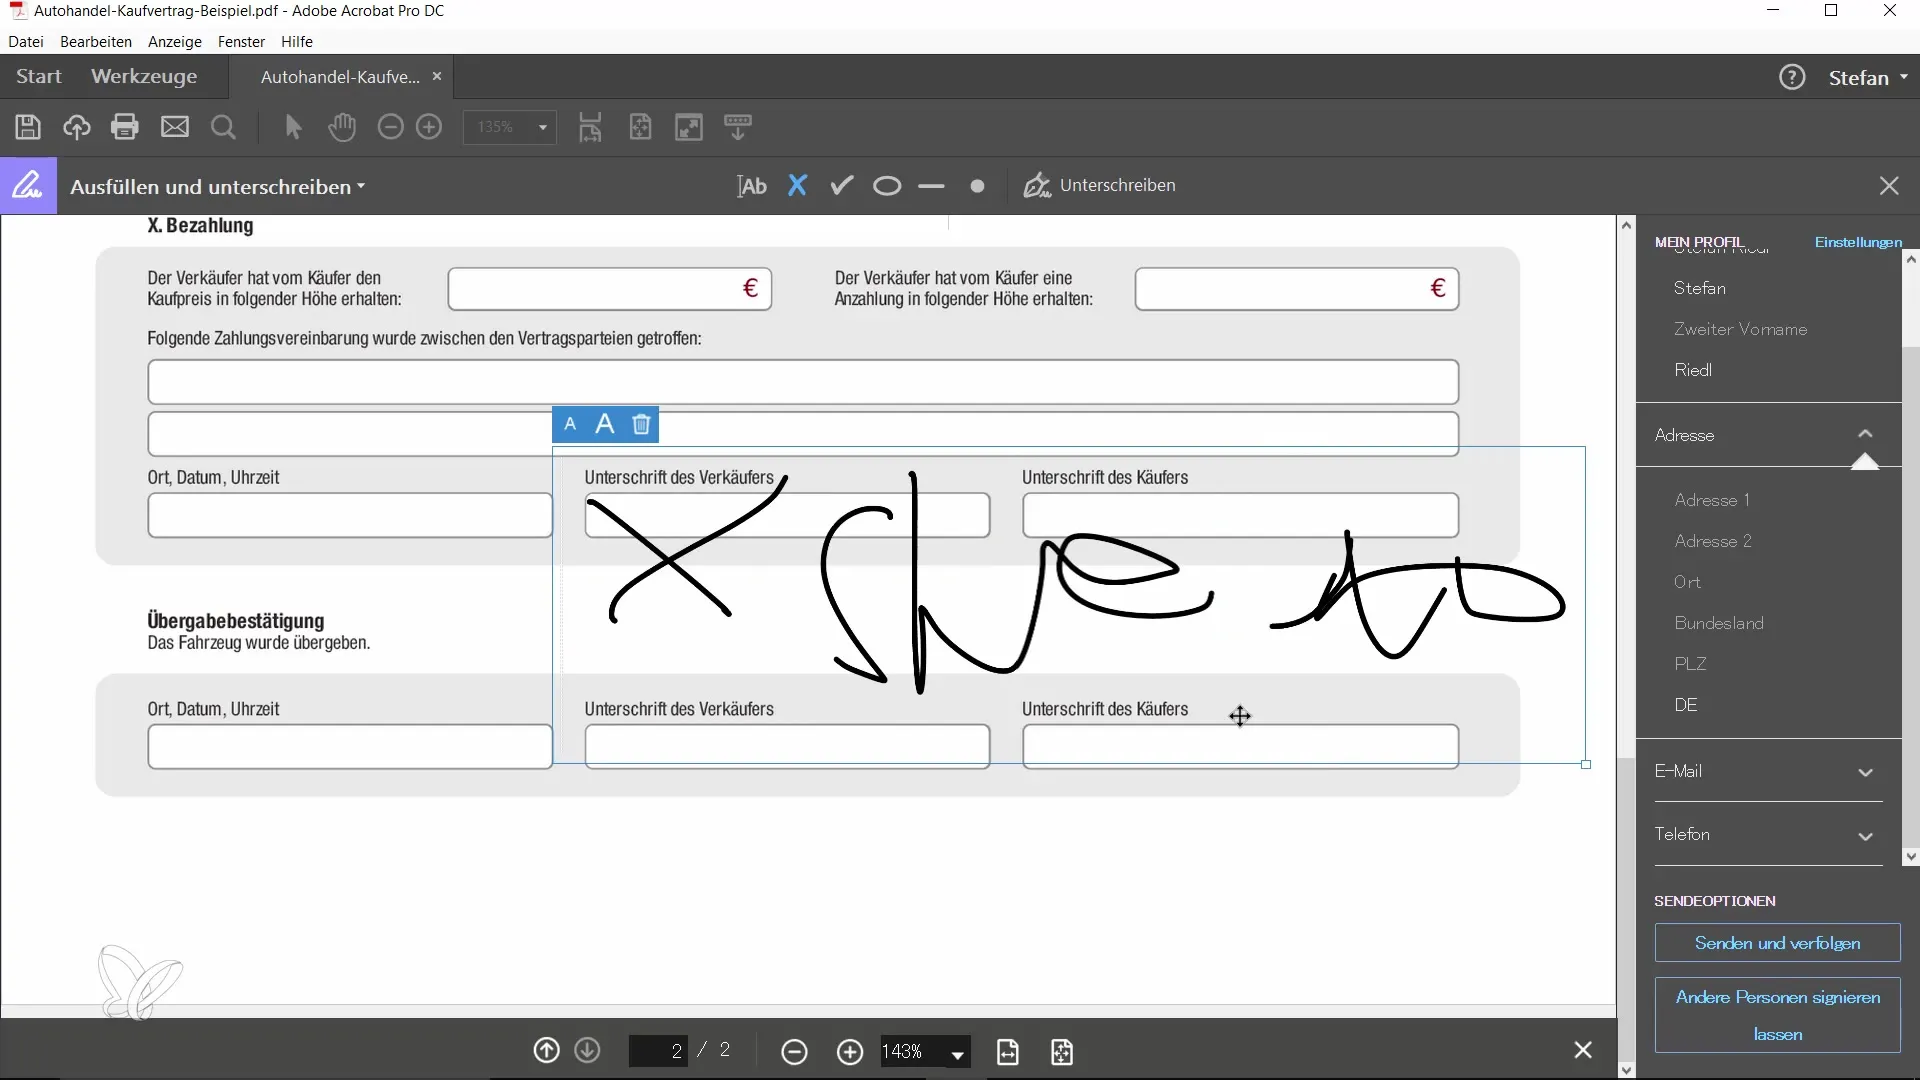
If you decide to draw your signature yourself, you can adjust the size and position as desired. Make sure that the signature is legible and place it in the correct position in the document.
8. Save Document
Once you have made all the necessary changes, save the document to confirm your entries. To do this, select “File” and “Save As...” to ensure all changes are saved.
9. Send Signature Request
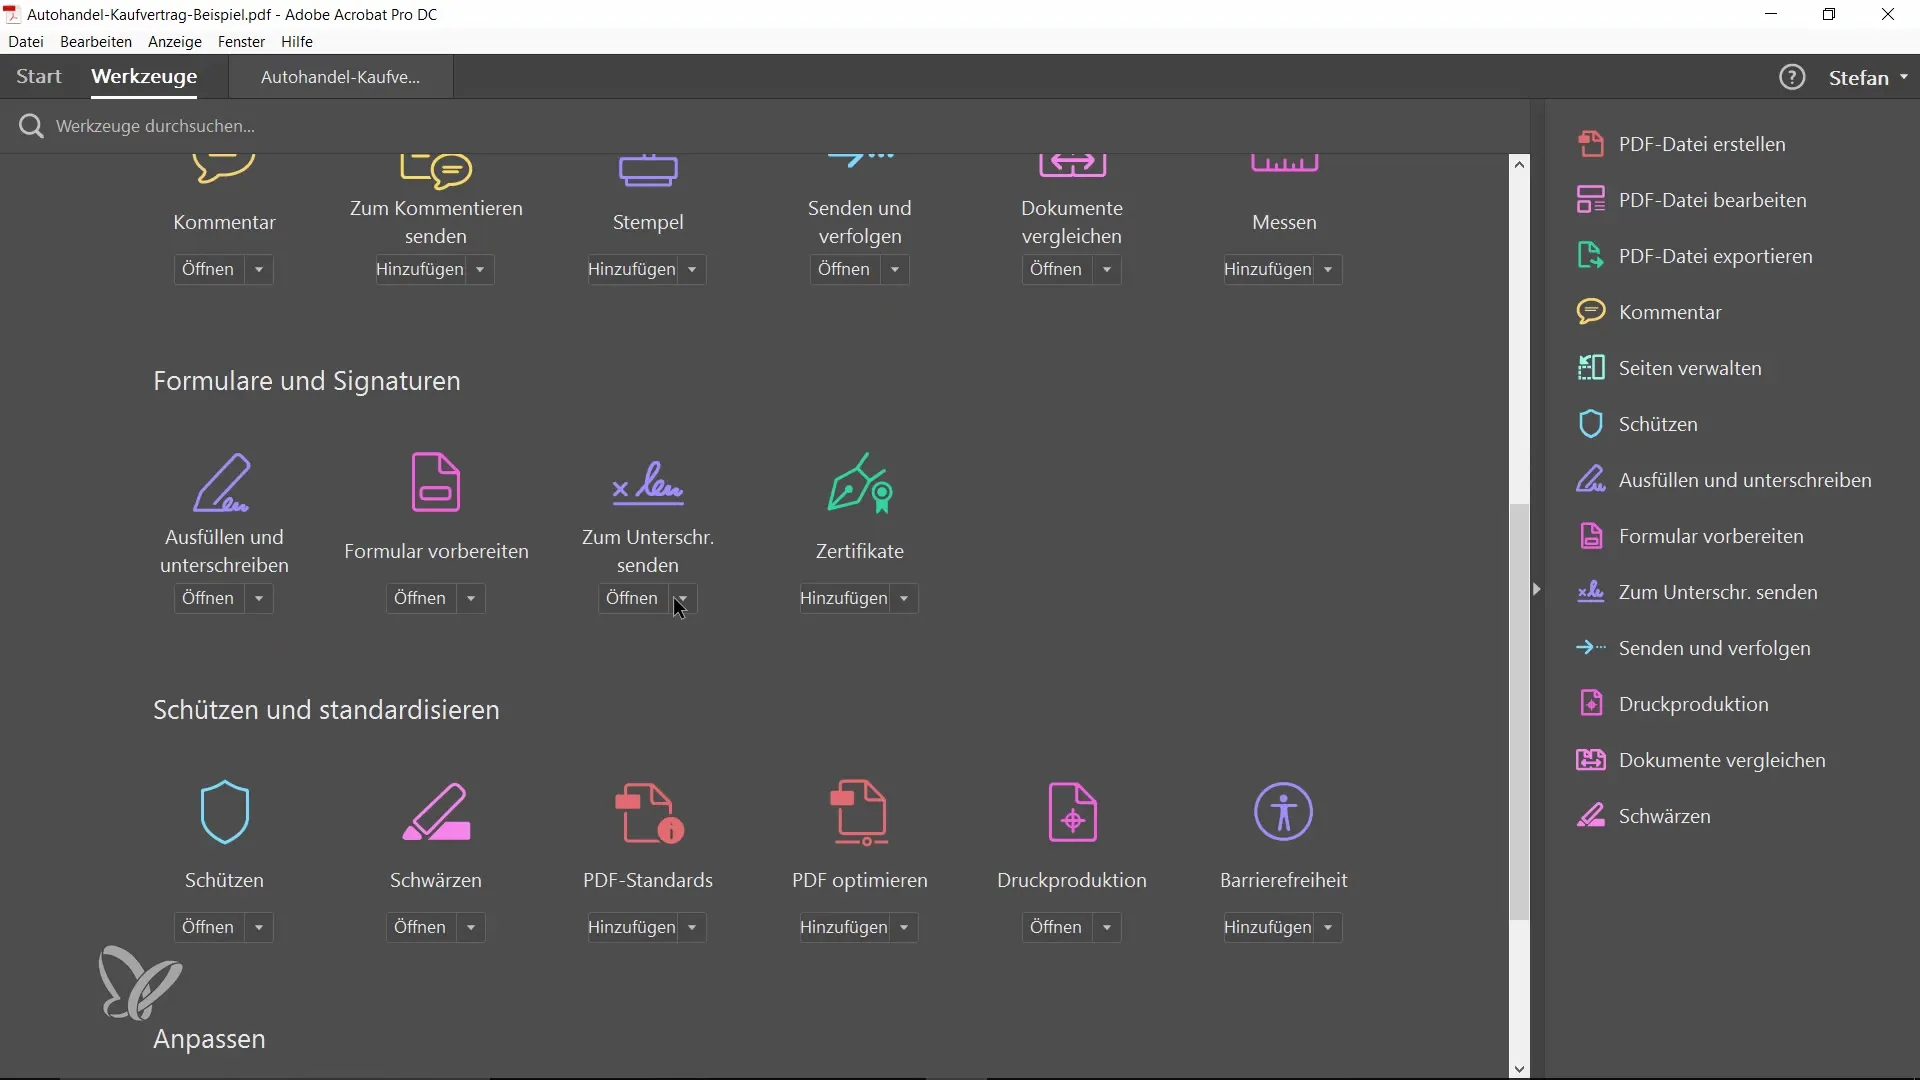
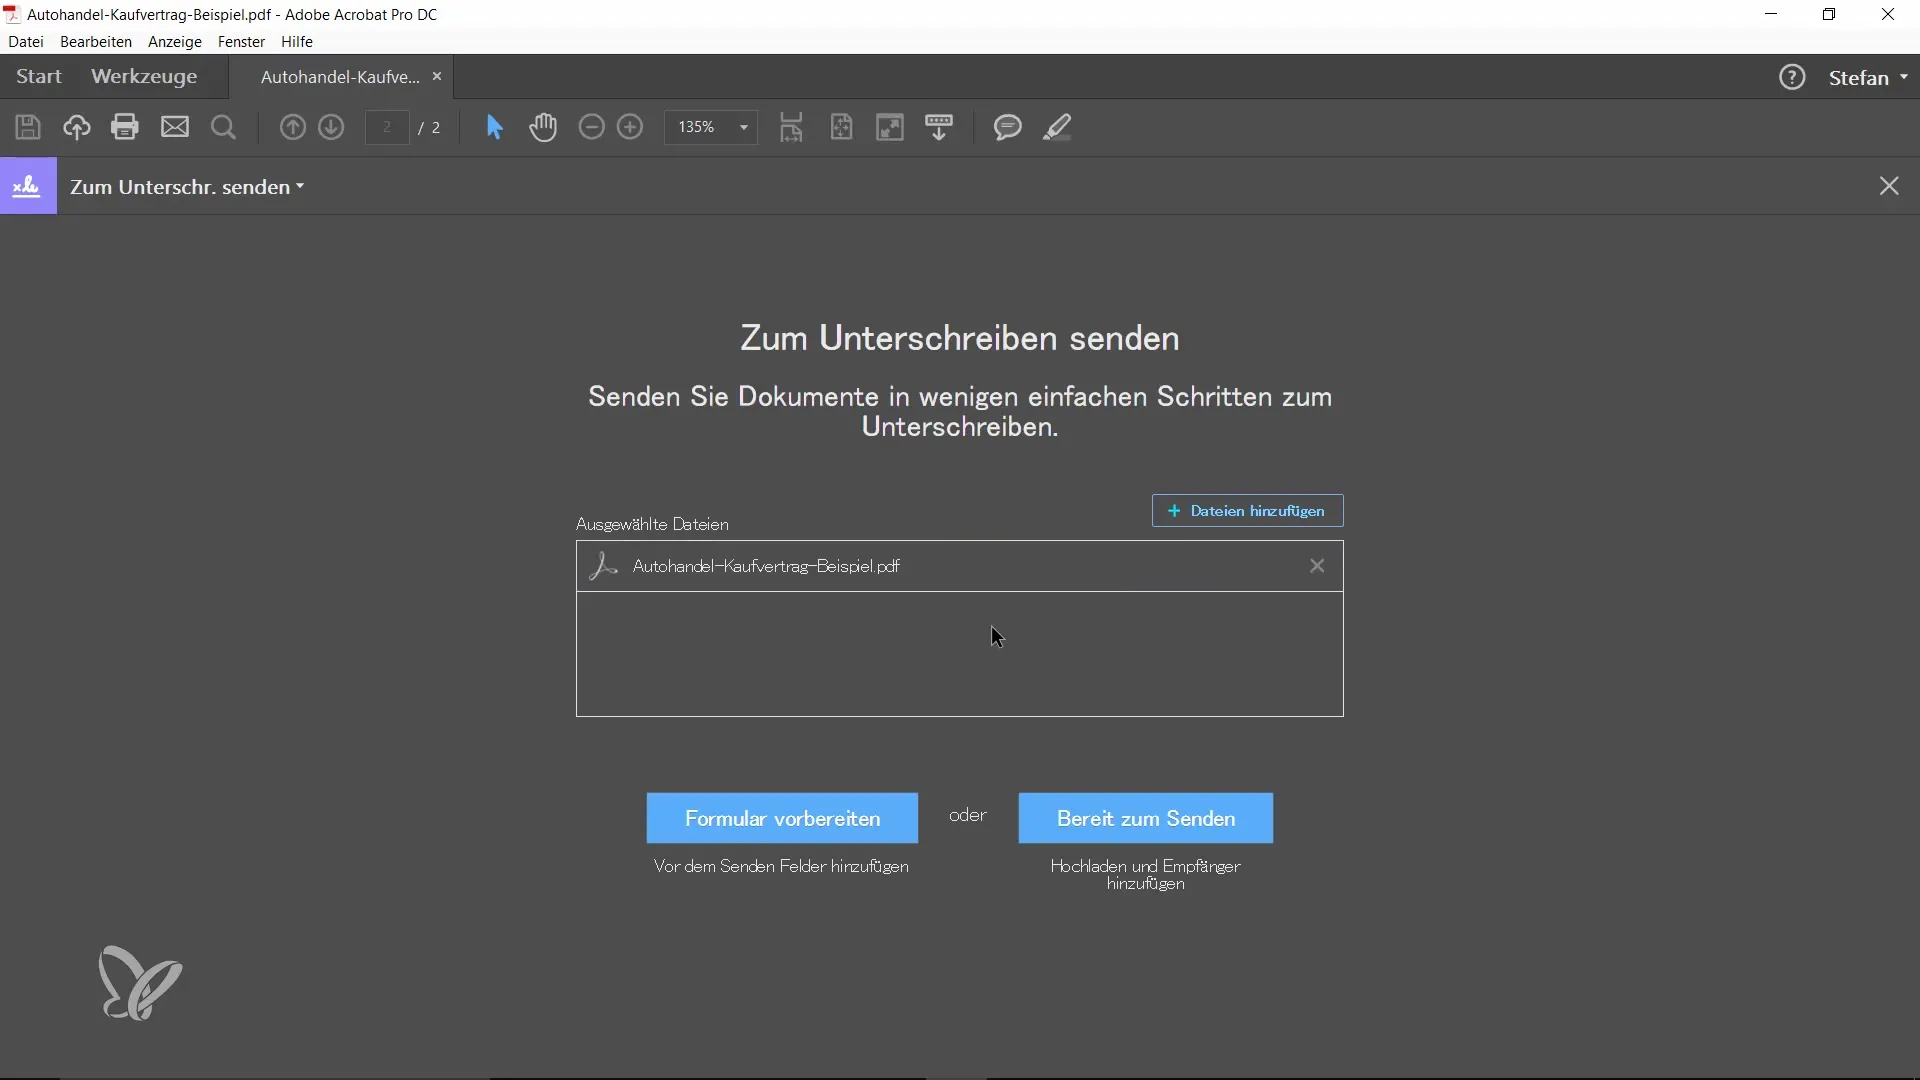
To now send the document to the recipient, select the option “Send Signatures.” Here you can add additional recipients and enter the recipient’s email address.
10. Confirm Sending
Once you have entered everything, click on “Send.” Your document will now be uploaded, and the request for a digital signature will be sent to the recipient.
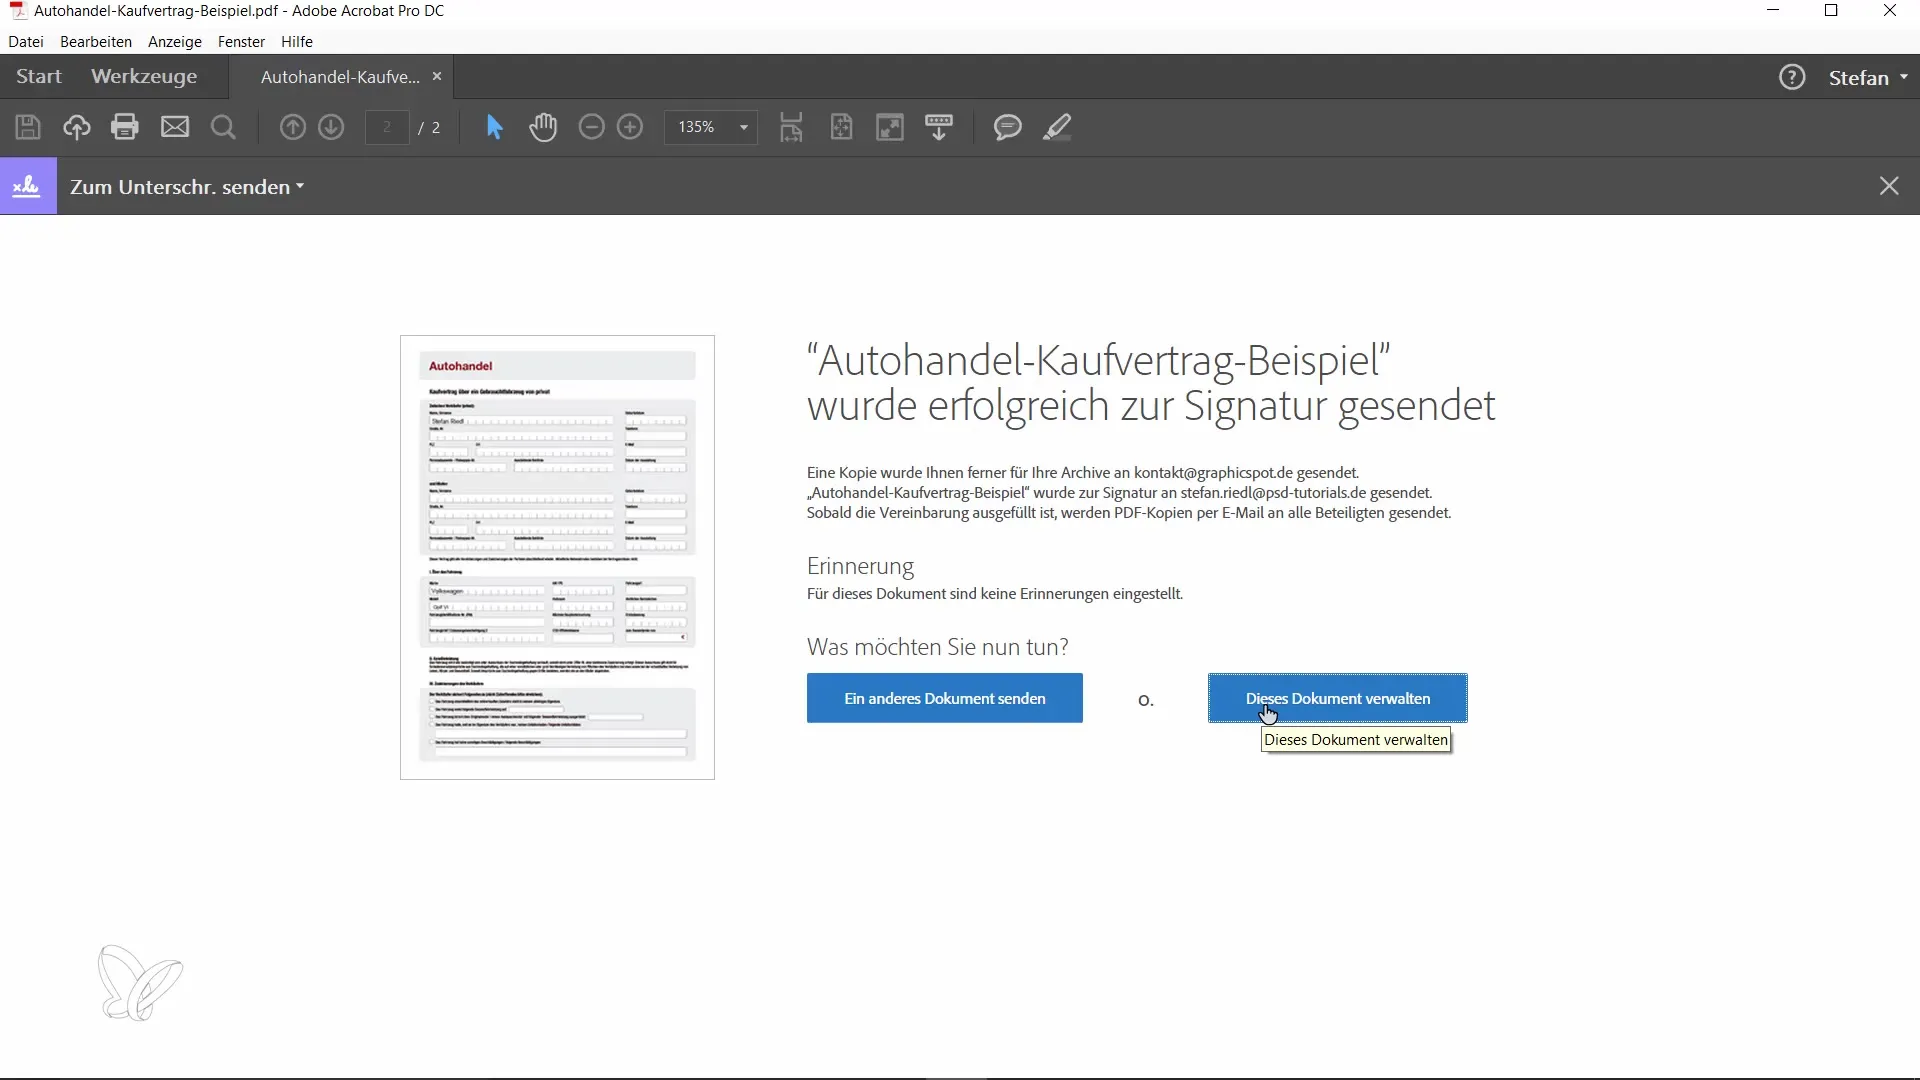
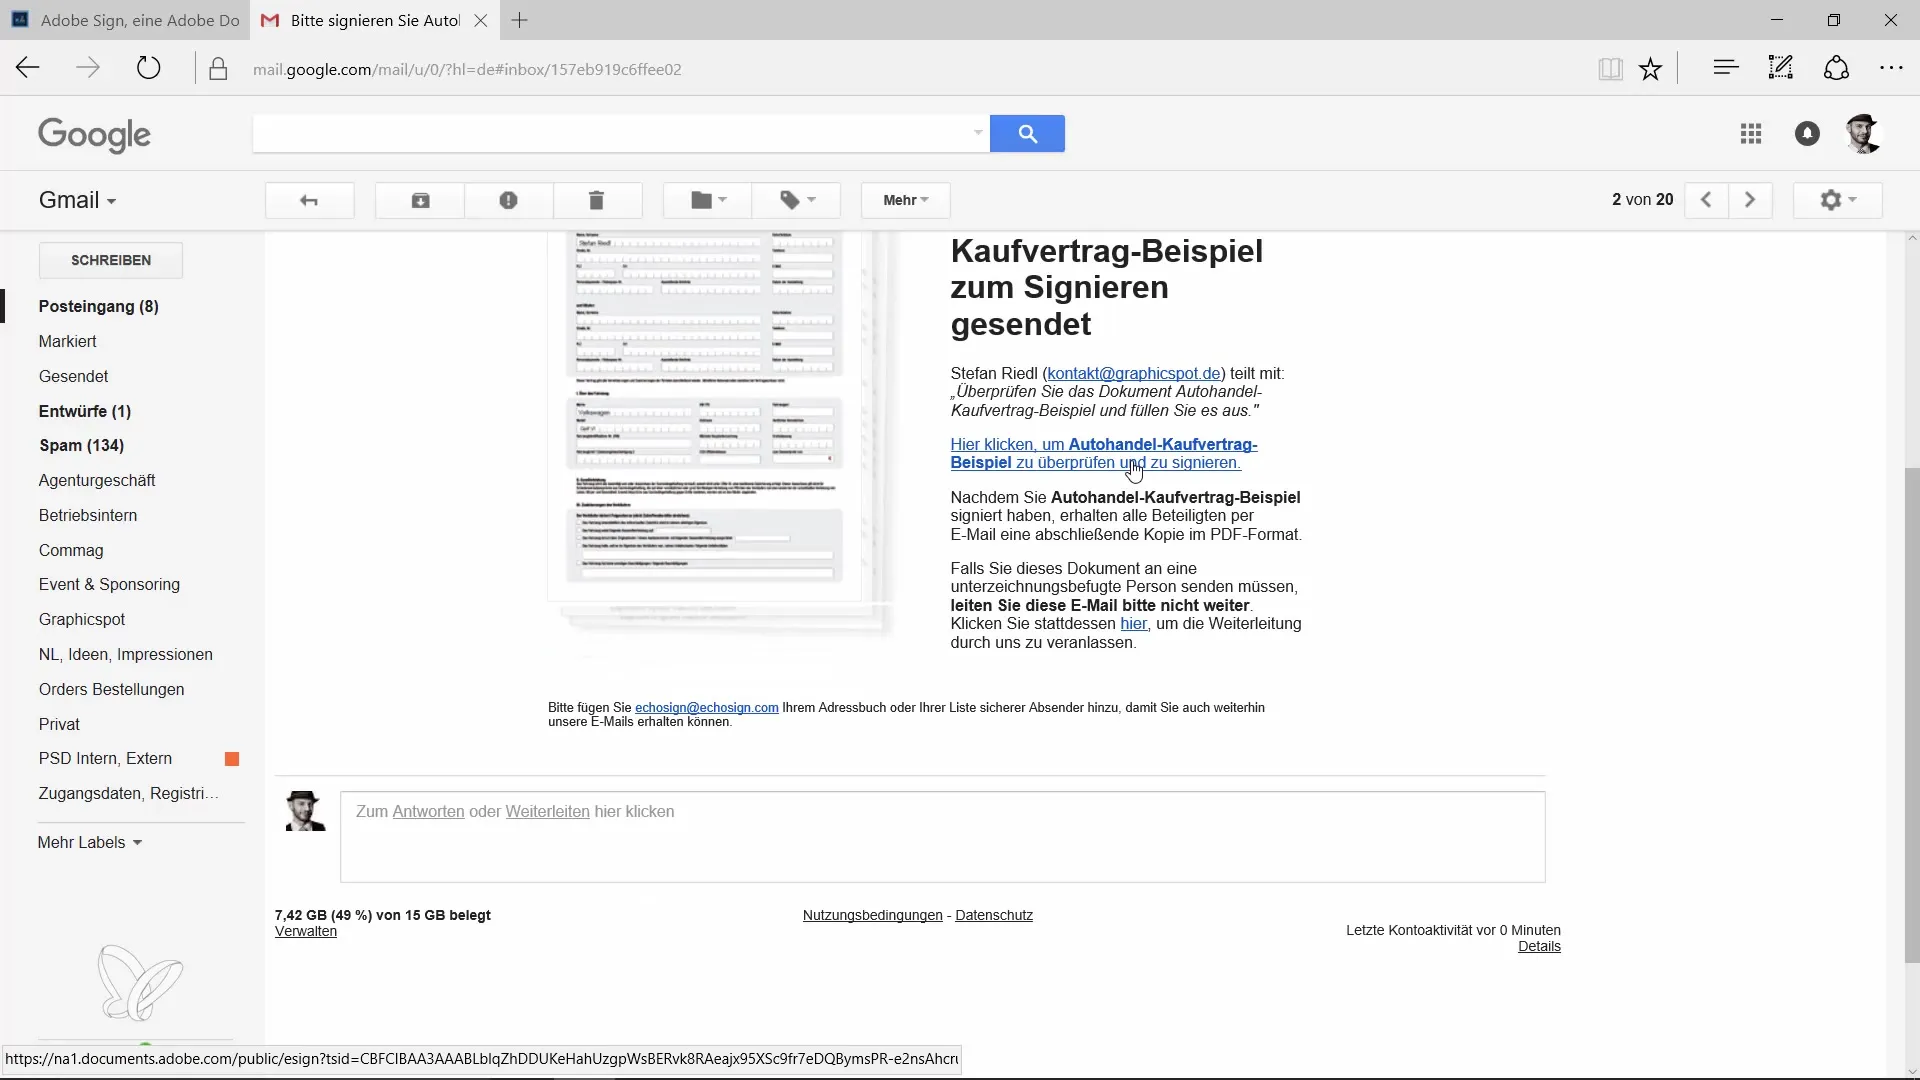
11. Check Notification
When the recipient receives the email for the signature, they can check the document by clicking on the link in the email and digitally sign it. This keeps everything transparent and traceable.
Summary – Fill out and digitally sign documents with Acrobat
In this guide, you learned how to efficiently fill out and digitally sign a PDF document using Adobe Acrobat. All steps are easy to follow, and you have the flexibility to manage and send your documents quickly.
Frequently Asked Questions
How can I fill out a PDF document in Adobe Acrobat?Open the document in Adobe Acrobat and select the “Fill and Sign” feature.
What do I do if there are no input fields?You can simply click on the desired spot in the document and enter text, even if there are no predefined fields.
How do I add my signature?Click on “Add Signature” and choose whether you want to draw, upload an image, or use a saved signature.
Does it also work on the iPad?Yes, the features are also available on the iPad and can often be used more effectively there.
What happens after I send the document?The recipient receives an email with a link to check the document and digitally sign it.


