When you work with different materials in Cinema 4D, the use of shaders is an essential part. In this guide, you will learn how to effectively use the SurfaceSPREAD shaders to create exciting and varied textures in your scenes. These shaders allow you to apply different color and texture results to your object, which can dynamically adapt.
Key Insights
- You can implement various shader options with SurfaceSPREAD to create any materials.
- Working with different gradients and calculation methods helps you create more realistic textures.
- The combination of shaders and the right settings allows you to design convincing and individualized scenes.
Step-by-Step Guide
To work with the SurfaceSPREAD shaders in Cinema 4D, follow these steps:
Creating a New Material
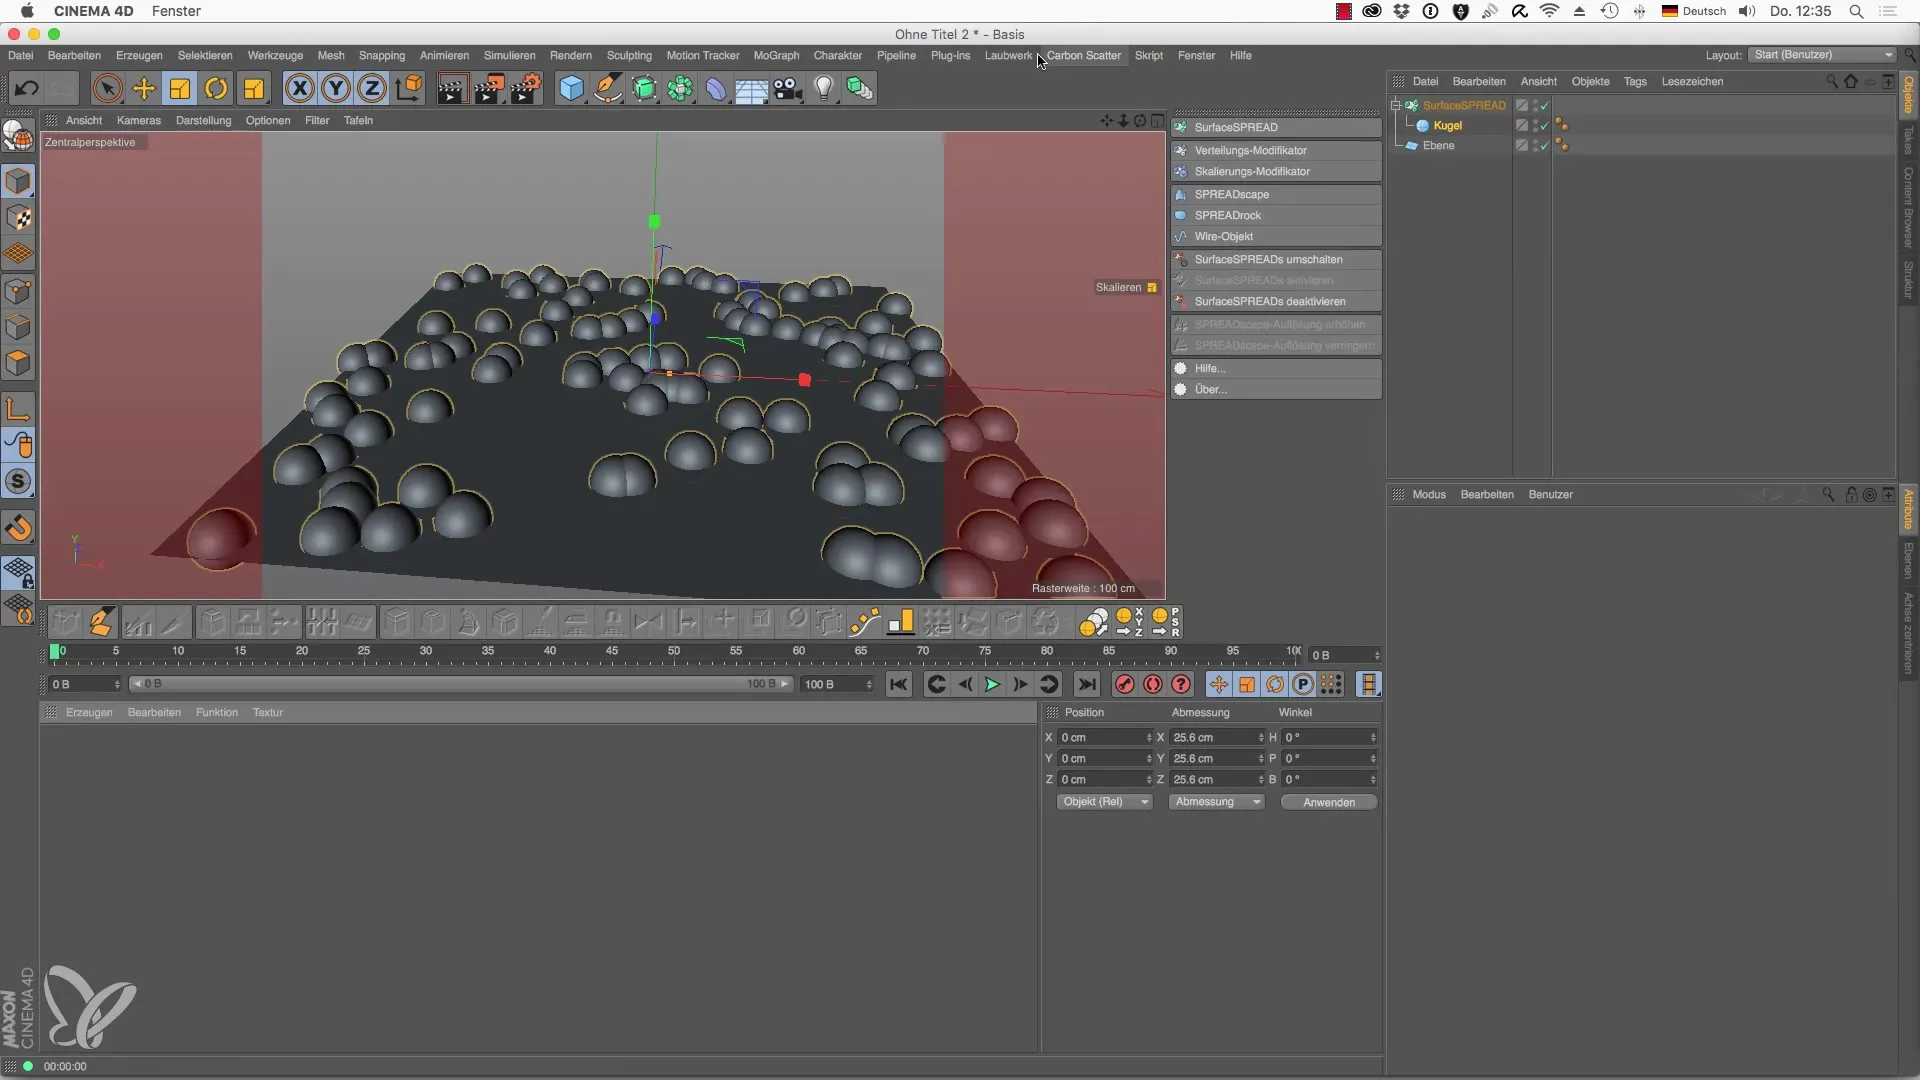
Start by creating a new material. You have the option to use existing elements or create your own material from scratch. Make sure that your scene is already prepared; it should contain at least one layer with objects that you want to texture.
Using the SurfaceSPREAD Clone Shader
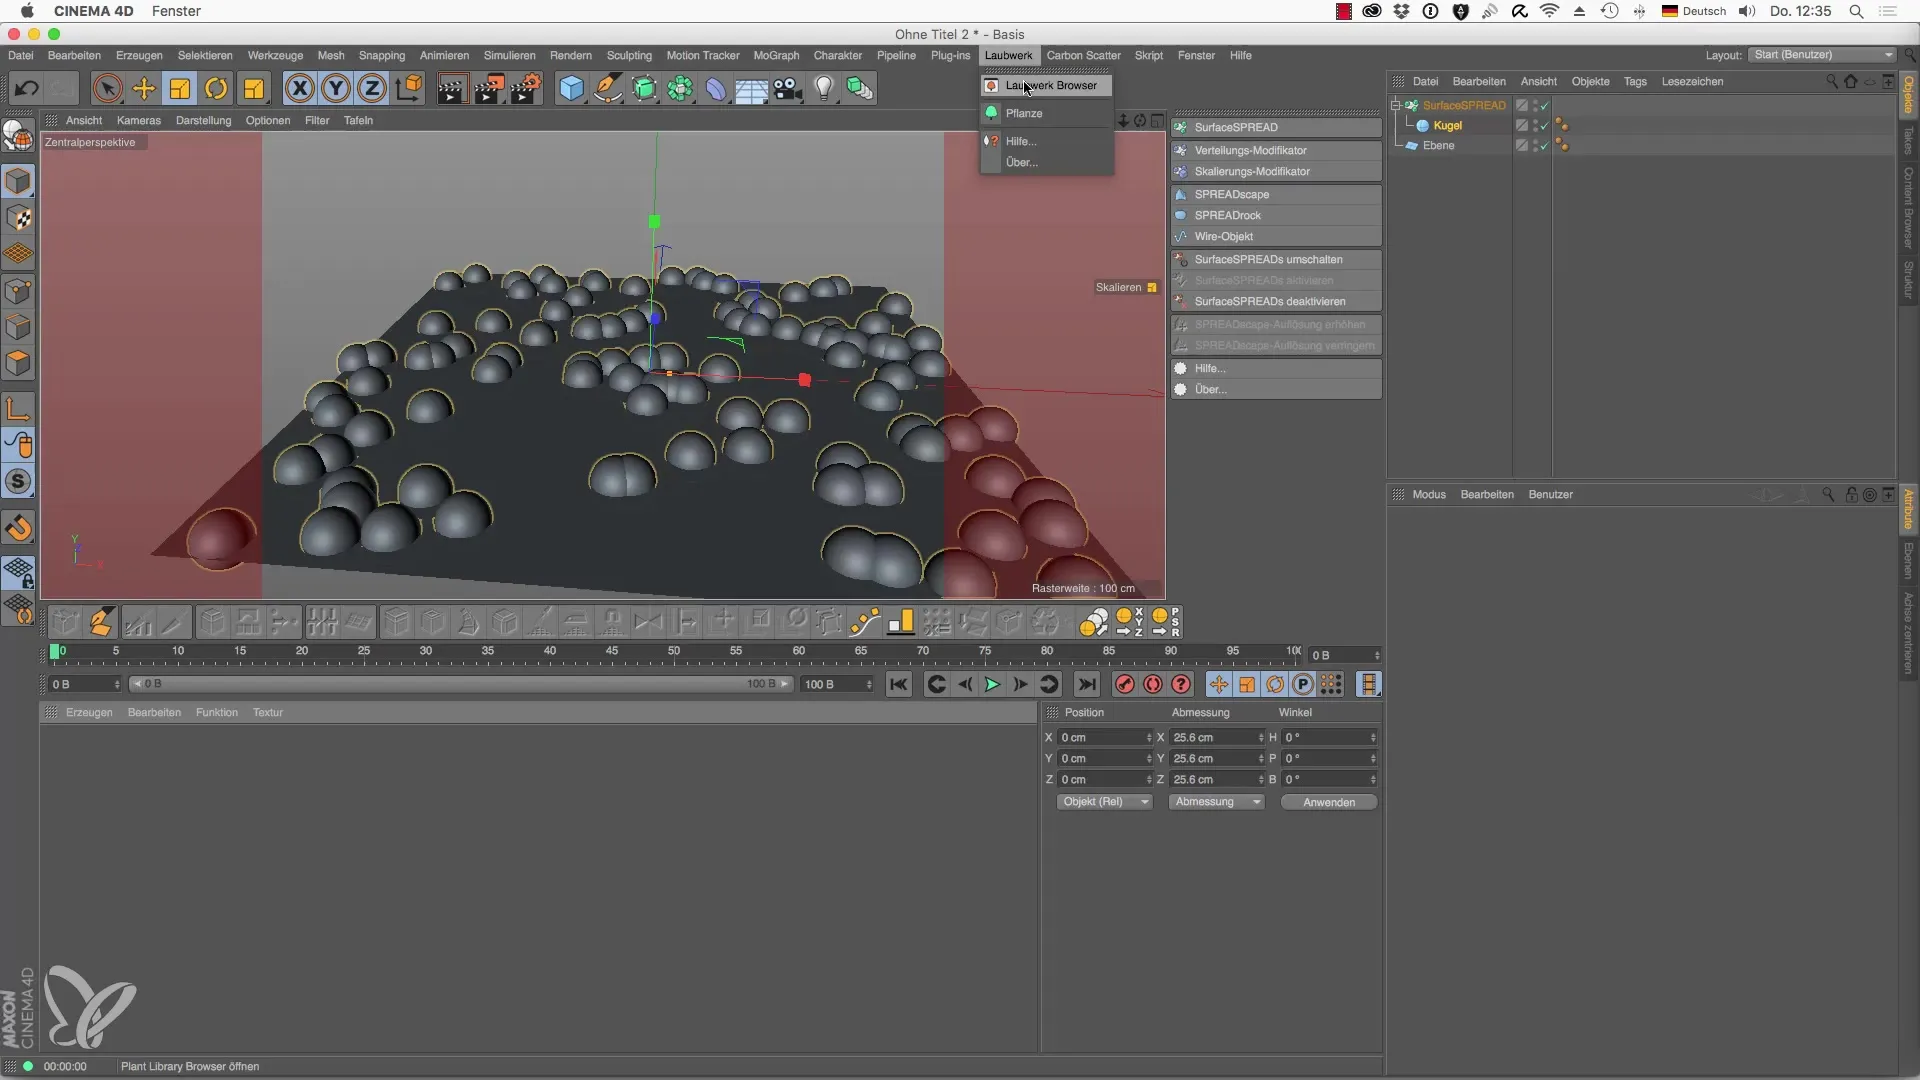
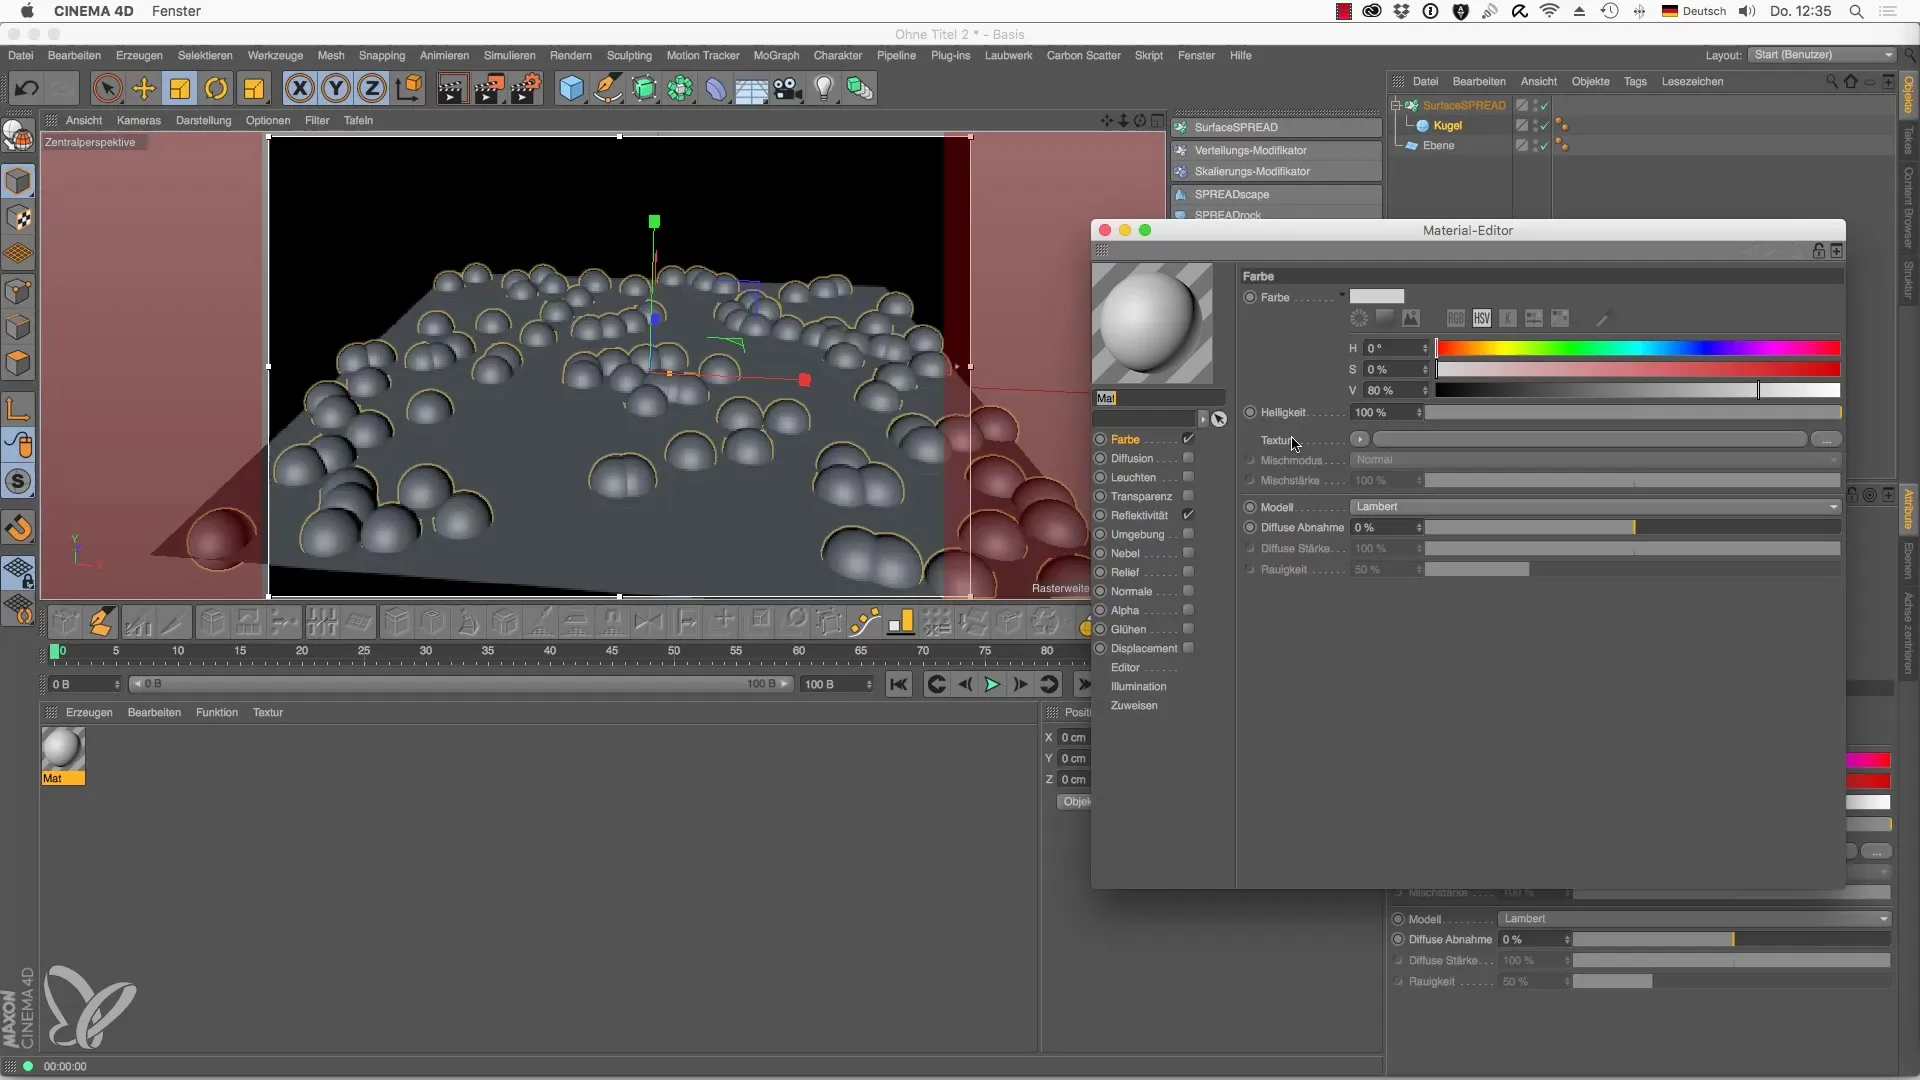
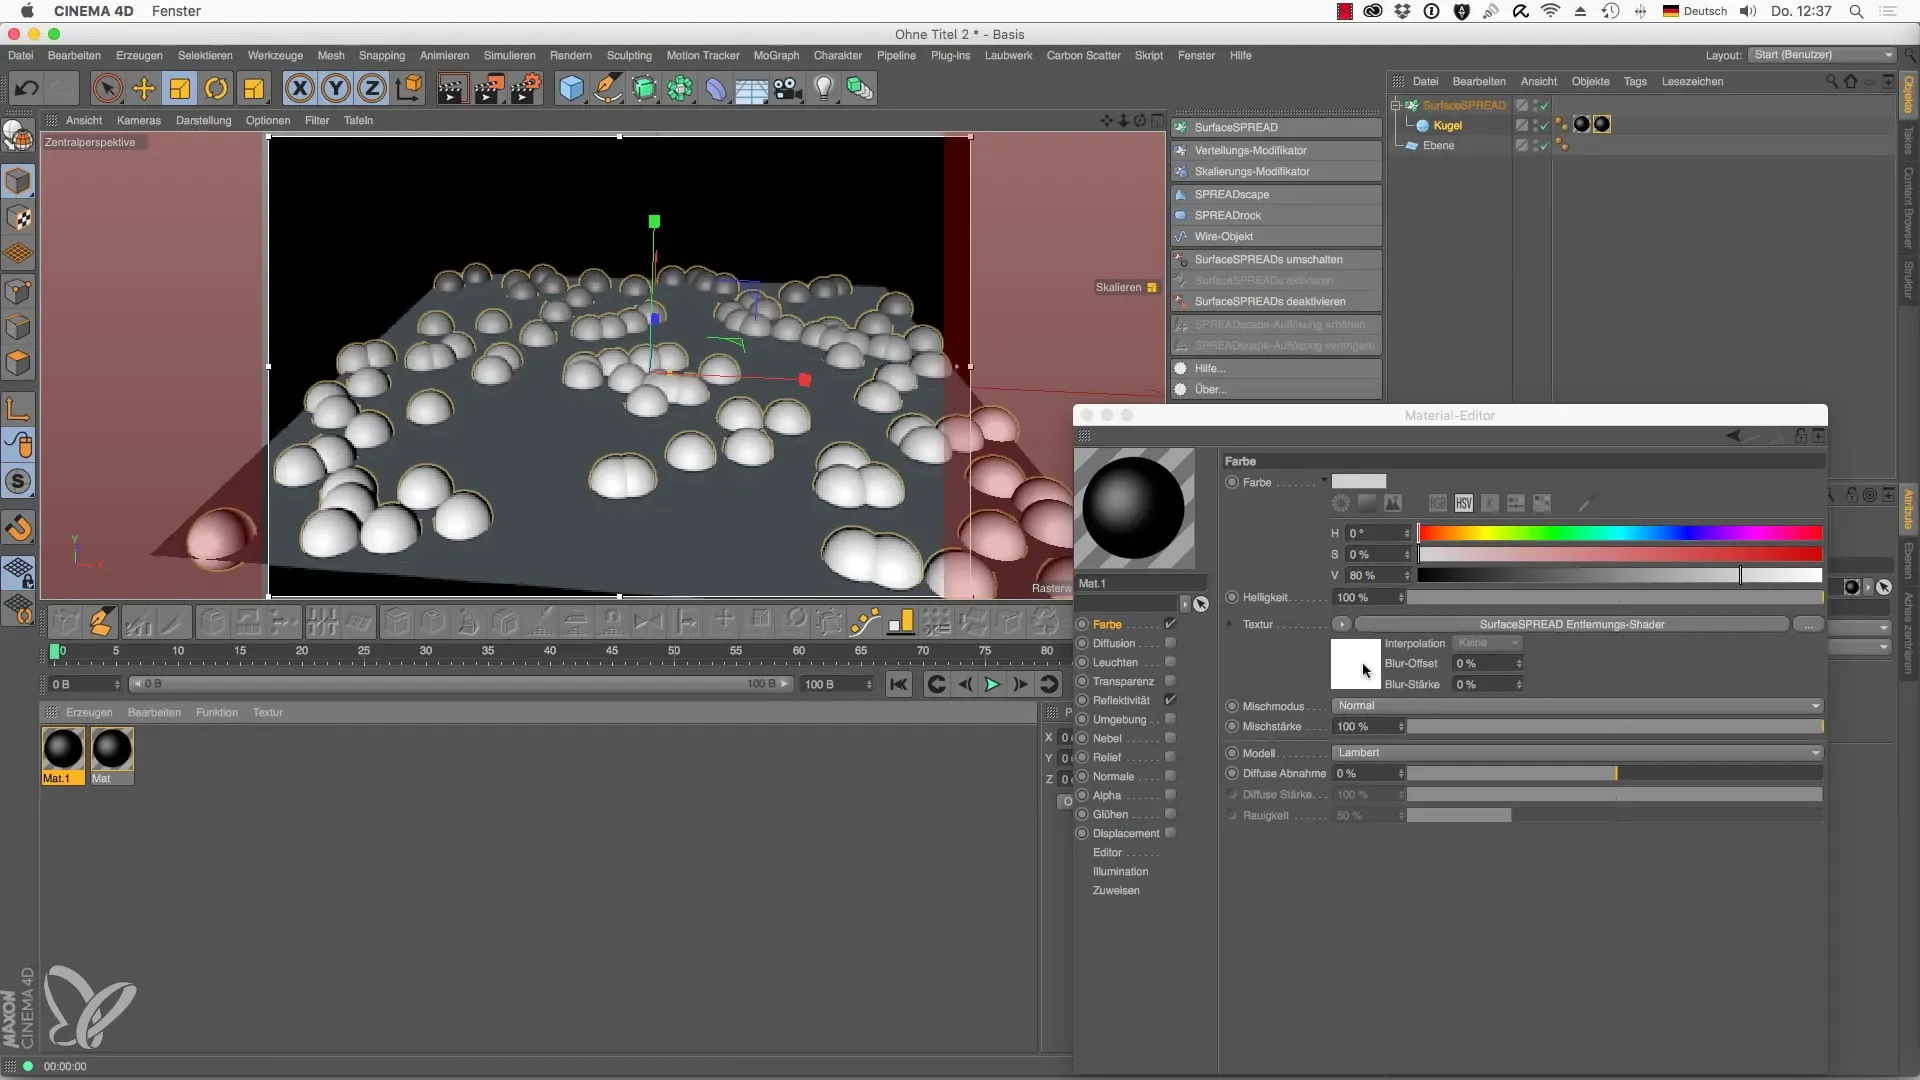
Load the SurfaceSPREAD Clone Shader into your new material. This is done via the color channel, where you simply click on "Texture" and select the necessary shader. The Clone Shader allows you to create variations in your clones and provides a basis for a variety of adjustments.
Adjusting the Gradient
Once you have added the shader, you will see a gradient and a calculation method called "Data Source." Here, you can adjust the color settings to distribute the color spectrum across the clones. Experiment with the settings to achieve the best results for your scene.
Using the Distance Shader
In the next step, select the Distance Shader, which gives you the ability to work with deep colors. Here, you can set start and end values to achieve intense color effects. For example, if you enter 50 as a value, you'll see how the color distribution affects the depth of your scene.
Implementing the Road Shader
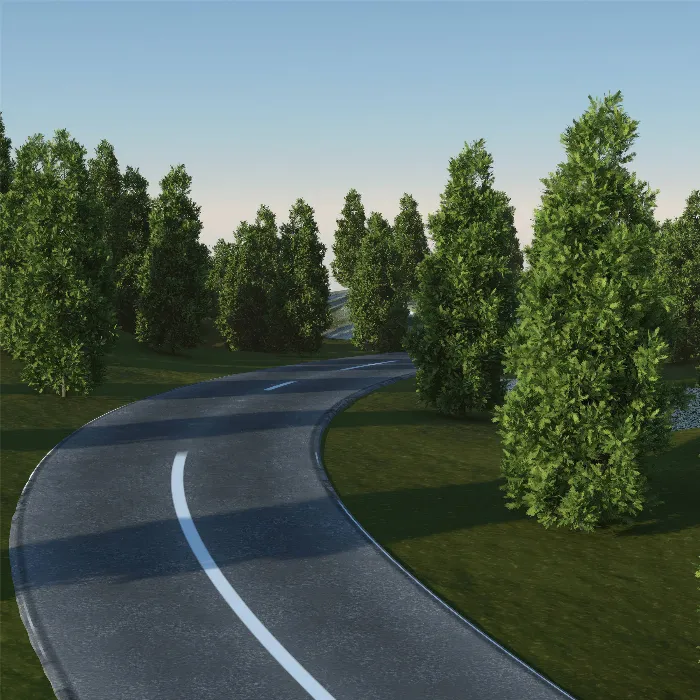
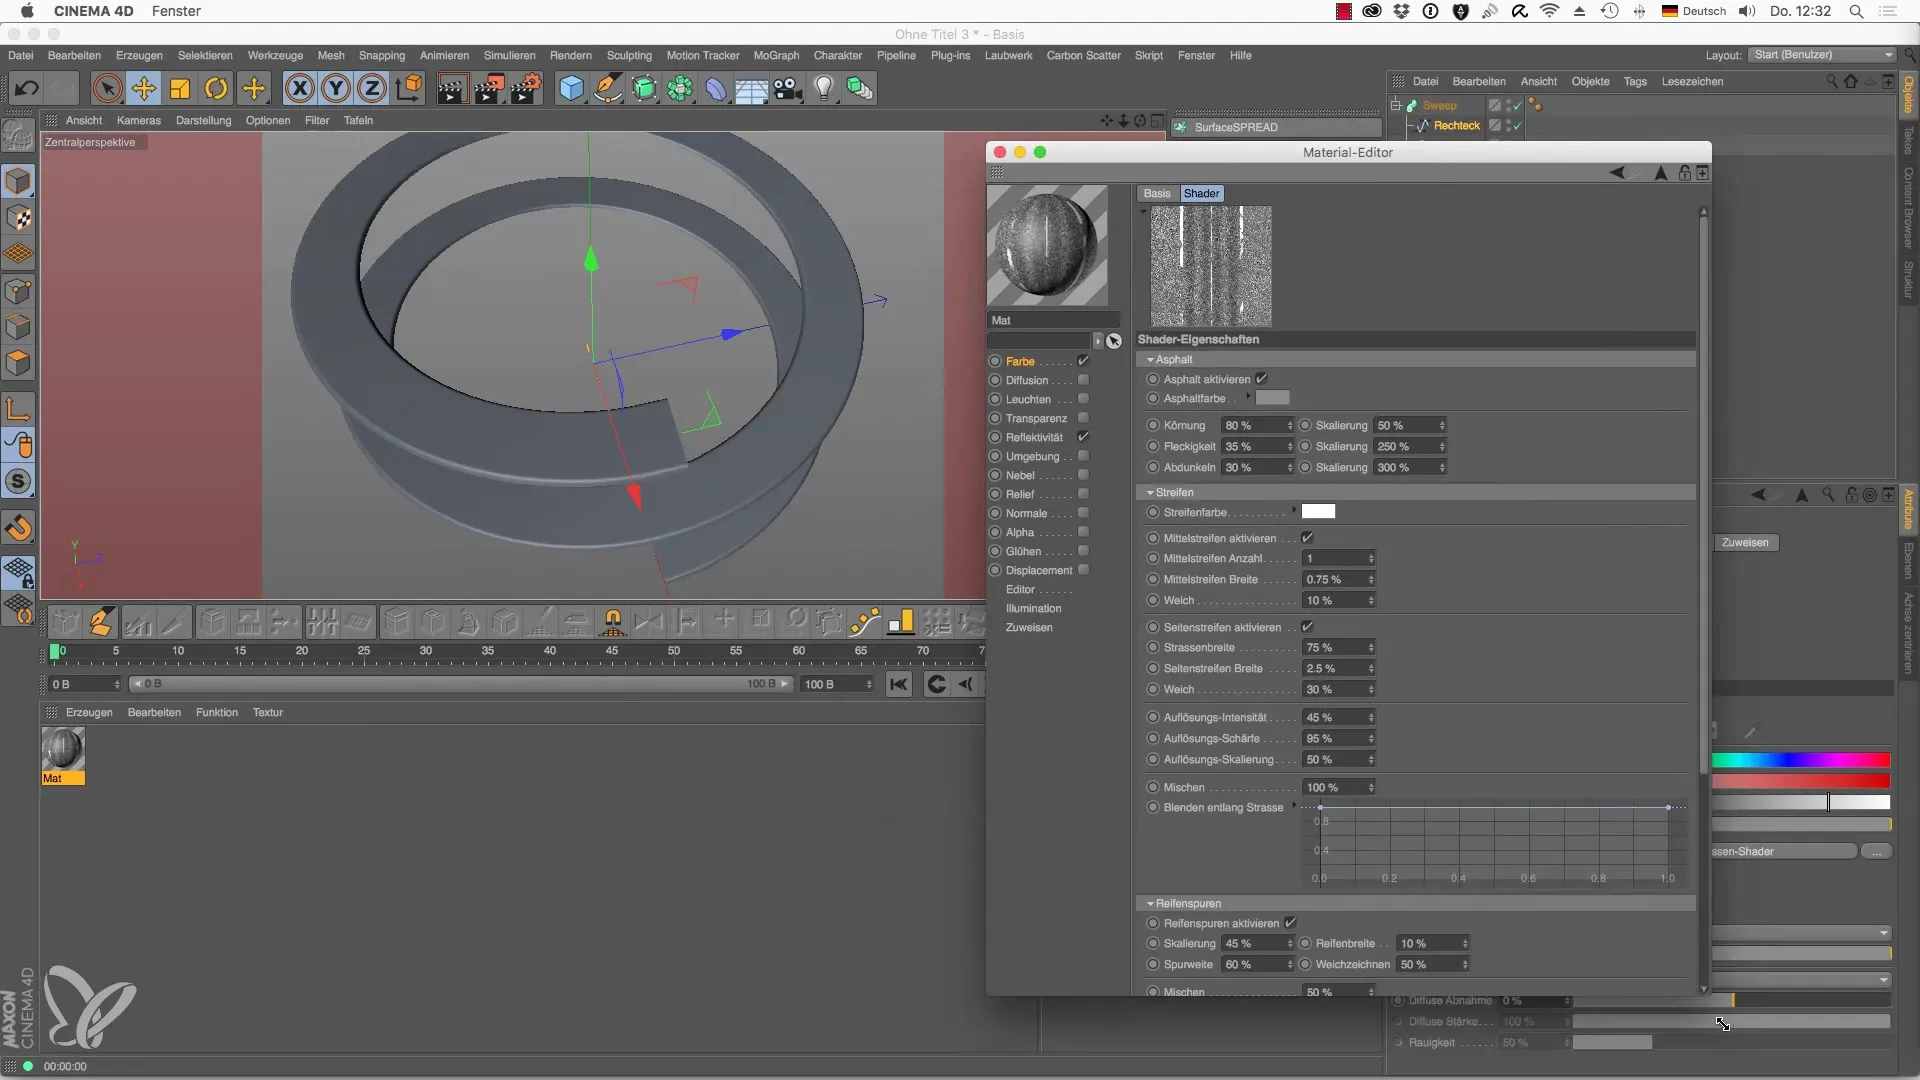
For another interesting texture, you can use the Road Shader. This shader is applied to a road profile and ensures that the road looks good. You have the option to customize the design by enabling a median strip or details such as cracks and tire tracks, making your road appear more realistic.
Tuning the Texture
To ensure that the road doesn’t look uniform, it’s important to change the anti-aliasing settings and minimize repetitions. This gives your texture a practical look, as if it's a physical road rather than a simple tiled graphic.
Finalizing the Scene View
Once you have implemented all the shaders and textures, check the final result in the interactive render area. Pay attention to how the different shaders interact and whether they deliver the desired result. You can make further adjustments as needed.
Summary – Laubwerk Shader for Cinema 4D: Guide to Using SurfaceSPREAD
This tutorial has introduced you to the basics of using SurfaceSPREAD shaders. The careful selection and adjustment of shaders can greatly enhance the resulting scenes. Use these techniques to develop realistic and impressive graphics in your projects. The possibilities are nearly limitless, and with a bit of experimentation, you can achieve stunning results.
Frequently Asked Questions
What are SurfaceSPREAD shaders?SurfaceSPREAD shaders are special textures for Cinema 4D that allow you to assign different material properties to various clones.
How do I add a shader in Cinema 4D?To add a shader, create a new material and load the desired shader through the color channel.
Can I adjust the gradient of the shader?Yes, the gradient can be easily adjusted to achieve different effects or to create color depth.
Are there restrictions on shaders?Yes, not every version of Cinema 4D supports all shaders, so you should check the capabilities of the version you are using.
What are the benefits of SurfaceSPREAD shaders?They offer great flexibility in designing materials and can help create more realistic and creative scenes.
