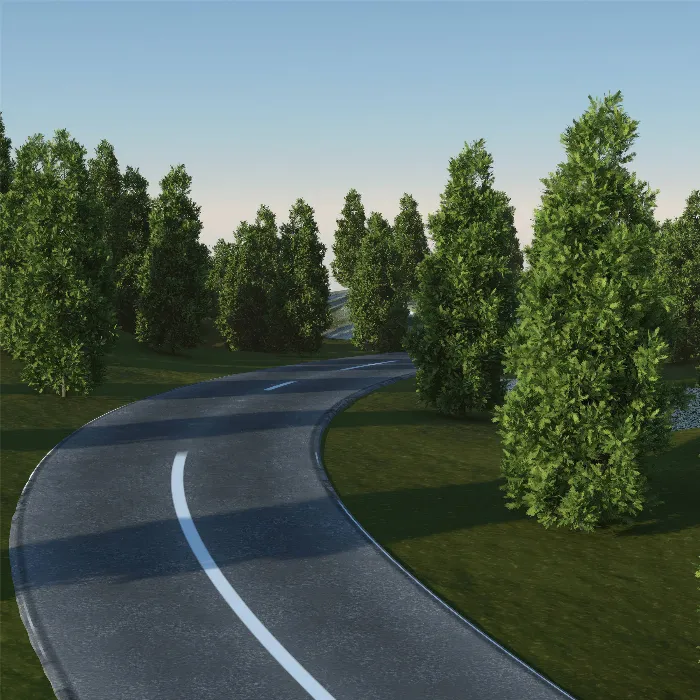
The SPREADscape object in Cinema 4D offers a variety of options to generate complex landscapes. Compared to standard landscape objects, it represents a more comprehensive solution that gives you more control over the shape and appearance of your landscape. This guide will help you understand the basics of the SPREADscape object and show you how to create effective landscapes with it.
Main Findings
- The SPREADscape object is an advanced landscape generator.
- You have the ability to adjust segments for detail accuracy.
- You can use different detail levels to create complex surfaces.
- With the spline tool, you can integrate precise roads and paths.
- Working with materials makes the landscape more lively and realistic.
Step-by-Step Guide
Step 1: Create SPREADscape Object
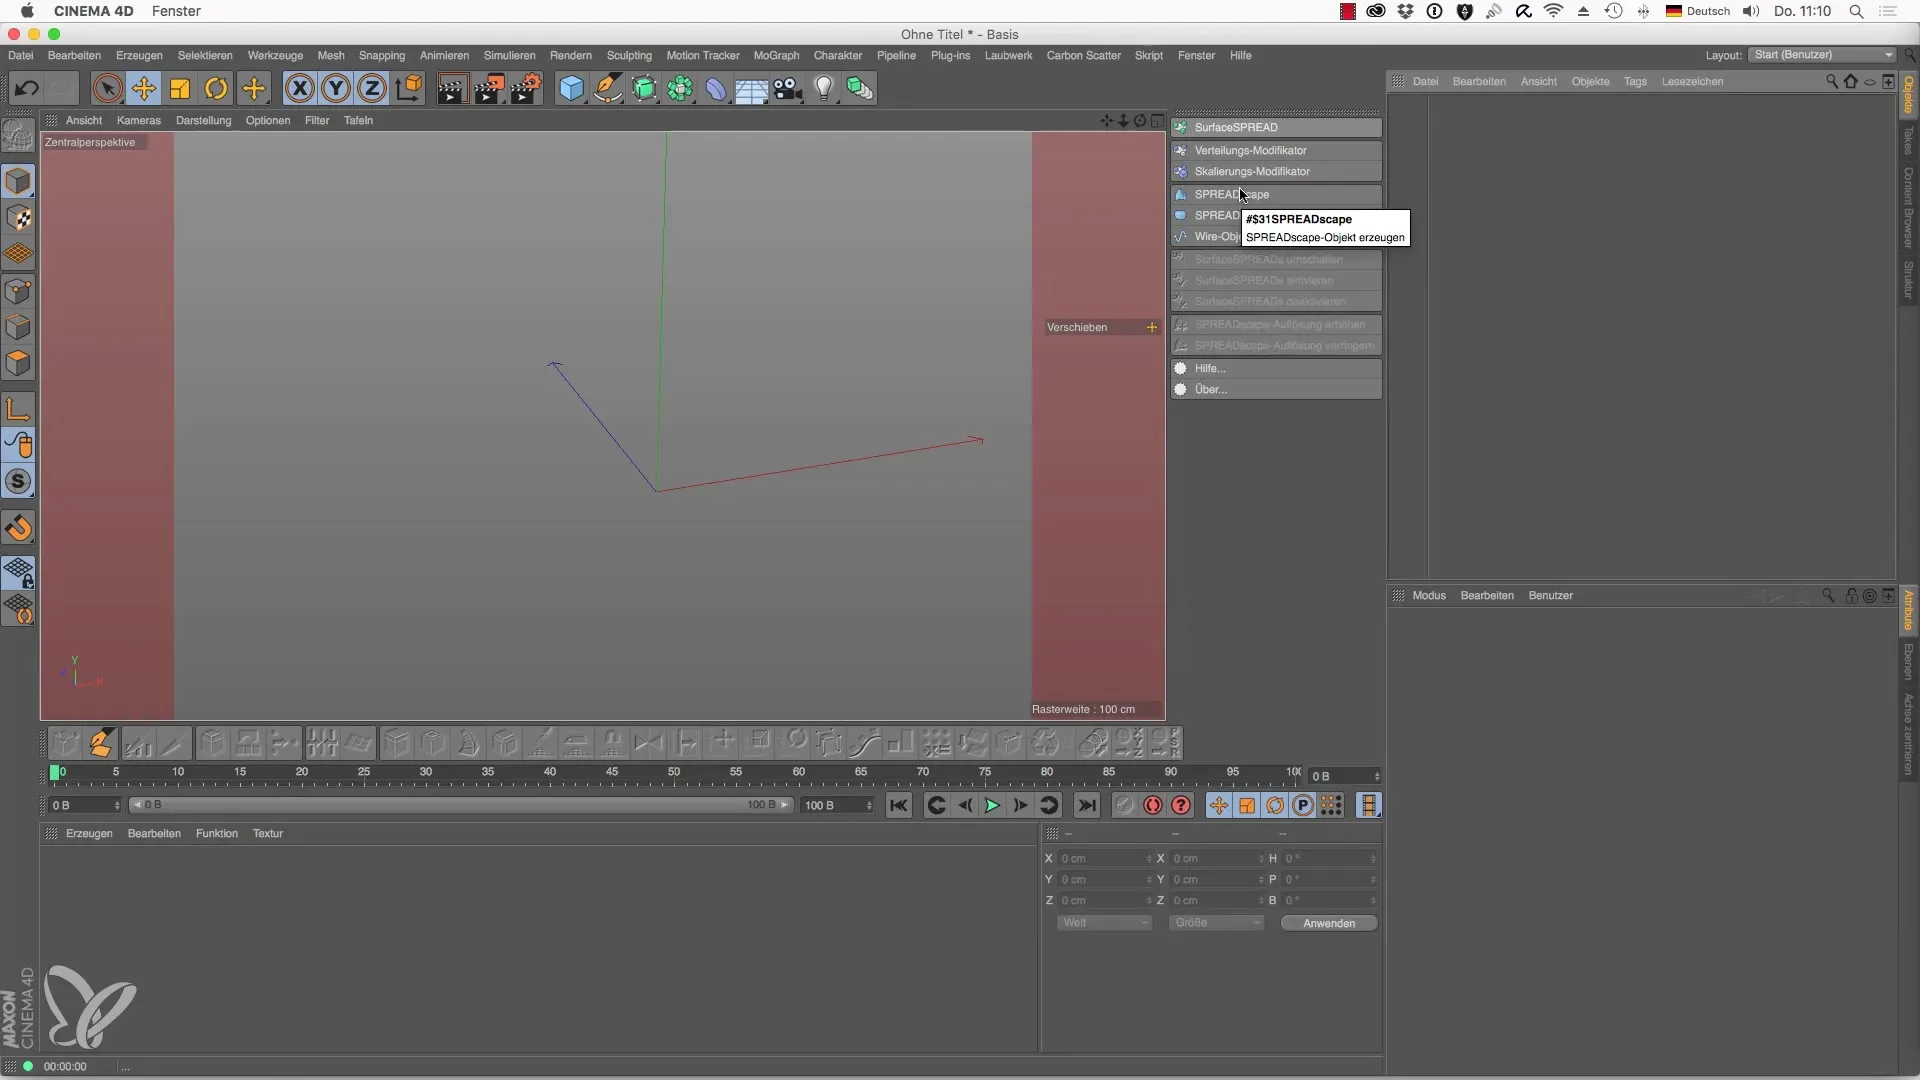
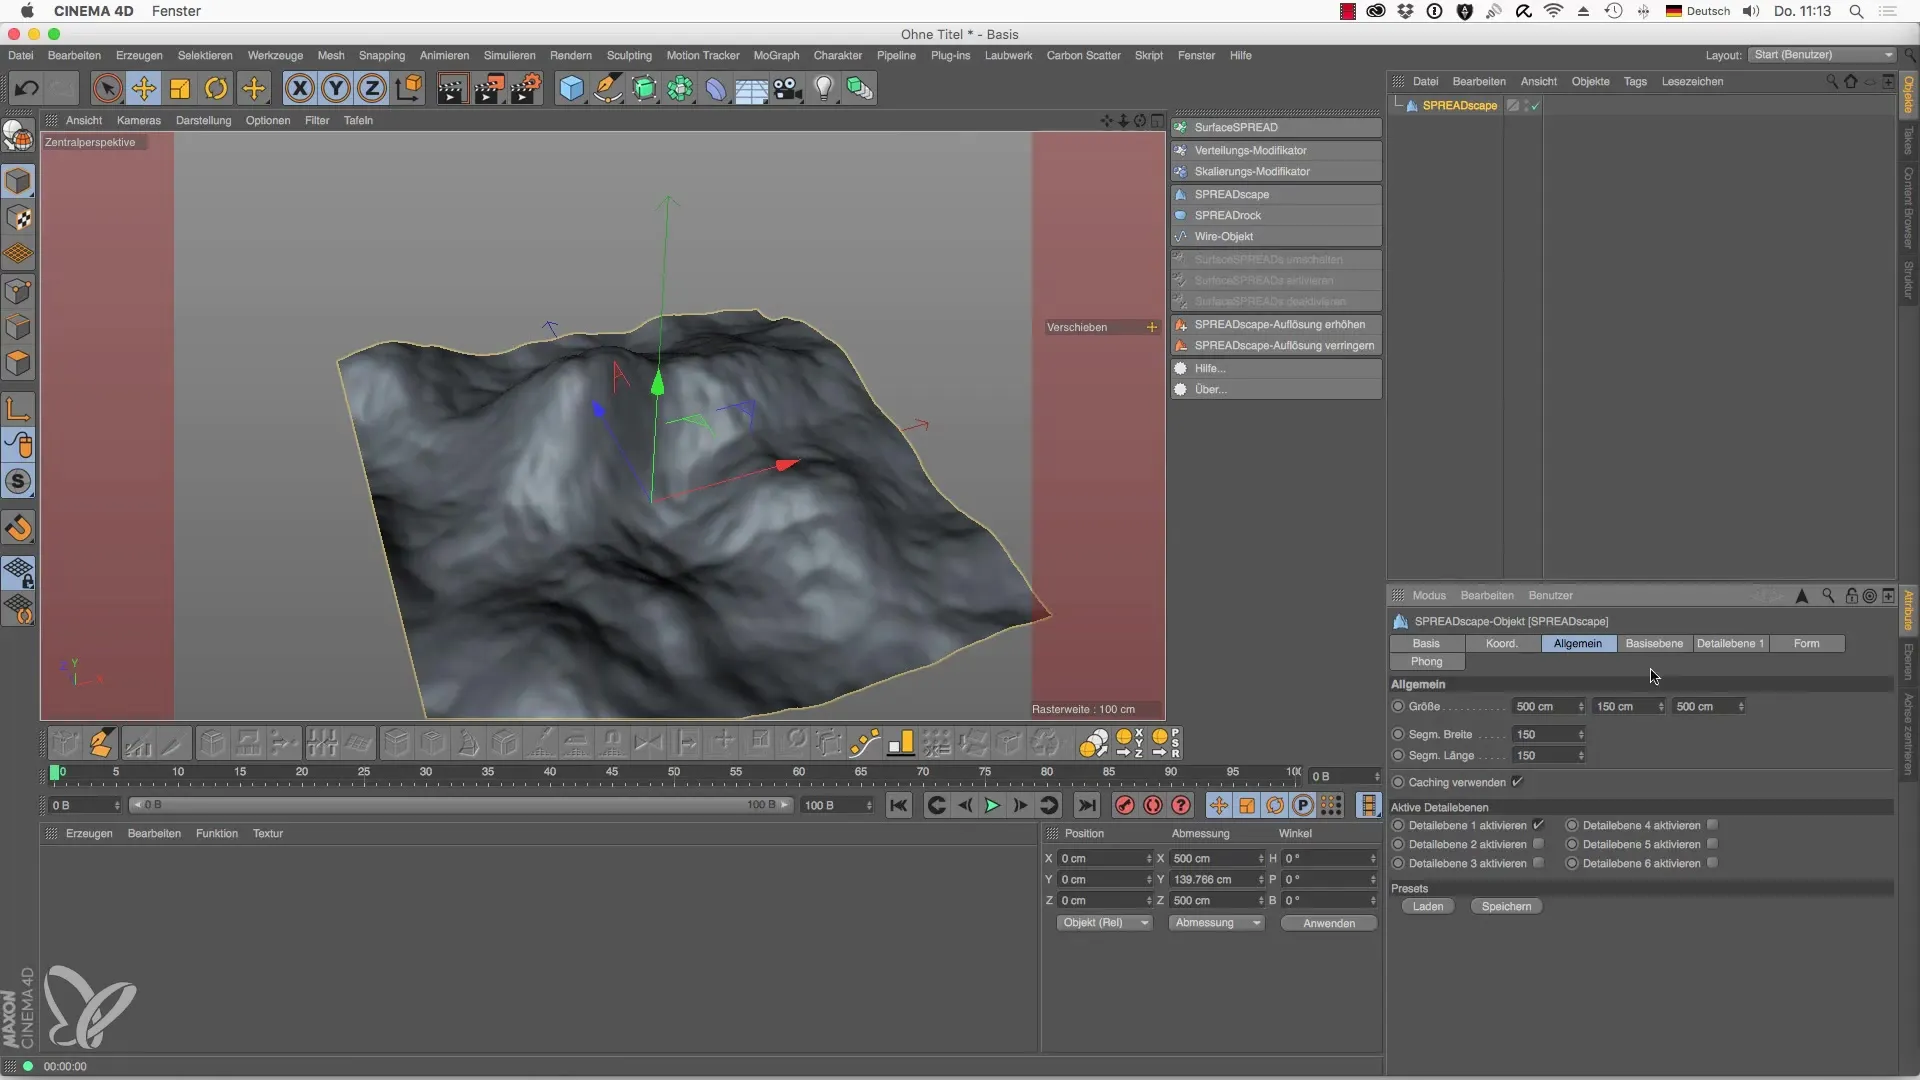
Open Cinema 4D and add a SPREADscape object. This object serves as the foundation for your entire landscape. In its default state, you will see a simple, flat terrain.
Step 2: Adjust General Settings - Dimensions and Segments
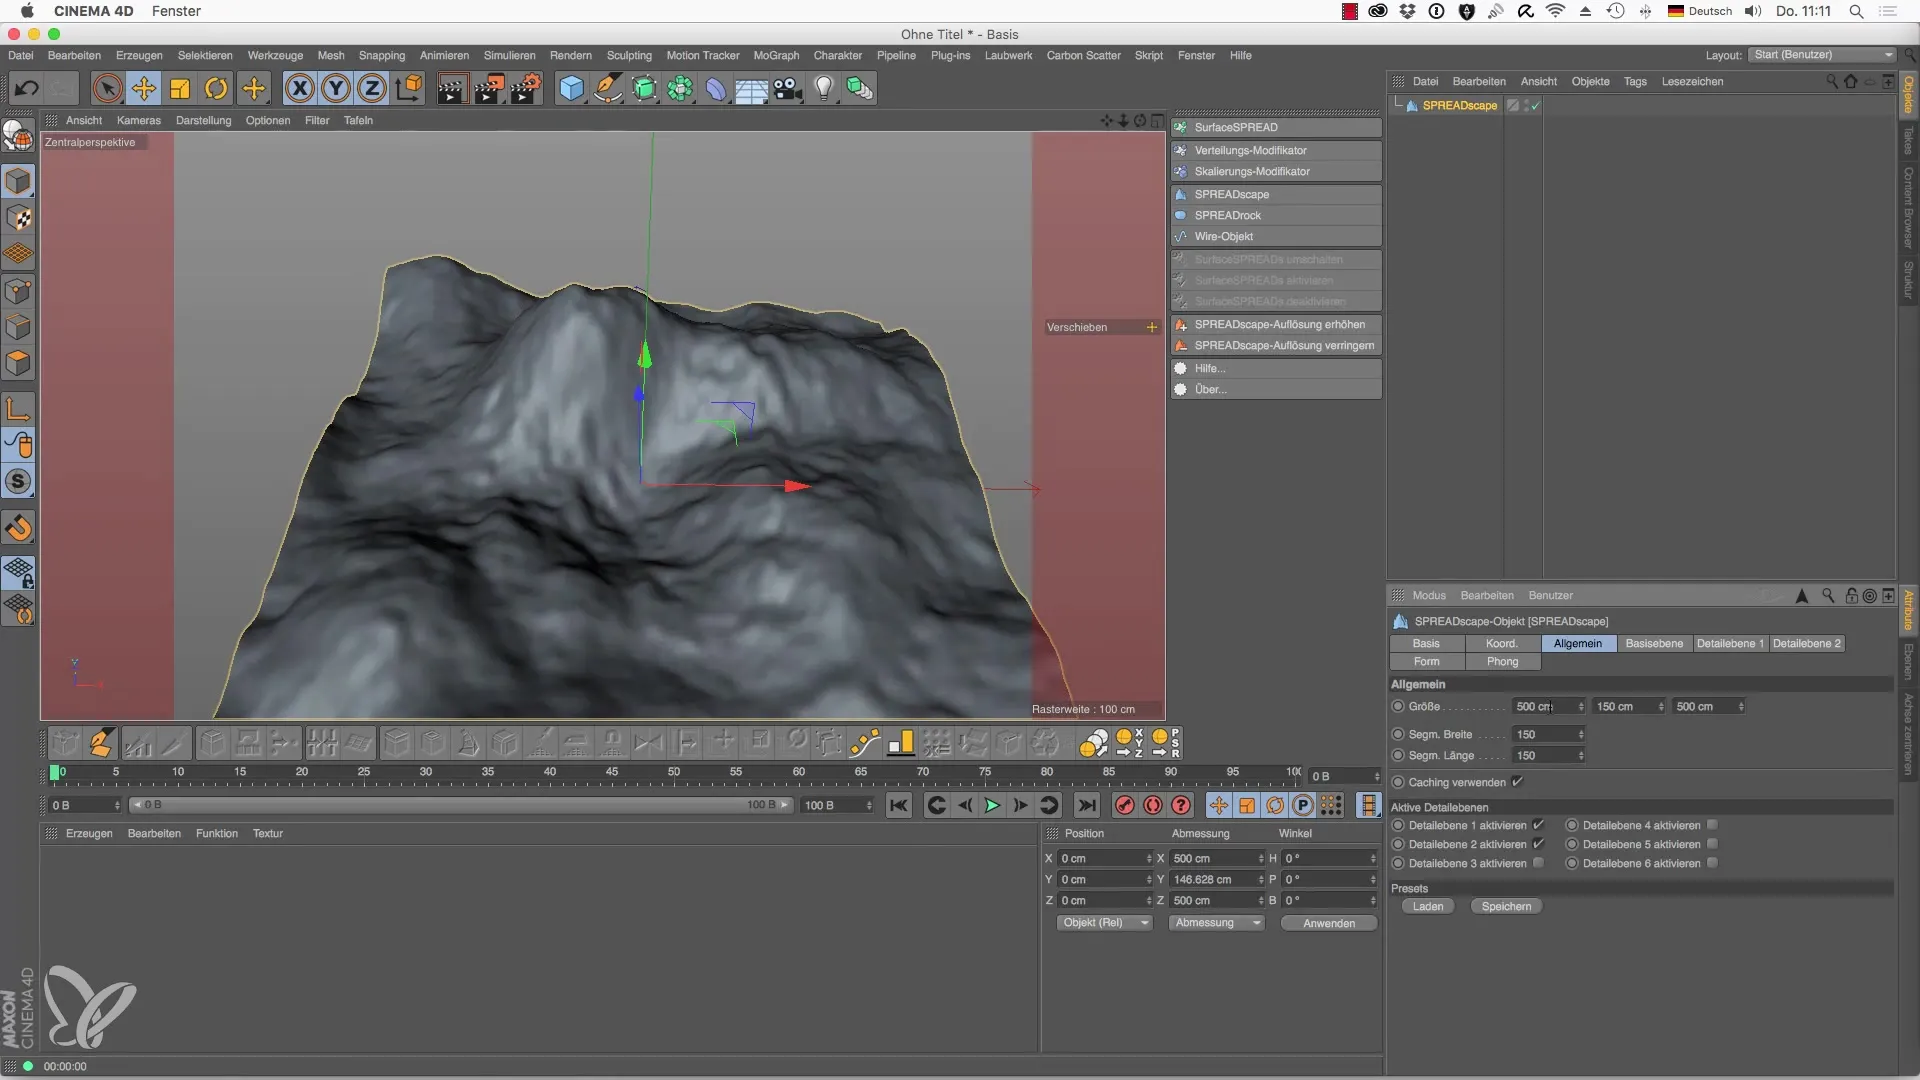
You will find the setting options for the SPREADscape object under the “General” tab. Here you can adjust the width, height, and depth of your landscape. Don’t forget to change the segments as well. Higher values lead to more detailed outputs.
Step 3: Enable and Adjust Detail Levels
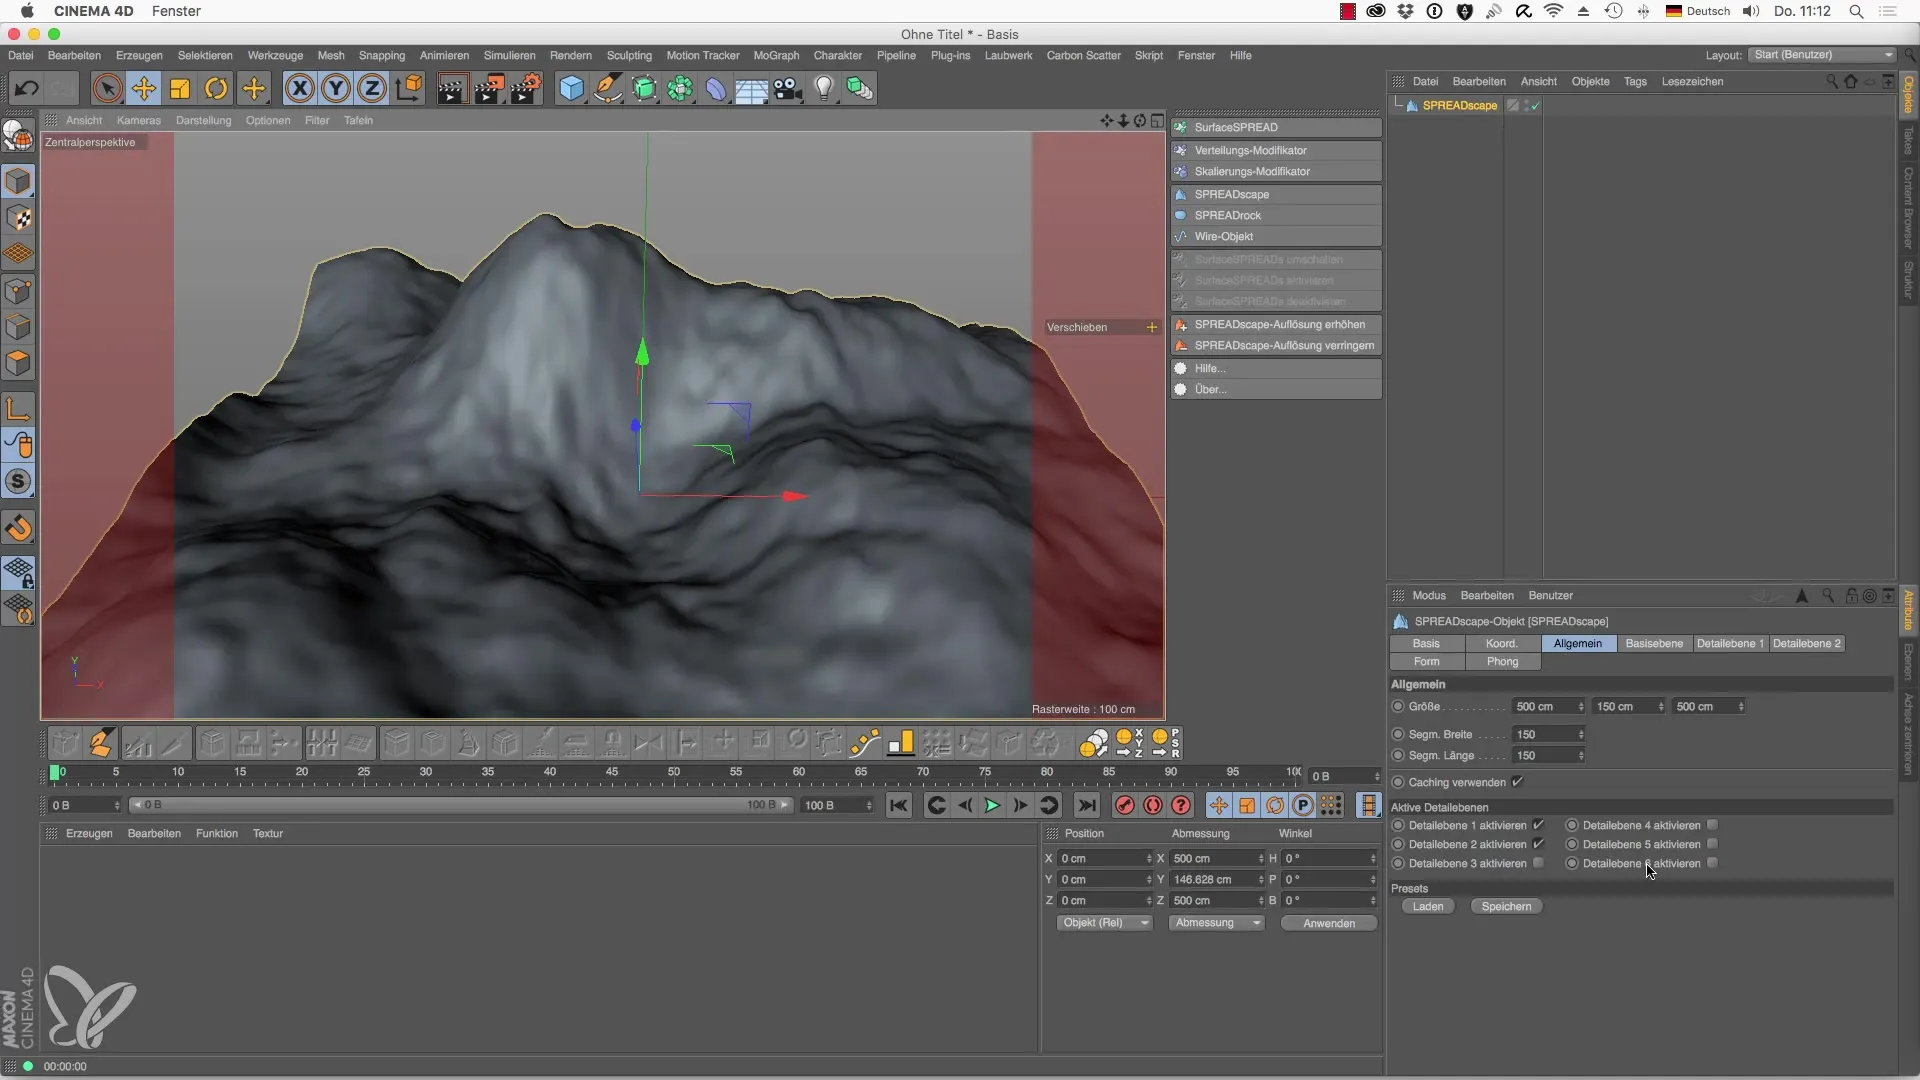
Six detail levels are available to you. By default, two are activated. Activate Detail Level 1 and experiment with the different turbulences. You can reduce the height values to make the terrain more interesting.
Step 4: Control Detail Levels
Each detail level allows you to achieve different effects. For example, you can change the type of representation through the blend mode, achieving different visual effects. You can access presets to get interesting results right away.
Step 5: Add Spline Objects to the Landscape
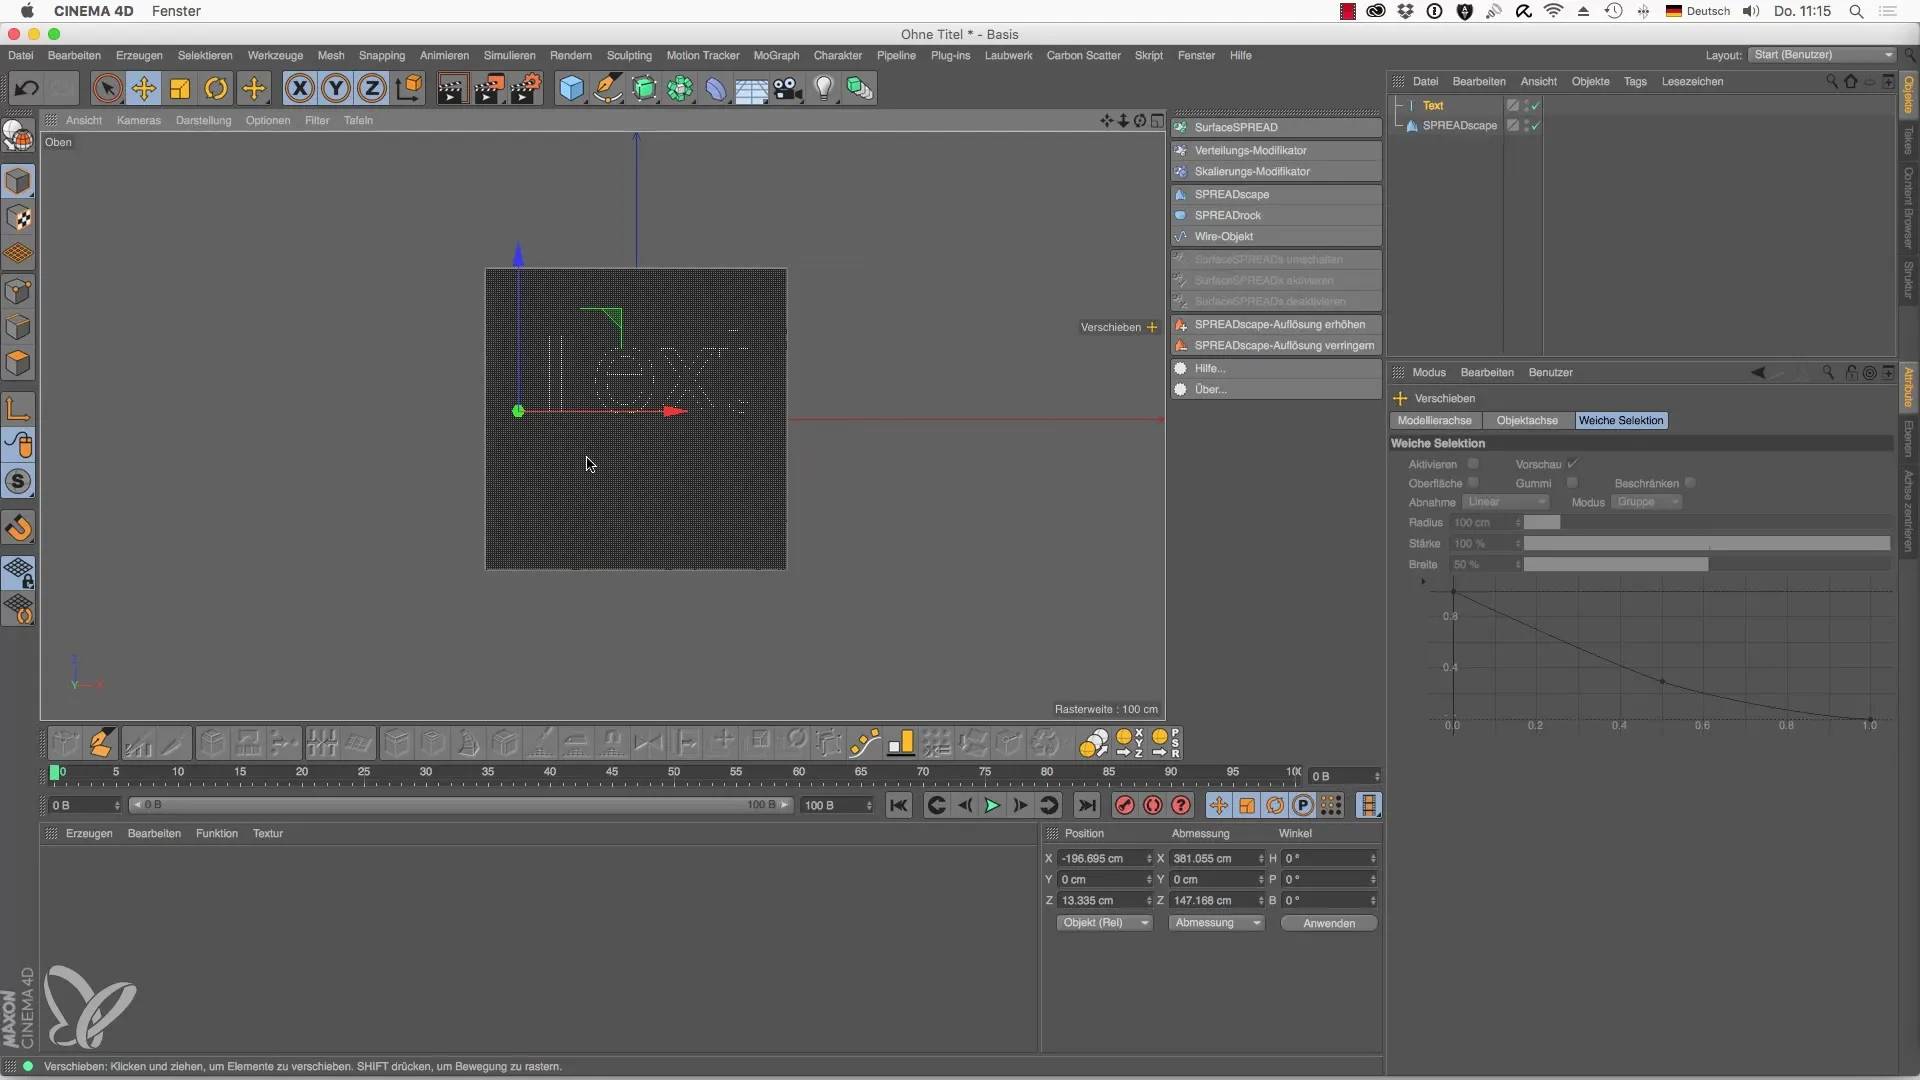
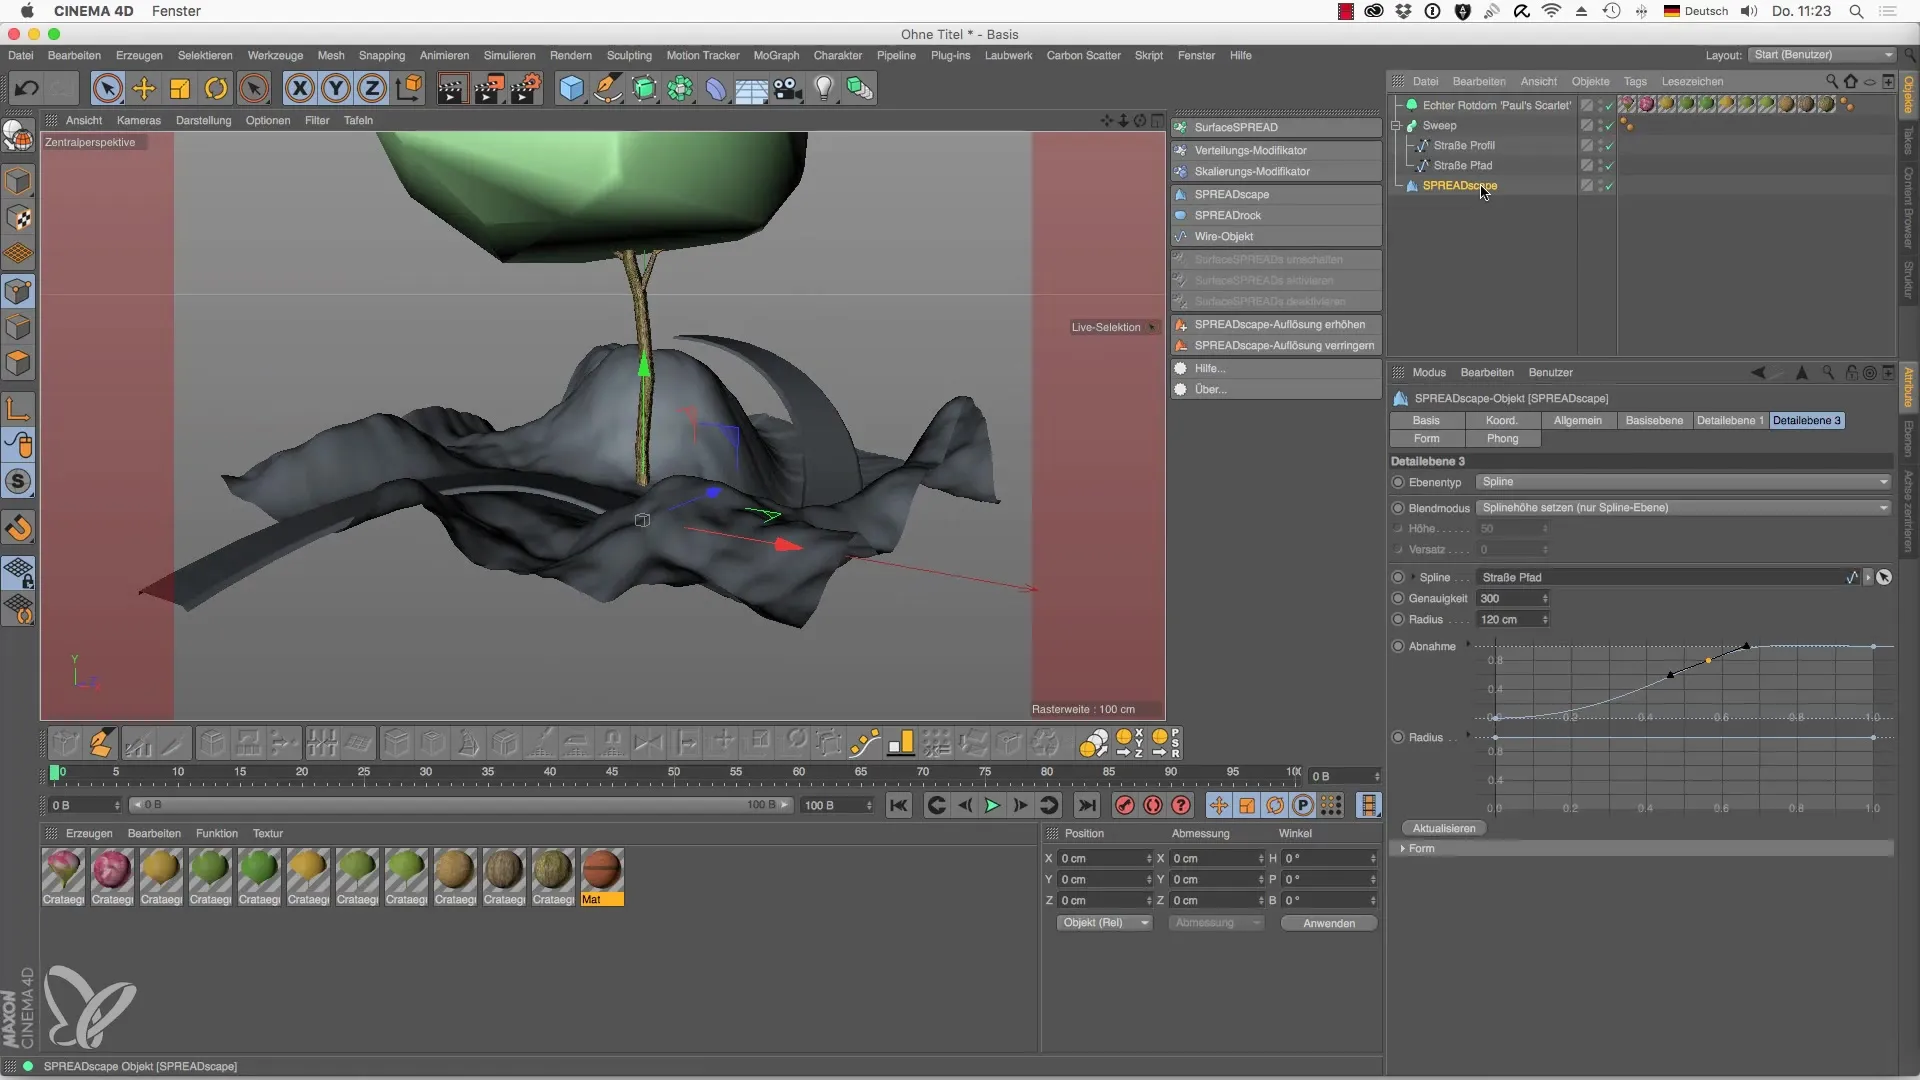
To integrate more concrete shapes into your terrain, you can use spline objects. Switch to the top view and add a new spline. Position this spline to represent the desired shape of your road and affect the elevation profile of the landscape.
Step 6: Create Road Profiles
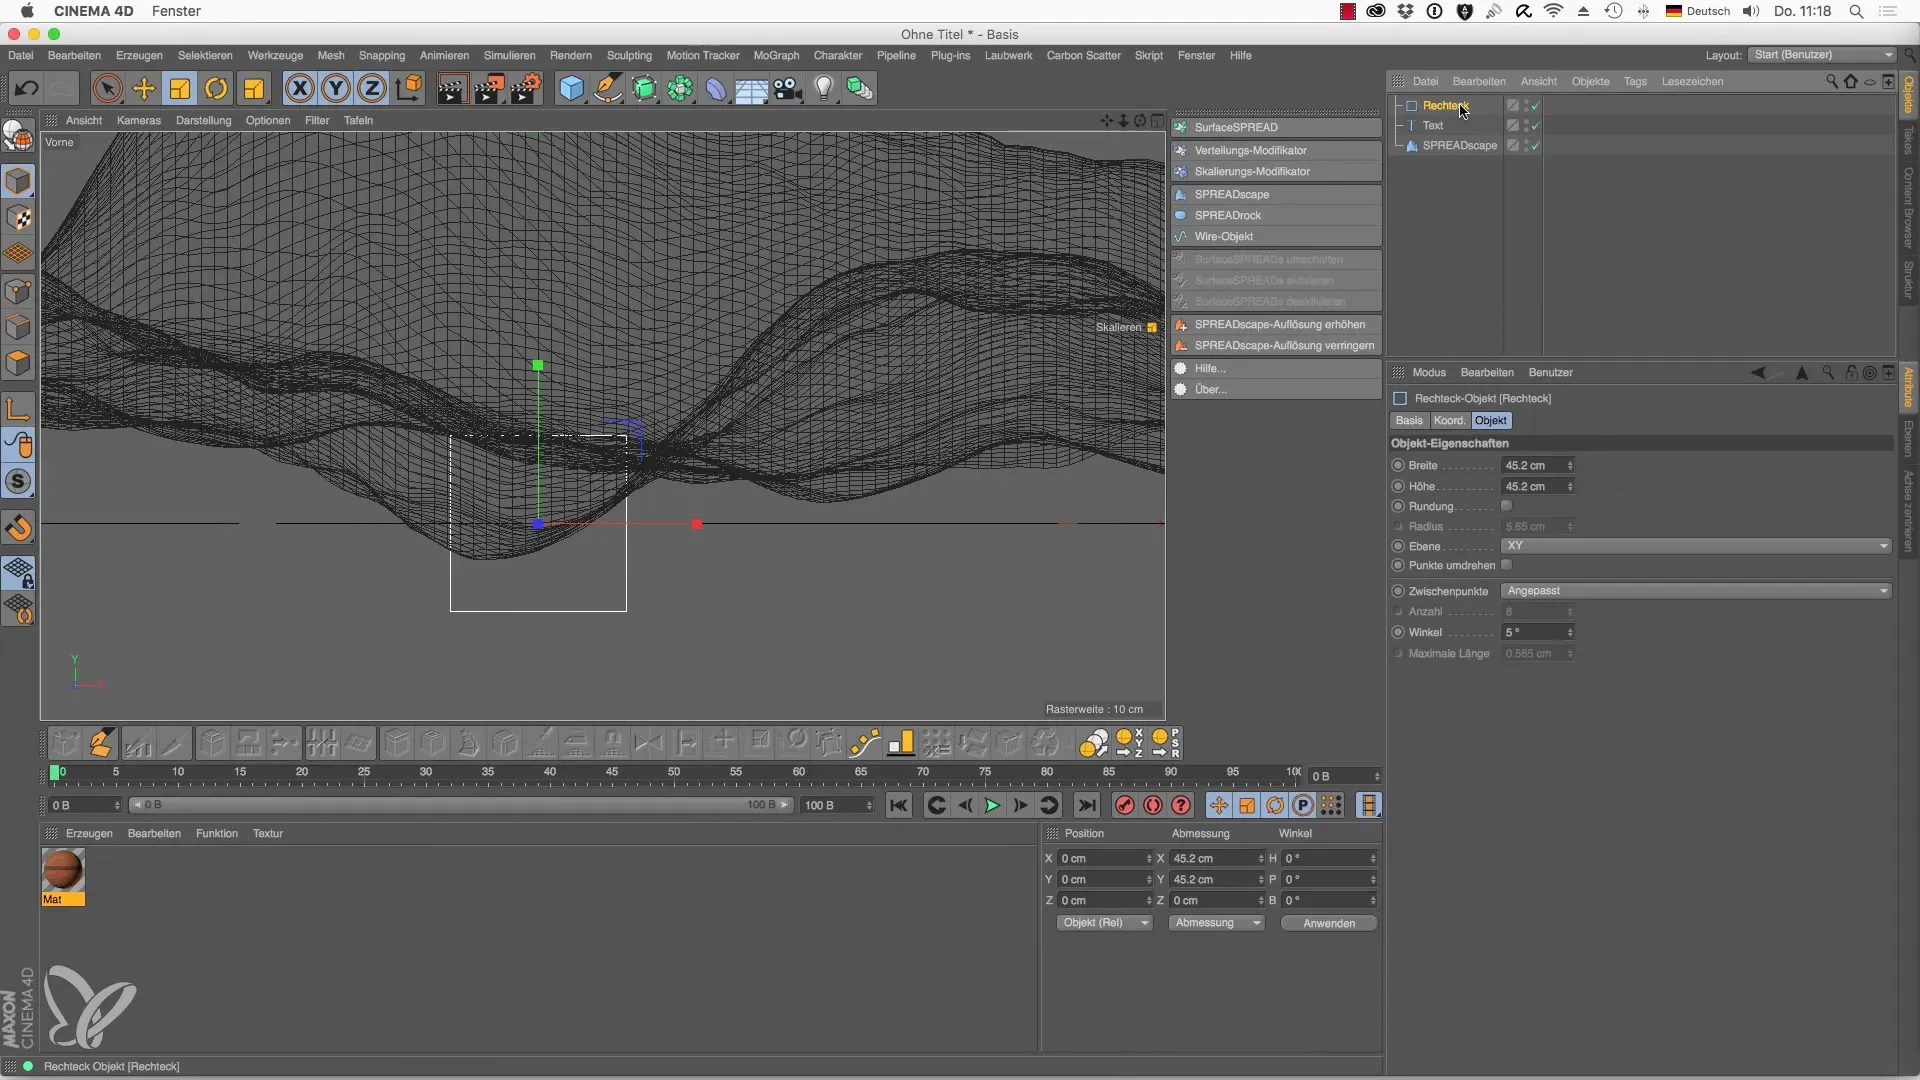
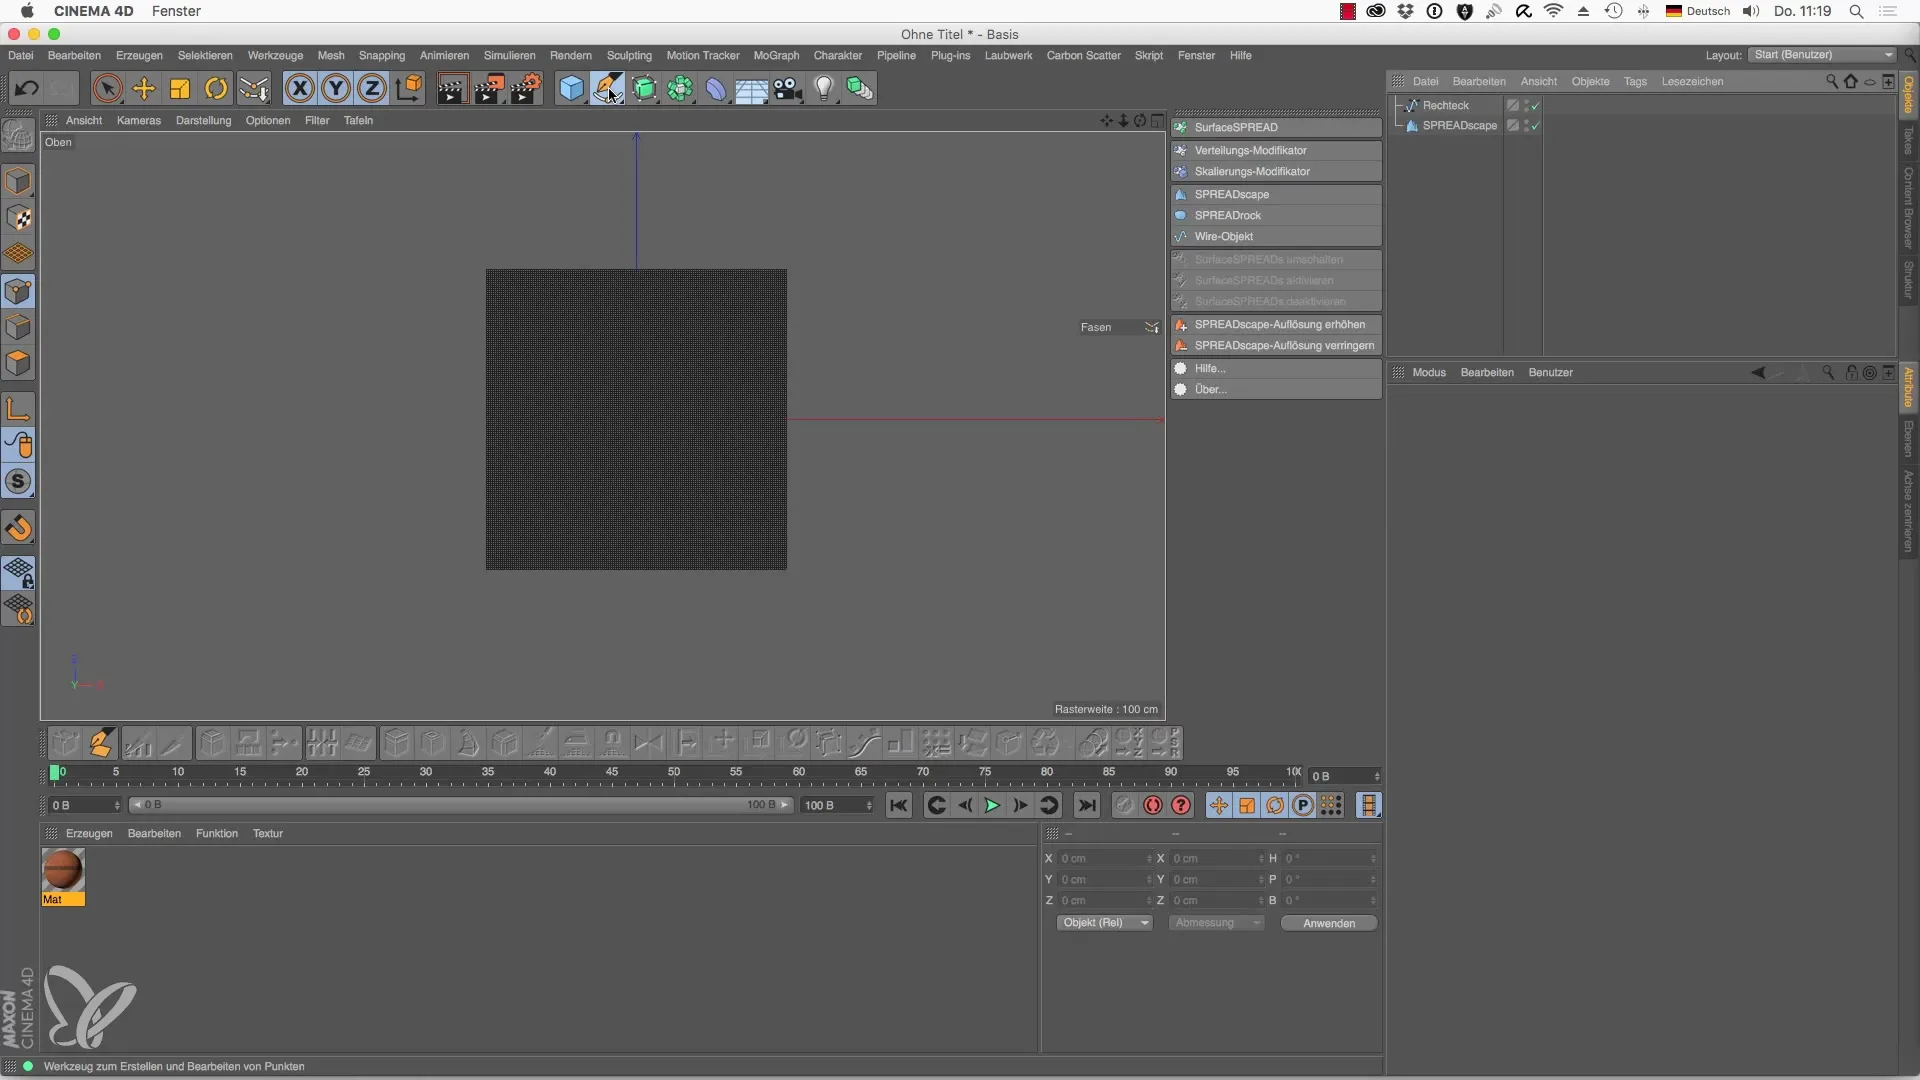
With the rectangle tool, you can define the shape of your road. Convert this rectangle into a spline object. Through point mode, you will be able to define the opening in your road.
Step 7: Adjust Elevation Profile
To create a realistic elevation for your road, use the elevation profile tool. Ensure that the road integrates well into the terrain.
Step 8: Add Vegetation
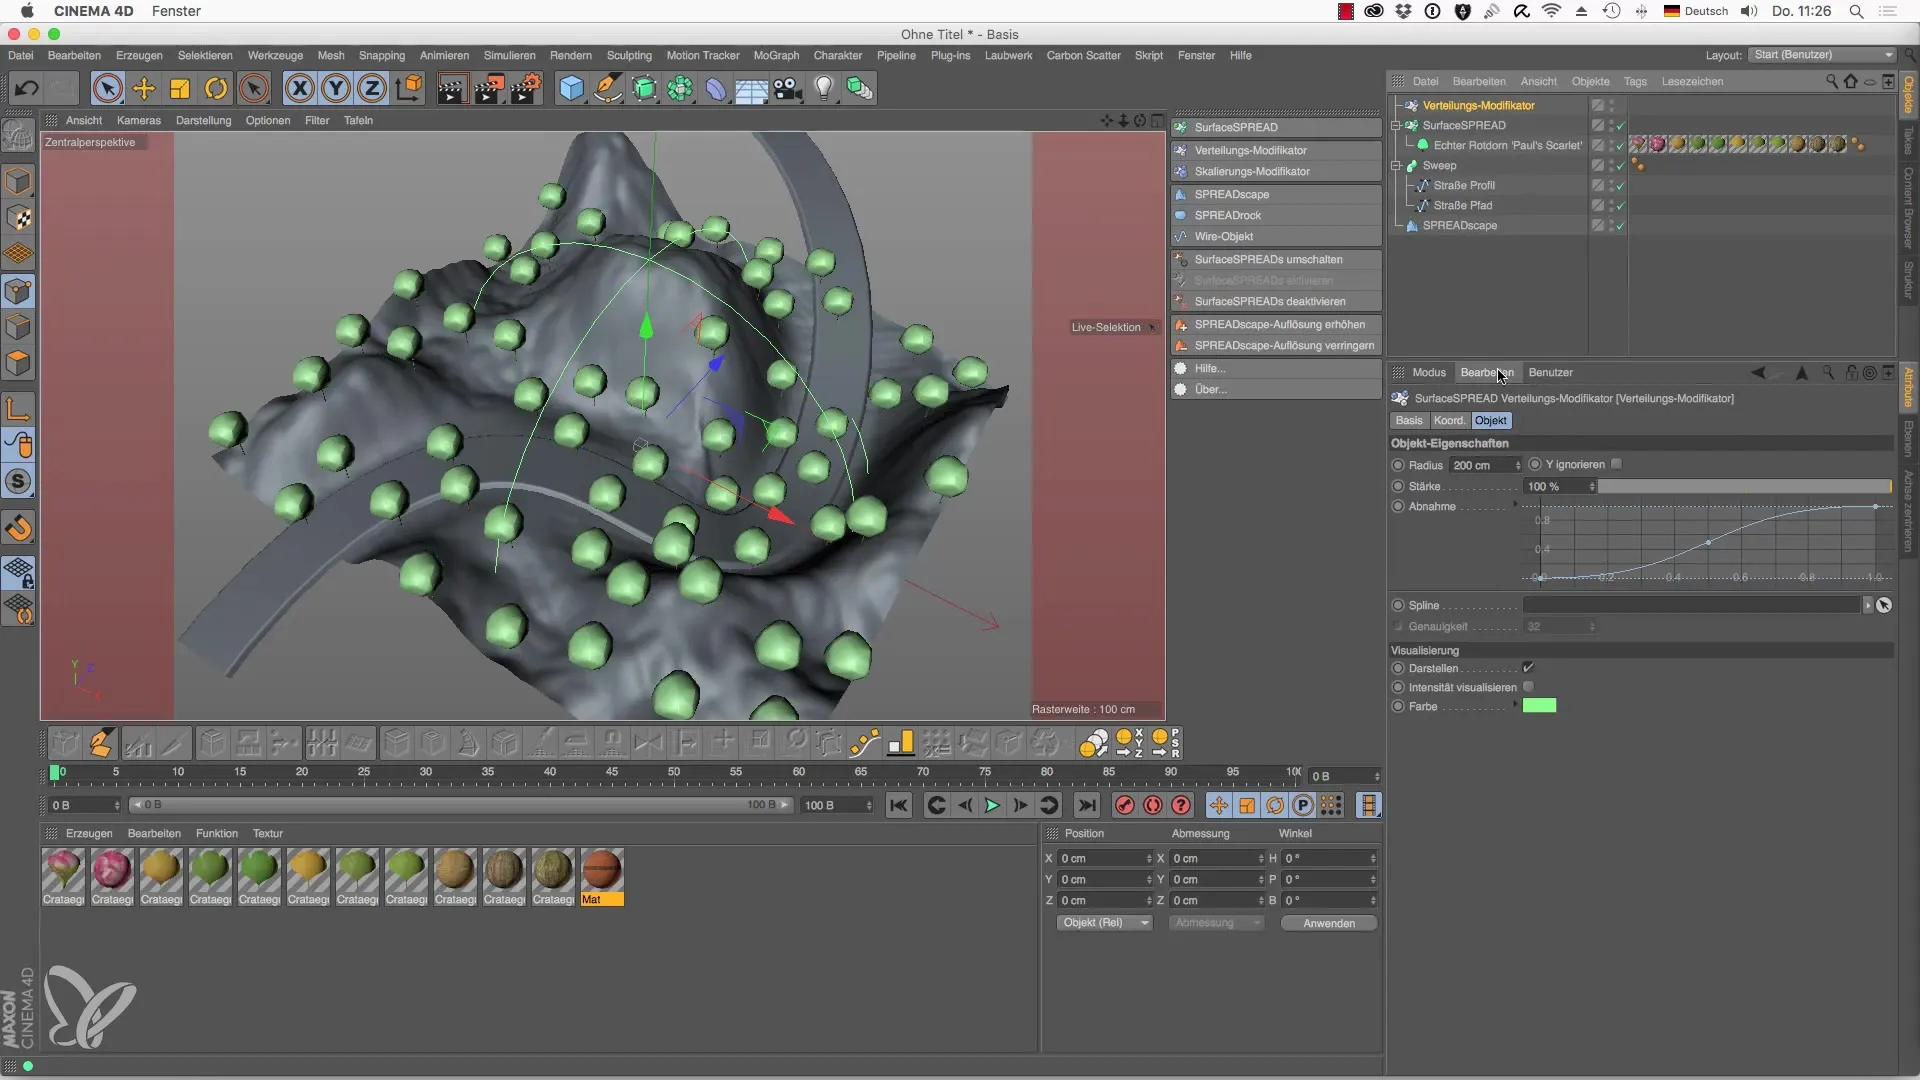
To make your landscape more lively, you can select trees from the foliage kit. Ensure that the trees are proportional to the landscape size and adjust the scaling accordingly.
Step 9: Modifiers for Tree Distribution
To ensure that plants and trees do not stand on the road, use the “Filter by Modifier” modifier. Assign the tree distribution to the spline you created earlier.
Step 10: Save and Apply Landscape
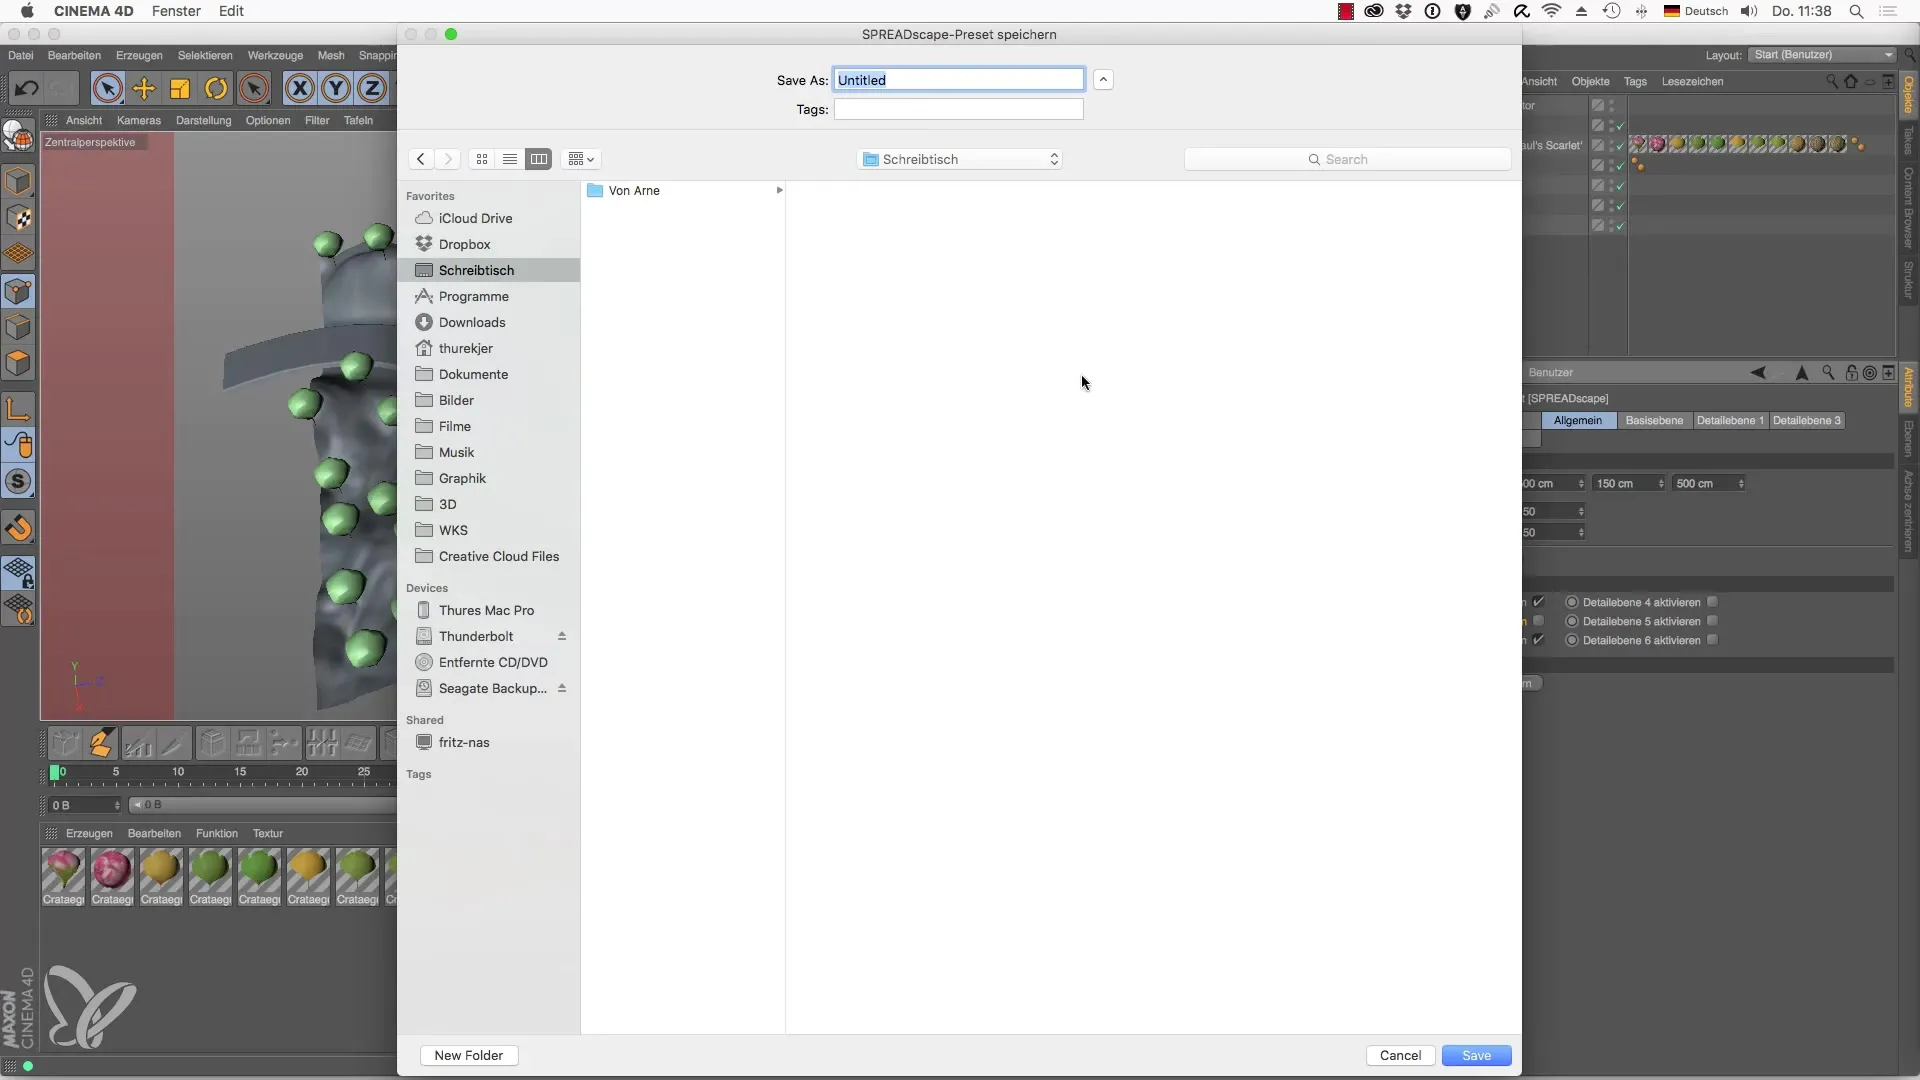
When your landscape is designed to your satisfaction, save your preset. This way, you can later revert to this specific landscape and use it in new projects.
Summary - SPREADscape Object for Cinema 4D: Create Impressive Landscapes
The SPREADscape object in Cinema 4D provides everything needed to generate impressive and detailed landscapes. With the detail levels, clever use of splines, and adjustment of road profiles, you can fully realize your creative ideas. Utilize the steps presented to achieve great results quickly.
Frequently Asked Questions
How can I increase the quality of my landscape?Increase the number of segments in the SPREADscape object.
Can I apply different materials to the landscape?Yes, you can apply materials to individual detail levels to create different surfaces.
How do I add trees or other objects to my landscape?Use the foliage kit and modify the distribution of trees through filter and modifier settings.
