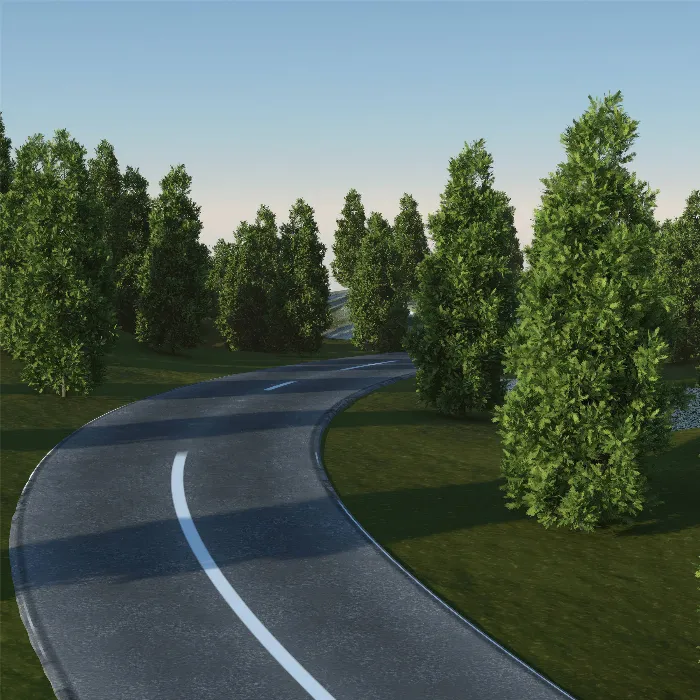
In the field of 3D modeling, it is important to create realistic and engaging landscapes. The SPREADrock object in Cinema 4D gives you the ability to easily generate different stone structures. In this guide, you will learn how to use the SPREADrock generator to achieve impressive stone effects for your projects.
Key Insights
- SPREADrock is a versatile stone generator.
- You can use different basic shapes such as sphere, cube, or pyramid.
- Adjusting subdivisions and structure allows for detailed results.
- Custom polygon objects can be easily adjusted and integrated into the system.
- Presets can be saved to reuse your creations later.
Step-by-Step Guide
1. Create SPREADrock Object
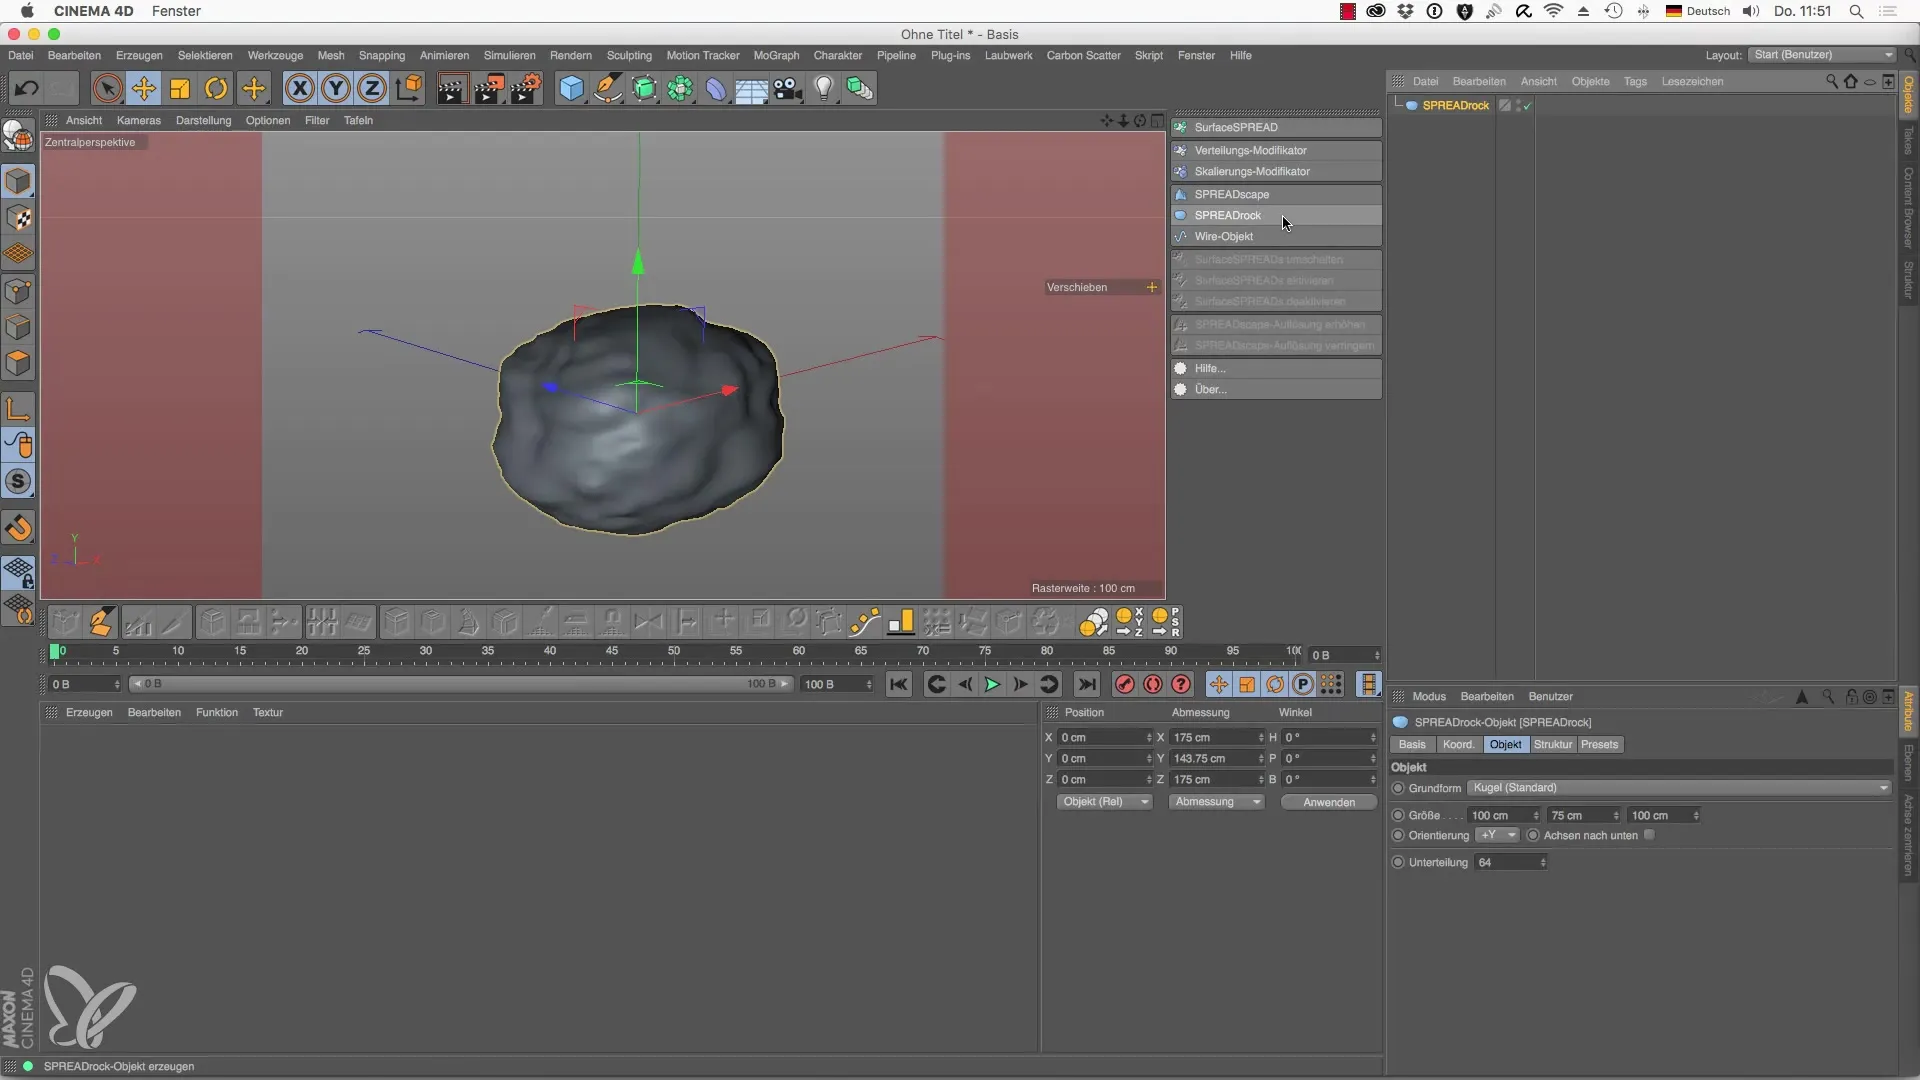
Start by creating the SPREADrock object in your Cinema 4D project. To do this, select the SPREADrock object from the menu. You will notice that the basic shape is set to sphere by default. However, you can adjust this at any time.
2. Adjust Basic Shape
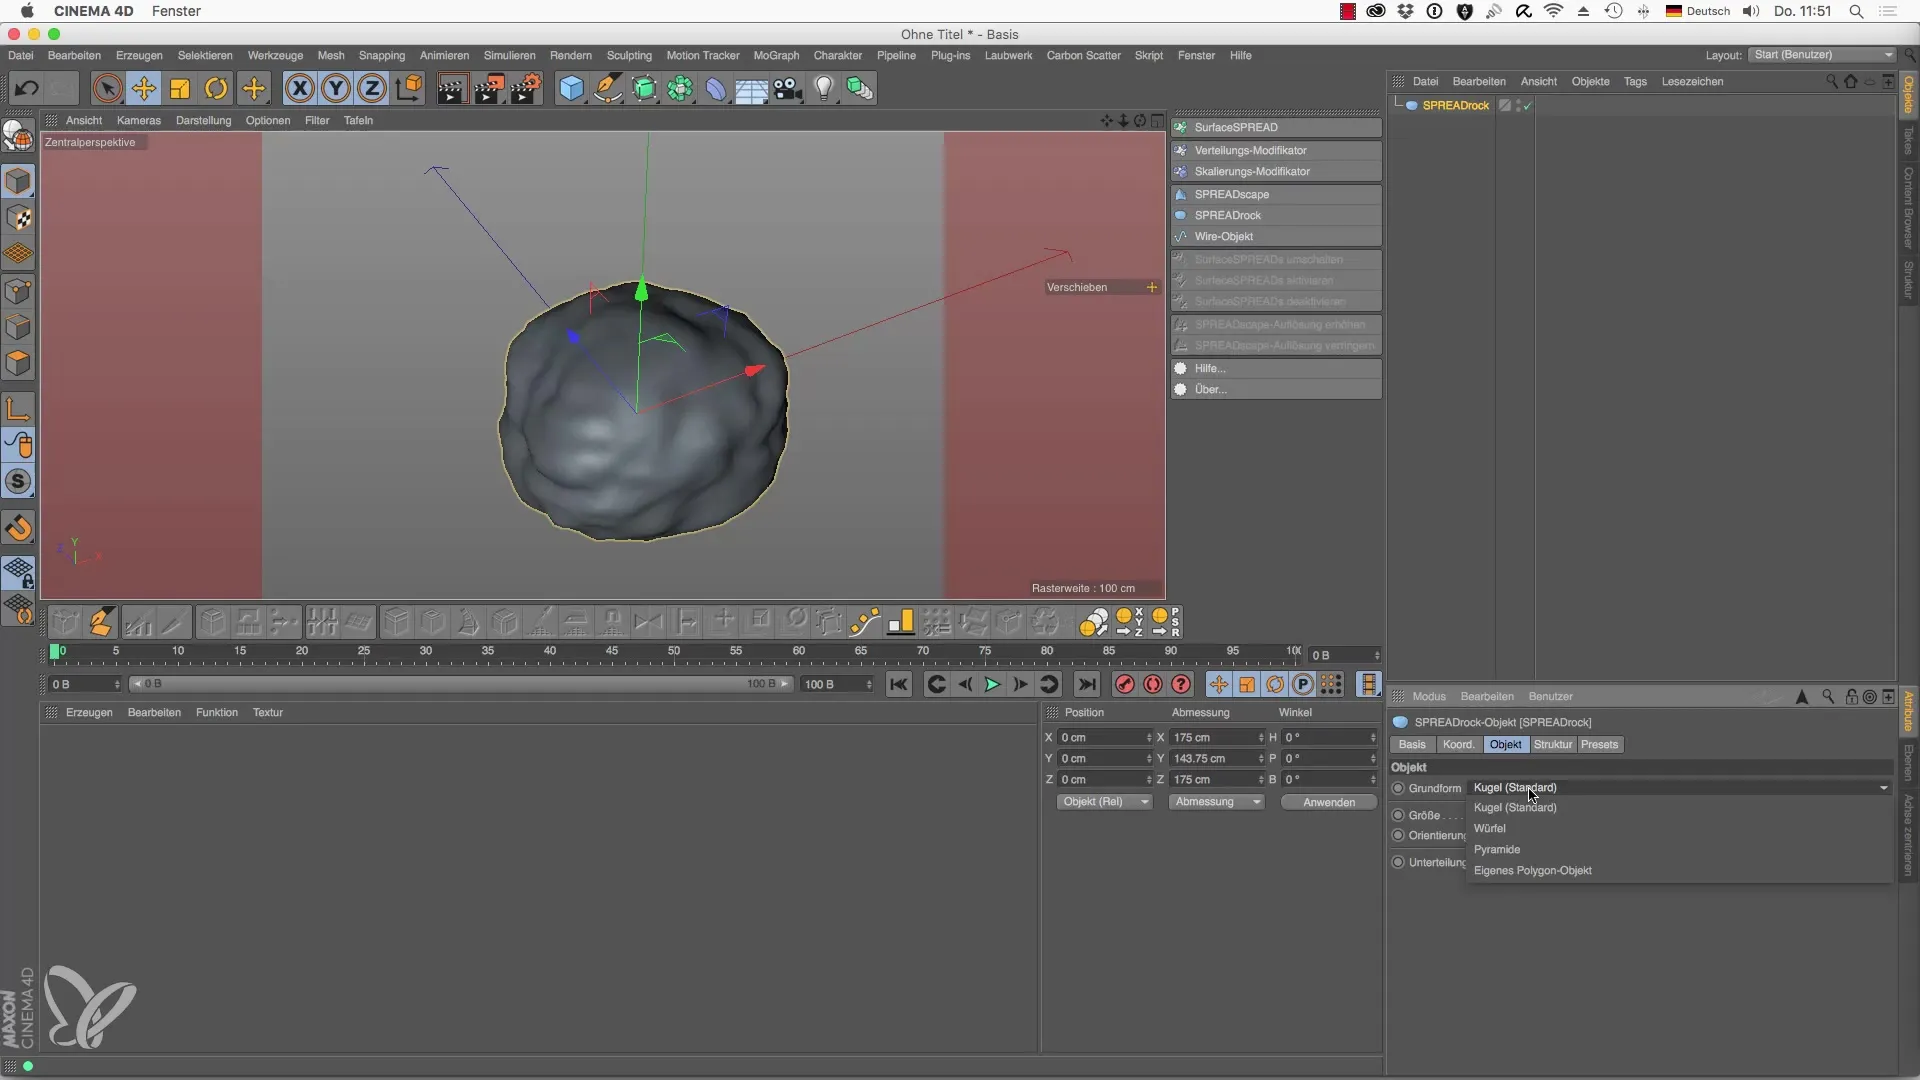
If you want to generate a different shape, like a cube or a pyramid? Go to the settings of the SPREADrock object and change the basic shape accordingly. A simple cube shape could provide an interesting base for your stone.
3. Increase Subdivisions
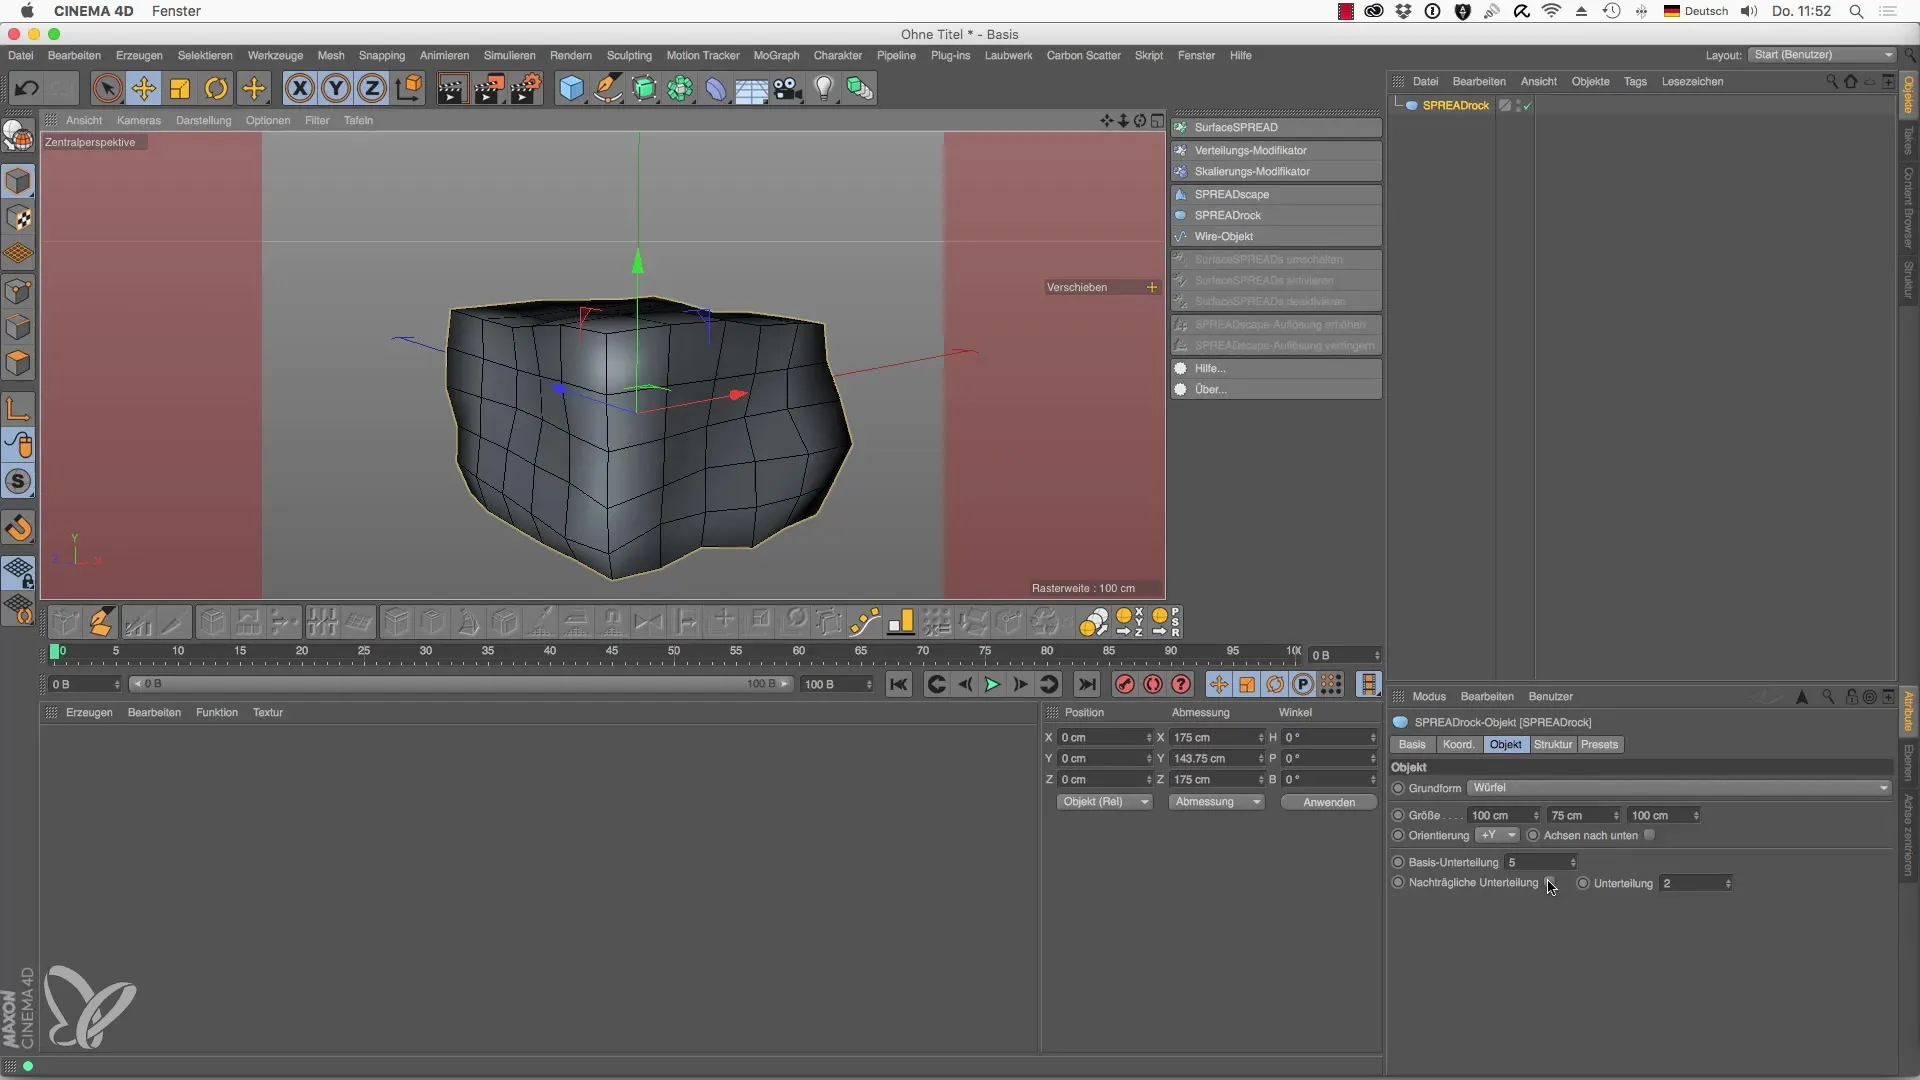
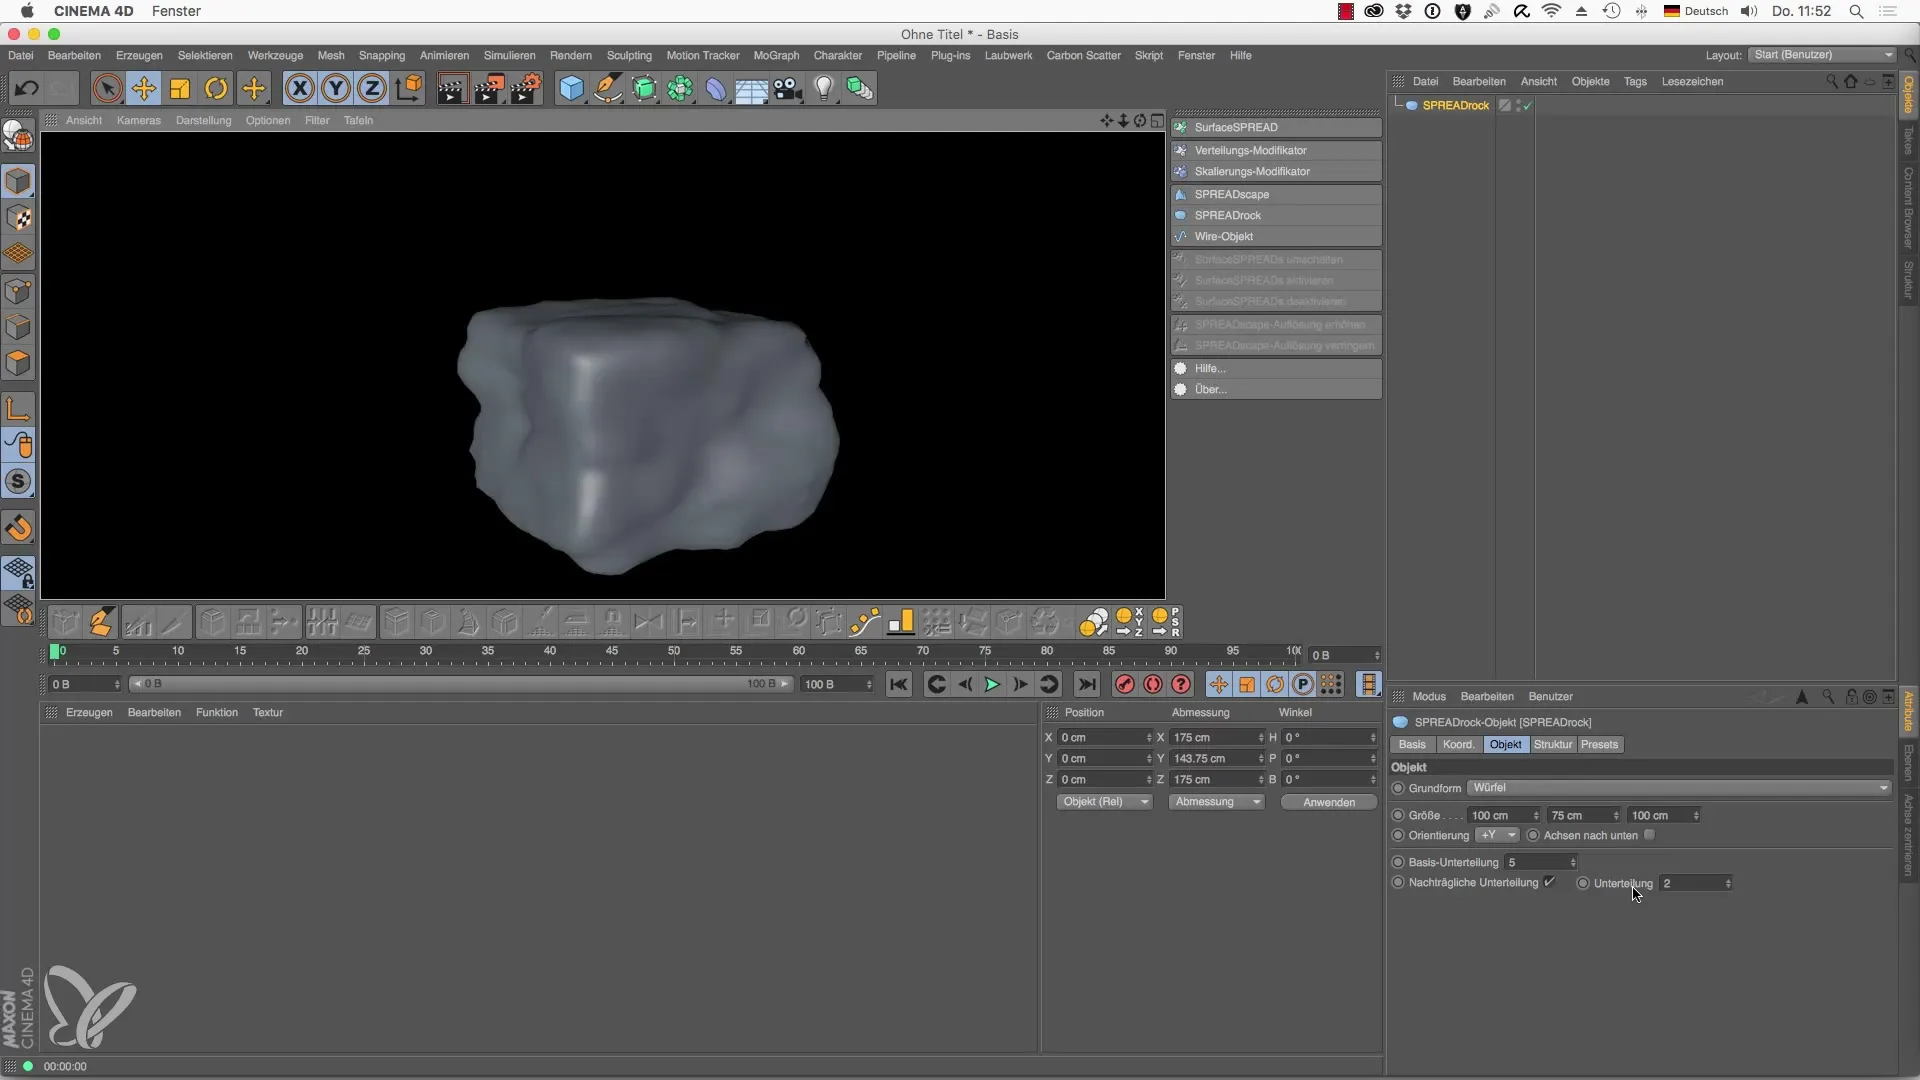
To give your stone structure more depth and detail, you should increase the subdivision of the basic shape. Under the "Base Subdivision" option, you can modify the value and thereby refine the starting structure.
4. Activate Line Mode
Now switch to line mode to further refine the structure of your stones. Using the "After Click Subdivision," you can add additional lines that give your model more dimensions.
5. Add Subdivision Surface
To smooth the edges of your stone structure, you can use the Subdivision Surface. By increasing the corresponding values, you can make the edges softer and achieve more realistic results. It is important to keep in mind that too many subdivisions can affect performance.
6. Adjust Structure
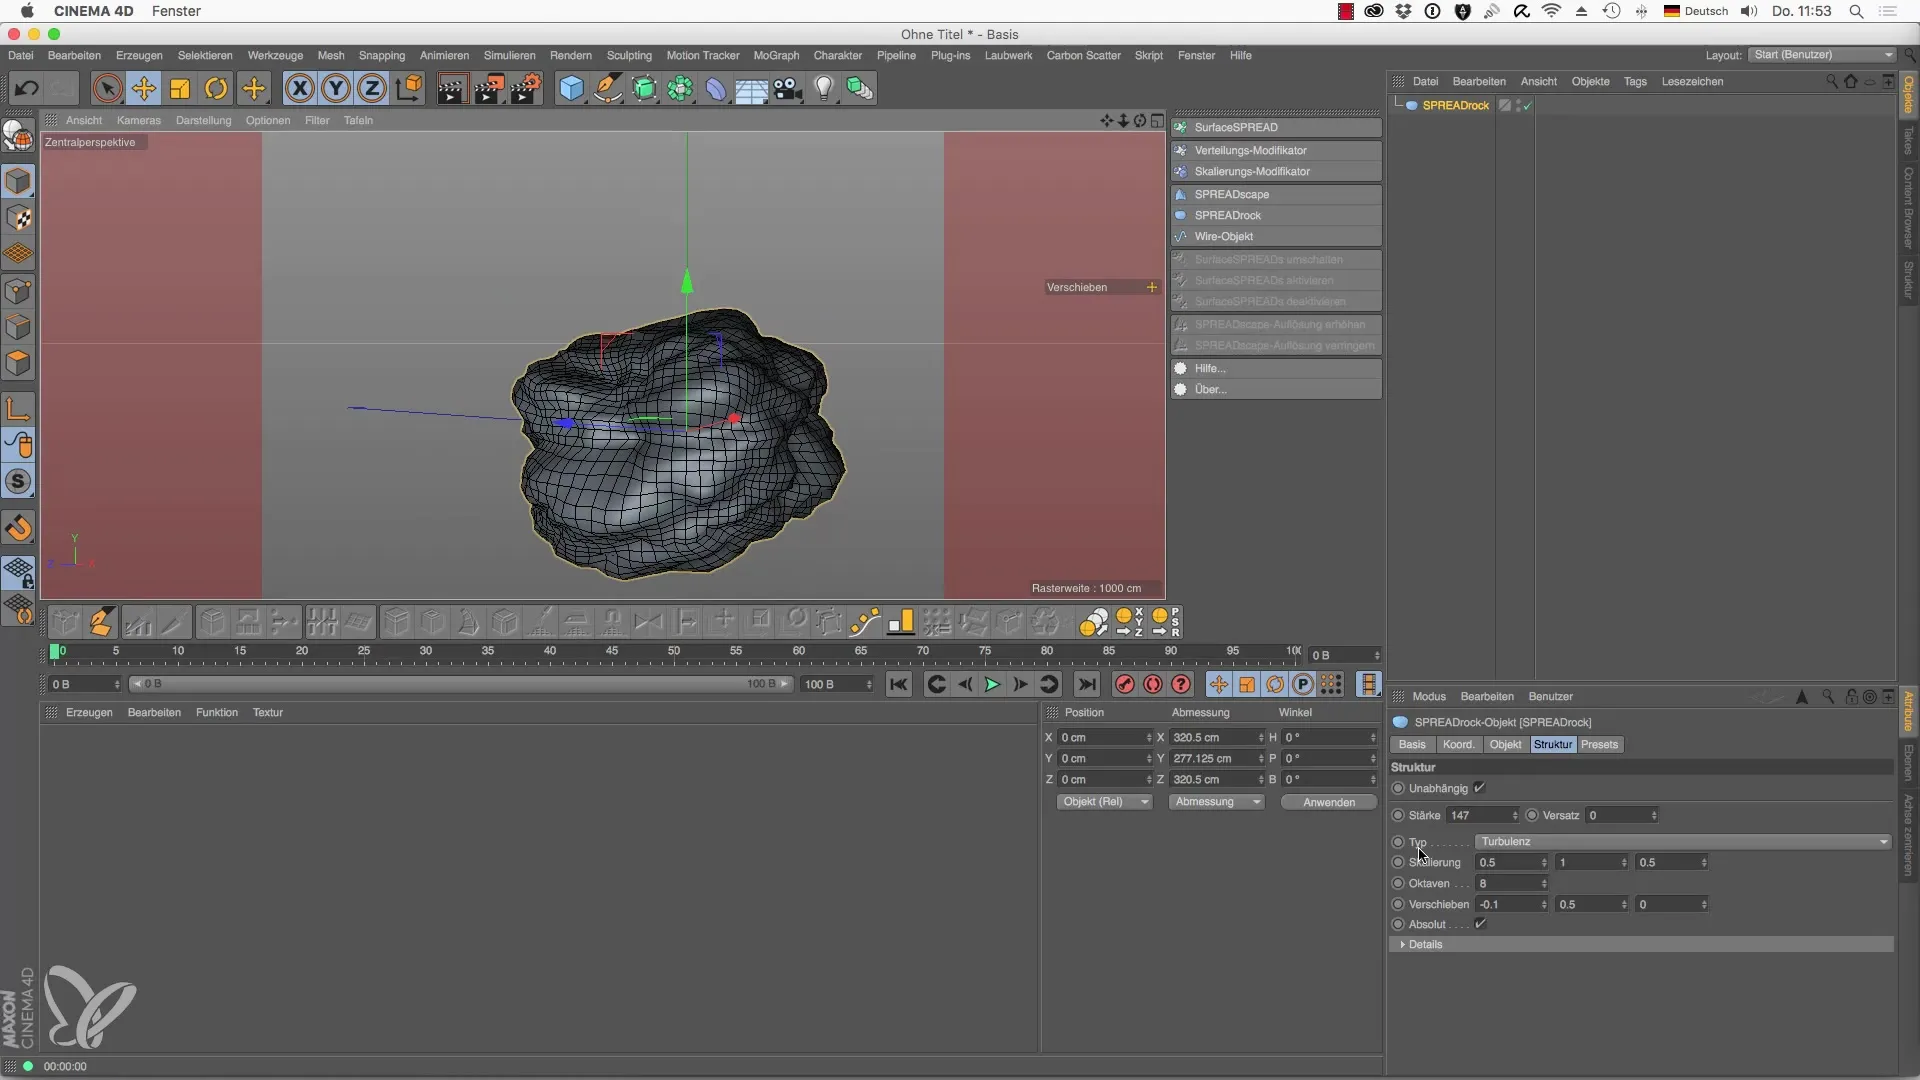
Now go to the "Structure" tab. Break down your overall image into different variables. Here you have the opportunity to further modify the turbulence and appearance of the stones. Experiment with these settings to achieve the desired effect.
7. Add More Variations
By adjusting the strength and scaling, you can further vary the surface structure of your stones. This fine-tuning results in unique outcomes and makes your landscape more realistic.
8. Save Preset
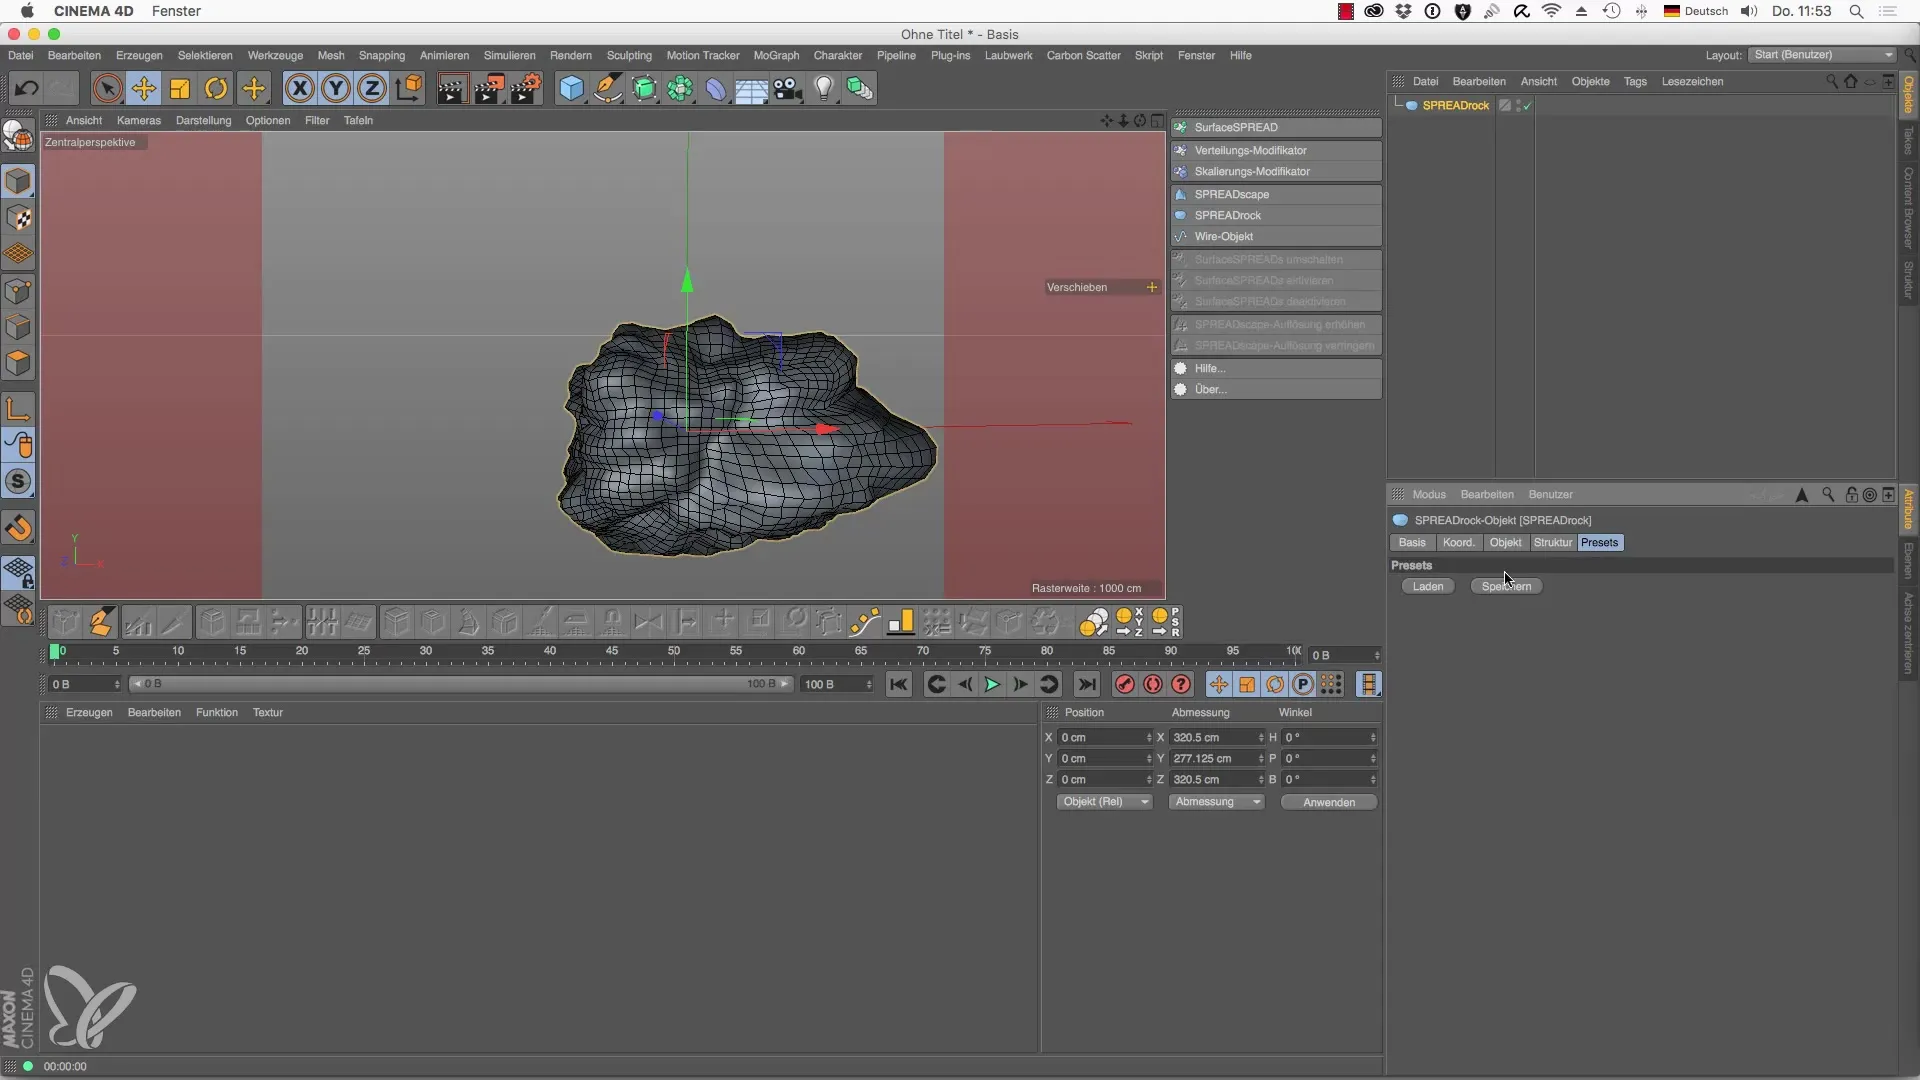
If you are satisfied with a particular stone structure, you can save it as a preset. This way, you can quickly recall your best creations at any time and use them for future projects.
9. Use Custom Polygon Object
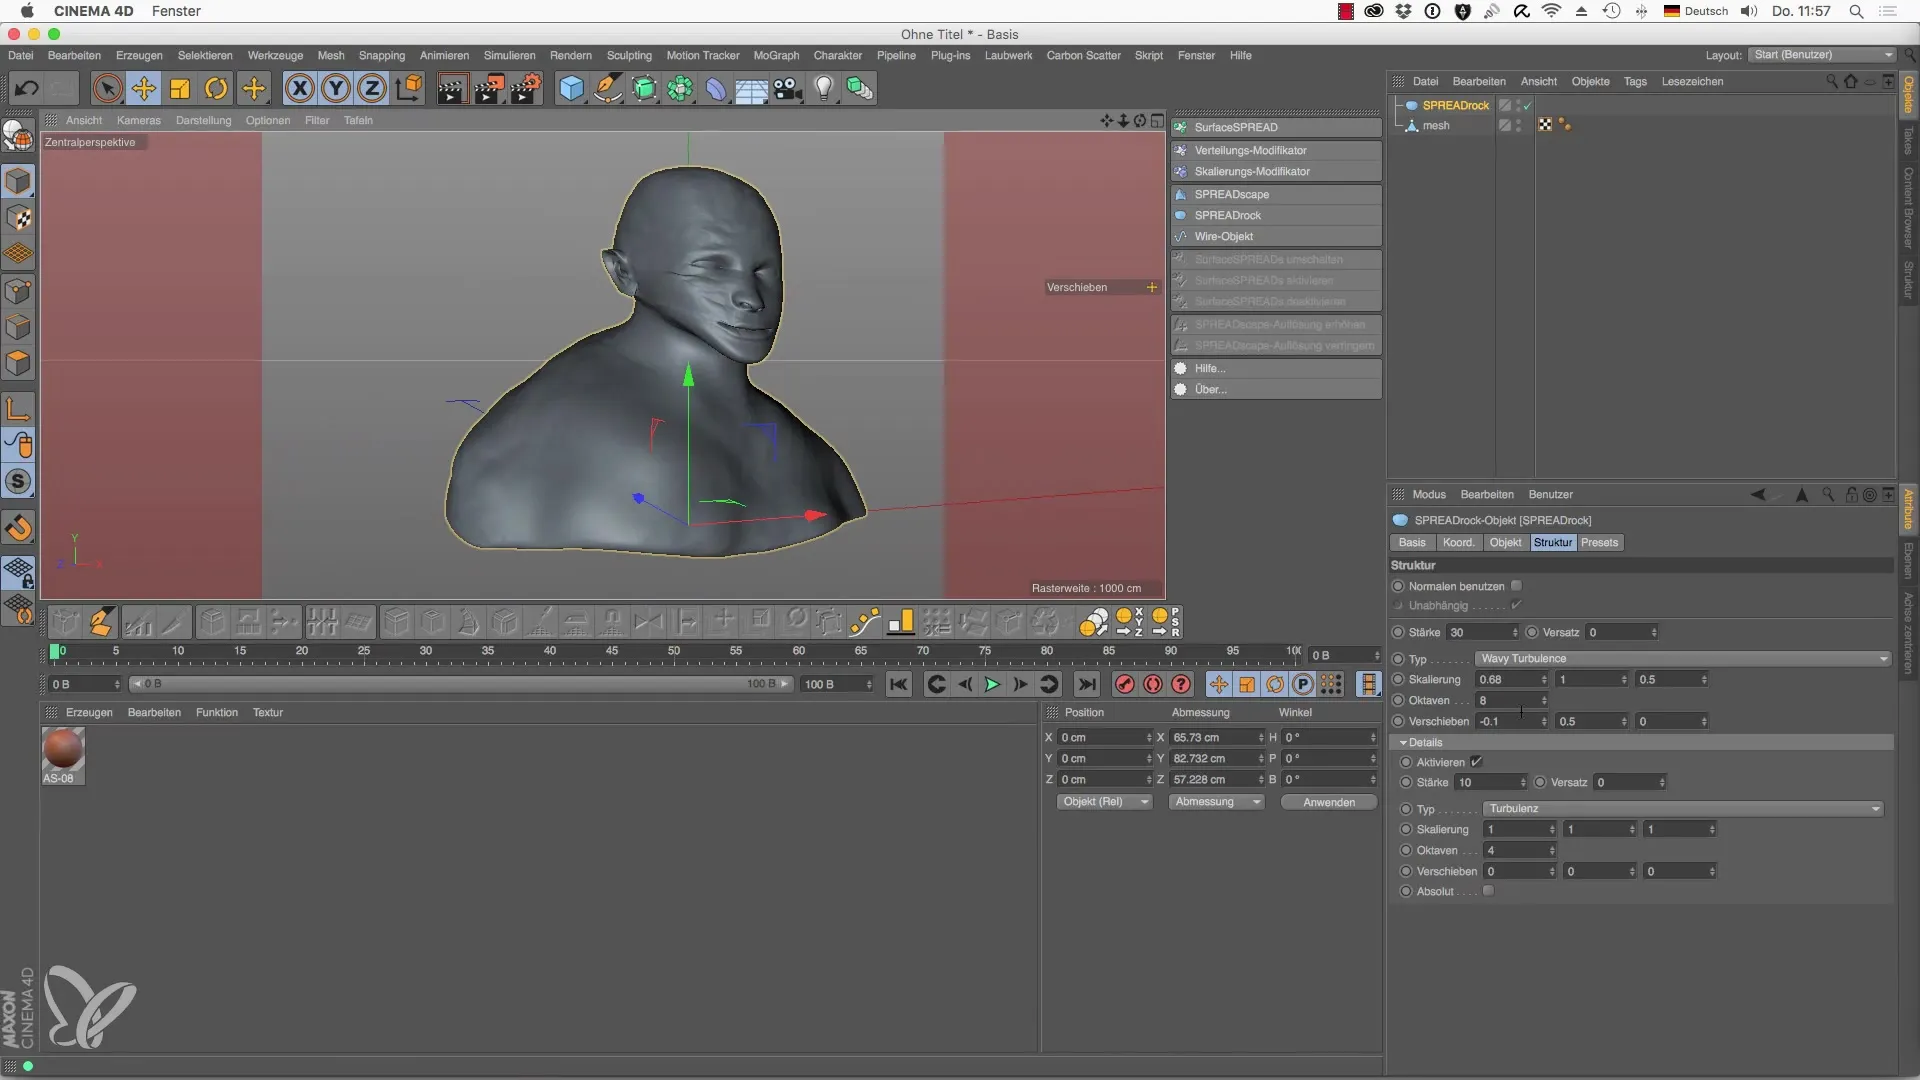
To give your stones even more individuality, try dragging a custom polygon object into the SPREADrock generator. Make sure that the selected object fits well with the desired shape.
10. Deform Your Own Objects
With the right strength, you can also process your own objects and adjust the shape so that it integrates seamlessly into your scene. You will find that the original shape is preserved and the associated details are variable.
Summary – SPREADrock in Cinema 4D: Your Comprehensive Guide to the Stone Generator
Throughout this guide, you have learned how to effectively use the SPREADrock object in Cinema 4D to create versatile stone structures. From the basic shape to detailed adjustments and the use of custom objects, SPREADrock offers you numerous possibilities to optimize your 3D models.
Frequently Asked Questions
How do I create a SPREADrock object?You select the SPREADrock object from the menu and add it to your project.
Can I change the basic shape of the SPREADrock object?Yes, you can choose between different shapes like sphere, cube, or pyramid.
How can I increase the detail accuracy of my stones?You can increase the base subdivisions in the menu to gain more details.
Can I use custom polygon objects?Yes, you can drag custom polygon objects into the SPREADrock generator and adjust them.
How do I save presets for my stone structures?If you are satisfied with a design, you can save it as a preset in the system.
