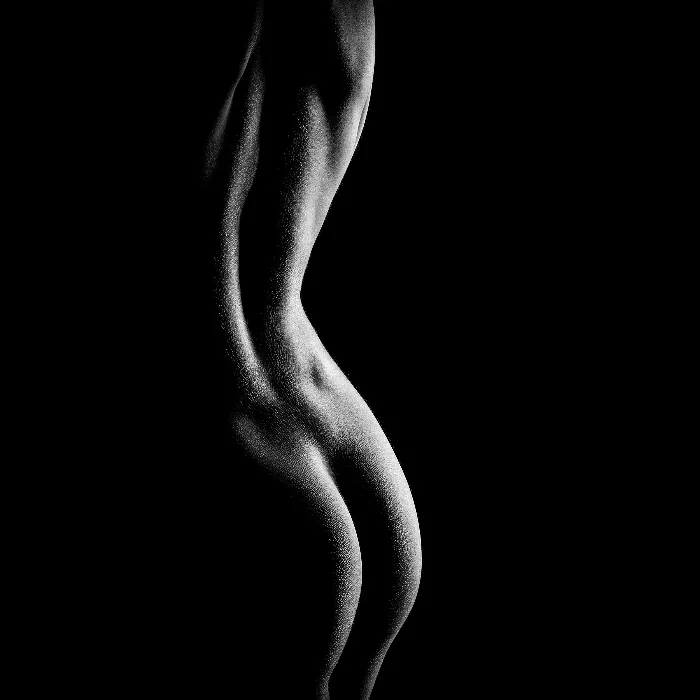
The right communication and collaboration between the photographer and the model is crucial to achieve impressive results in nude photography. In this guide, you will learn how to design the shoot as effectively and creatively as possible through targeted poses and open dialogue with your model. These initial poses are not only important for optimally showcasing the model's body but also for building a trusting atmosphere. Let's dive in!
Main insights
- Communication is the key to successful photography.
- Light poses with energy and flair create dynamic images.
- Body posture plays a crucial role in image composition.
- Grace and tension in the body are important, regardless of the clothing.
Step-by-step guide
Step 1: Setting up the set
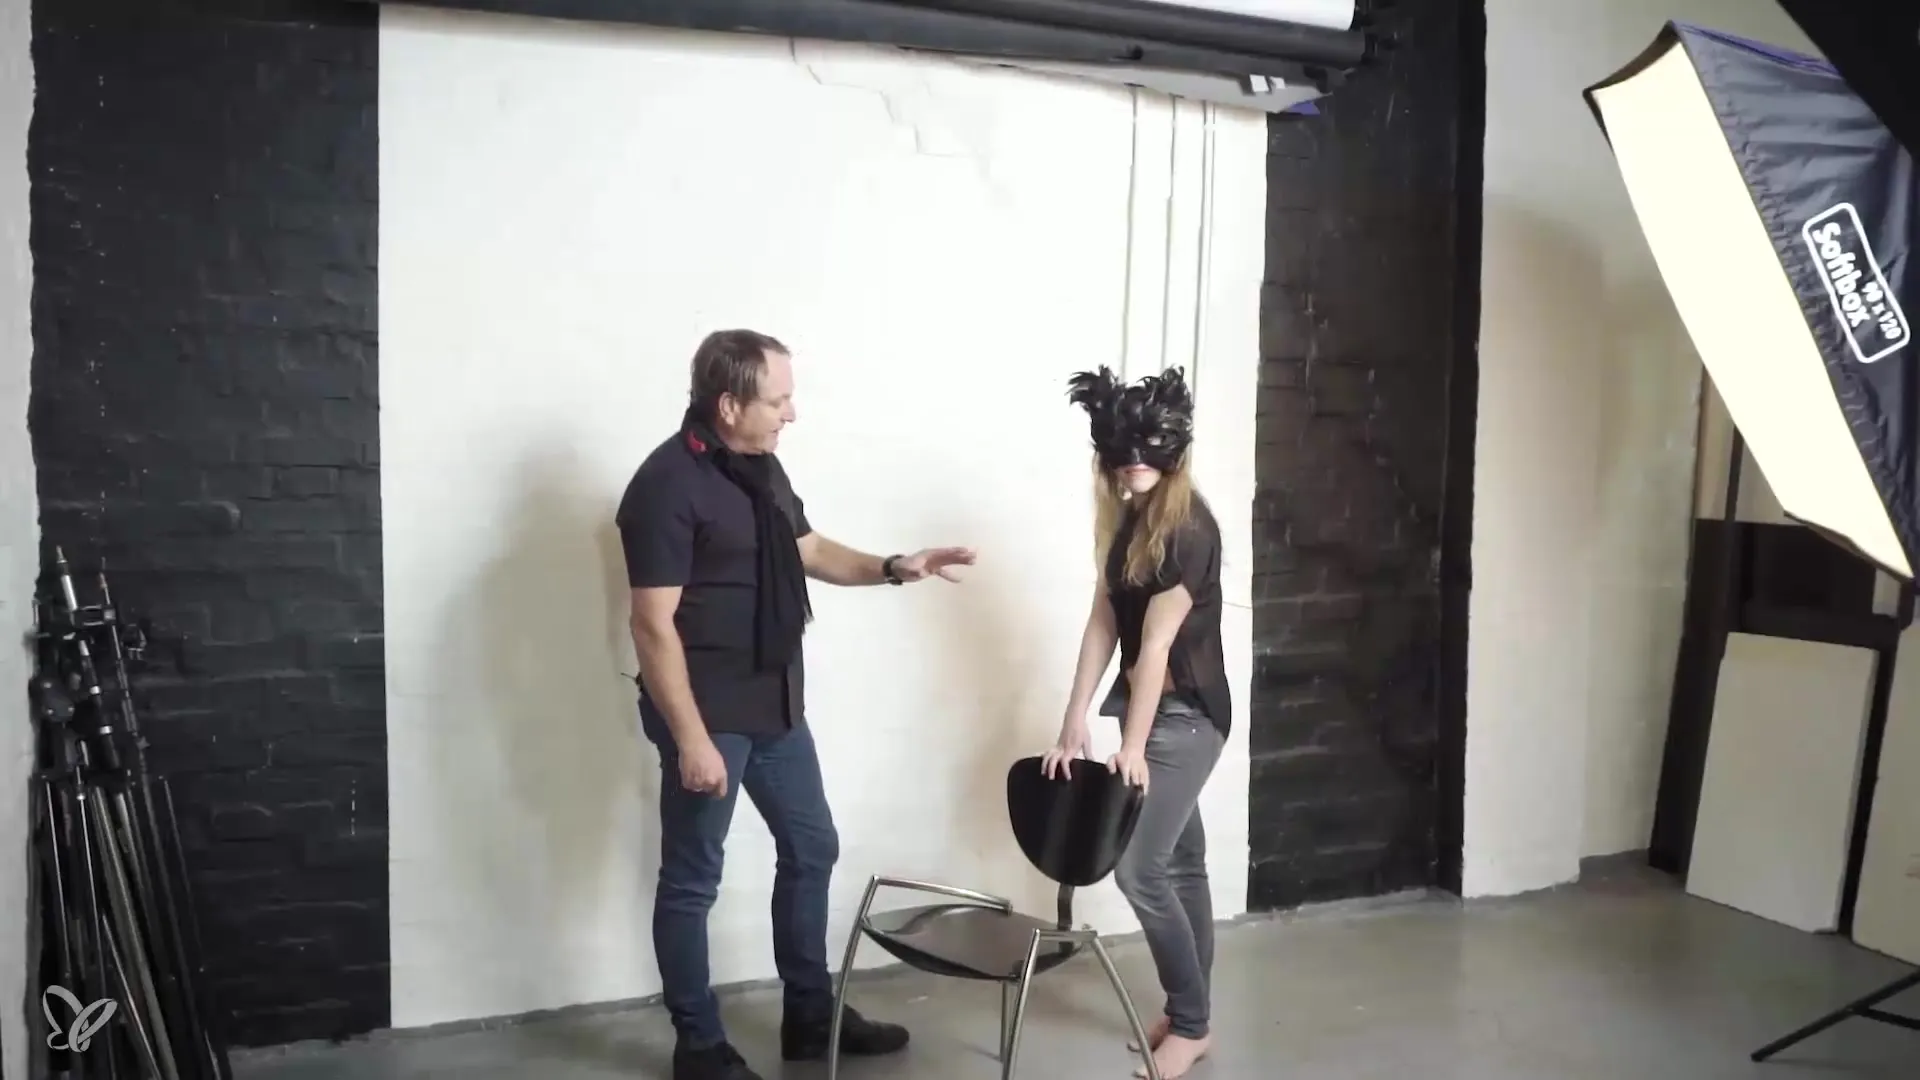
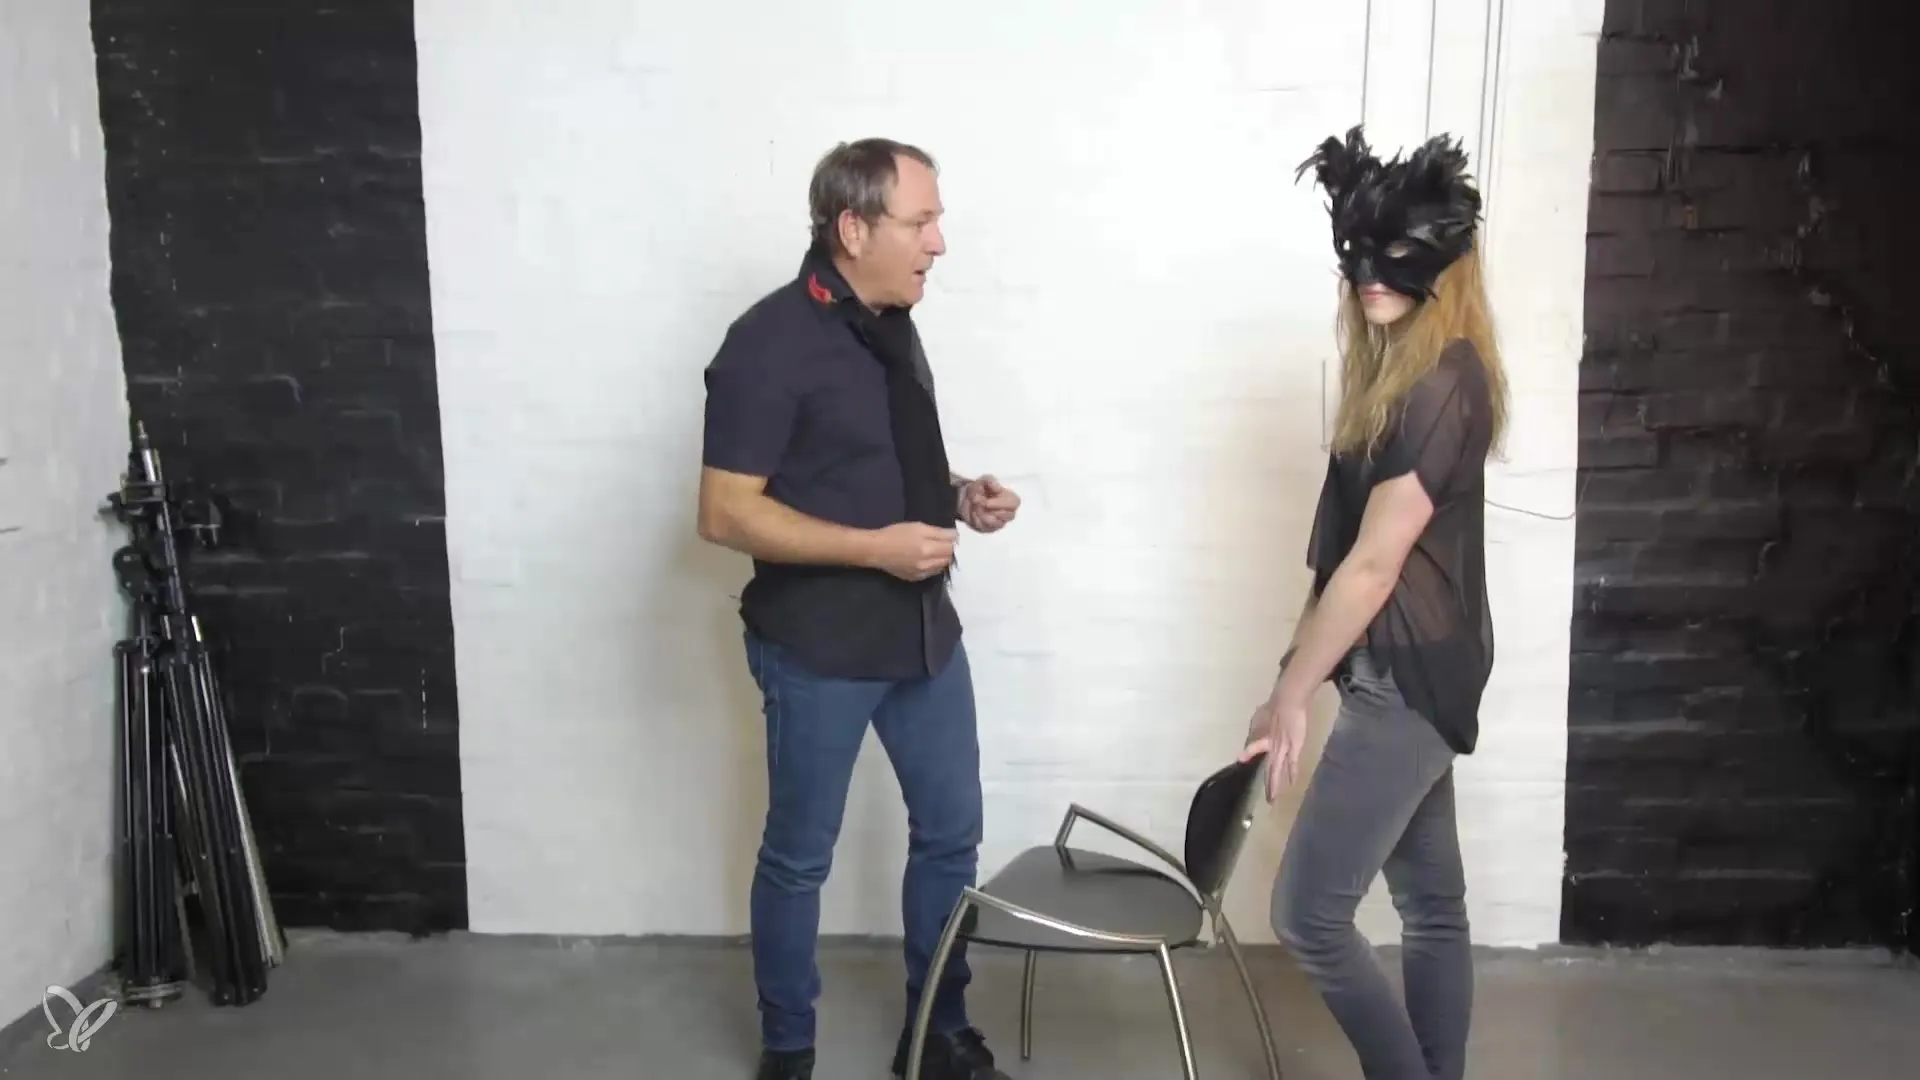
Before you start the shoot, you should carefully choose and set up the environment. Ensure you have sufficient light and that all props are ready. At the beginning of the video, it is explained that a chair serves as an accessory.
Step 2: Introducing the model
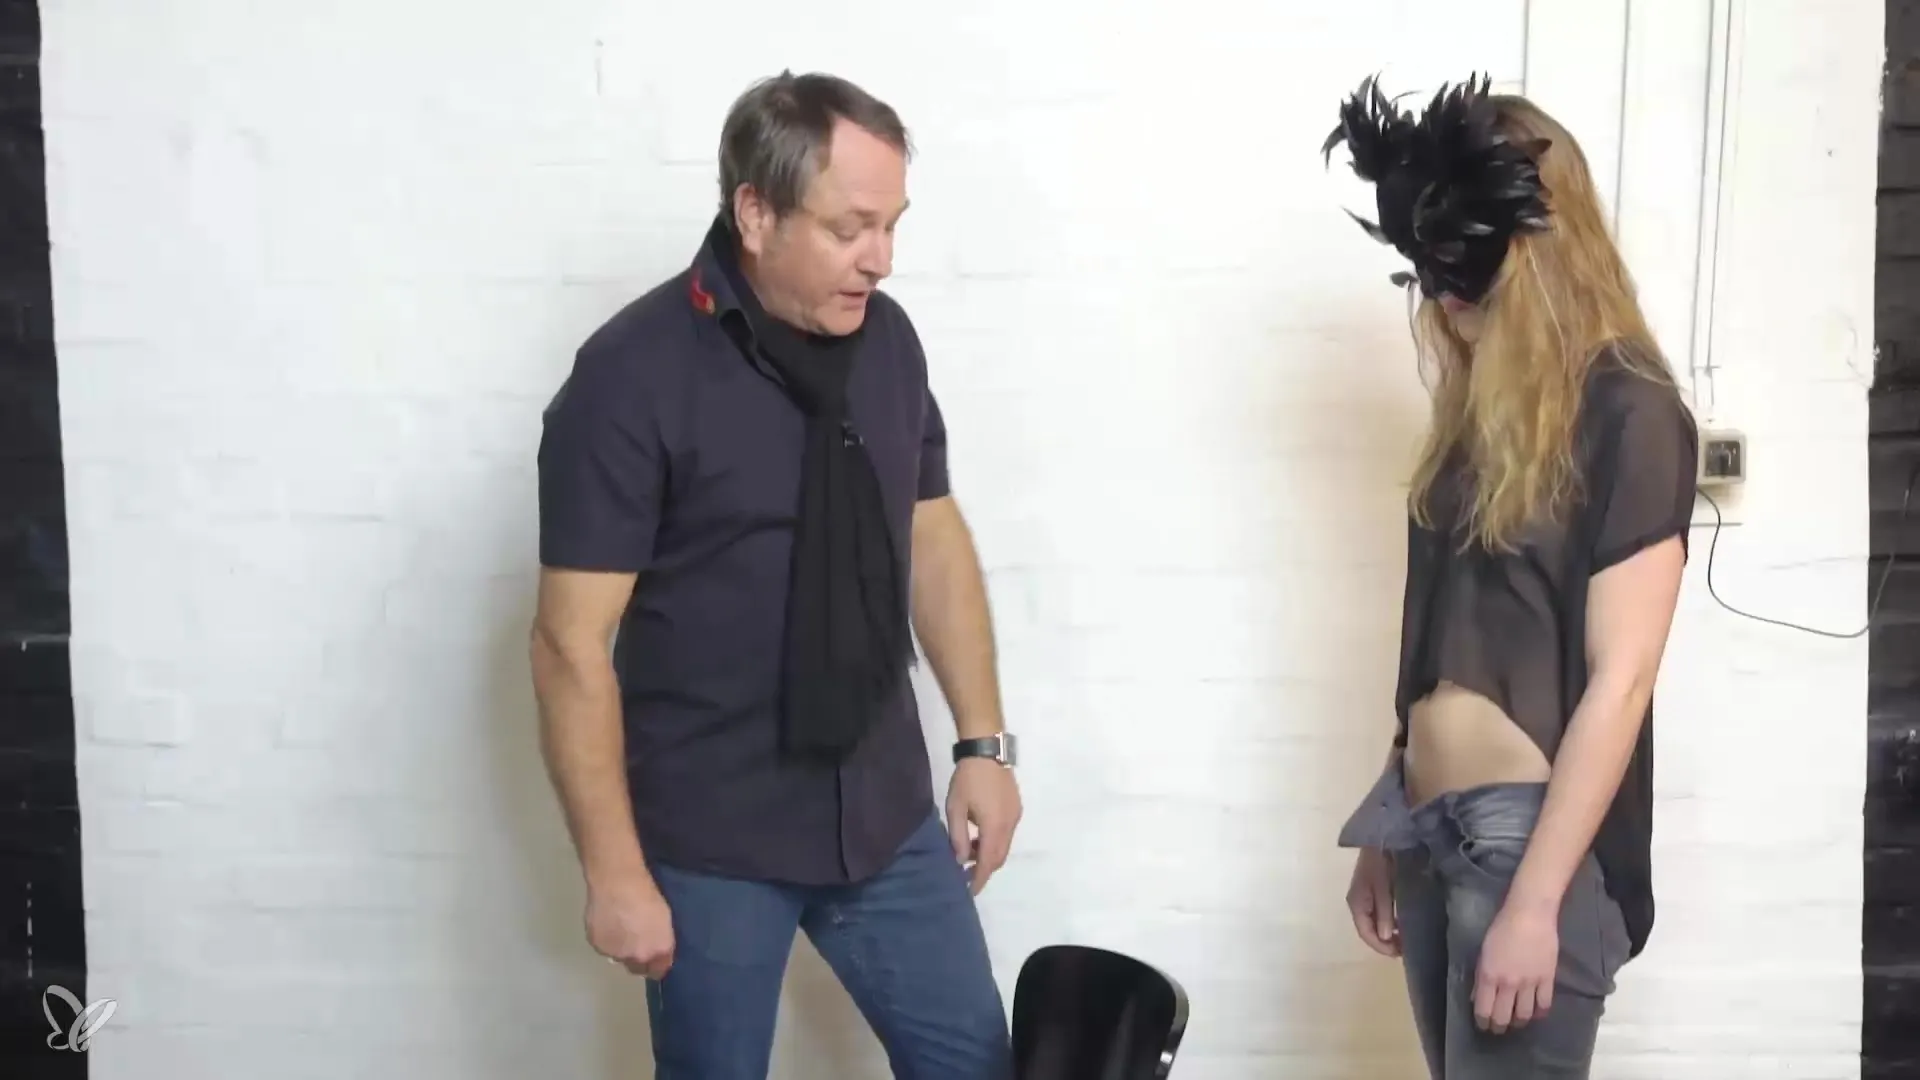
Create a relaxed atmosphere by explaining to your model what you have planned for the shoot. Share your ideas and discuss the initial poses. The model, in this case Eva, should know what to expect and what role the chair plays in the image.

Step 3: Trying out initial poses
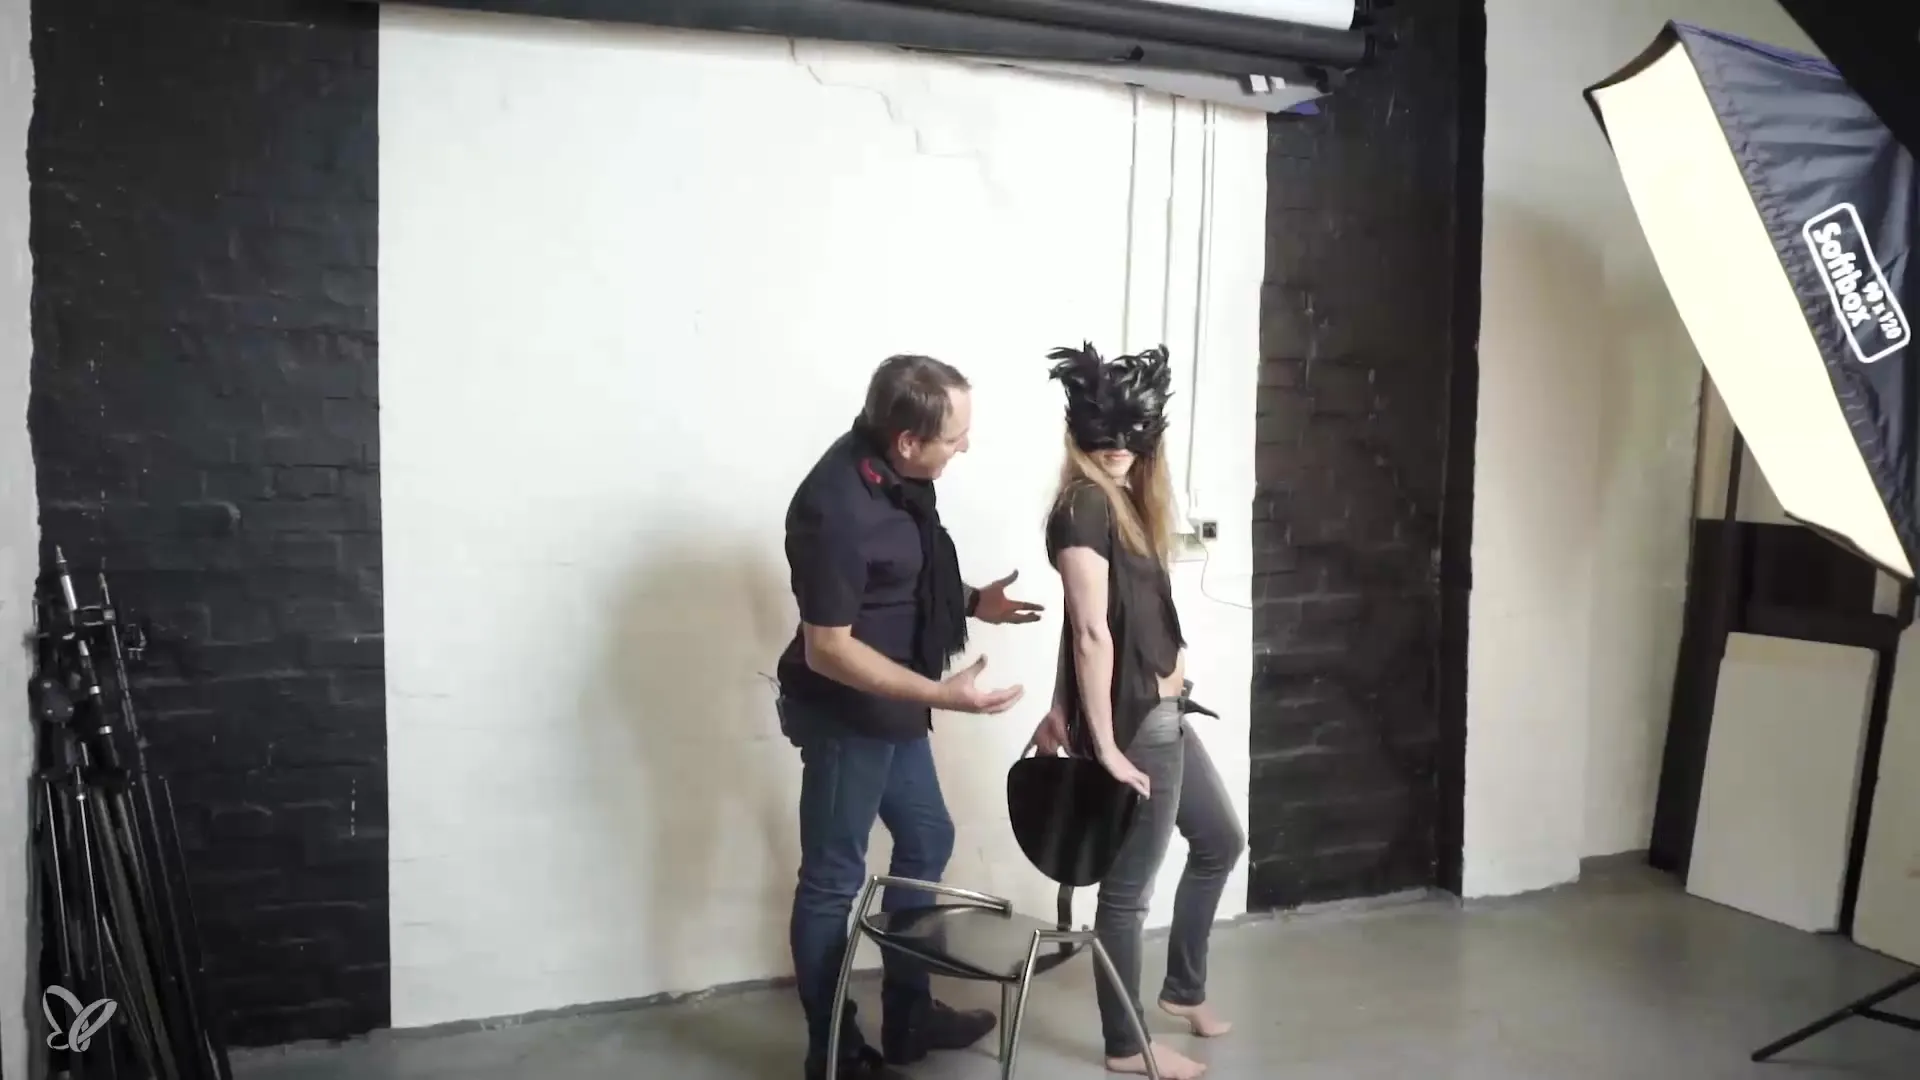
Start with light poses that encourage the model to move naturally. Let the model play with the chair to increase spontaneity and dynamism. Make sure the pose does not look too stiff.
Step 4: Body language and expression
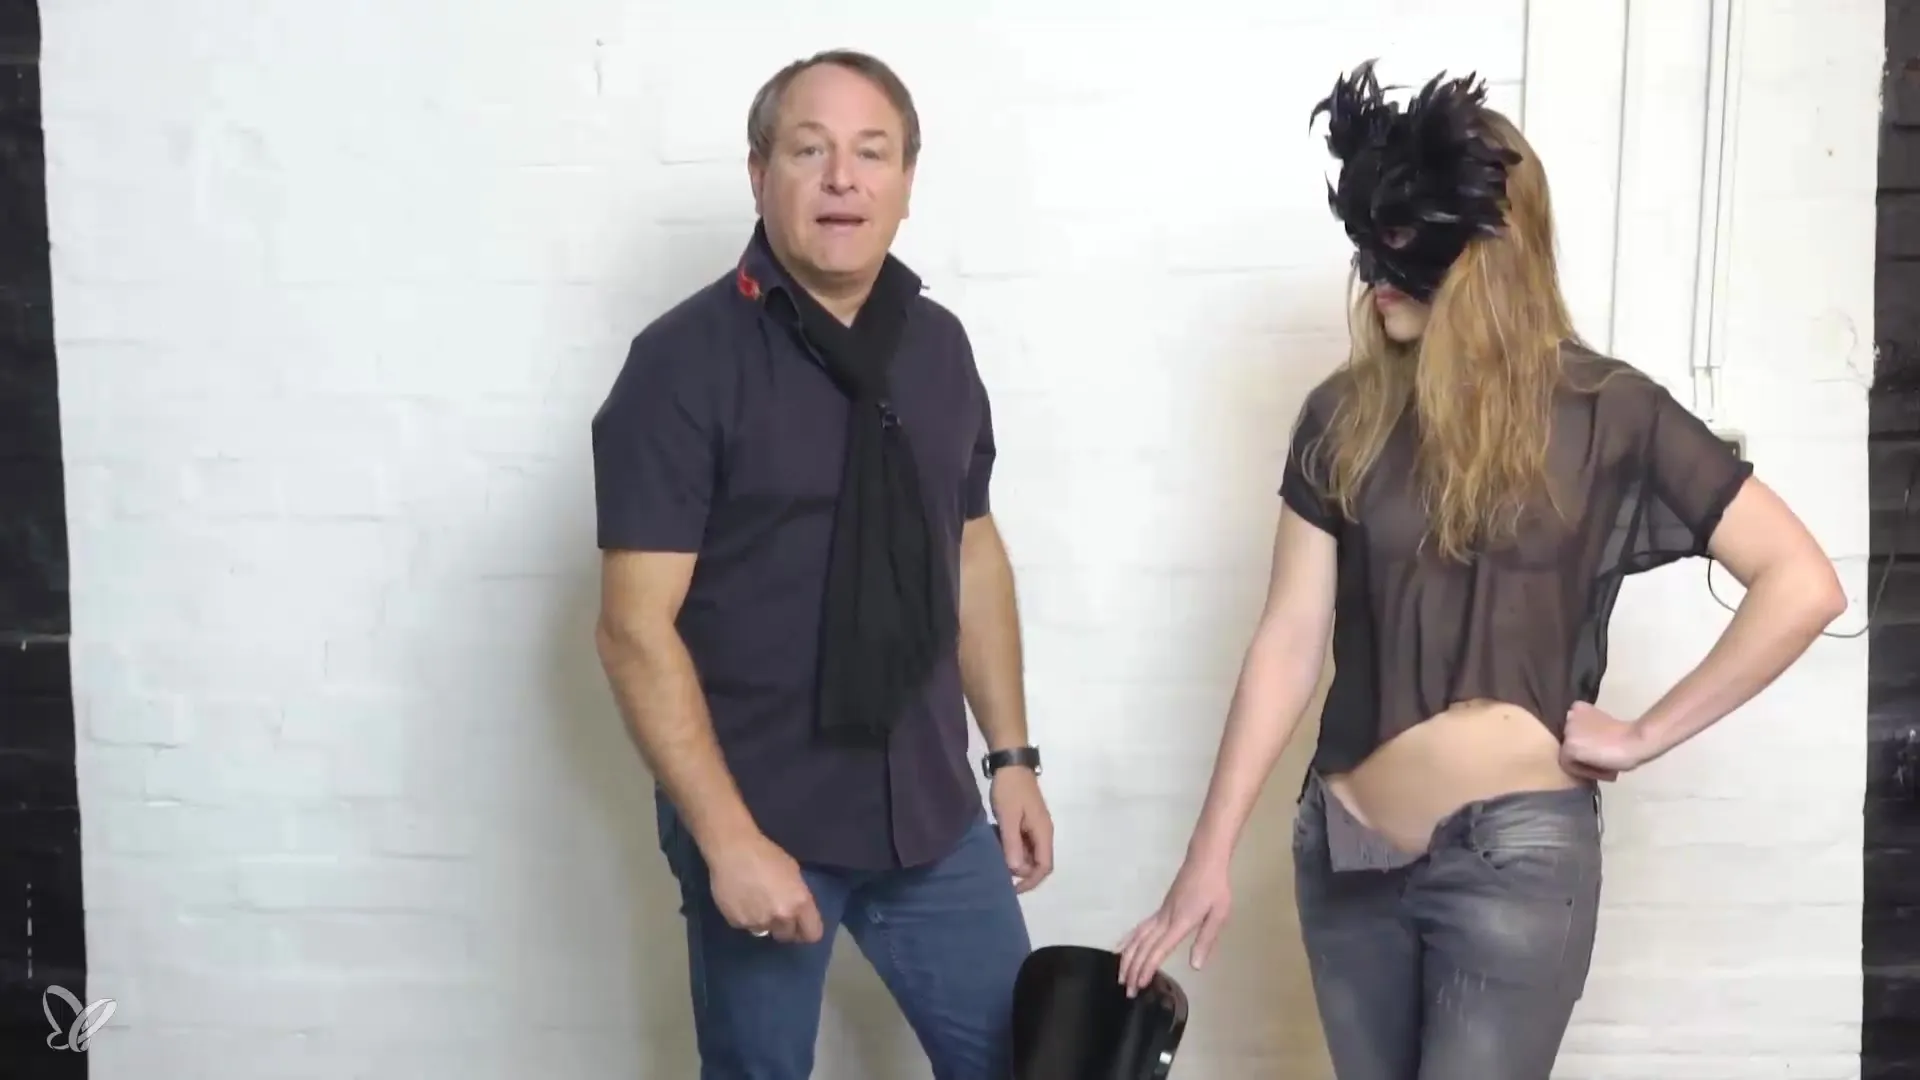
Teach the model that the upper body should not be fully facing the camera. Instead, a slightly turned posture should be aimed for to create more depth and dynamism. This is evident in a good pose that is executed with flair.
Step 5: Creating tension in the body
For captivating poses, instruct the model to bring tension into the body. This includes taking a deep breath and stretching the body. This can be communicated clearly and simply.
Step 6: Incorporating variations
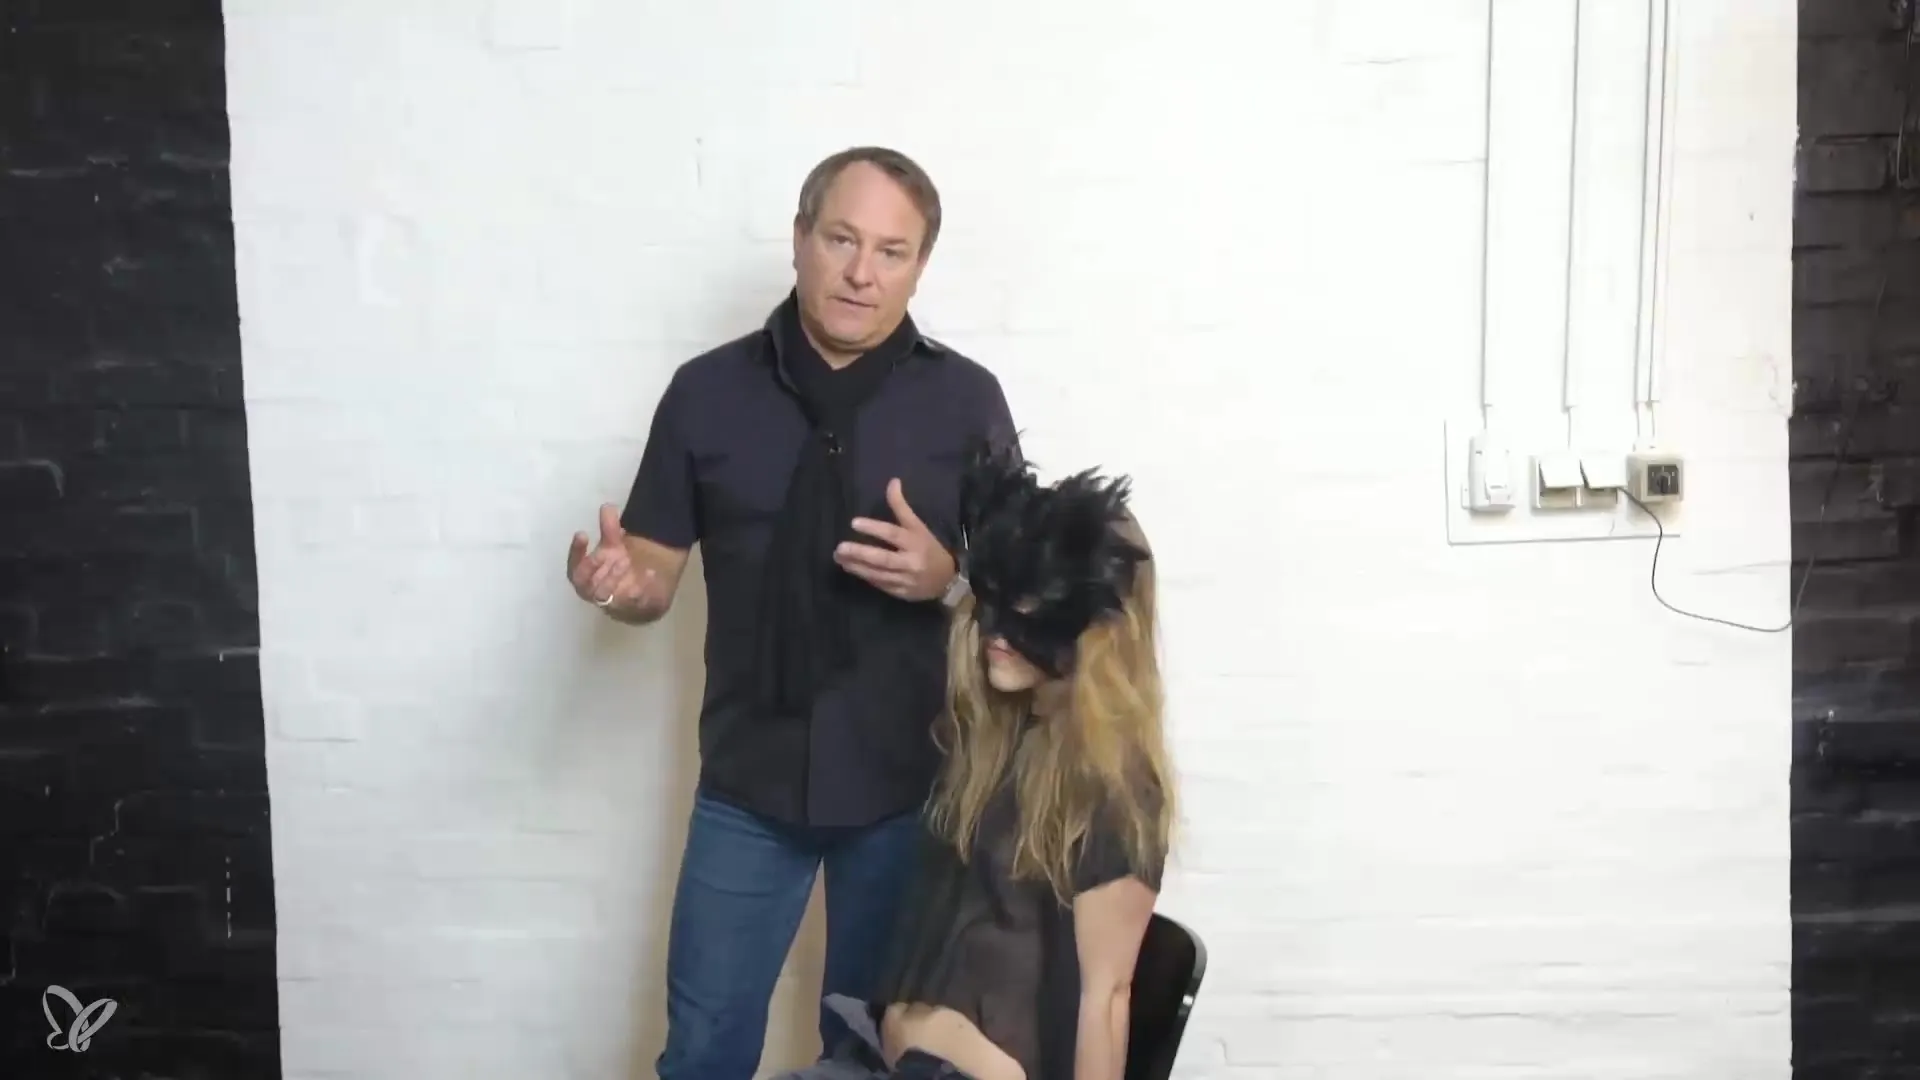
Experiment with different sitting poses to emphasize the model's natural and graceful look. Grace and style are essential here, regardless of the clothing.
Step 7: New poses through creative thinking
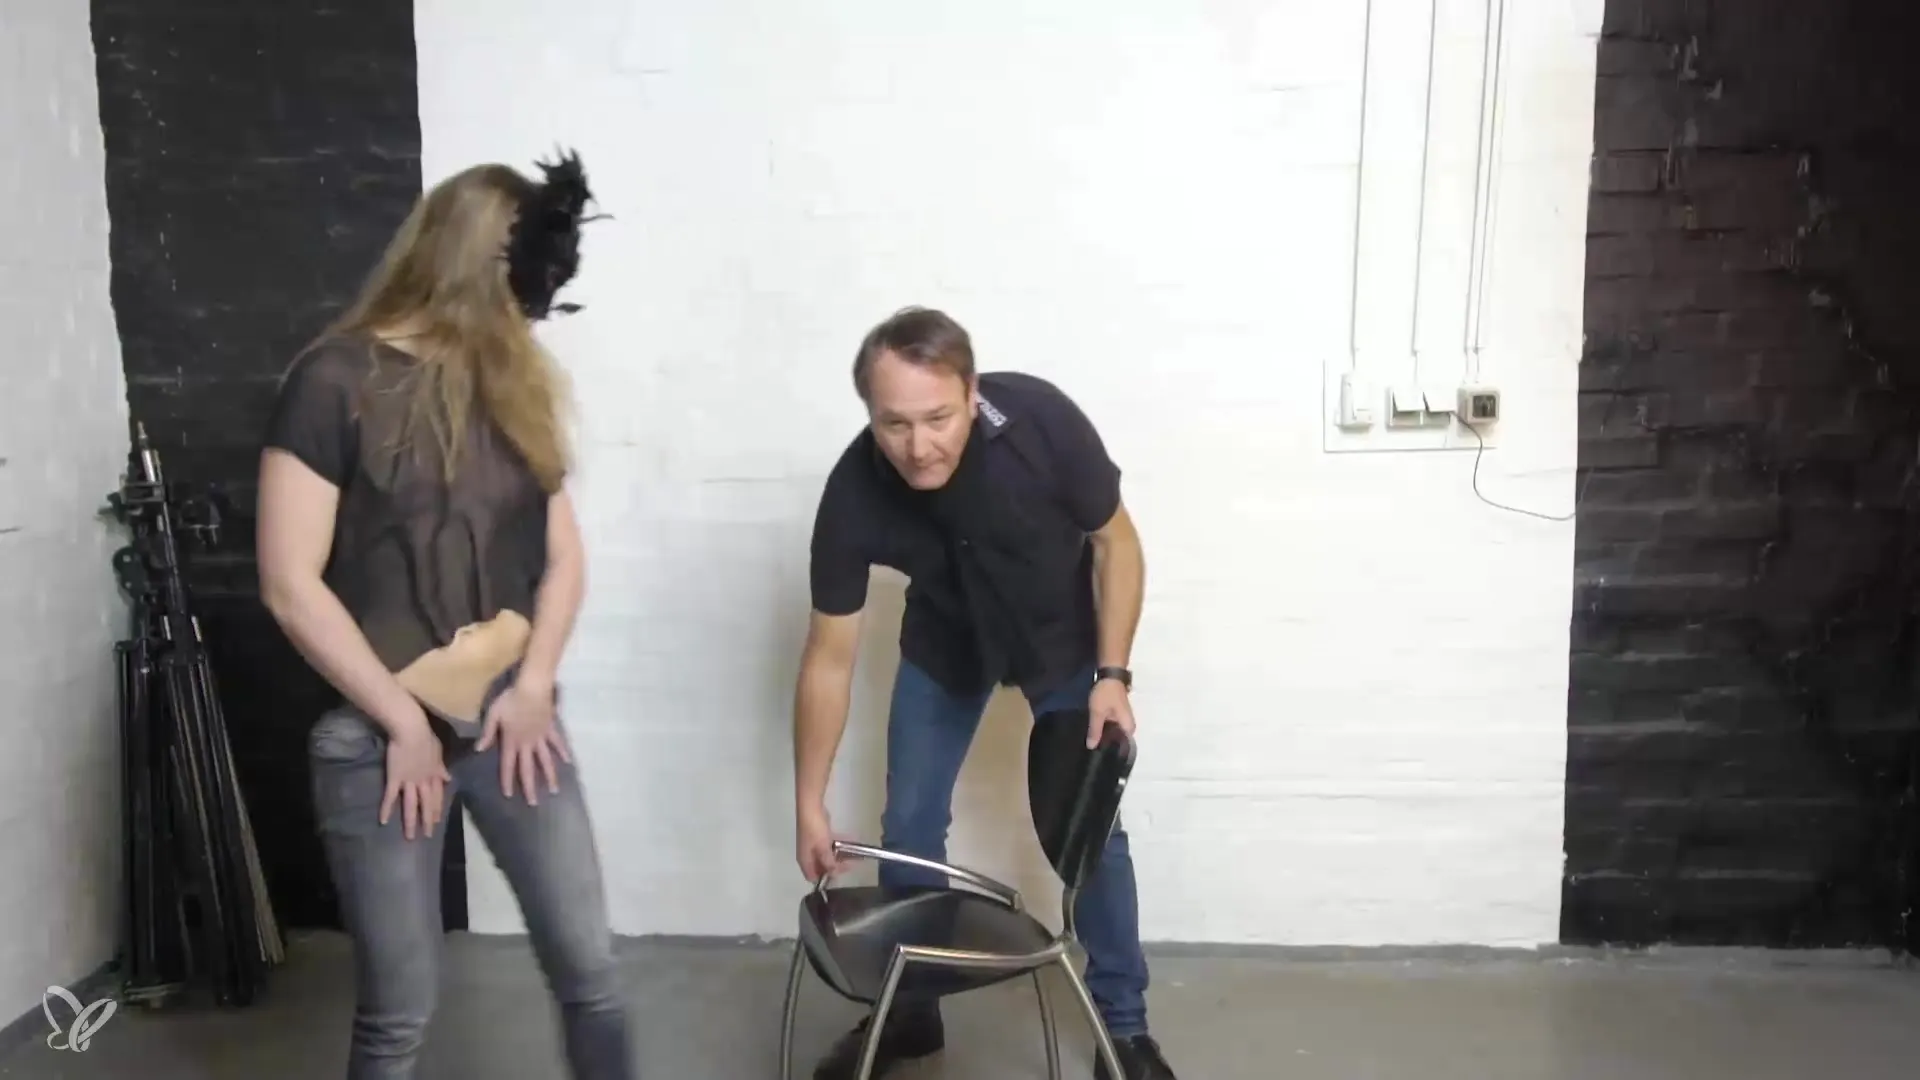
Offer the model to try new poses. Suggest varying the body's positioning and turning the chair while you adjust the camera. This will enhance the creativity of the shoot.
Step 8: Rehearsals and feedback
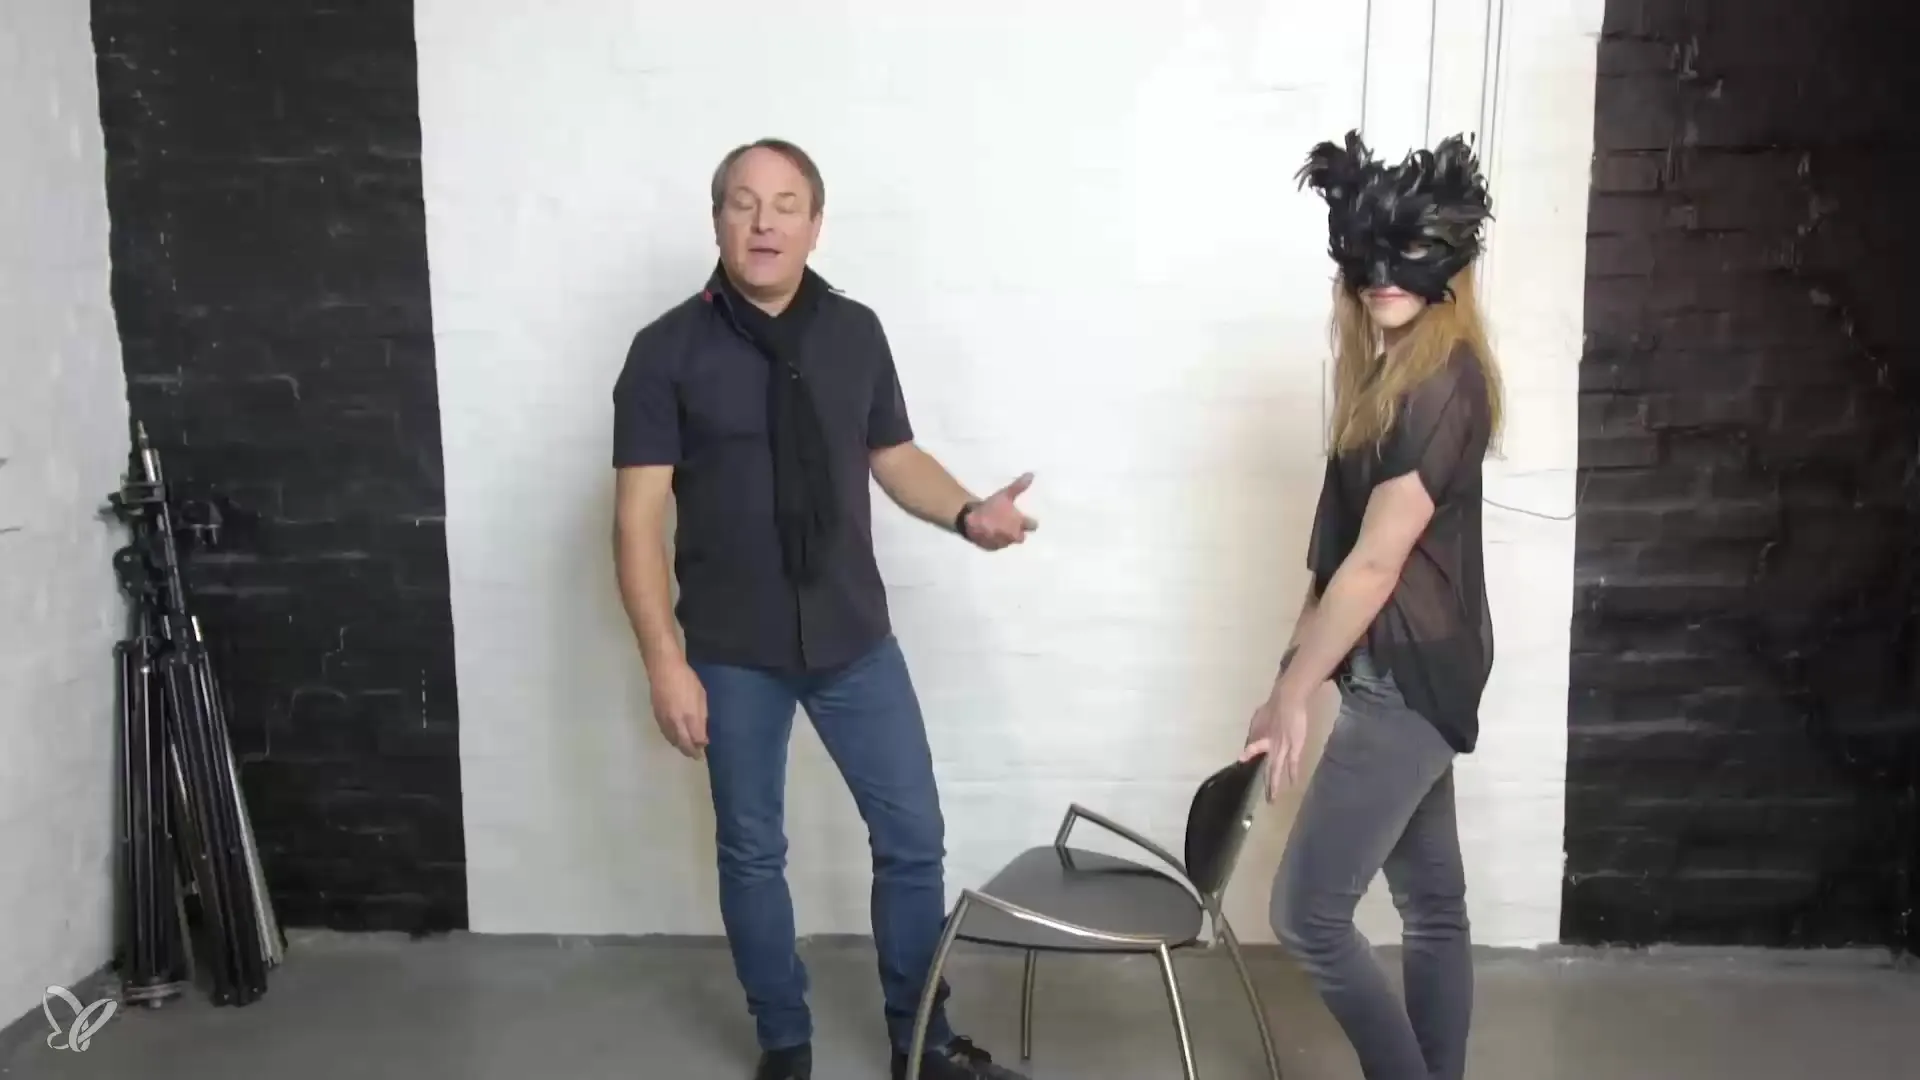
While the model tries out different poses, observe closely and provide immediate feedback on what looks good and what doesn't. This helps to reduce uncertainties and puts the model in a confident position.
Step 9: The optimal start to the shoot
You have now tried a series of poses and established good communication with your model. These initial images are the foundation for a successful shoot and ensure that everyone involved feels comfortable and makes the most out of the next step.
Summary – Guide for introductory poses in nude photography
The art of nude photography heavily relies on the interaction between photographer and model. Only through targeted poses and open communication can you unleash the potential of your shots. Start with basic poses, build tension in the body, and experiment to optimally showcase your model.
Frequently asked questions
What are the most important poses for beginning in nude photography?Important poses include casual stances with flair and tension in the body.
How do I establish good communication with my model?Clearly explain your ideas from the start and actively listen to the model to reduce uncertainties.
How important is body posture?A slightly turned posture creates more depth and dynamism in the images.
How can I make the shoot more creative?Experiment with different props and poses to create more variety.
What can I do if the model is nervous?Reduce tension through casual conversations and demonstrating poses.
