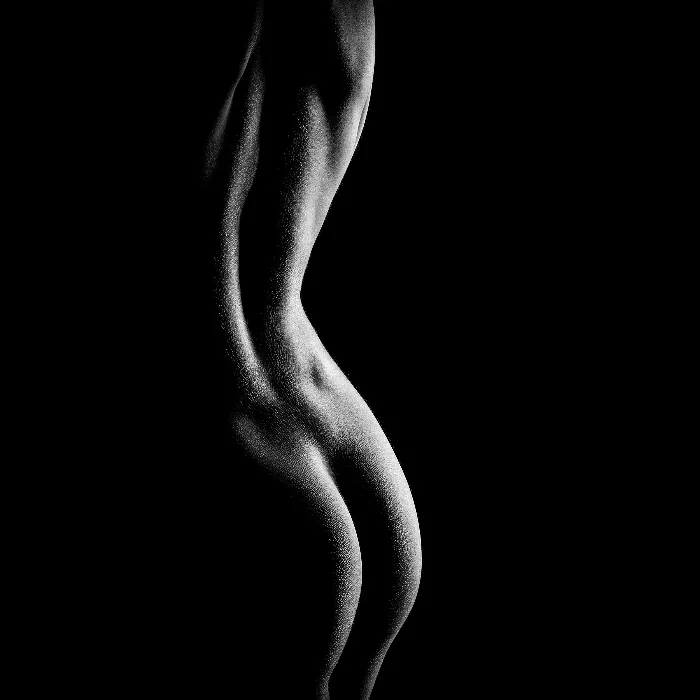
Nude Photography is an art form that requires much more than just the right camera settings. To capture photographs that are both aesthetically pleasing and emotionally engaging, you need to use light effectively. In this tutorial, you will learn how to set up a flexible and creative lighting setup for nude shoots in the studio. Martin Buschmann will guide you through the individual steps and show you how to work with strip lights to achieve the best possible results.
Main Insights
- The use of strip lights allows for flexible lighting design.
- A black background highlights the model.
- With the right lighting setup, you can efficiently emphasize the surfaces of the model.
Step-by-Step Guide
Step 1: Understand and Set Up the Lighting
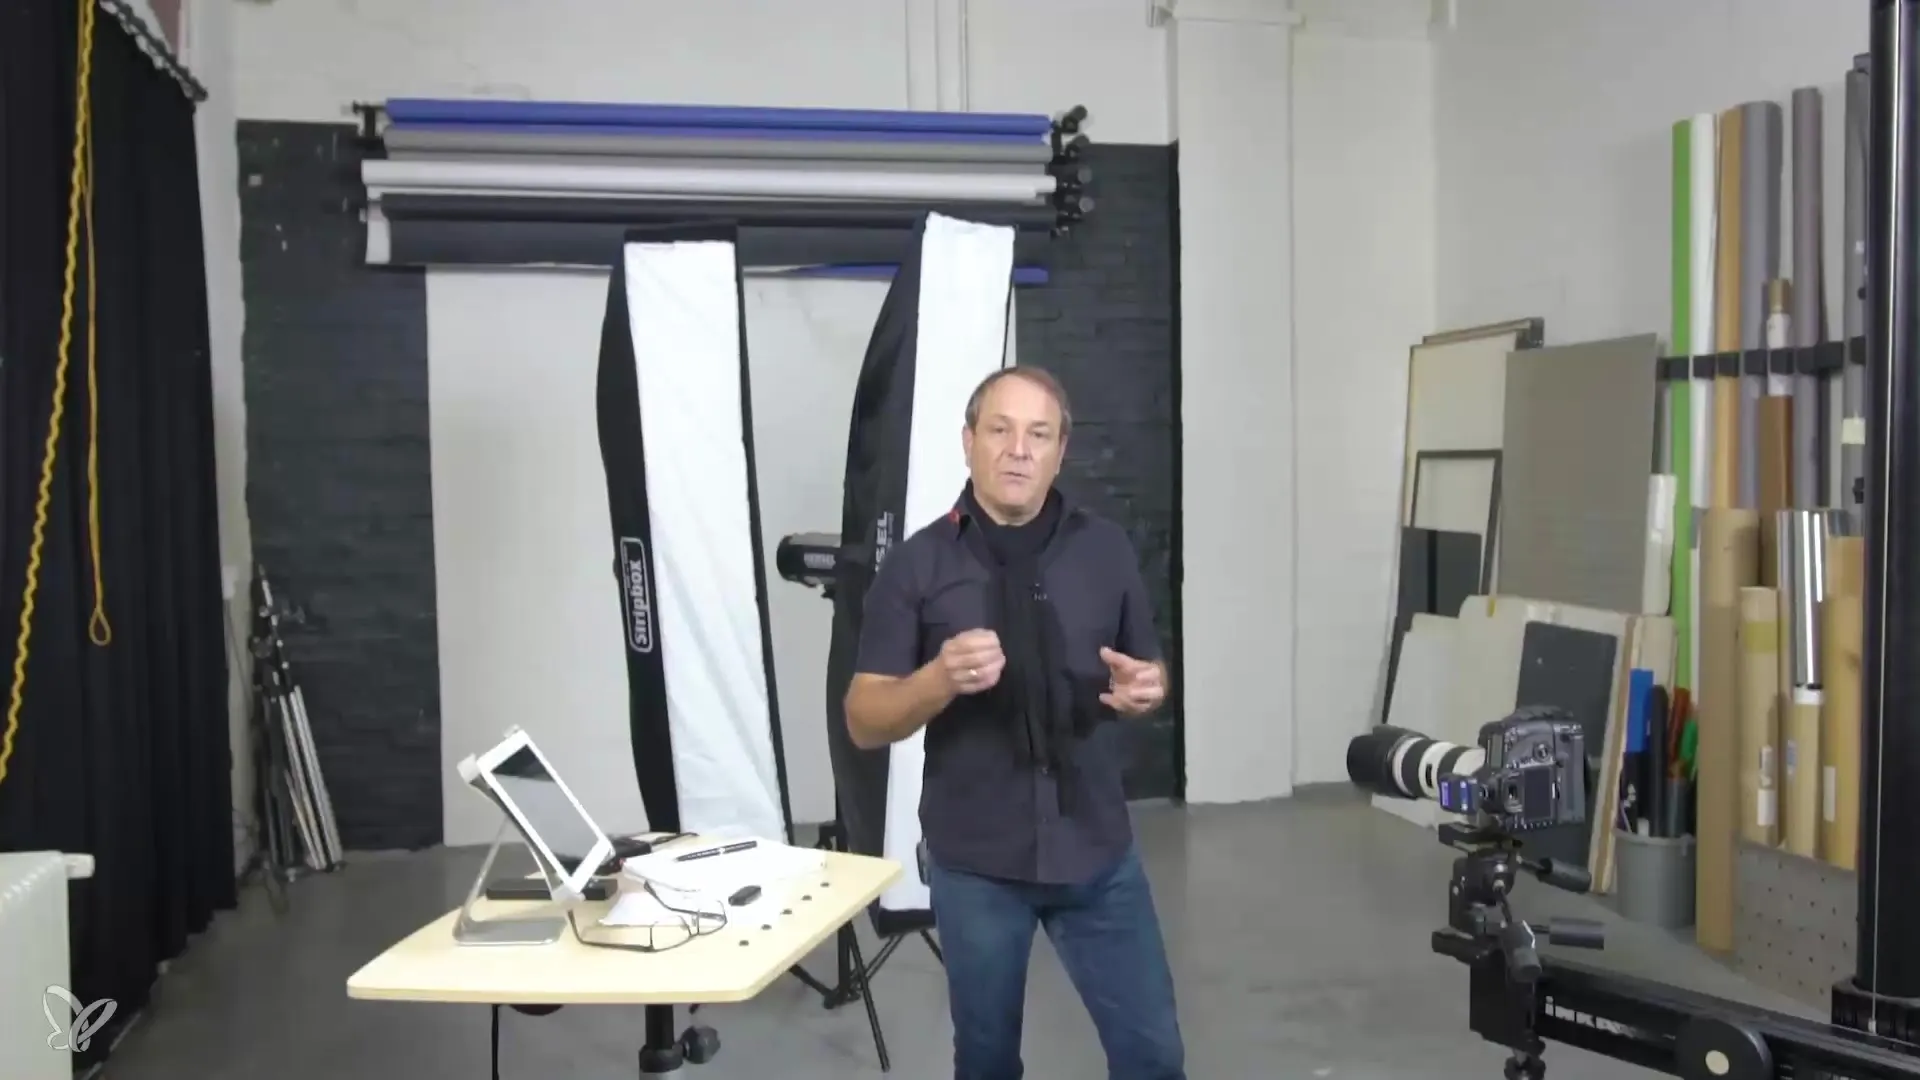
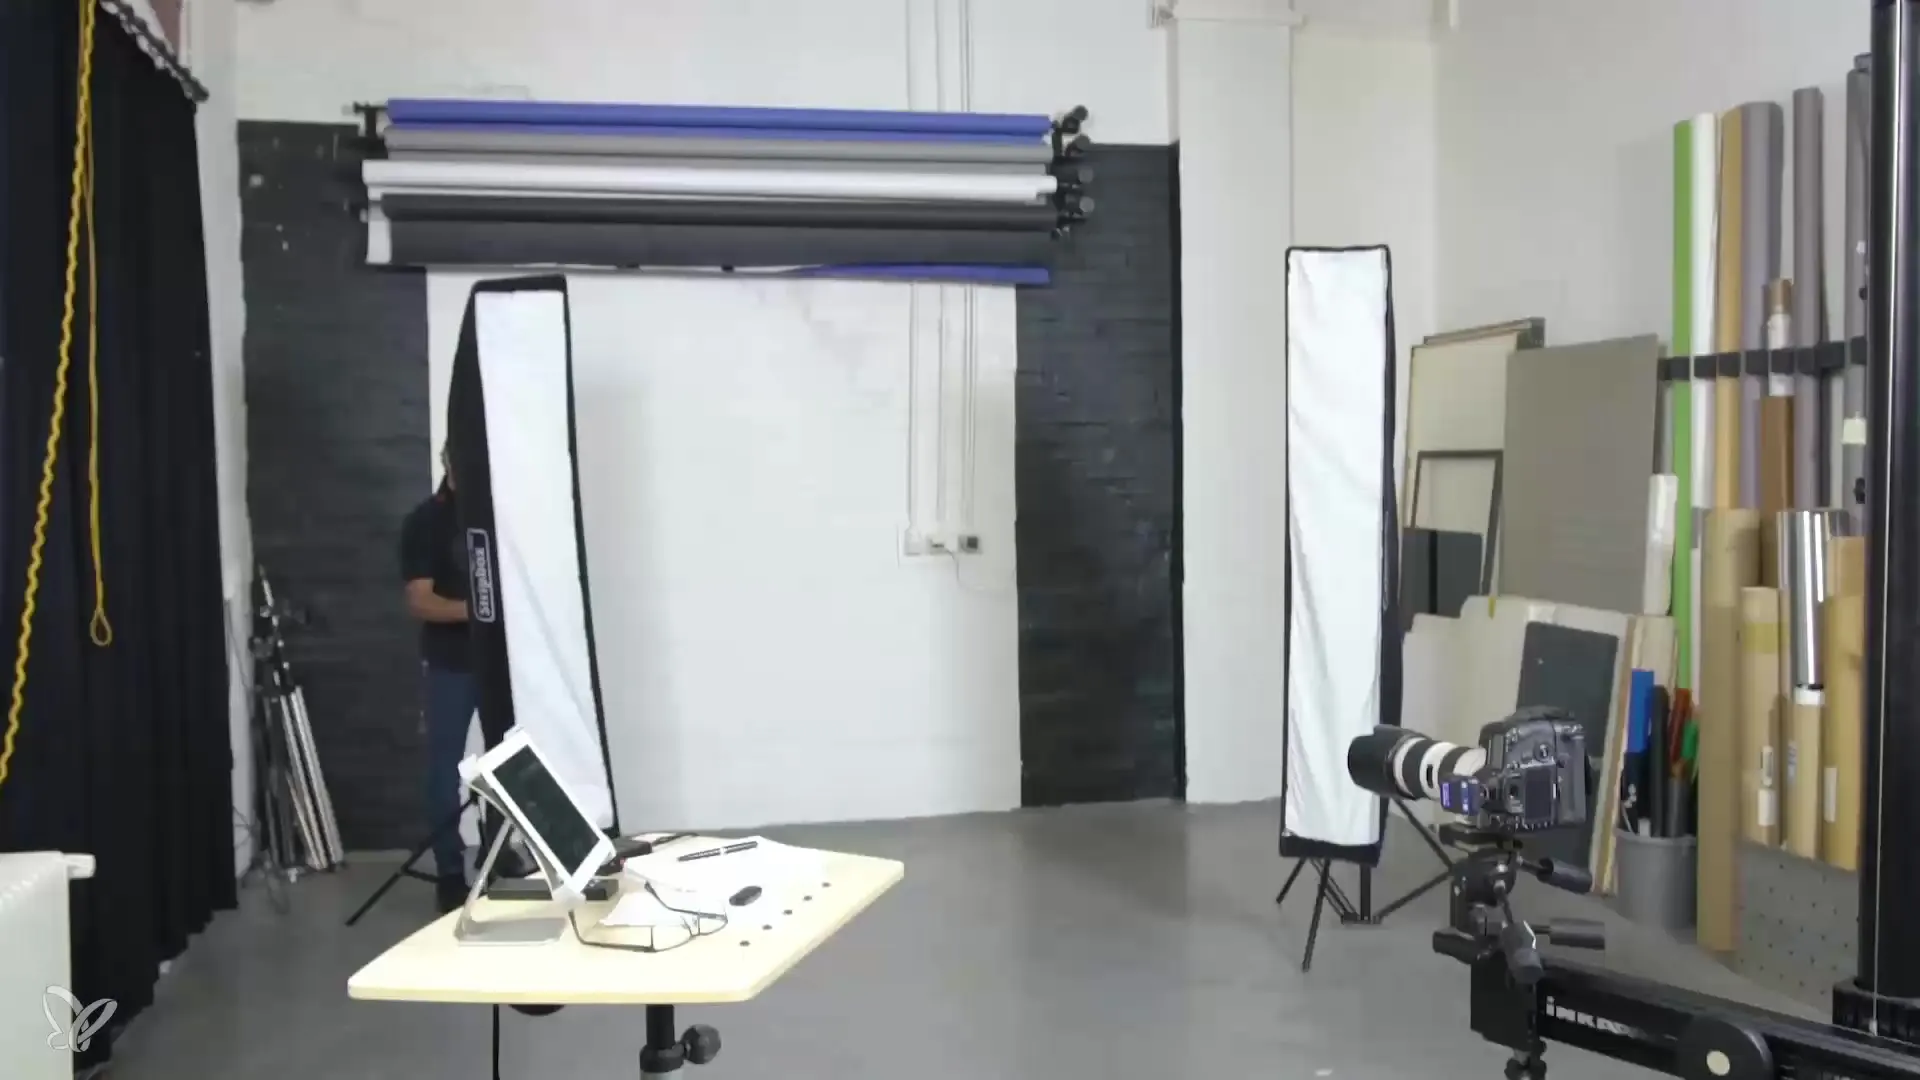
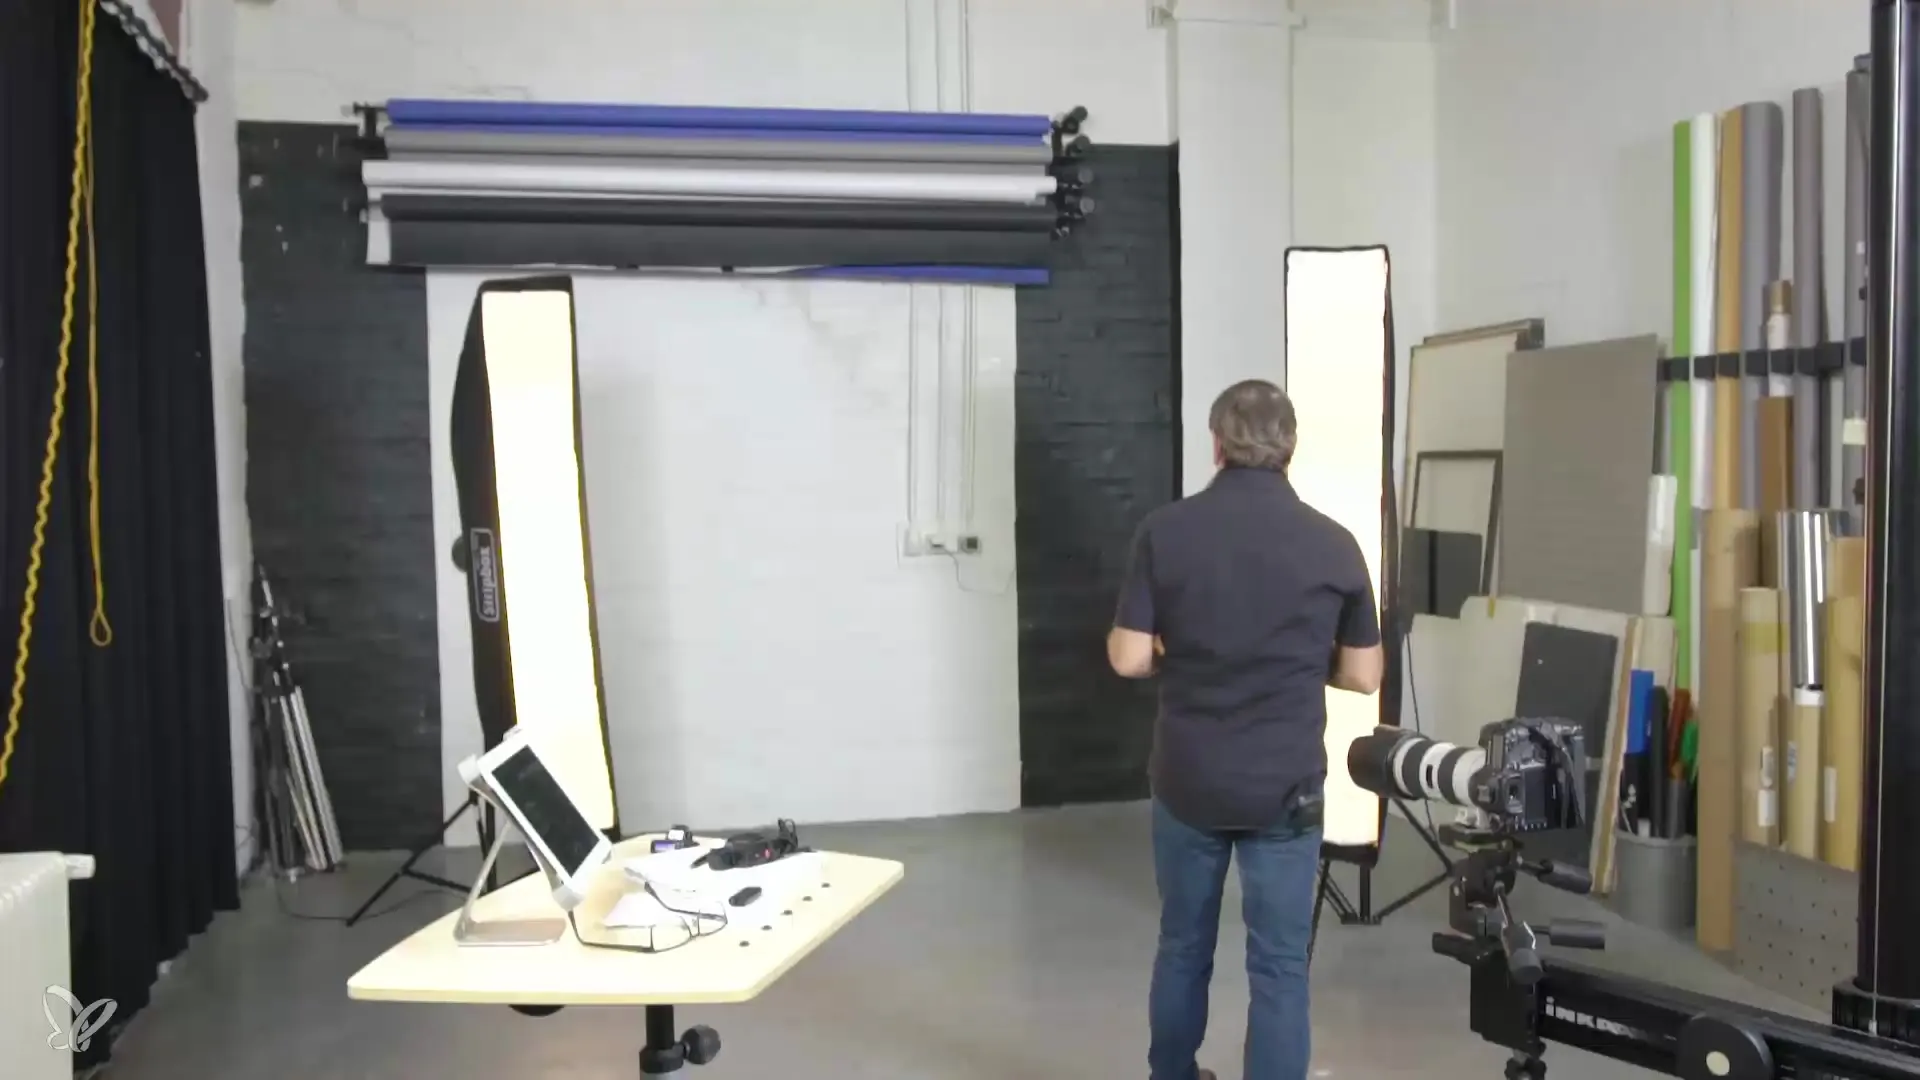
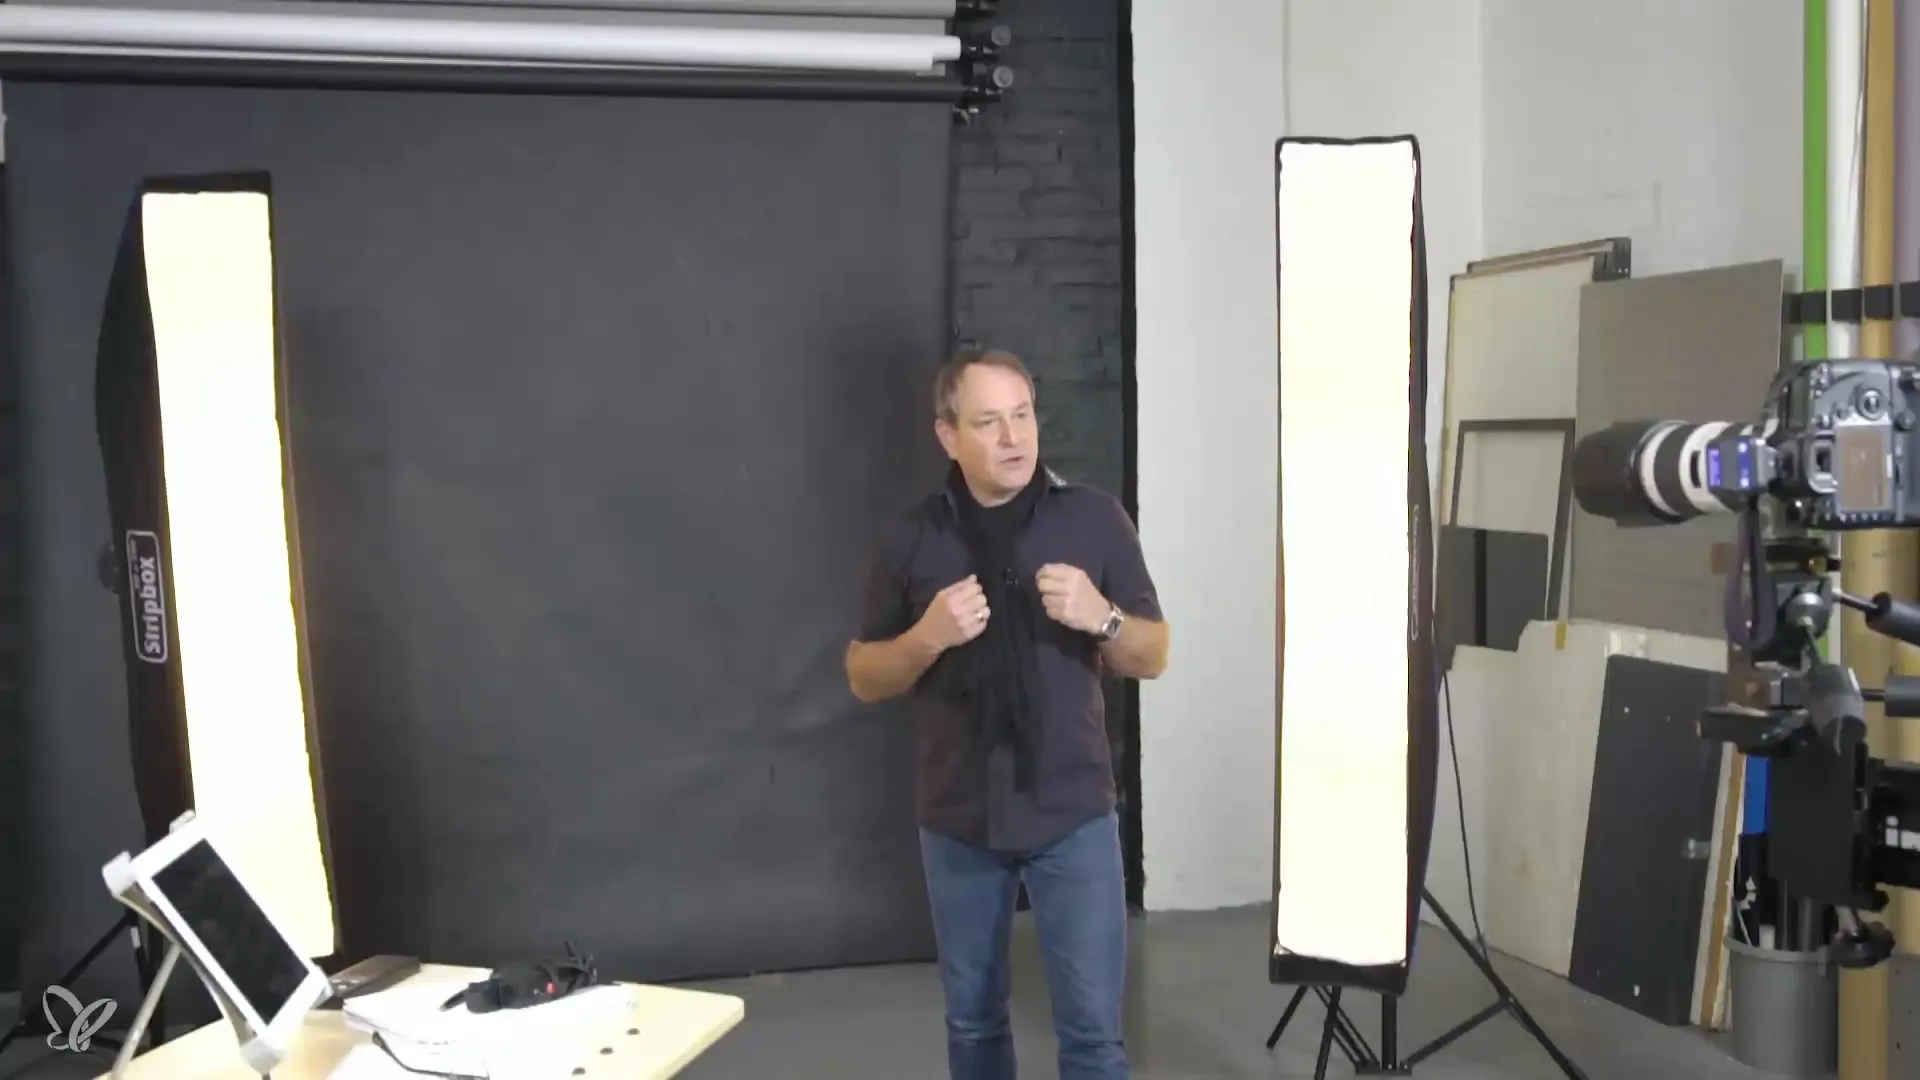
Before you start the shoot, it is important to understand the basics of your lighting setup. In this setup, two strip lights are used to help you create soft and contoured light. Imagine they are positioned on the right and left of the model, allowing for flexible rotation. One strip light is placed closer to the model, while the other is a little further away.
Step 2: Position the Strip Lights
Start by setting up the strip lights according to the mentioned positions. Make sure both lights are set to the same power output. It is helpful to choose a medium setting to ensure the lighting conditions are balanced. Position one light almost parallel to the model and the other from a slight angle behind to achieve the best possible illumination.
Step 3: Set Up the Flashes and Exposure Measurement
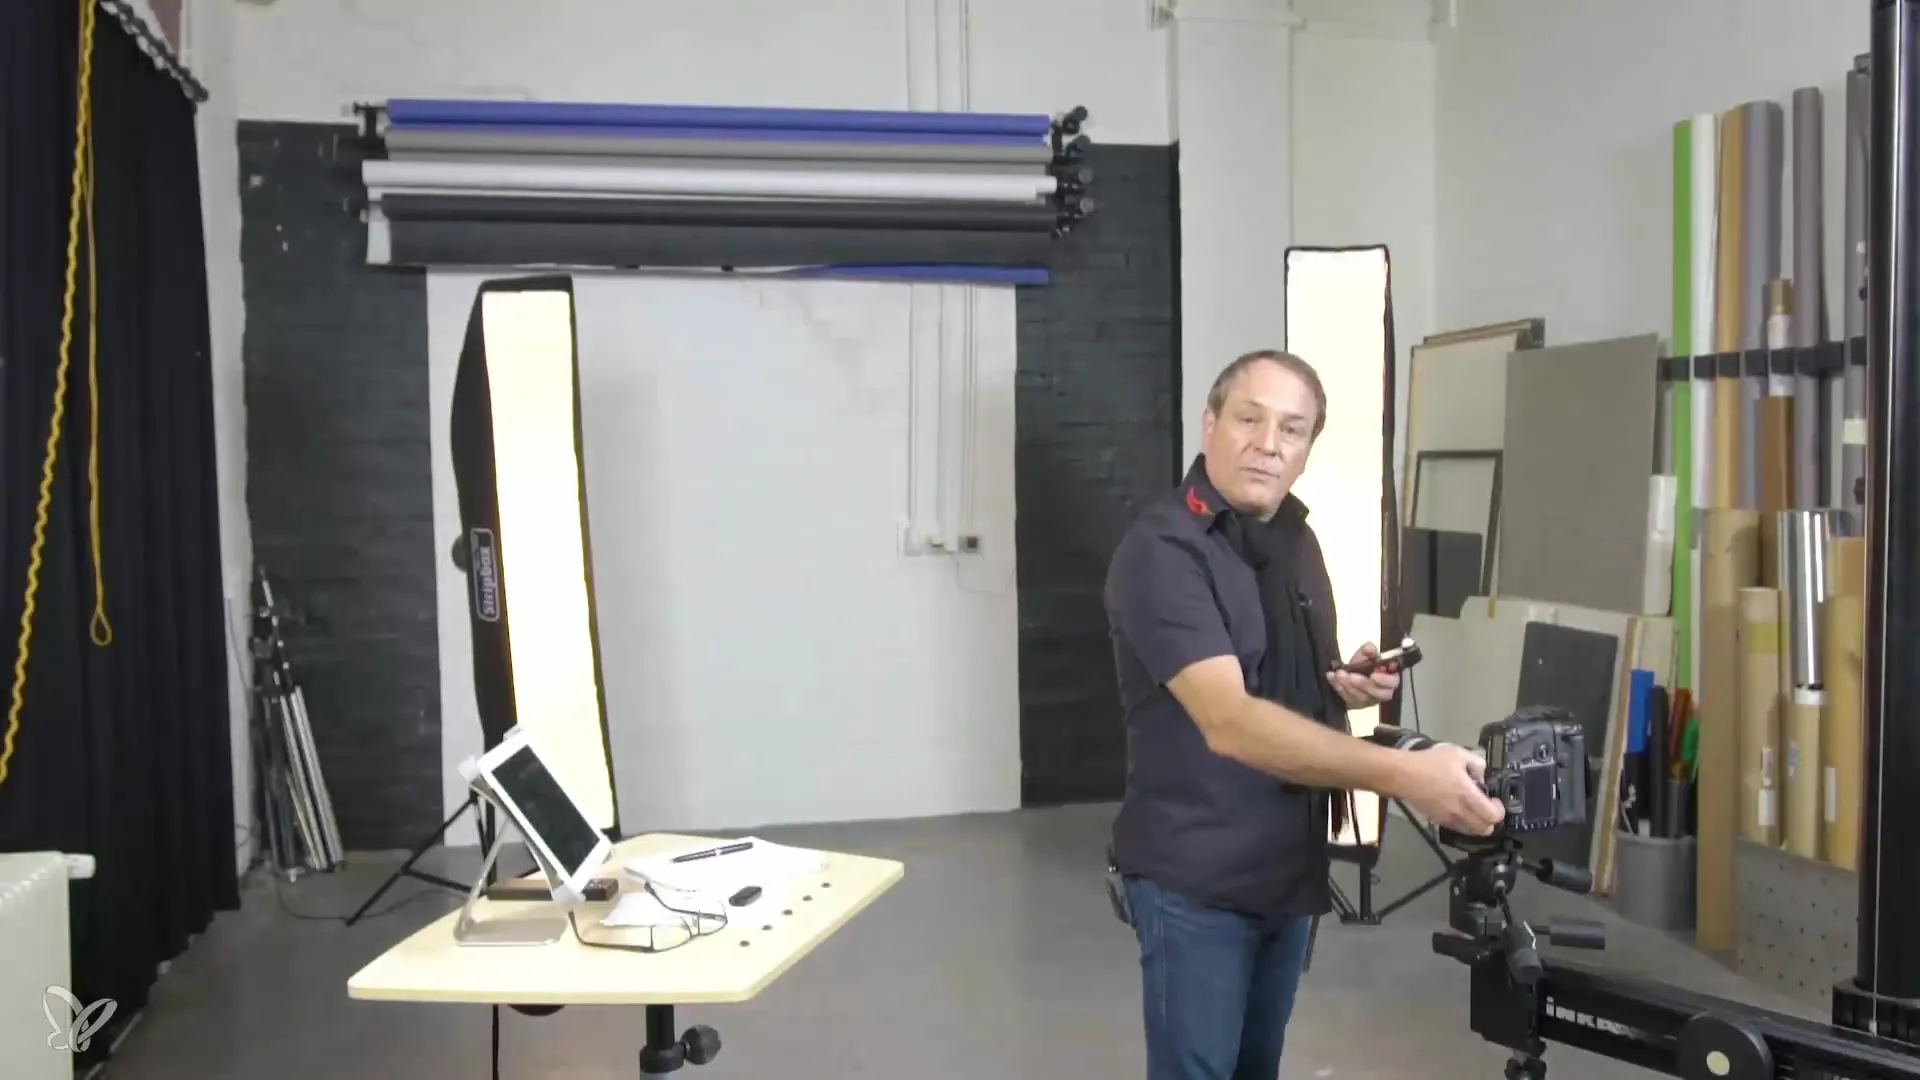
Now it's time to set up the flashes. Use a remote shutter to ensure easy and precise releases while testing the lighting conditions. Measure the light by setting the aperture to a value of f/8, and make sure that both light sources illuminate evenly.
Step 4: Choose the Background
To bring out the best in your images, choose a black background. This helps to separate the model from the background and emphasizes the shapes and contours more effectively. A black background is particularly useful in nude photography.
Step 5: Take Test Shots
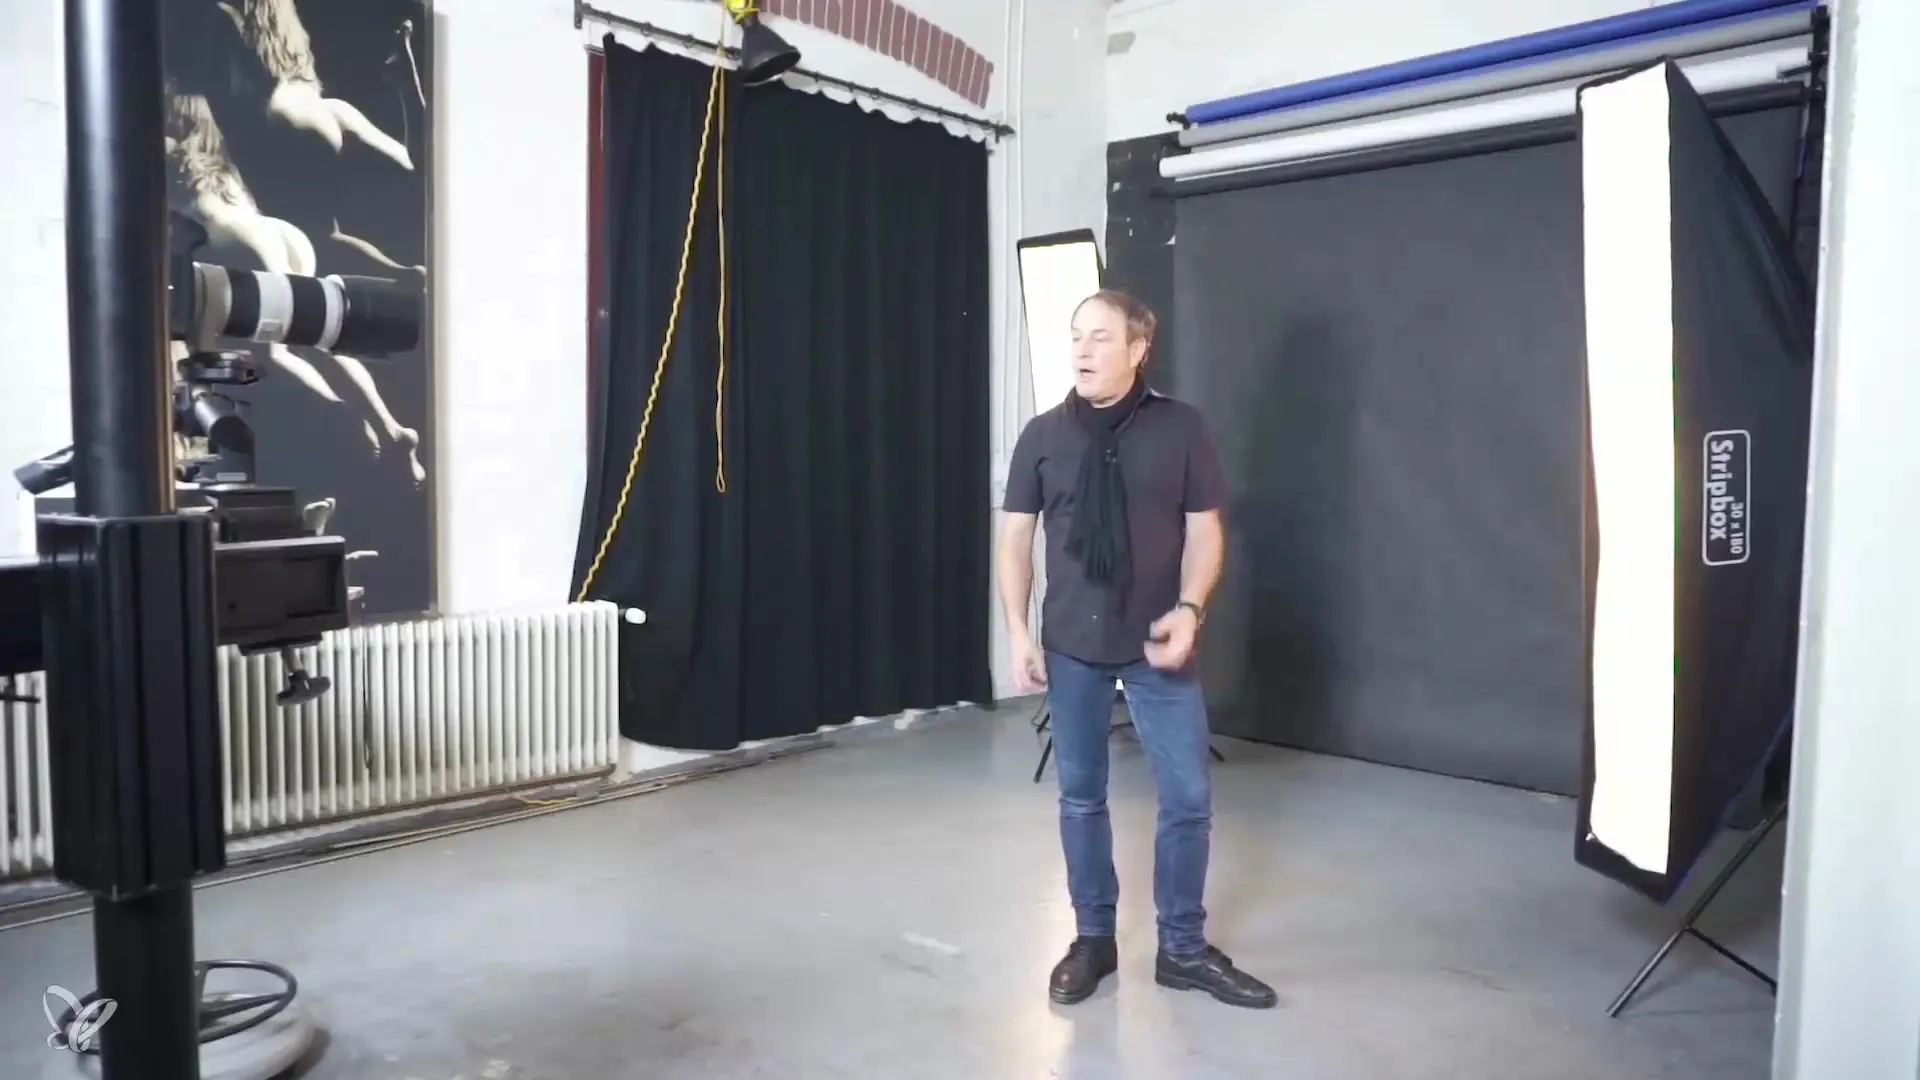
Create some test shots to check the lighting effect. You should raise the camera slightly and release the exposure via the remote shutter. Experiment with different poses and rotations of the model to find out where the light produces the best effects. For example, you can rotate around your own axis while testing to create different light and shadow effects.
Step 6: Stay Flexible
One of the main goals in nude photography is to stay flexible. You can rotate the model 360 degrees and try different poses while adjusting the strip lights accordingly. Movements, such as playing with the hands or adopting various poses, help you create creative and interesting images.
Summary – Classic Nude Photography in Professional Studio Light – Setup for Creative Freestyle
In this guide, you have learned how important the lighting setup is for nude photography. The use of strip lights provides you with the flexibility you need to achieve excellent results. Keep the principles in mind and experiment with different poses and lighting conditions to enhance your photographic skills.
Frequently Asked Questions
How can I optimally position the strip lights?Place one strip light closer to the model and the other further away for balanced lighting.
Why is a black background recommended?A black background highlights the model and helps to better emphasize contours and shapes.
How often should I take test shots?Take test shots after you have set up the lighting to ensure the lighting conditions are correct.
Can I rotate the model during the shoot?Yes, the model can be rotated 360 degrees, which helps you capture different light and pose variations.
