Selecting the best images from a photo shoot is an exciting and at the same time challenging task. In this tutorial, you will learn how to effectively choose the outstanding motifs from your series while implementing the basic image editing steps with Lightroom. This guide will give you a detailed insight into the thoughts and decisions of a photographer during the image selection and editing.
Main Insights
- The evaluation of images is done using a star system: 1 star for rejected, 3 for shortlisted, and 5 for top shots.
- Pay attention to pose, light, and body posture of the model during image selection.
- Compare similar images to choose the best motif.
- Use Lightroom for RAW conversion and light image editing.
Step 1: Transferring Images and First Review
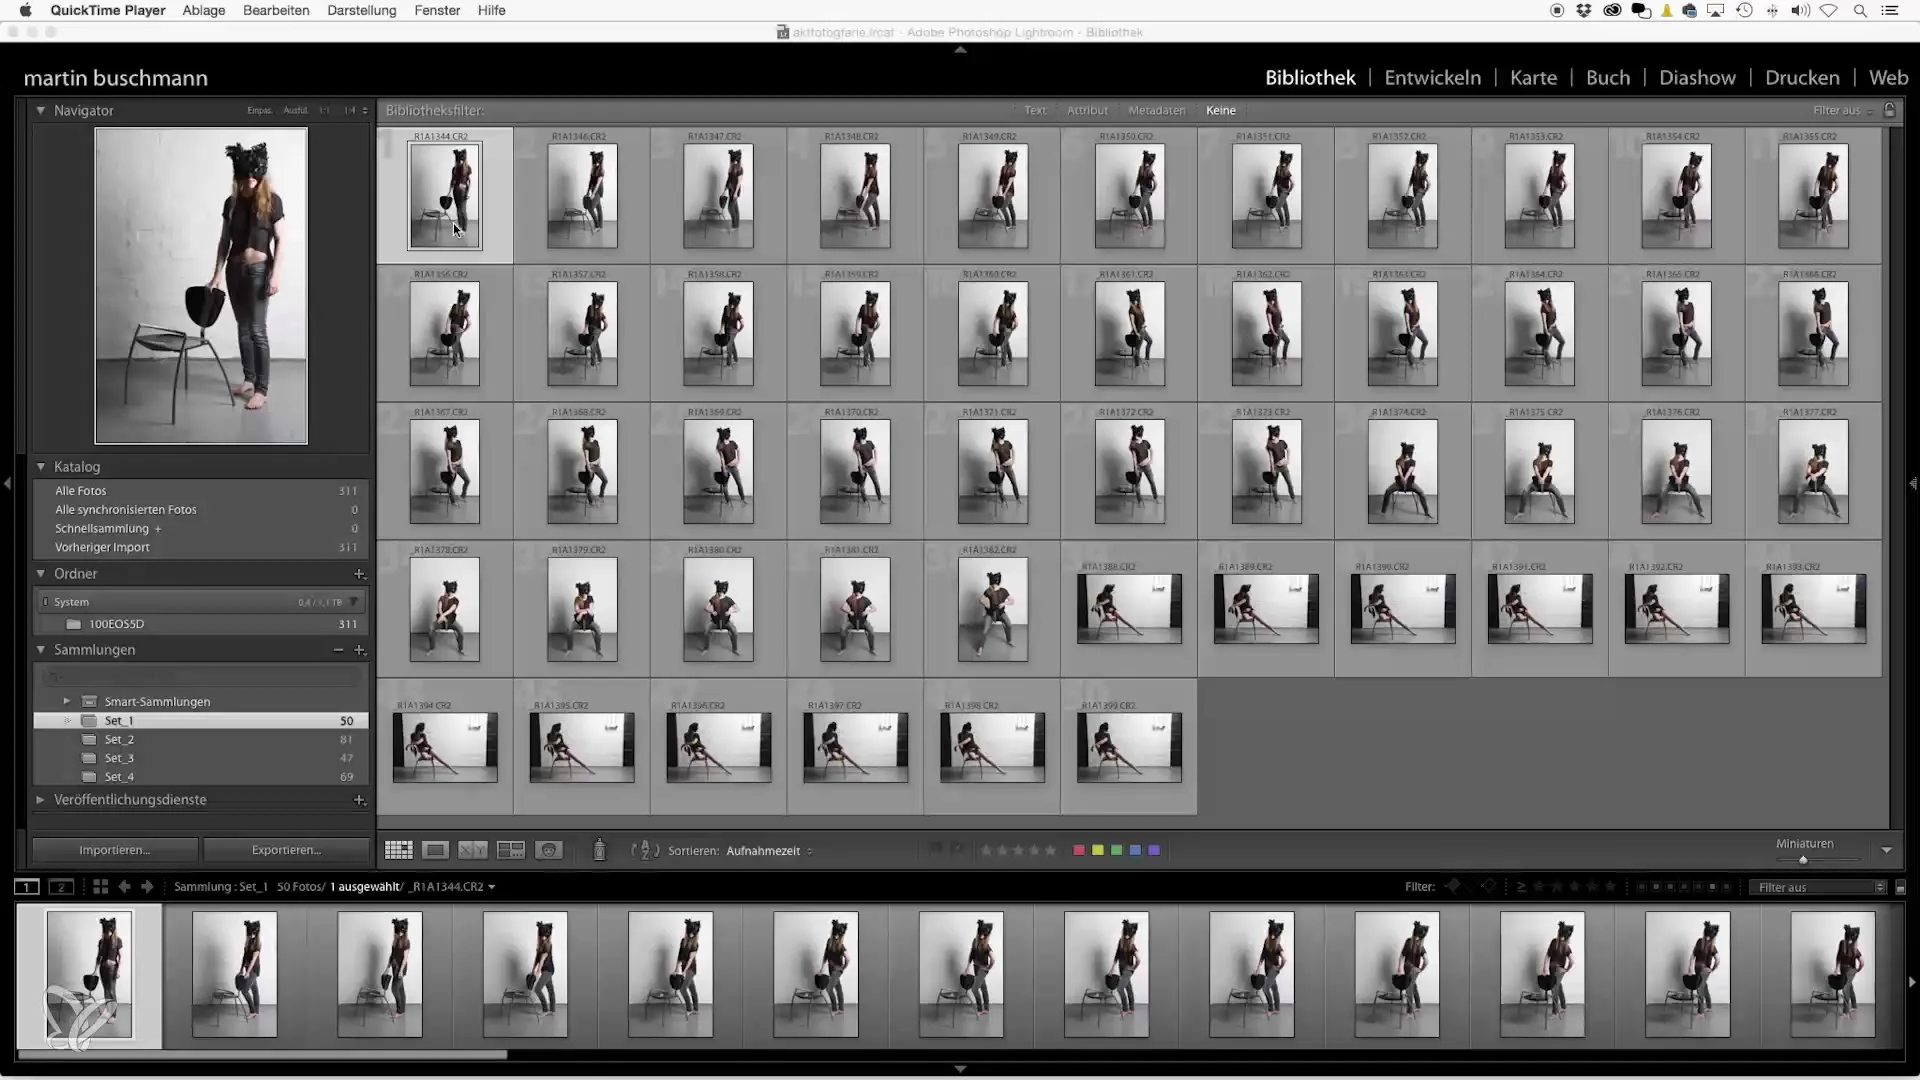
Once the images are transferred to your computer, the first step is to review them in a suitable program. Personally, I use Lightroom, but any program that can process RAW files is appropriate. During the review, I make sure to optimally evaluate the perspectives and proportions of the poses. These initial impressions are crucial for selecting motifs.

Step 2: Marking the Images
I begin the selection process by marking images with a star. I assign 1 star for images that will not make the shortlist. 3 stars indicate that the image has a good chance of making the final selection. 5 stars are reserved for the absolute top shots. This systematic approach helps maintain an overview and quickly identify the best images.
Step 3: Detailed Checking of Poses
When selecting images, it's important to analyze the poses of the model closely. I look at the first images where the model starts posing. If the model is in an unflattering position or not posing correctly, the image is discarded. Here too, it is my job to capture the right moments where the model shows her best sides.
Step 4: Comparing Similar Shots
If I have several images with similar content, the next step is to compare them. The model may have been photographed in several poses that differ only slightly. At this point, I pay particular attention to details like facial expression and body posture. A smiling face often has a very different effect than a neutral one.
Step 5: Critical Observation of the Body
Adjusting body posture plays a crucial role in nude photography. Some images show the model from an unflattering angle or with undesirable body features. I only select images where I see an appealing tension in the body. This can be achieved through purposeful breathing or by positioning the arms and legs.
Step 6: Paying Attention to Light and Shadow Play
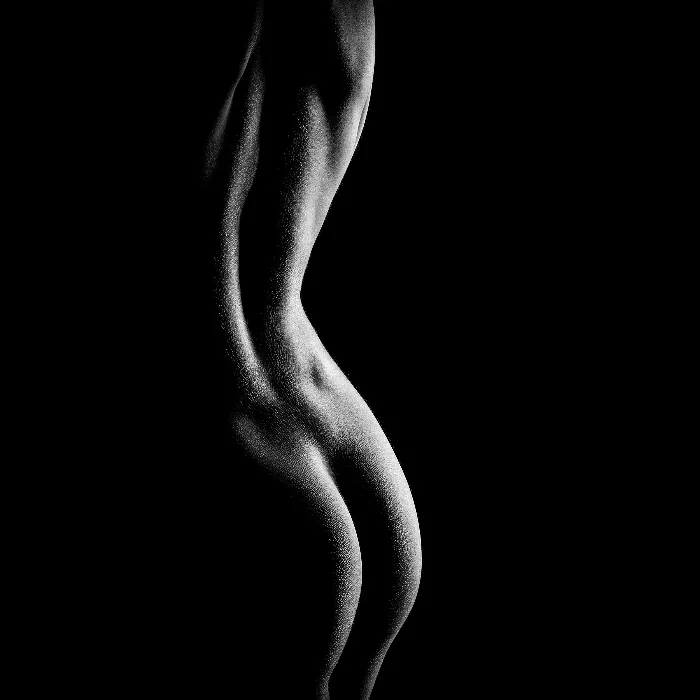
The use of light is central in photography. I check the lighting conditions in my images. Are they pleasant, or are there disturbing shadows? The optimal lighting highlights the model's advantages and ensures an aesthetic representation. Each image is evaluated for its lighting conditions and marked accordingly.
Step 7: Final Image Comparisons and Finalizing Selection
After I have reviewed and marked all images, I go through the images marked with 3 stars once more. This is about crowning the absolute top image from the selection. Often, it’s the last pose or the final moment of the shoot that makes it to the shortlist.
Step 8: Image Editing
It's time to edit the selected images. I focus on fine-tuning: brightness, contrast, and sharpness are the first steps. In Lightroom, I find the tools that help me improve the texture and expression of the images so that they are optimal for the model and presentation.

Summary – Classic Nude Photography in Professional Studio Light: Step-by-Step Guide to Image Selection
Throughout this guide, you have learned how to effectively manage your image selection. From the first glance at the photos to the final editing, every phase plays an important role. The goal is to highlight the best motifs and showcase them optimally.
Frequently Asked Questions
How many images should I select from a shoot?The number depends on the quality of the images, but 10-15 good shots are ideal.
What should I do if I'm unsure which image is the best?Compare the images and look for subtle differences in pose and expression.
Can I use Lightroom for other photography styles as well?Yes, Lightroom is a versatile editing tool suitable for many photography styles.
How important is post-editing?Editing is crucial to unleash the full potential of an image and make it look professional.


