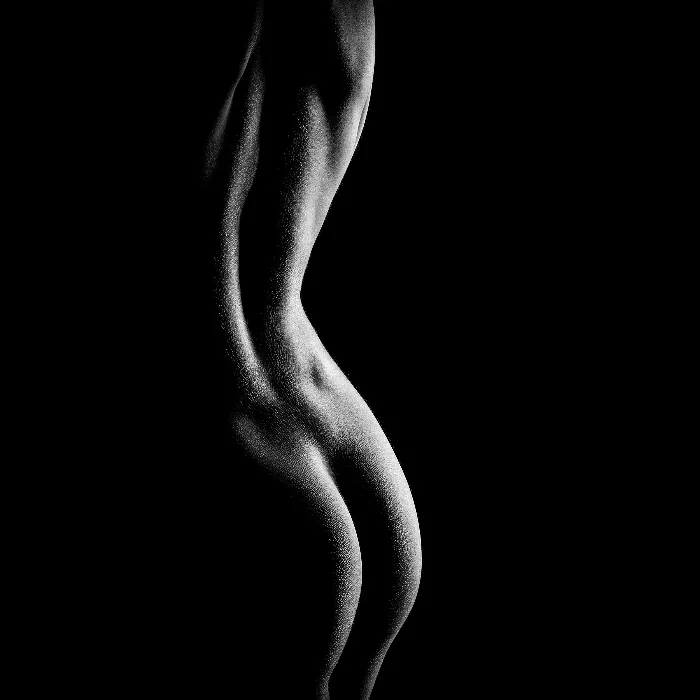
In nude photography, light is the key to the impact of the image. The right lighting setup ensures that the shapes and contours of the body come to the fore impressively. In this tutorial, I will show you how to set up a classic lighting setup for nude photography and test it optimally before the model is in the studio. Through precise light placement and adjustments, you can achieve outstanding image impact.
Key insights
- A thorough preparation is crucial for the success of your shoot.
- The lighting setup must be set up and tested in advance.
- Using different light sources is essential to create targeted effects.
- Checking the images on an iPad provides a better perspective for image composition.
Step-by-Step Guide
To effectively implement your lighting setup for classic nude photography, follow this detailed guide:
Step 1: Preparing the Studio
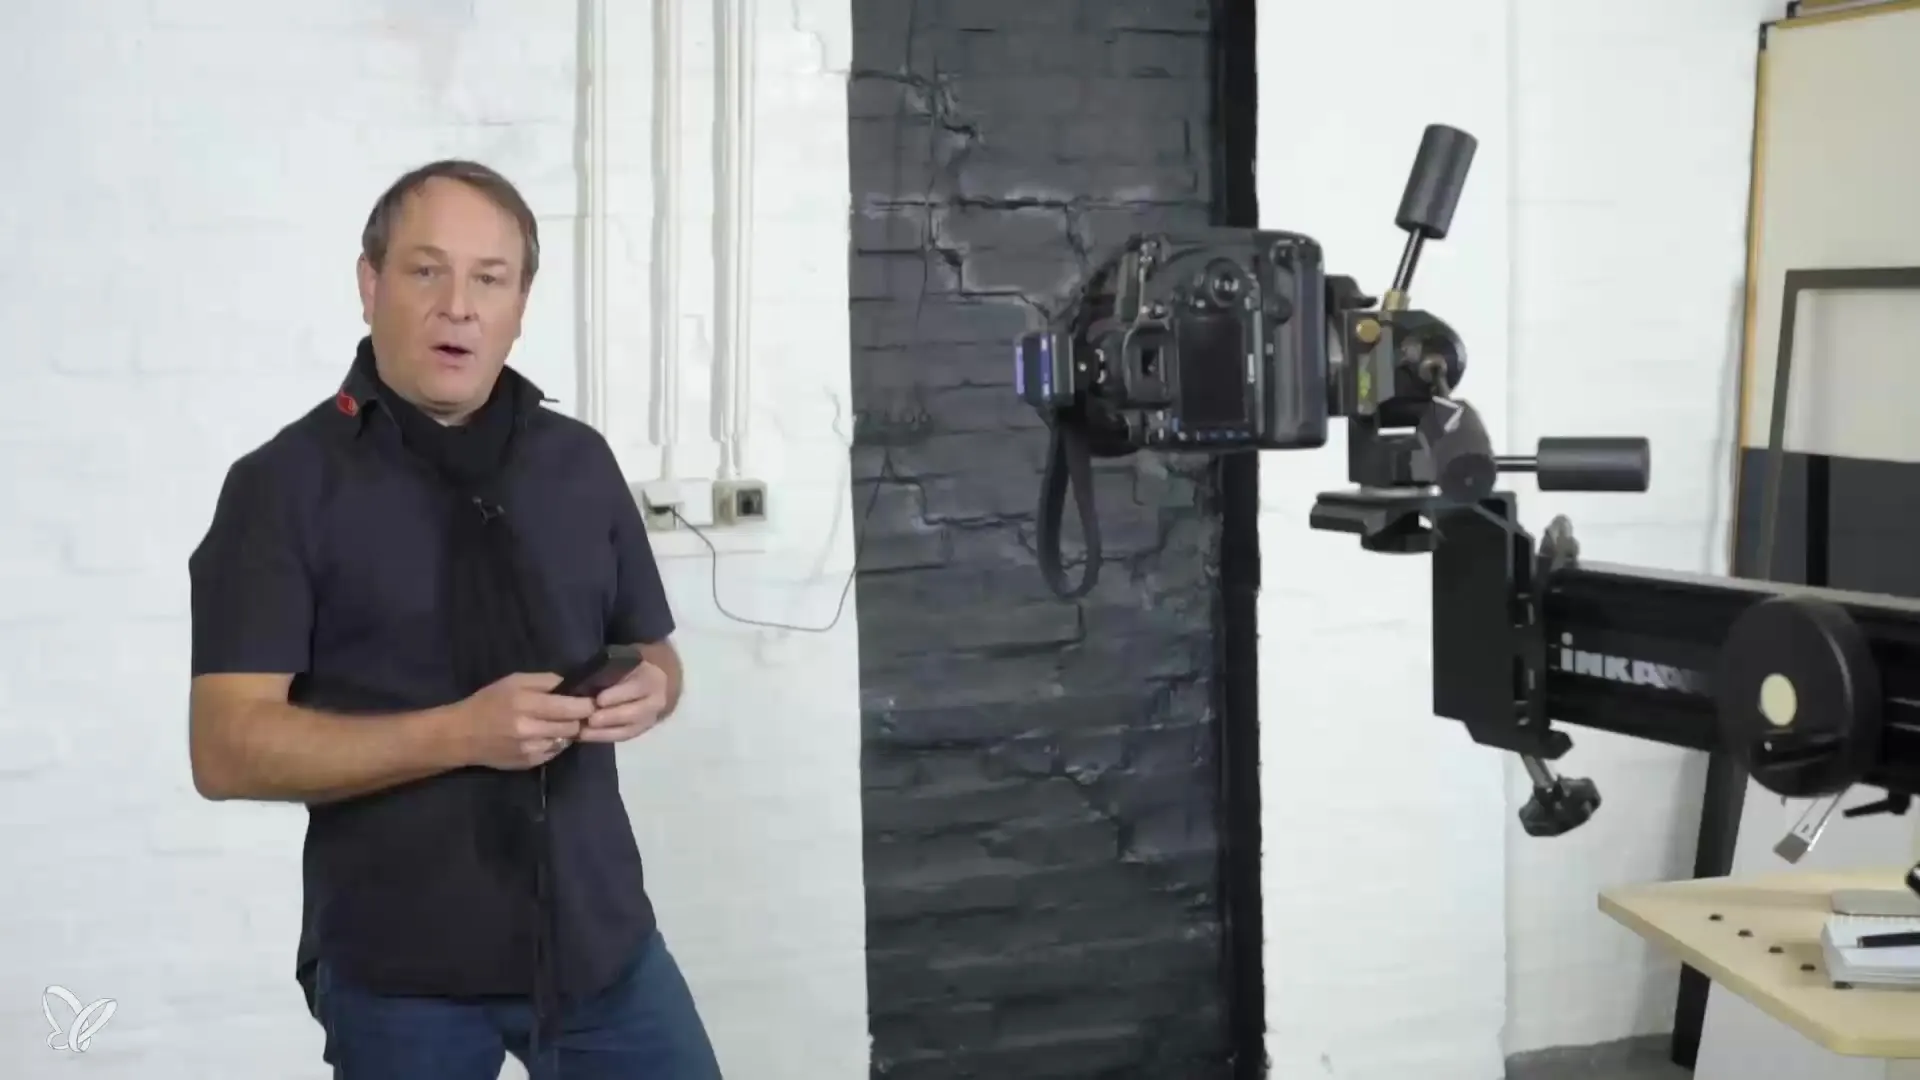
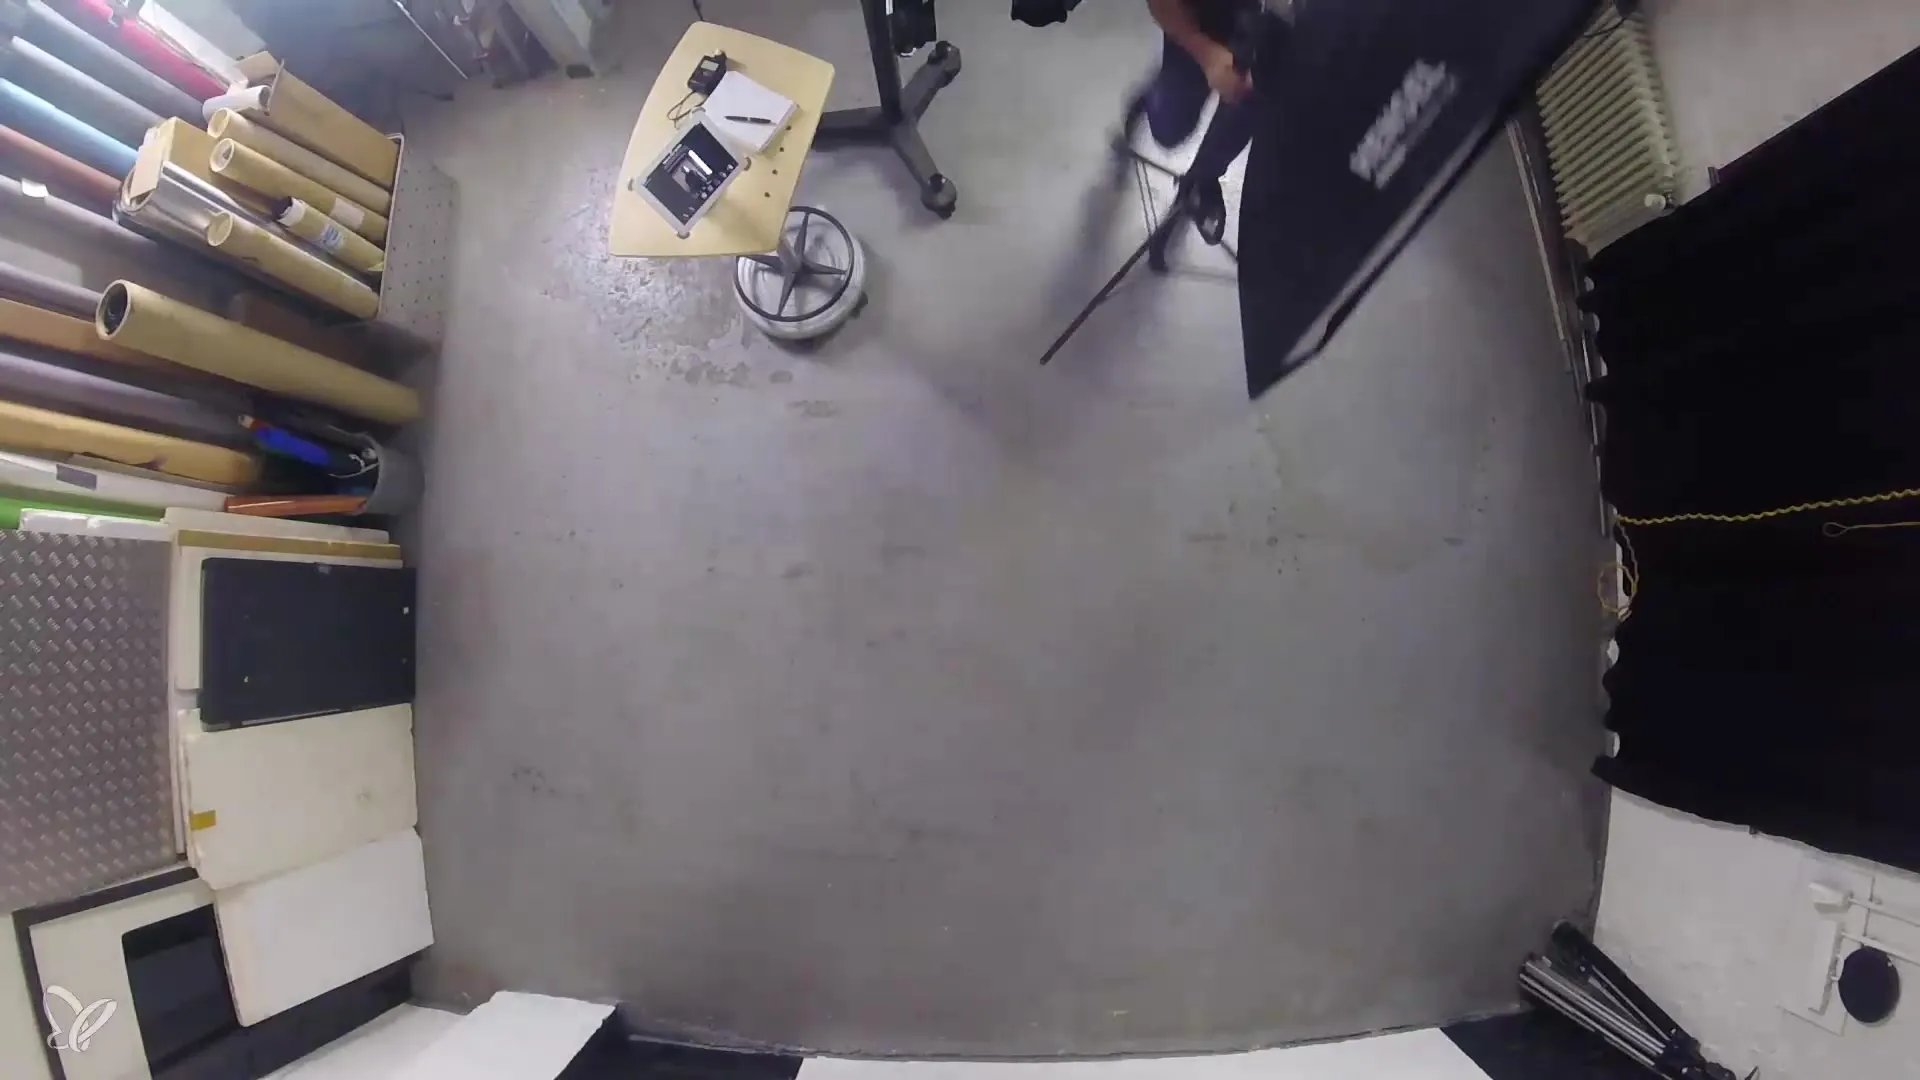
Before the model arrives, you should prepare your studio. This includes setting up the background and arranging the lights. A black background is particularly advantageous for classic nude photography to enhance the lighting.
Step 2: Arranging the First Light
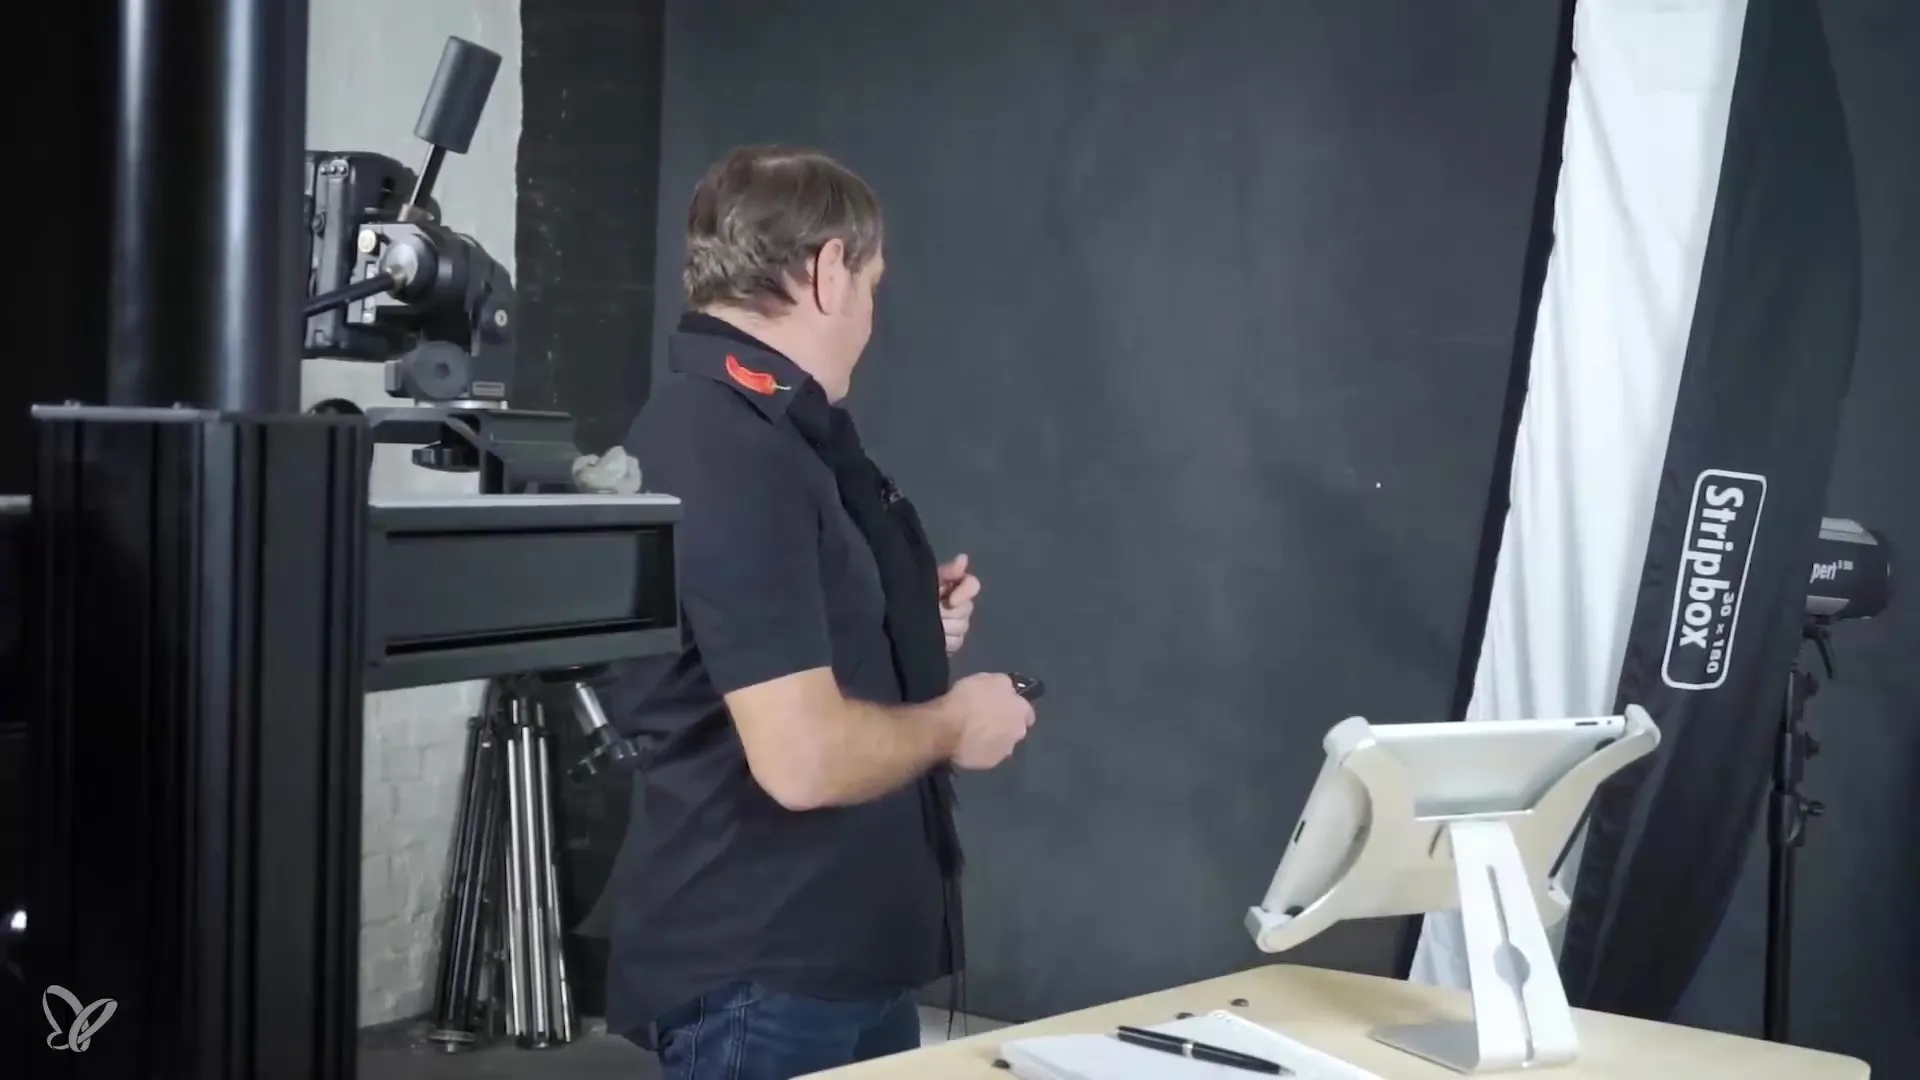
The strip light is an important lighting instrument that you will use for this setup. First, position it in a way that you feel is suitable for later use. This light will serve to create a soft emphasis on the body's edges.
Step 3: Testing the Strip Light
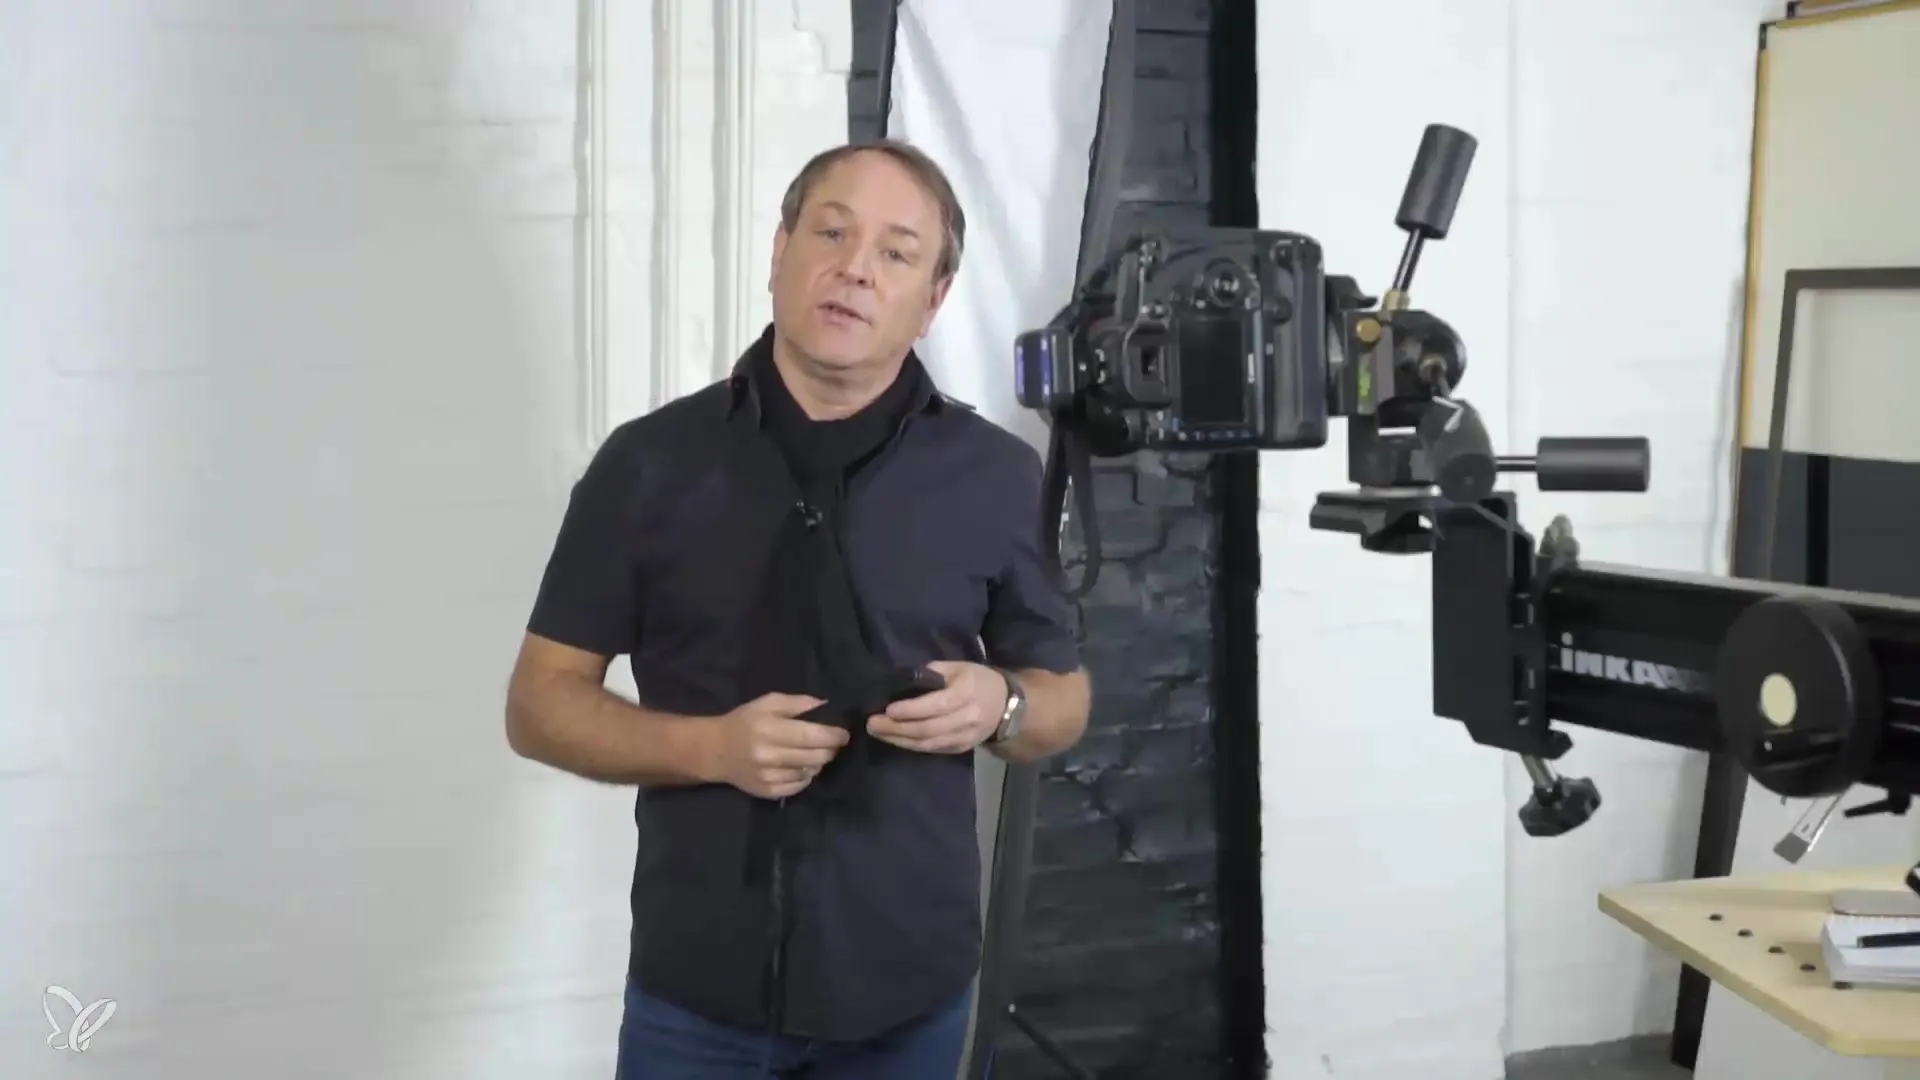
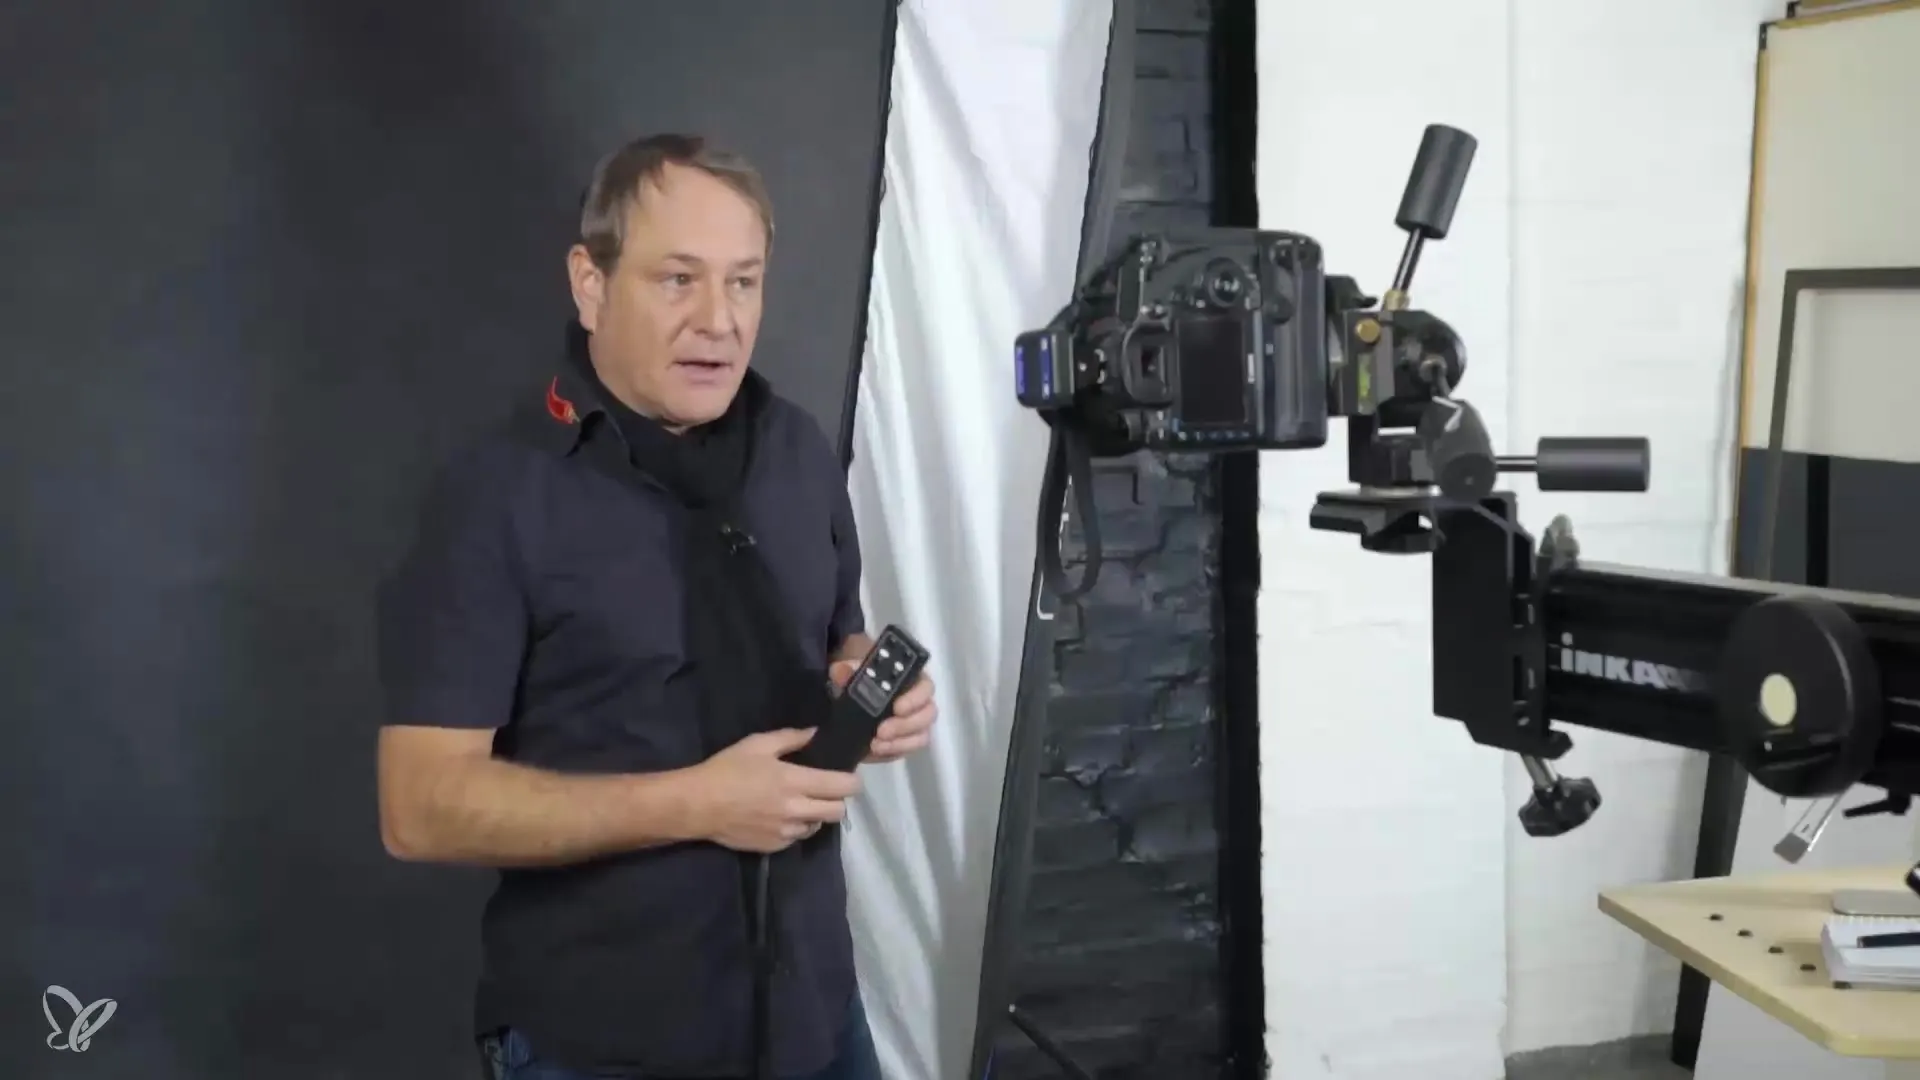
Now it's time to power up the strip light and do a first test run. Position yourself in front of the camera and trigger it with a remote shutter. This way, you can directly assess the lighting conditions.
Step 4: Light Adjustments
After taking the first test shots, check the light intensity. In many cases, less is more, and you may find that the light is too strong. Move the strip light further away from the model or reduce the brightness to create softer light.
Step 5: Testing Variations
To see the various lighting effects, you can test the strip light in different positions. Move it slightly to the right or left and take a new test shot each time. Note the differences and which positions yield the best results.
Step 6: Adding a Second Light
To further improve the image impact, add a second light that serves as an accent light. This can be a hard light with a standard reflector. This will create stronger contrasts and clearer control over the light edges.
Step 7: Adjusting the Accent Light
Test the accent light by positioning it suitably. Here, you can experiment with how strong and from which direction the light should influence the body. Keep in mind that even small adjustments can make a big difference in the image effect.
Step 8: Final Check of the Lighting Settings
Once both lights are in place, take some test shots and review them on your iPad. This gives you a clear view of the image impact and allows for quick adjustments before the model arrives.
Step 9: Final Touches
Observe the light intensity and the positions of the lights while introducing the model into the scene. Also, note the f-stop values you used during the tests so that you can use them directly during photography.
Summary – Classic Nude Photography in Professional Studio Lighting
With this step-by-step guide, you are well-equipped to master both technique and light in your classic nude photography. Thorough preparation and experimentation with different light sources are crucial for achieving impressive results.
Frequently Asked Questions
How can I test the lighting setup before the model?You can test the lighting setup by standing in front of the camera with a remote shutter and taking self-portraits to assess the lighting conditions.
What is the advantage of the strip light in nude photography?The strip light creates soft and targeted lighting that emphasizes body contours and surface texture.
How important is the control over light intensity?Controlling light intensity is crucial to achieve the desired effects and ensure that the model is well-lit.
