When you edit portraits or other images, you may encounter unwanted wrinkles or imperfections that make the image look unflattering. However, wrinkles can be effectively softened, making your subject appear fresher and more youthful. This guide shows you how to make precise and smooth adjustments to your image in Affinity Photo using high and low frequency layers. Let's dive right in – you will be surprised at how easy it is!
Key Insights
- Wrinkles can be portrayed more gently through the use of high and low frequency layers in Affinity Photo.
- A targeted use of tools like the healing brush or brush tool ensures a natural result.
- The opacity of these tools should be kept low to achieve subtle changes.
Step-by-step Guide
First, open your image in Affinity Photo and ensure you are working with the two frequency layers. This technique is based on separating surface texture and color, allowing you to address wrinkles and imperfections specifically.
1. Preparing the Frequency Layers
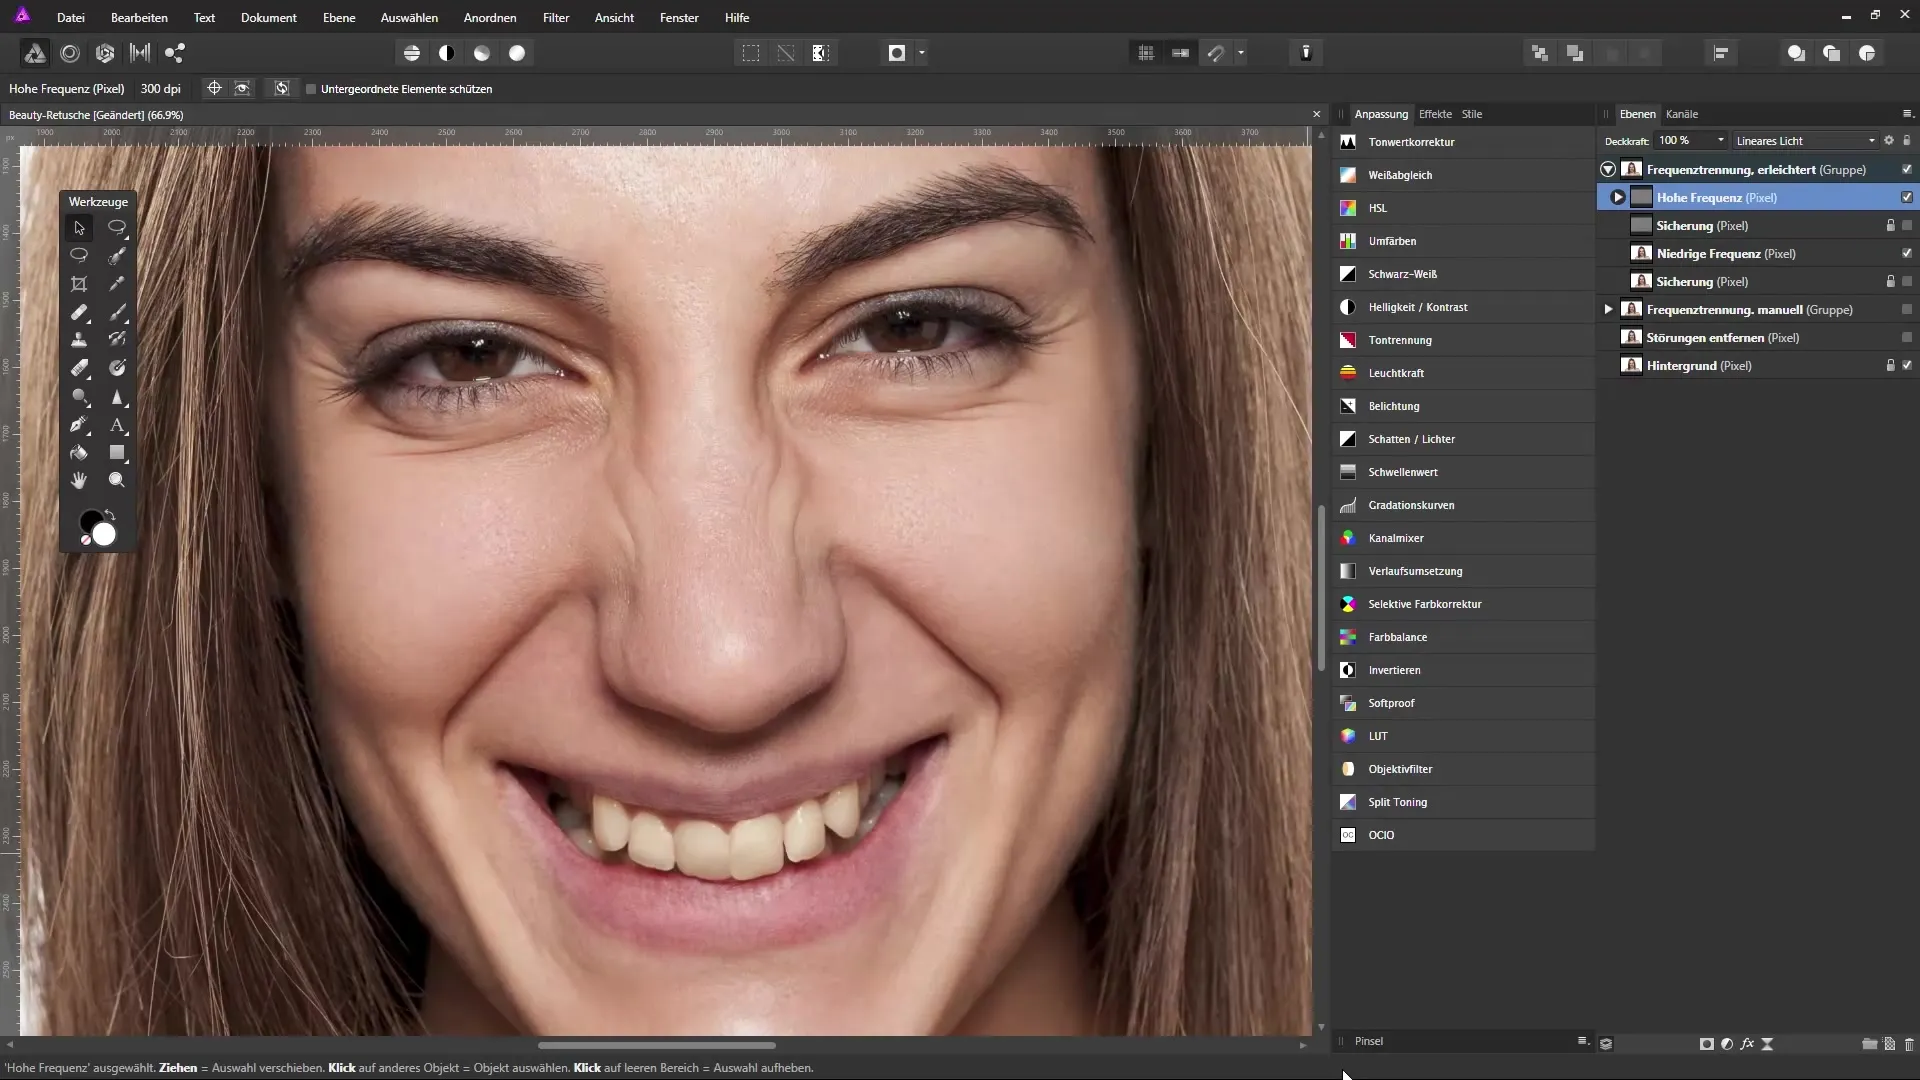
Press the Alt key and click on the thumbnail of the high frequency layer to see the details of the image. Here, you can see the wrinkles more clearly.
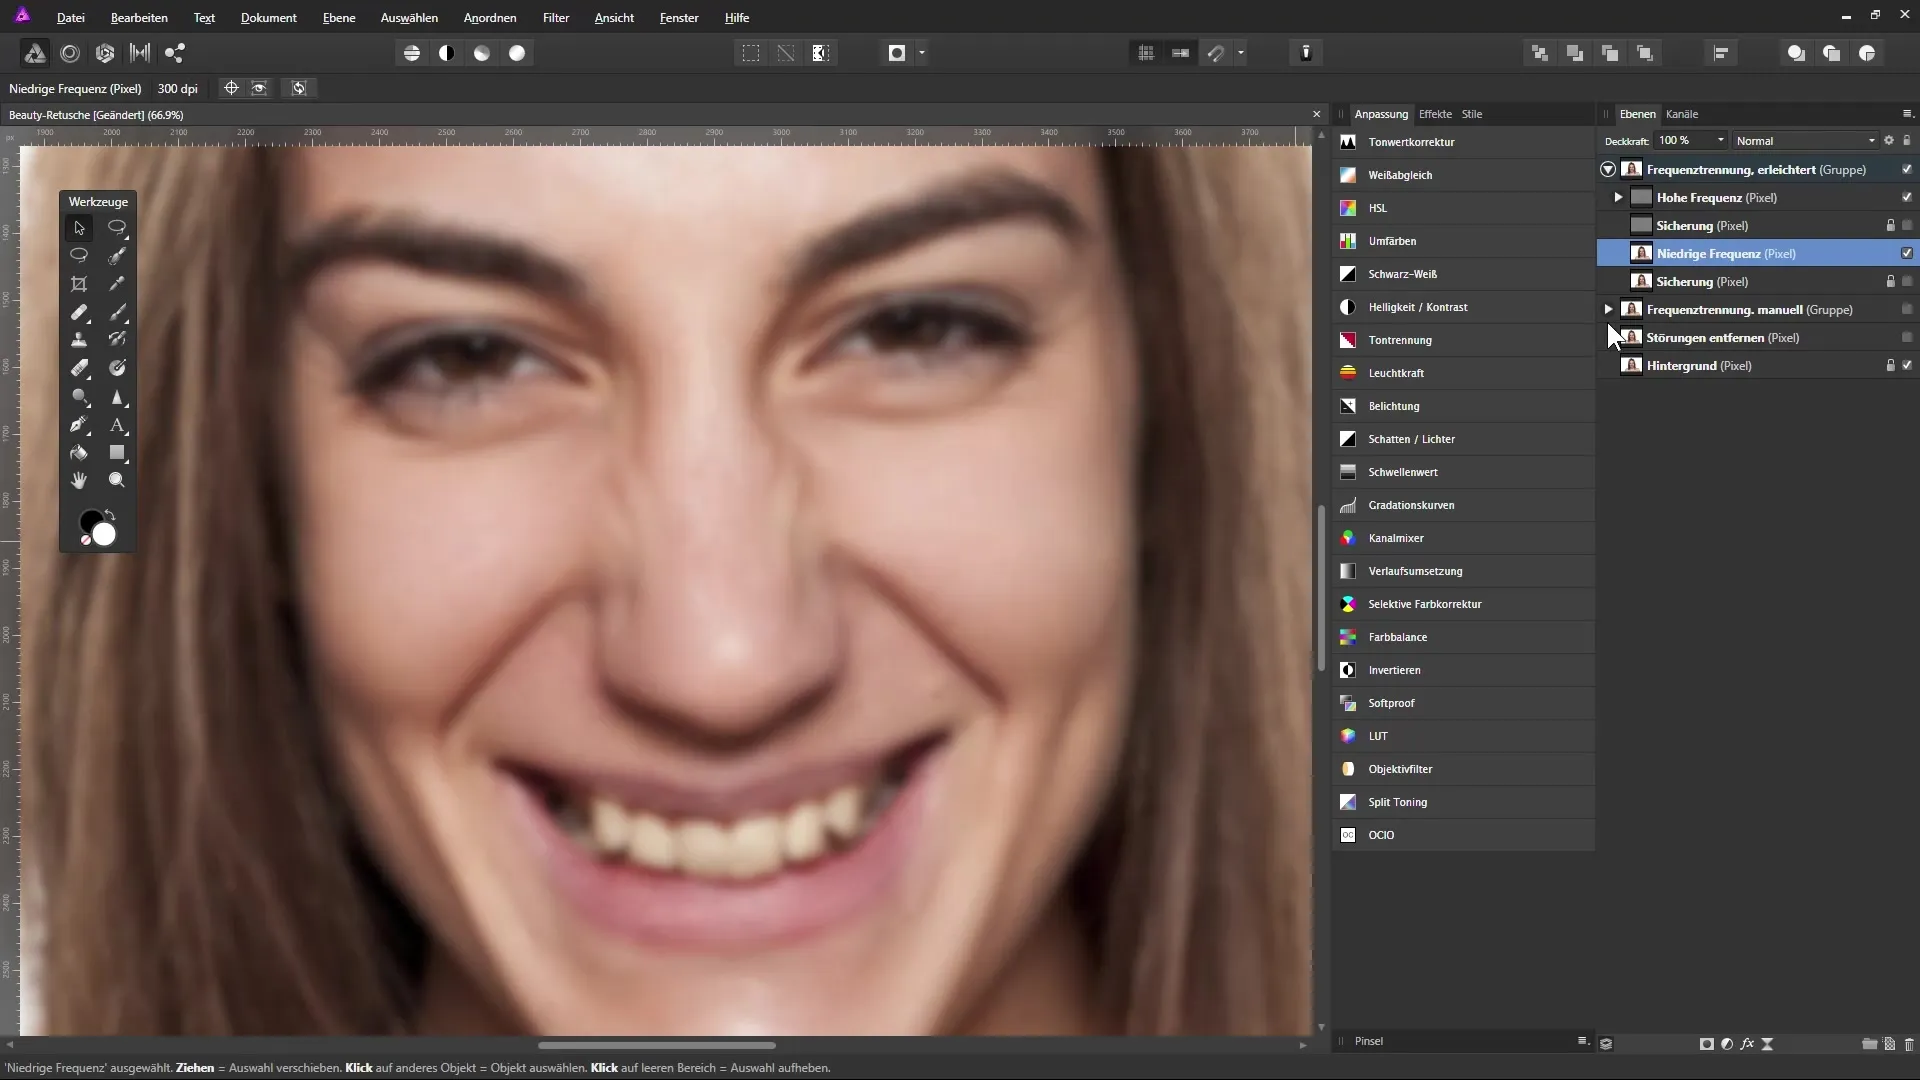
Then switch to the low frequency layer to view the color values of your image. You won't see any details here, but the darker areas remain visible; this is important for further editing.
2. Lightening the Dark Areas
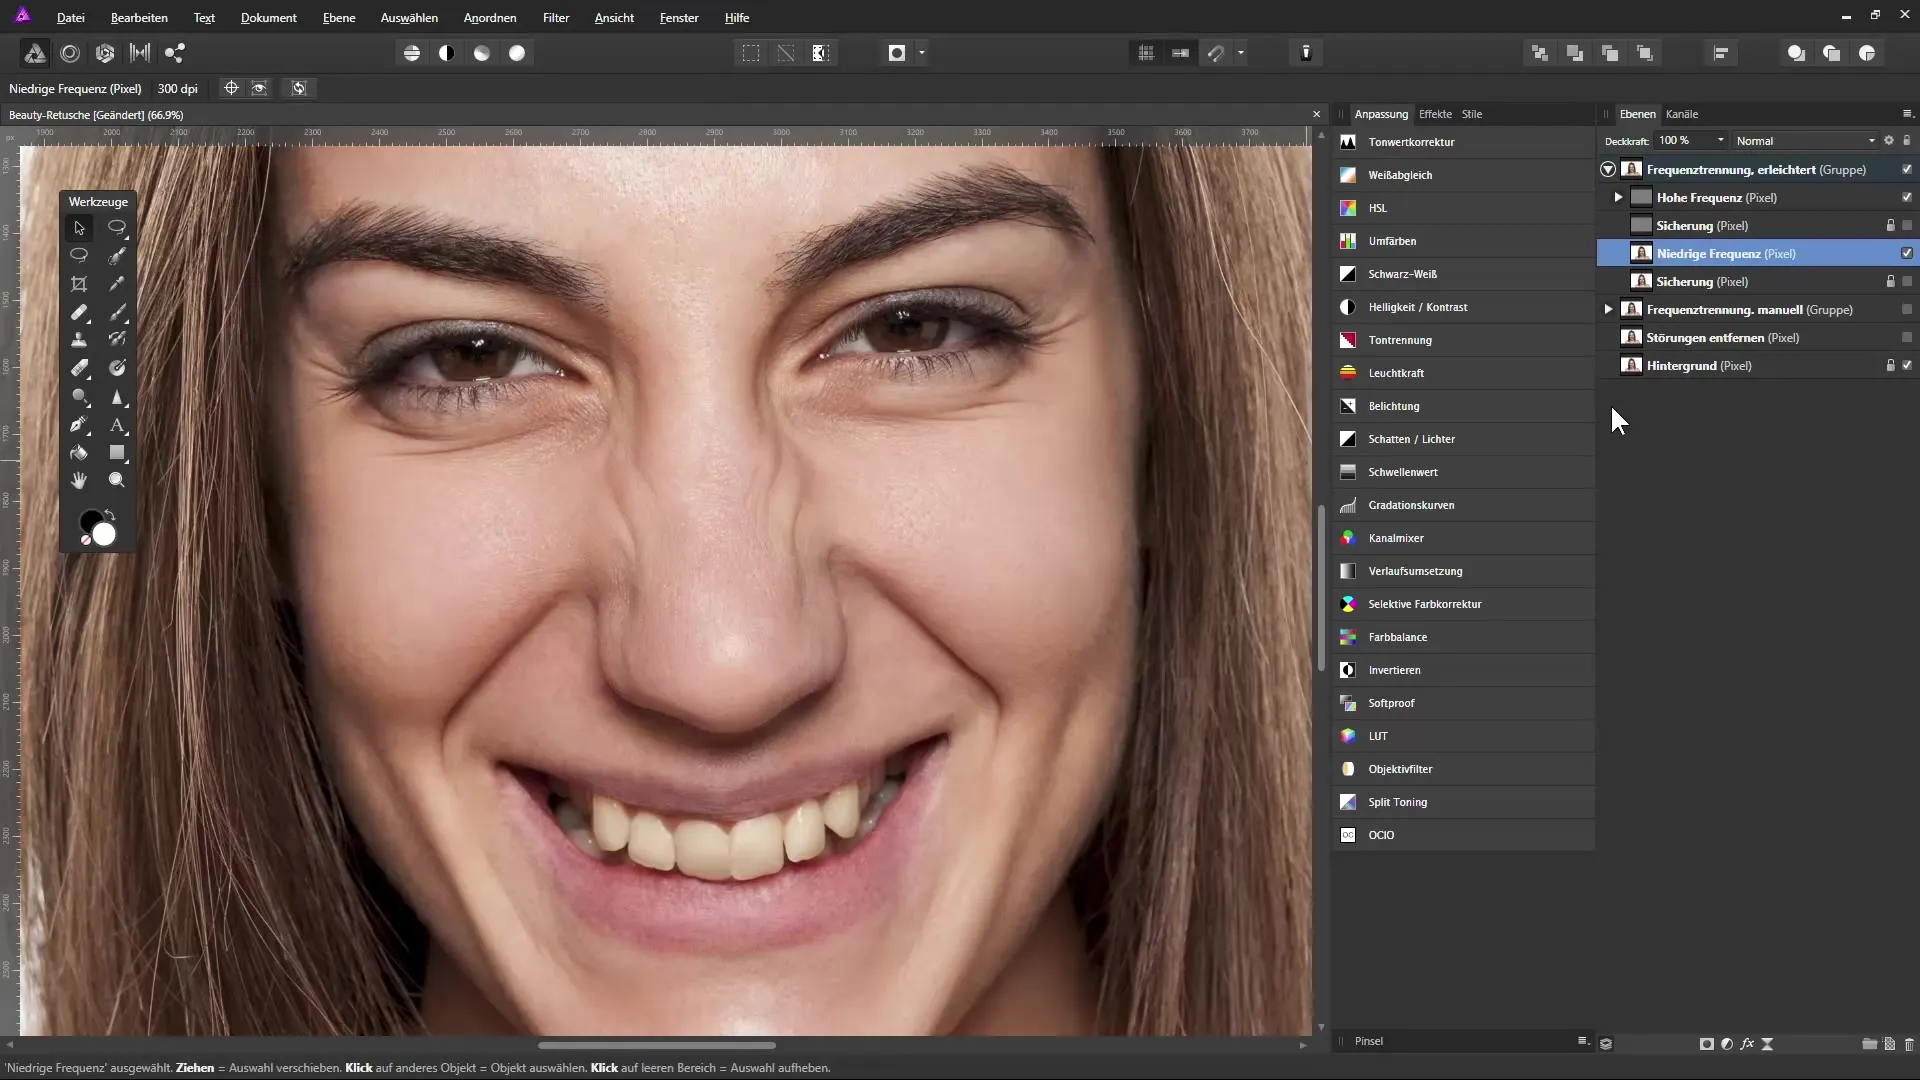
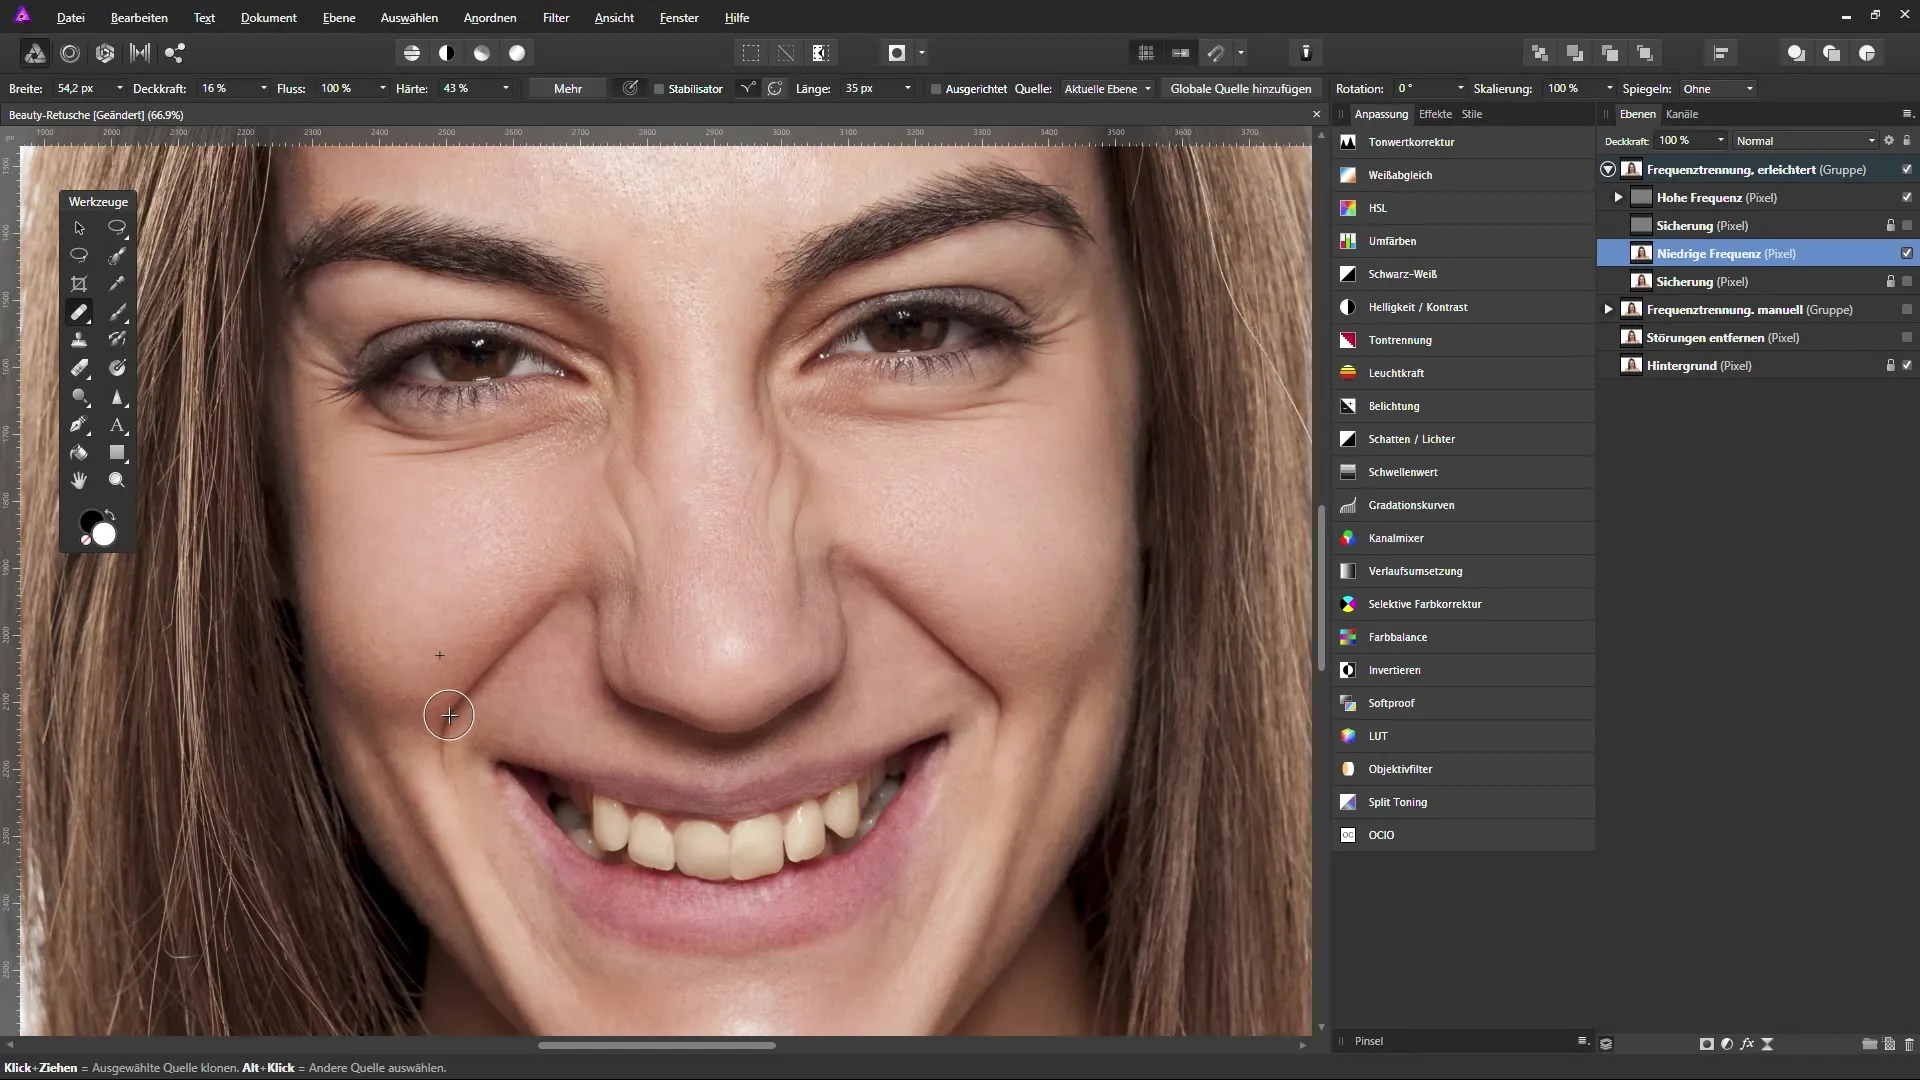
To lighten the wrinkles, go to the low frequency layer. Select the healing brush tool and set the opacity to about 20%. You can reduce the hardness to around 50%. Make sure the current layer remains selected.
Now hold down the Alt key to sample a color from an adjacent, even skin area and paint over the dark areas to subtly lighten them. At first, it may seem like nothing is changing, but small corrections lead to a better result.
3. Fine Adjustments on the High Frequency Layer
Switch to the high frequency layer. Here you won't be working with colors, but you need to lighten dark areas. Select the brush tool and set the opacity to about 15%. You should also choose a medium gray, which is helpful when editing wrinkles.
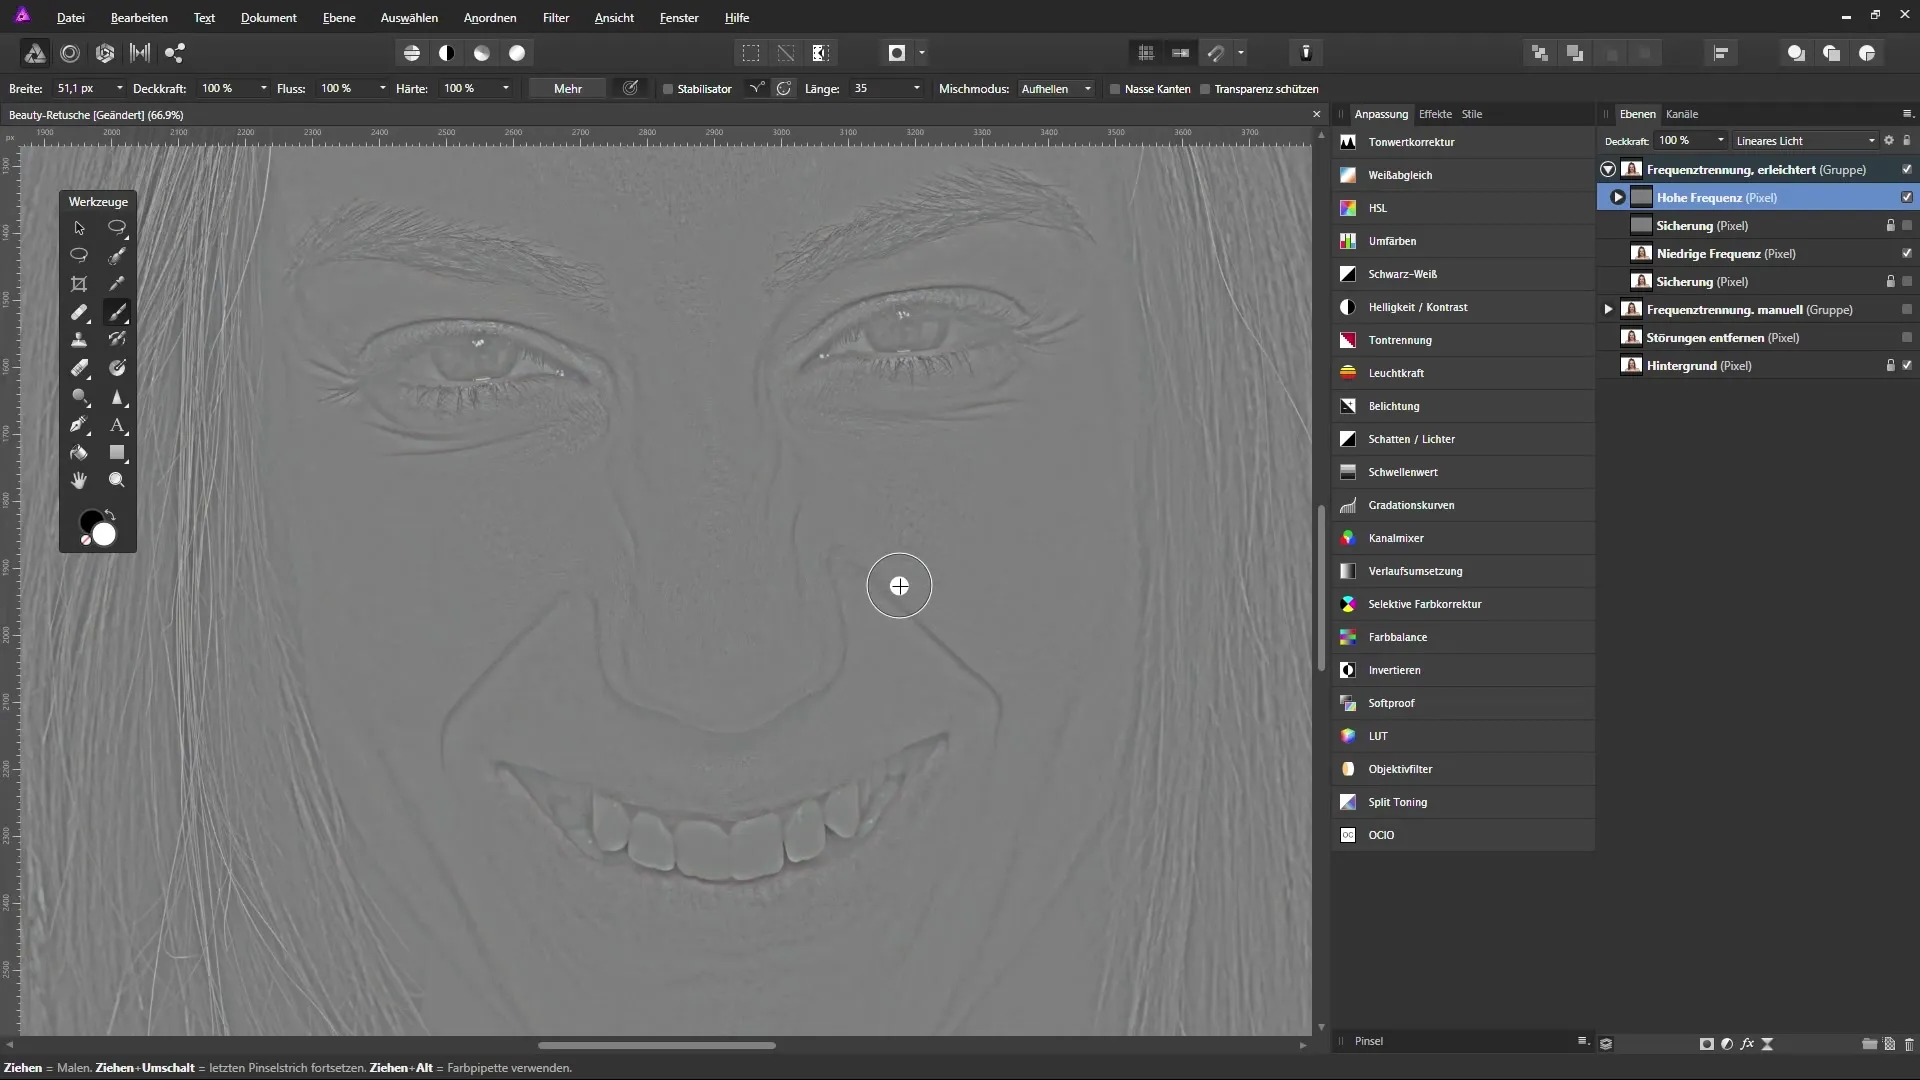
Be sure to adjust the brush size and paint subtly over the dark areas of the wrinkles. Reduce visibility to achieve a natural look. With each correction, the wrinkles will appear less pronounced.
4. Review and Final Touches
To ensure that the adjustments look good, you can use the full image view. Switch to the view of both frequency settings and make fine adjustments if needed to achieve the desired results.
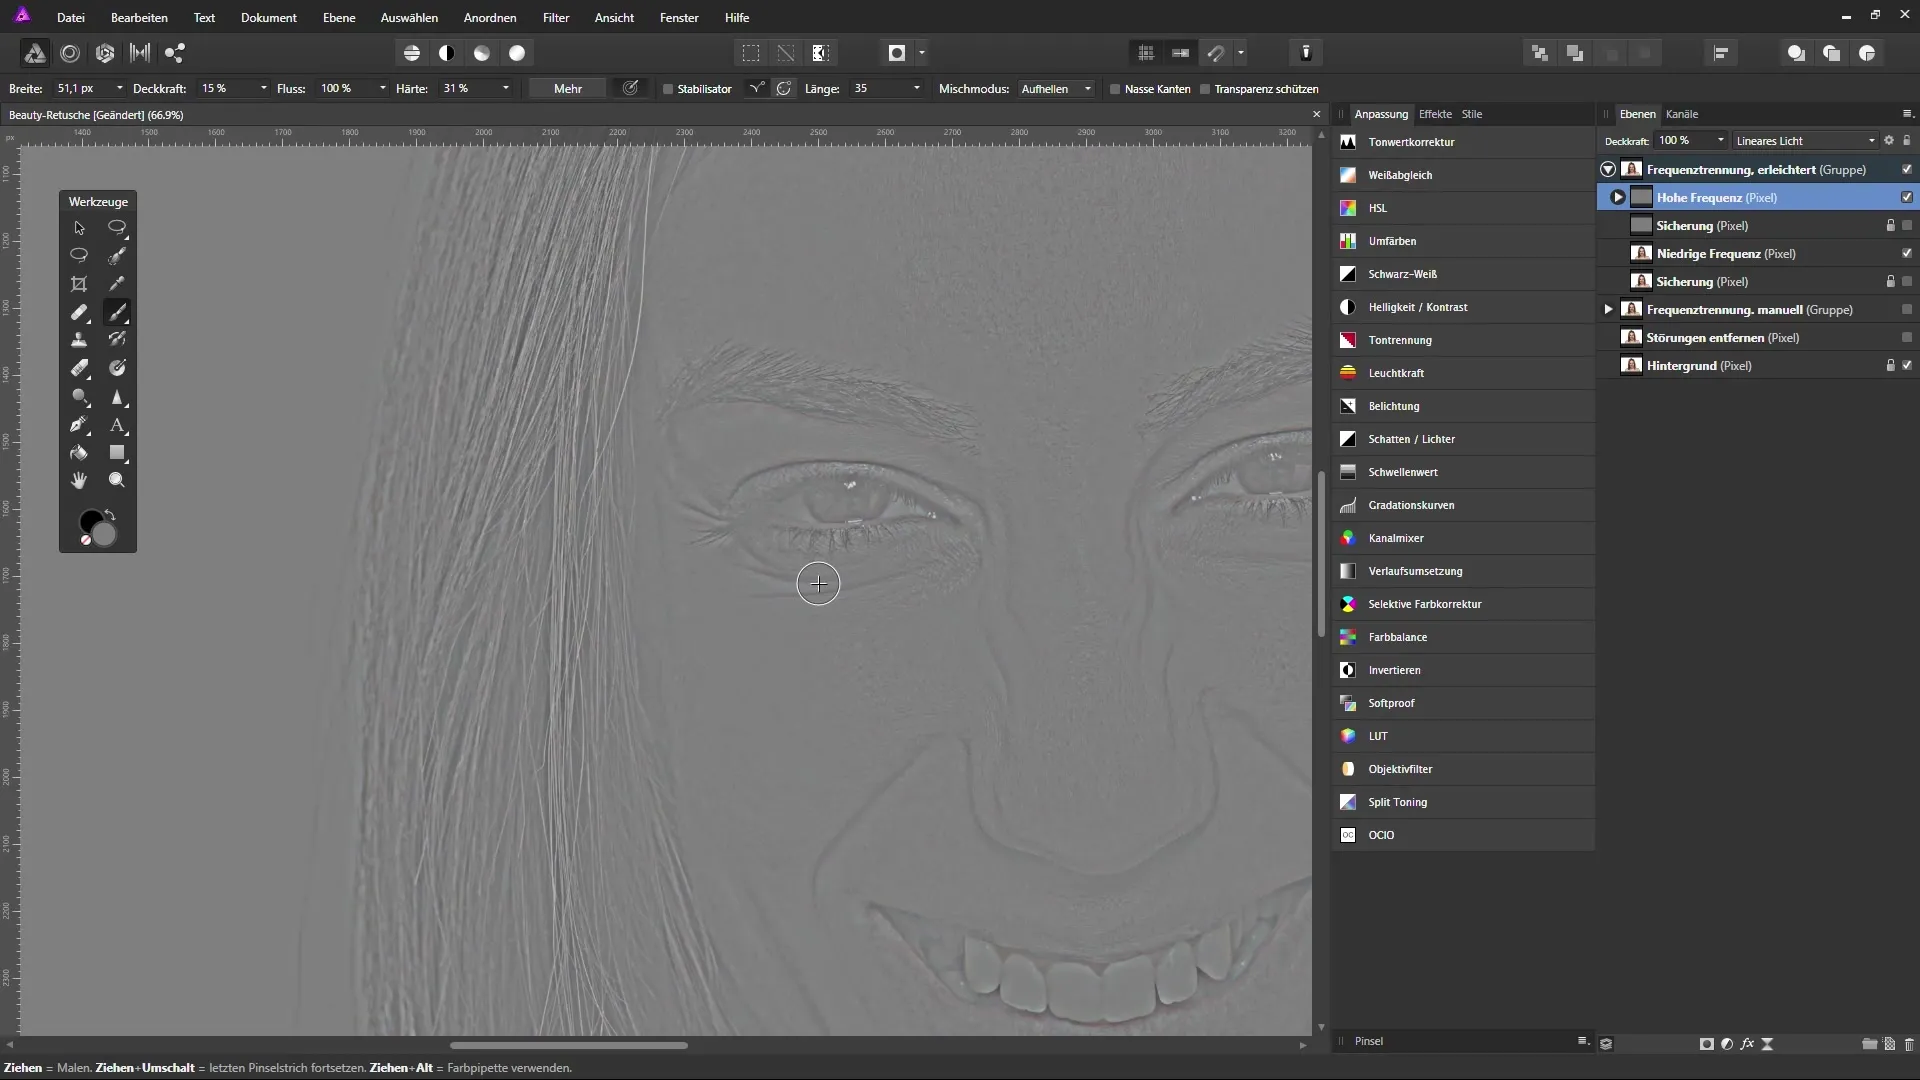
Keep in mind not to over-correct. A subtly applied tool achieves the best results. Lightening in sensitive areas, such as under the eyes or around the mouth, can often make a significant difference.
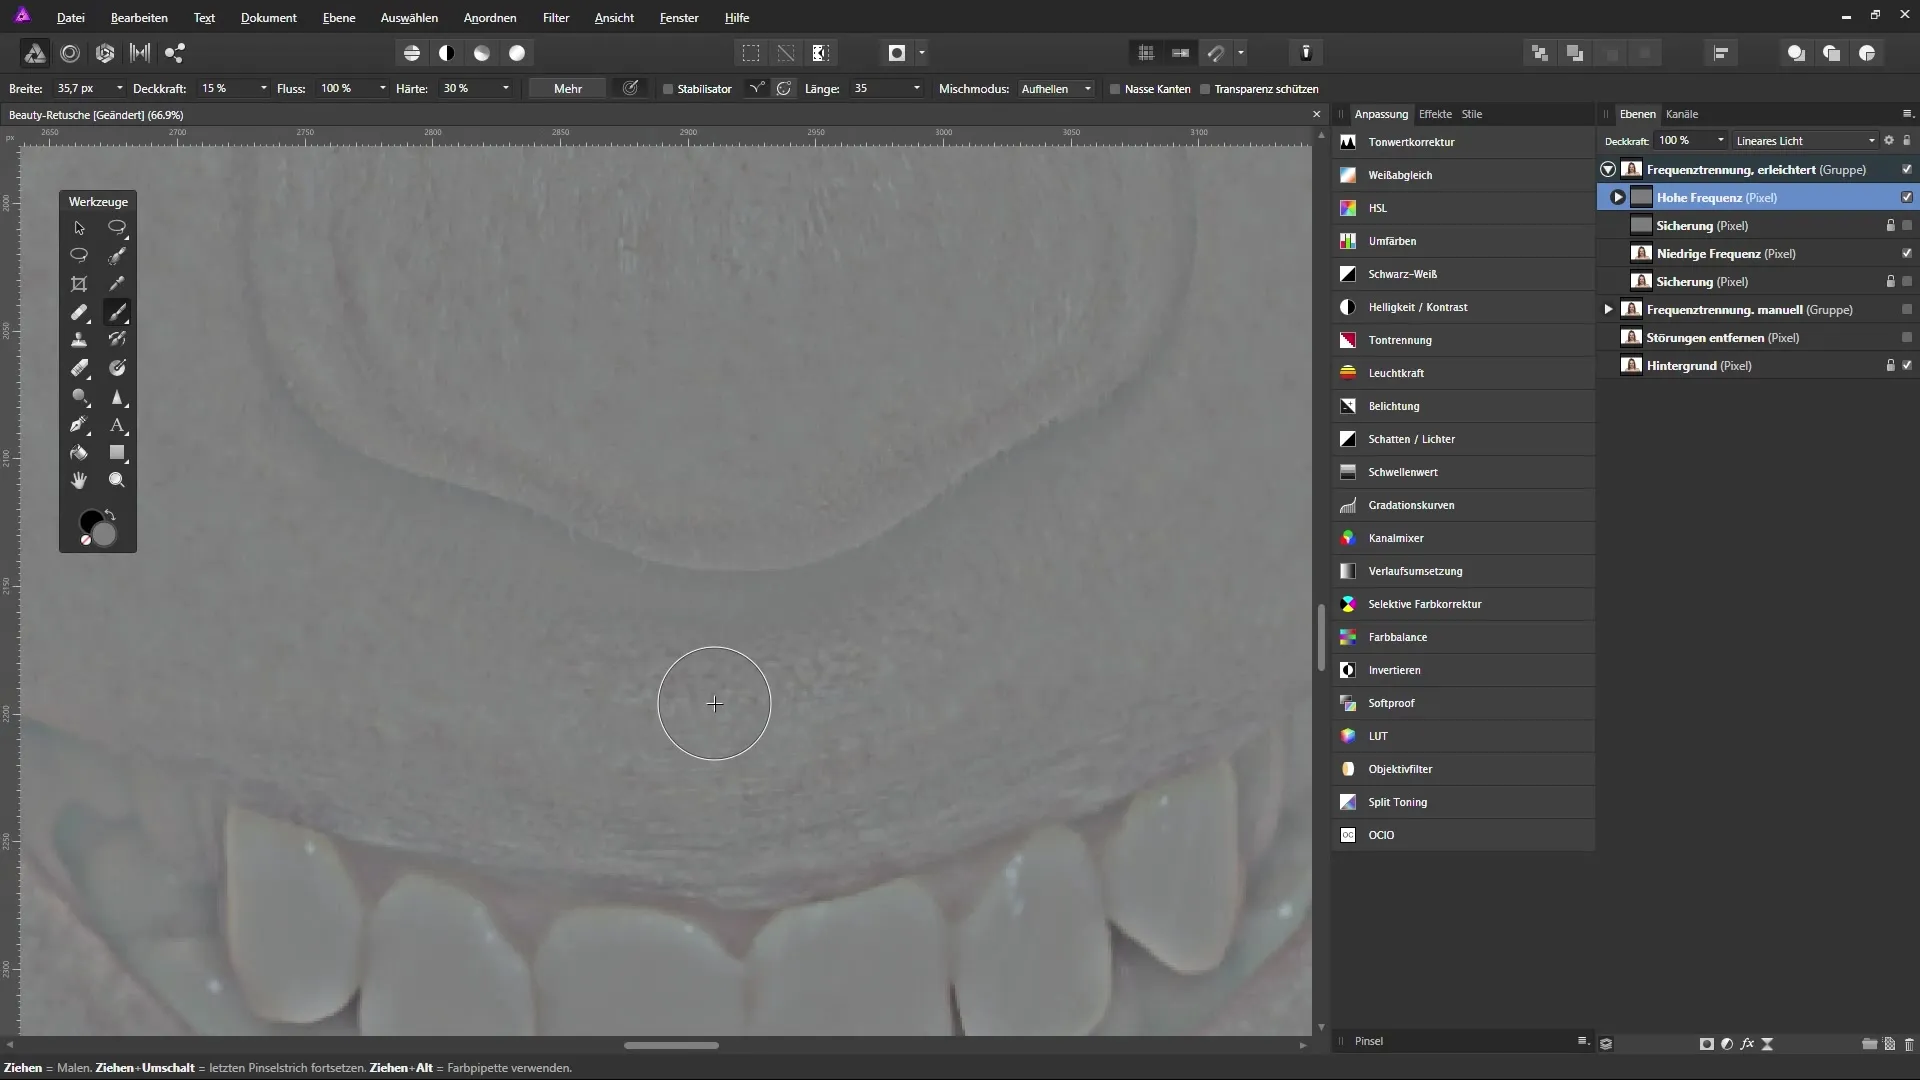
Summary – Softening Wrinkles in Affinity Photo: Step-by-Step Guide
In this guide, you have learned how to effectively soften wrinkles in Affinity Photo by using high and low frequency layers. Through controlled color transfers and subtle adjustments, you can achieve a fresh and youthful look for your image.
Frequently Asked Questions
How often should I use the healing brush tool?Use the tool sparingly to ensure a natural appearance.
Can I apply the technique to other skin blemishes?Yes, the method works for other blemishes such as acne or age spots.
How important is color selection when painting?The colors should be sampled from the surrounding area to ensure consistency and naturalness.


