The art of beauty retouching requires certain technical skills and the right sense for detail. With Affinity Photo, you have a powerful tool at your disposal to perfectly retouch portraits. In this tutorial, you will learn not only the basic techniques but also how to effectively apply them when editing your images.
Key insights
- Immediate comparison of before and after images.
- Step-by-step guide to beauty retouching.
- Practical application of specific tools in Affinity Photo.
Step-by-step guide
Image selection and preparation
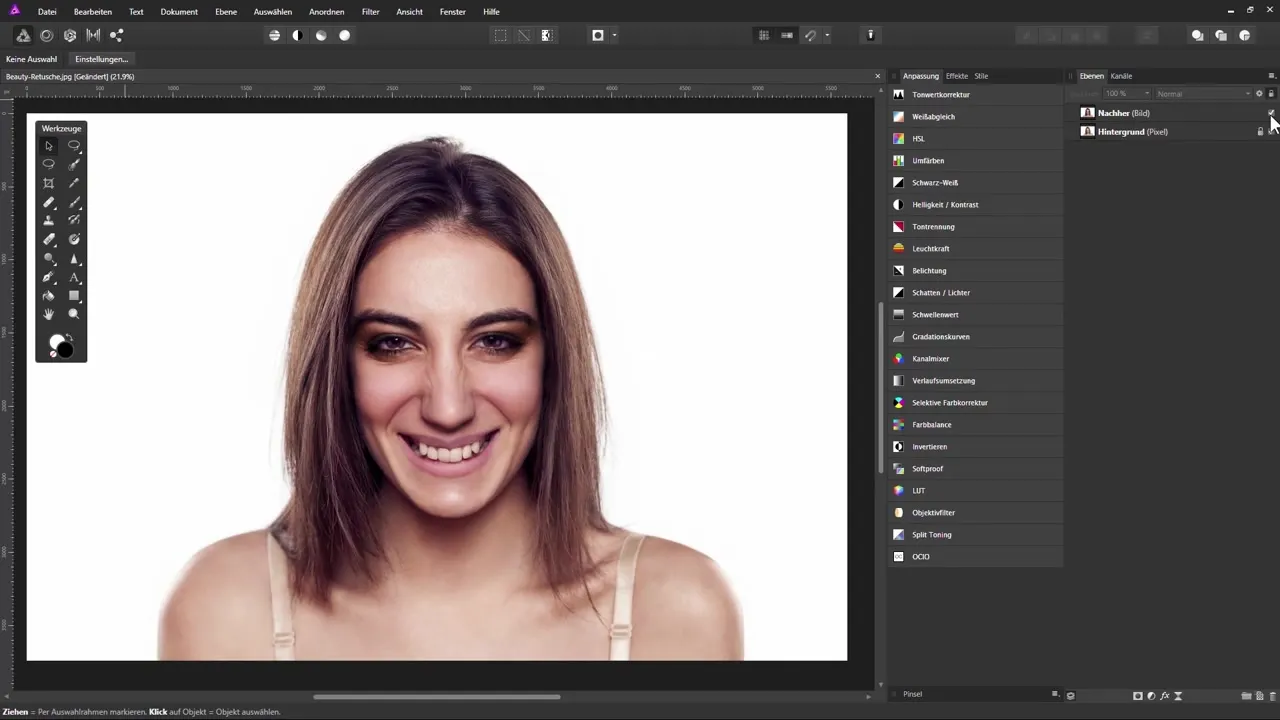
Before you start retouching, you should ensure that the original image is of high quality. A well-exposed and sharp image is the first step to a convincing final result.
Analyzing the source image
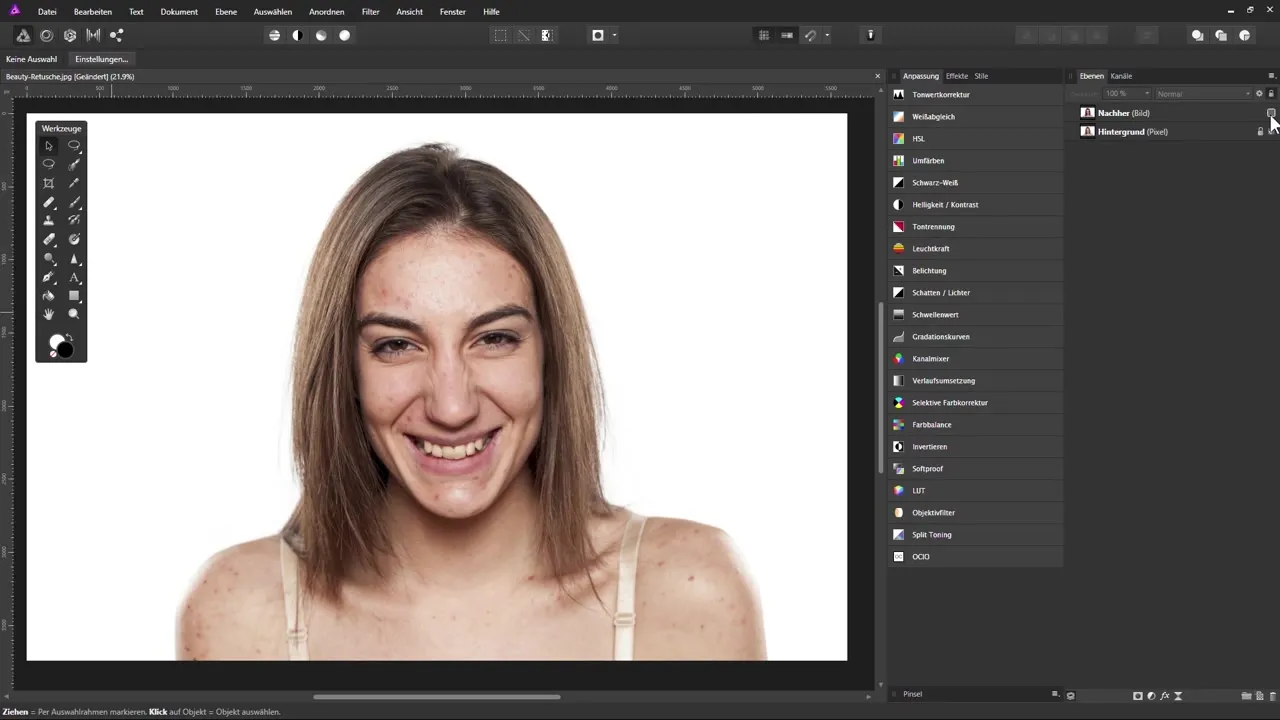
To understand which areas of your portrait need improvement, it's important to analyze the source image closely. Pay attention to blemishes, wrinkles, and other details that you want to retouch.
Getting to know the tools in Affinity Photo
Affinity Photo offers a variety of tools to help you achieve an effective retouch. The most common tools include the brush, selection tools, and the clone tool. Research the functionalities of these tools to achieve the best results.
Retouching the skin
Start with retouching the skin, as this is the key focus in any beauty portrait. Use the clone tool or the blur tool to specifically remove skin blemishes without losing the natural texture of the skin.
Enhancing the eyes
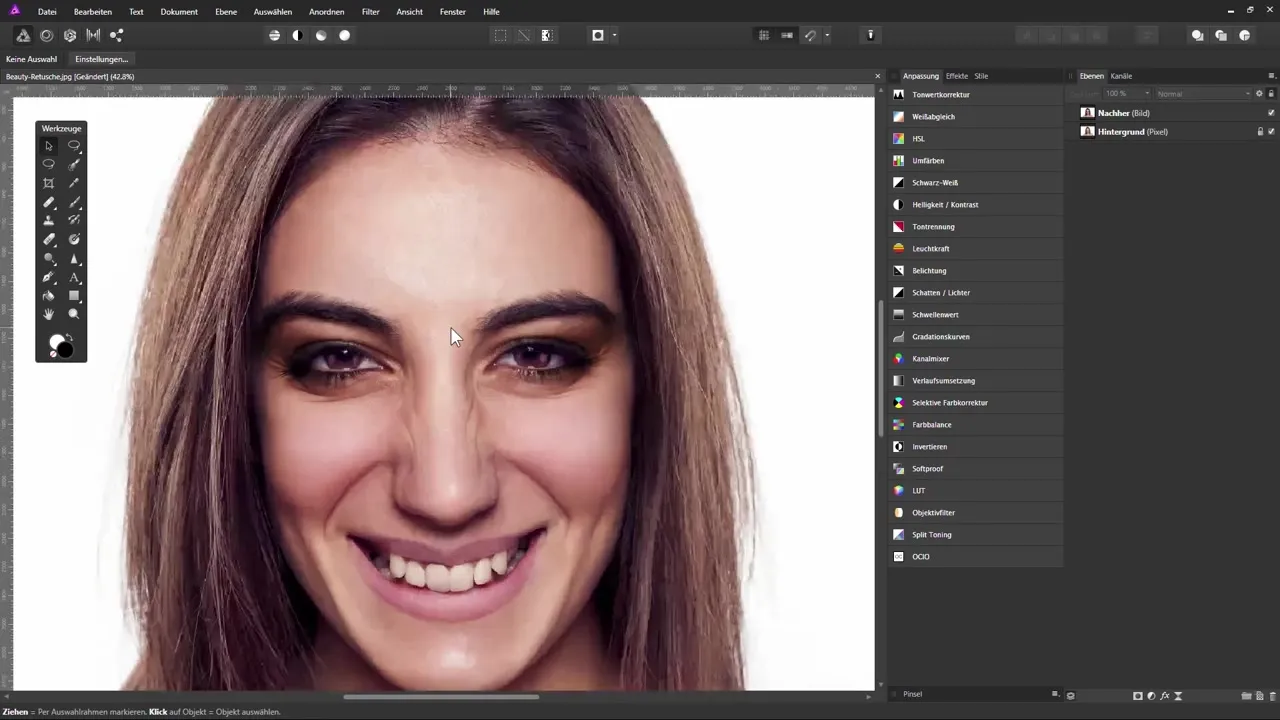
The eyes are the window to the soul. Make sure that the eyes look bright and clear. You can adjust the brightness or lighten selected areas with a small brush.
Enhancing the lips and teeth
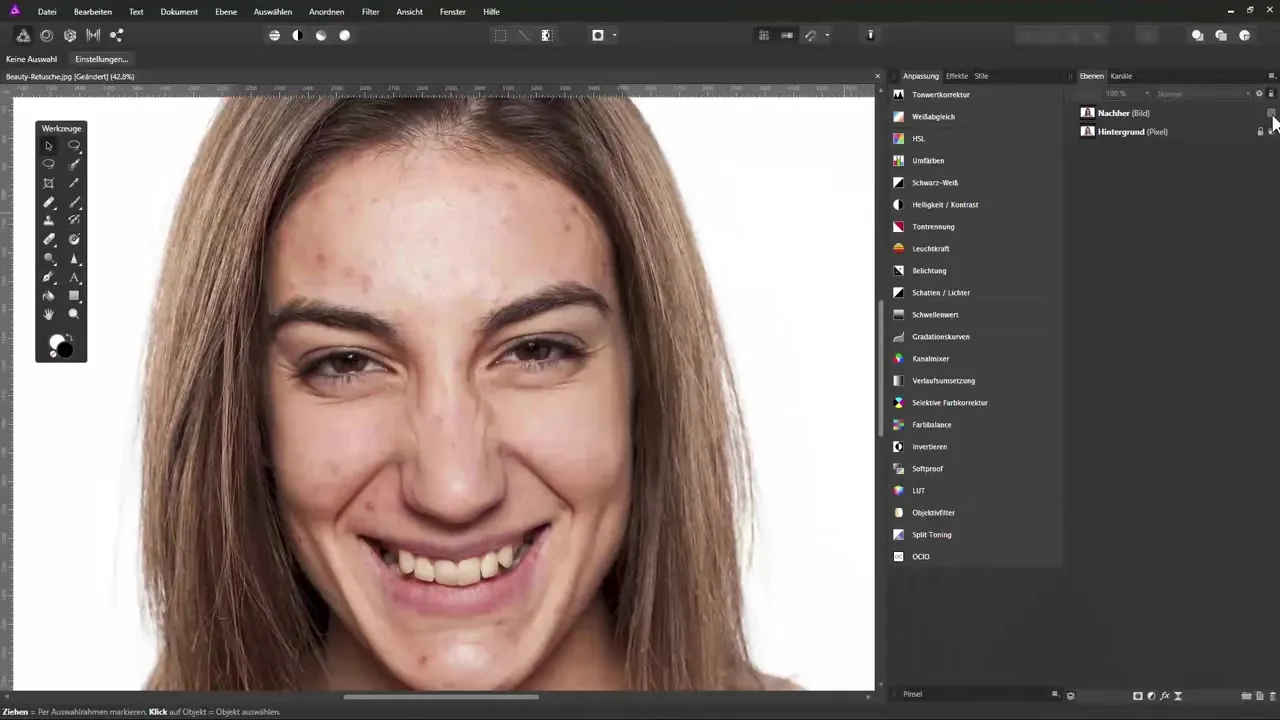
Take your time to also edit the lips and teeth. A gentle brightening can work wonders and give the portrait more freshness overall. Be careful not to lose the natural look.
Final steps: review the overall image
Look at your work as a whole. Compare the edited image with the original to ensure that you haven't overlooked any details. A fresh perspective can help you make final adjustments.
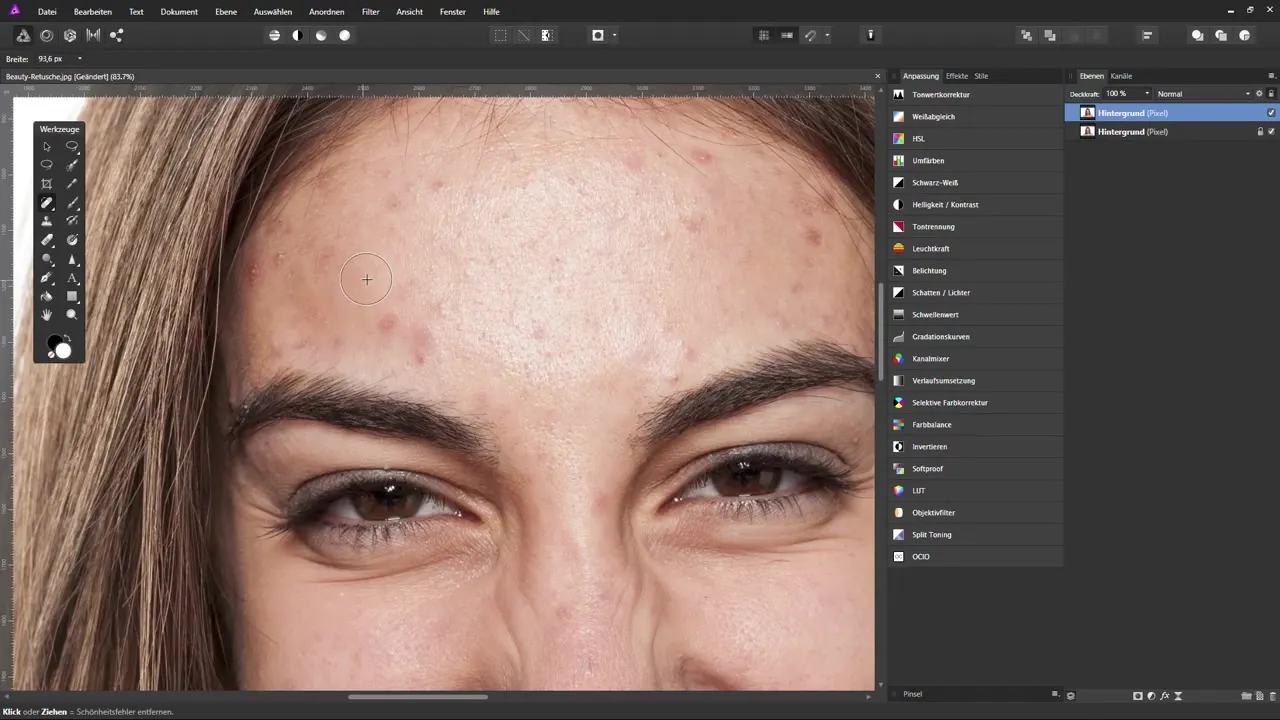
Summary – Effective Beauty Retouching in Affinity Photo
In this guide, you have received valuable tips for beauty retouching in Affinity Photo. From selecting the right image to applying various retouching tools to targeting skin, eyes, and lips, you now have the tools to create impressive portraits.
Frequently asked questions
How do I start retouching in Affinity Photo?To retouch in Affinity Photo, select a high-quality original image and analyze the areas that need improvement.
What tools are best for beauty retouching?The clone tool, blur tool, and selection tools are essential for effective retouching.
How can I improve the eyes in my image?Brighten the eyes slightly and add texture to enhance their expression.
How many steps are needed to properly retouch a portrait?The exact number varies; however, at least five to six steps are often necessary to achieve a satisfactory result.

