Skin retouching can be a challenging yet satisfying task. However, before you dive into the intricate details of skin retouching, it is crucial to eliminate the most significant skin blemishesand disturbances in the image. In this tutorial, I will show you how to use the most common tools in AffinityPhototo efficiently accomplish this task.
Key Insights
- First, create a copy of your background layer to protect the original file.
- Use various repair tools to edit skin blemishes independently of the background.
- Customizing the toolbar can greatly enhance your workflow.
- Always strive to achieve natural results and avoid overly blurring the skin texture.
Step-by-Step Guide
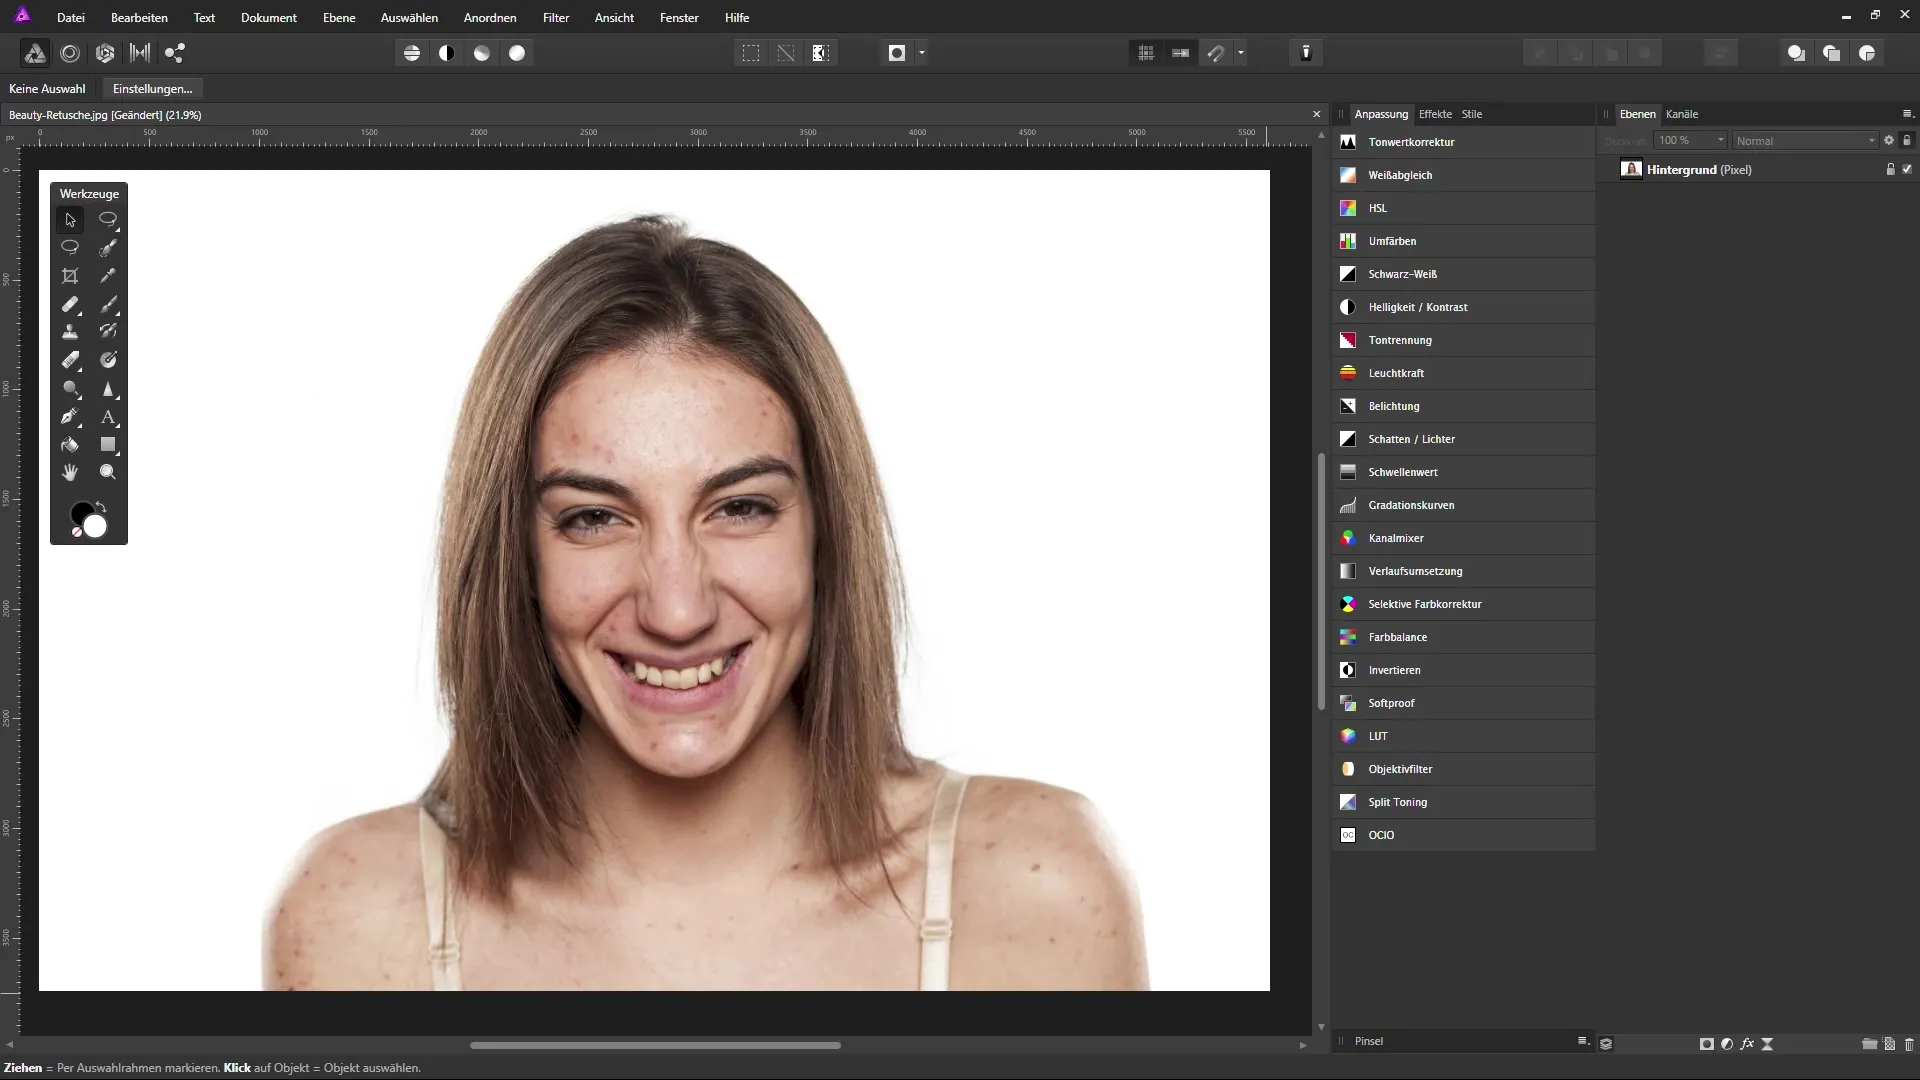
Proper preparation is the key to success. First and foremost, you should copy the background layer of your image. Click on the background layer and press the keyboard shortcut “Ctrl + J”. This will create a layer copy that you can rename as desired, for example, “Remove disturbances”. Your active layer will now be indicated by a blue marking, which means you can work on this layer.
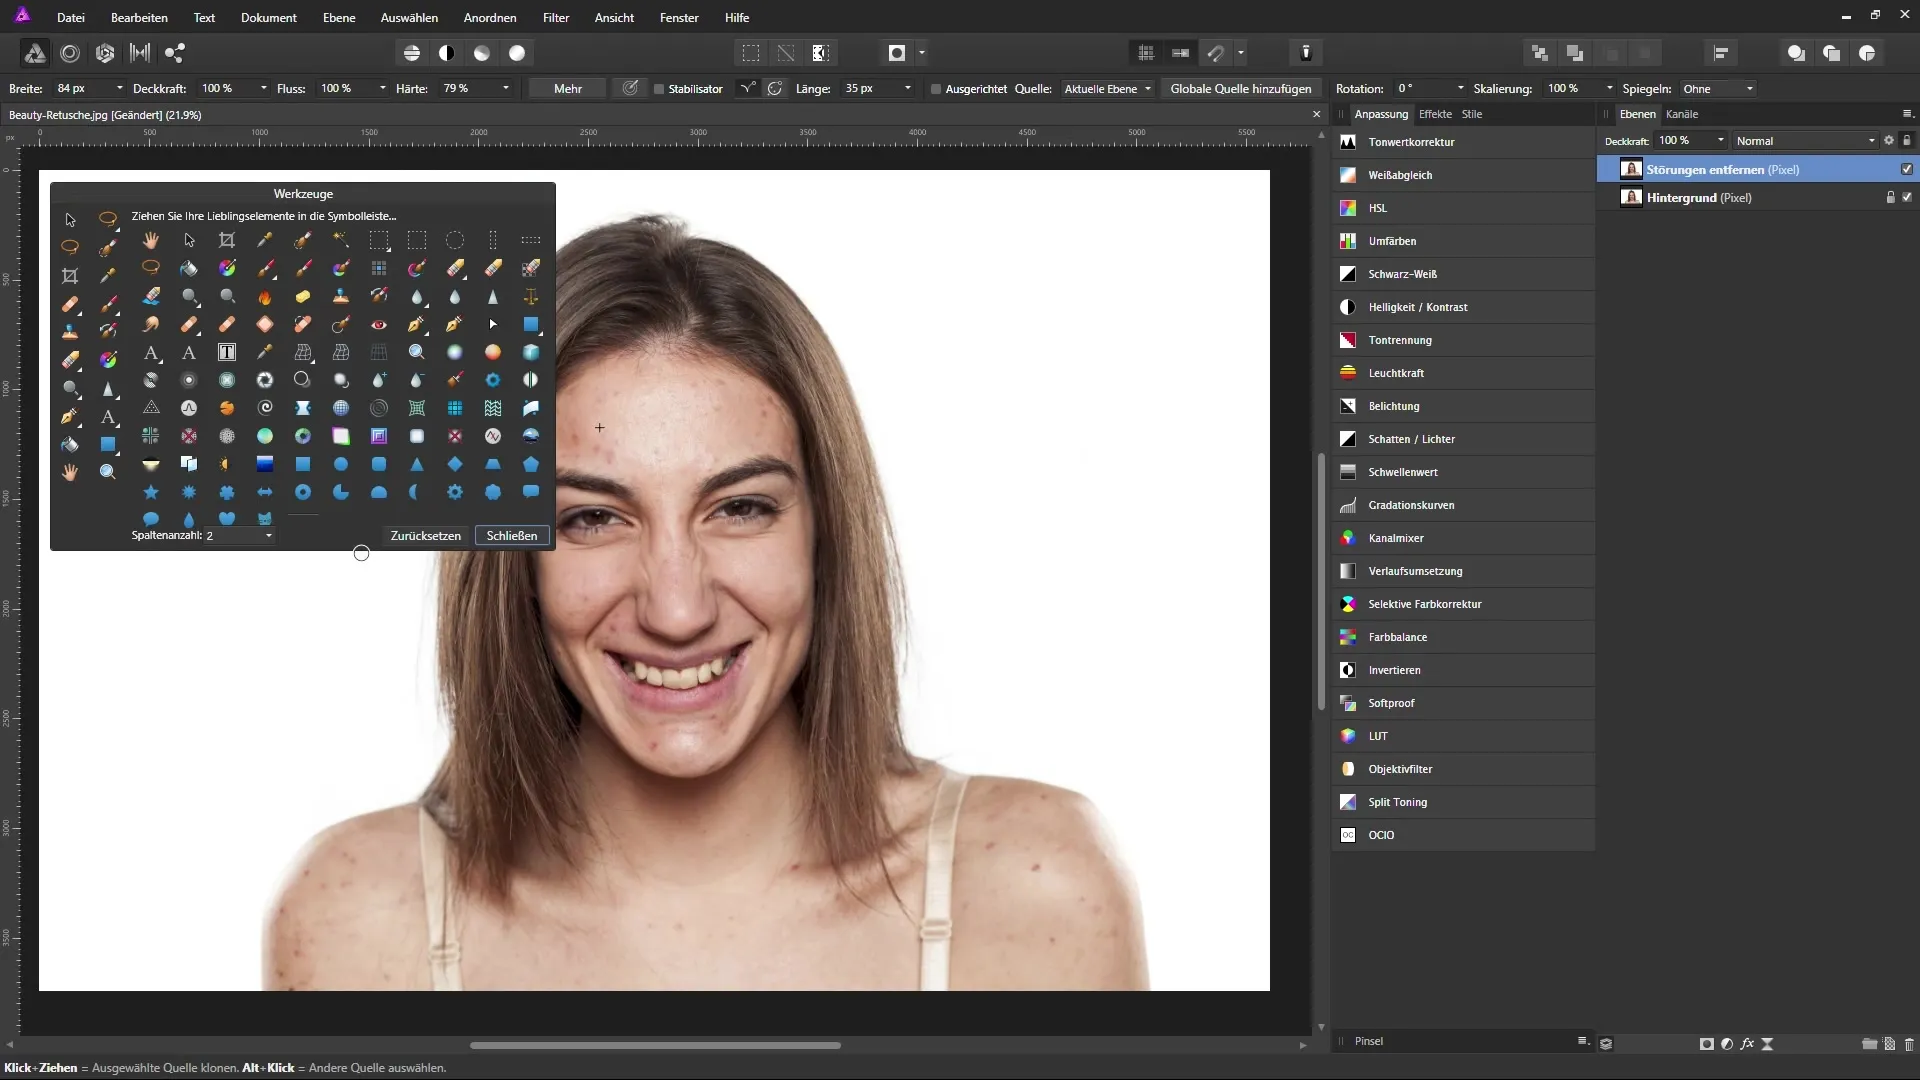
In the toolbar, you will find a variety of repair tools. One important tool is the repair brush, which is located in a dropdown menu alongside other tools. To display the other tools, left-click and hold on the repair brush icon. This will give you access to a list of tools available to you.
If you would like to customize the toolbar to fit your specific needs, you can do so by selecting the “Customize Tools” option in the “View” menu. Here you can arrange, add, or remove tools. This helps optimize the workspace and makes you more efficient.
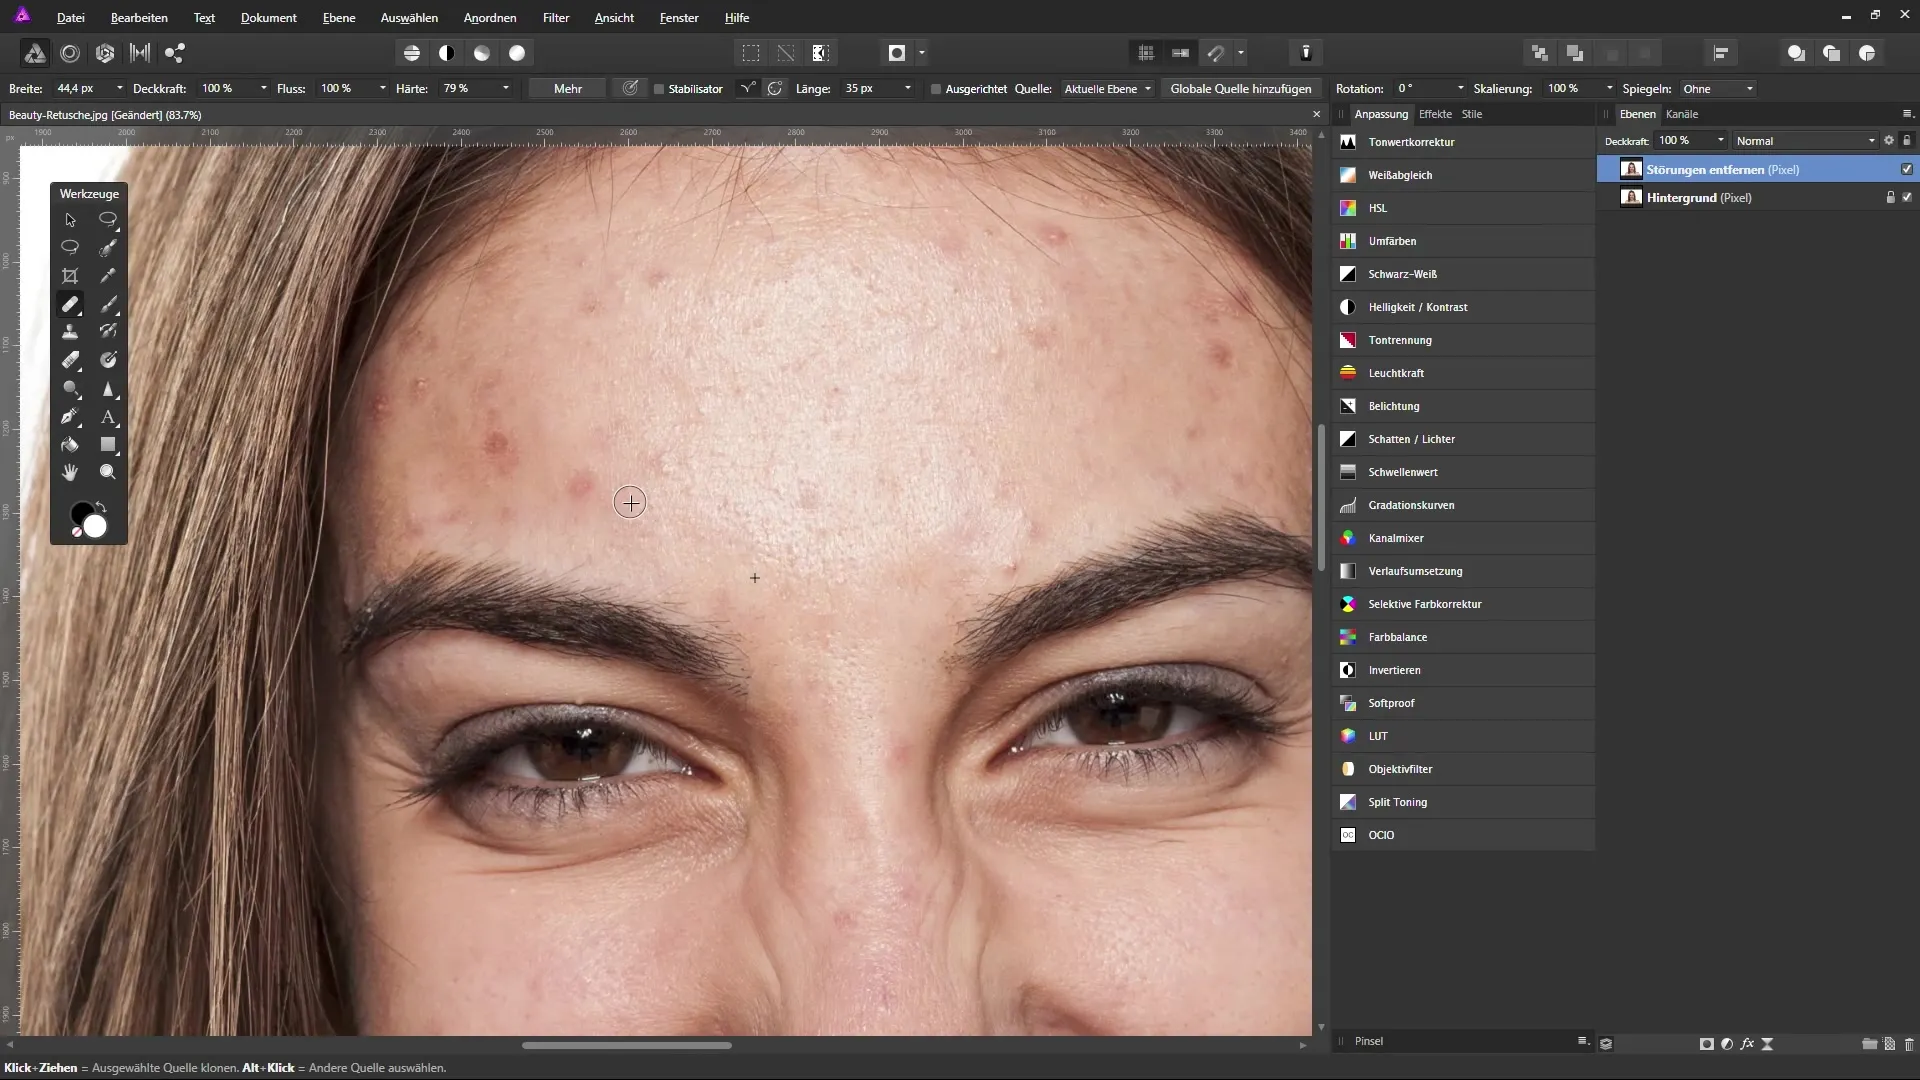
With the repair brush, you can select specific areas of the skin that you want to correct. To do this, hold down the “Alt” key and click on a skin area that appears clean. This defines the source area for the correction. Now you can click and drag the brush over the blemished area. You will see a preview cursor showing you how the corrected area will ultimately look.
If you feel that the correction is not optimal, it can help to change the source area. Again, hold down the “Alt” key, select a new clean area, and repeat the process. It is essential to pay attention to repeats in the image that might appear unnatural.
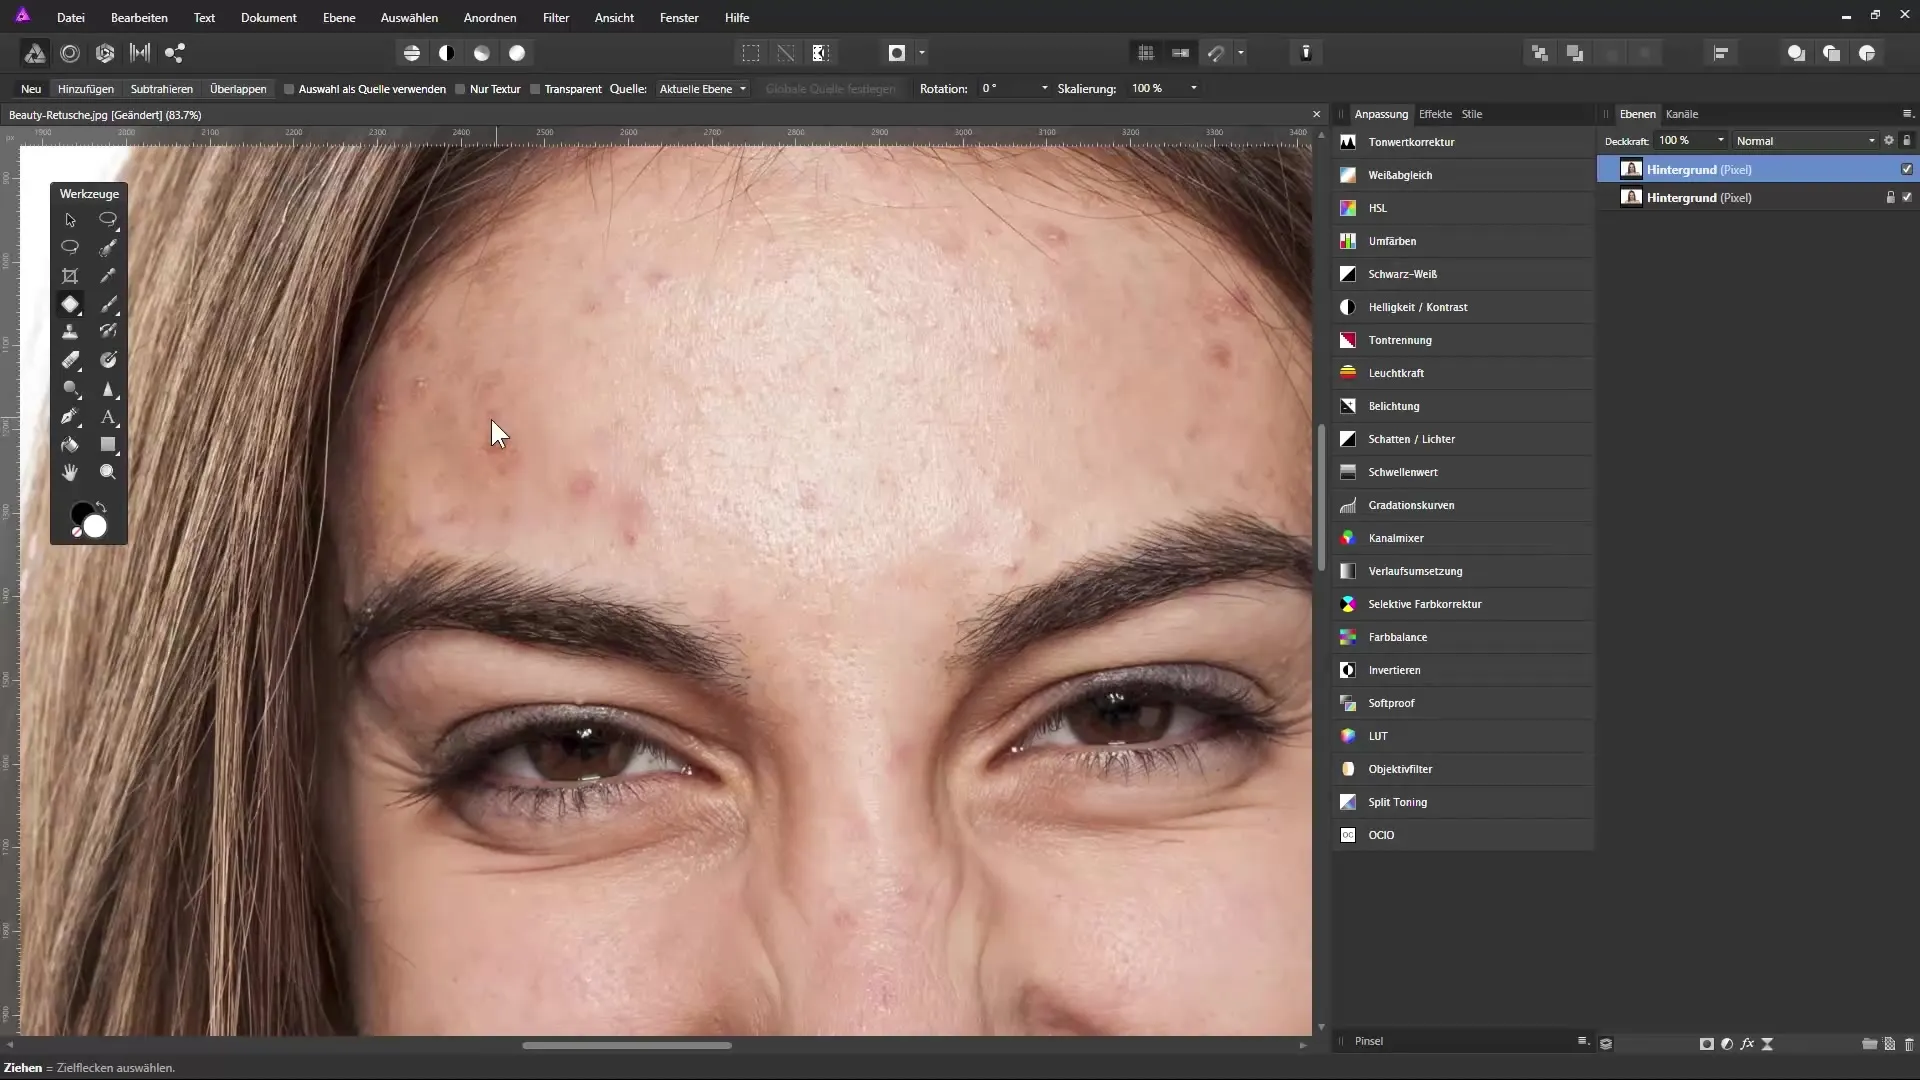
The next tool you should use is the “Remove Spots” feature. This tool allows you to mark an area you want to correct, and Affinity Photo will help you find a corresponding suitable area for the correction. You simply click and drag over the area you want to edit.
Another useful tool is the “Remove Blemishes” tool. This works in a similar manner to the spot removal tool; however, it can yield unexpected results, so use it cautiously. Ensure that no blurry edges result and that the natural look of the skin is preserved.
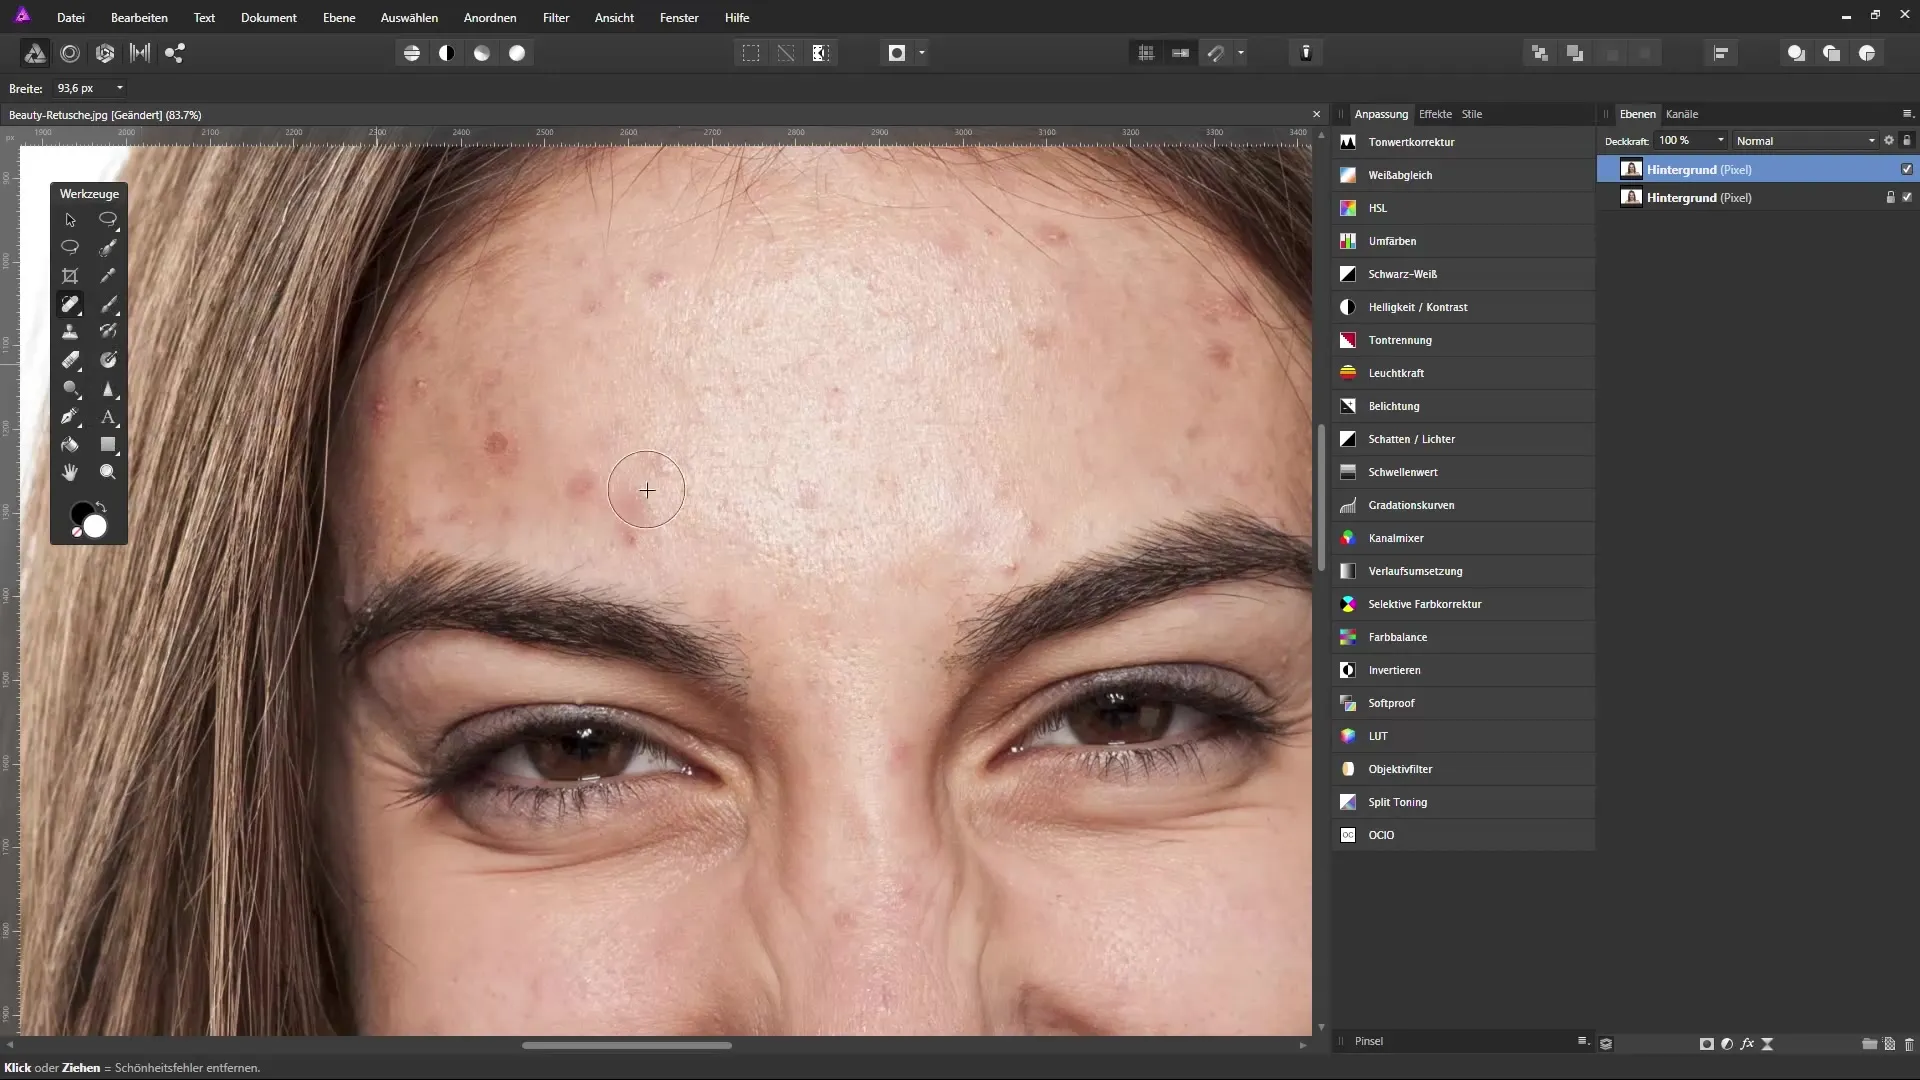
If you have already worked with the above tools, the “Restore” tool is your next step. With a simple click, you can correct areas, and Affinity Photo autonomously searches for suitable skin sections to resolve the disturbance. This allows you to effectively edit larger skin blemishes efficiently.
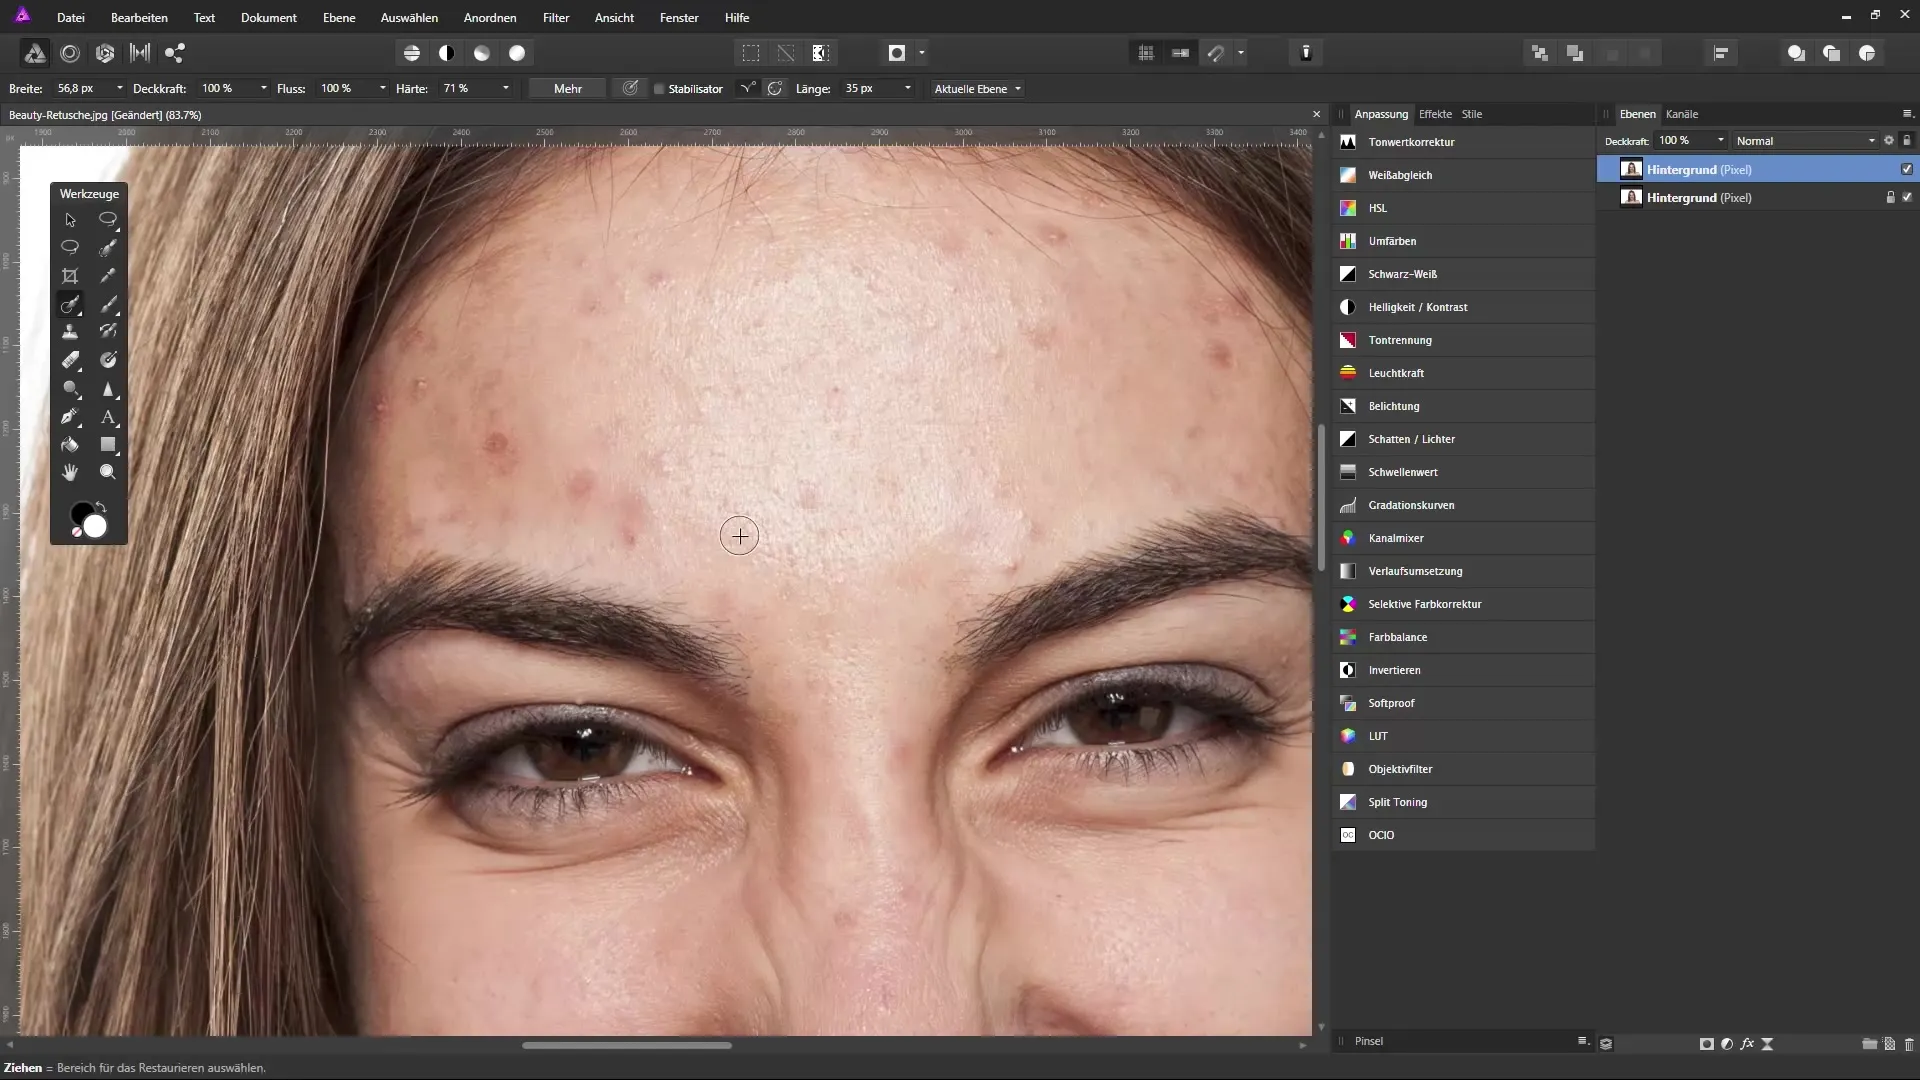
The “Eye Redness Correction” tool is also helpful if you are working with portraits where the redness of the pupils is noticeable. A simple click and drag over the red area will help you quickly fix this.
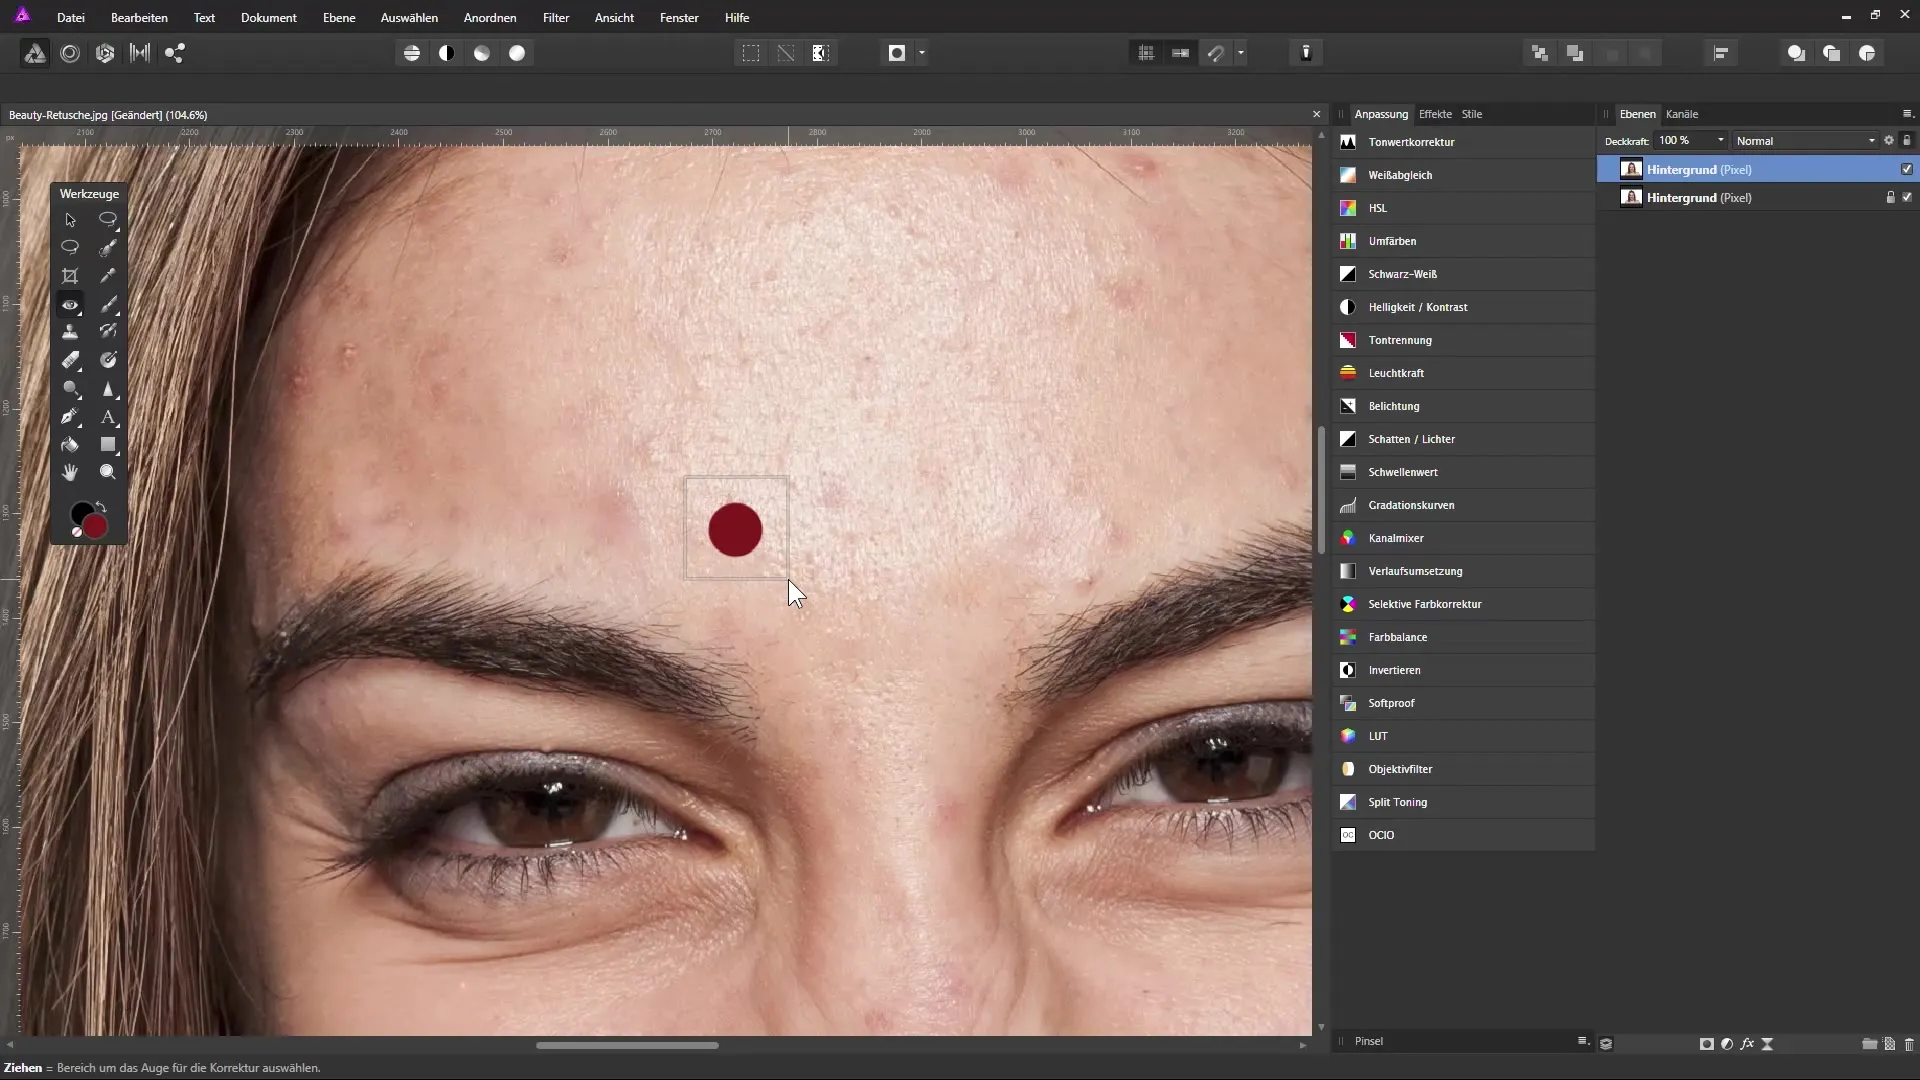
For more precise and detailed editing, it is advisable to work with a graphics tablet. This allows you to adjust the brush size based on the pressure of the pen. This makes working easier and gives you more control over the areas to be edited.
It is important to be mindful during retouching. Use the option to zoom in on the workspace and carefully correct the smallest details. Always try to maintain the natural skin appearance. Often, it may be necessary to correct smaller areas to optimize the final image.
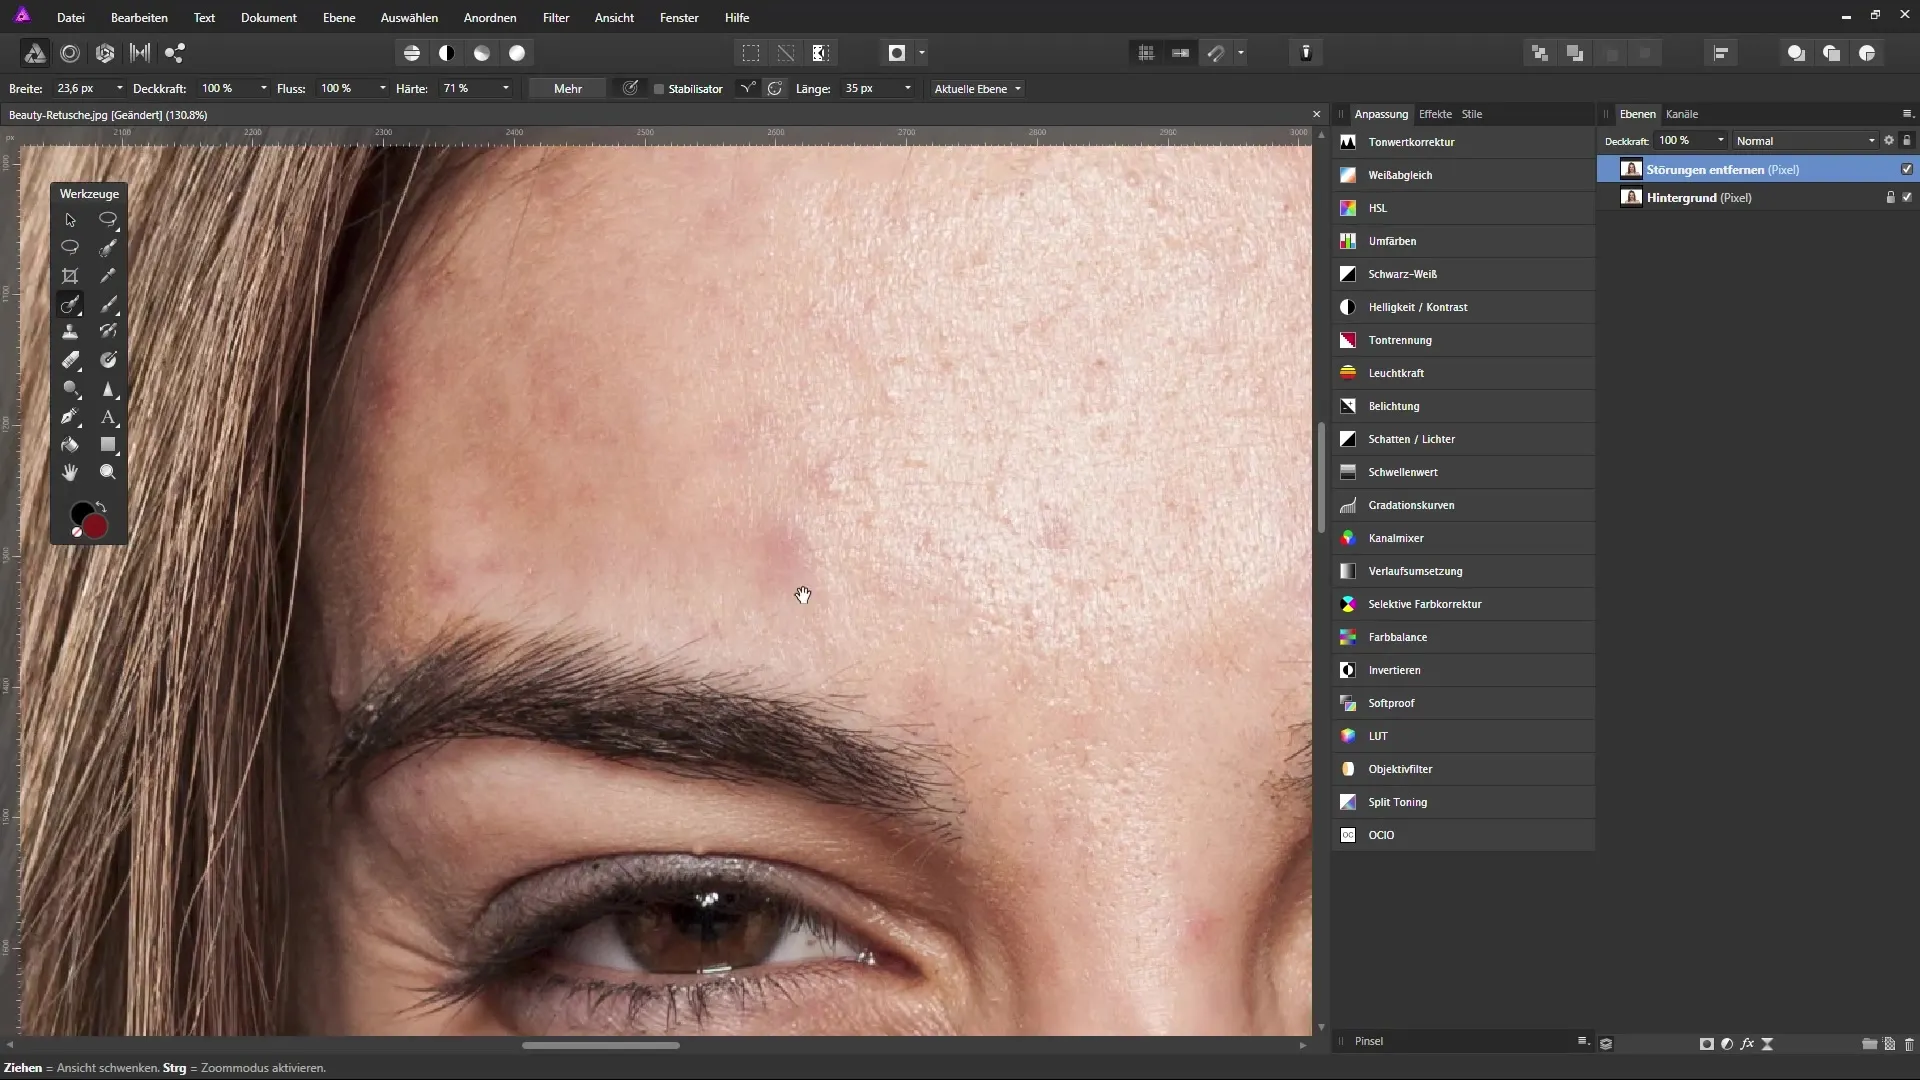
Once you have made the initial rough corrections, you can check how the image looks. Toggle the active layer on and off to see the differences. Ensure that the corrections do not appear too exaggerated. The goal is to make the skin look clean yet still natural.
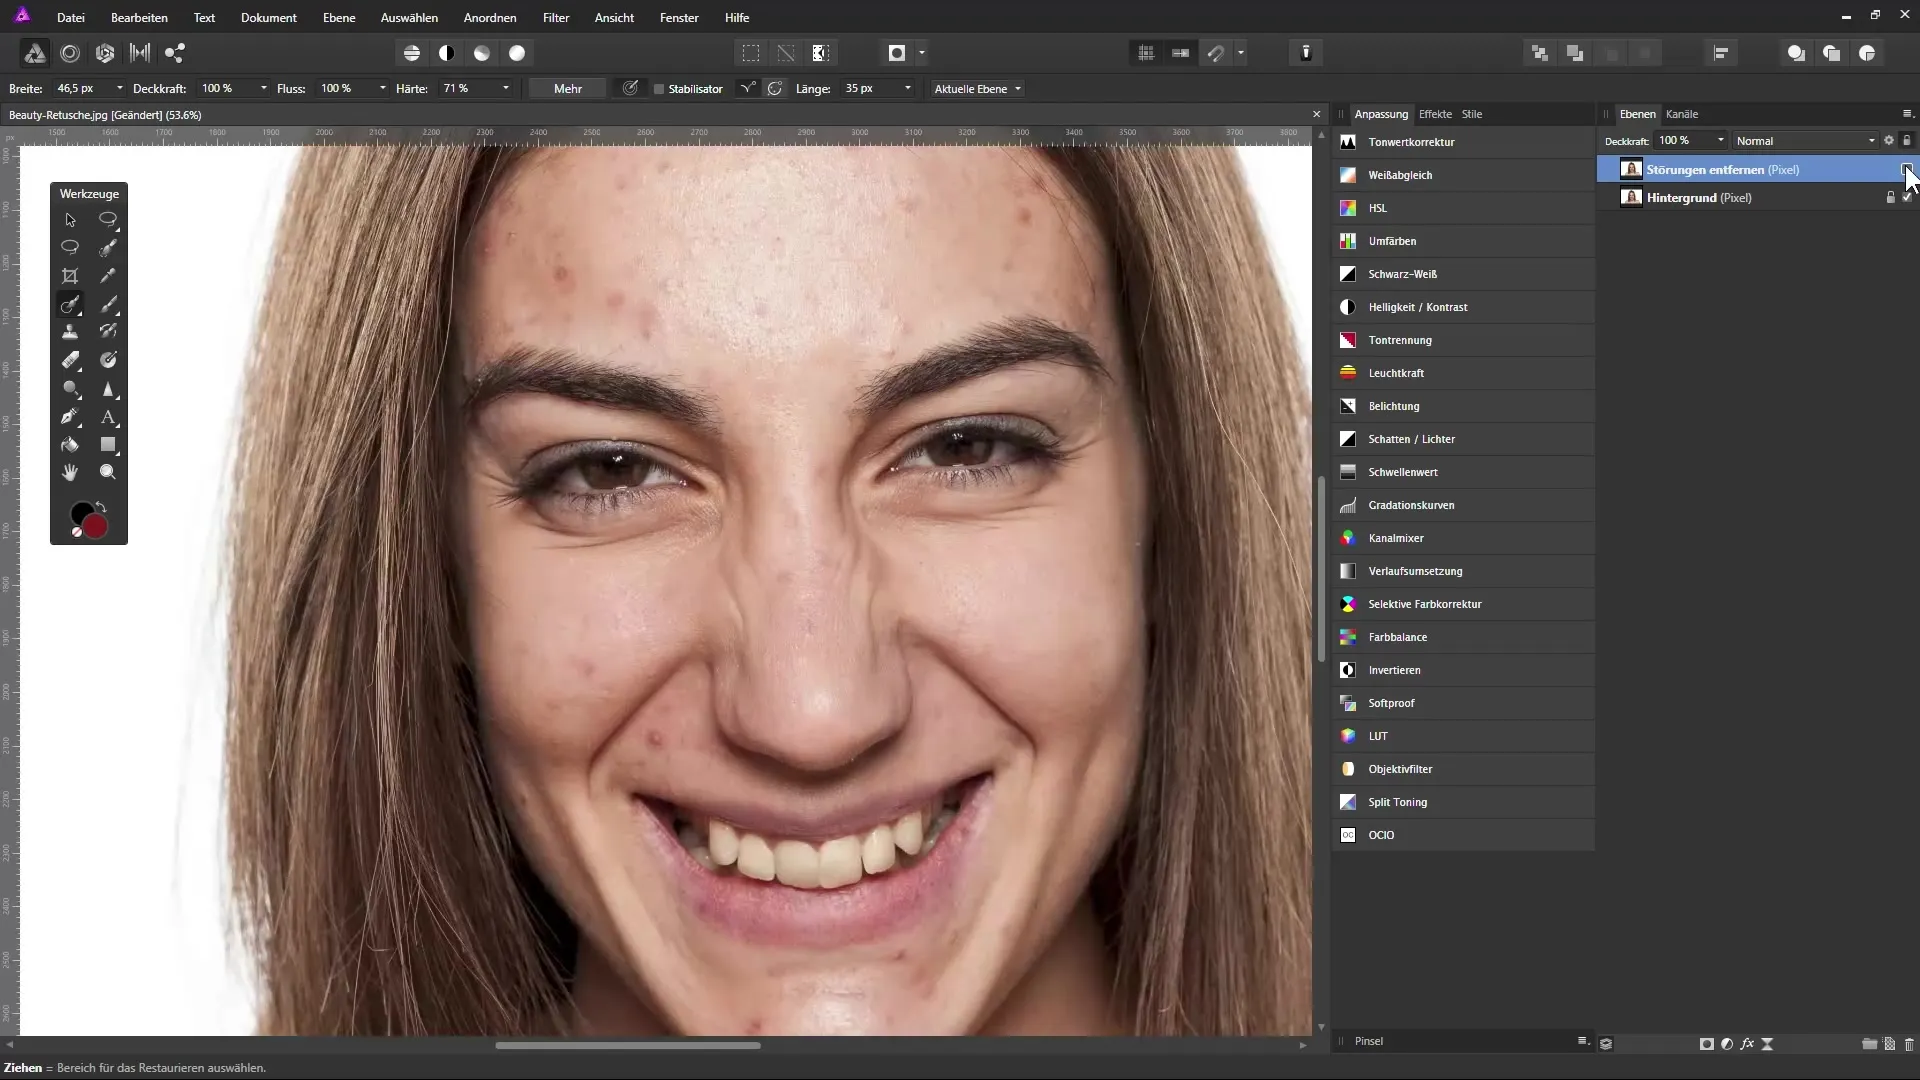
Over time, you will find that you become better and faster at using these tools. Keep the fun in your work and don’t hesitate to take a step back if you are not satisfied with a correction.
Summary - Effectively Removing Skin Blemishes in Affinity Photo
In this tutorial, you learned how to isolate and remove the most significant skin blemishes in Affinity Photo. By working purposefully with various repair tools, you have already laid a solid foundation for professional skin retouching.
FAQ
How do I create a copy of the background layer in Affinity Photo?You can create a copy of the background layer by selecting the background layer and pressing the keyboard shortcut “Ctrl + J”.
What do I do if the repair tool produces an unnatural result?In that case, you should change the source area by holding down the “Alt” key and selecting a new clean area.
How can I customize the toolbar in Affinity Photo?Go to the “View” menu and select “Customize Tools” to change the arrangement of tools according to your needs.
Can I undo corrections if I am not satisfied?Yes, you can easily undo the last steps with the “Ctrl + Z” keyboard shortcut.
How important is it to work with a graphics tablet?A graphics tablet provides you significantly more control over brush size and makes precise work during retouching easier.


