Do you have an image that needs a small adjustment in dental aesthetics? To brighten yellowed teeth, correct unattractive edges, and align the teeth, a few simple steps are necessary. With the right tools and techniques in AffinityPhoto, you can quickly achieve a convincing result. Let's dive directly into the editing steps.
Key Insights
- You will learn how to effectively touch up gaps between teeth and whiten teeth.
- The use of different tools such as the brush and stamp tool will be explained.
- The application of masks allows for precise adjustments and corrections.
Step-by-Step Guide
To correct and whiten the teeth in your image, follow these steps:
Step 1: Create a Consolidated Layer Click on the top layer in the Layers palette, hold down the Ctrl key, and select the option "Merge Visible." This new layer will combine all previous changes. This gives you a good foundation.
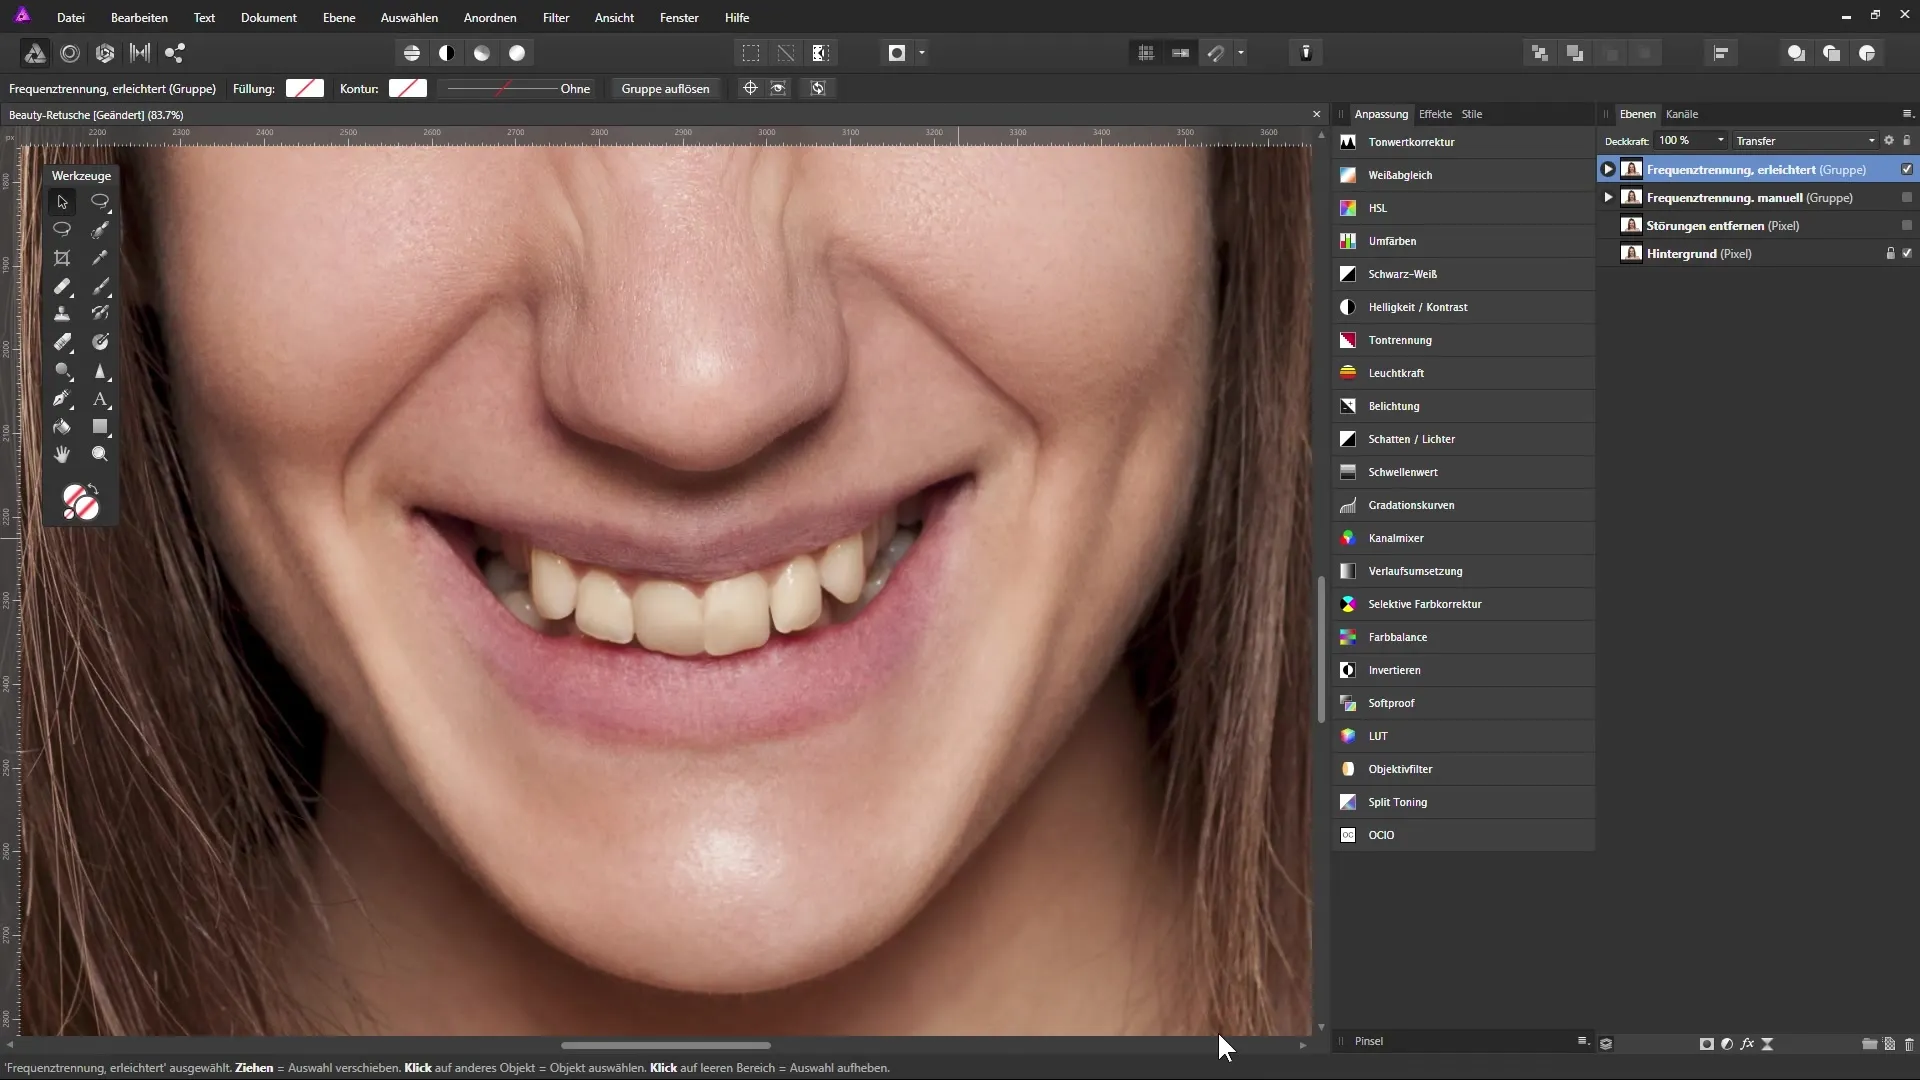
Step 2: Select the Tooth Zoom in on the image for better control. Activate Quick Mask mode by pressing the Q key. The screen will turn red, indicating that nothing is selected. Now select the Brush tool and set the hardness to about 95 percent. Set the opacity to 100 percent and paint over the tooth you want to adjust. It's okay if you paint over the edges – the goal is to make a rough selection.
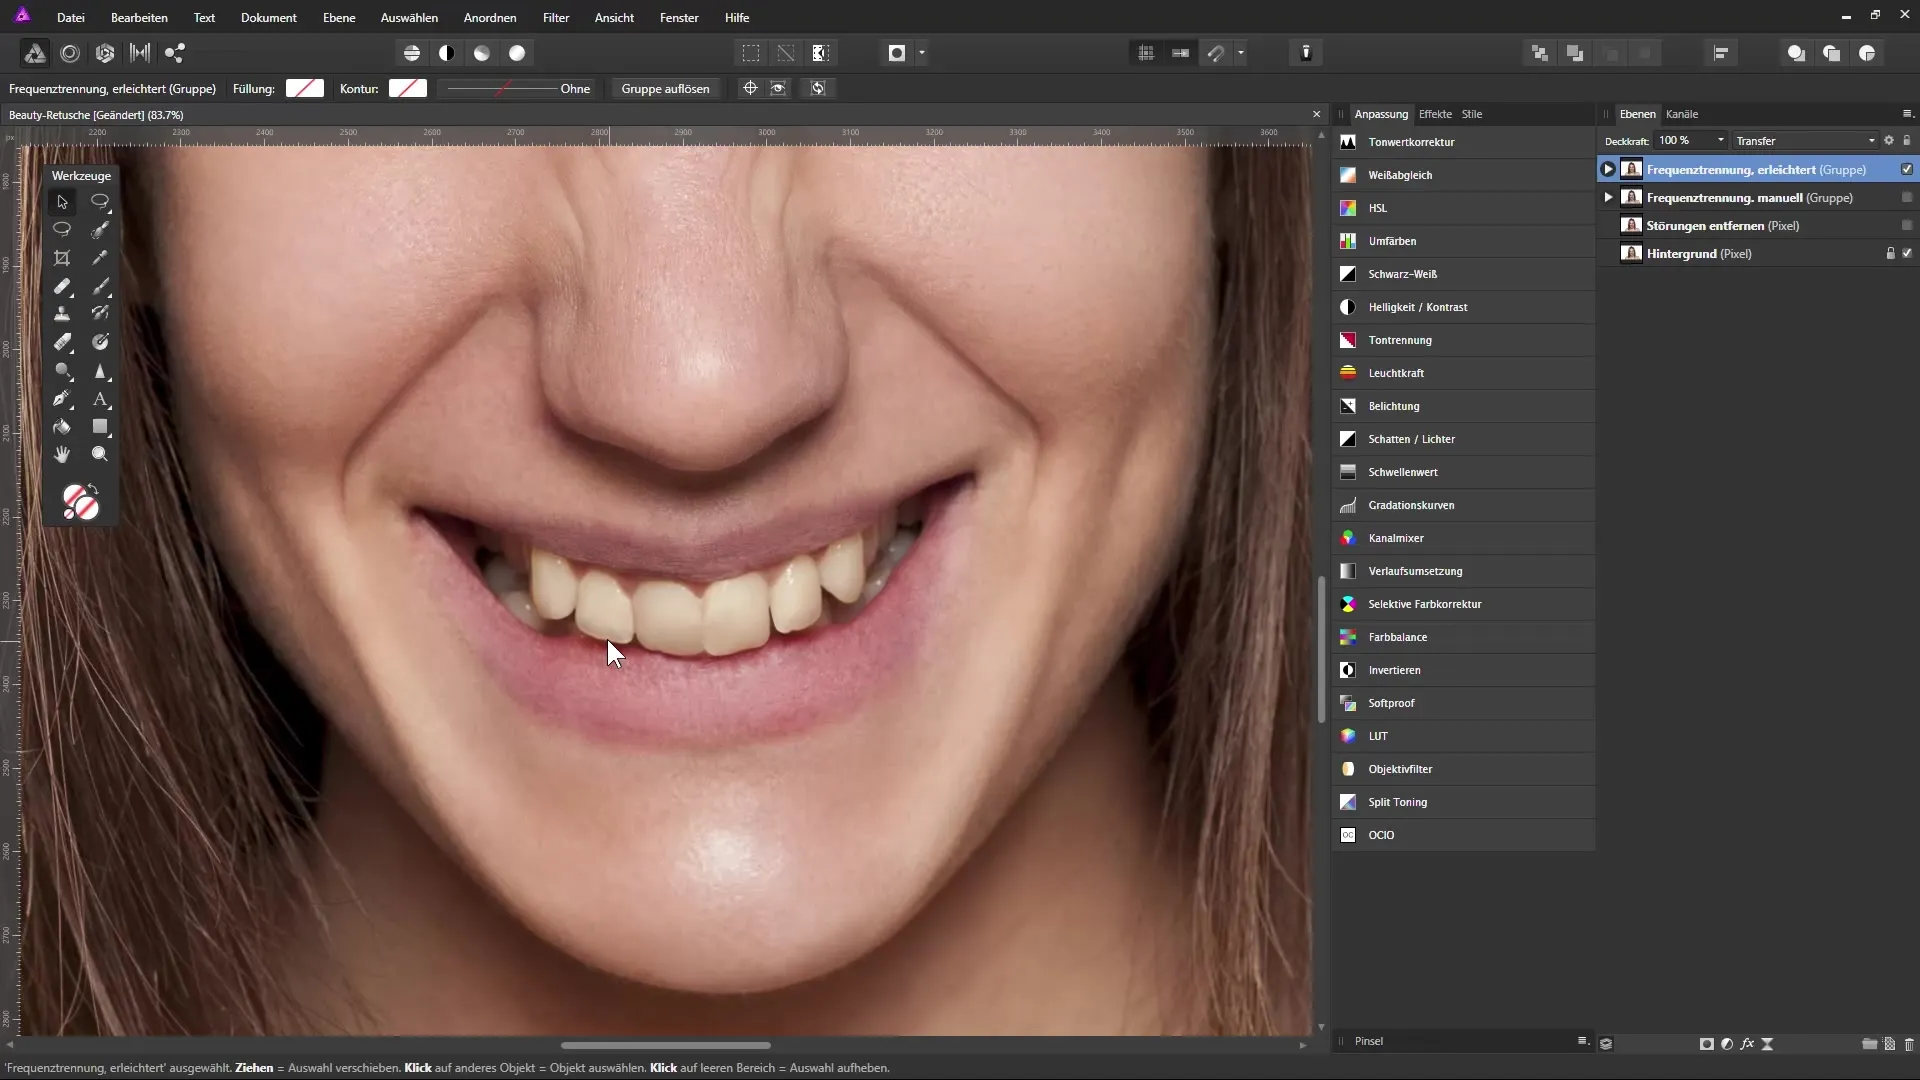
Step 3: Refine the Selection Switch to black color to remove areas from the selection and adjust the brush size as needed. Exit Quick Mask mode to activate the selection. Now you have an effectiveselection of the tooth you want to improve.
Step 4: Lift the Tooth to Its Own Layer Press Ctrl + J to duplicate the selected tooth onto a new layer and name this layer, for example, "Corrected Tooth." Select the Move Tool and position the tooth so that it disappears behind the lip and aligns with the other teeth.
Step 5: Apply a Mask Activate the tooth layer and click on the mask icon to add a mask to the layer. Select the Brush tool and use black to reveal the area around one tooth. Adjust the hardness and transparency of the mask to make the appearance more natural. You can toggle between black and white to refine unwanted areas.
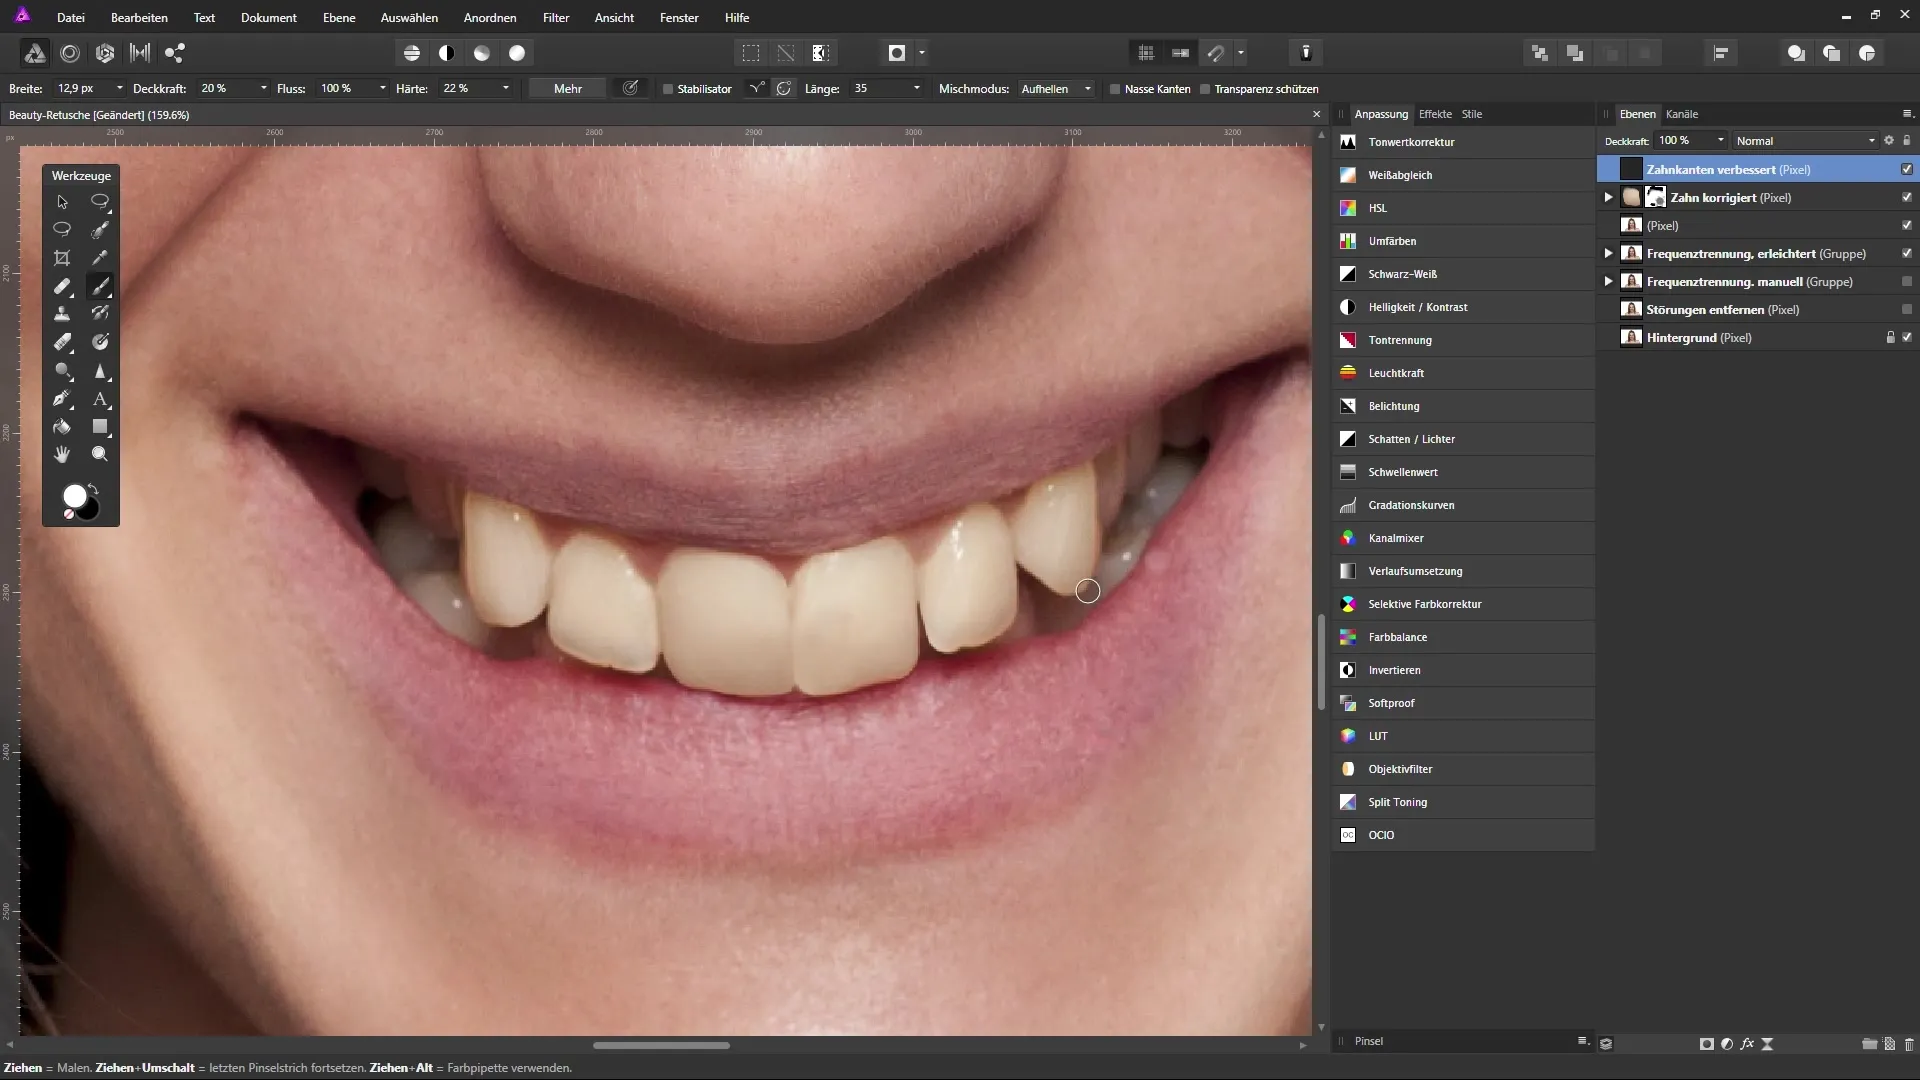
Step 6: Correct Gaps Between Teeth Create a new layer to fix gaps between teeth and unattractive edges. Select the Stamp tool and ensure that the "Source" is set to the underlying layer. By holding down the Alt key, select an area you want to use. Correct the edges with gentle strokes and adjust the angle of the selection for the best results.
Step 7: Whiten Teeth Above the layers panel, select "Selective Color Correction" and name this layer "Whiten Teeth." Activate the Brush tool, switch back to Quick Mask mode, and select the teeth you want to whiten to reduce the yellow tint. Adjust the opacity of the brush so you can effectively whiten the teeth without creating an unnatural look.
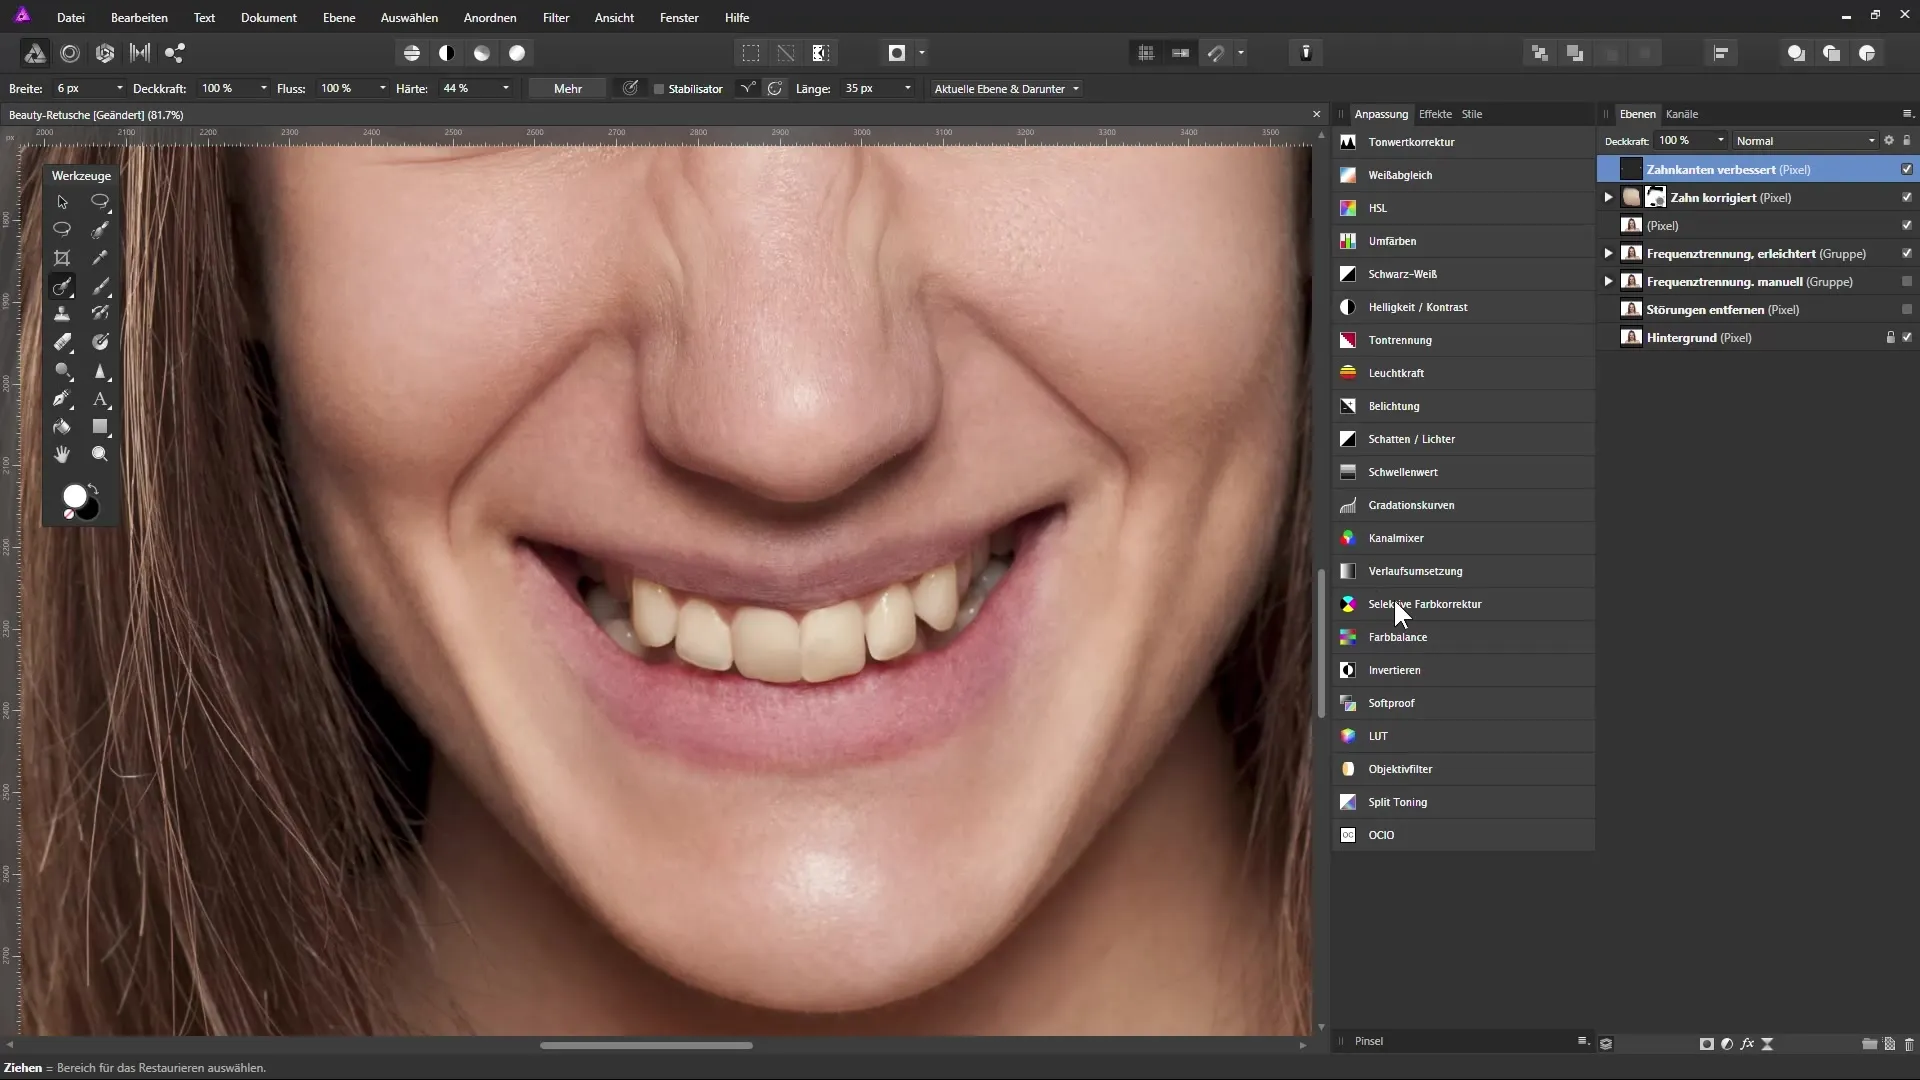
Step 8: Final Adjustments Use the mask of the selective color correction layer to darken areas where the whitening effect is too strong. Make sure to refine the edges of the teeth to achieve a more natural appearance. Be sure to view the image from various angles to ensure that the adjustments blend well together.
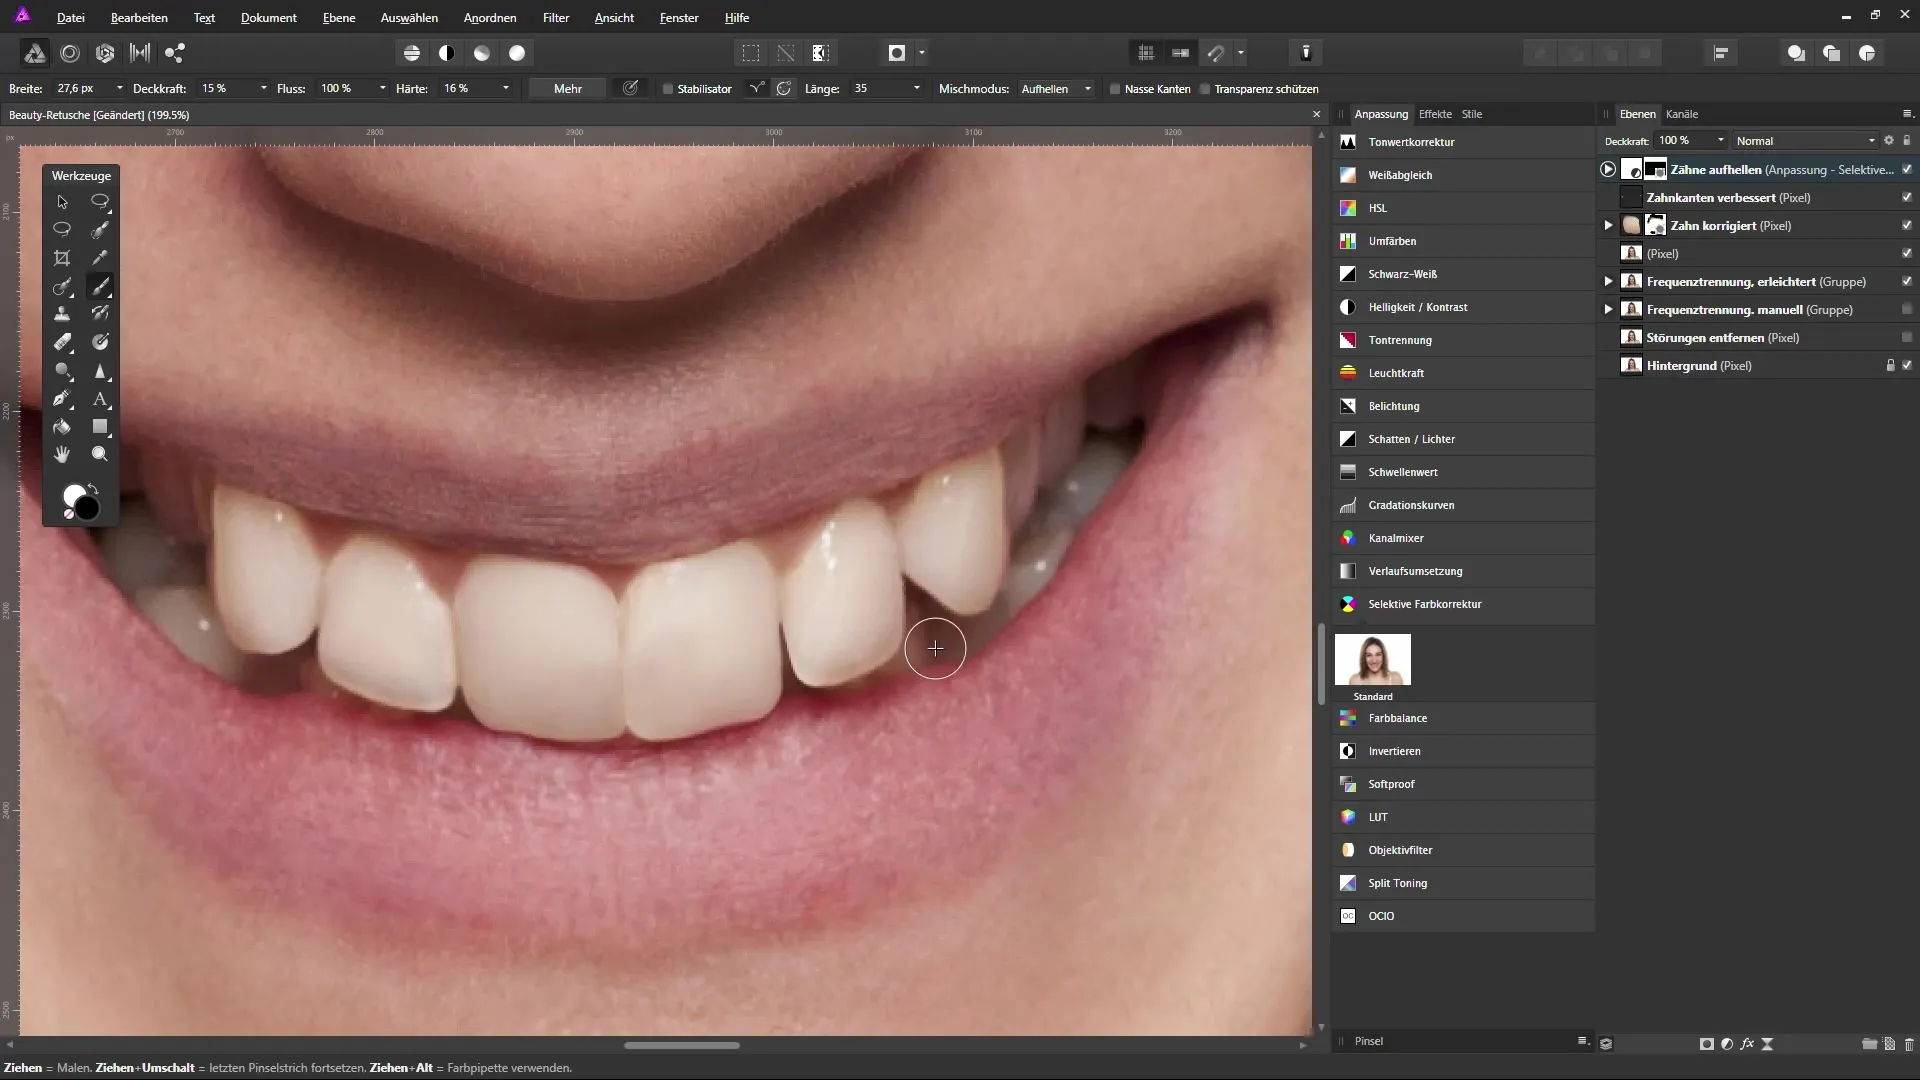
Summary - Correcting and Whitening Teeth in Affinity Photo
With these targeted steps, you can successfully correct and whiten the teeth in your images. You have learned how to touch up gaps between teeth and adjust the teeth to create a harmonious image. Practice these techniques to further improve your image editing skills.
FAQ
What is Quick Mask mode?The Quick Mask mode allows you to edit selection areas directly in the image by manipulating the mask with brush tools.
How do I change the brush size?You can change the brush size in the options bar or through the square icons in the brush menu.
Can I undo changes at any time?Yes, with the undo function (Ctrl + Z), you can revert your last steps at any time.
How do I adjust the opacity of a brush?You can adjust the opacity in the brush options bar before using it.


