The retouching of images constitutes an essential skill for many creatives, especially when it comes to editing skin in detail and naturally. In this tutorial, you will learn how to use frequency separation to remove unwanted details in an image – whether it be pores, small skin blemishes, or fine hairs. By focusing on detailed editing, the color representation of your image remains untouched while still achieving a fresh look.
Key Insights
- Frequency separation allows for precise editing without color impact.
- The healing tool provides an efficient way to remove unwanted details.
- Using a helper layer to highlight problematic areas increases editing accuracy.
Step-by-Step Guide
To remove unwanted details from your image, follow these steps:
First, it's important to create a backup copy of your layer before you start removing details. Click on the layer, press Ctrl + J, and rename it to "Backup." Move the backup layer down and hide it. This way, you can easily revert to the unedited version of your image at any time.
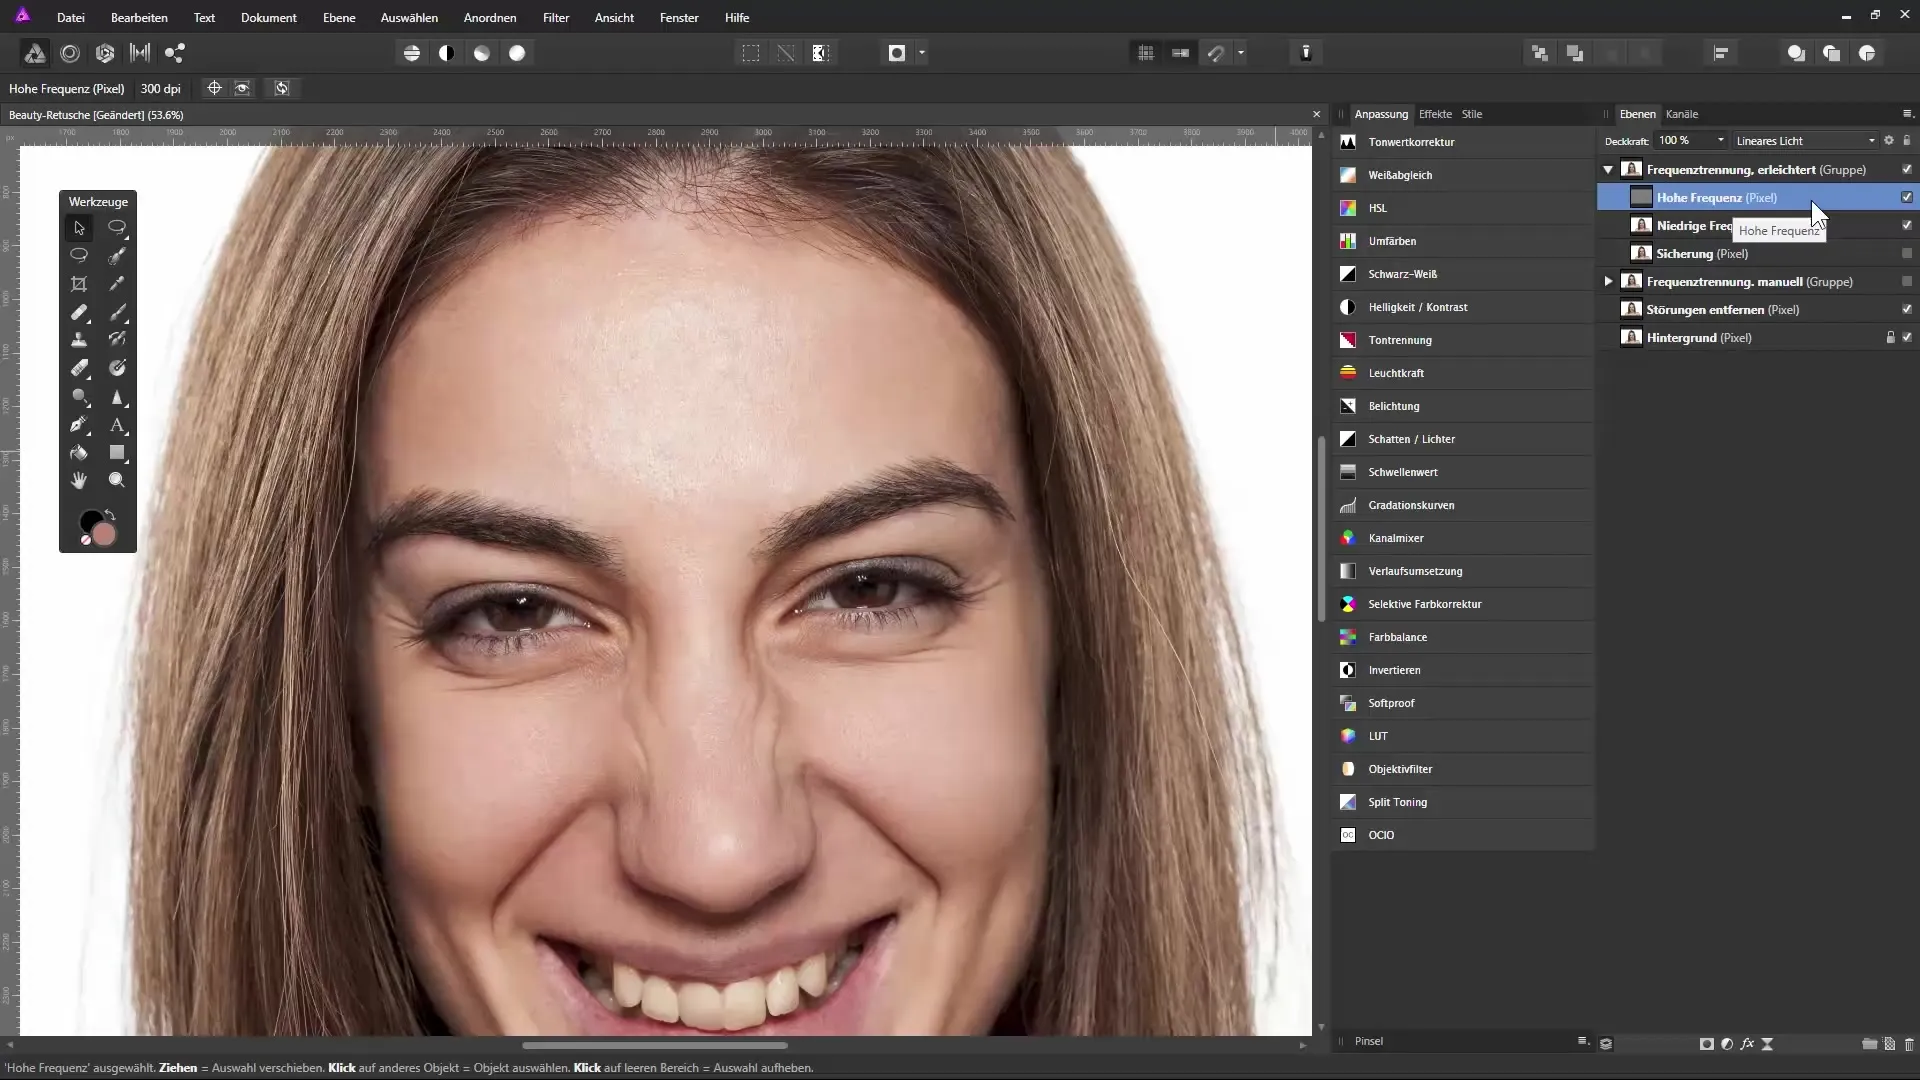
In the next step, switch to the high frequency layer, where we will perform the detail editing. Select the healing tool from the toolbar. This tool is great for editing small blemishes or skin details. You can adjust the brush size to target specific areas.
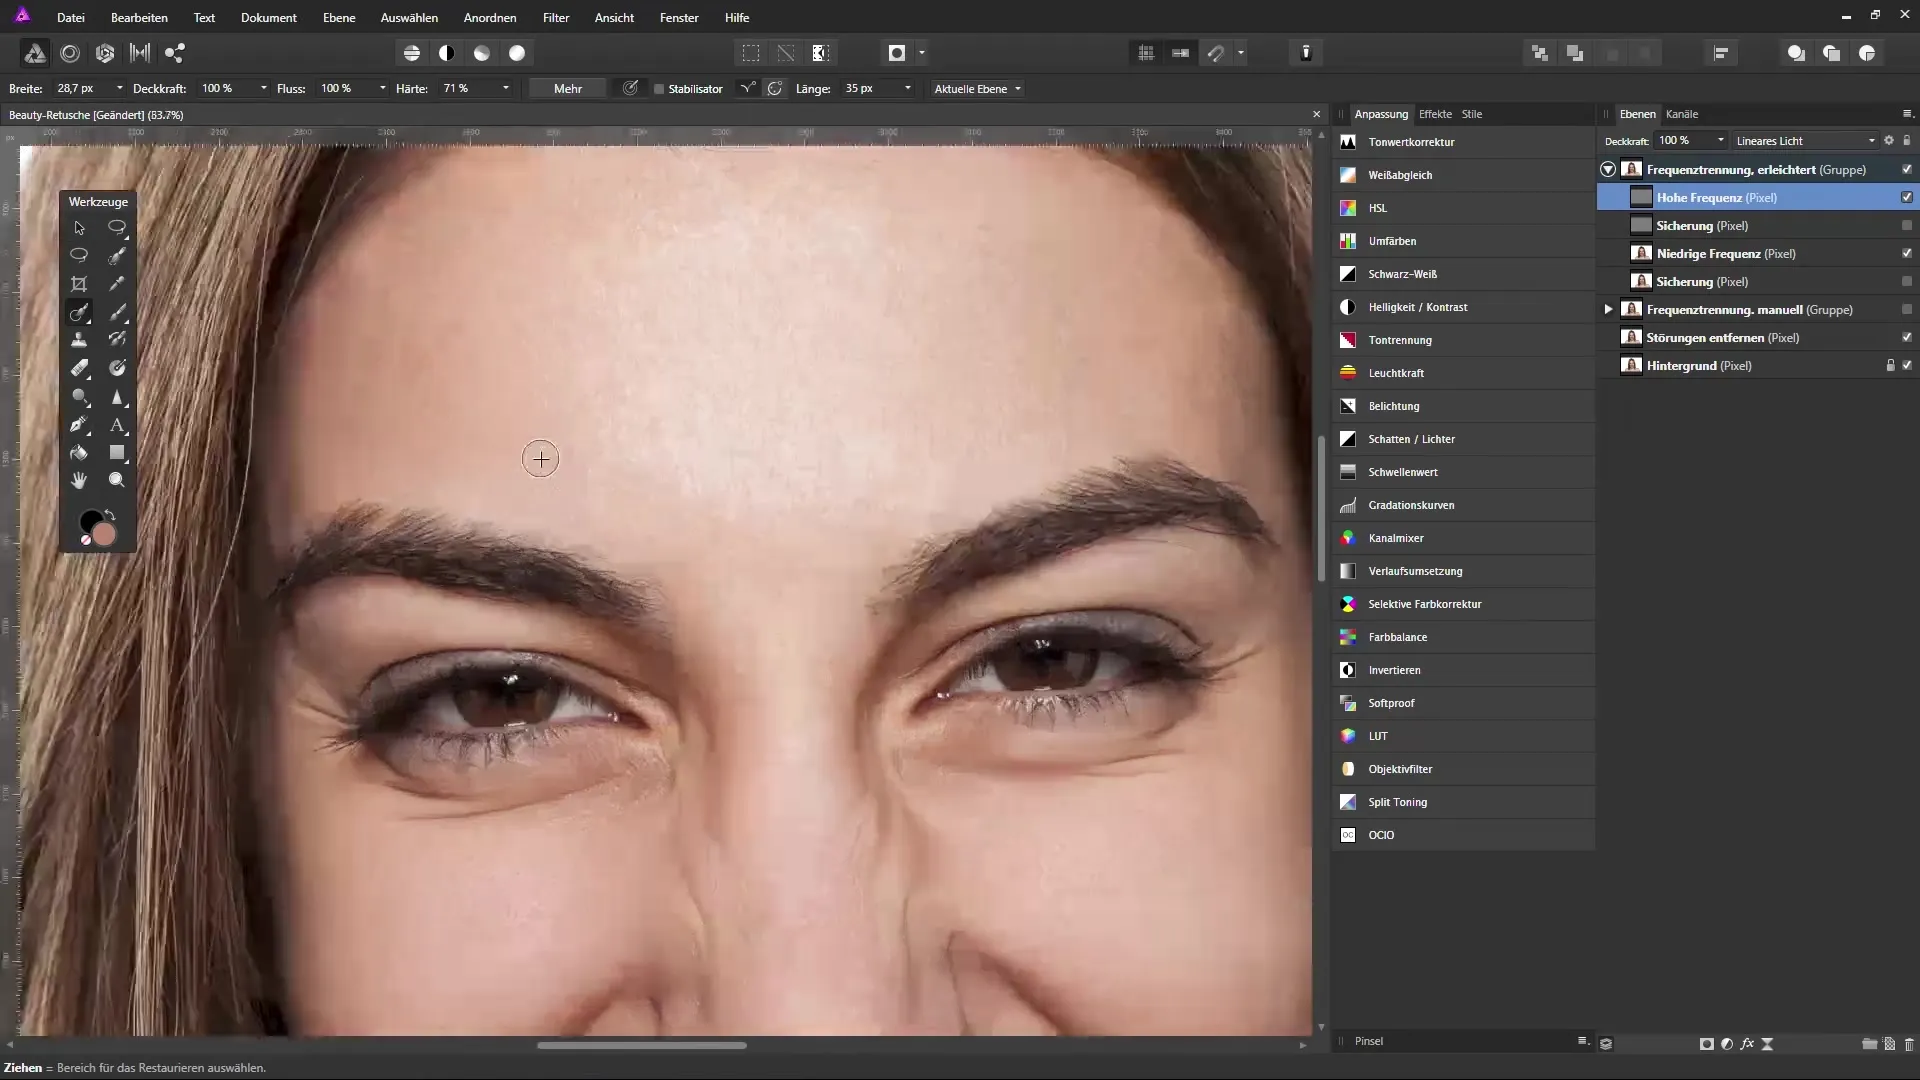
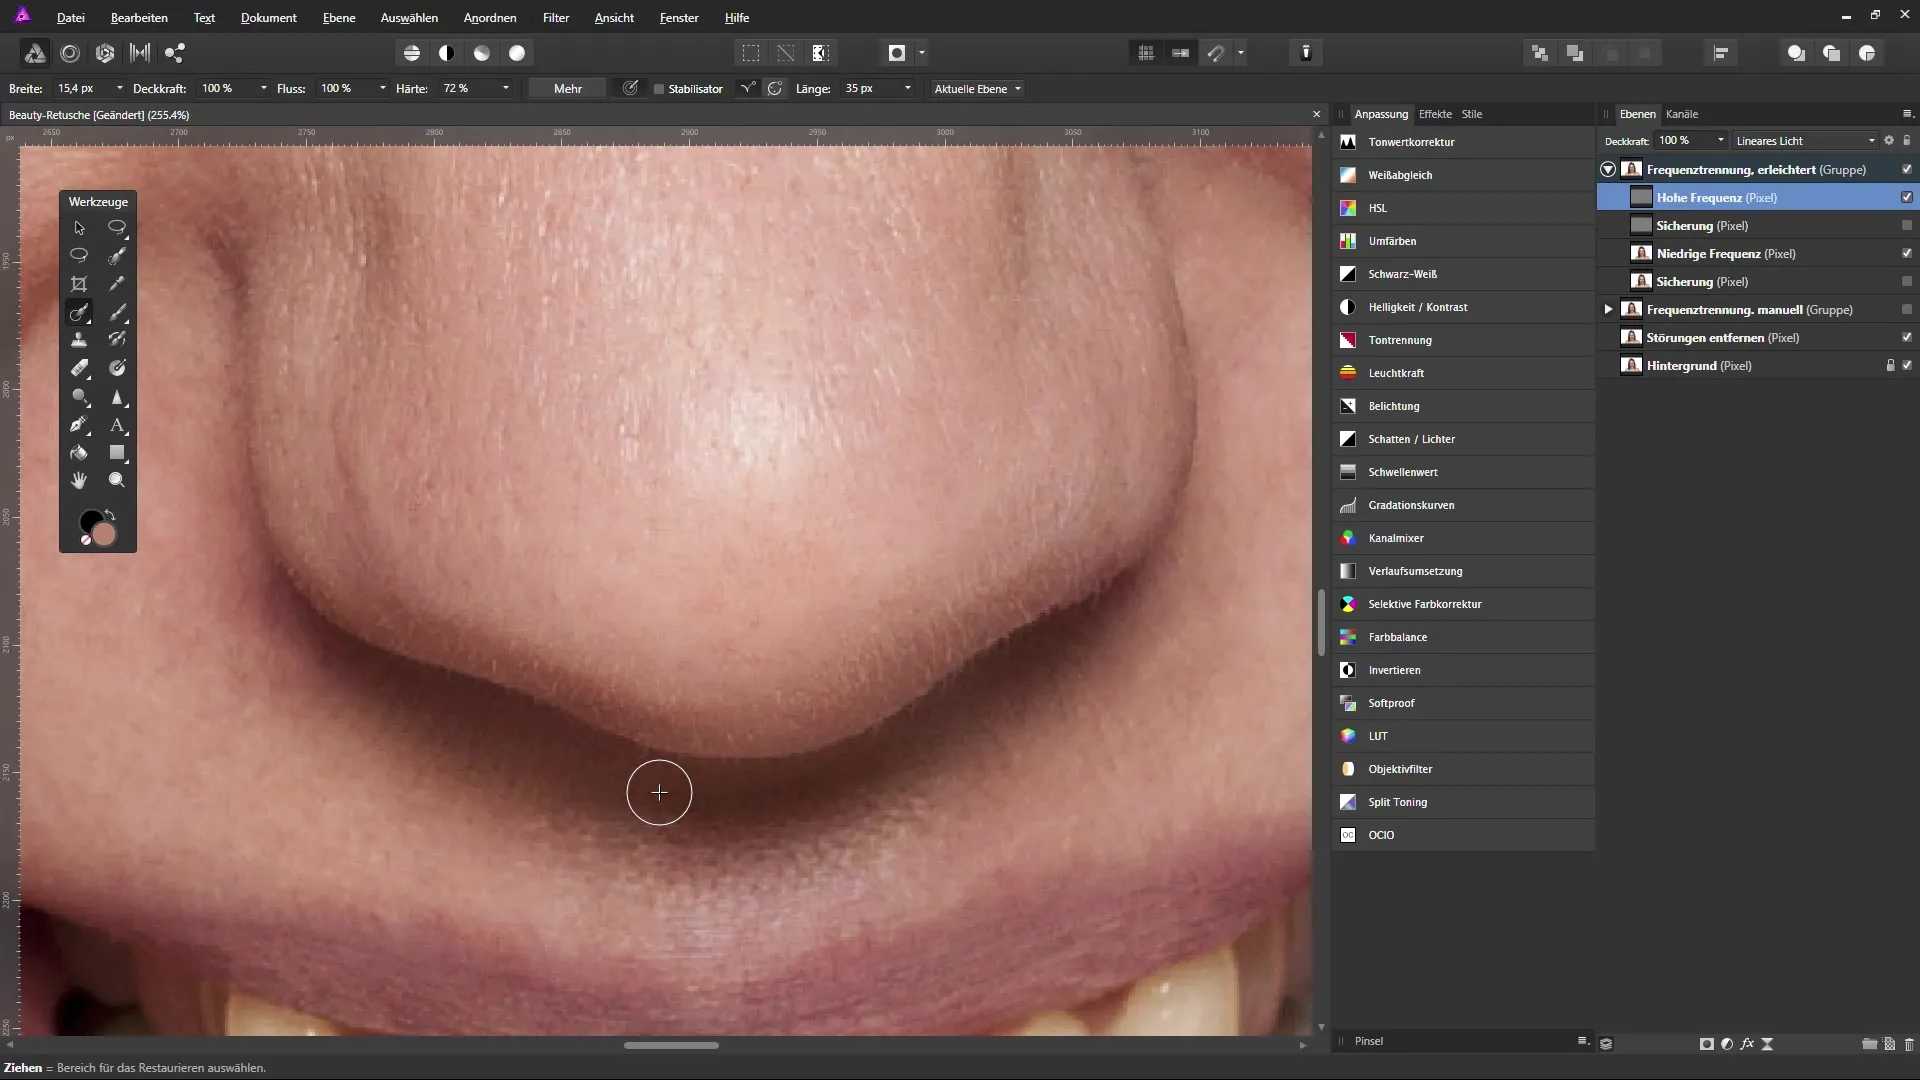
Now, begin to remove all distracting details in your image. Focus on small spots or skin imperfections that are visible in the high frequency layer. The healing tool will automatically search for suitable areas in the surrounding to make the corrections. If you are not happy with the result, you can always step back and try again.
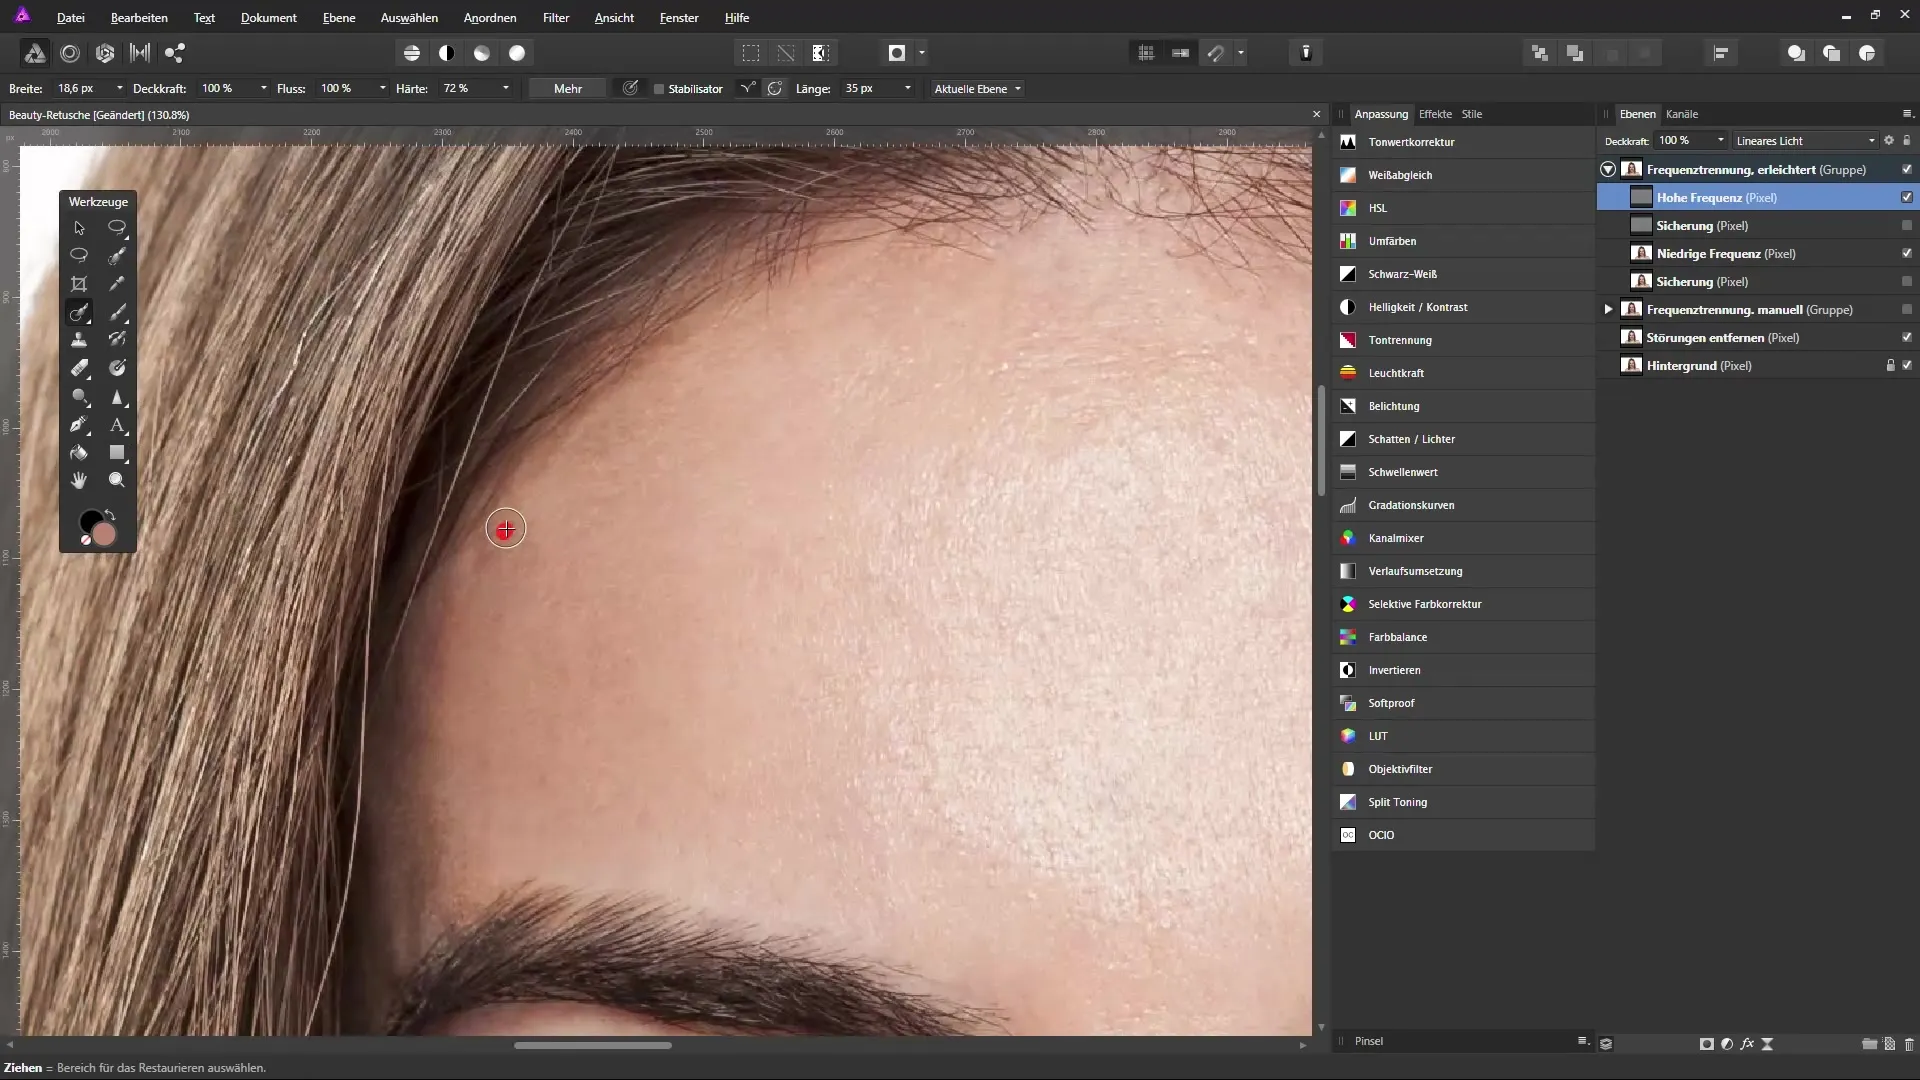
Since skin editing requires finesse, it is important to be patient. Be mindful of which areas you are editing, as unnaturally smoothed skin often does not look appealing. You can check the tool's opacity, but be careful not to hide too many details, as they may appear unnatural.
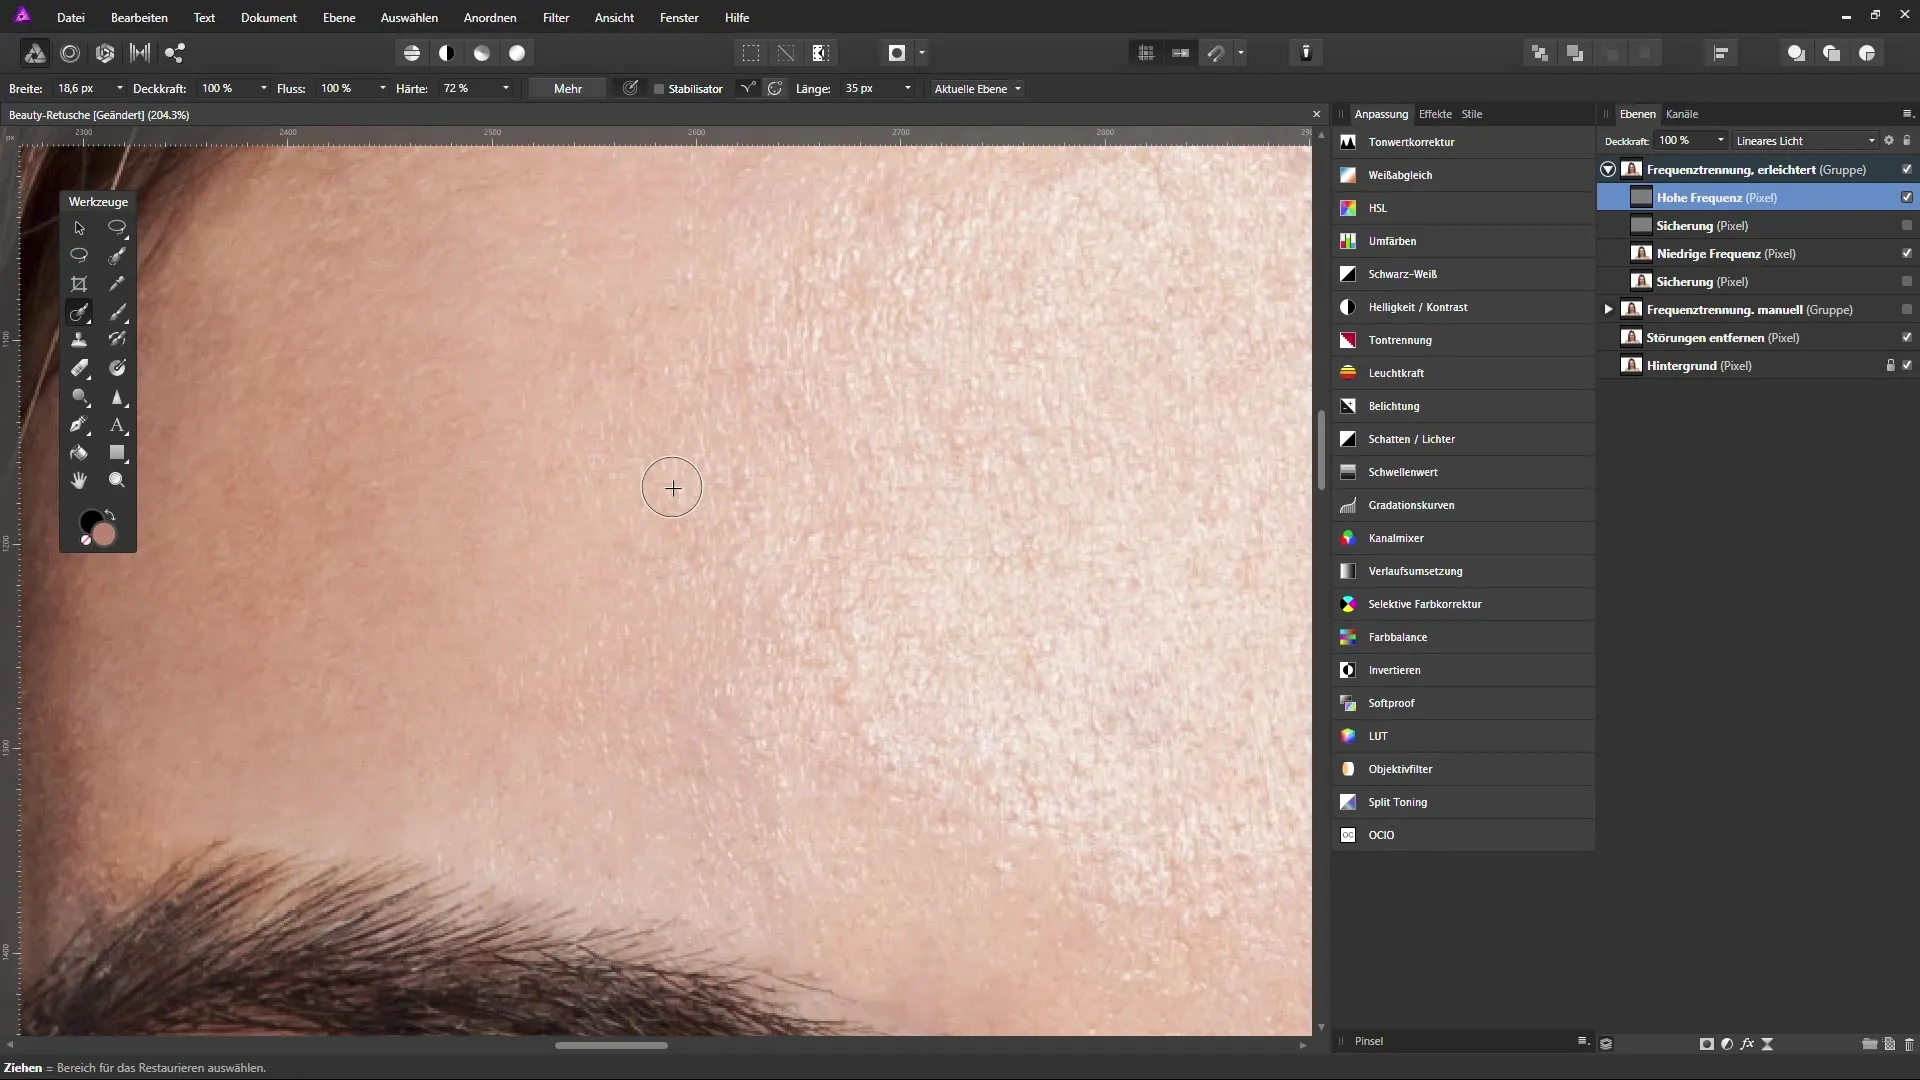
An effective approach is to also remove distracting fine hairs. These are also found on the high frequency layer. Make sure not to affect the adjacent areas to achieve a smooth and natural result. Experiment with different brush sizes to achieve the best results.
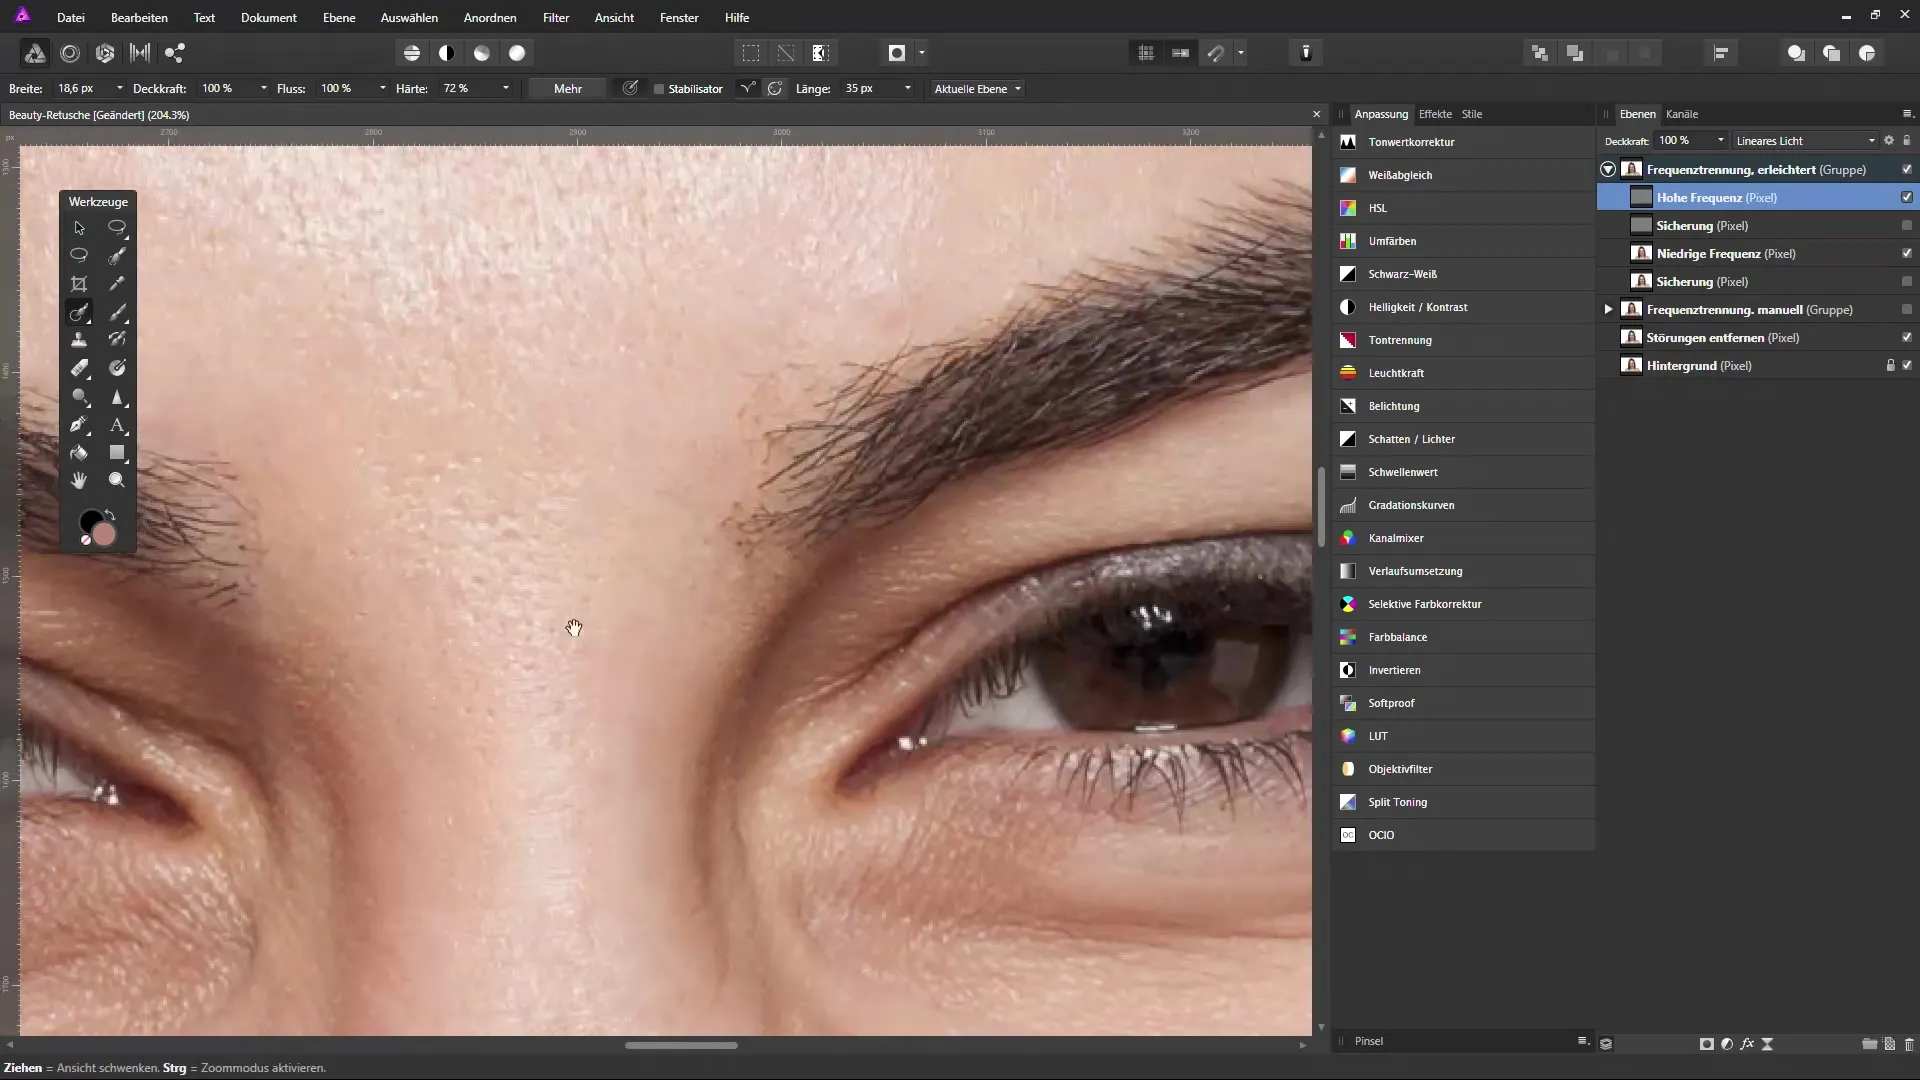
This way, you can gradually remove all unwanted details. Take your time and pay attention to the textures. Sometimes it is advisable to make several attempts on the same area to achieve a harmonious appearance.
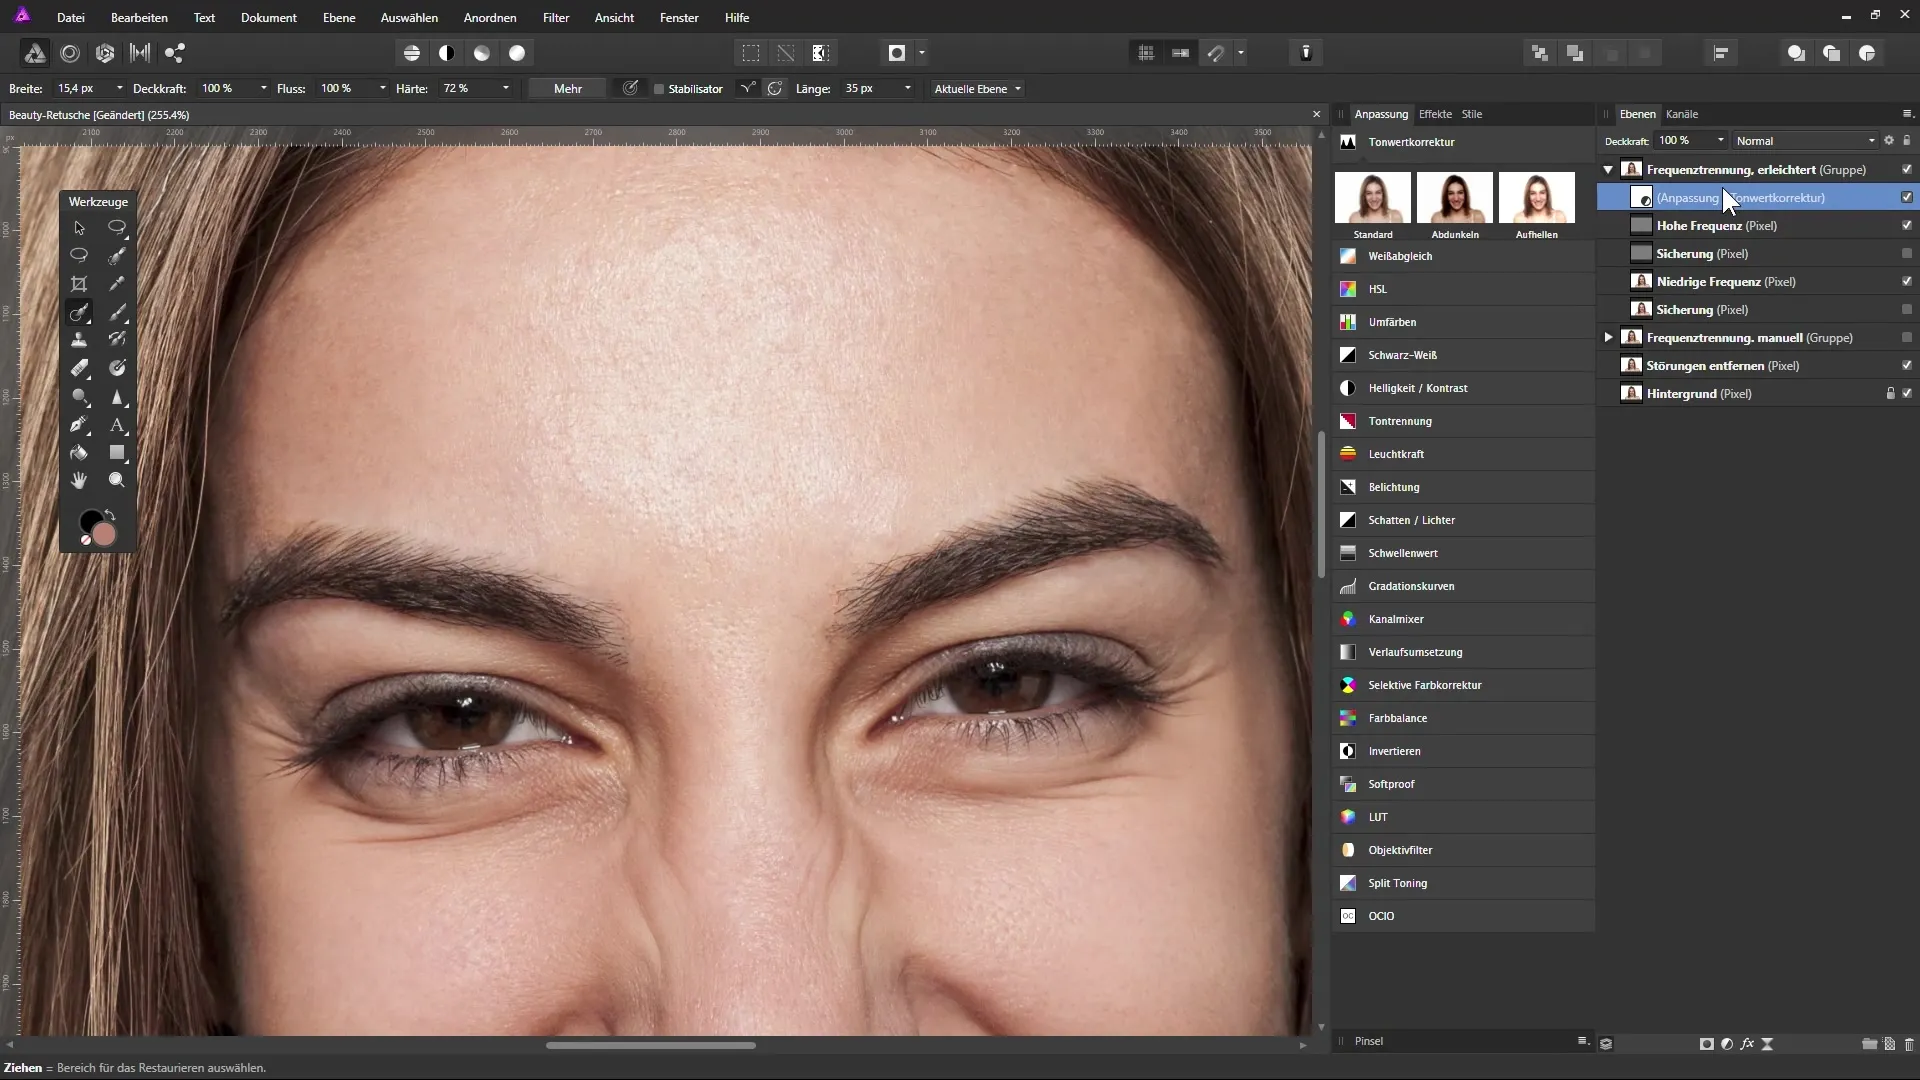
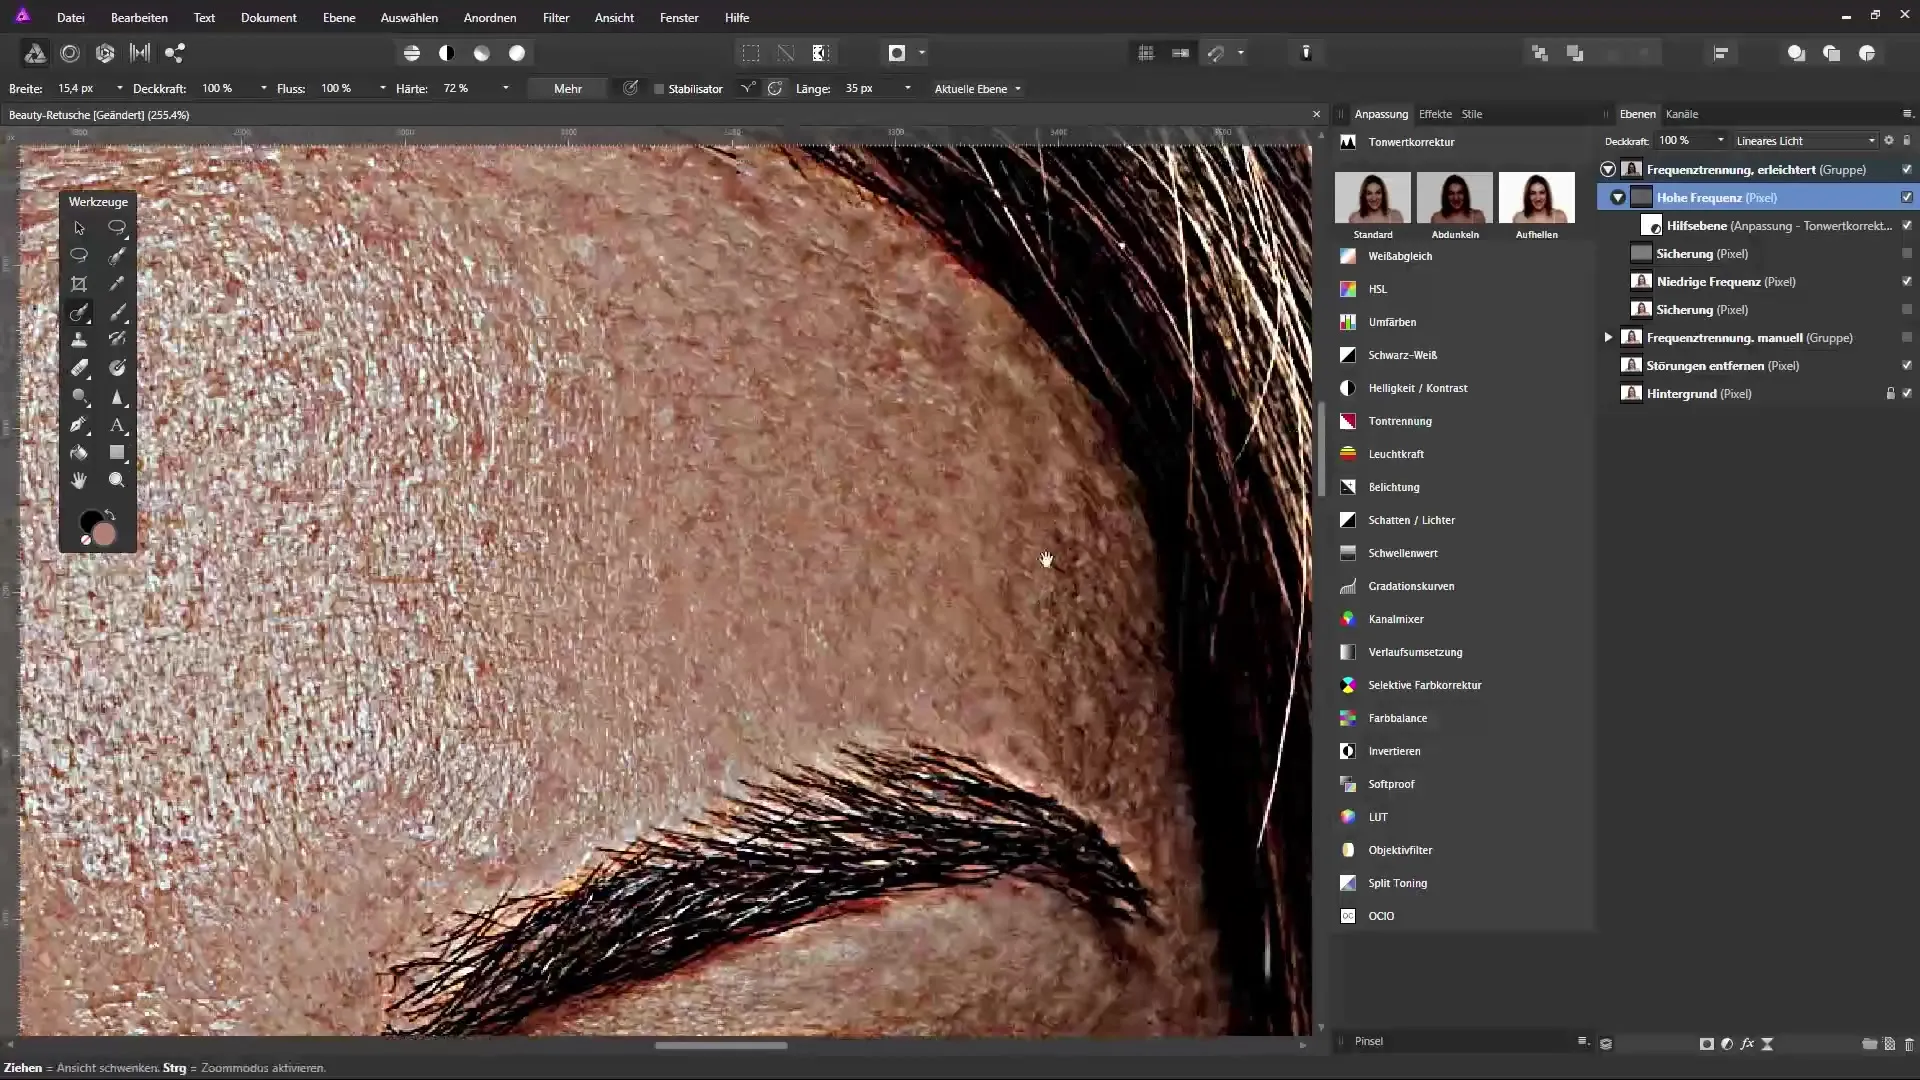
A useful tip is to use a levels adjustment as a clipping mask on your high frequency layer. In the adjustment palette, select the levels adjustment and click on the clipping mask icon. This ensures that the adjustments only affect the high frequency layer.
Now it's time to enhance the contrasts by moving the slider to the right, and adjust the adjustment to the left as needed. This process makes structural impurities or details visible that you may want to edit further.
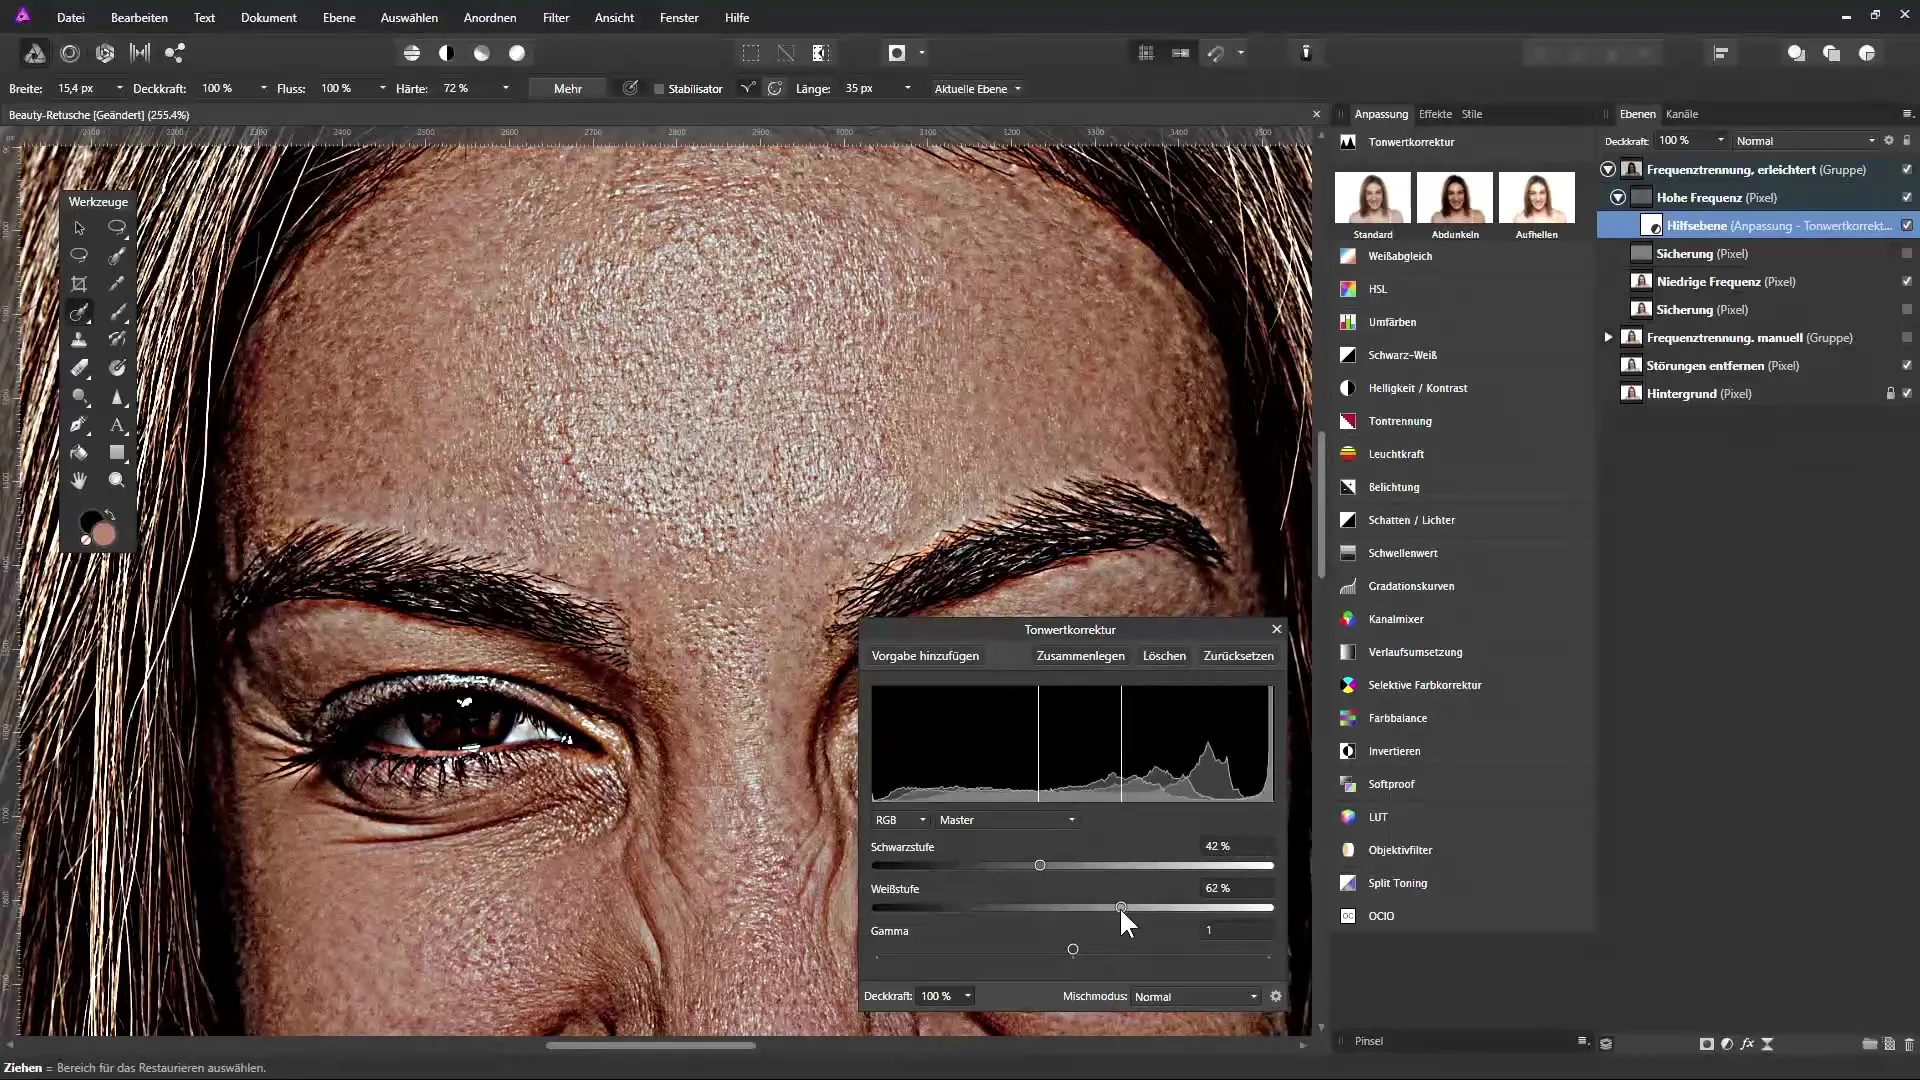
When you return to the high frequency layer, you can examine the highlighted areas more closely and decide where any small details might need refining. This helps you edit your image so that it stands out optimally.
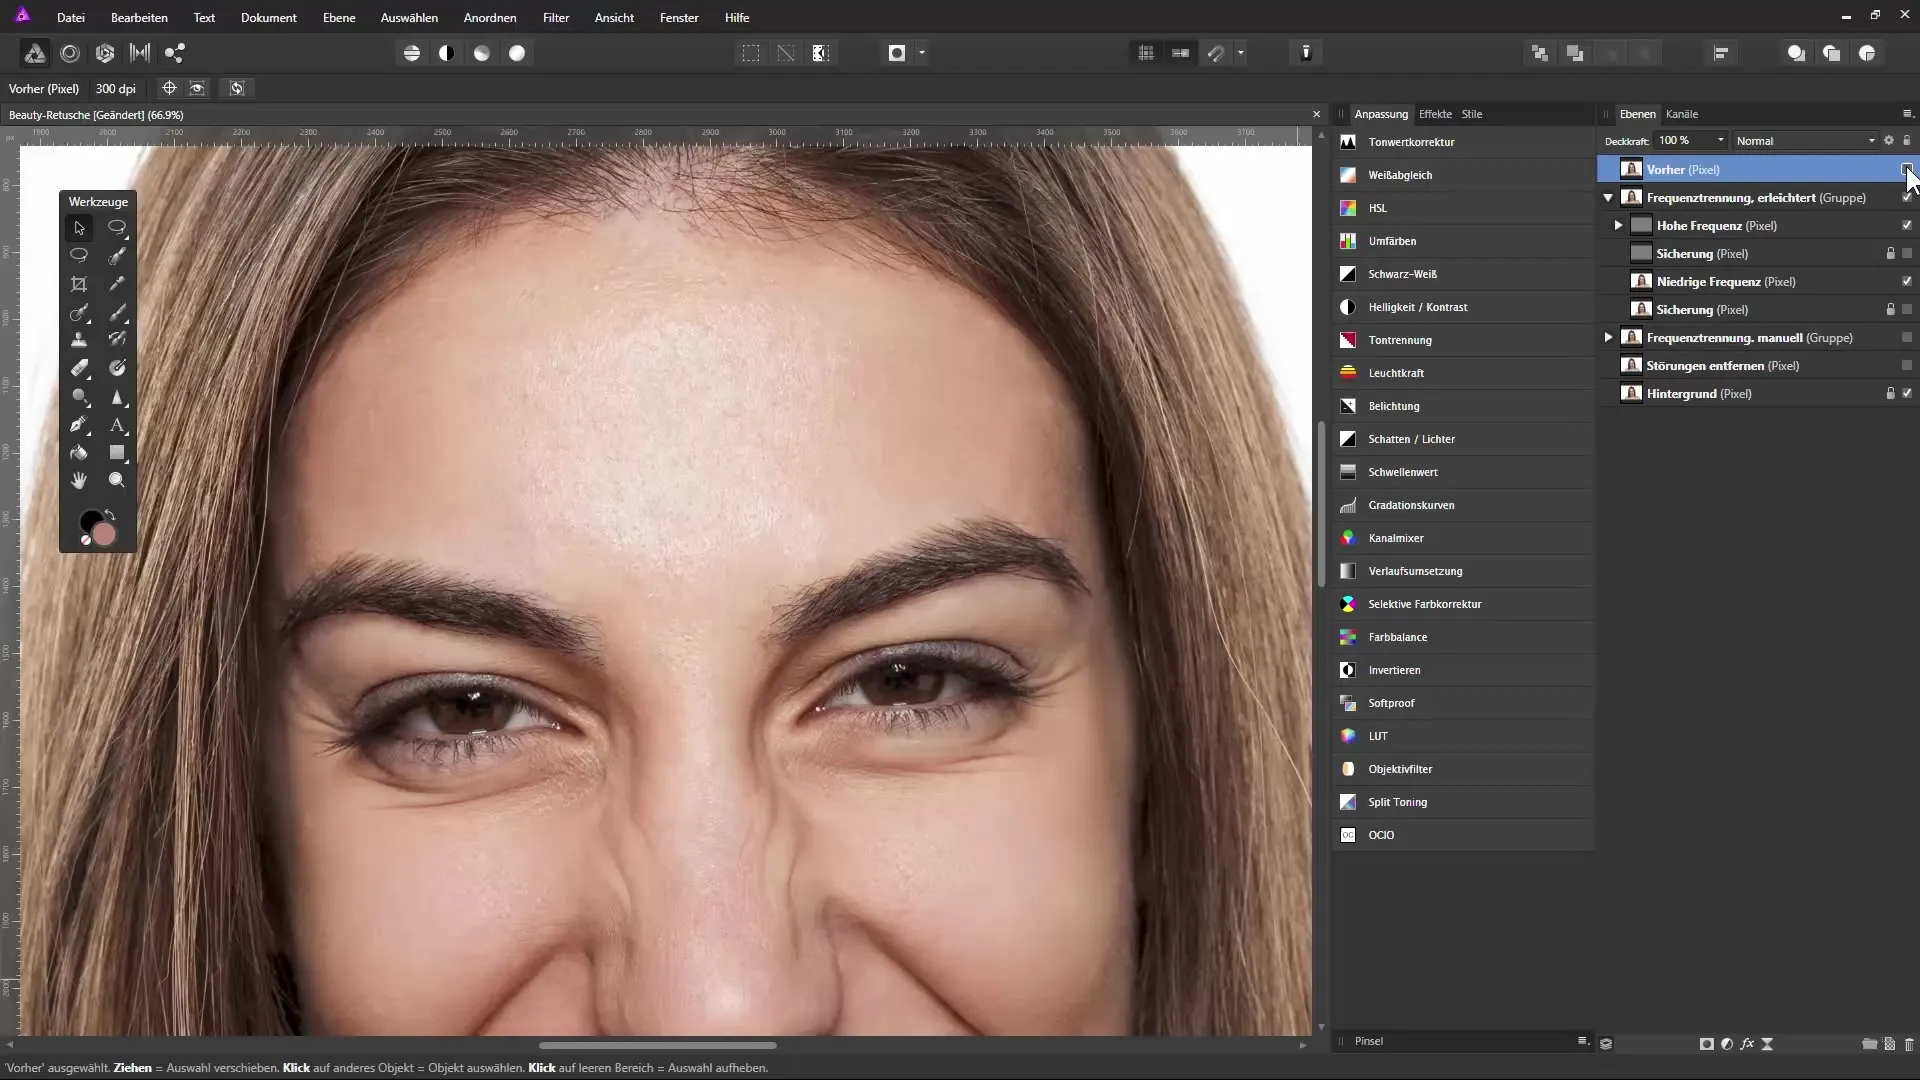
At the end of this process, you should review your result. You can create a summary layer to see the before-after comparisons. This way, you always keep track of the changes you have made.
Summary – Skin Retouching in Affinity Photo: A Guide to Editing Unwanted Details
In this guide, you learned how to effectively edit unwanted details in your images using frequency separation and the healing tool. By working precisely and utilizing clipping masks to apply effects only to specific layers, you can achieve optimal retouching results.
Frequently Asked Questions
How do I create a backup in Affinity Photo?You can create a backup by selecting the layer and pressing Ctrl + J.
What is the healing tool?The healing tool is an effective tool in Affinity Photo for removing imperfections and distracting details in images.
How can I use the levels adjustment as a clipping mask?Select the levels adjustment and click on the clipping mask icon to apply the adjustments only to the high frequency layer.


