In the field of image editing, you will often encounter the need to remove unwanted strands of hair or distracting details in photos. Especially in beauty retouching, it plays a crucial role to keep it as natural as possible, so that the image remains authentic. In this guide, I will explain how you can effectively remove various hair strands using the healing and restoration tool in Affinity Photo to achieve a perfect result.
Key Insights
- The choice of the right tool (healing brush or restoration tool) is crucial.
- Carefulness in editing makes work easier and results in fewer unnatural transitions.
- Working with a graphics tablet can significantly ease the image editing process.
Step-by-Step Guide
Step 1: Preparing the Image
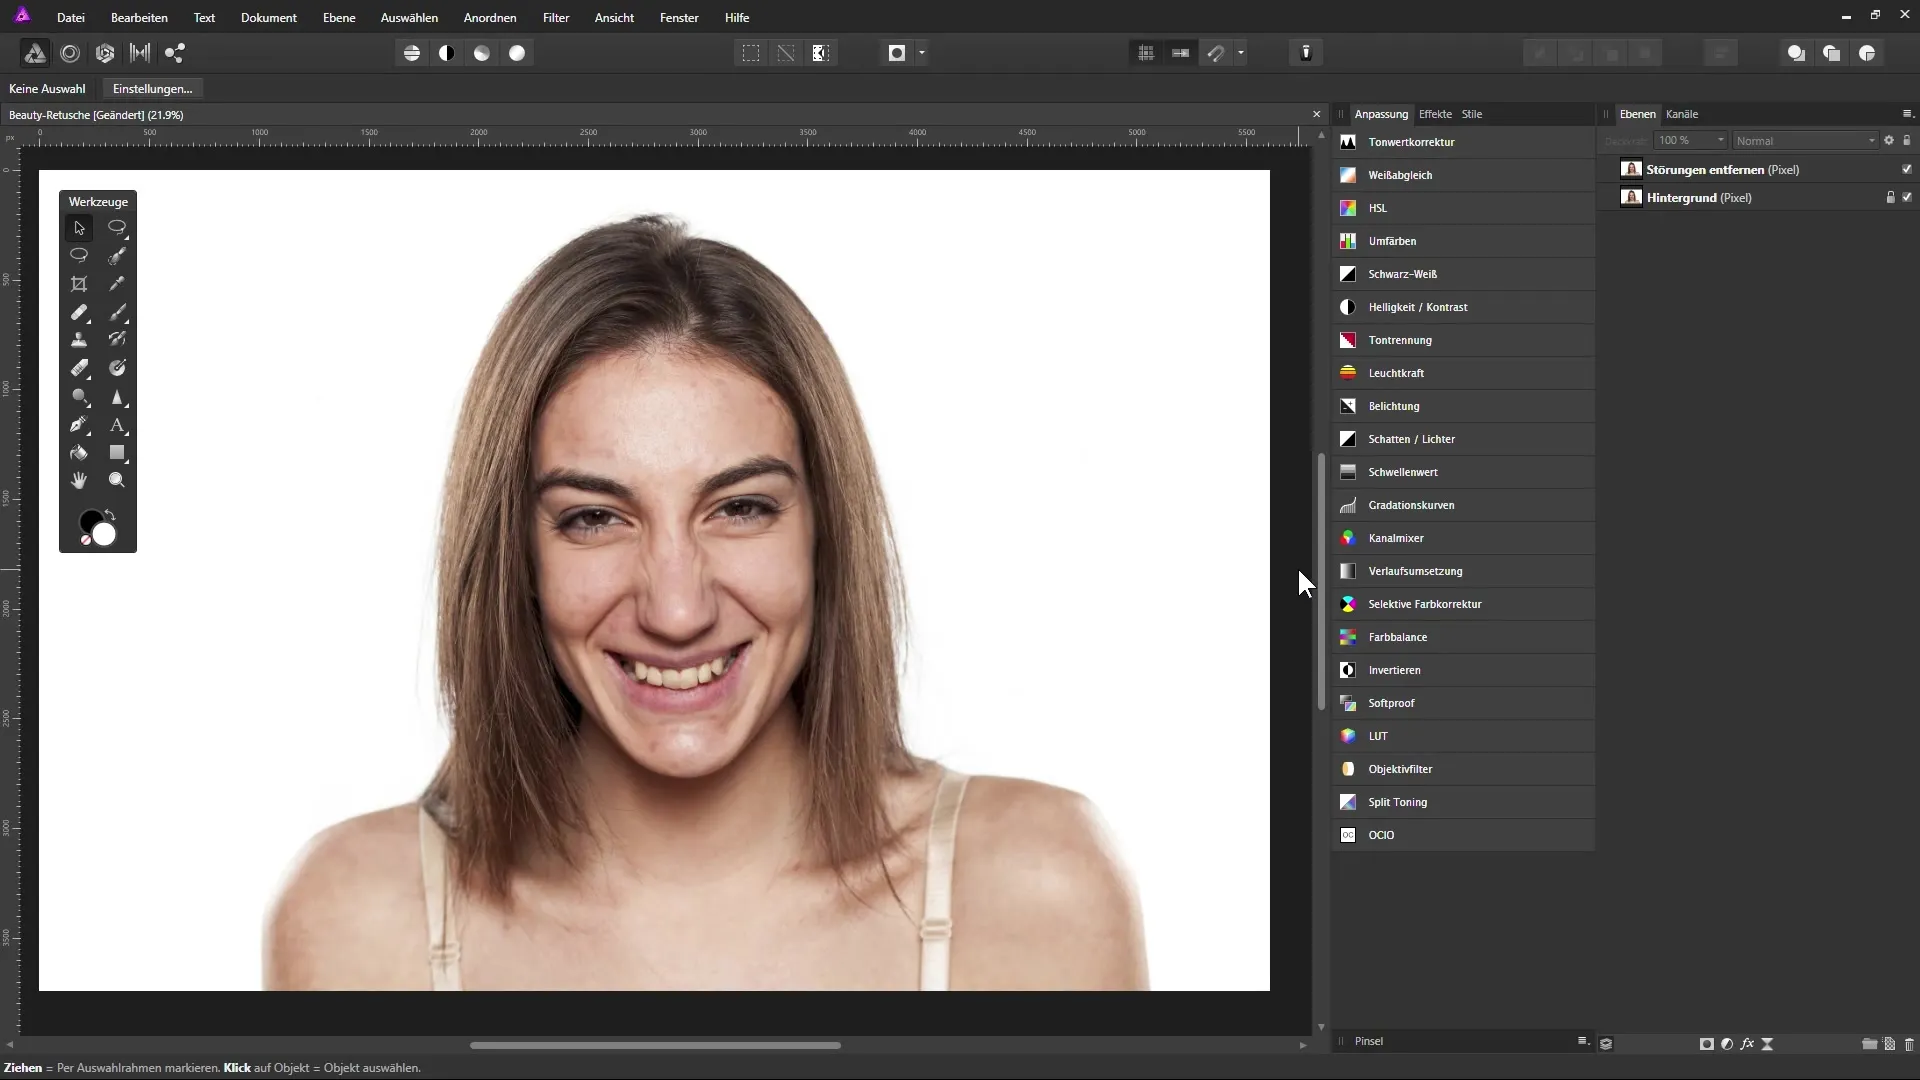
Before you start editing, you should work on the “Remove Distractors” layer. This layer must be activated so you can preview your changes. Zoom into the image to precisely select the affected hair strands.
Step 2: Selecting the Healing Tool
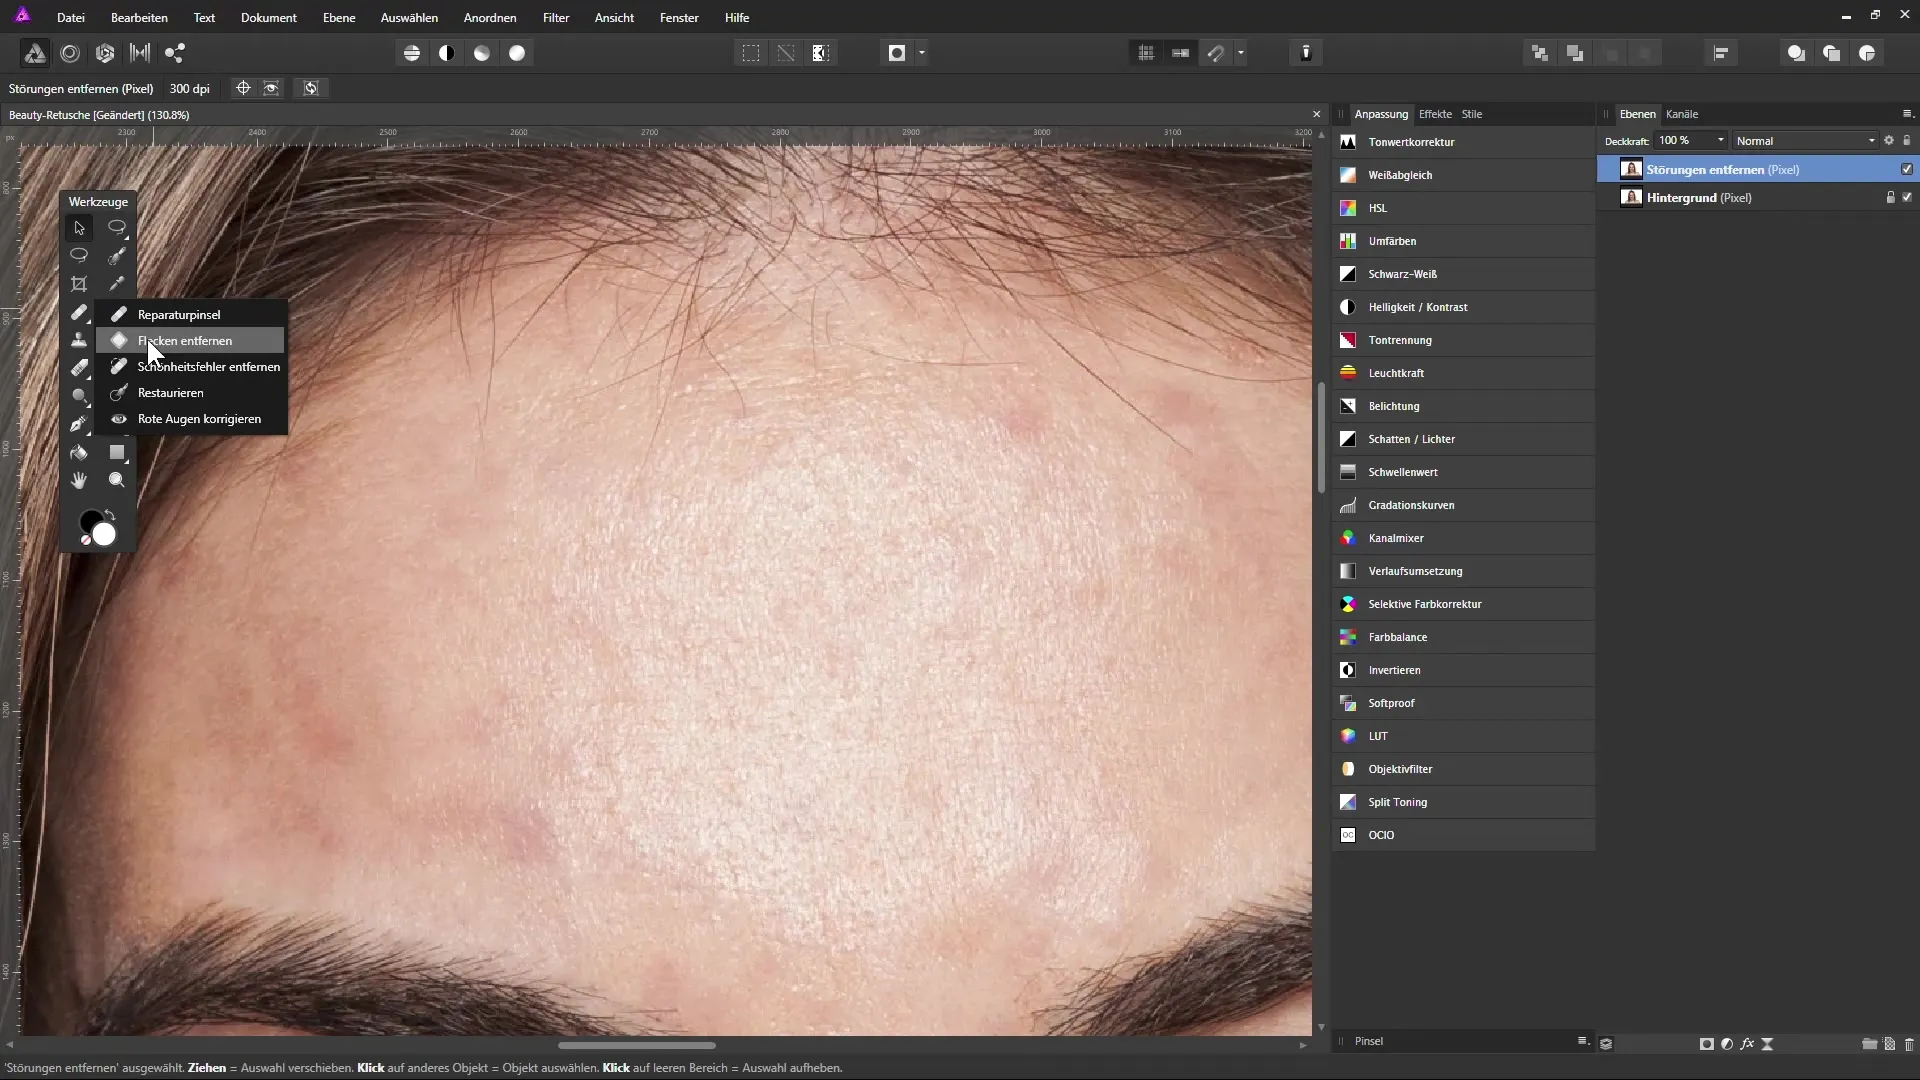
Select the healing tool from the toolbar. It is particularly useful as it allows you to sample areas from another part of the image. This way, you can not only remove the unwanted strands but also transform, rotate or scale them specifically.
Step 3: Applying the Tool
Click on the area you want to alter. The tool will create a selection that you can then adjust by changing the size or rotating the area. Make sure the new selection area harmonizes with the background.
Step 4: Fine-tuning
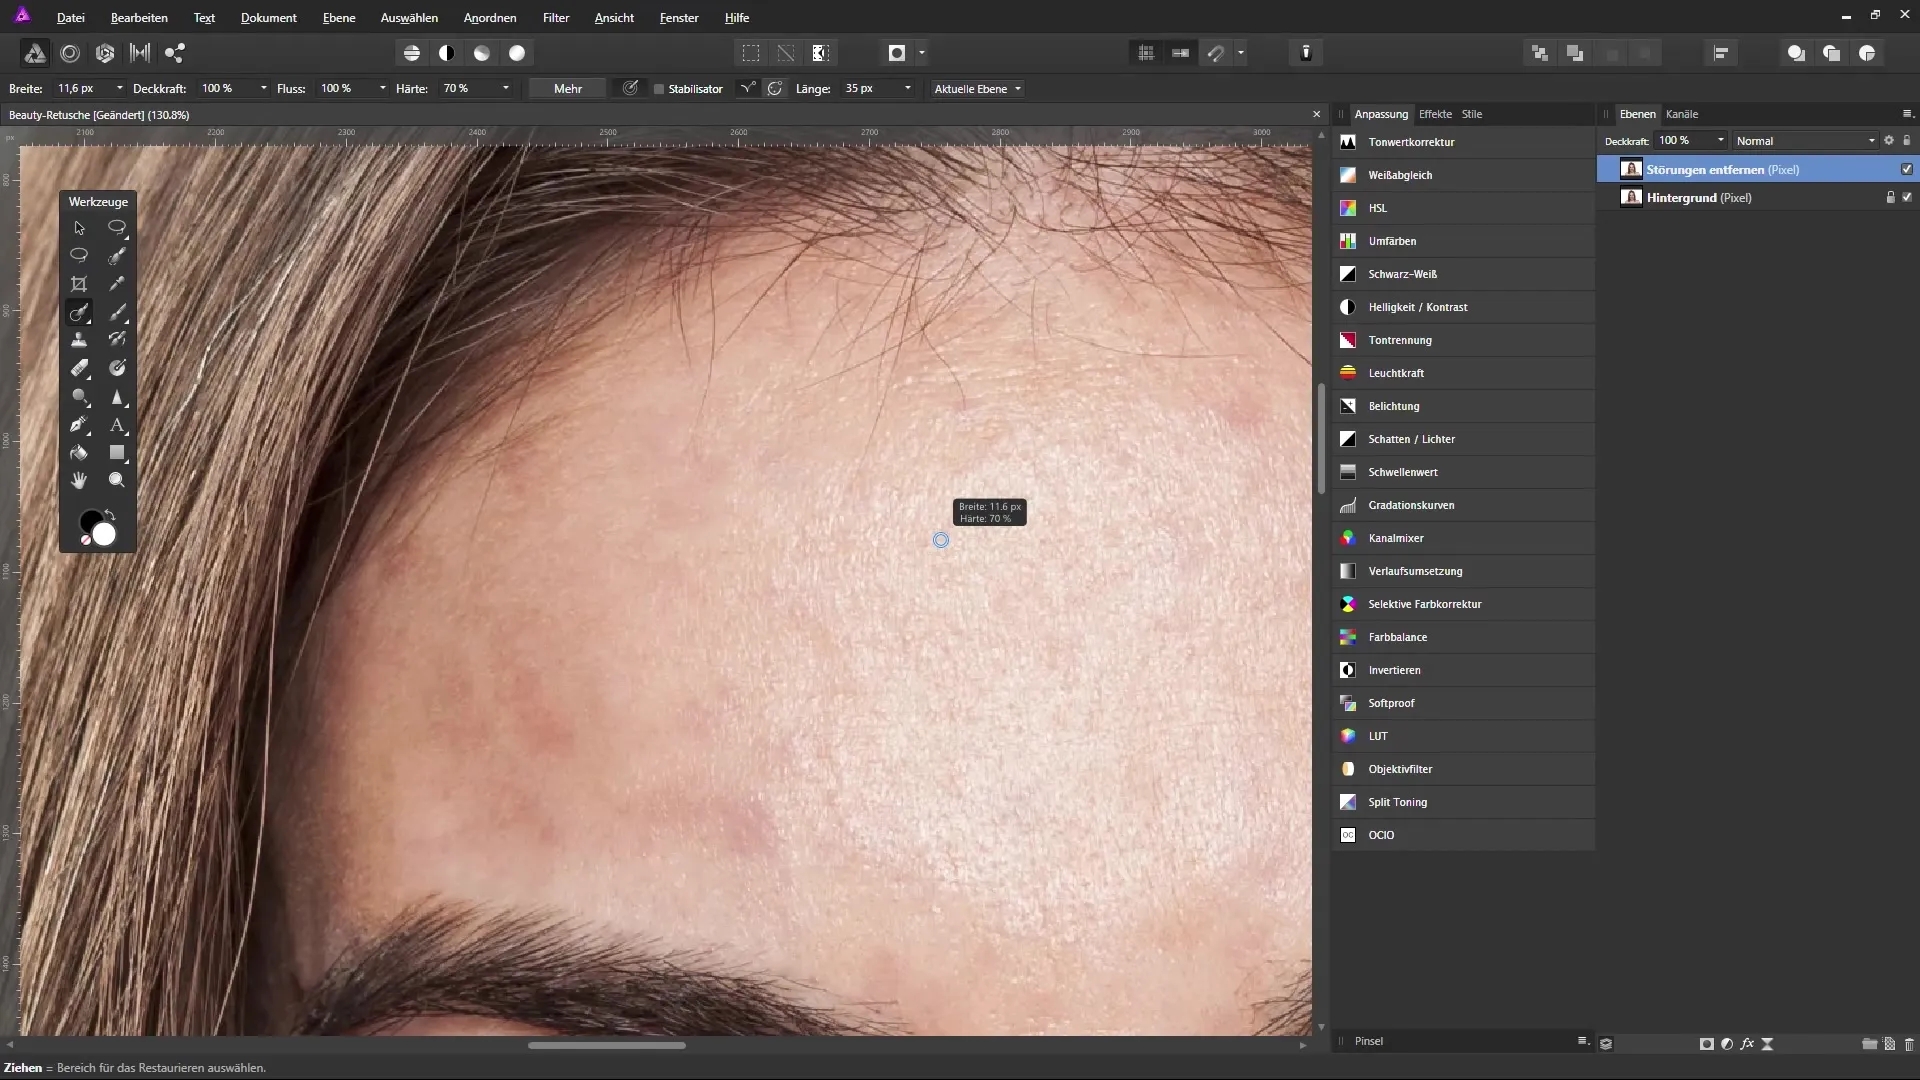
To make the look more natural, work in small areas. You should frequently reset the crop of the image before and after each edit and check the results. Avoid working on large areas at once, as this often leads to unnatural results.
Step 5: Precise Work
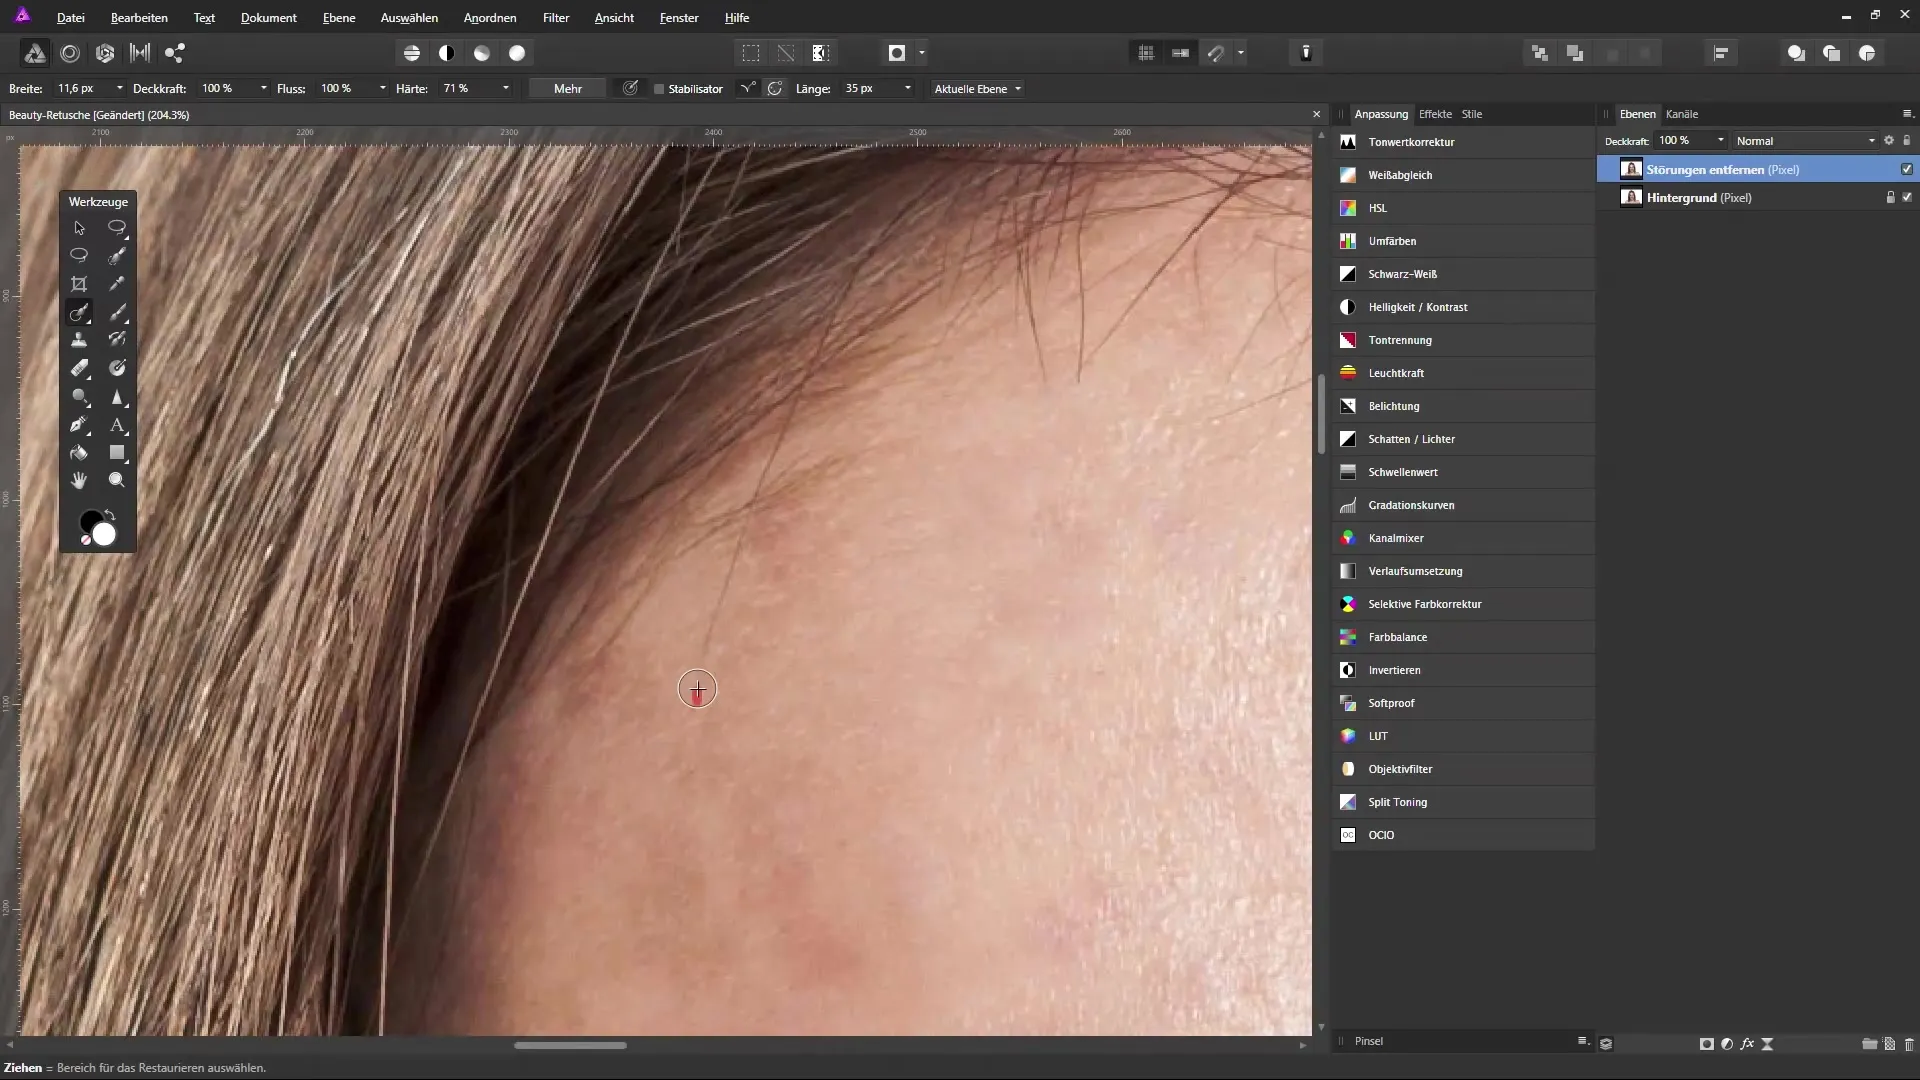
After making the initial corrections, go back and check for any remaining transitions or discolorations. Use fine strokes to cover or correct these, paying close attention to where the hair strands touch the skin.
Step 6: Returning to the Natural Hairline
If you want to completely remove a hair strand, be careful. Gently brush over the strand and keep the brush size small. The idea here is to keep the transition soft and flowing.
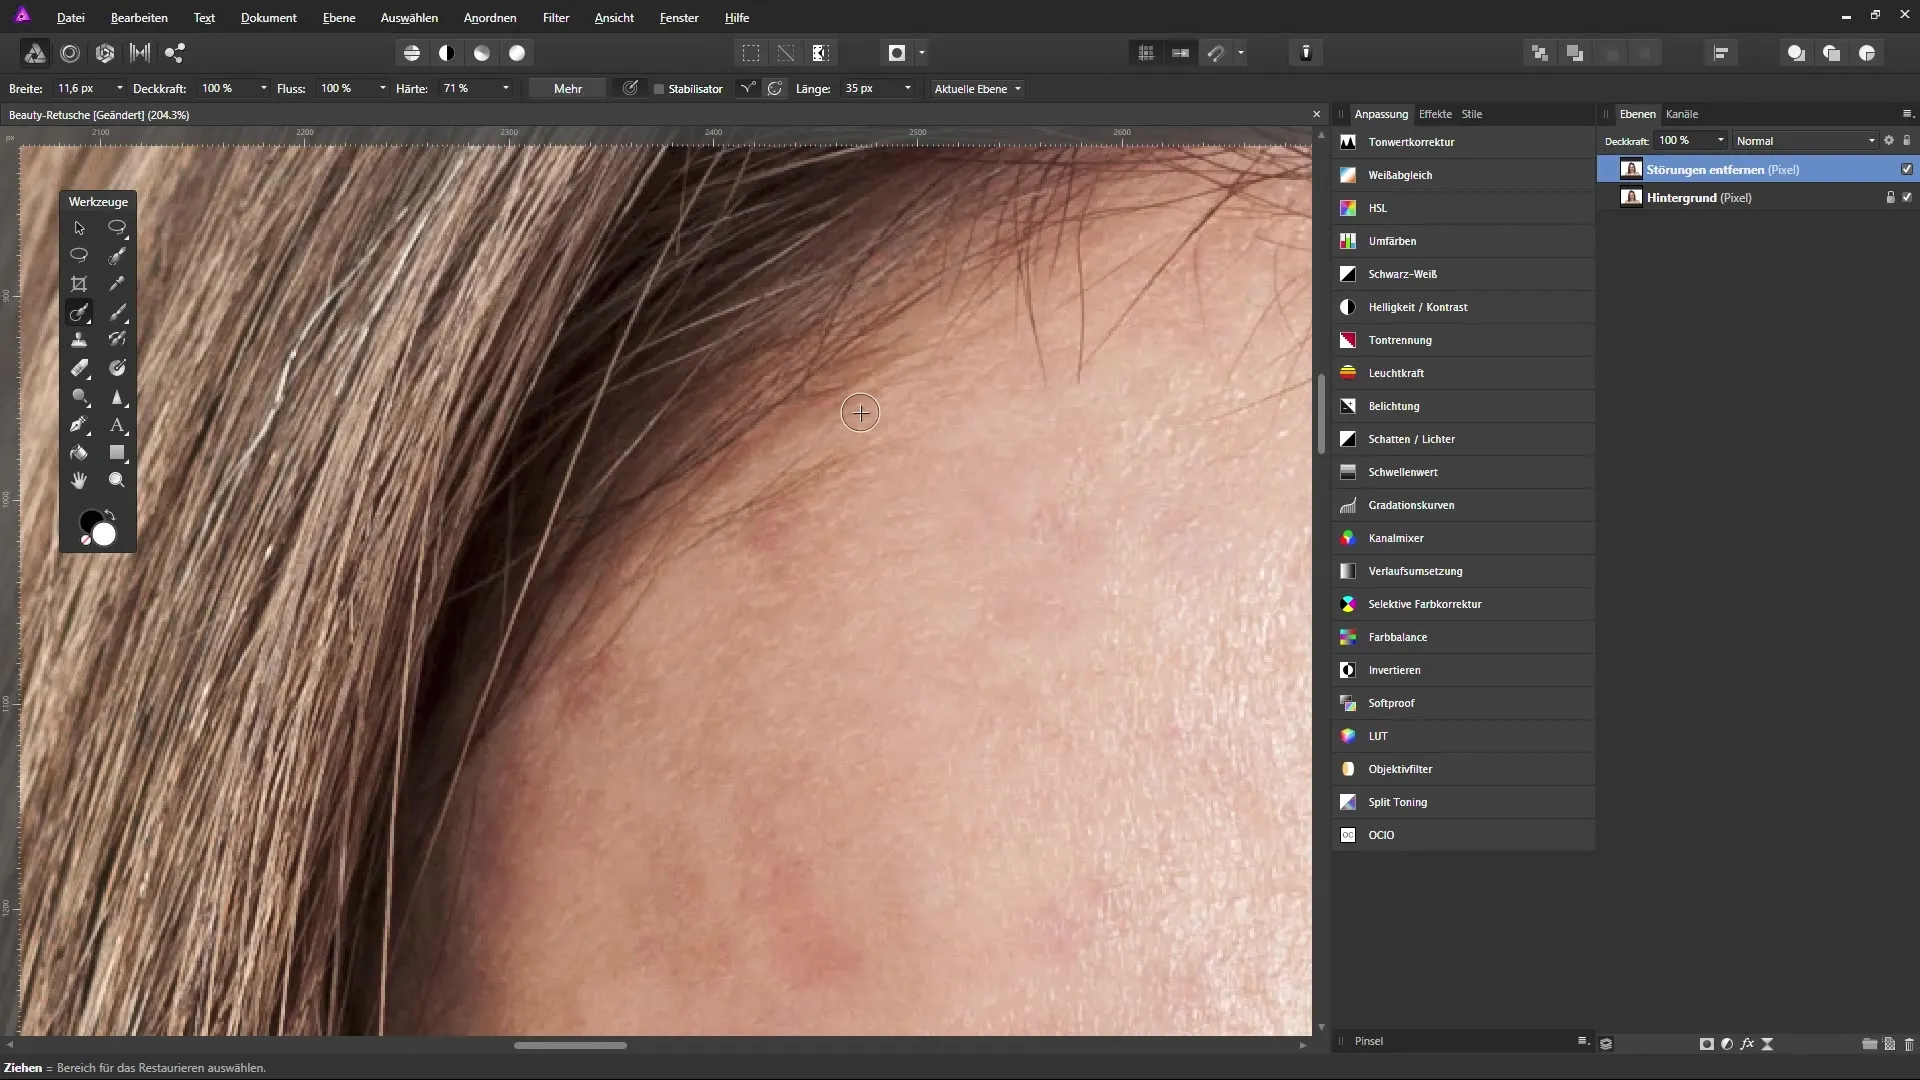
Step 7: Detail Editing
Remove small details one by one and make sure to always work from hair to hair to retain a natural look. Often, you will need multiple attempts to achieve the optimal edit without an ugly transition becoming visible.
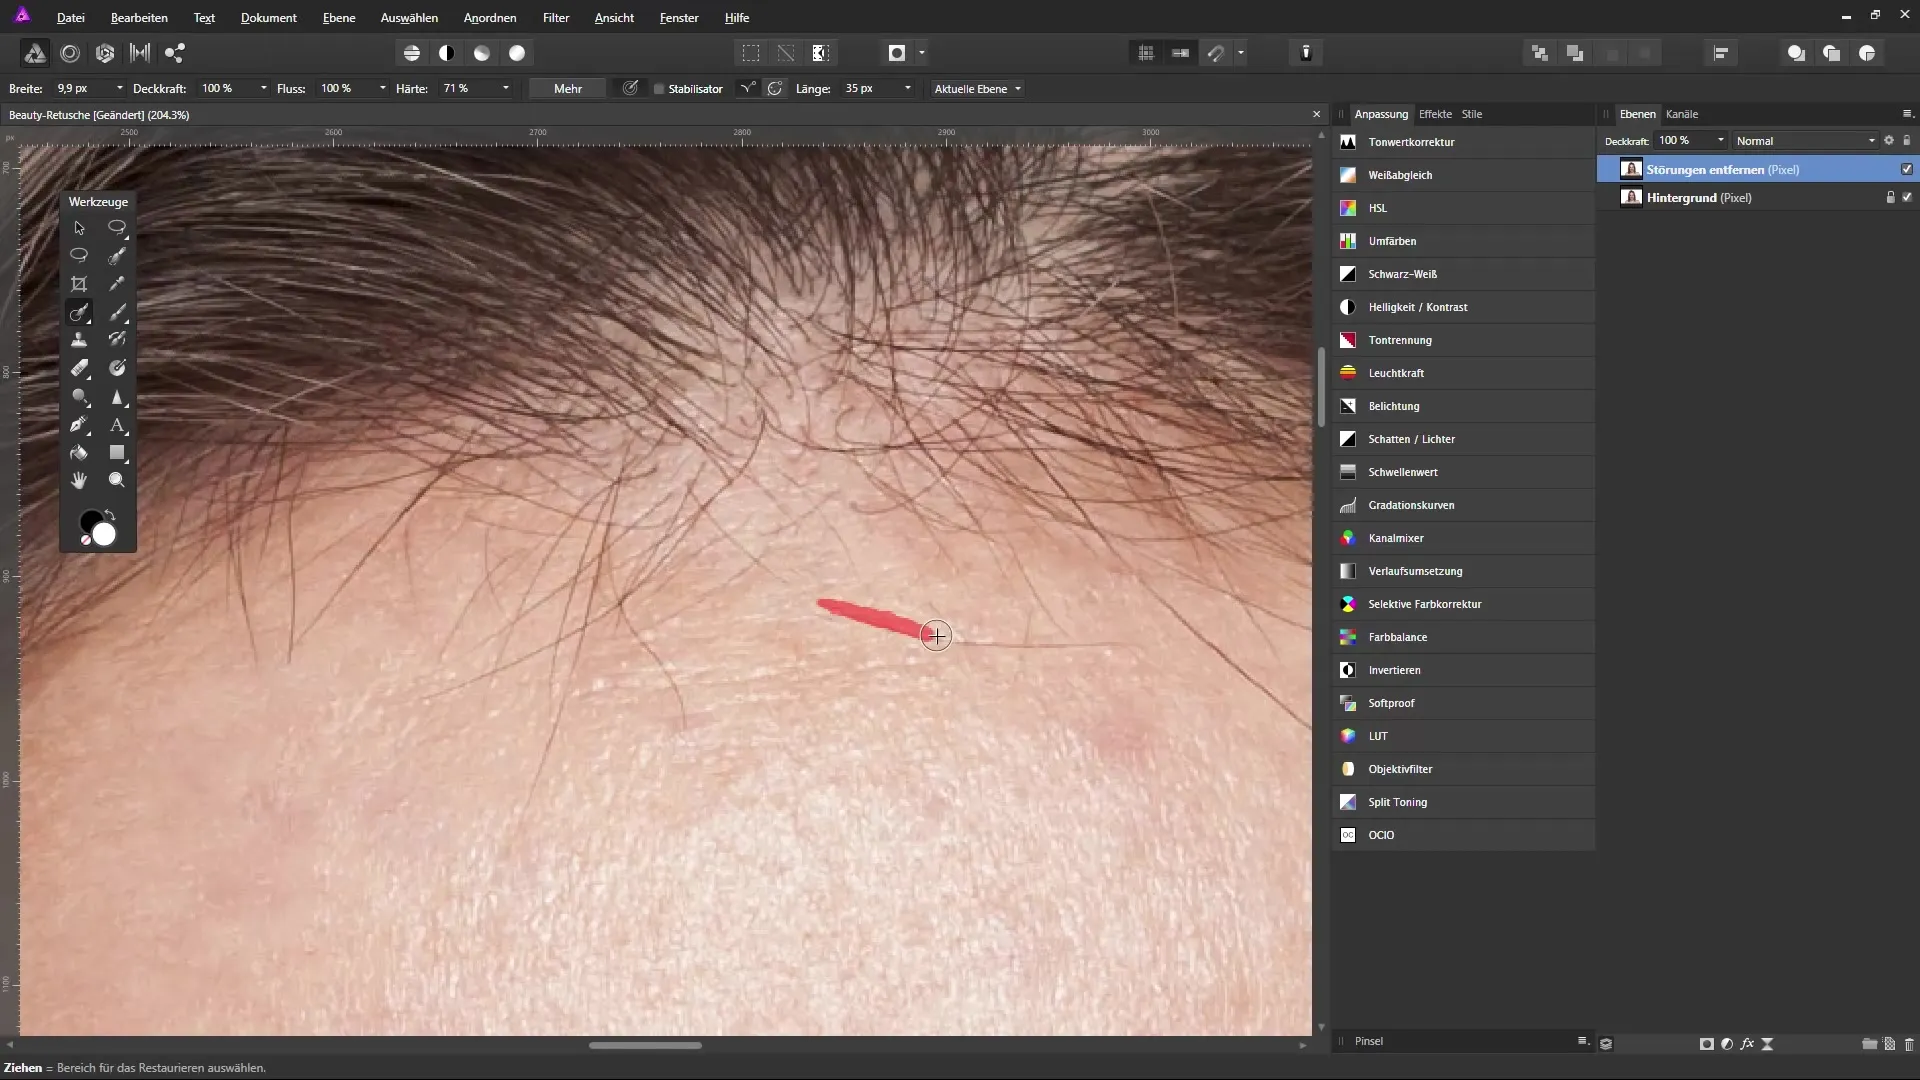
Step 8: Final Adjustments
Conduct a final review of the edited areas of the image. Ensure that no odd shadows or edges are visible. Ultimately, it is important that the retouching is not noticeable and that the overall image appears harmonious.
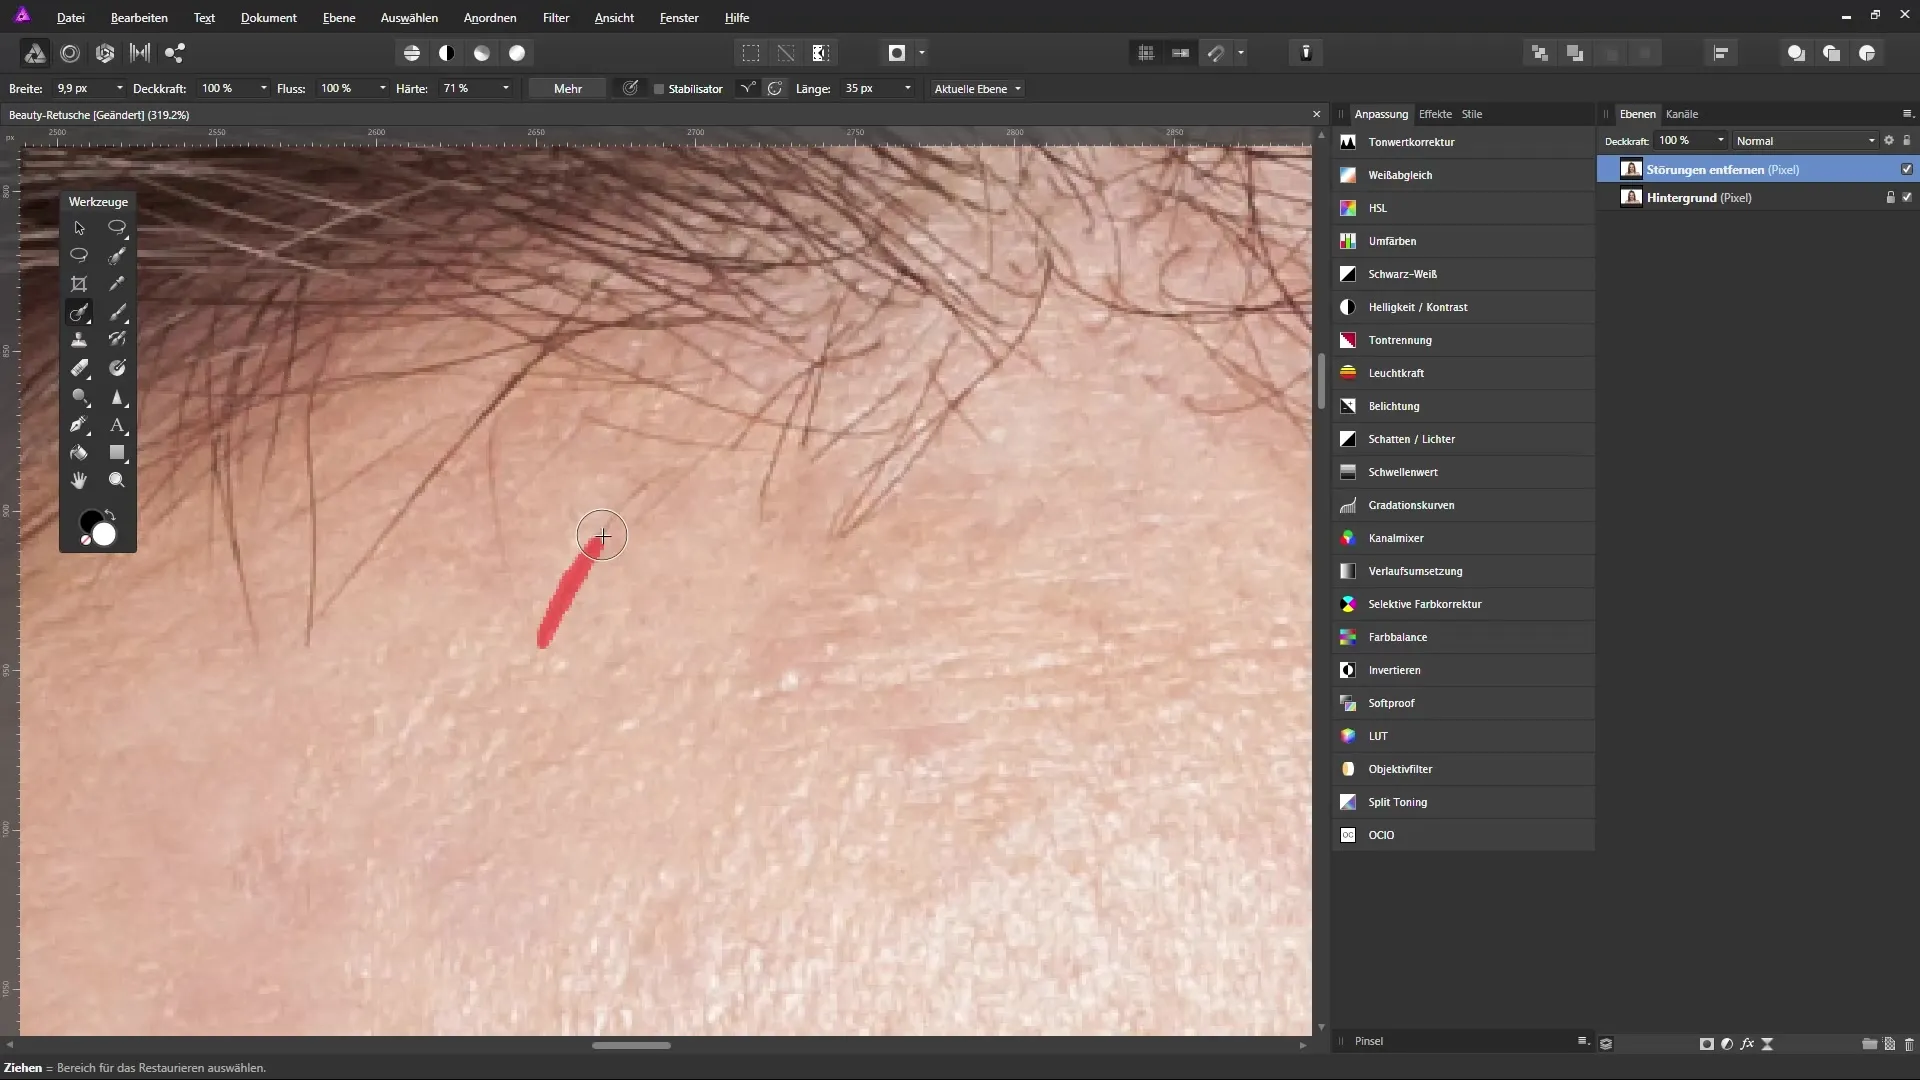
Step 9: Viewing the Entire Image
In the end, you should always review the entire image. There may still be small adjustments needed to perfect the look.
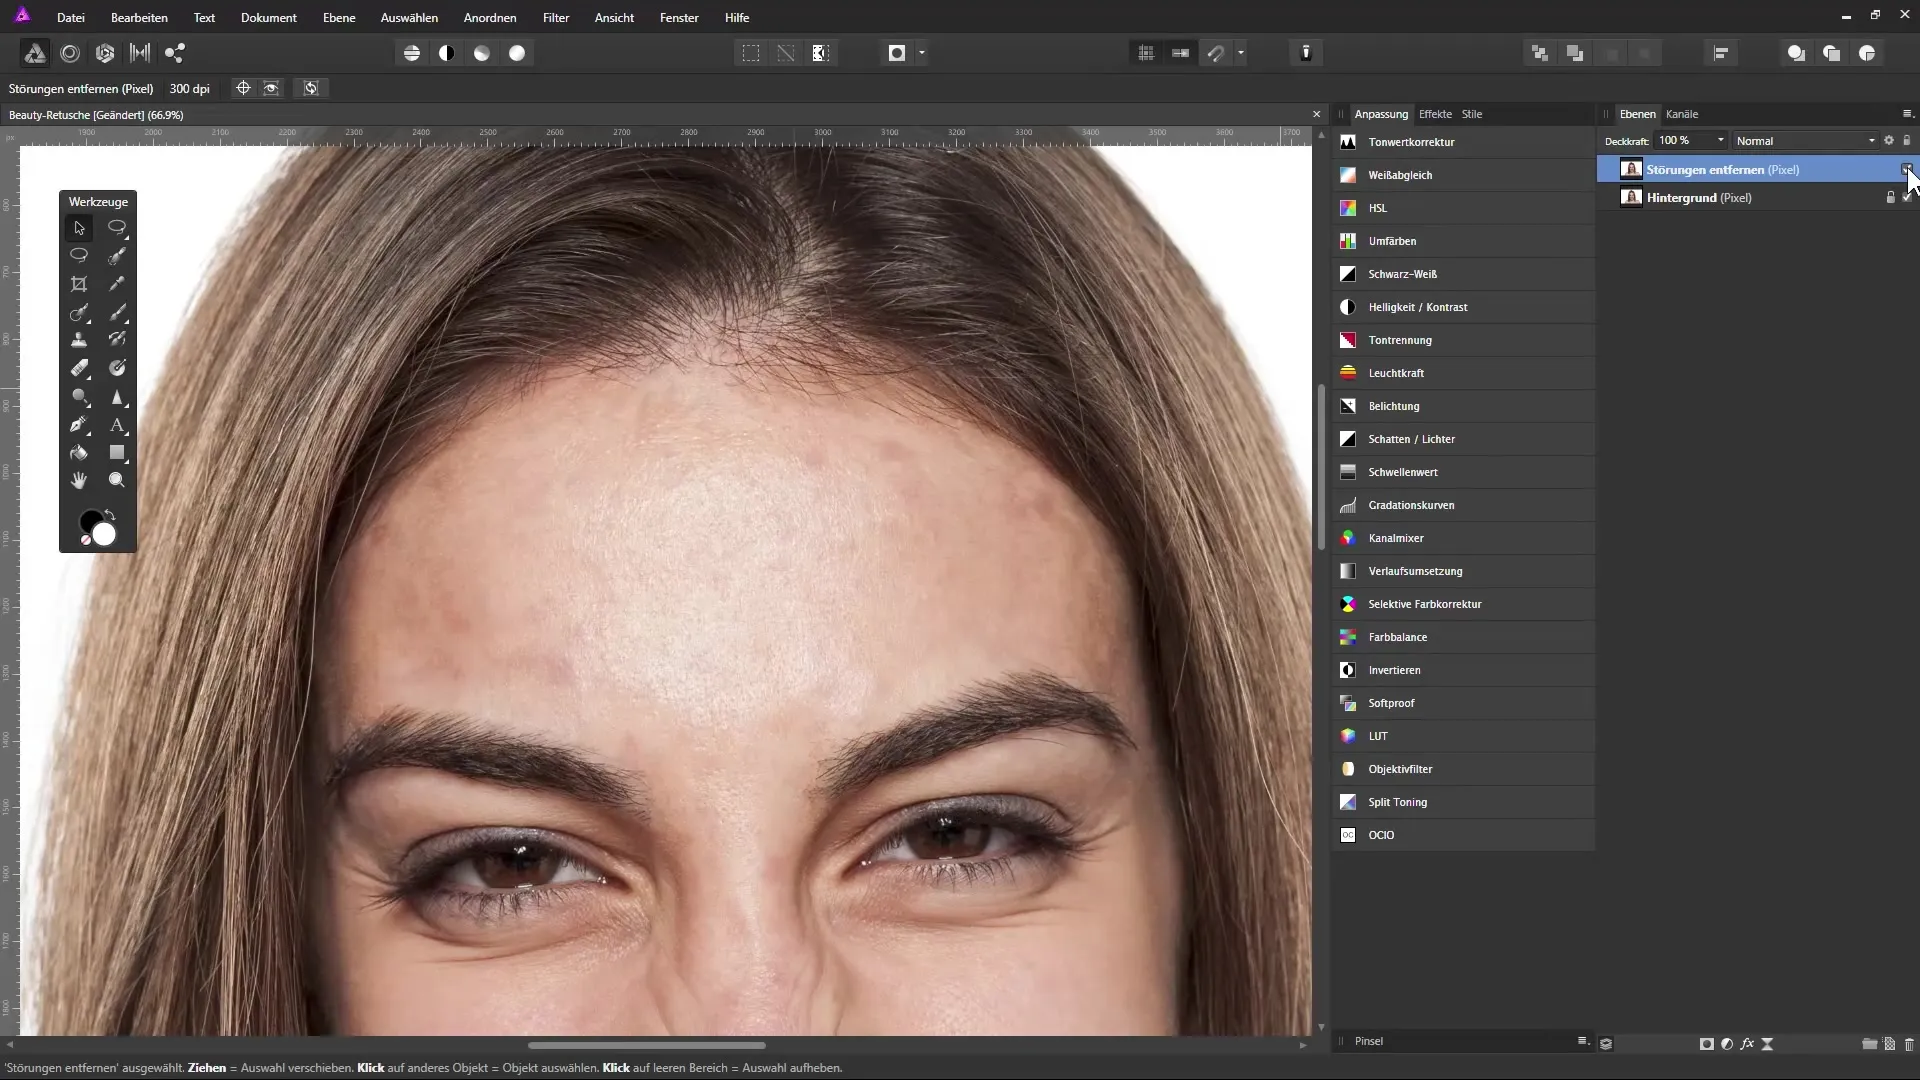
Summary – Removing Strands in Affinity Photo
This detailed guide has significantly improved the effectiveness of editing unwanted hair strands in your image. Always focus on a precise and patient approach to achieve the best possible result. With the right tools and some practice, you will be able to retouch any image with confidence.
Frequently Asked Questions
How do I choose the right tool for retouching?Use the healing tool for moving and adjusting areas, while the restoration tool is suitable for smaller corrections.
What settings are important for the brush?Keep the brush small and adjust the width to work precisely over individual hair strands without disturbing other areas.
Why should I use a graphics tablet?A graphics tablet allows for fine and precise control in image editing, which is particularly helpful for detailed work.
Can I edit the entire image at once?It is better to work in small areas to achieve natural transitions and avoid unnatural effects.
What should I do if the transitions look unnatural?Use the undo command and work with a smaller brush to make the transitions smoother.


