Modeling facial features is a common practice in digital image editing. With AffinityPhoto, you can make targeted adjustments to enhance the symmetry and expressiveness of a face. In this tutorial, I'll explain how to effectively model a subject's face to achieve a more harmonious representation.
Key Insights
Modeling a face in Affinity Photo requires special attention to the software's detailed tools as well as a certain sensitivity to subtle changes in the image. By using the right tools and working precisely, you can achieve impressive results that give the image an appealing aesthetics.
Step-by-Step Guide
First, it’s important to set up the Affinity Photo workspace optimally to efficiently make modifications to your image. Begin by organizing your layers appropriately.
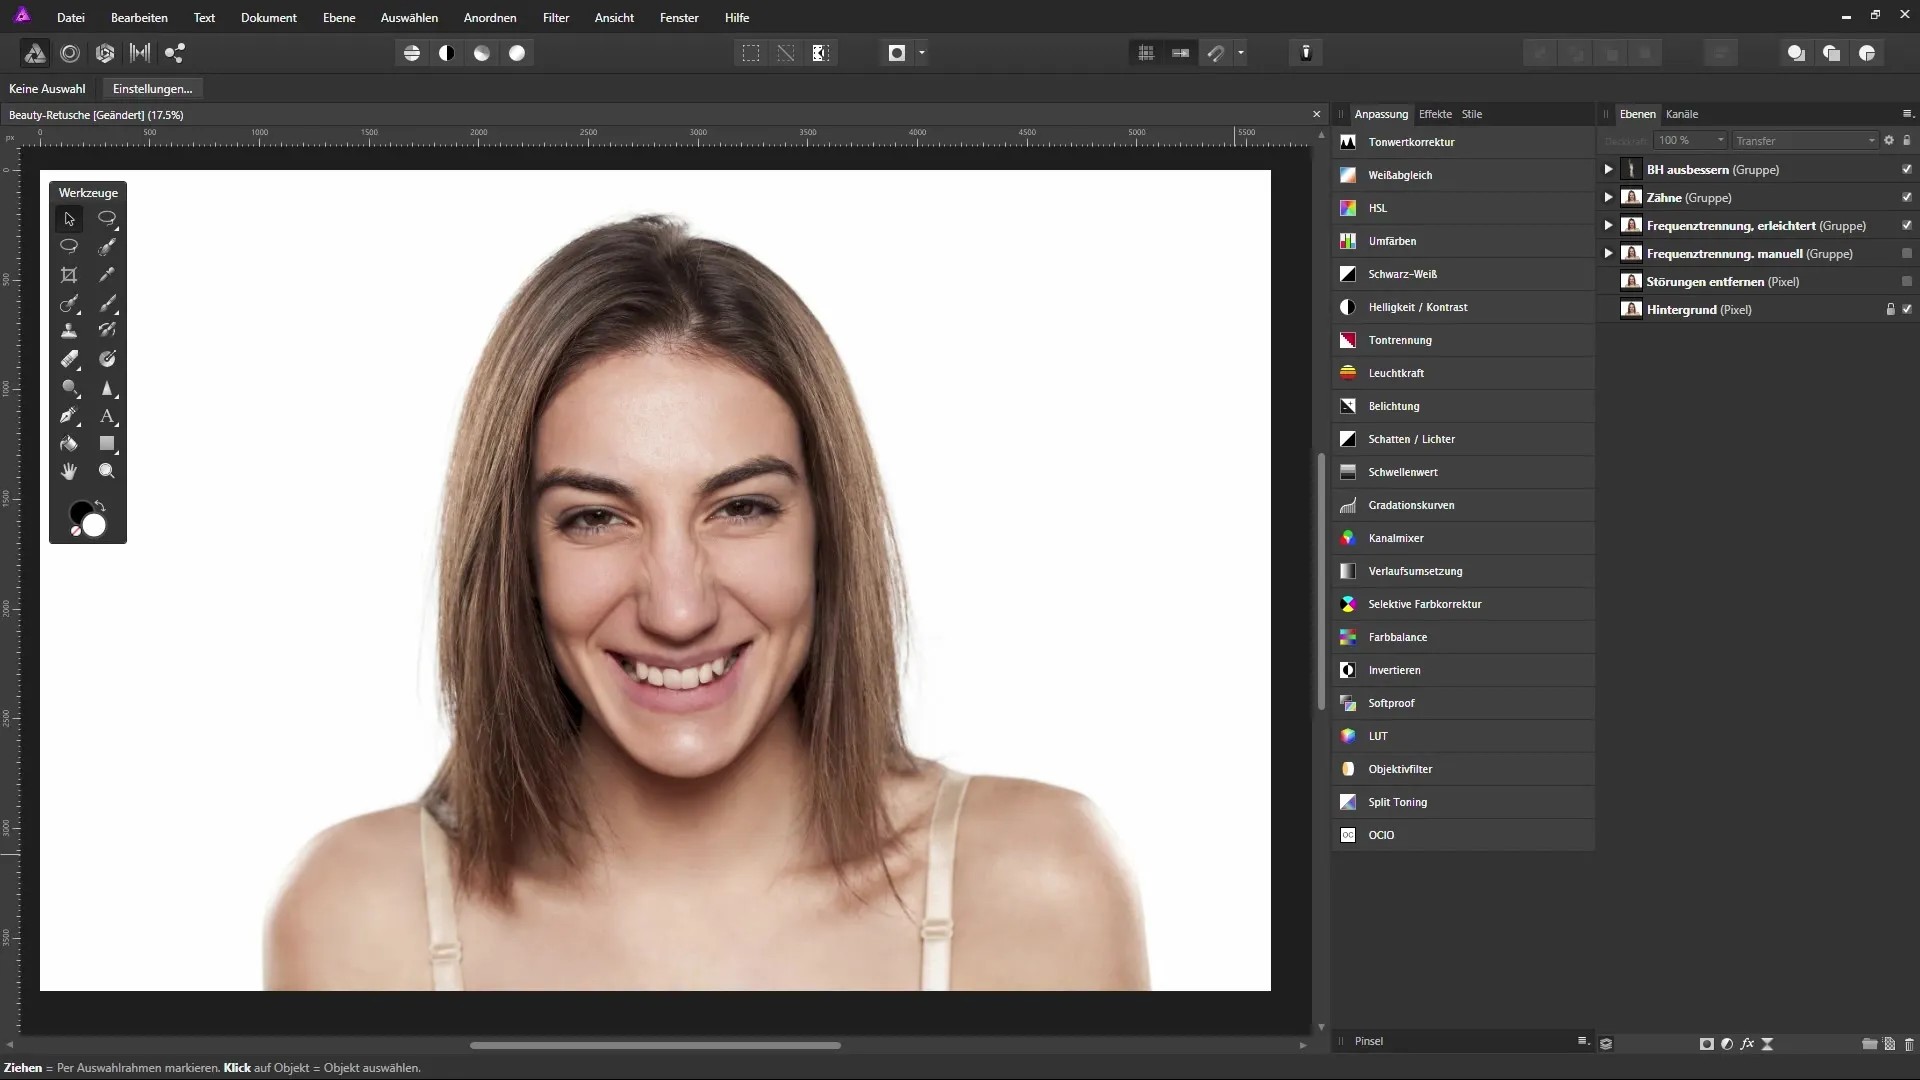
Consolidate all previous changes into a new layer to work off this base. Click on the top layer and then select “Layer” and “Merge Visible”
Name the new layer you created “Model Face” and switch to the Liquify Persona. This persona is specifically designed for targeted editing of facial features.
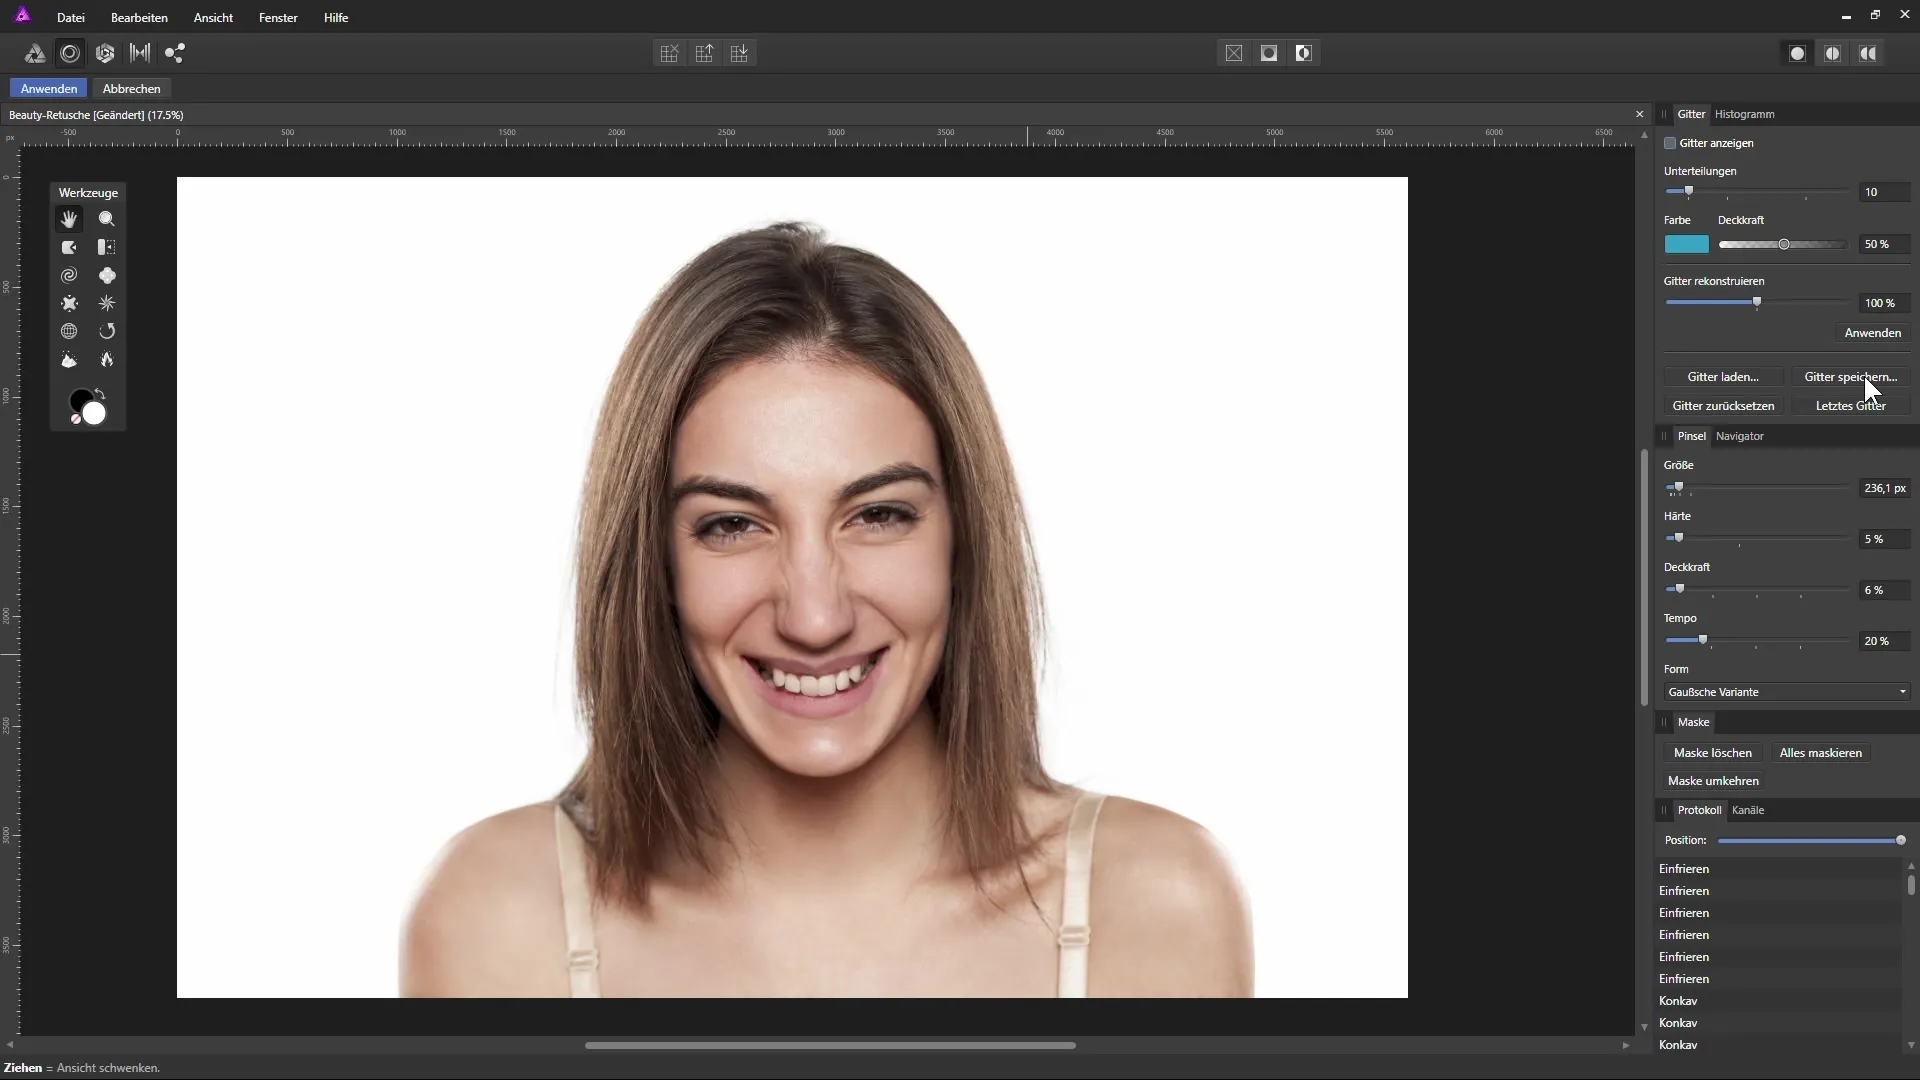
Now you can start using the tools to model the face. To proceed very subtly, reduce the settings under “Brush.” Set the brush size to about 500 pixels, hardness to 7%, opacity to 6%, and speed to 20%. These adjustments allow you to make gentle changes.
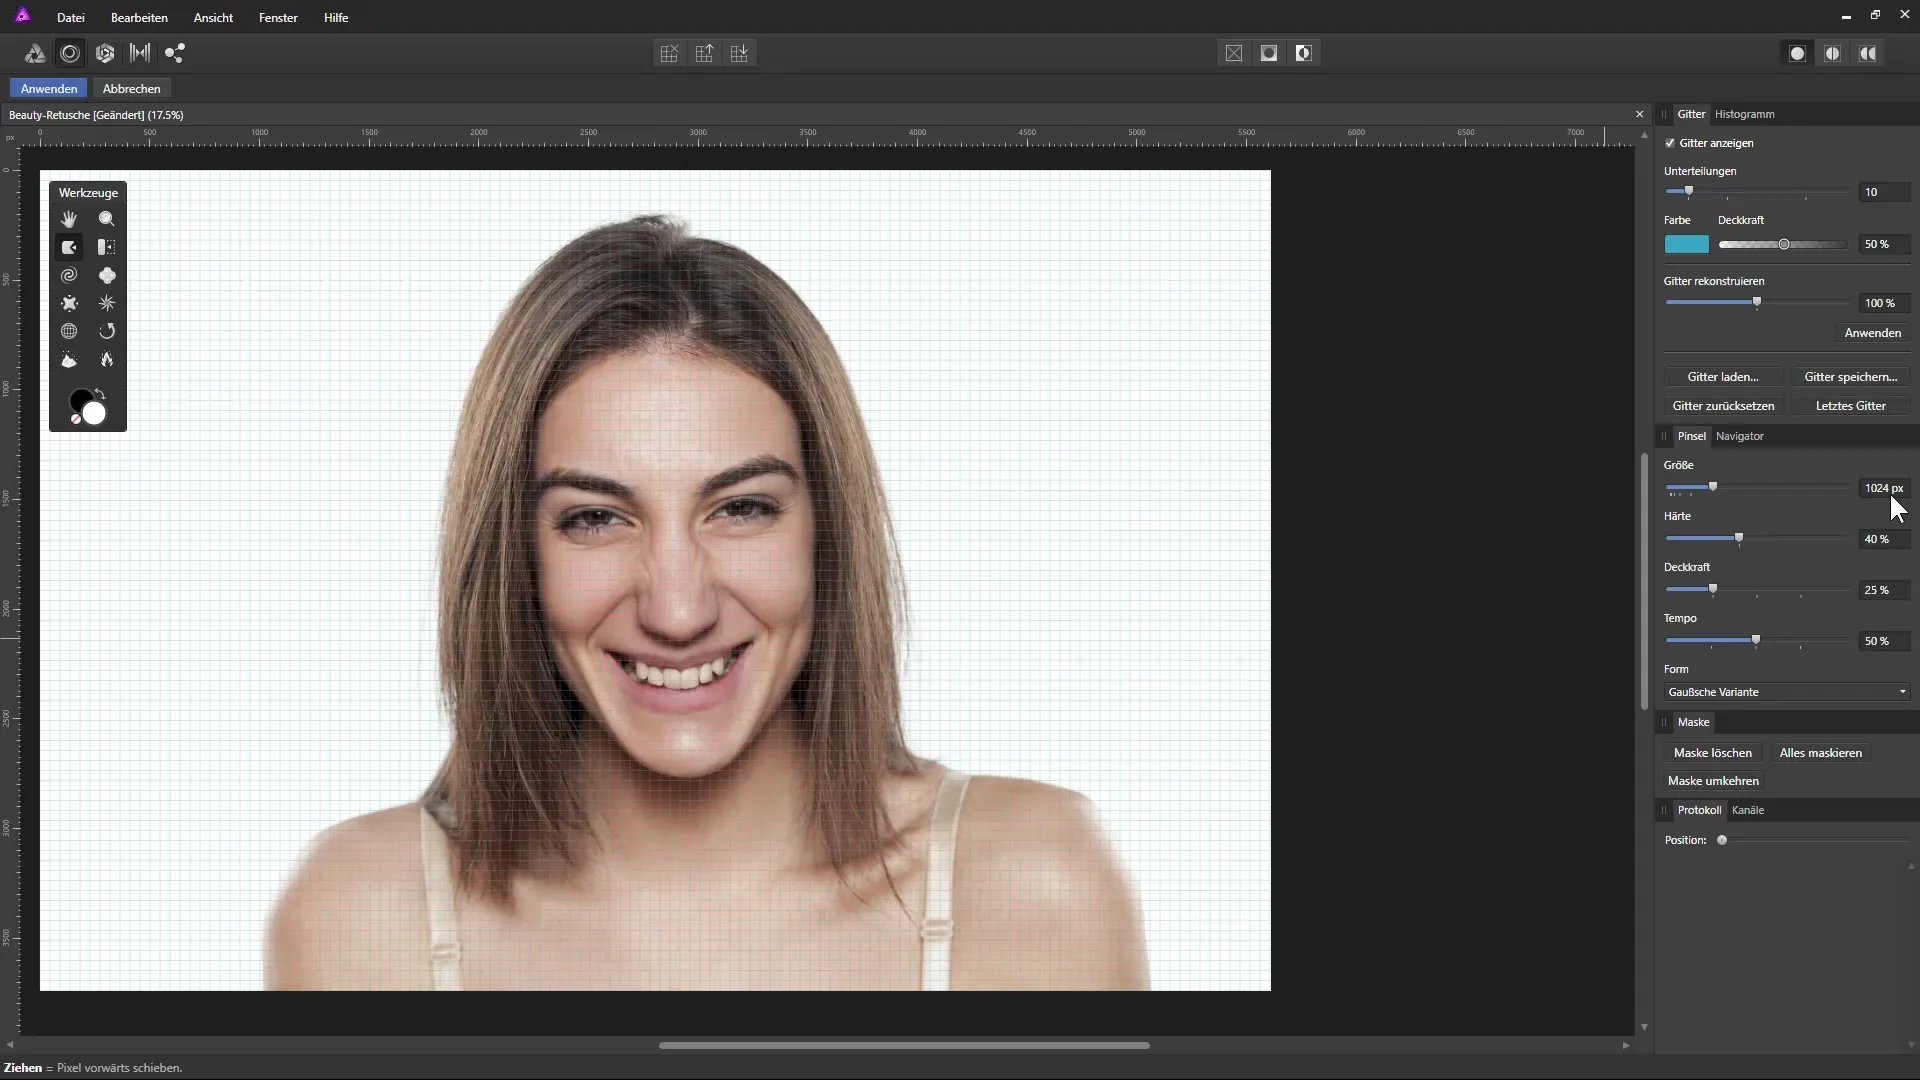
Before you start modeling, you should hide the grid to get a clearer view of your image. You can do this with a simple click on the “Show Grid” option.
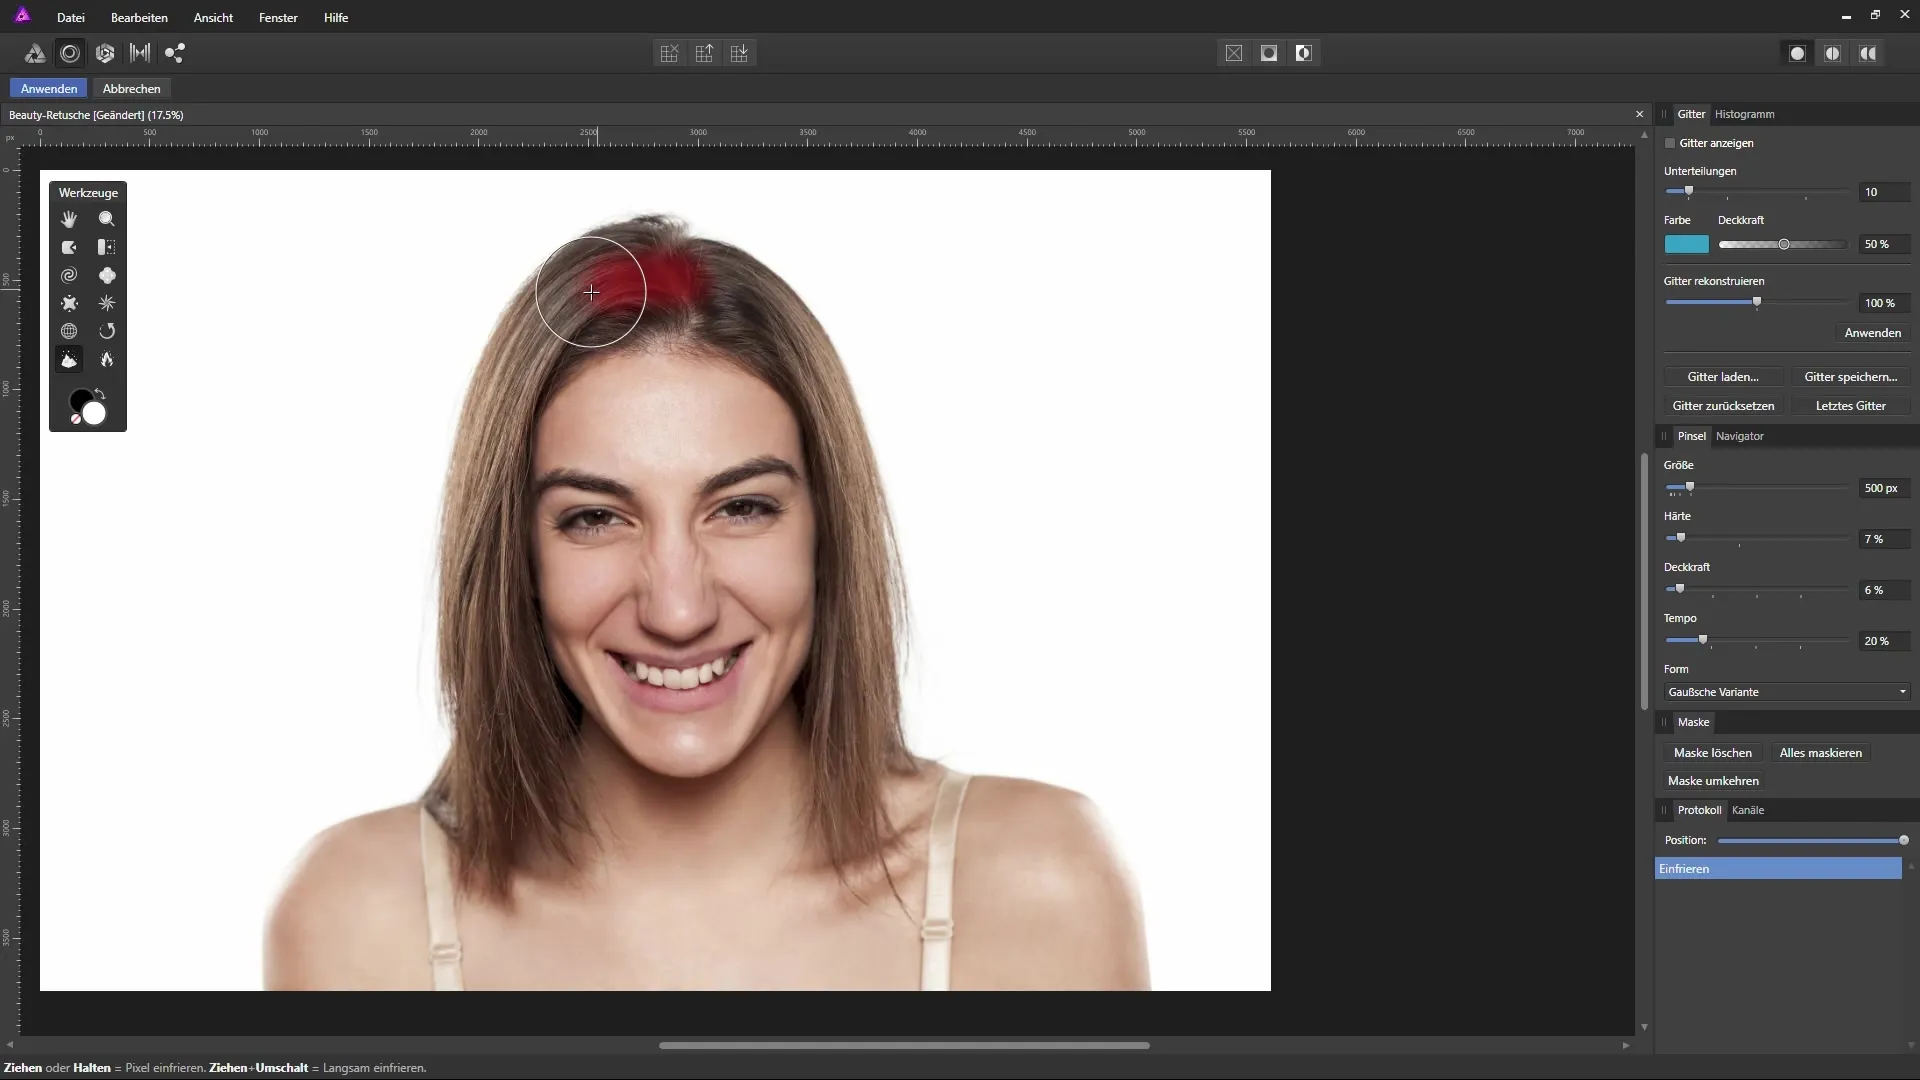
To protect areas that should not be edited, select the “Freeze” tool. Paint over the regions you want to protect, such as hair. These will then be preserved from any changes.
Now you can begin to subtly enlarge the eyes. To do this, select the Construct tool and move the cursor over the pupils. Hold down the left mouse button to enlarge the eyes.
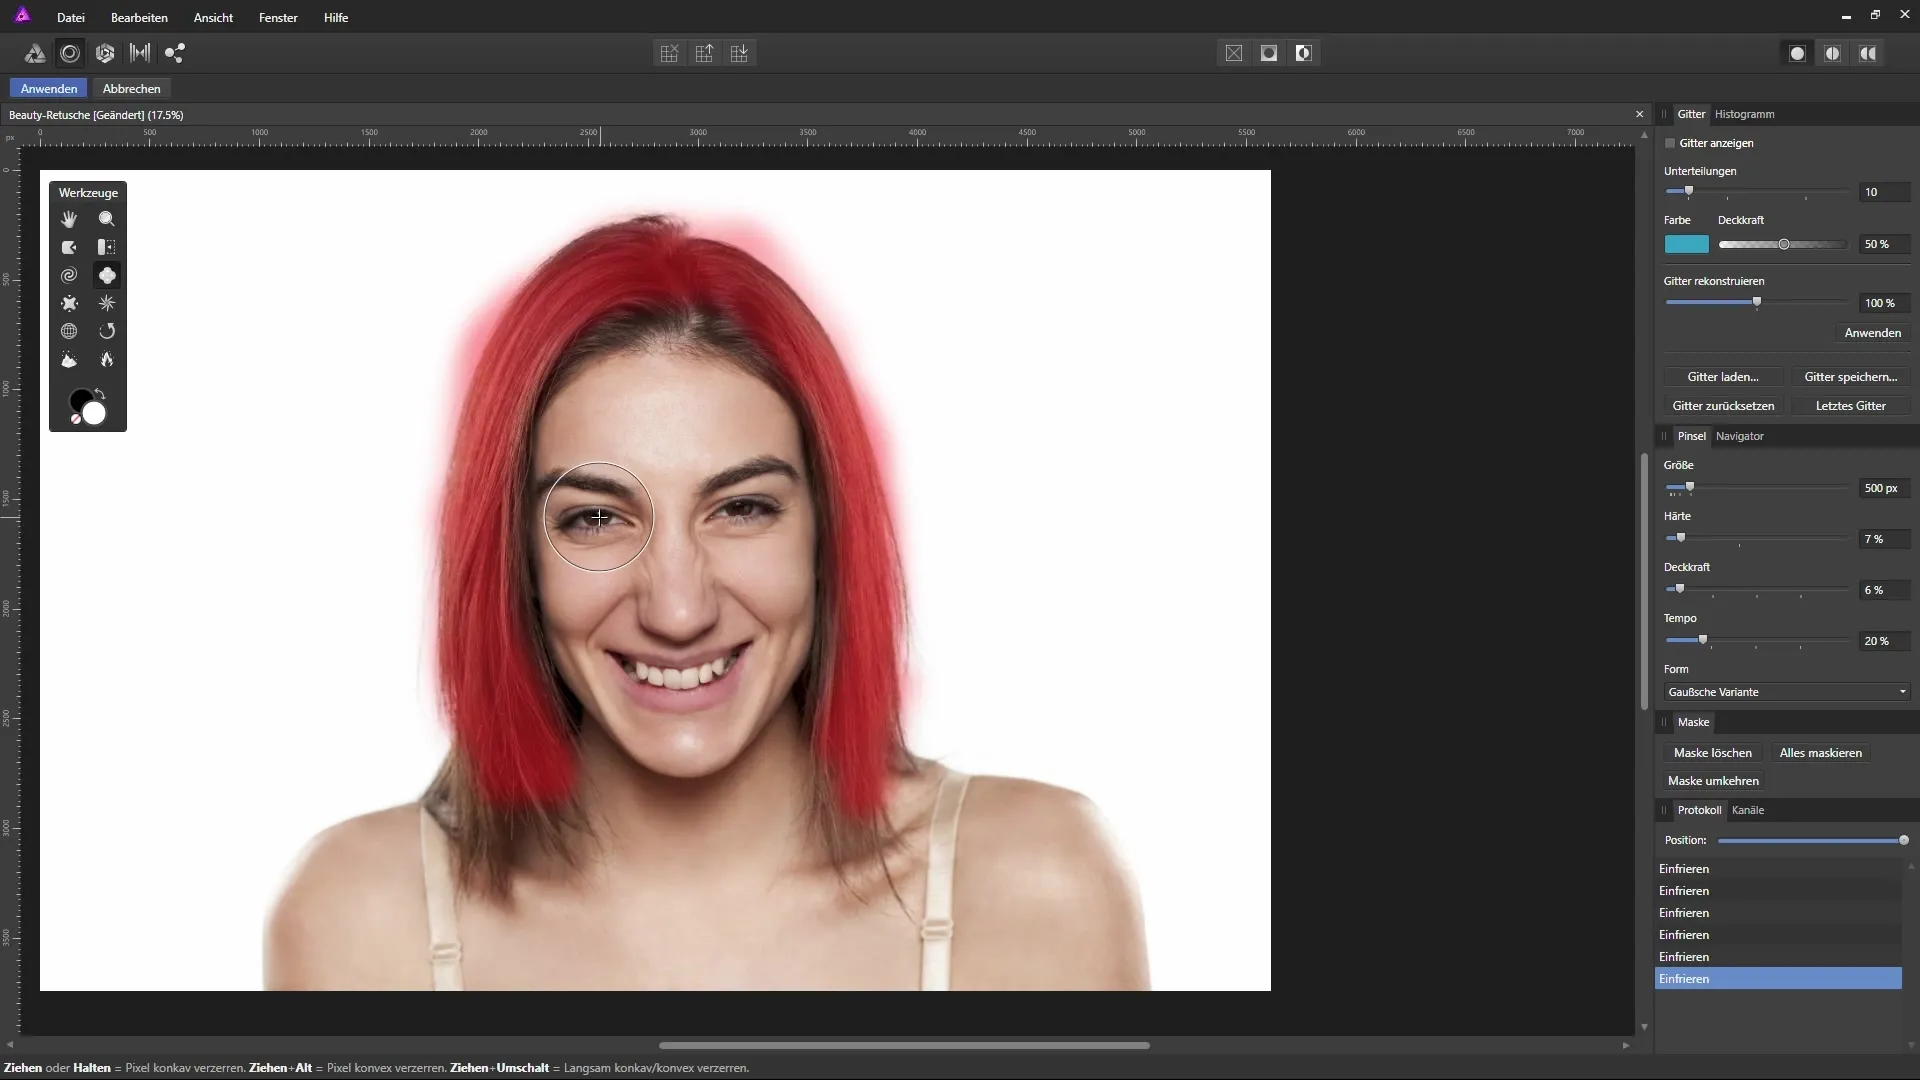
Make sure you make these adjustments very carefully. Once you're satisfied, take a step back to review your adjustments.
Now switch to the “Push Left” tool. This tool allows you to move areas of the image according to your needs. Practice a bit to find the right motions and actions.
If you want to move the chin upwards, hold down the left mouse button and move the mouse along the desired line.
Remember to also adjust other facial features, such as the shoulders or the nose. This gives the image a more harmonious appearance.
To optimize these changes, you can also apply the brush to other skin areas. It's important to pay attention to not only edit the edge areas but also the internal details.
Continue experimenting with the proportions and take breaks if necessary to maintain an objective view of your design.
If you're not satisfied with the final result, save your modelings by clicking on “Save Grid”. This will allow you to recall the work later.
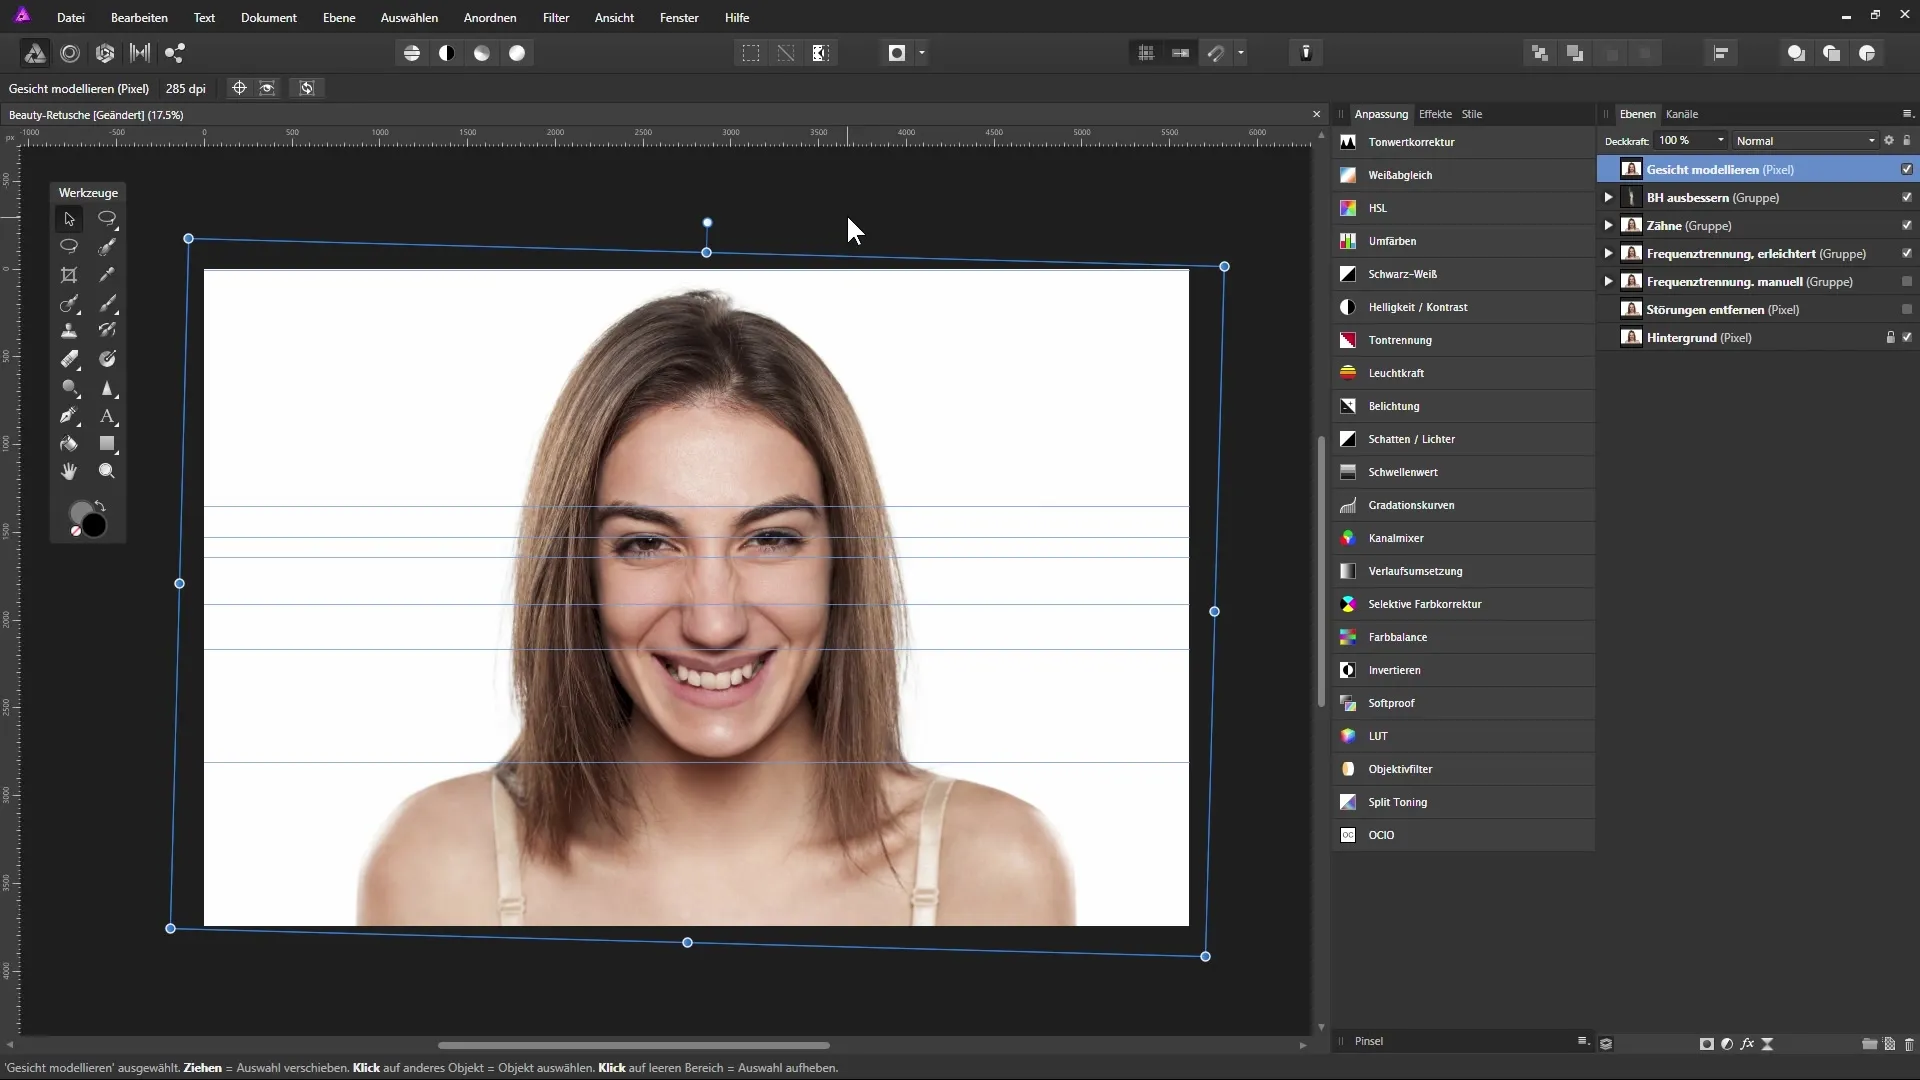
Align the image symmetrically using guidelines. Simply drag them from the top ruler into the image to ensure that the eyes and mouth are at the same height.
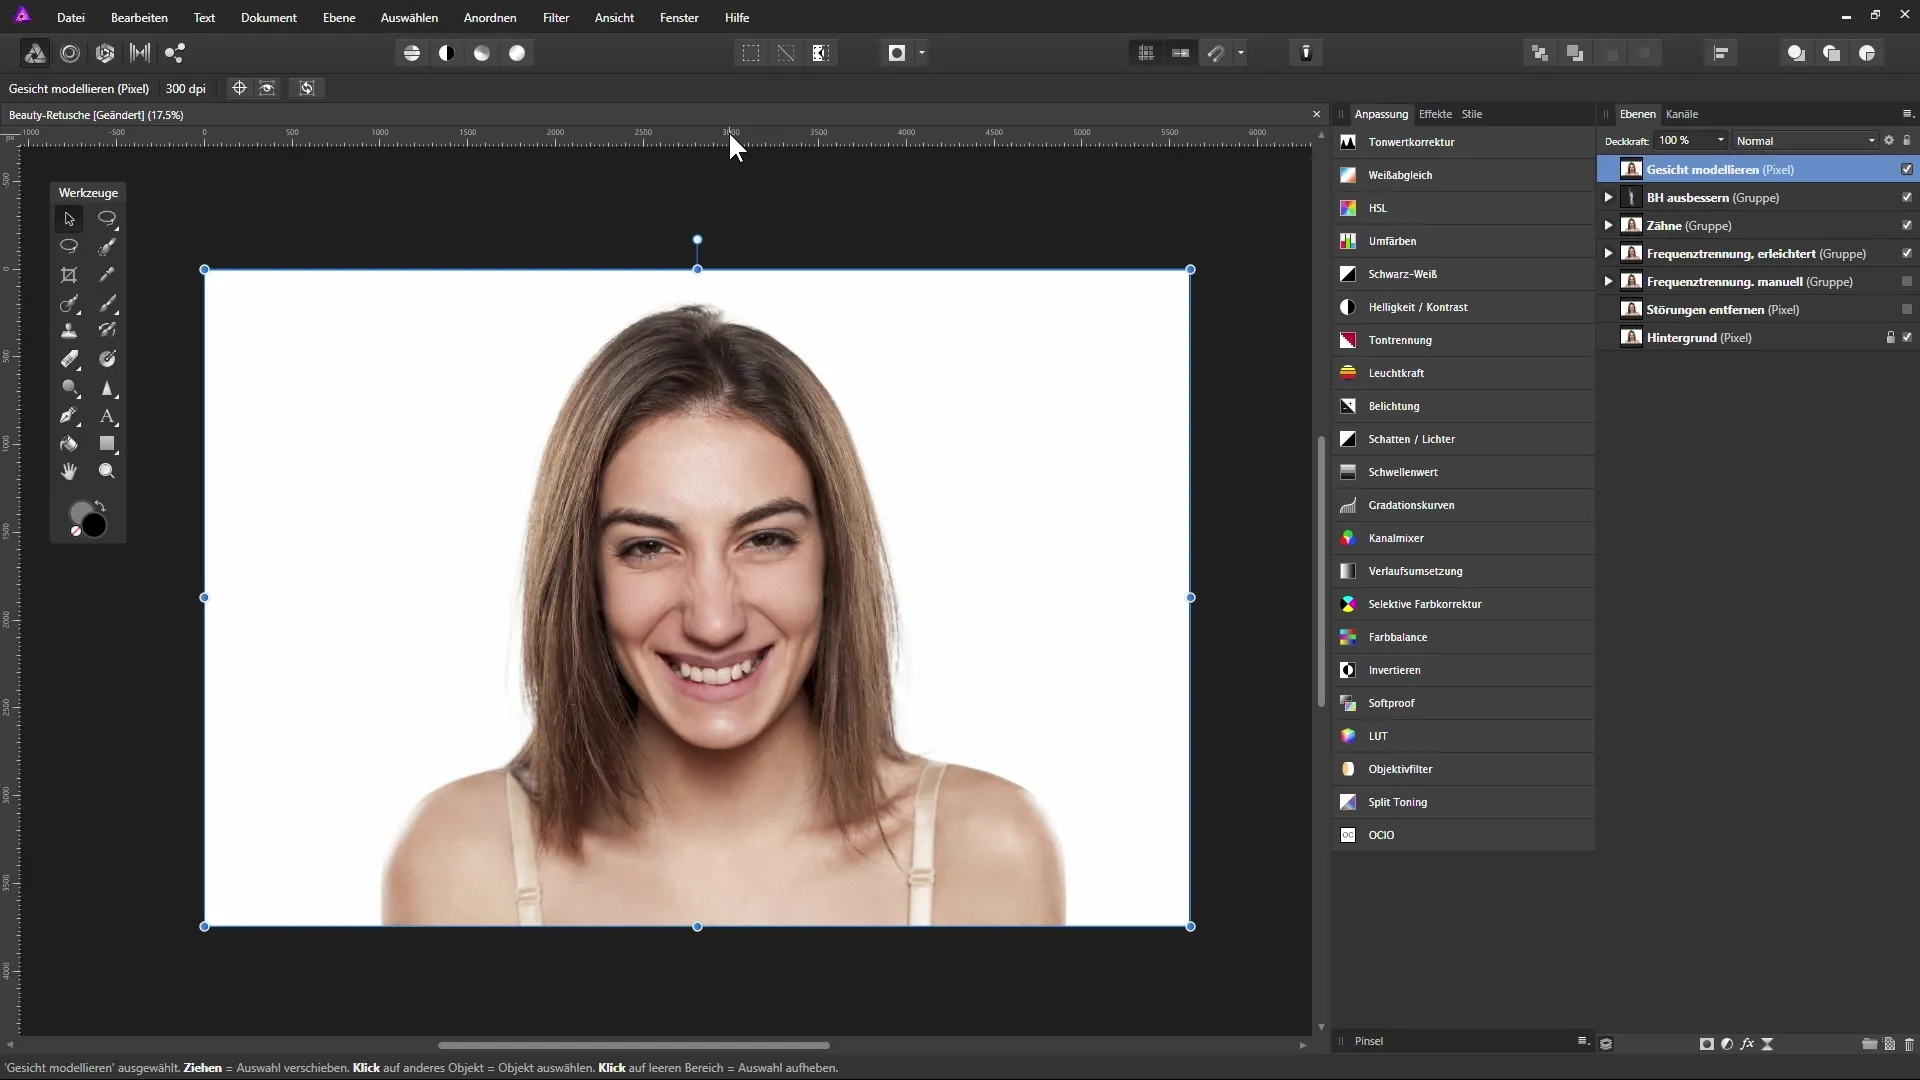
With the active Face Modeling layer, you can now rotate the image by moving the corner points of the image. Make sure to maintain symmetry.
To make minor adjustments, you can access the Liquify Persona again to work on the last details of your image.
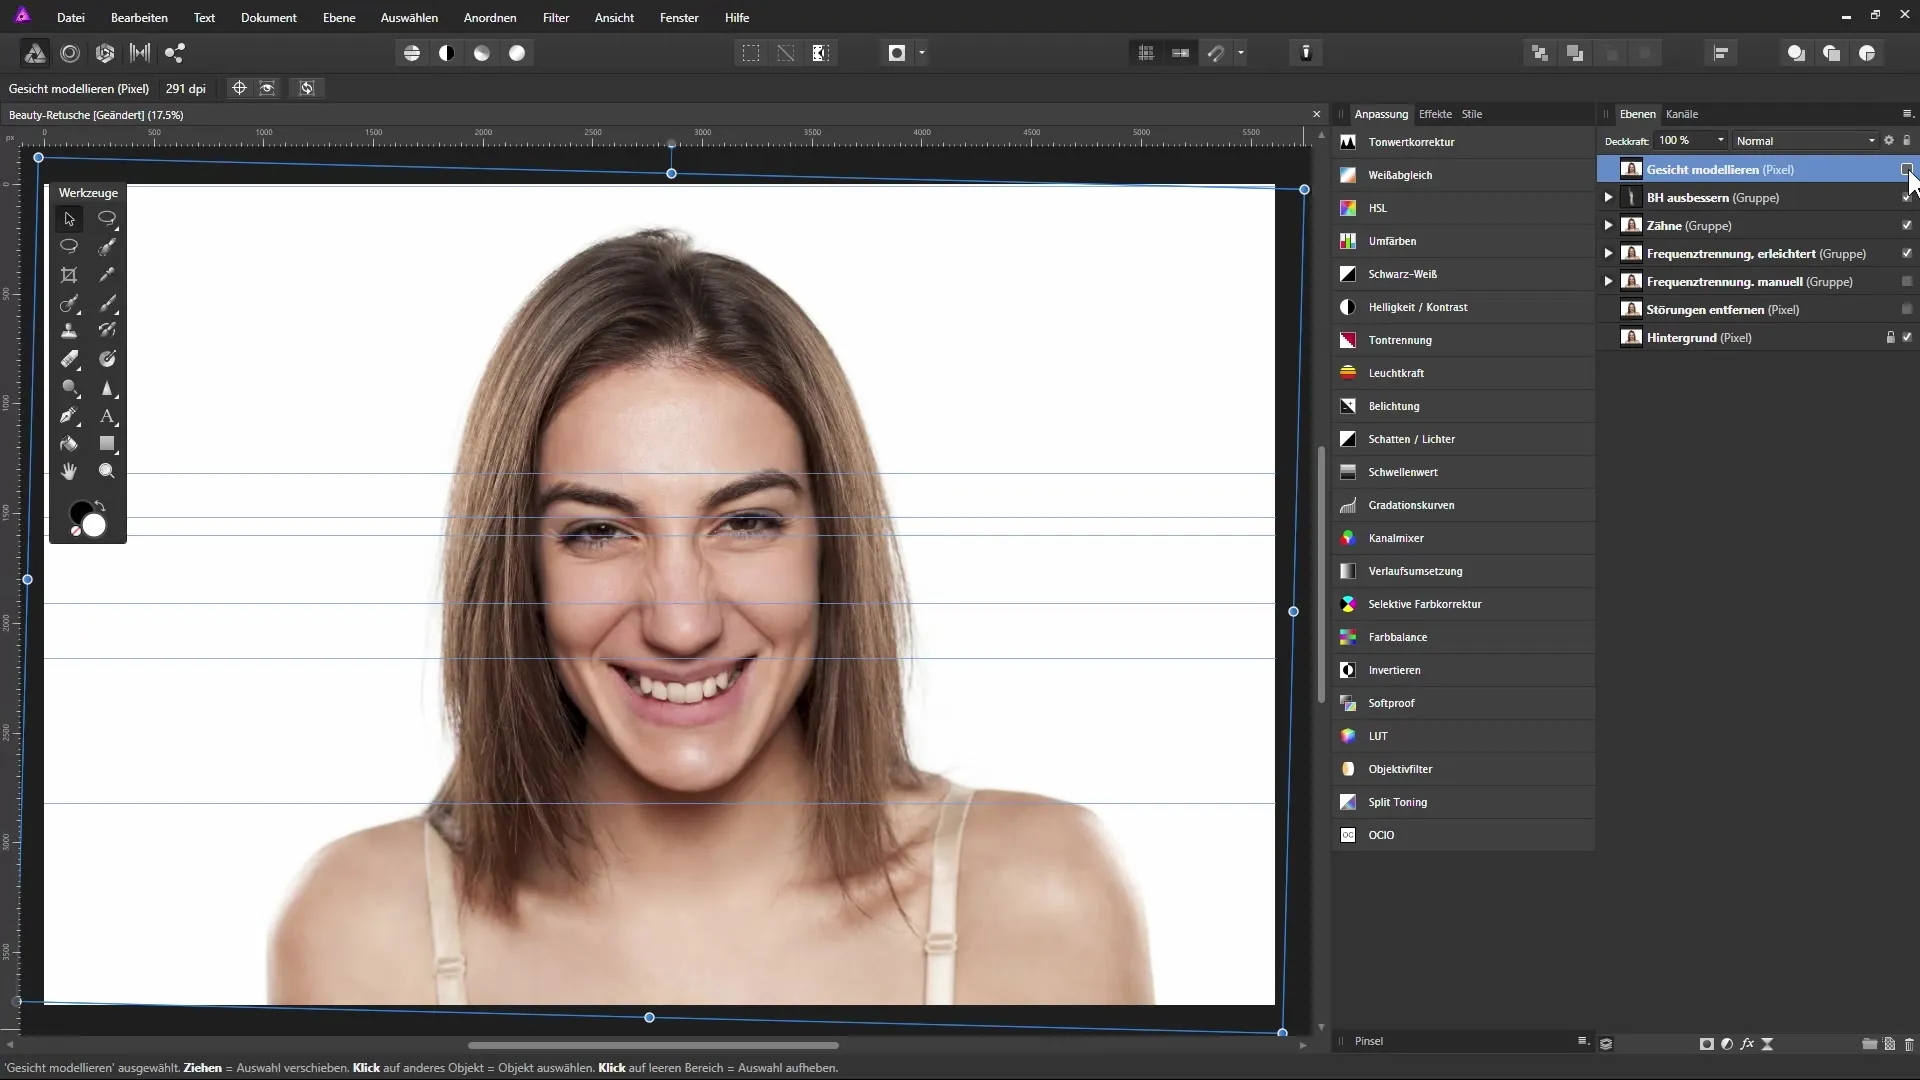
After you have made all your changes, hide the layer and view the before/after comparison. This way, you can perfectly fine-tune your image.
Summary – Face Modeling in Affinity Photo
In this guide, you learned how to effectively perform face modeling in Affinity Photo. By precisely handling the tools and making targeted adjustments, you have the opportunity to give your images an impressive anticipated aesthetics.
FAQ
What features does the “Freeze” tool have?The “Freeze” tool protects specific areas of the image from changes, allowing you to only edit the areas you want to model.
Can I undo my adjustments?Yes, Affinity Photo offers an undo function that allows you to revert your last changes at any time.
How can I ensure that the image remains symmetrical after editing?Dragging guidelines from the top ruler into the image helps you check symmetry and ensure that all facial features are aligned.


