In the field of image editing, the targeted use of light is a decisive factor in making photos more vibrant and tangible. With the tools in AffinityPhoto, you can not only create highlights but also intentionally darkencertain areas to enhance the contrast and depth of your image. In this guide, you will learn step by step how to apply these techniques to impressively retouch your portraits. Whether you use brighter tones to create highlights or darker tones to create shadows, you will learn everything important here.
Main Insights
- Creating a new layer to darken or lighten your image.
- Applying brush tools with different opacity settings.
- Switching between different hues to specifically edit desired areas.
- Utilizing live filter layers to enhance contrast and sharpness.
Step-by-Step Guide
First, open your image in Affinity Photo and prepare everything.
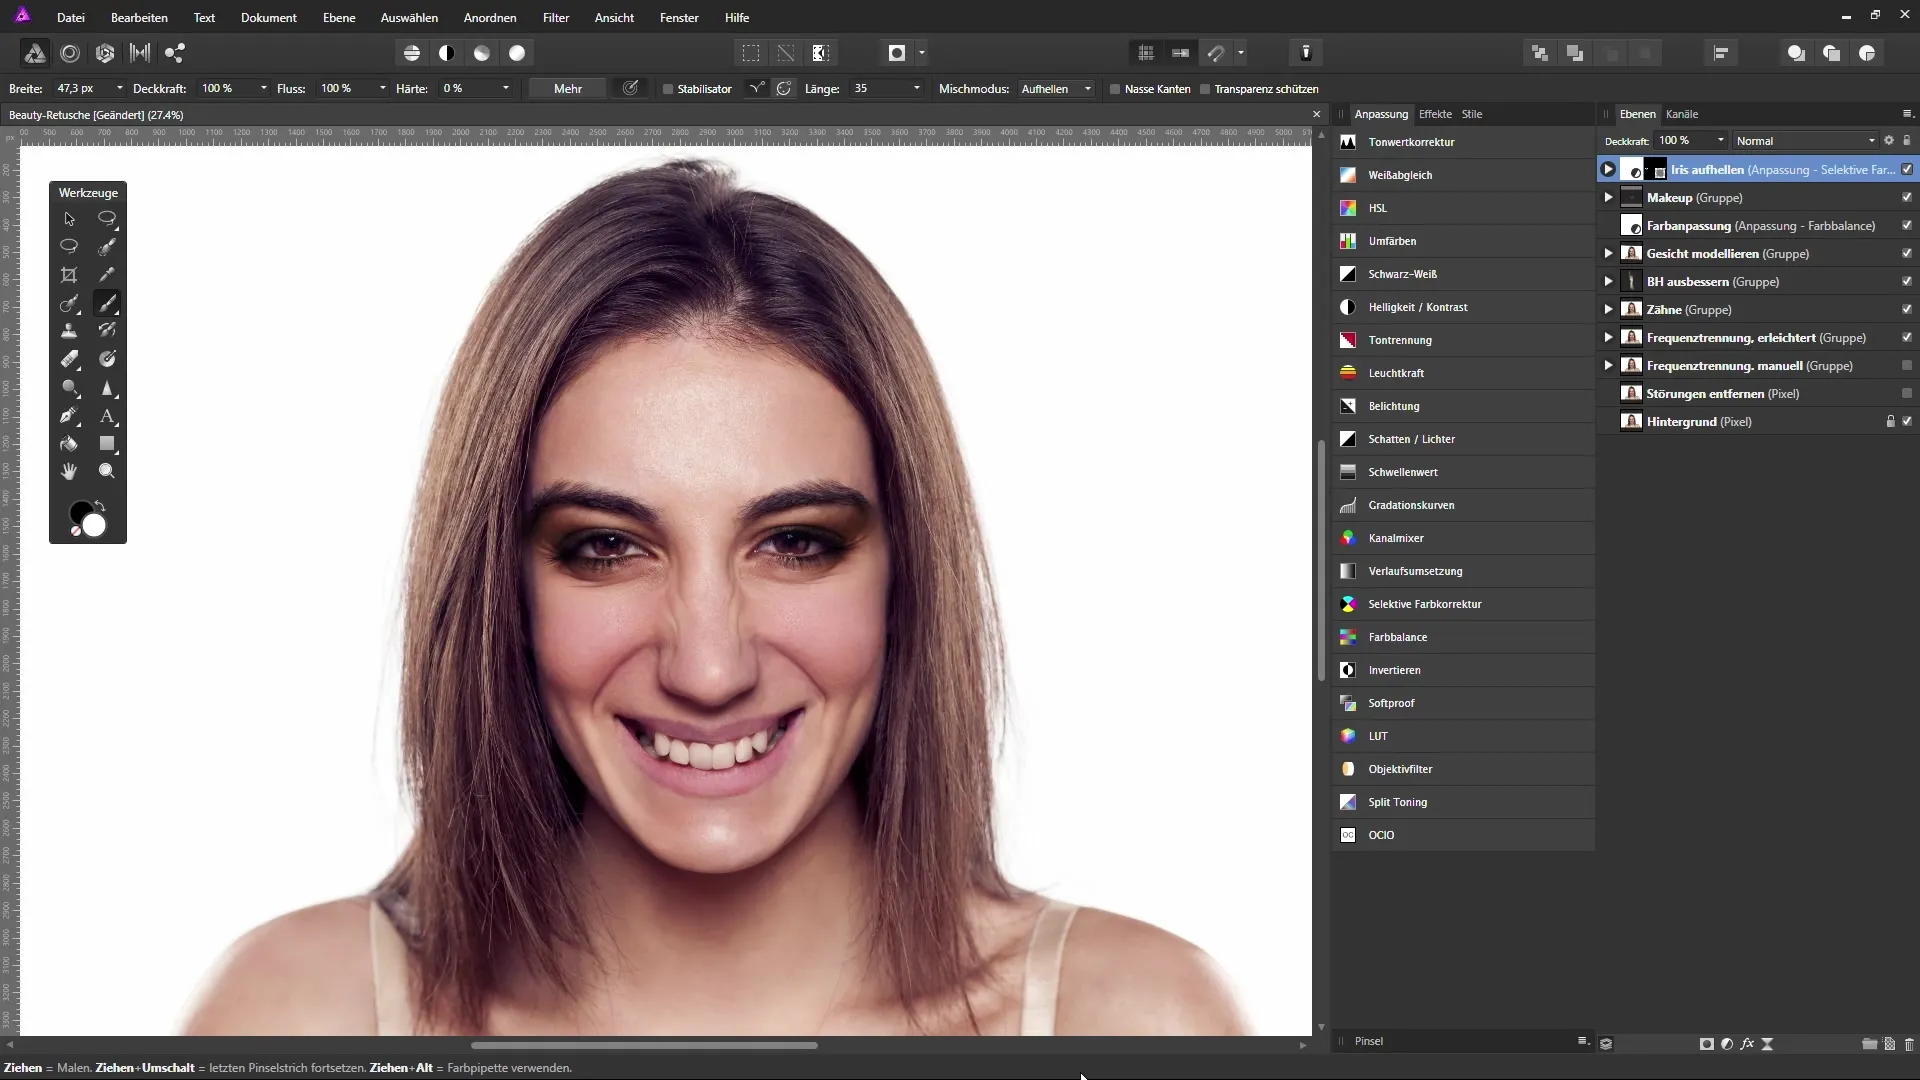
To make the image more tangible, click on the top layer in the layers palette and create a new empty layer. You can name it “Darken” and fill it with a medium gray.
To choose the gray, press the Alt and D keys for the primary color. This gives you a medium gray that is overlaid across the entire image to enable the transformation.
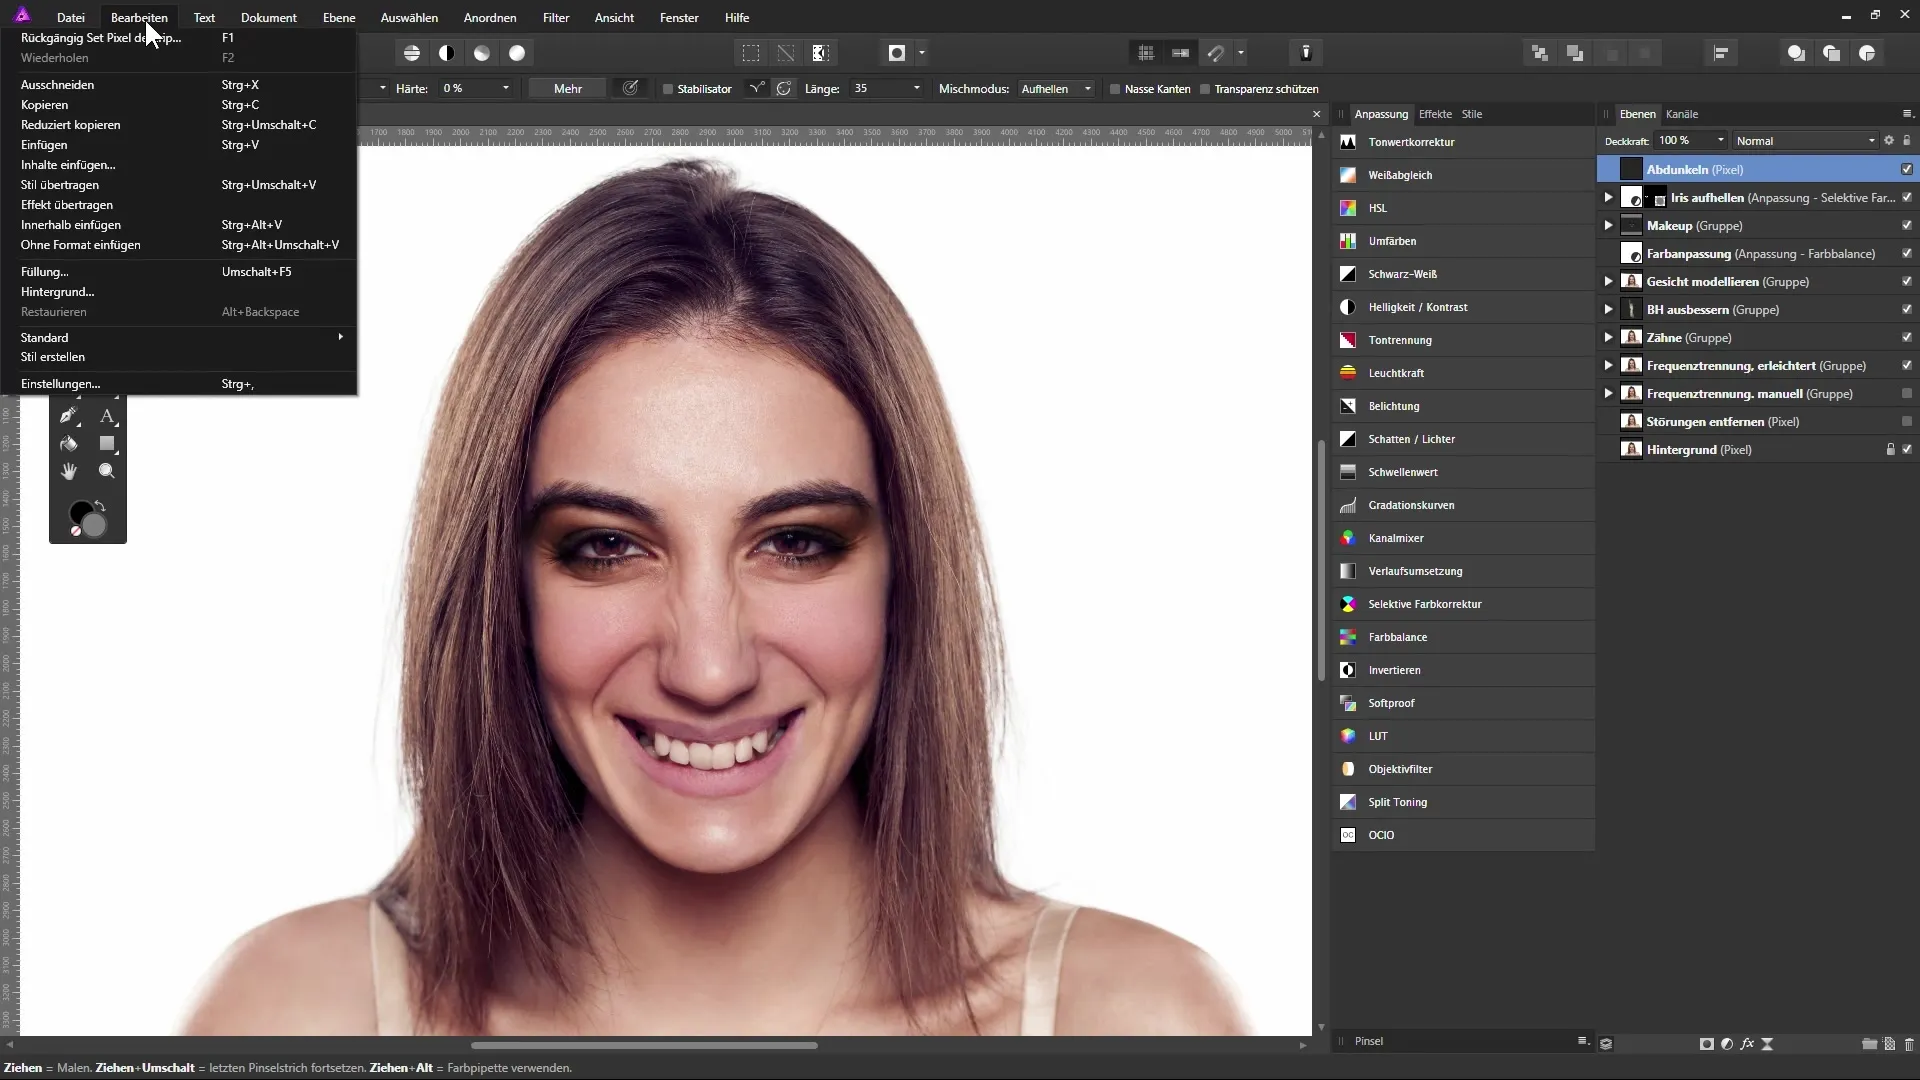
Now select a blending mode so that the gray becomes transparent. In this case, the “Soft Light” mode works excellently as it allows the original shots to remain visible while the gray tones take effect.
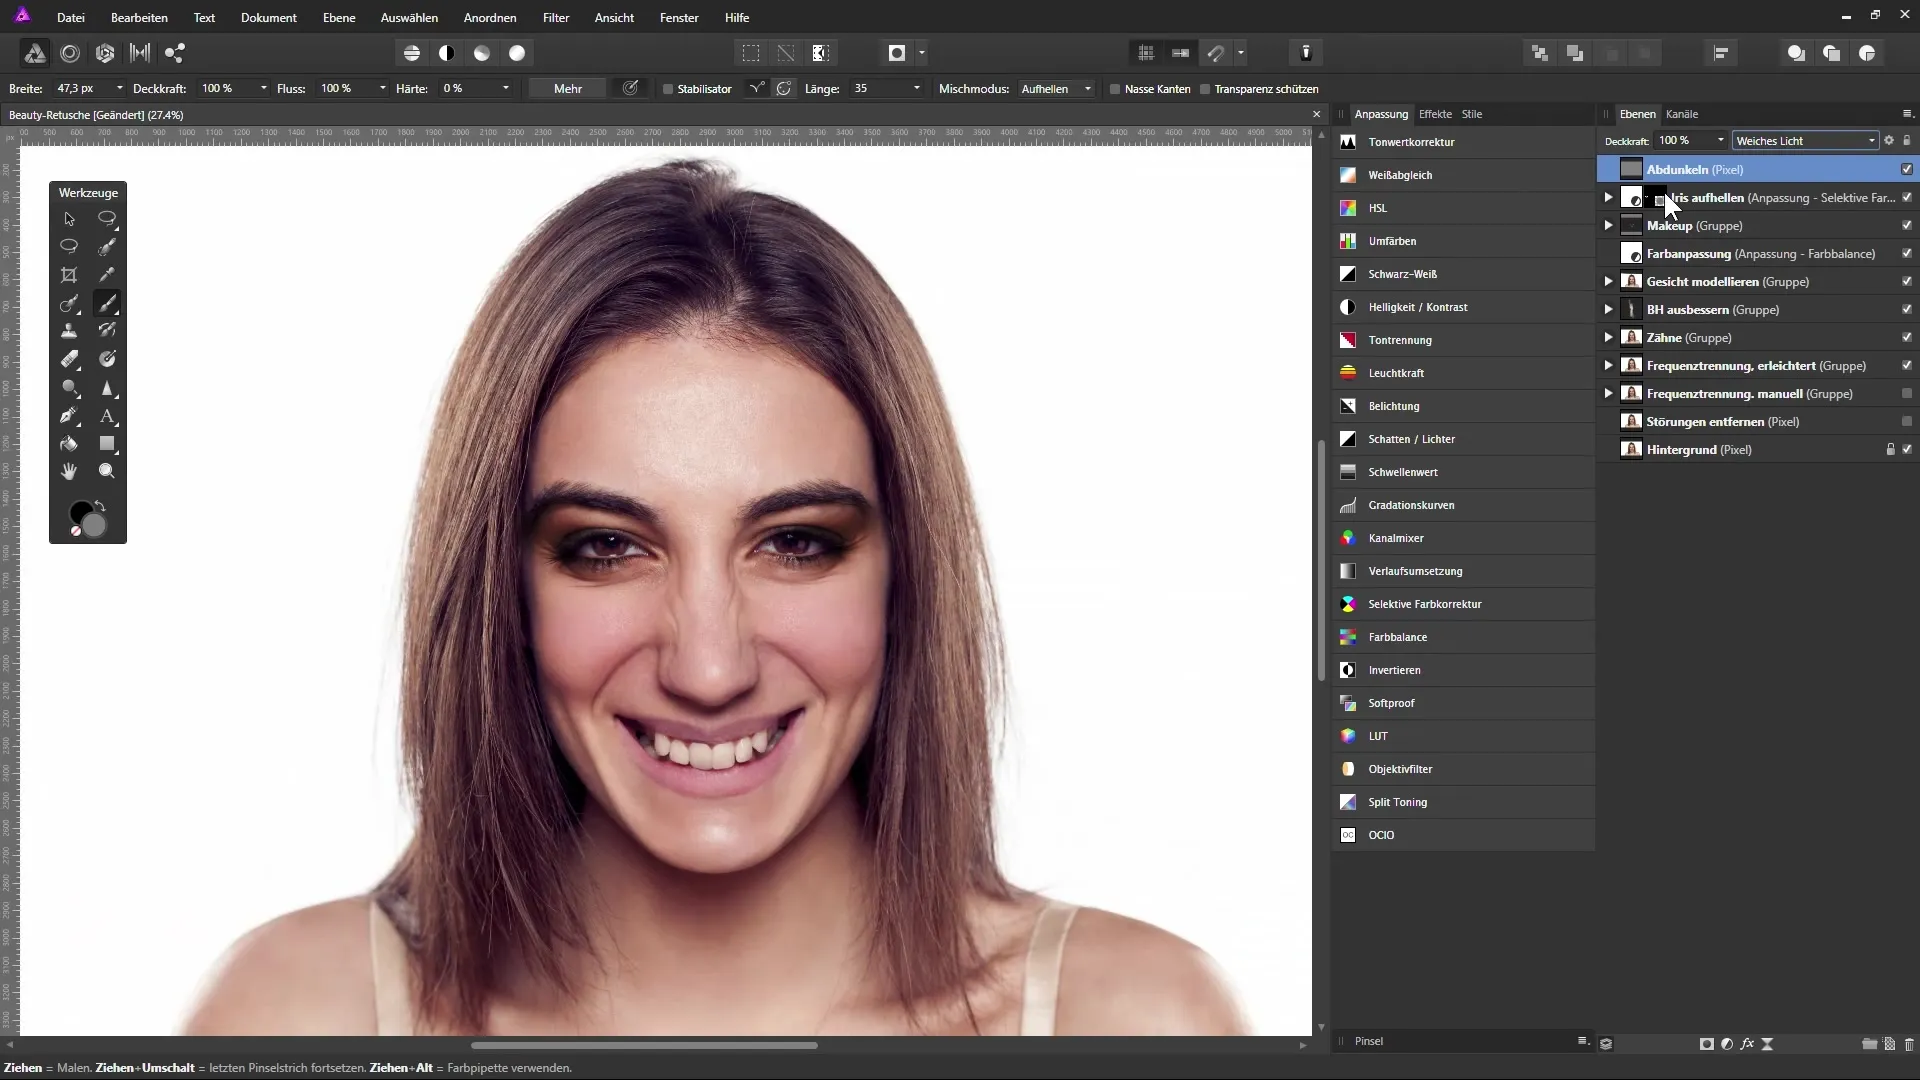
You now want to make the first changes. Duplicate the layer and name the new layer “Lighten”. Now you have both a darkening and a lightening layer to specifically edit areas in your image.
Start with the Lighten layer. Activate it, select white as the color, and use the brush tool to lighten the desired areas. You should set the opacity to about 20% initially for finer control over the lightening.
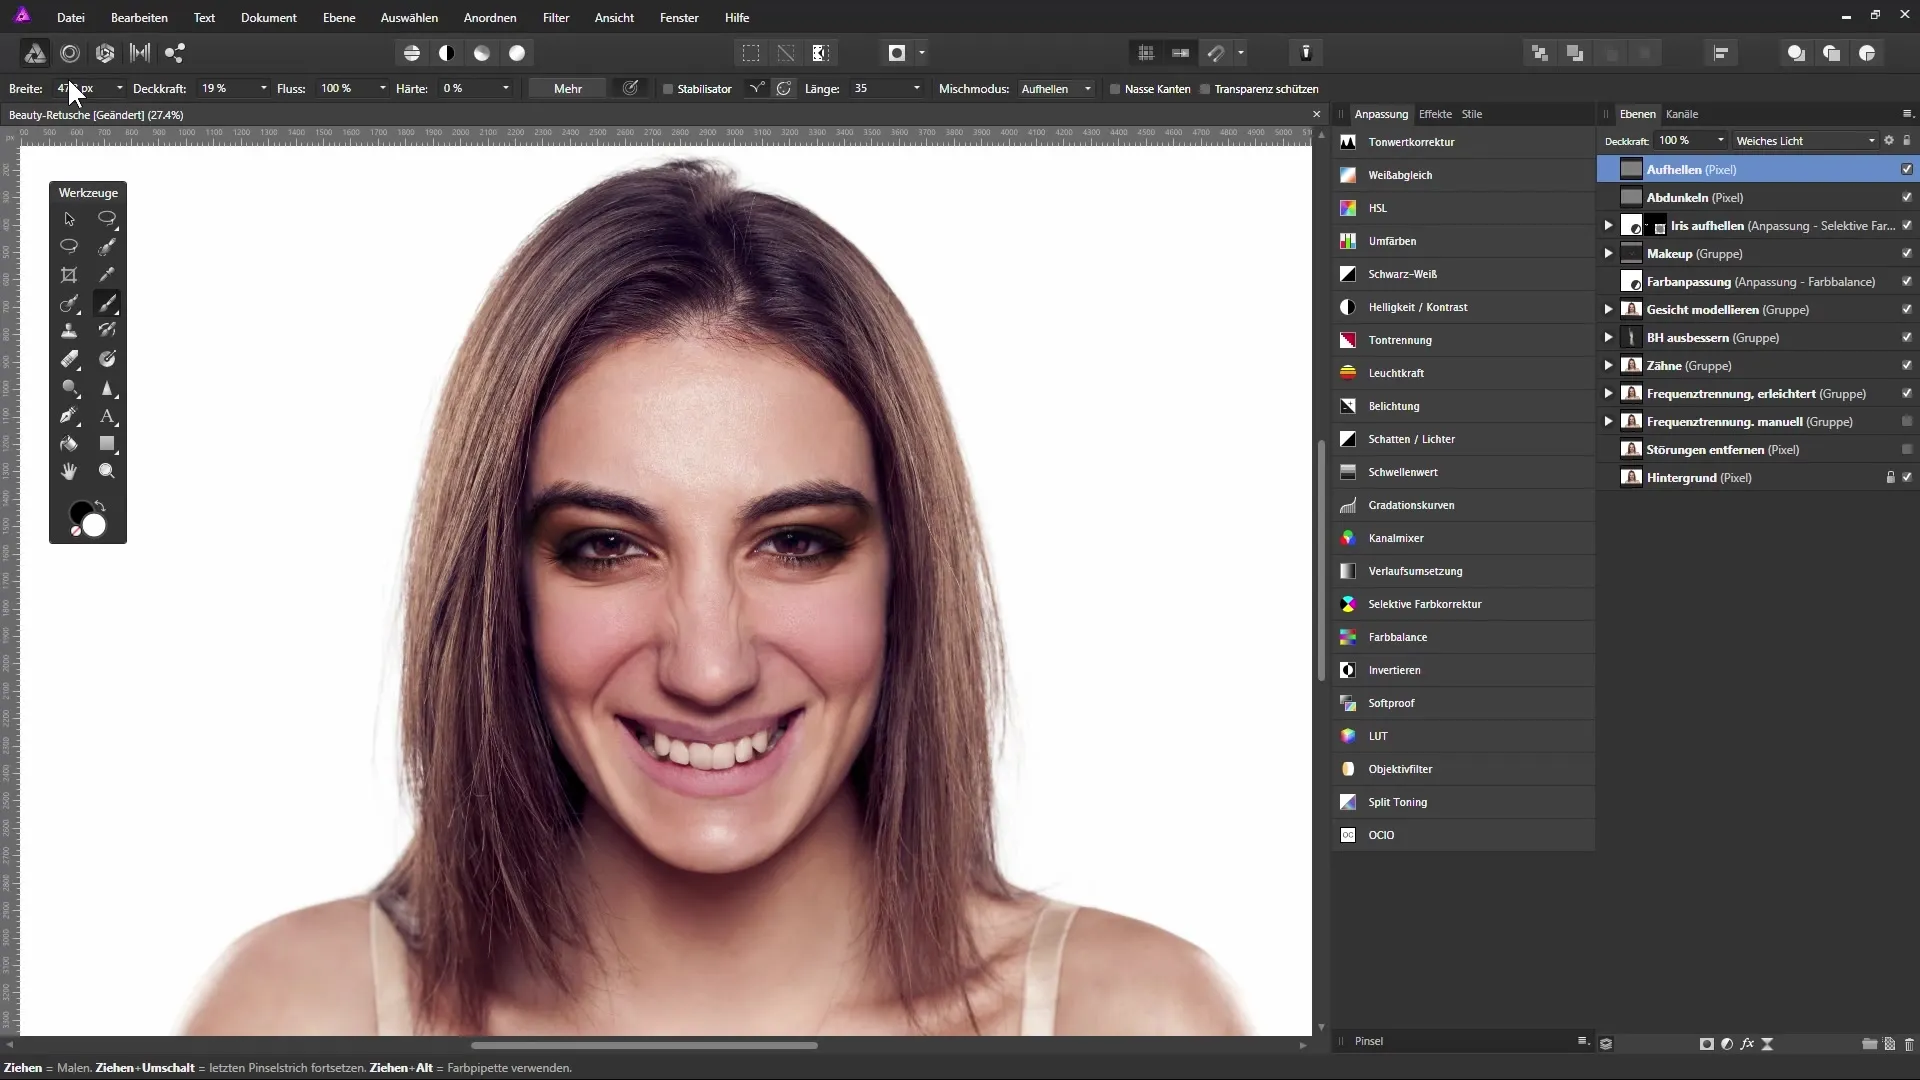
Increase the brush size and zoom into specific areas of the image that you want to lighten. Make sure to work well with the light source of the image; highlight areas such as cheeks and the bridge of the nose where light typically hits.
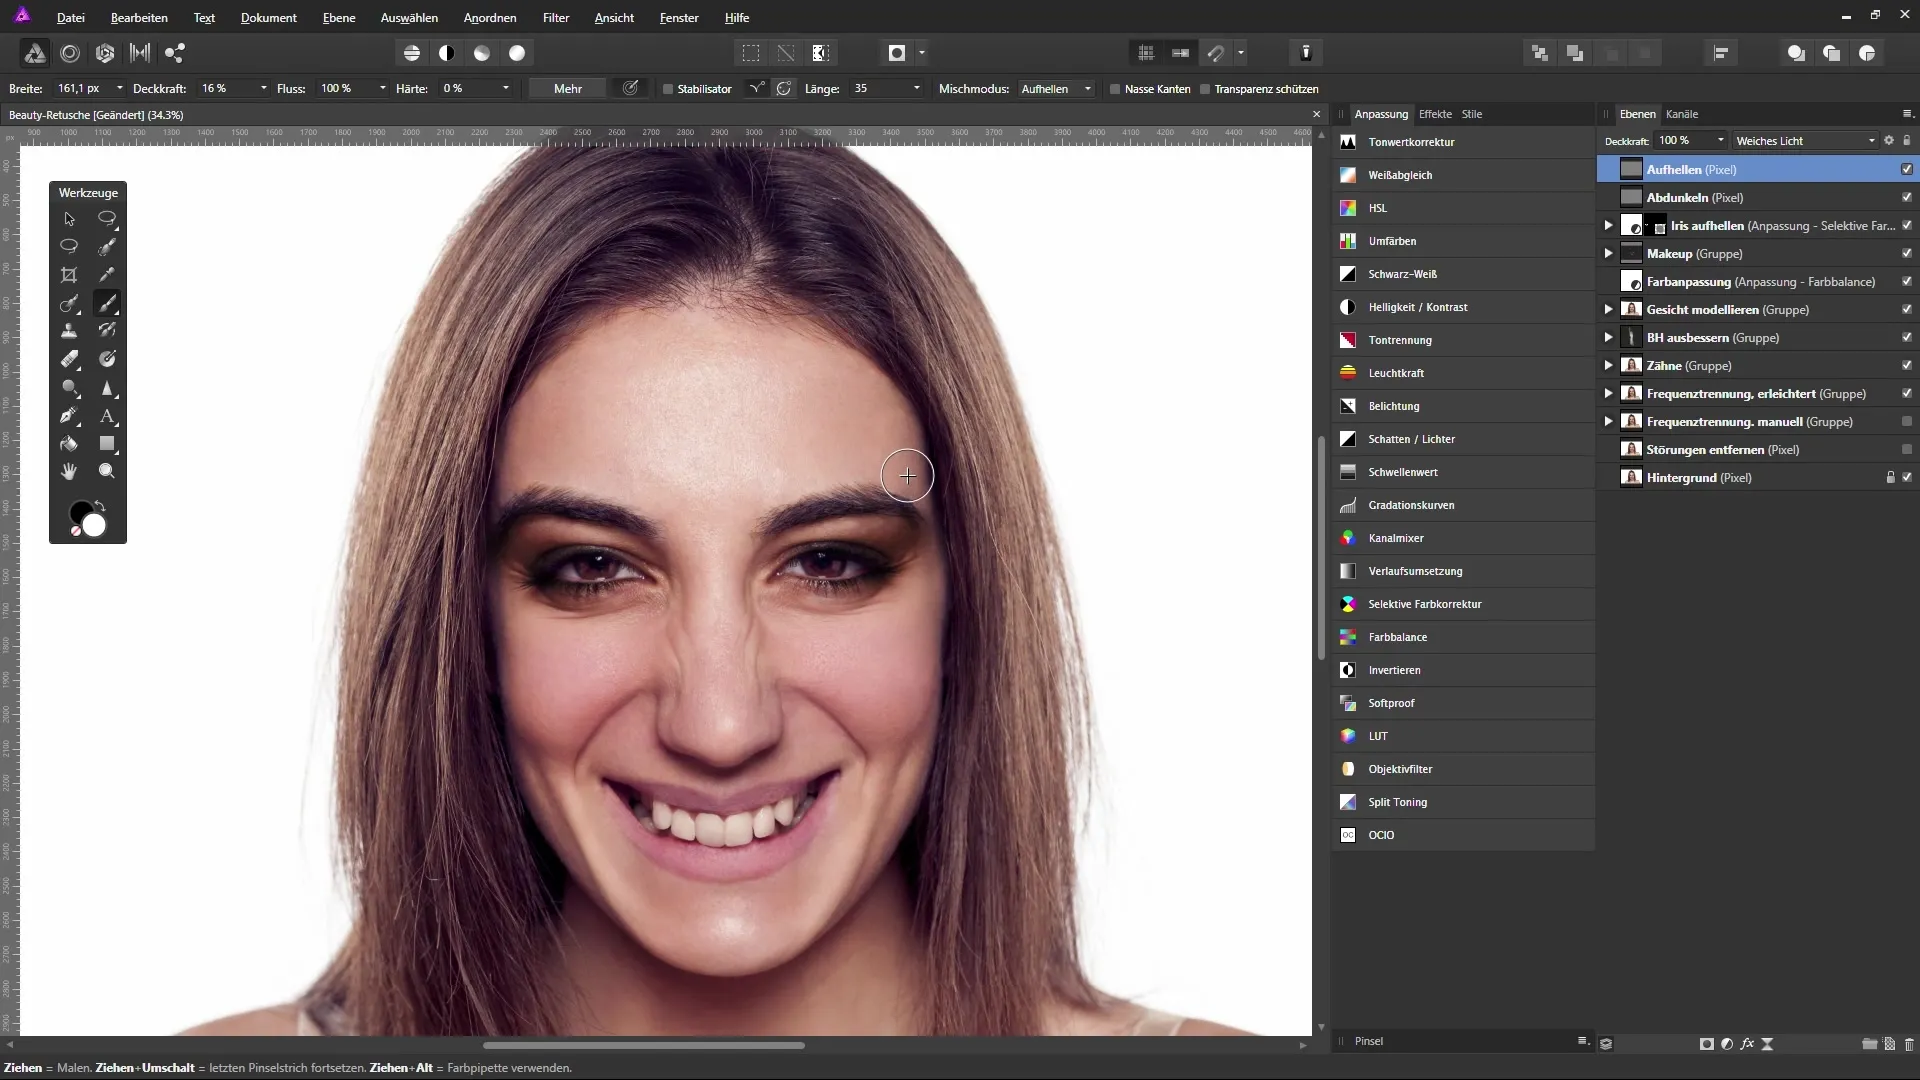
Did you lighten too much? No problem: Press Alt and D to return to your medium gray. This way, you can revert areas that seem too light. You can easily switch between colors using the X key.
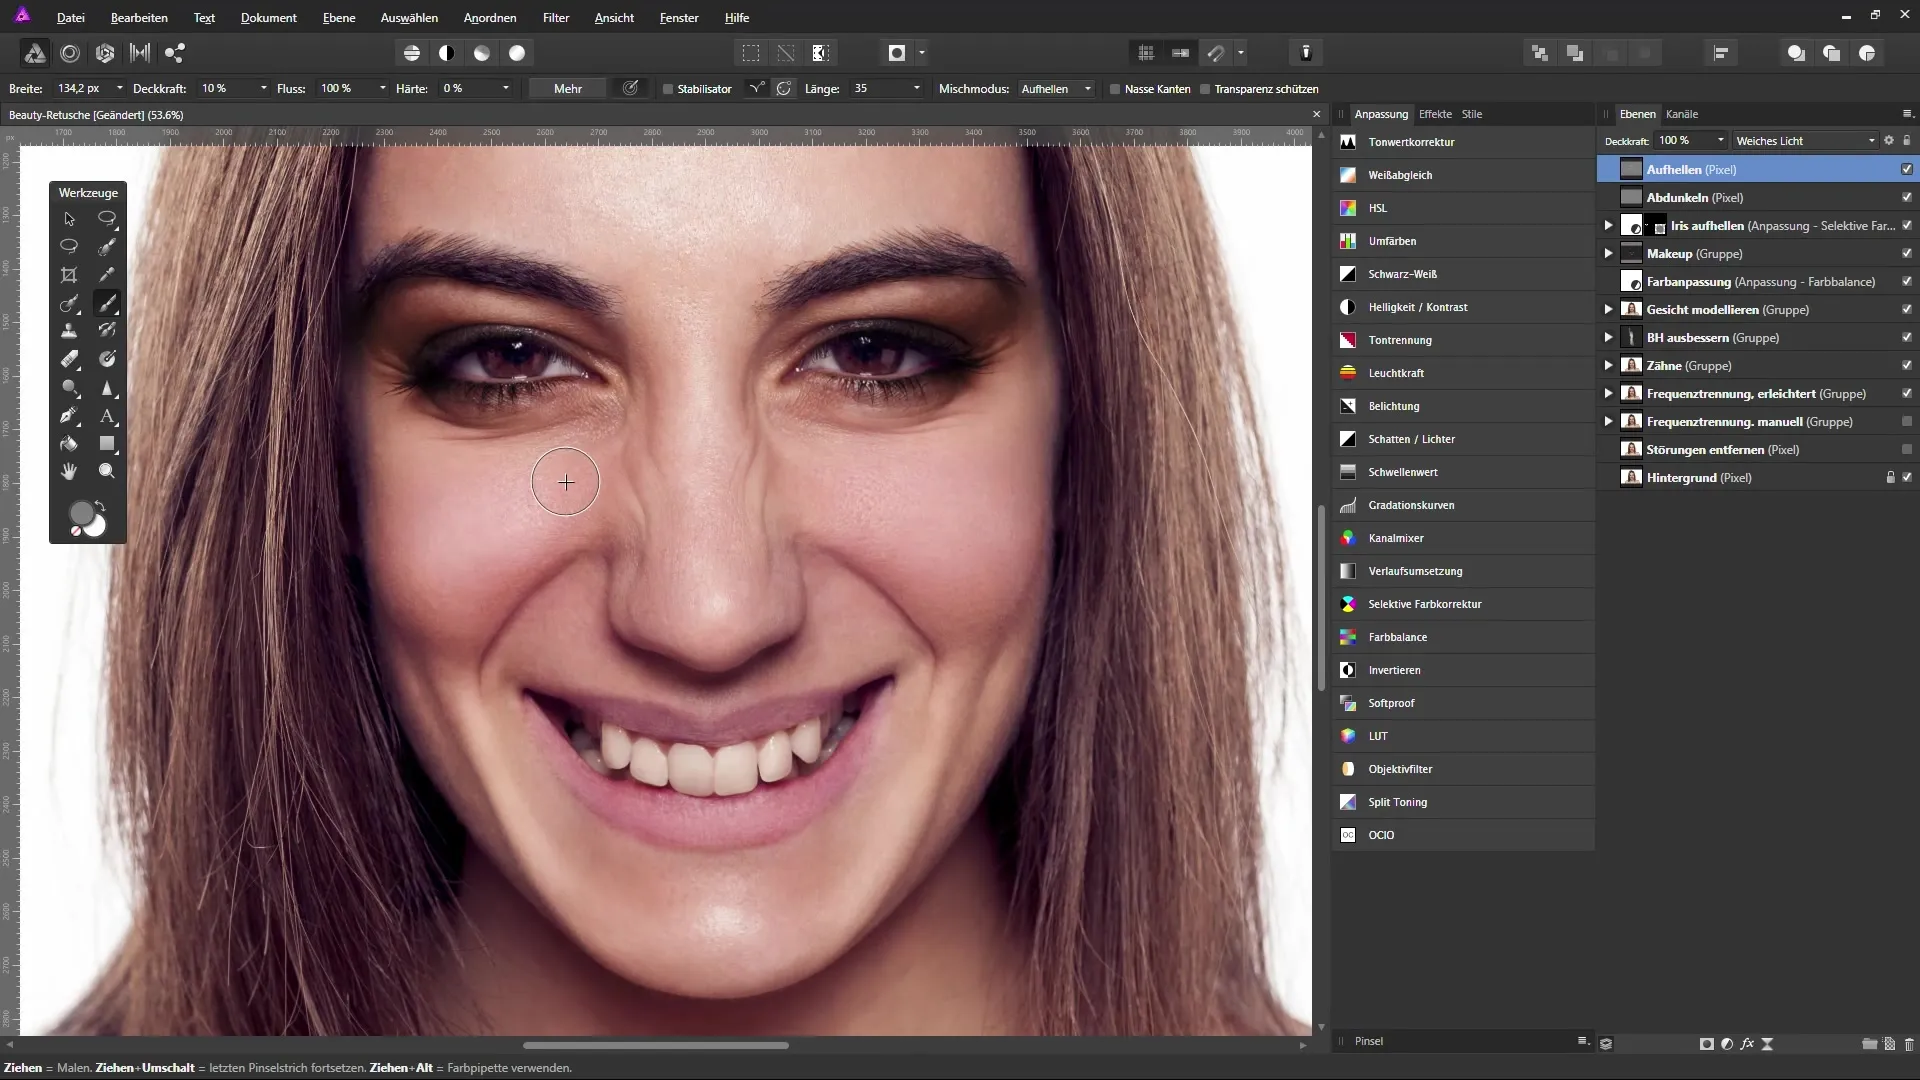
A good technique is to subtly lighten the eyes and lips to create more radiance. Be careful not to overdo it, as it could quickly look unnatural.
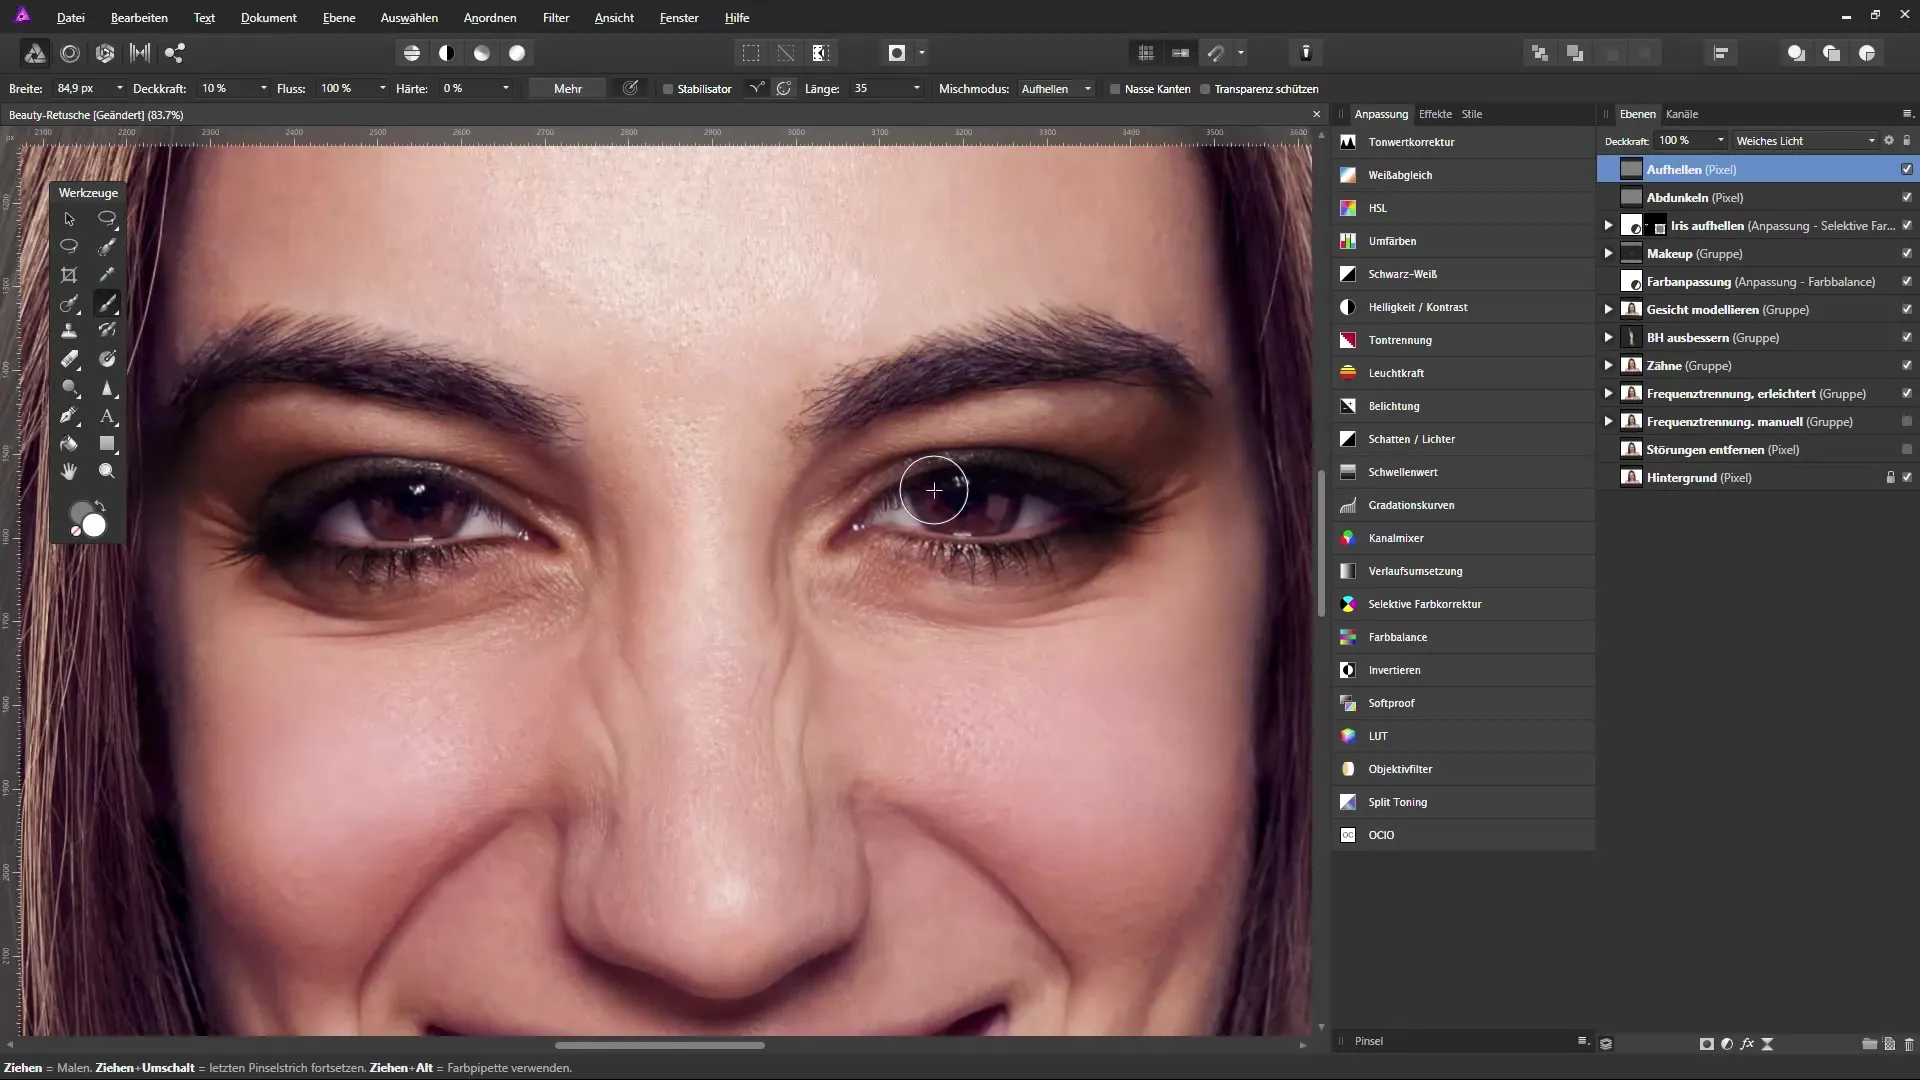
Once you are done with the lightening, go to the darkening layer. Now select black as the color for the brush and set the blending mode to normal. This allows you to specifically create shadows in the image.
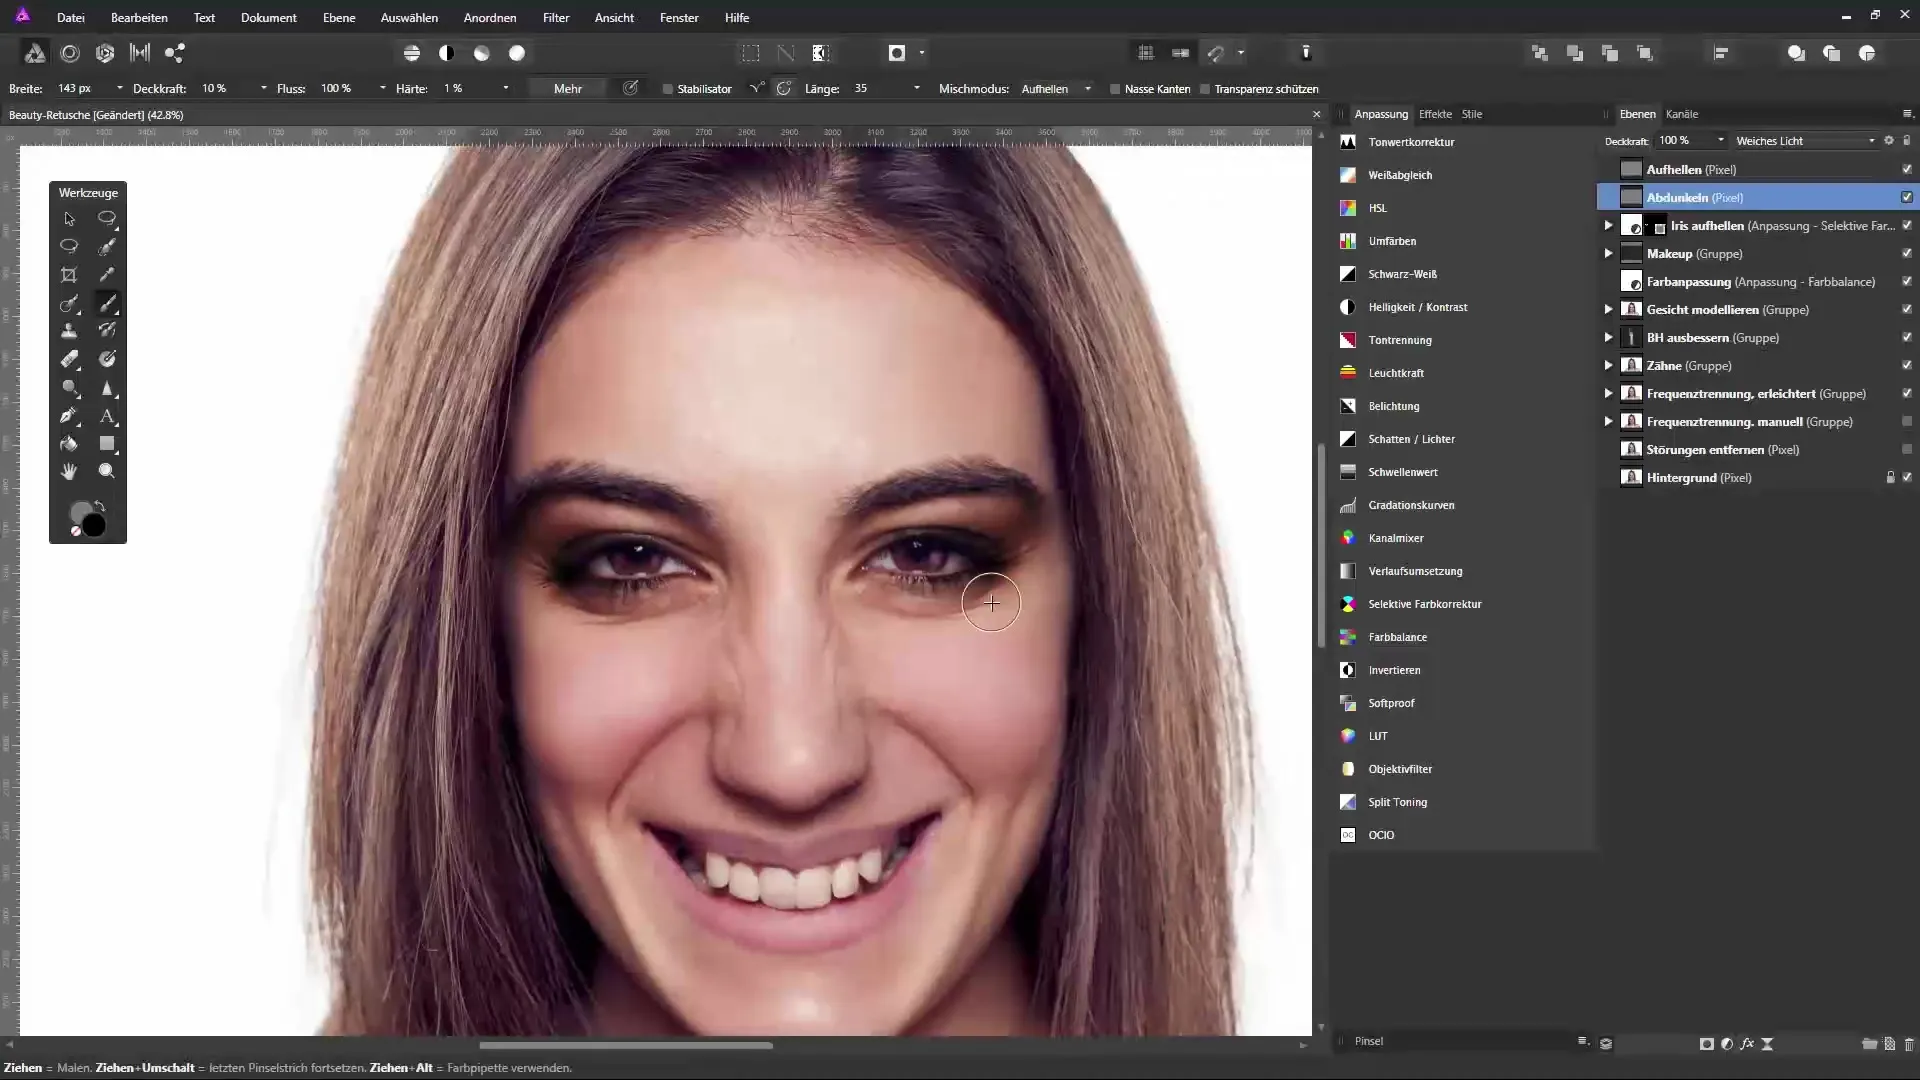
Strengthen shadows in the desired areas, such as under the cheeks or on the shoulders. You can adjust the brush size as needed to achieve more detailed and softer transitions.
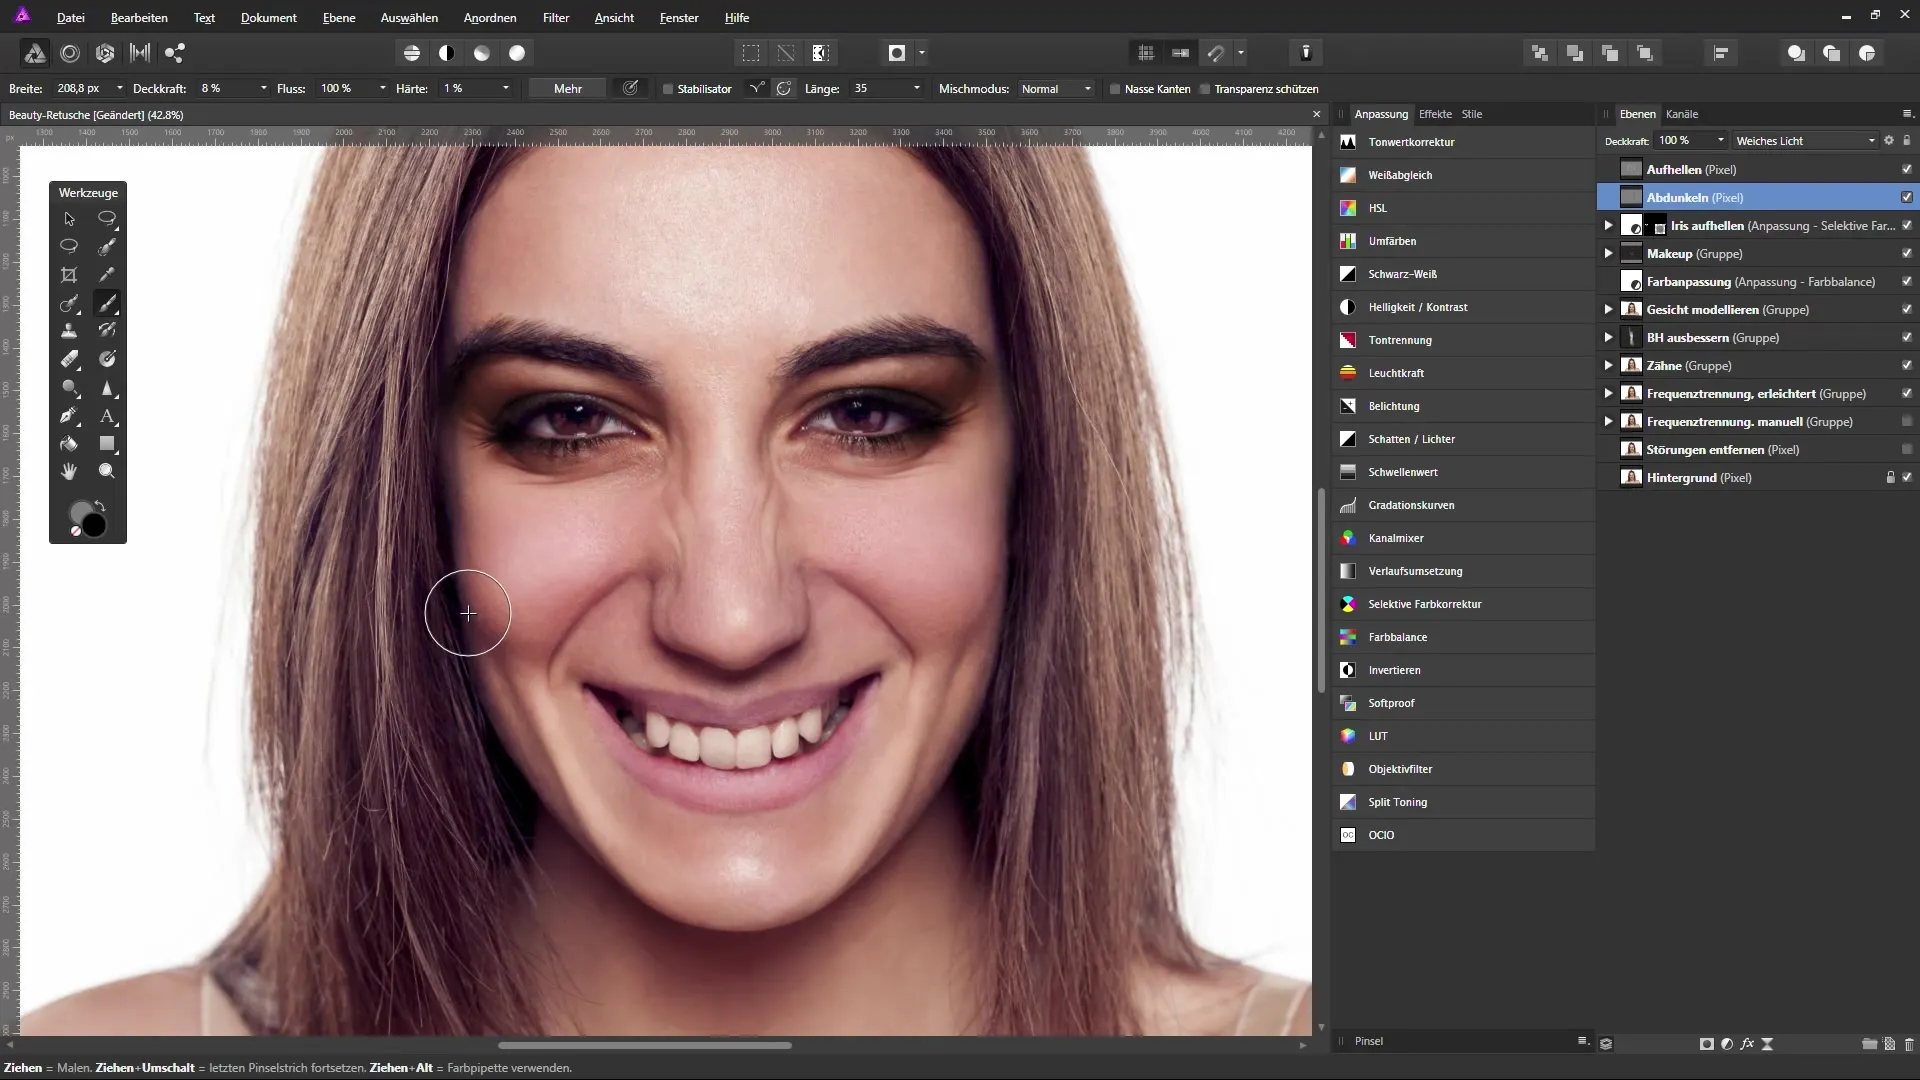
When you are finished darkening details on the face and hair, you should save your work and compare the before and after graphics to assess the difference.
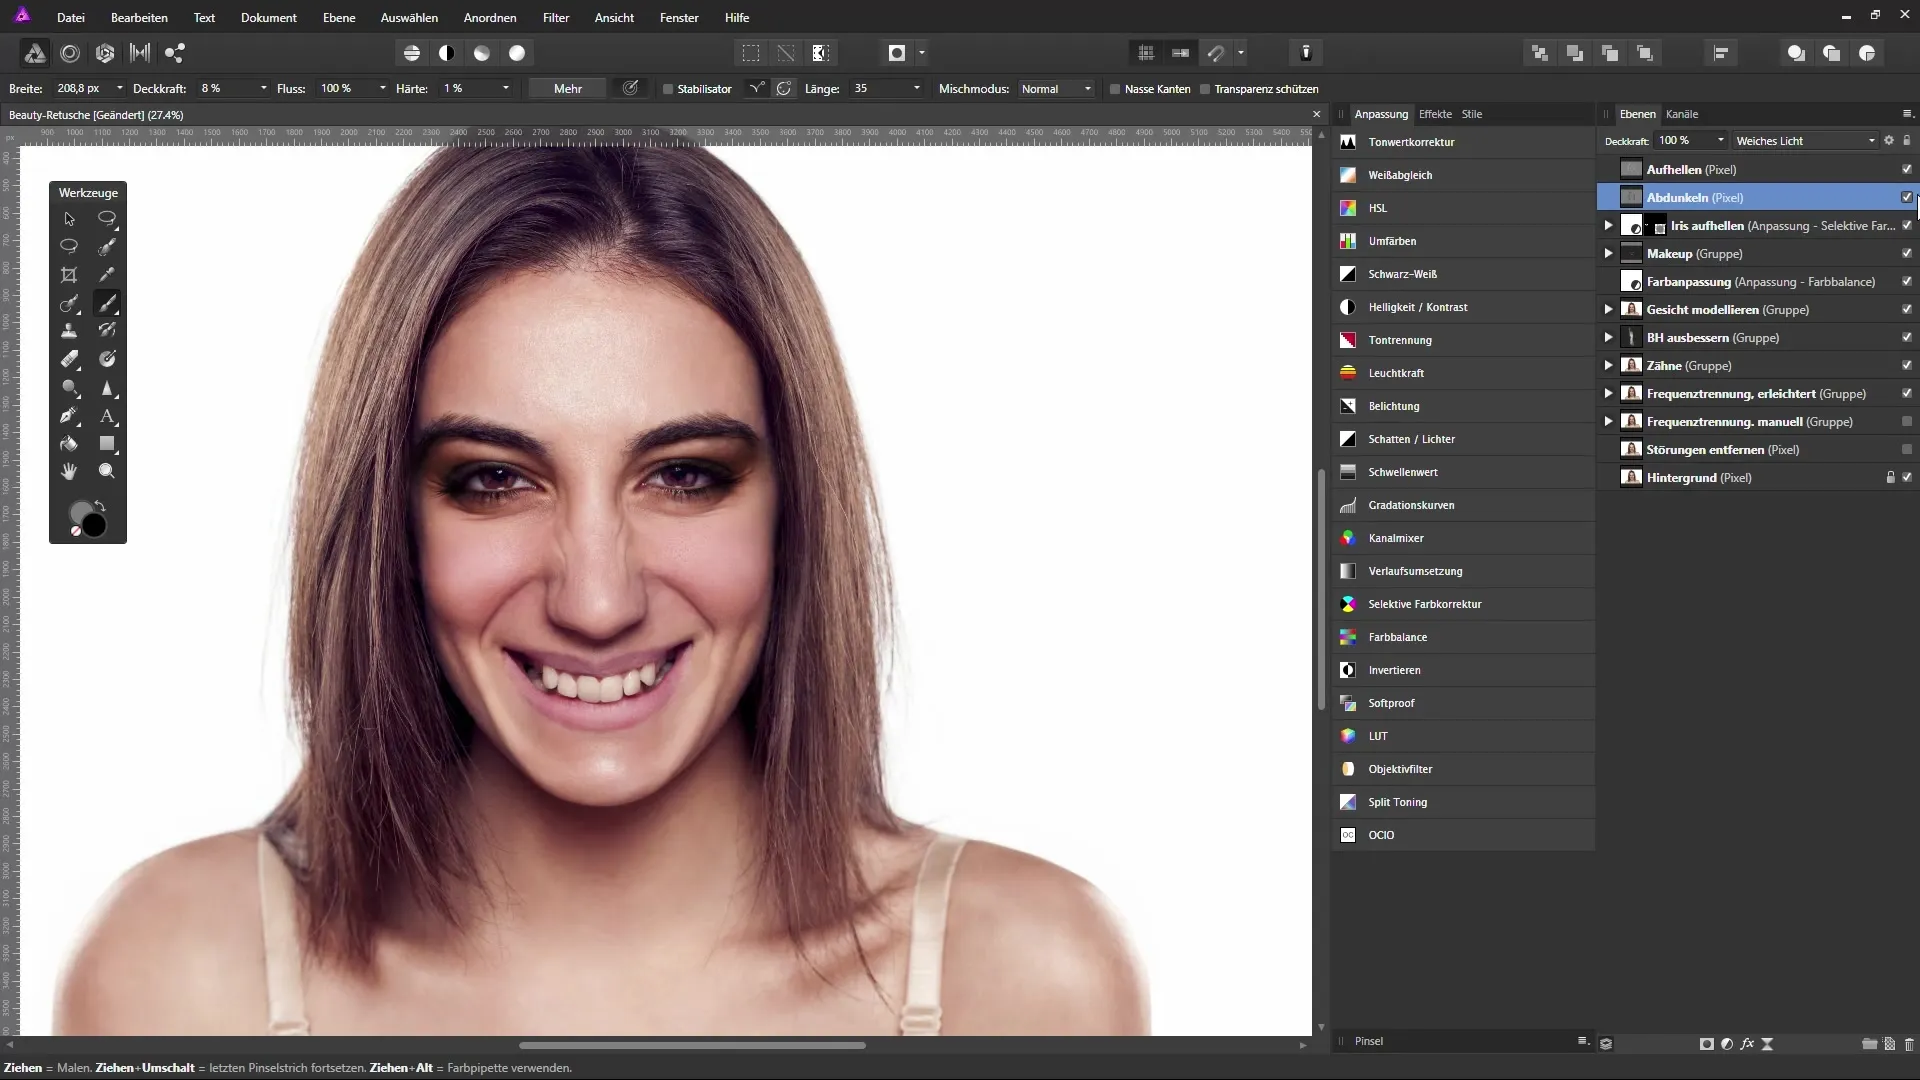
For the final touch, you can work with live filter layers to boost contrast and sharpness again. To do this, select a new “Live Filter Layer” under “Layer” and set the “Clarity” value accordingly.
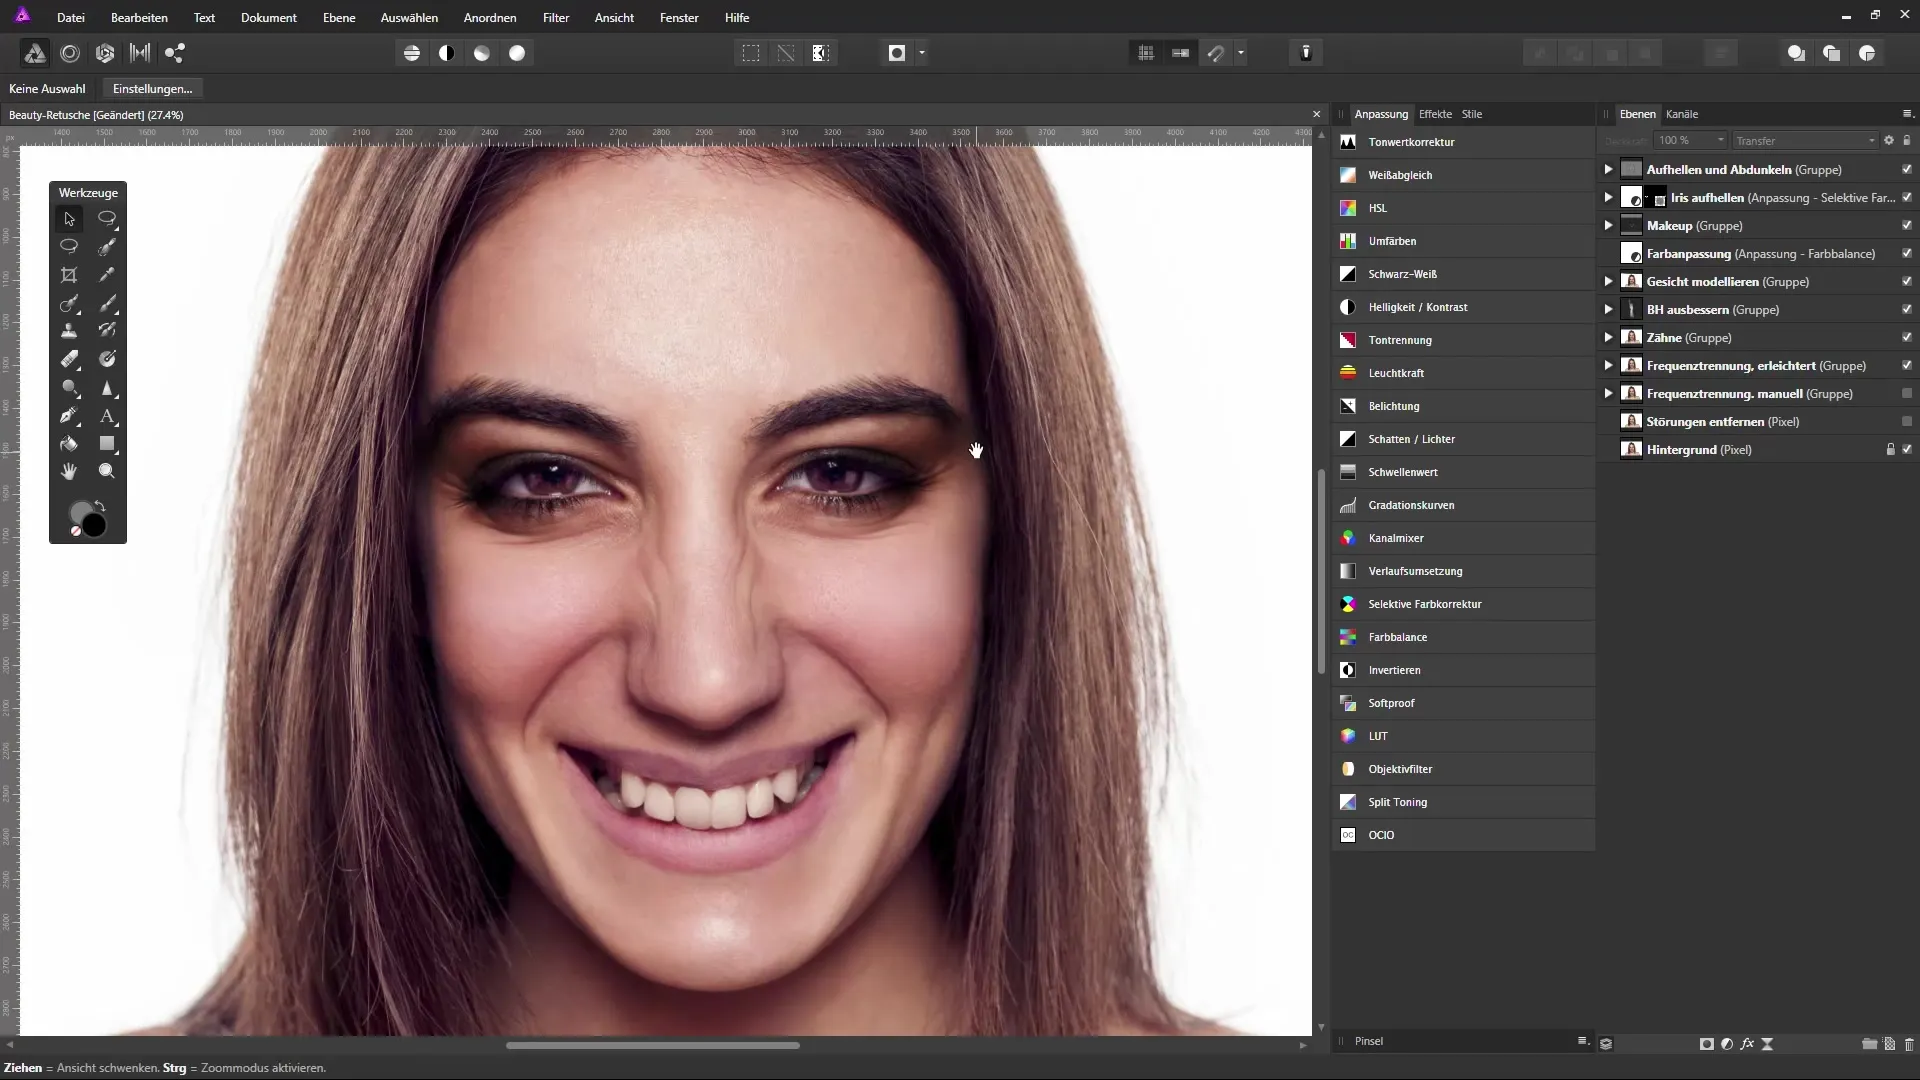
Remember to use the layer mask to apply sharpenings only to the areas you prefer. Make it easy for yourself by using the brush to edit the areas where you want to reduce clarity.
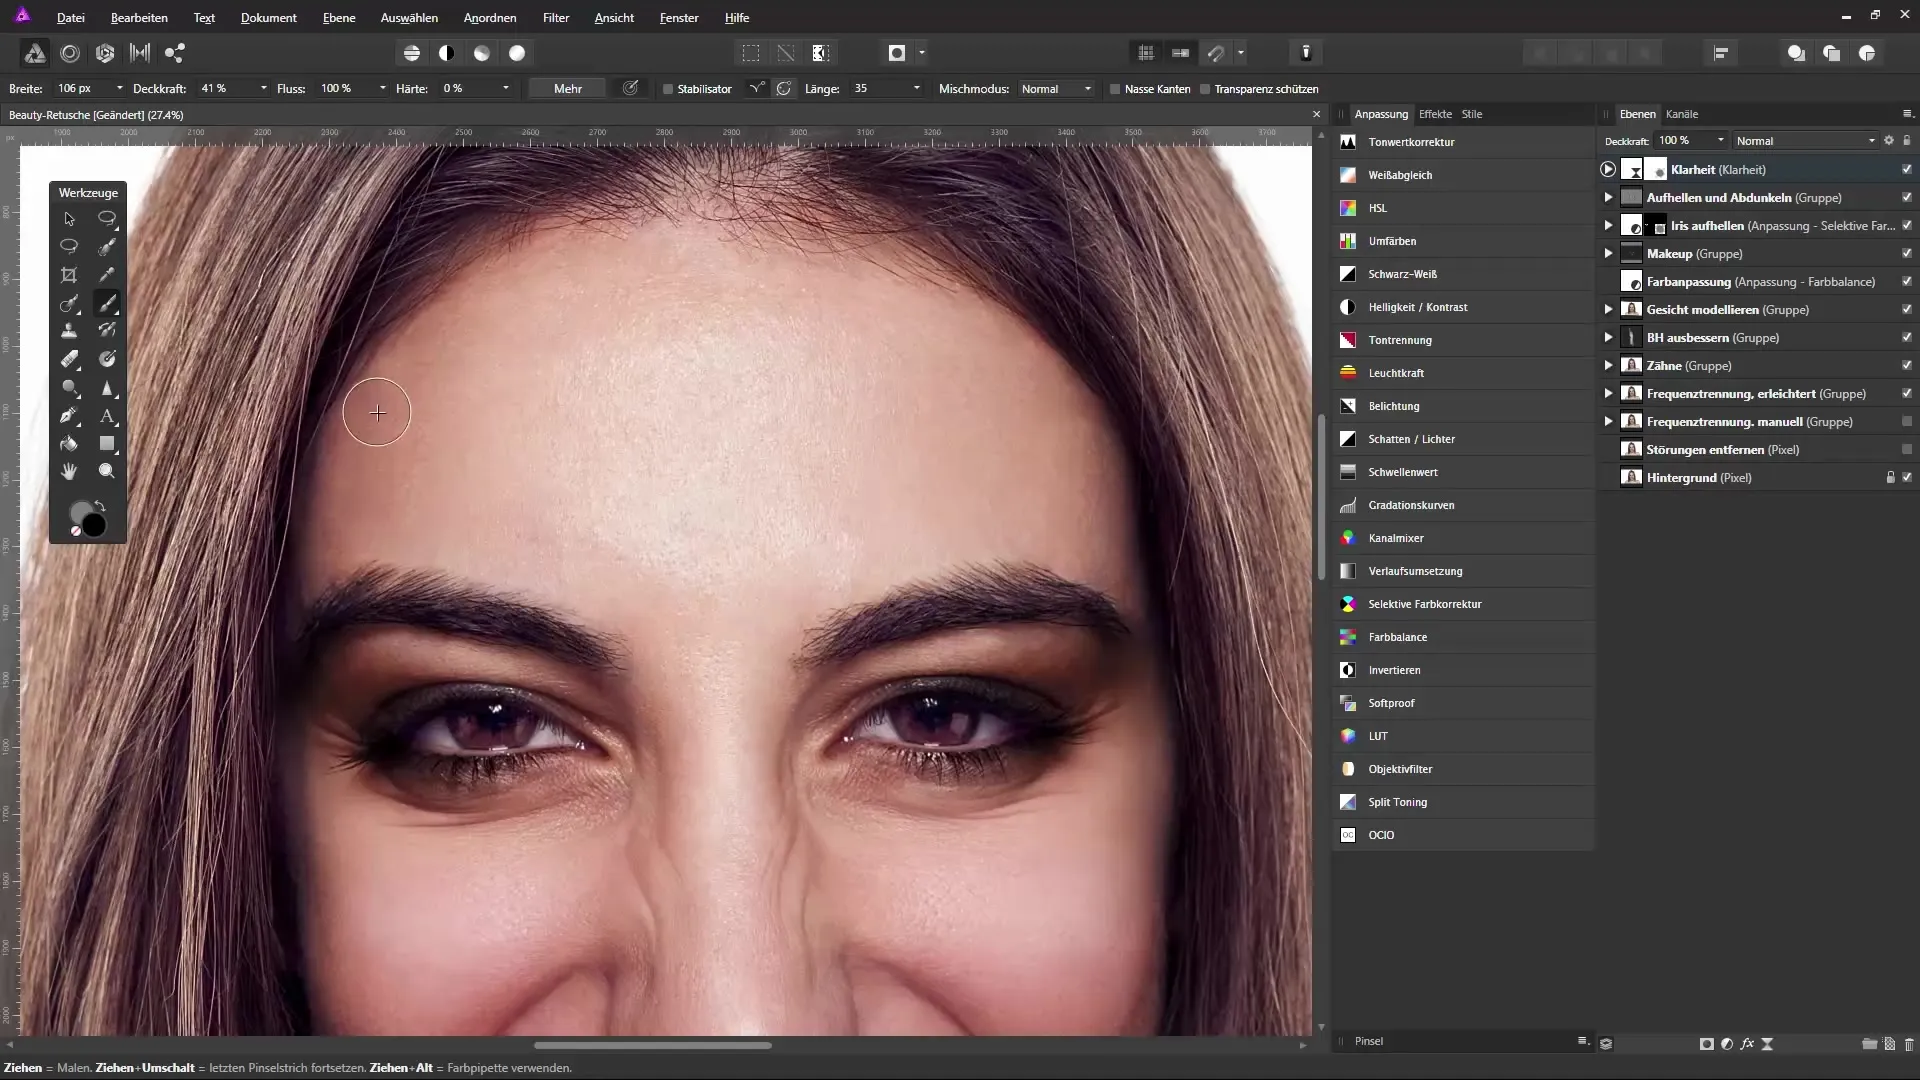
Finally, compare the original image to the edited result and check if the adjustments meet your expectations.
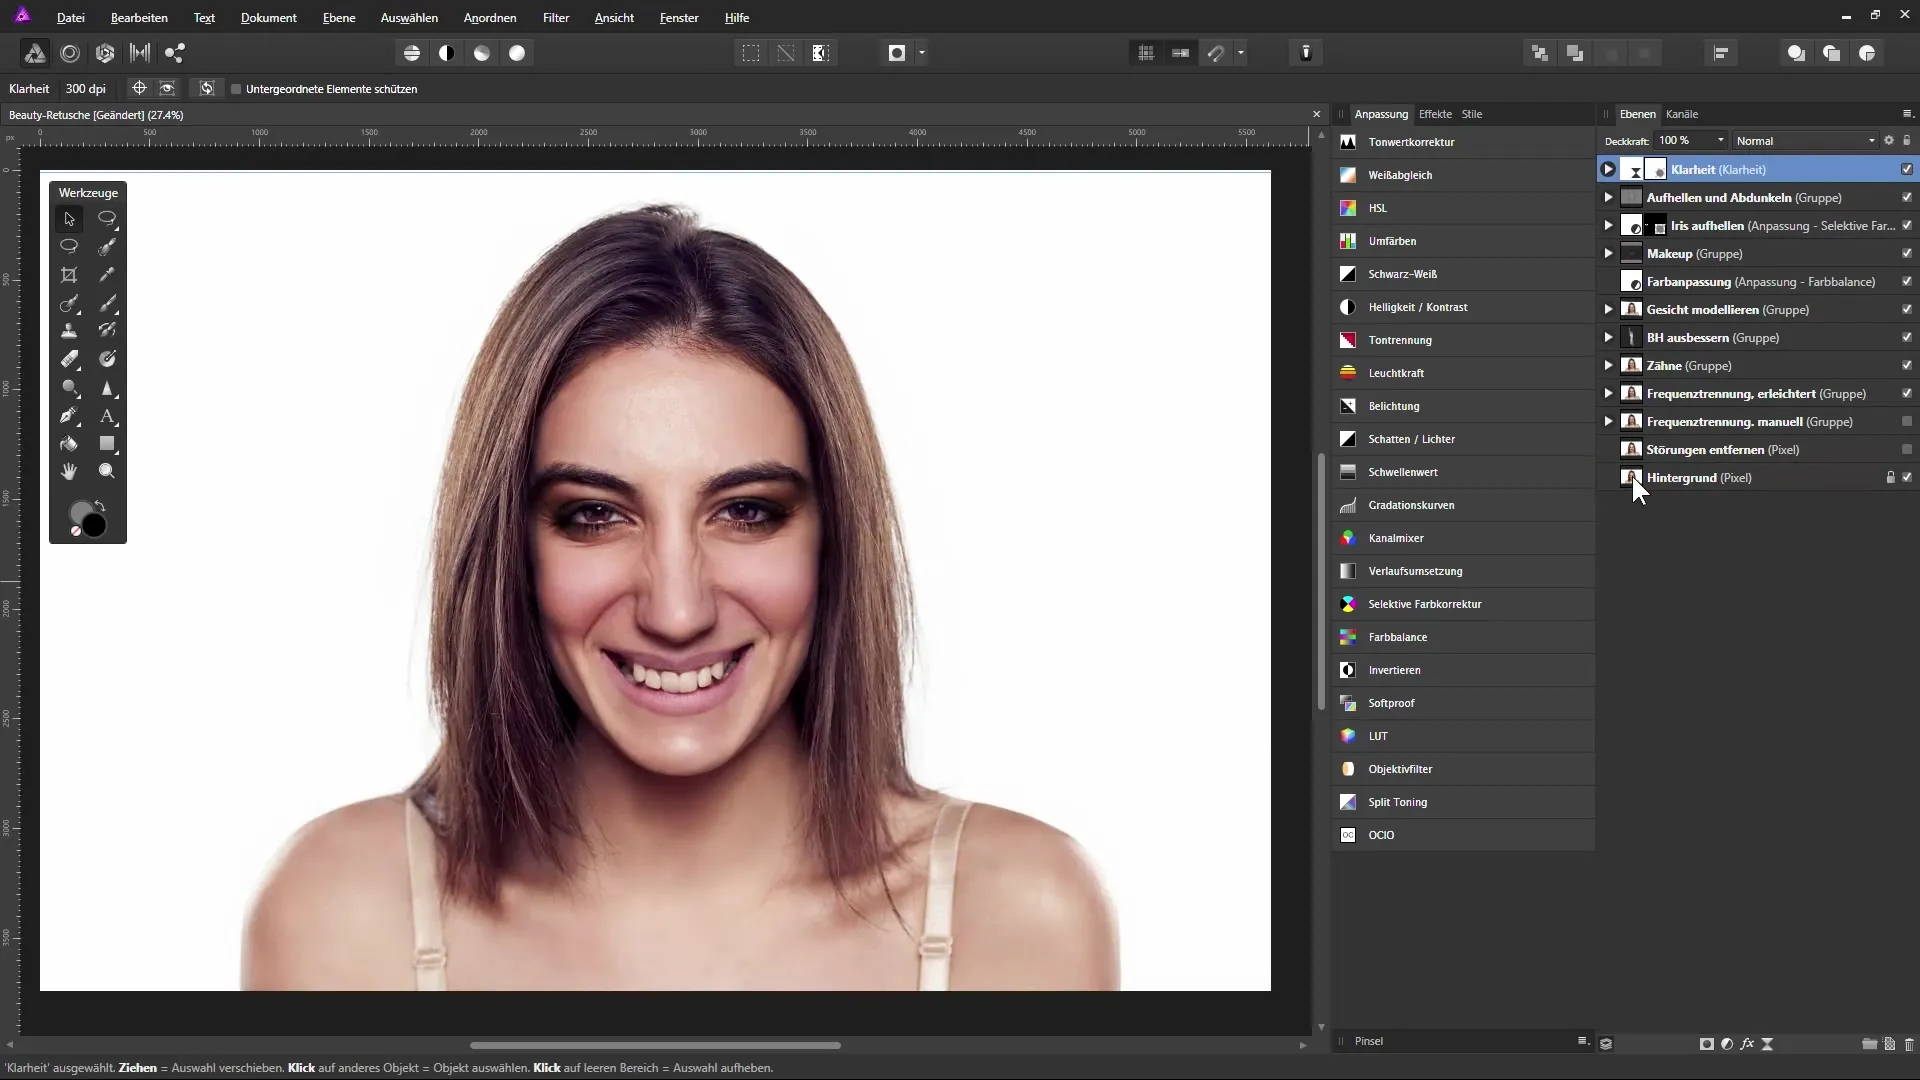
Summary - Beauty Retouching in Affinity Photo: Image Design through Lightening and Darkening
In this guide, you have learned how you can significantly improve the appearance of an image by applying lightening and darkening in Affinity Photo. By skillfully handling the brush tools and working with layers, you can make the image more tangible and specifically highlight or mute desired areas. Combining light and shadow gives your image more depth and character.
FAQ
How can I create a new layer in Affinity Photo?Click on the top layer in the layers palette and select “Create New Layer”.
What is the “Soft Light” blending mode?This blending mode allows the underlying layers to shine through, creating a harmonious lighting effect.
How can I revert my changes when lightening?Switch to a medium gray and paint over the areas you want to revert, or use the X key to switch colors.
How do I create a live filter layer?Go to “Layer” > “New Live Filter Layer” and select “Clarity” from the list.
How can I ensure that the sharpening application is effective?Use a layer mask to apply the sharpening only to the desired areas.


