The targeted editing of skin tones is an art in itself. With the right technique, you can significantly improve the skin appearance without losing fine details like pores or hair. In this guide, I will describe how to perform professional skin retouching and adjust the colors in the image using frequency separationin AffinityPhoto. You will get to know the steps that will help you achieve an appealing result.
Key Insights
- Frequency separation allows for the separate editing of colors and details.
- By applying filters like Gaussian Blur and High Pass, you can precisely control details and colors.
- The repair brush is an effective tool for fixing skin blemishes.
Step-by-Step Guide
Let’s start with the first step towards frequency separation and color optimization.
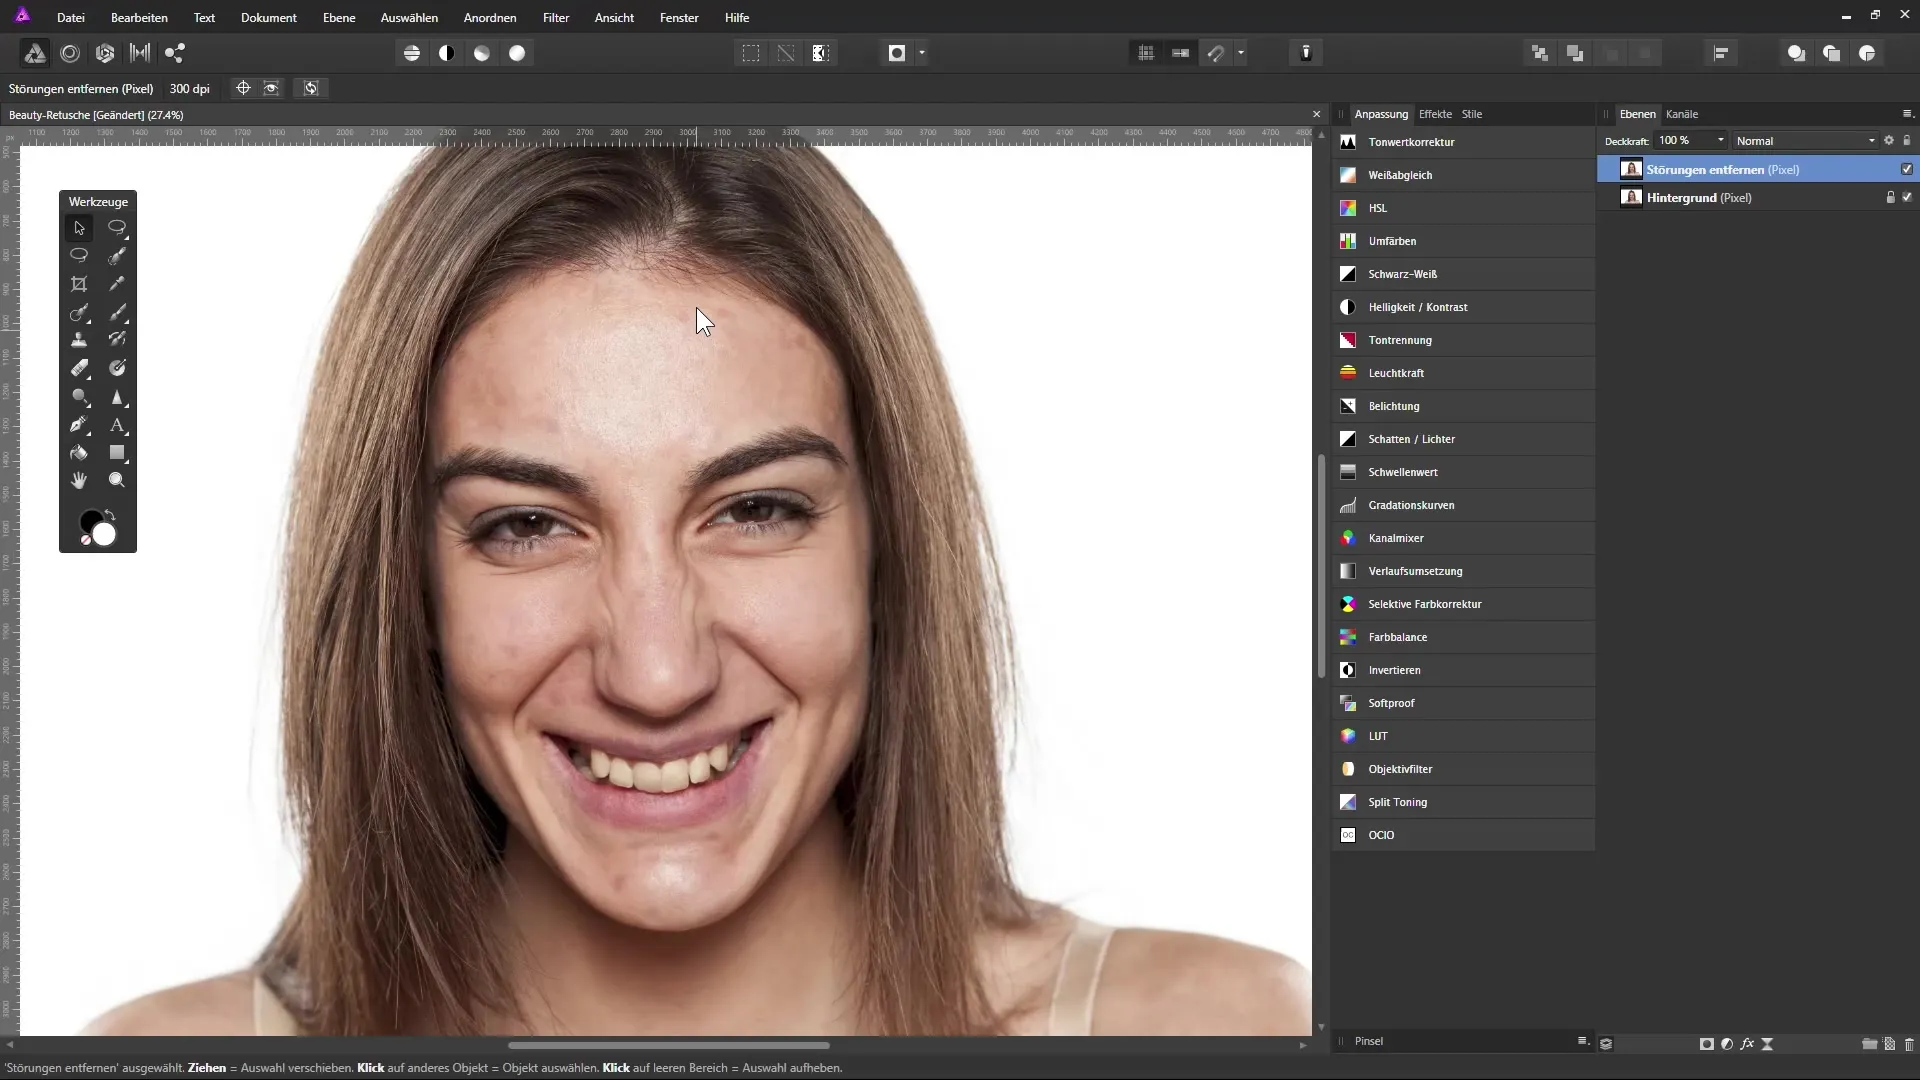
Create a copy of the layer where you have already removed skin blemishes. To do this, go to the layer, press Ctrl + J, and rename the new layer so you can recognize it immediately, for example, "Colors". This layer will later be used only for color adjustment. Here is the screenshot of the process:
Now you need to create another copy of this "Colors" layer, which you rename to "Details". This layer will be used exclusively for the details in the image. Temporarily hide this "Details" layer and select the "Colors" layer. Now comes the crucial step to make all details disappear and make only the colors visible. Select the "Blur" filter and then "Gaussian Blur". Here you can move the slider until only the colors are visible. A radius of about 7 pixels is often ideal. Make sure you do not see any details at all. The screenshot documents this step:
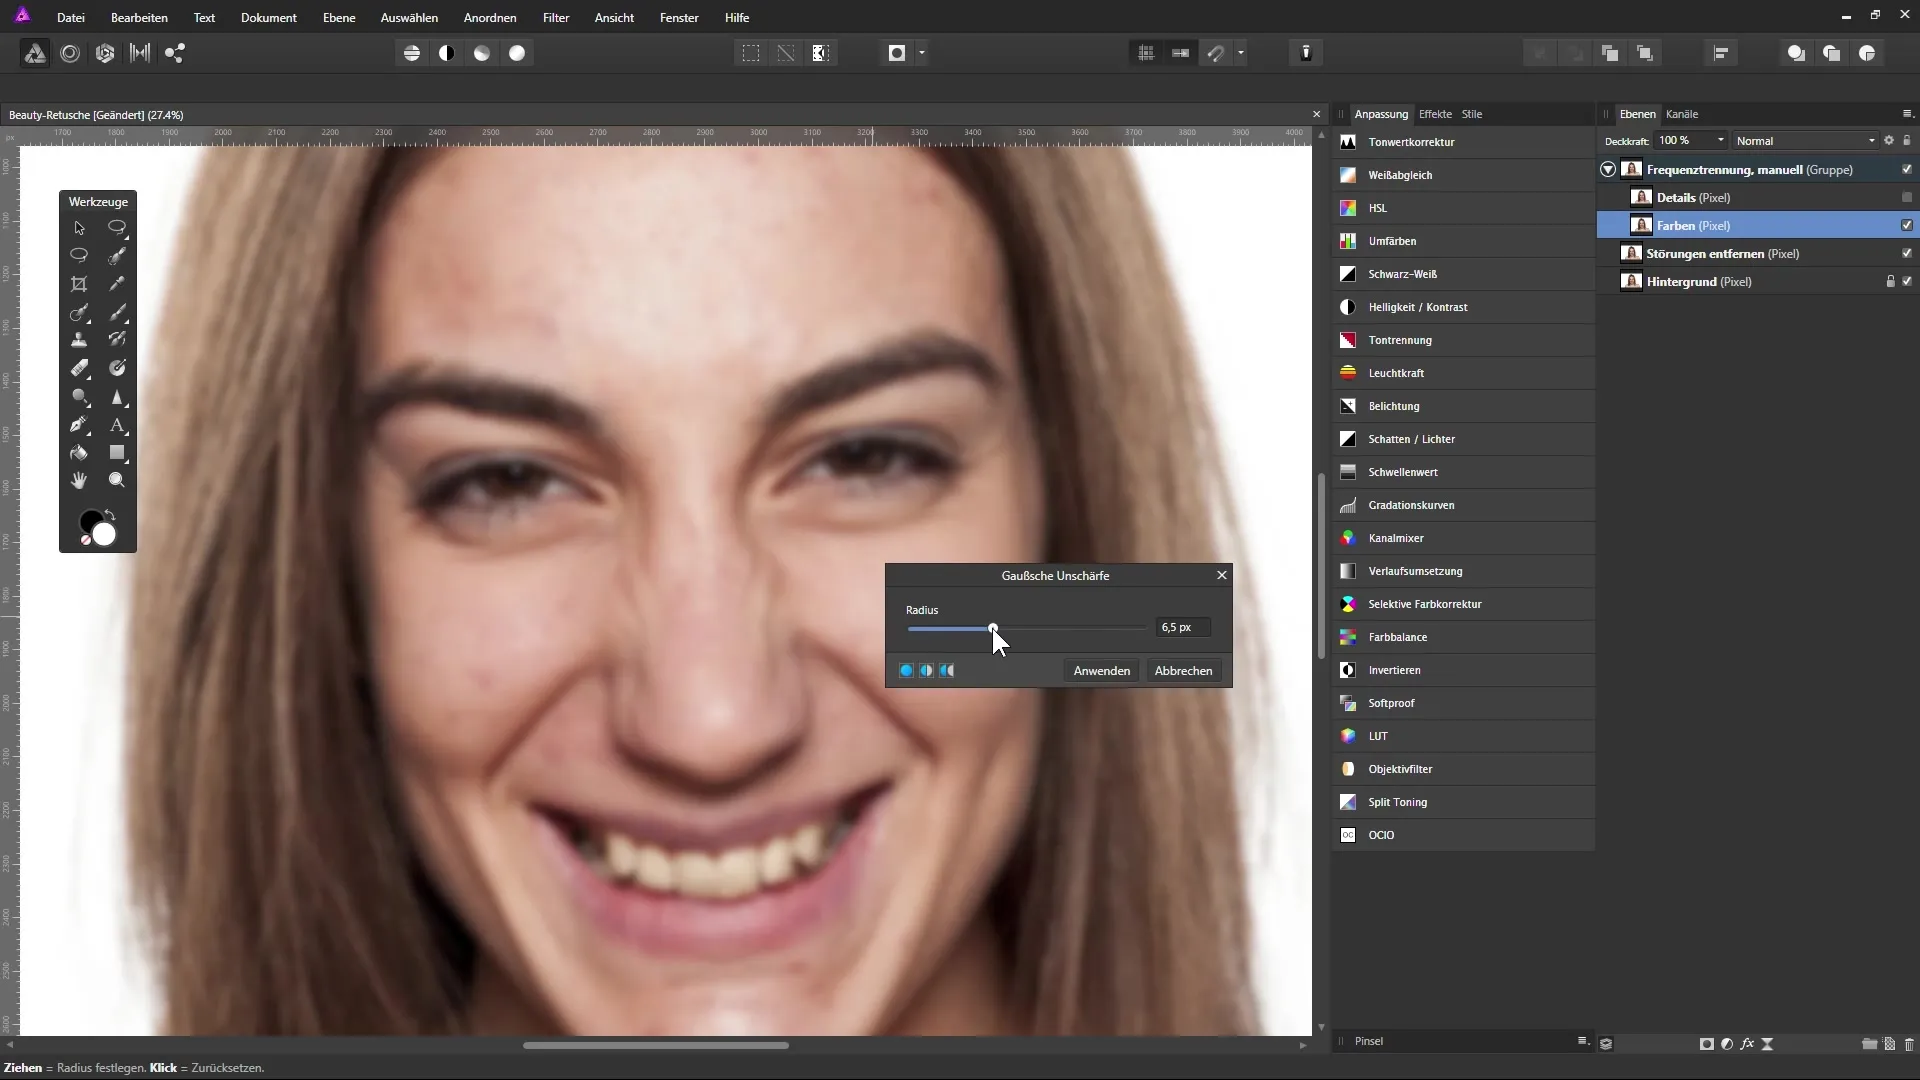
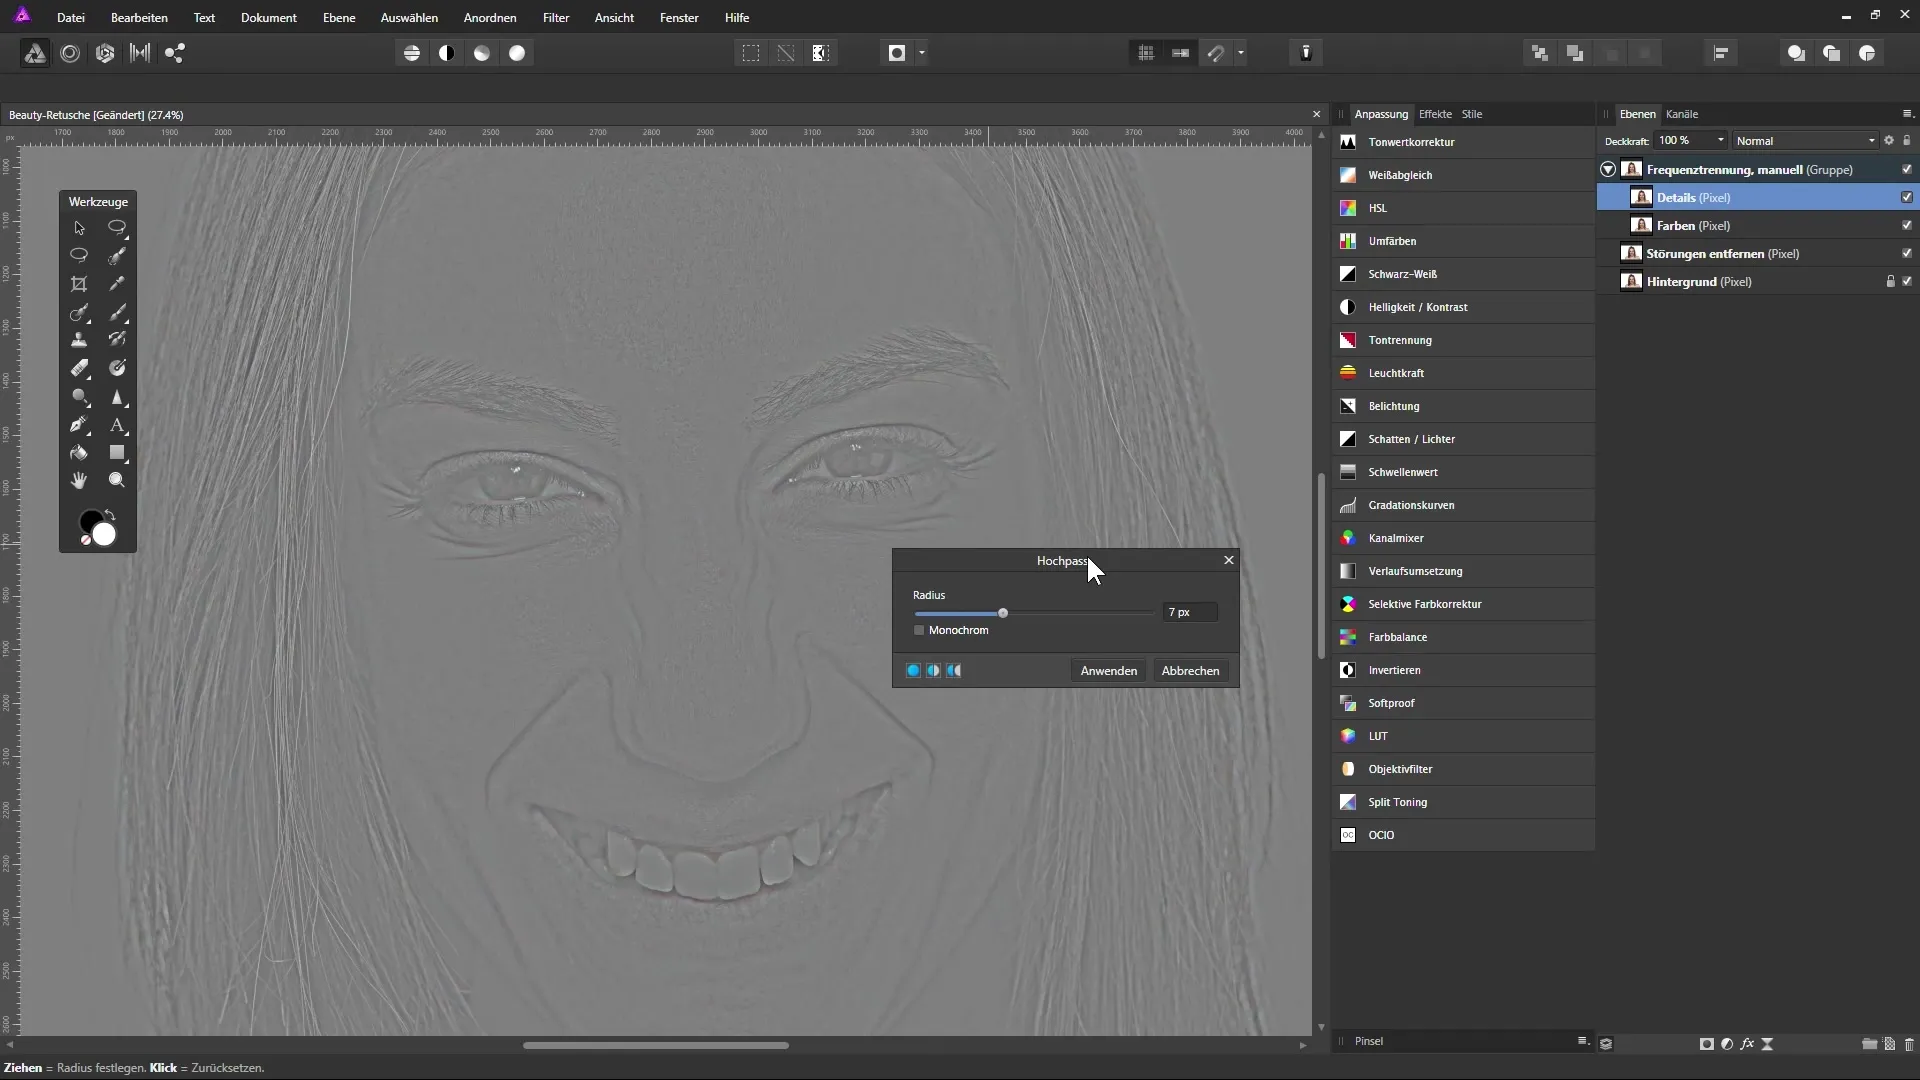
After applying the Gaussian Blur, confirm with "Apply". Now activate the "Details" layer to restore the structure of your image. Select the filter again – this time “Sharpen” and then “High Pass Filter”. Use the same radius you used before to achieve a coherent look, so again about 7 pixels. Here you will also better highlight the structure of the image. The screenshot shows how that looks:
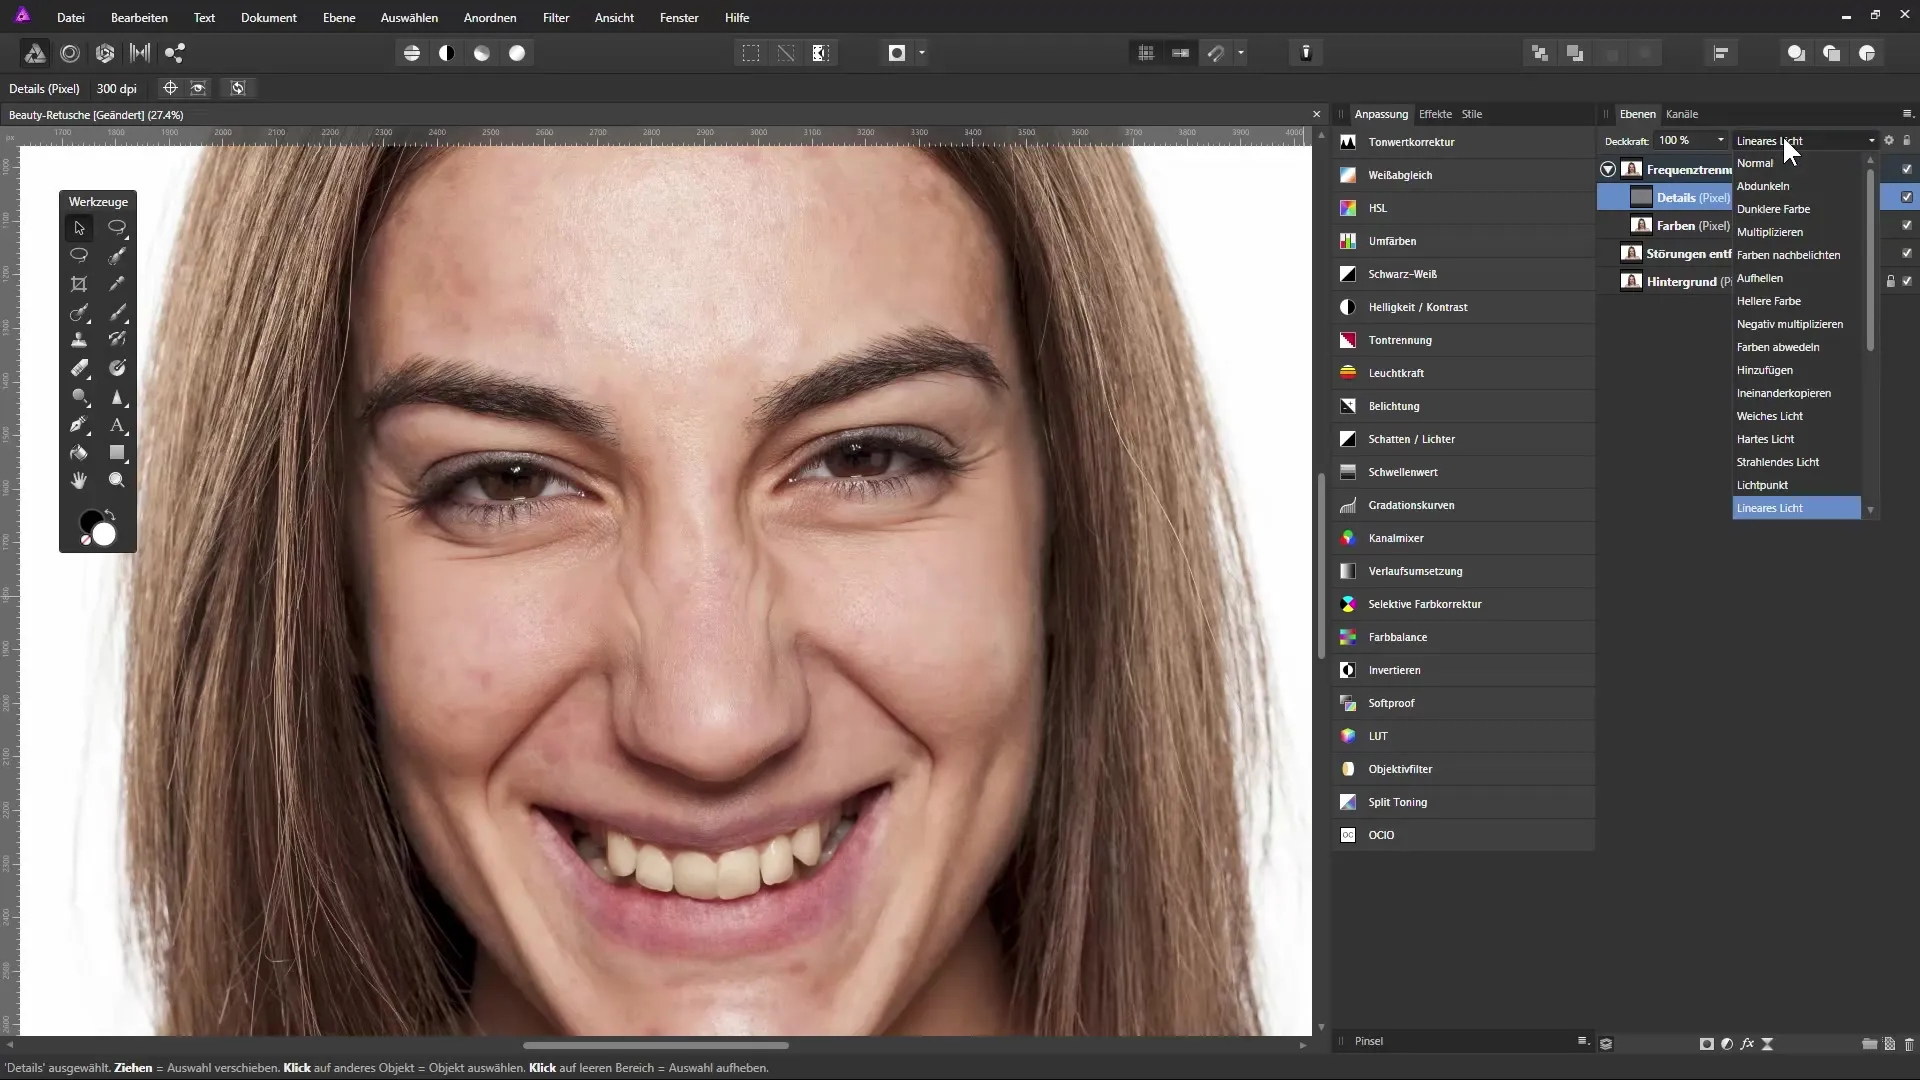
The image may now look a bit gray, but we will enhance it now. Change the layer mode from "Normal" to "Linear Light" to increase the contrast. This change ensures that your “frequency separation” now brings everything together – the colors and details are edited independently. The screenshot of this step:
If everything has been done correctly, you can now switch back to the "Colors" layer and start with the color adjustments. To correct the blotchy appearance of the skin, create a backup copy of the "Colors" layer. Do this again with Ctrl + J. Rename the copy to "Backup" and position it at the bottom of the layers palette. Make sure not to create a clipping mask when you move the new layer. The screenshot documents this:
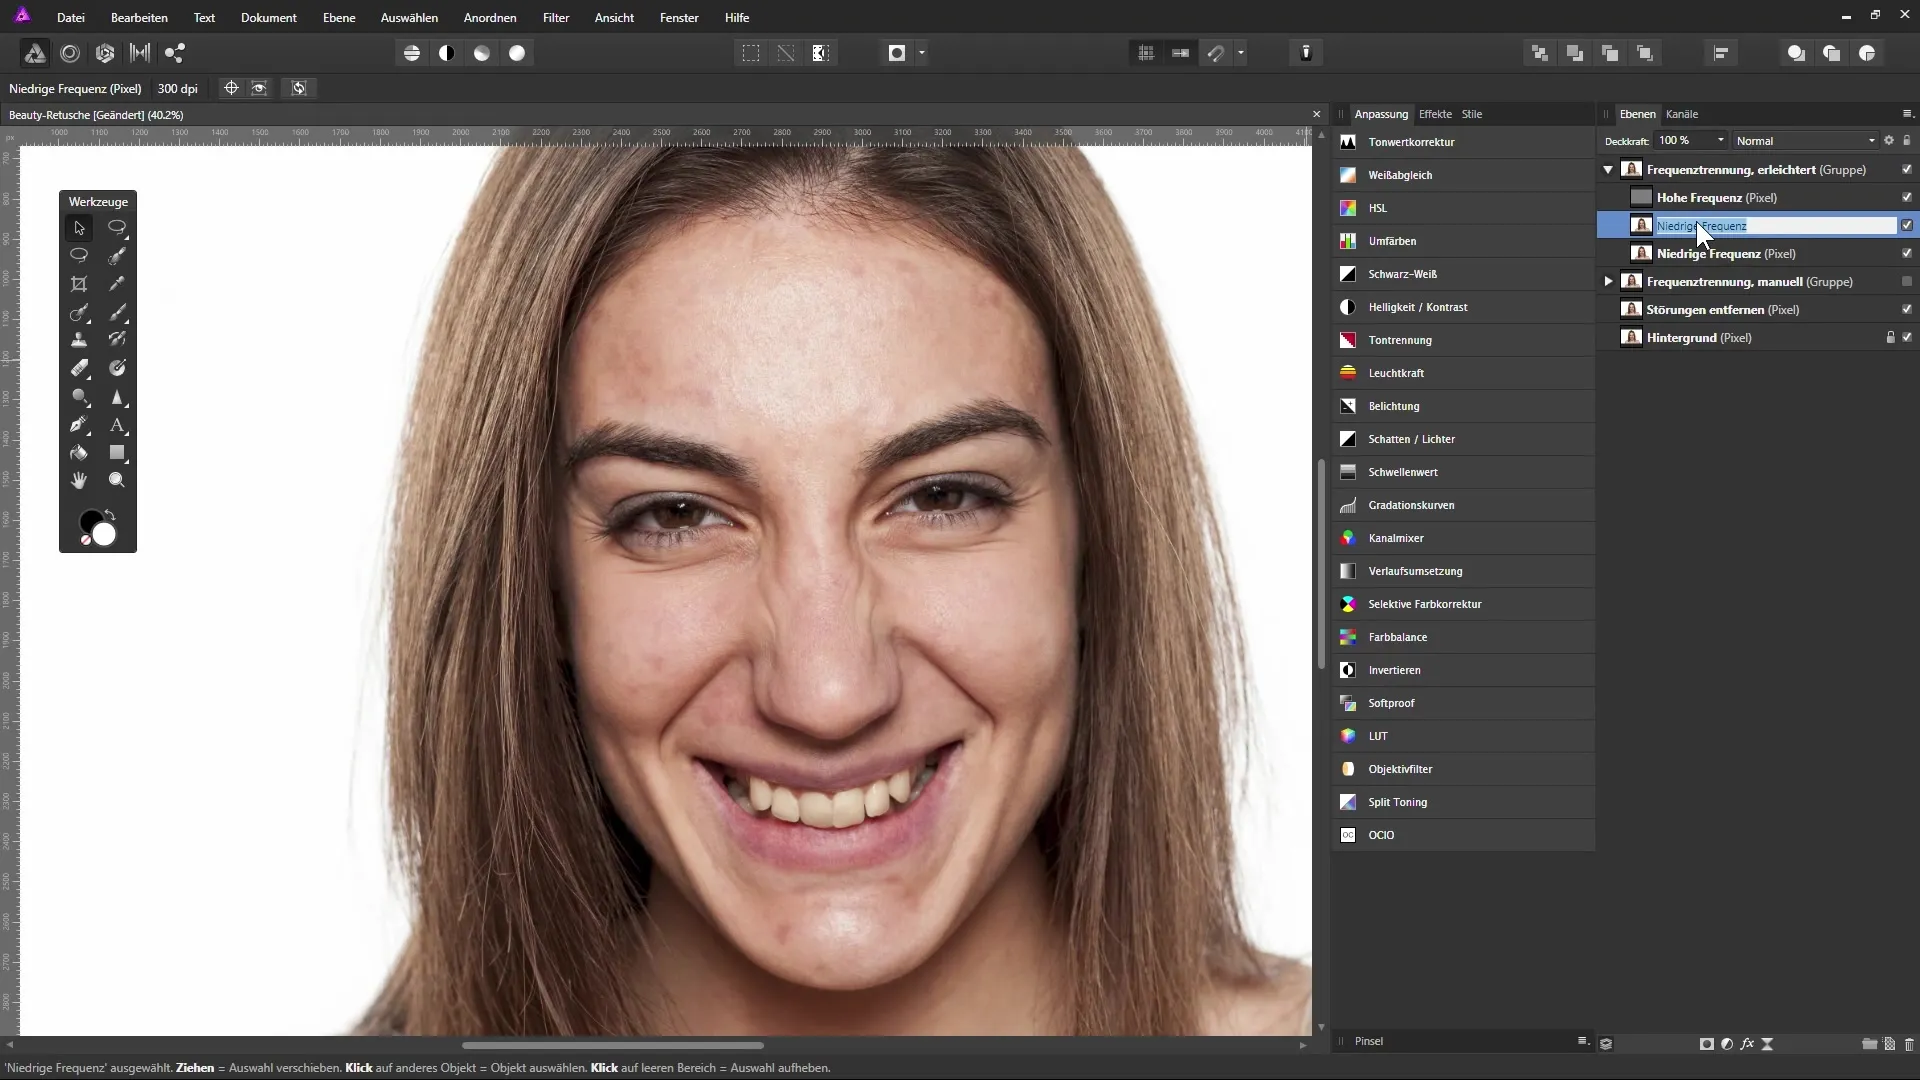
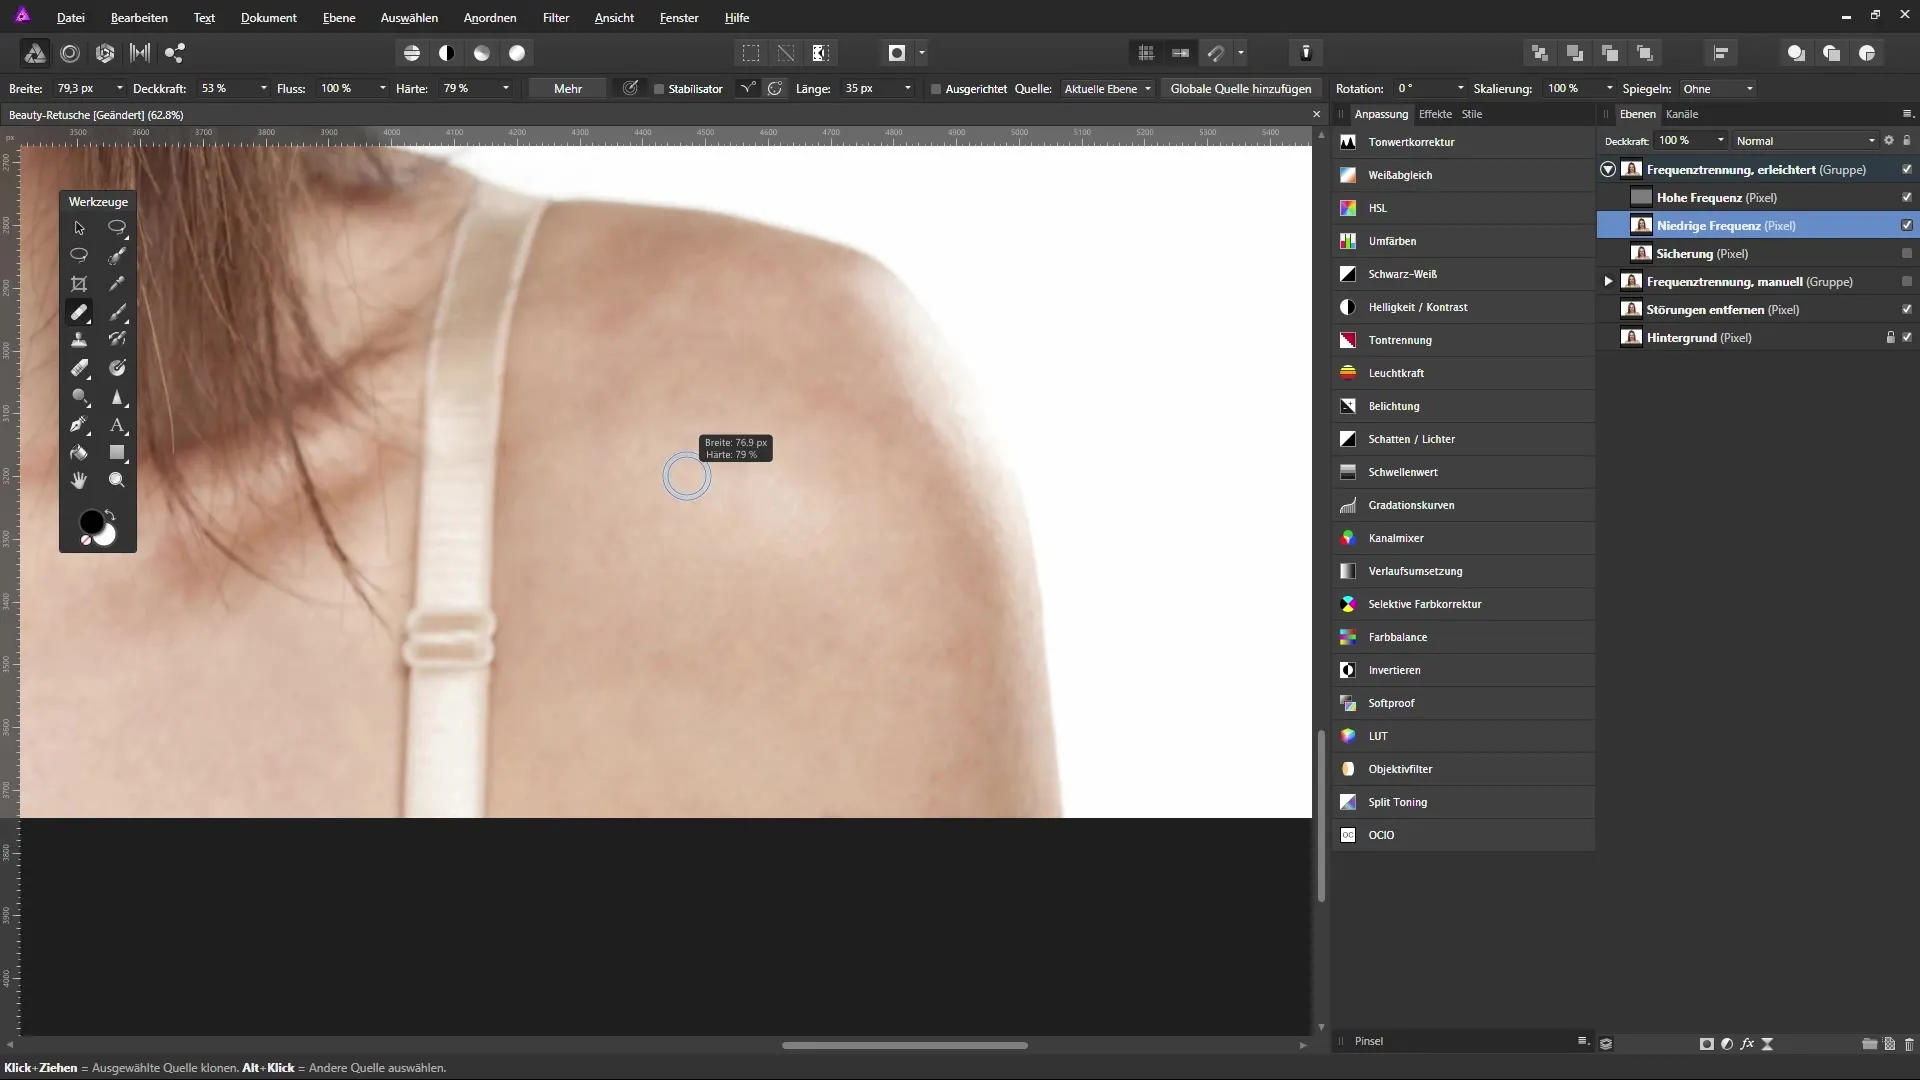
Now you are ready to use the repair brush tool. Ensure that the “current layer” is the “Colors” layer to capture only its contents. While holding down the Alt key, you can select an area and then paint over it. This allows you to specifically correct the blotchy skin appearance while maintaining the skin texture. Perform the process gently and carefully for an even result. Here is the screenshot from the use of the tool:
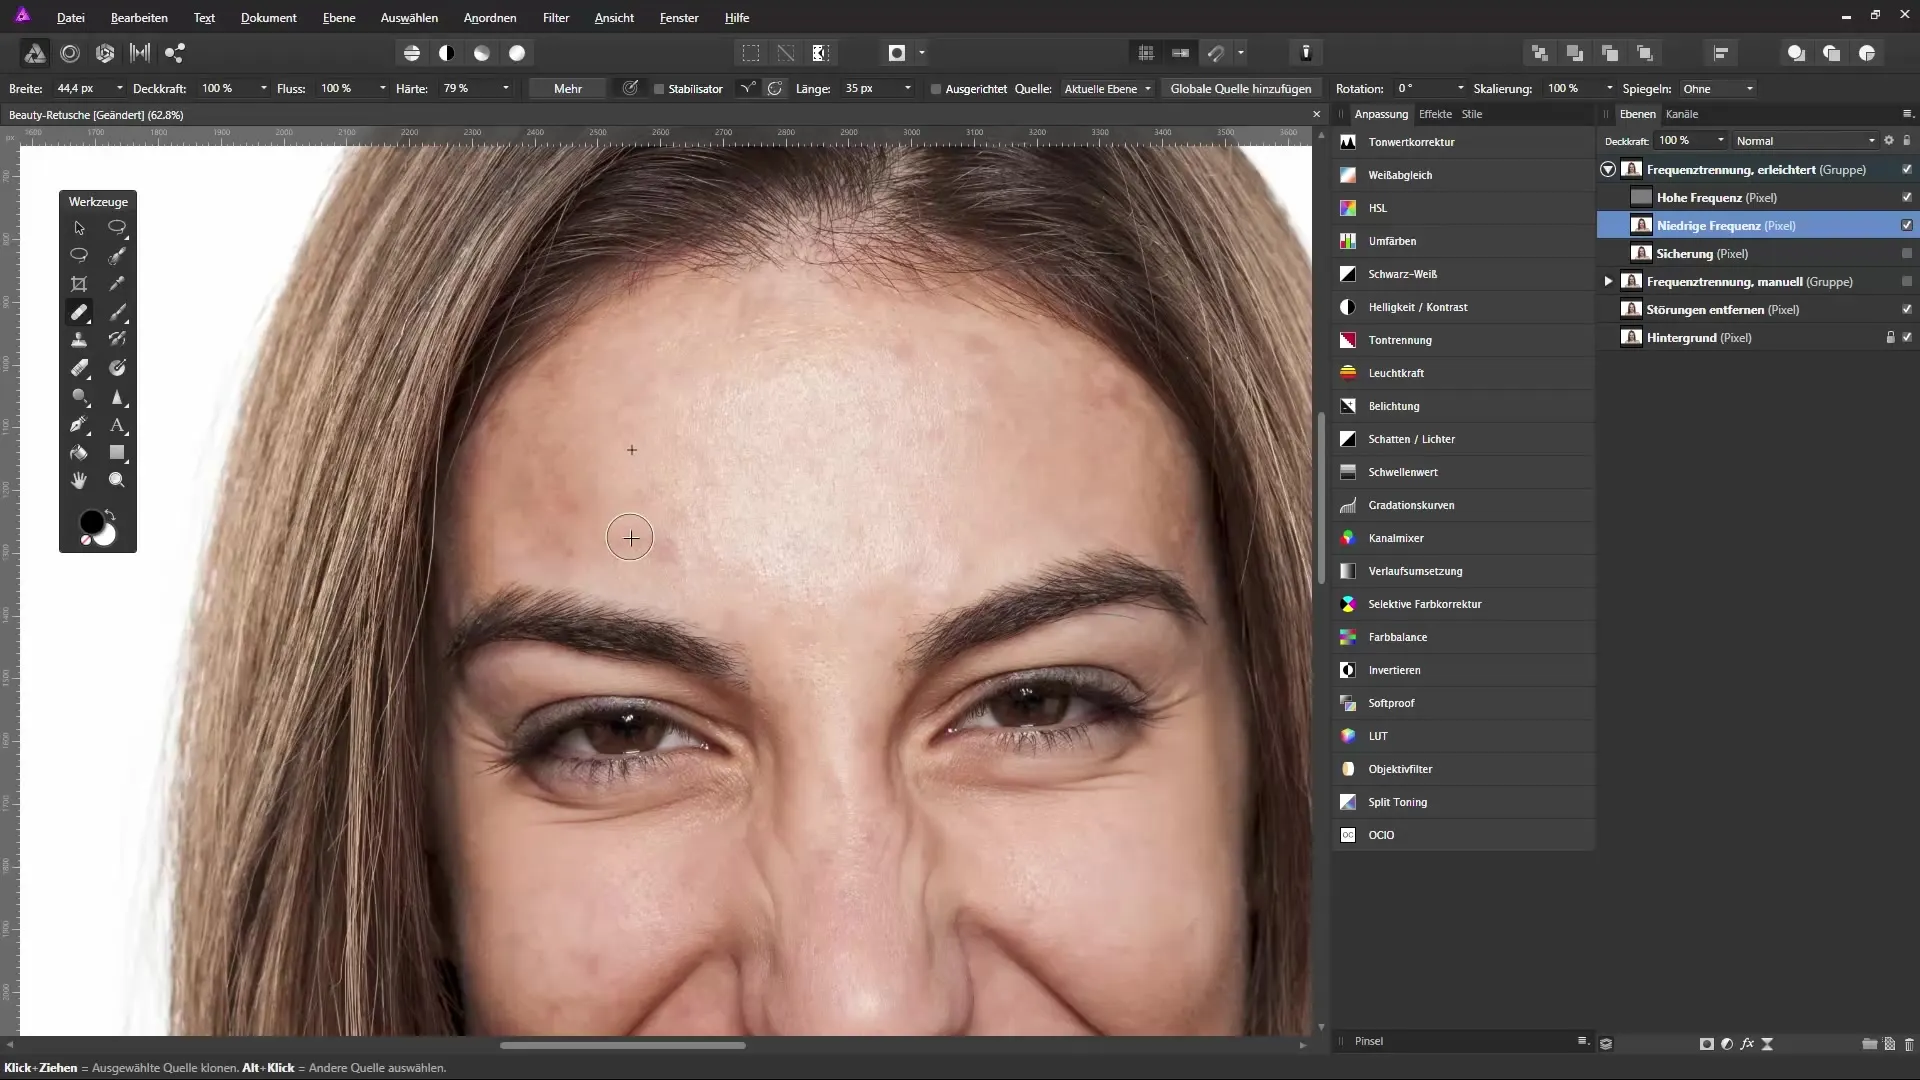
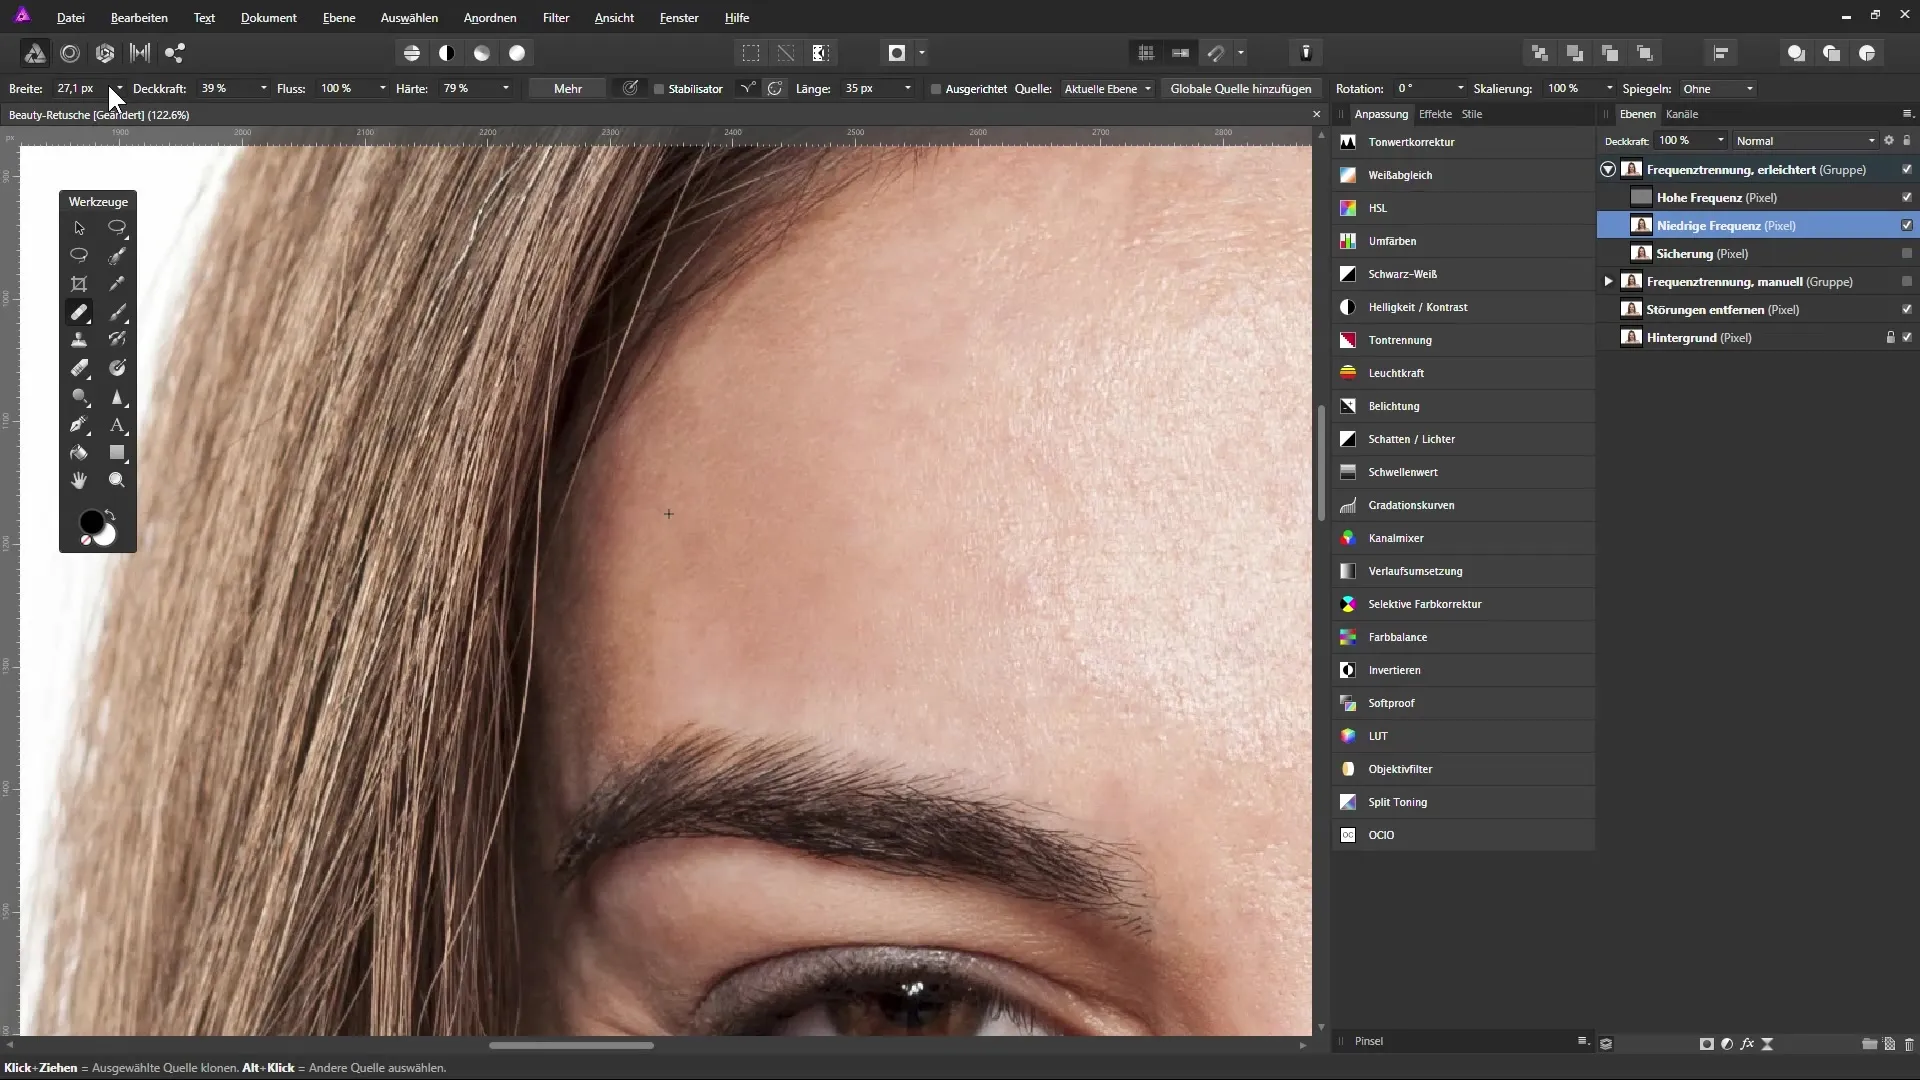
When you are ready to paint over a red or uneven spot, you can also reduce the opacity of the repair brush. This allows for a gentler approach and ensures a more harmonious skin adjustment. It is advisable to reduce the opacity to about 30-40%. Here is the screenshot again:
After you have completed the corrections, you can review your work behind the “Backup” copy. This way you will see the significant improvement: The skin now looks much smoother and more even – a clear difference to the previous image. Now you should ensure that the texture of the skin, such as the pores, remains visible while the colors look harmonious. To achieve an absolute comparison, enable the “Backup” layer and check the before-and-after result. Here is the screenshot for the comparison:
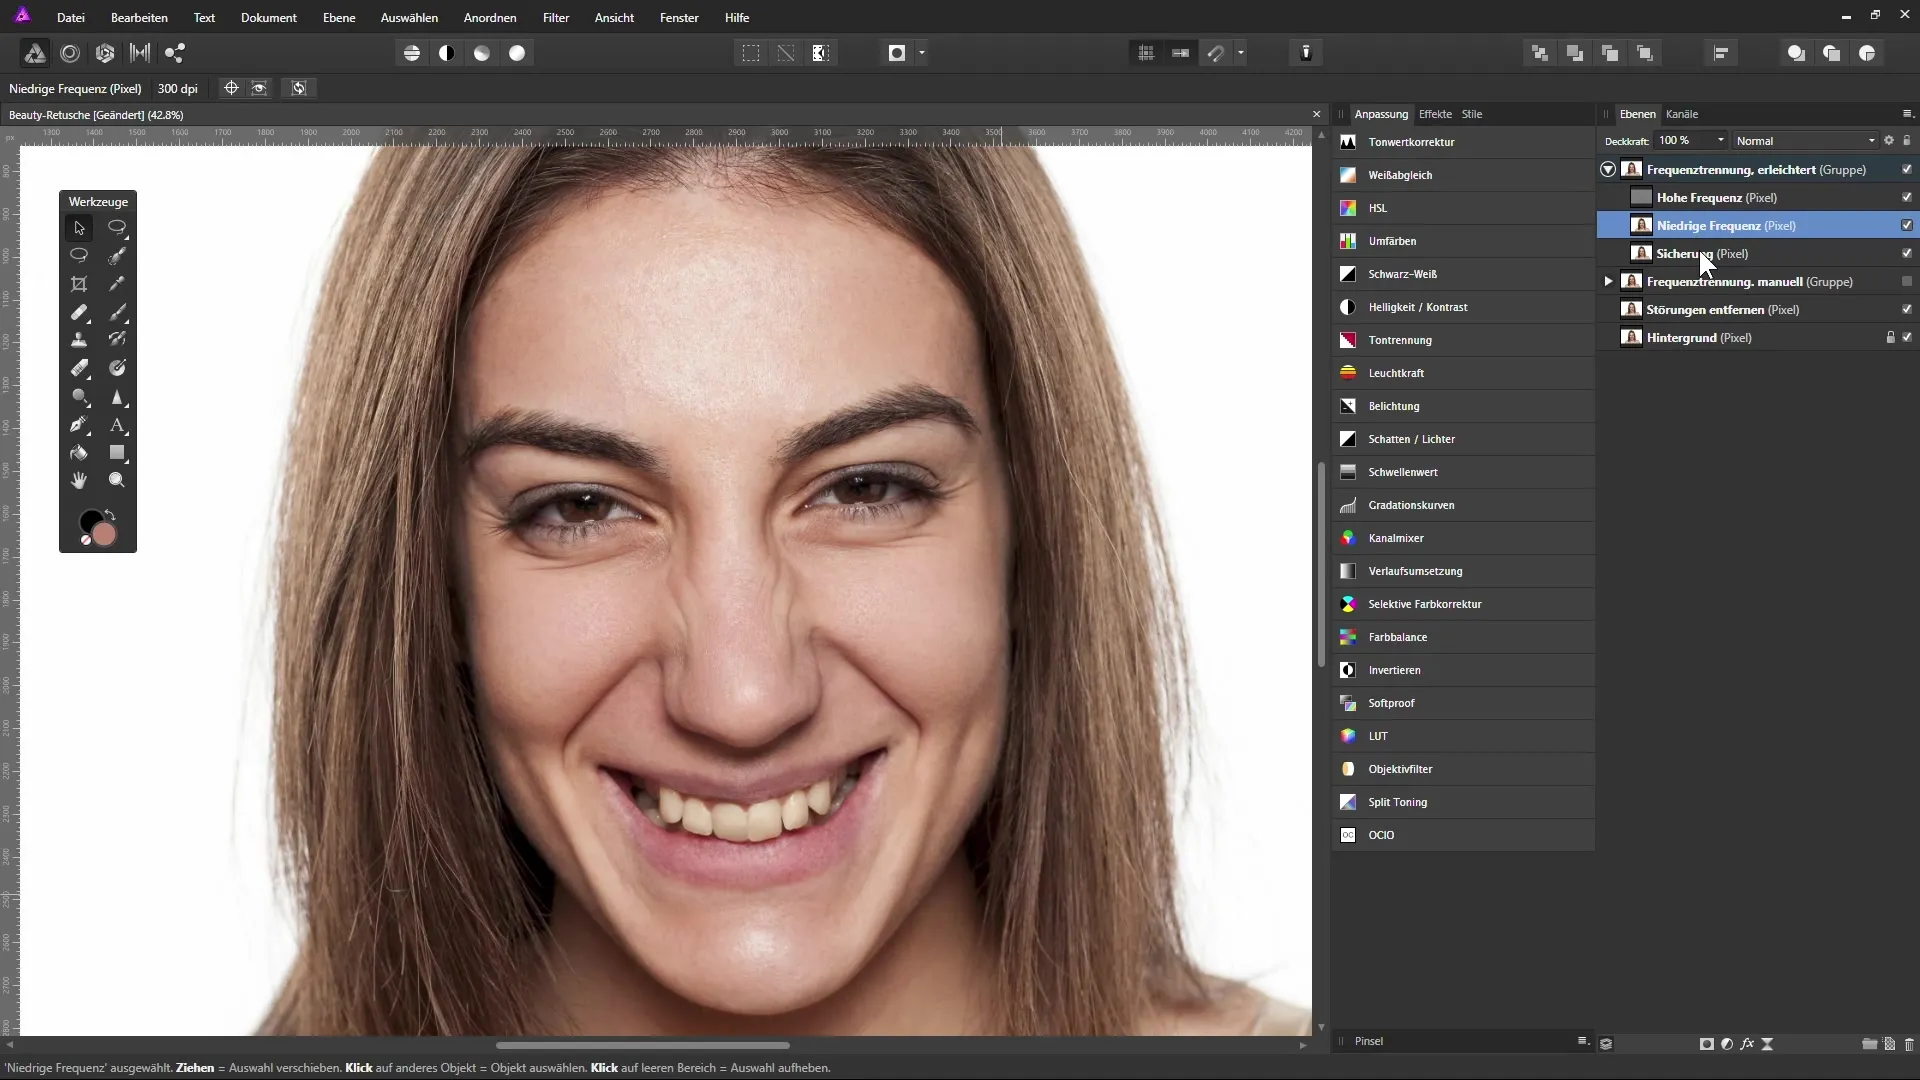
To finish the job, make sure you have carefully edited all areas. Use the repair brush to clean up the final topographical imperfections. Be careful not to paint into areas that could get damaged, like the fine hair strands or the lips. The screenshot shows the final process:
Summary - Skin Retouching in Affinity Photo: Optimizing Colors for a Radiant Result
You now have a detailed guide to frequency separation and color optimization in Affinity Photo. With the methods described, you can efficiently perform skin retouching while preserving the fine details.
FAQ
How does frequency separation work in Affinity Photo?Frequency separation separates the colors and details of an image, allowing them to be edited independently.
How can I retouch skin without losing details?By applying filters like Gaussian Blur and High Pass Filter in combination with the right layer modes, you can retouch the skin without losing the fine details.
What tools do I need for skin retouching?The repair brush is the most important tool for retouching. The Gaussian Blur and High Pass Filter are also essential.
How can I ensure that I do not create a clipping mask when moving layers?Make sure to move the layers cleanly to the desired position, without a blue bar appearing over the layer preview thumbnail.
What should I keep in mind when adjusting colors?Be careful and make sure to achieve an even color coverage without compromising the natural skin structures.


