Creative freedom combined with powerful technology – that’s what Soraoffers you when it comes to creatingyour own presetsand loops. In this guide, you will learn how to design the presets according to your ideas and how to create a seamless loop from each clip. This will perfectly equip you for social media and other platforms. Let’s get started!
Key Insights
- You can create custom presets or select existing presets.
- The preset management allows you to create tailored video styles.
- With the loop function, you can create endless loops for social media.
Step-by-Step Guide
Step 1: Create a Preset
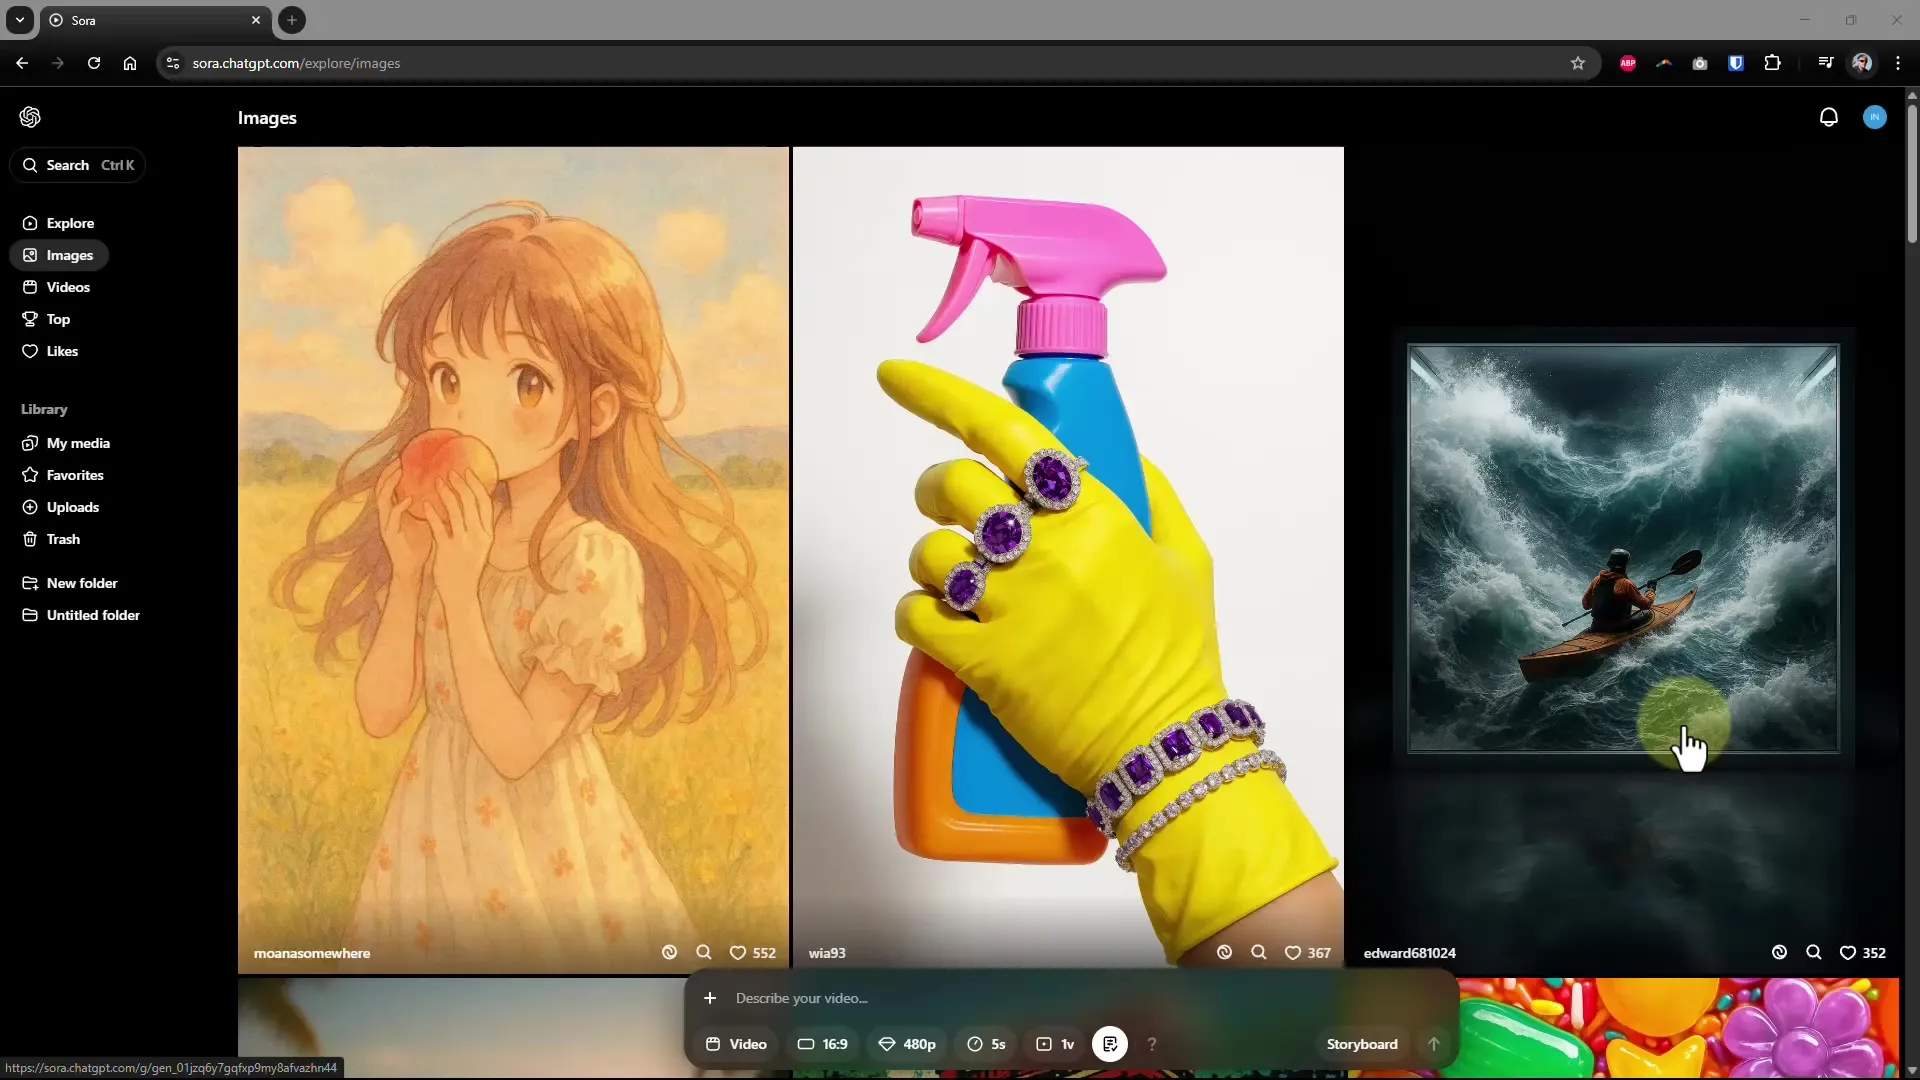
To create your first preset, open Sora and go to the preset area. Here you can choose from various templates or create a new preset. Click on the plus symbol to create a new preset. Give your preset a unique name, for example, “Simpsons.” Be sure to make the description for the preset clear and precise – in this example, you can write “everything in the look of the animated series Simpsons” to achieve the desired result.
Step 2: Customize a Preset
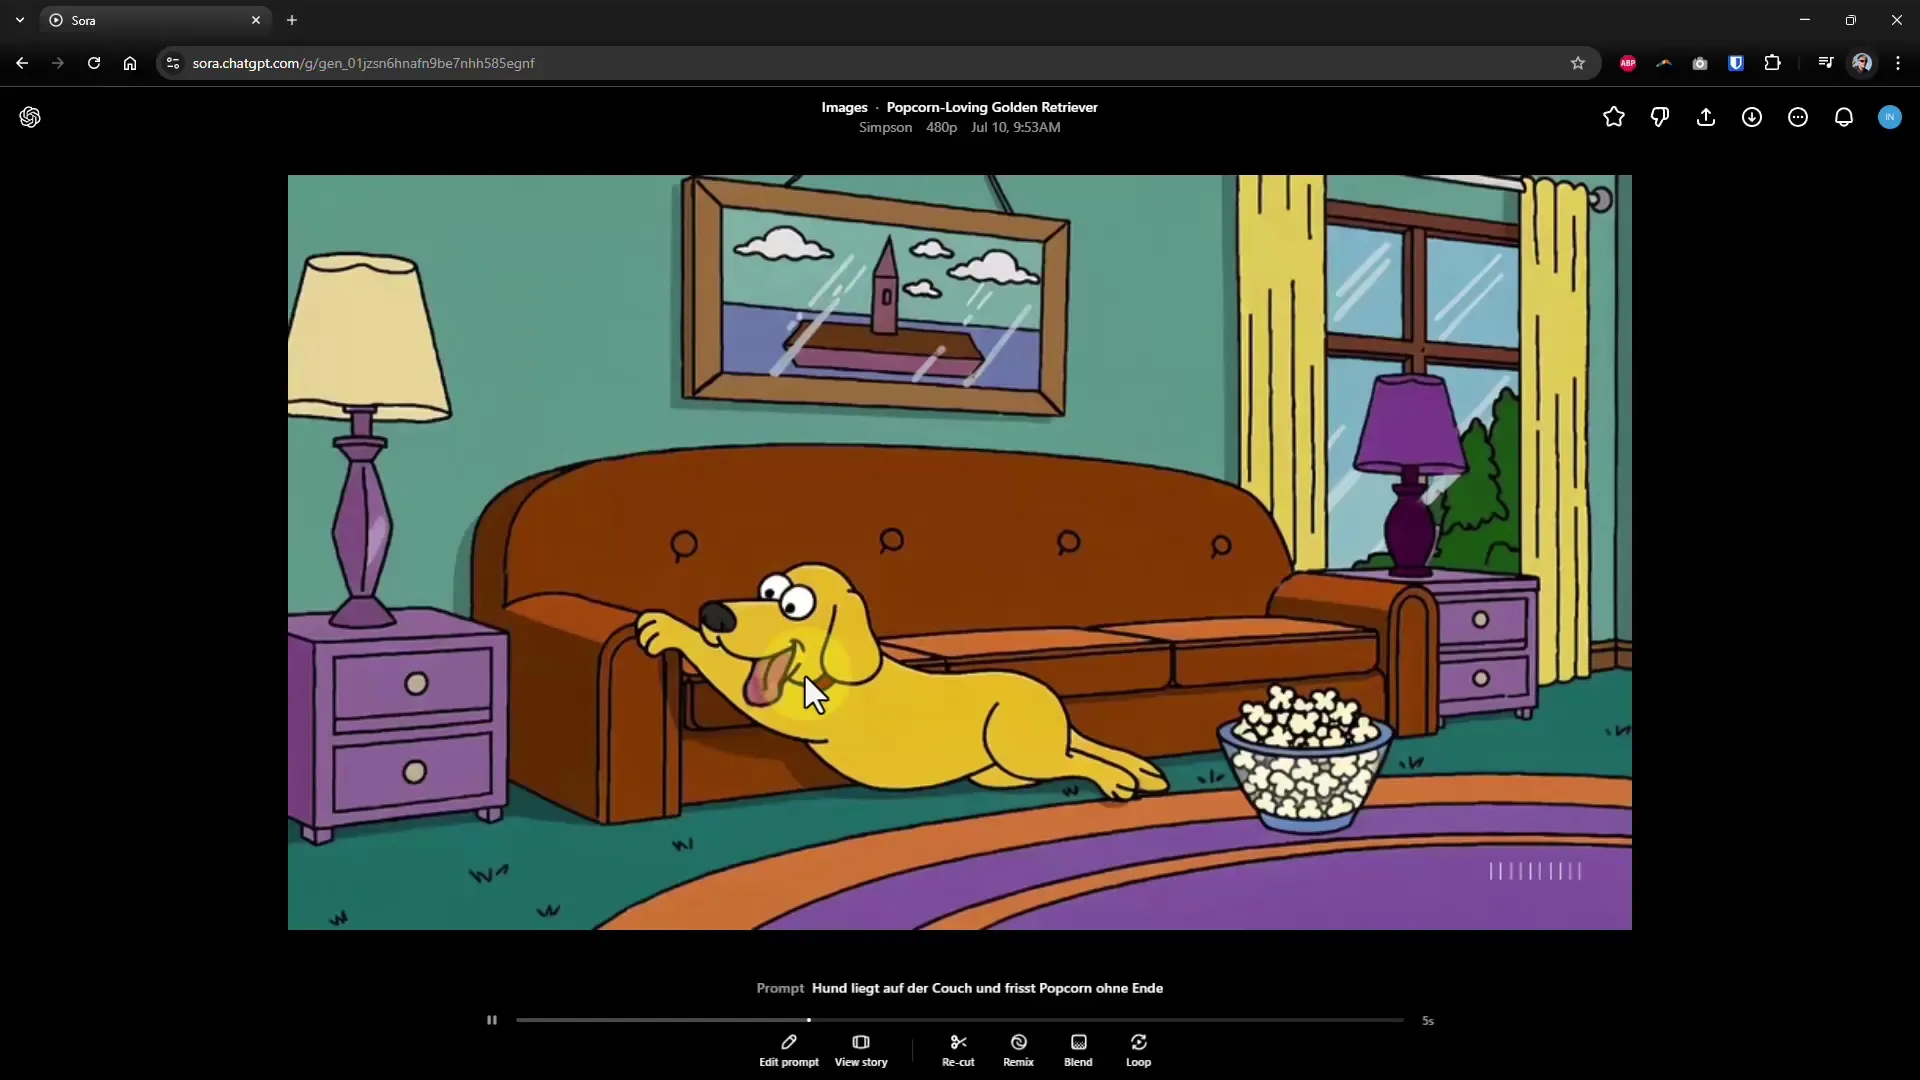
Once you have created your preset, you can further customize the individual elements. For example, if you want to create a preset in the “Lego Stop Motion Animation” style. Make sure to refine the description so that various aspects like camera movements are included. This helps the AIto have a better understanding of the desired video style. After saving, the preset will be available for editing.
Step 3: Create Video
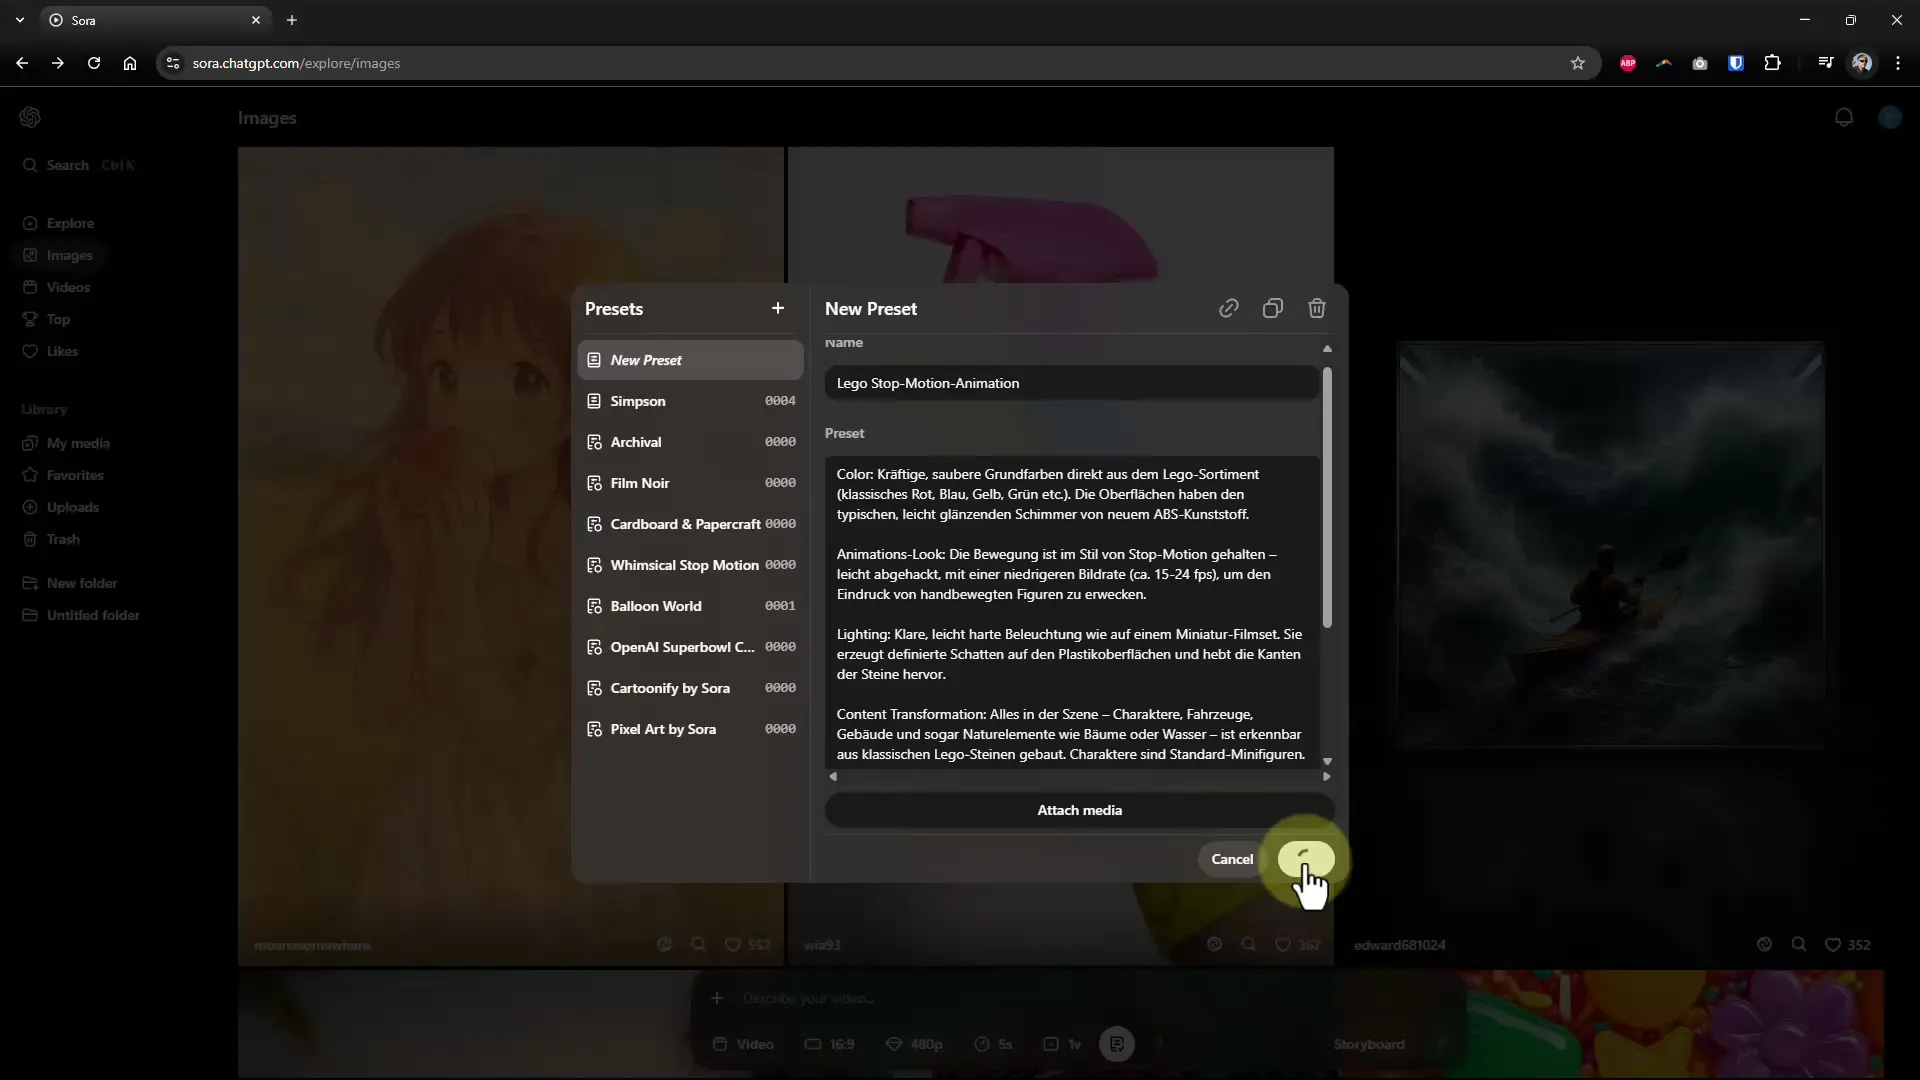
Now that your preset is set up, you can start creating your video. Use the preset style you defined to create a video that matches your creative concept. During generation, you may not know the content in detail, but you will quickly see if the AI has implemented the desired style well.
Step 4: Review the Result
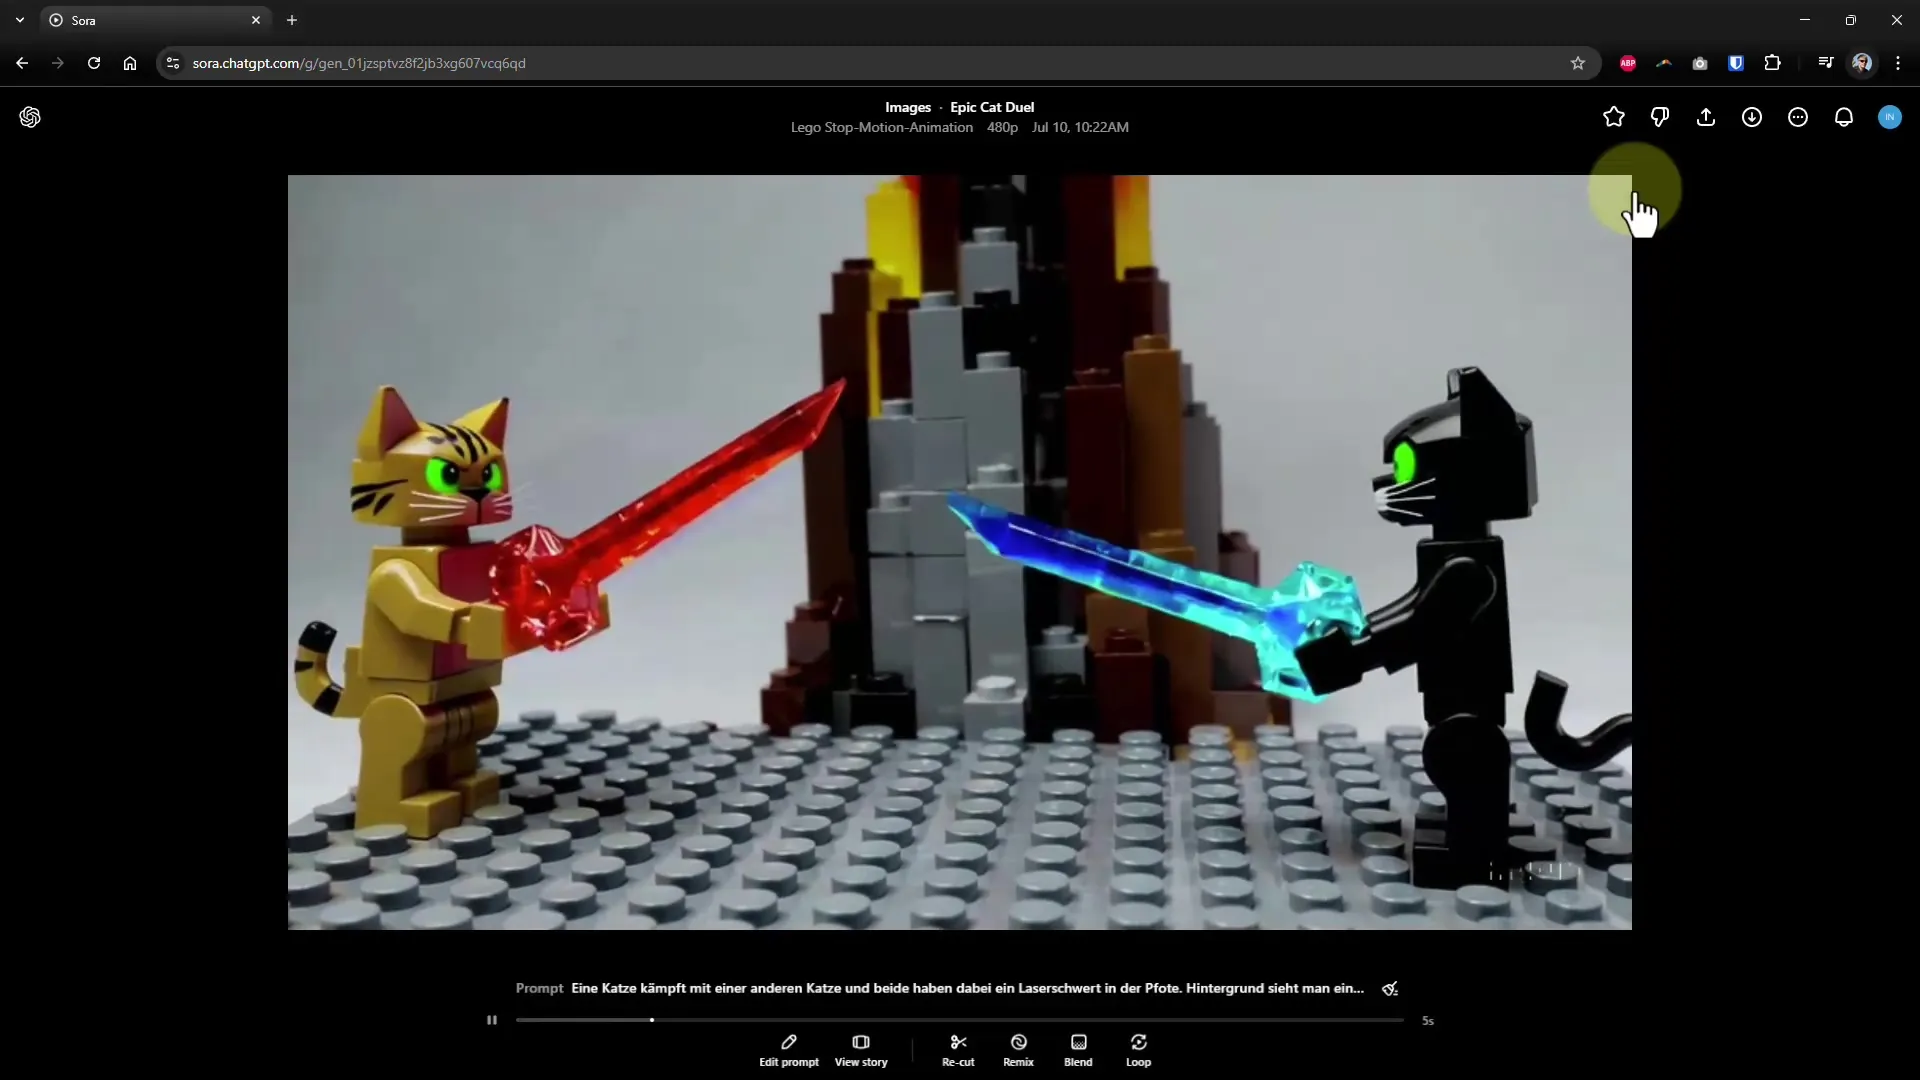
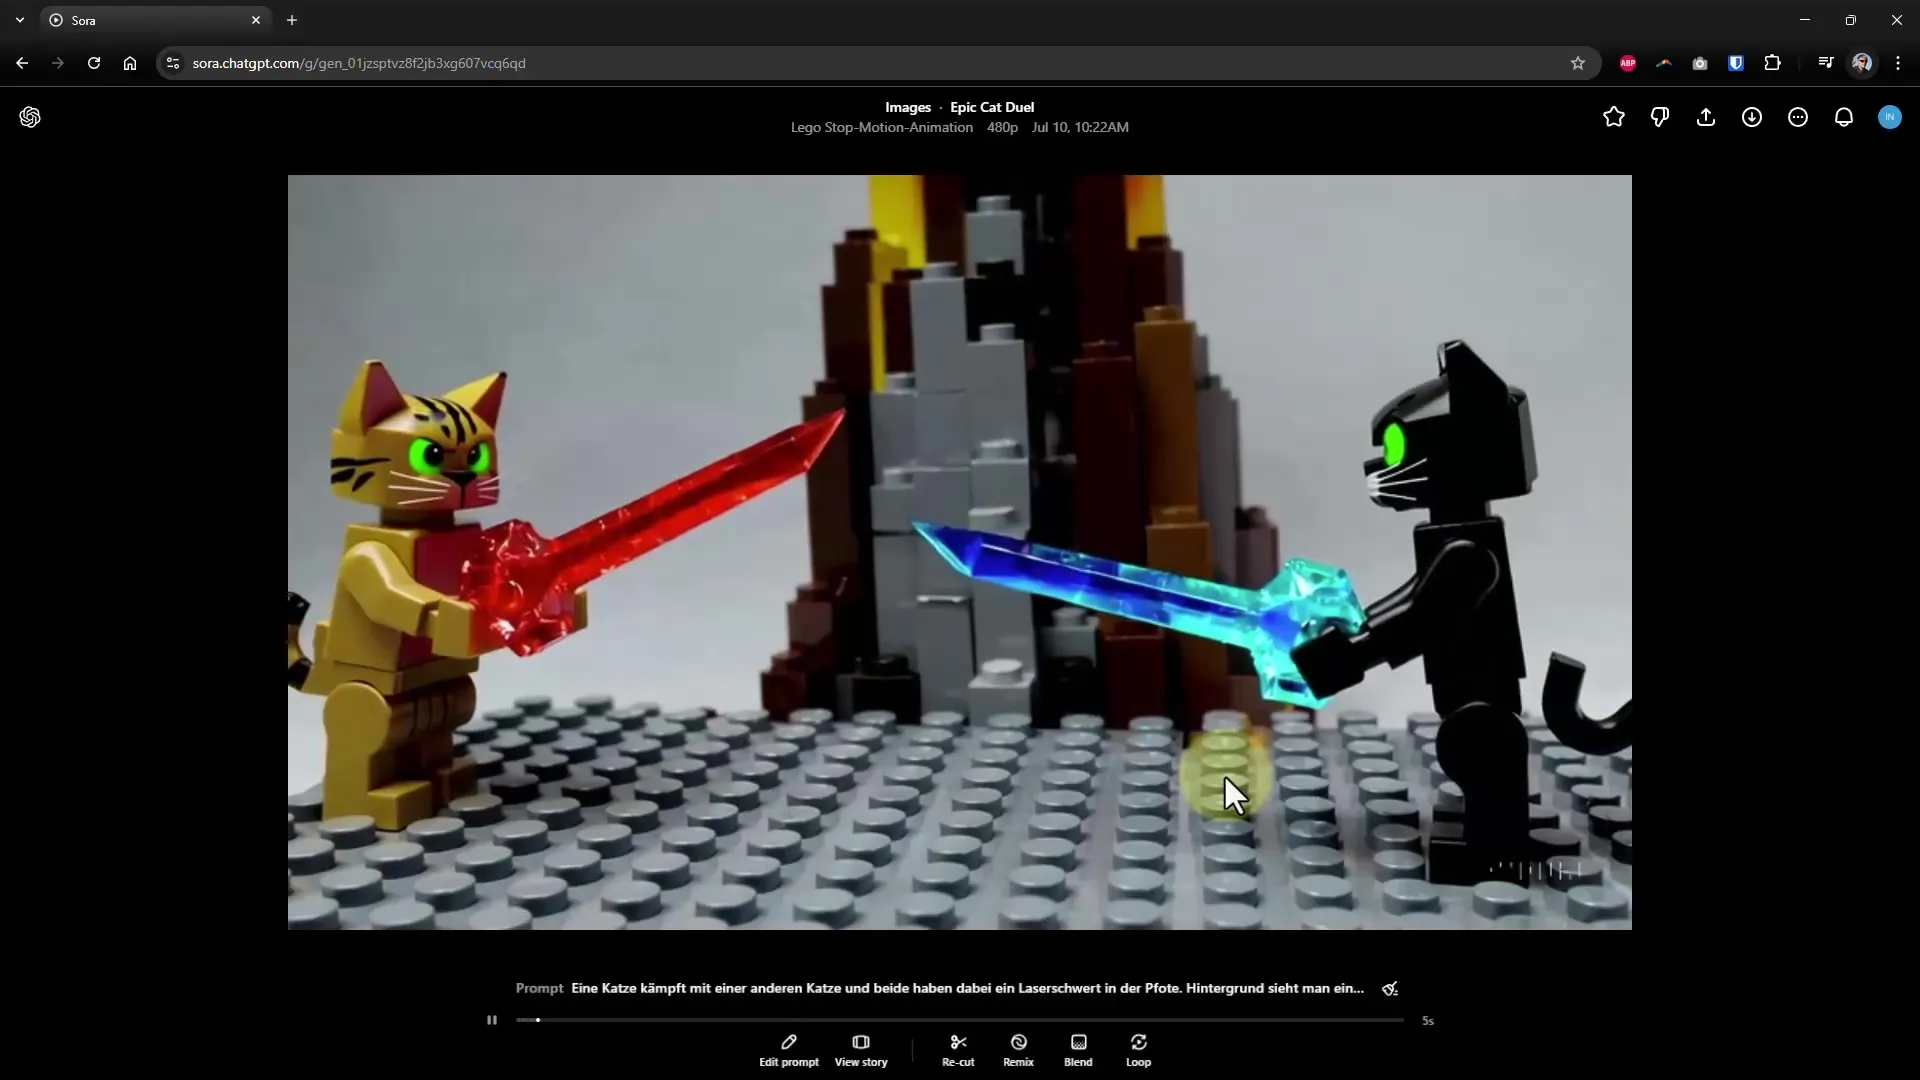
Once the video has been generated, take the time to review the result. Check if it corresponds to the style you desired. An example could be a clip that works with Lego figures. The visuals and animation should be recognizable. It’s important to pay attention to the small details in the video to make adjustments if necessary.
Step 5: Use Loop Function
If you are satisfied with the created video, you may want it to repeat endlessly. This is a crucial step for use on social media. To use this loop function, press the loop symbol. Then select the specific parts of the video that you want to loop. You can choose between a normal, short, or long loop, depending on the desired effect.
Step 6: Review Video as Loop
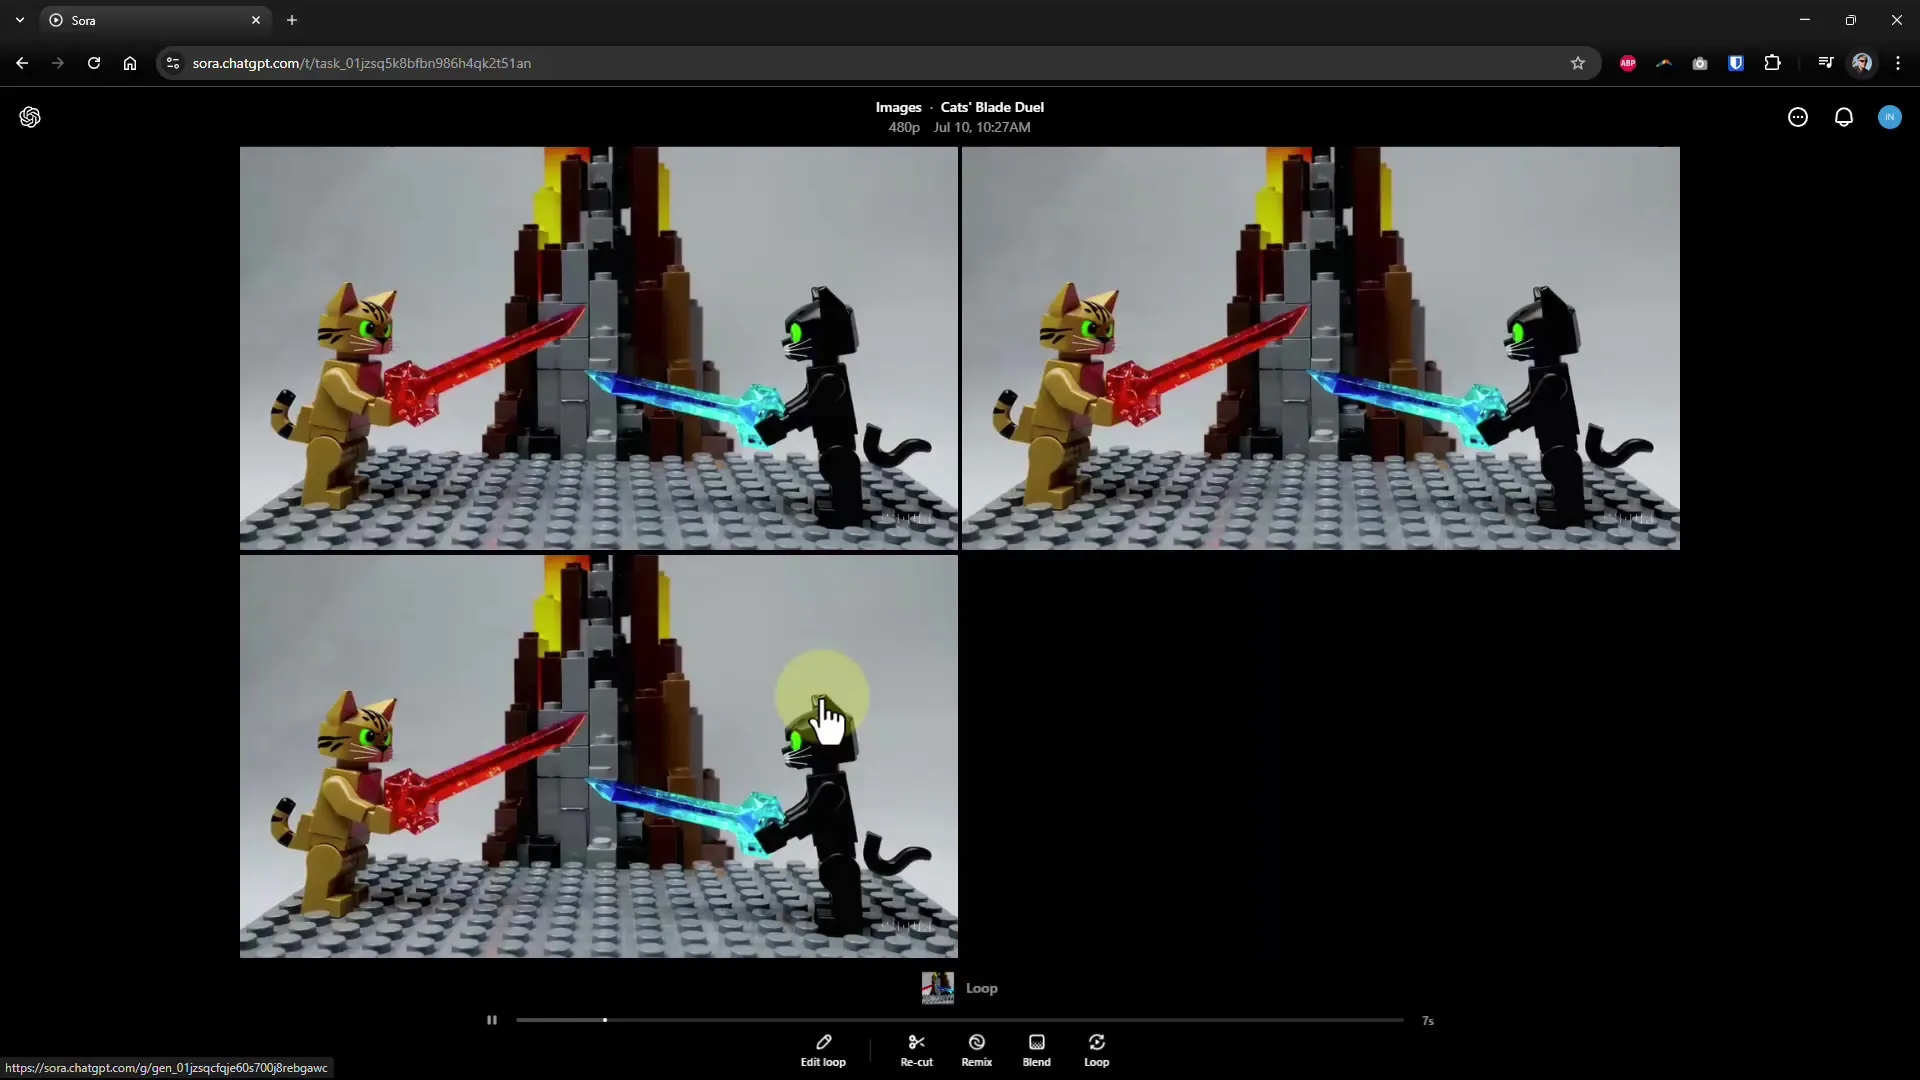
After setting the loop, the AI is now waiting to present you with the finalized loop. Review the final result to ensure that the transition between the beginning and end of the video is seamless. A well-designed loop should appear as if there is no beginning and no end, which often captivates viewers.
Summary – Become an AI Director: Create Your Own Presets and Loops in Sora
Presenting your creative ideas through custom presets and loops in Sora is an excellent way to expand your editing capabilities. Use the steps mentioned above to create your unique styles and ensure that your videos appear impressive on social media.
