In the digital age, you may want to not only create simple videos but tell real stories. The SoraStoryboardfrom OpenAI provides you with the tools to create creativevideos with multiple scenes and transitions. Whether for personal projects or professional content, here you will learn how to turn captivating stories into video form with just a few clicks. Let's go through the process step by step.
Main insights
- The Sora Storyboard allows the creation of multi-part stories in a video.
- You can describe scenes, add images or videos, and adjust the duration of each scene.
- The "Blend" function allows the combination of multiple clips into a new video.
- Using the right format is crucial for optimizing the visual outcome.
Step 1: Access the Storyboard
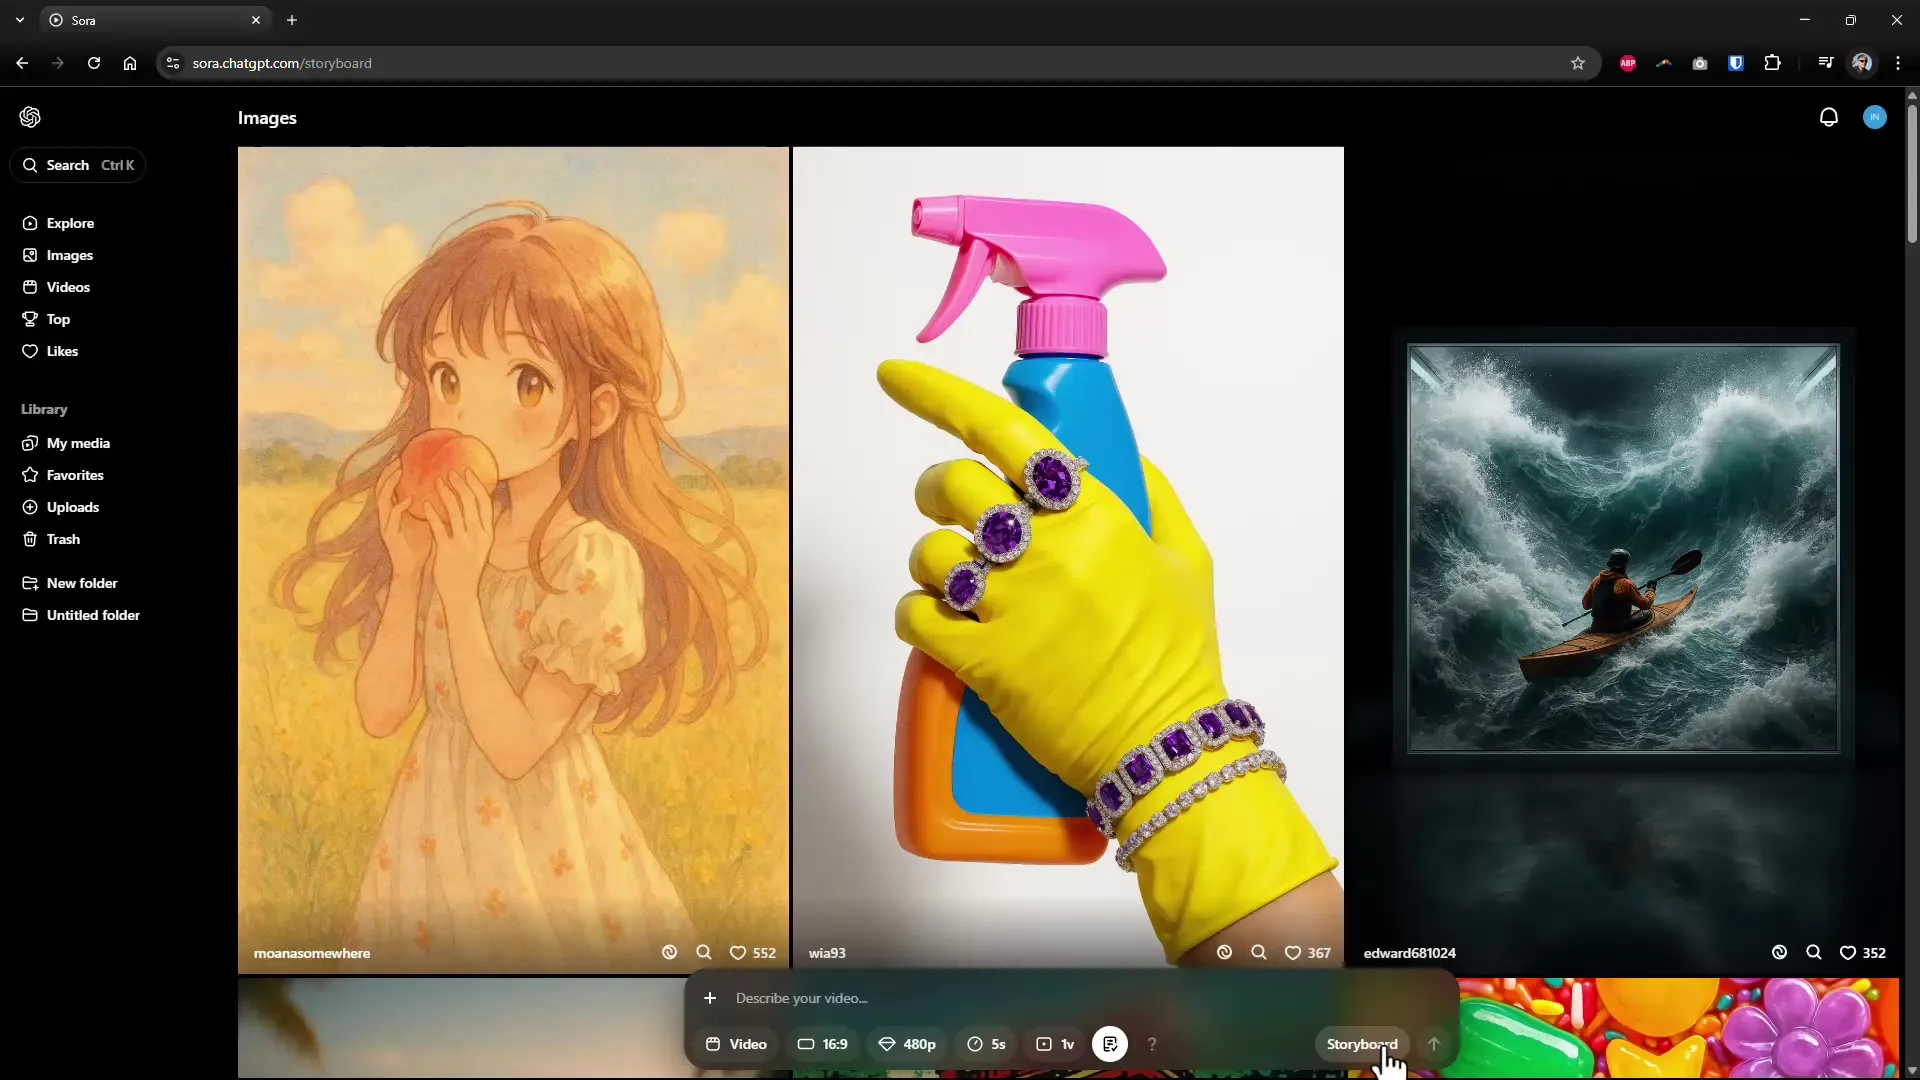
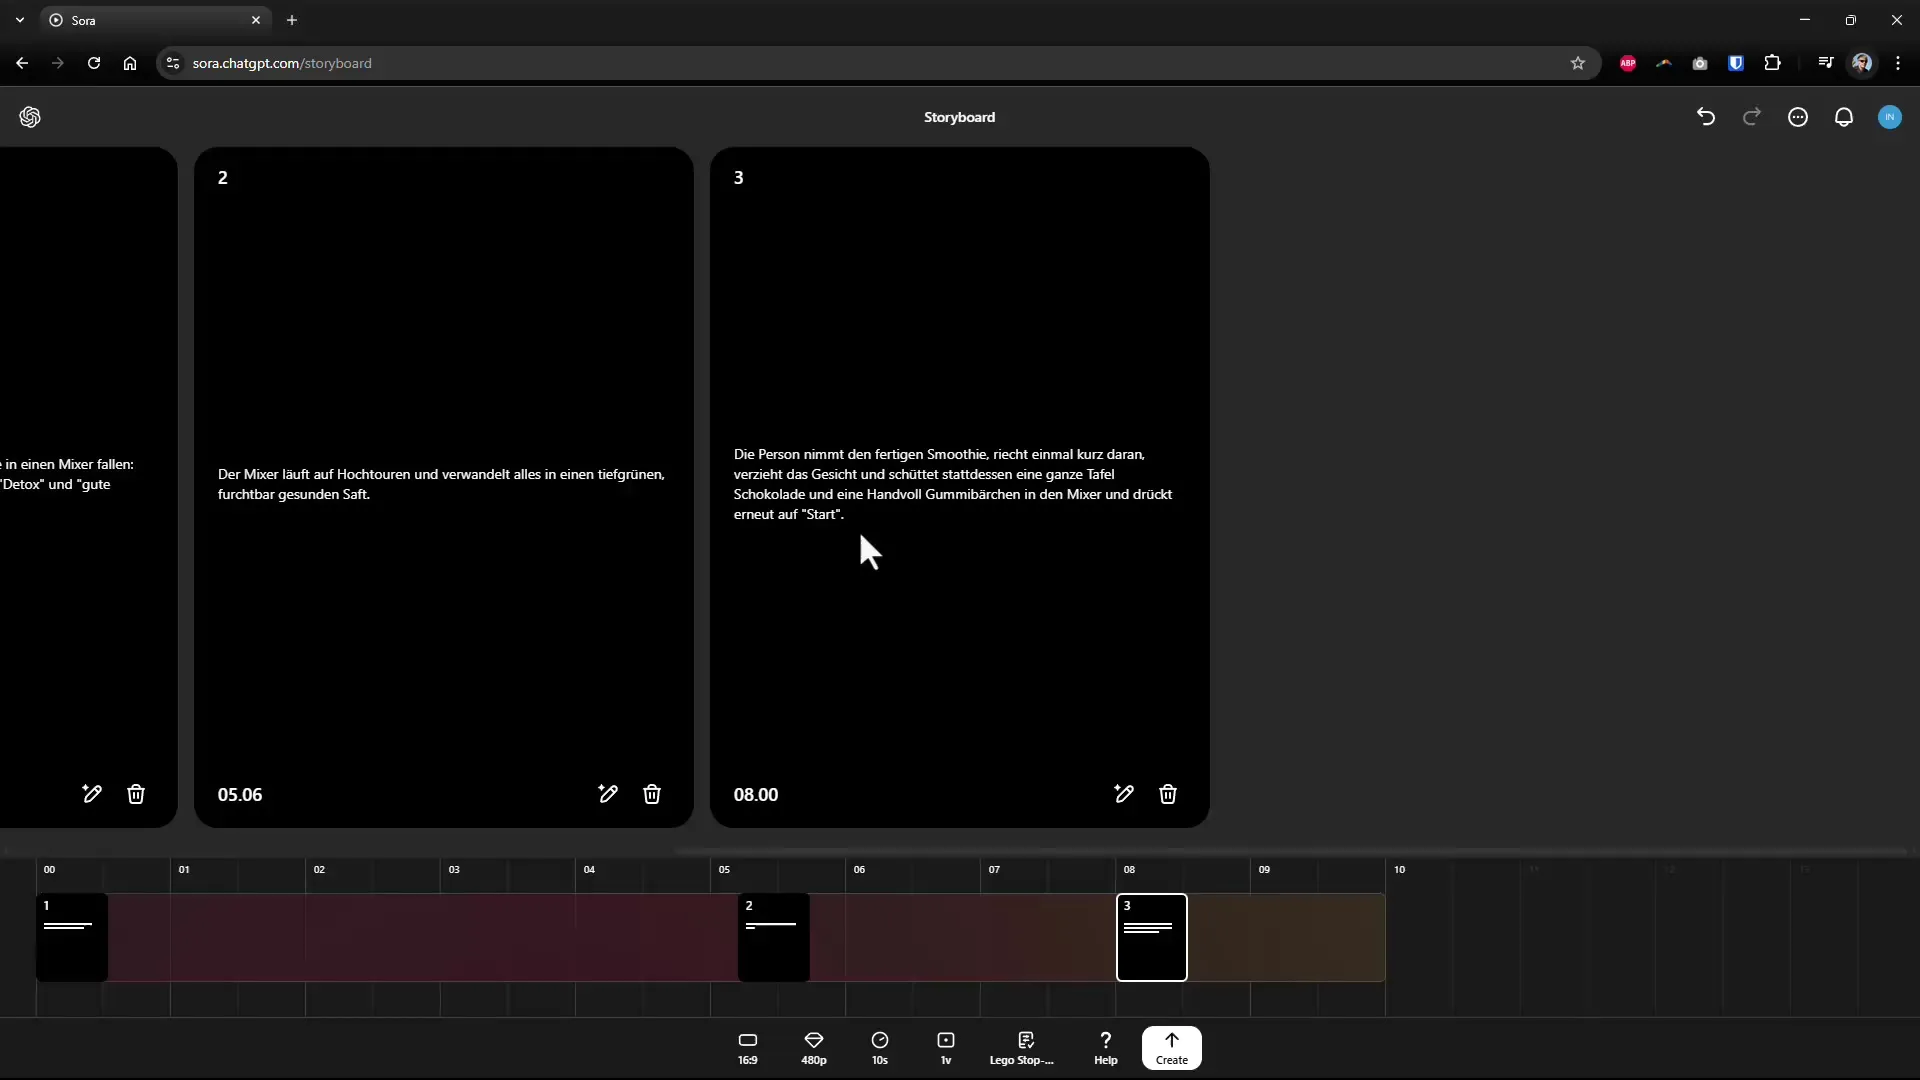
To gain better influence over your video, start by clicking on the "Storyboard" button. Here, you have the opportunity to design every second of your video and define specific actions or content.
Step 2: Adjust timeframe
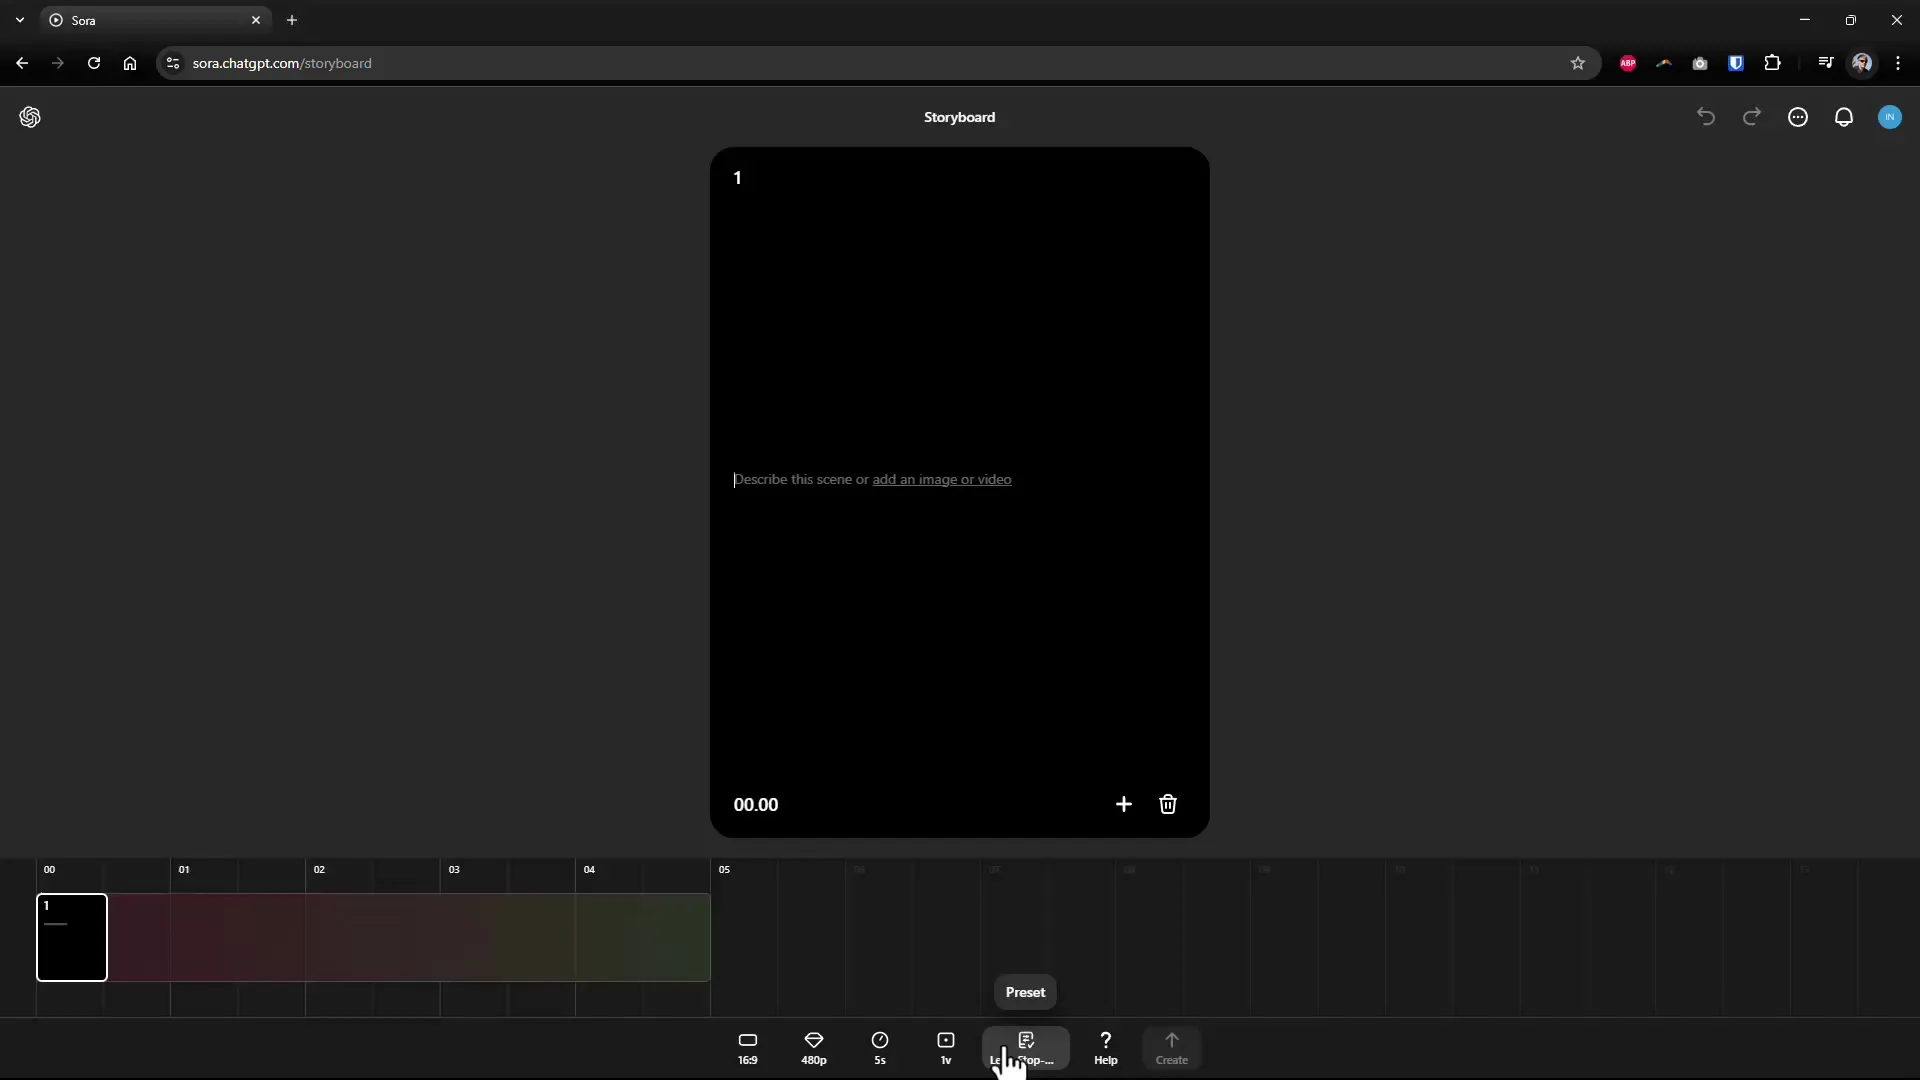
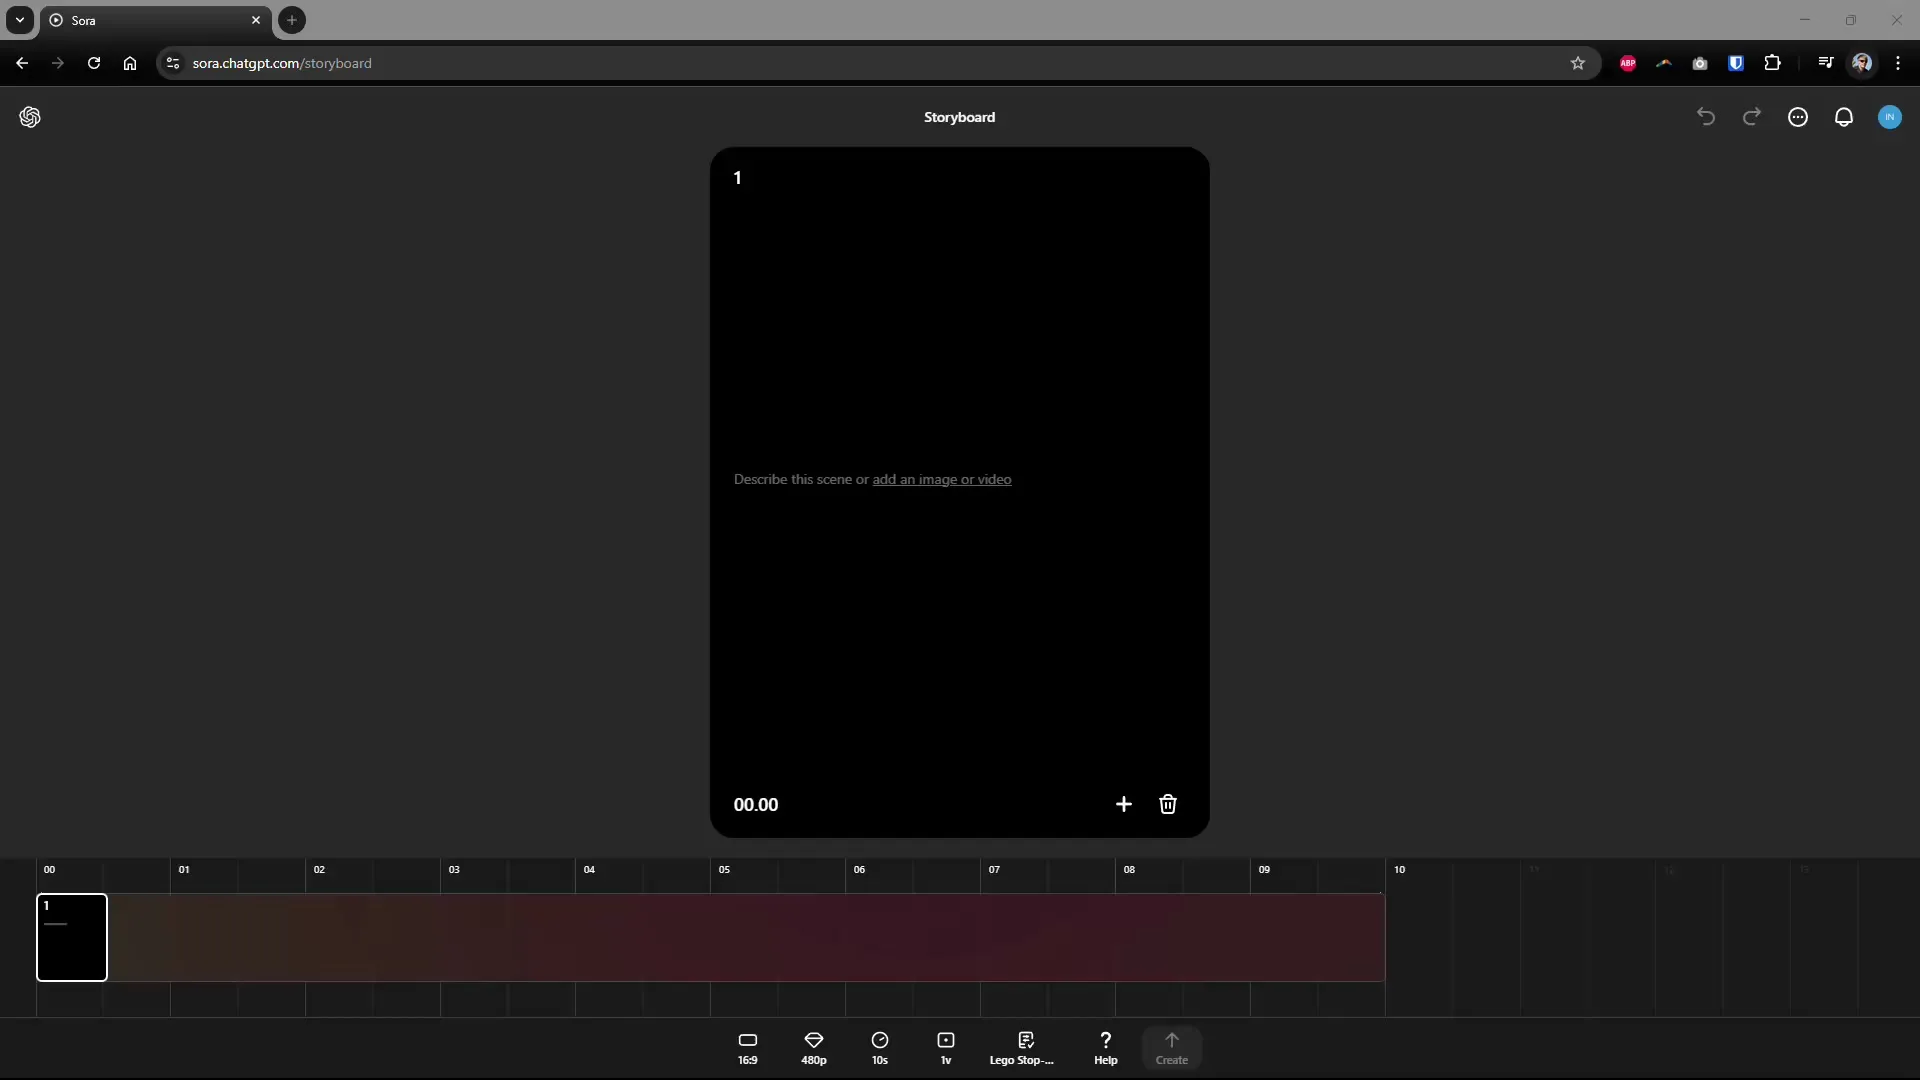
To tell your story optimally, set the duration of the individual scenes. Instead of choosing just 5 seconds for each scene, you can increase the time to 10 seconds. This gives you more space to express your ideas.
Step 3: Scene Description
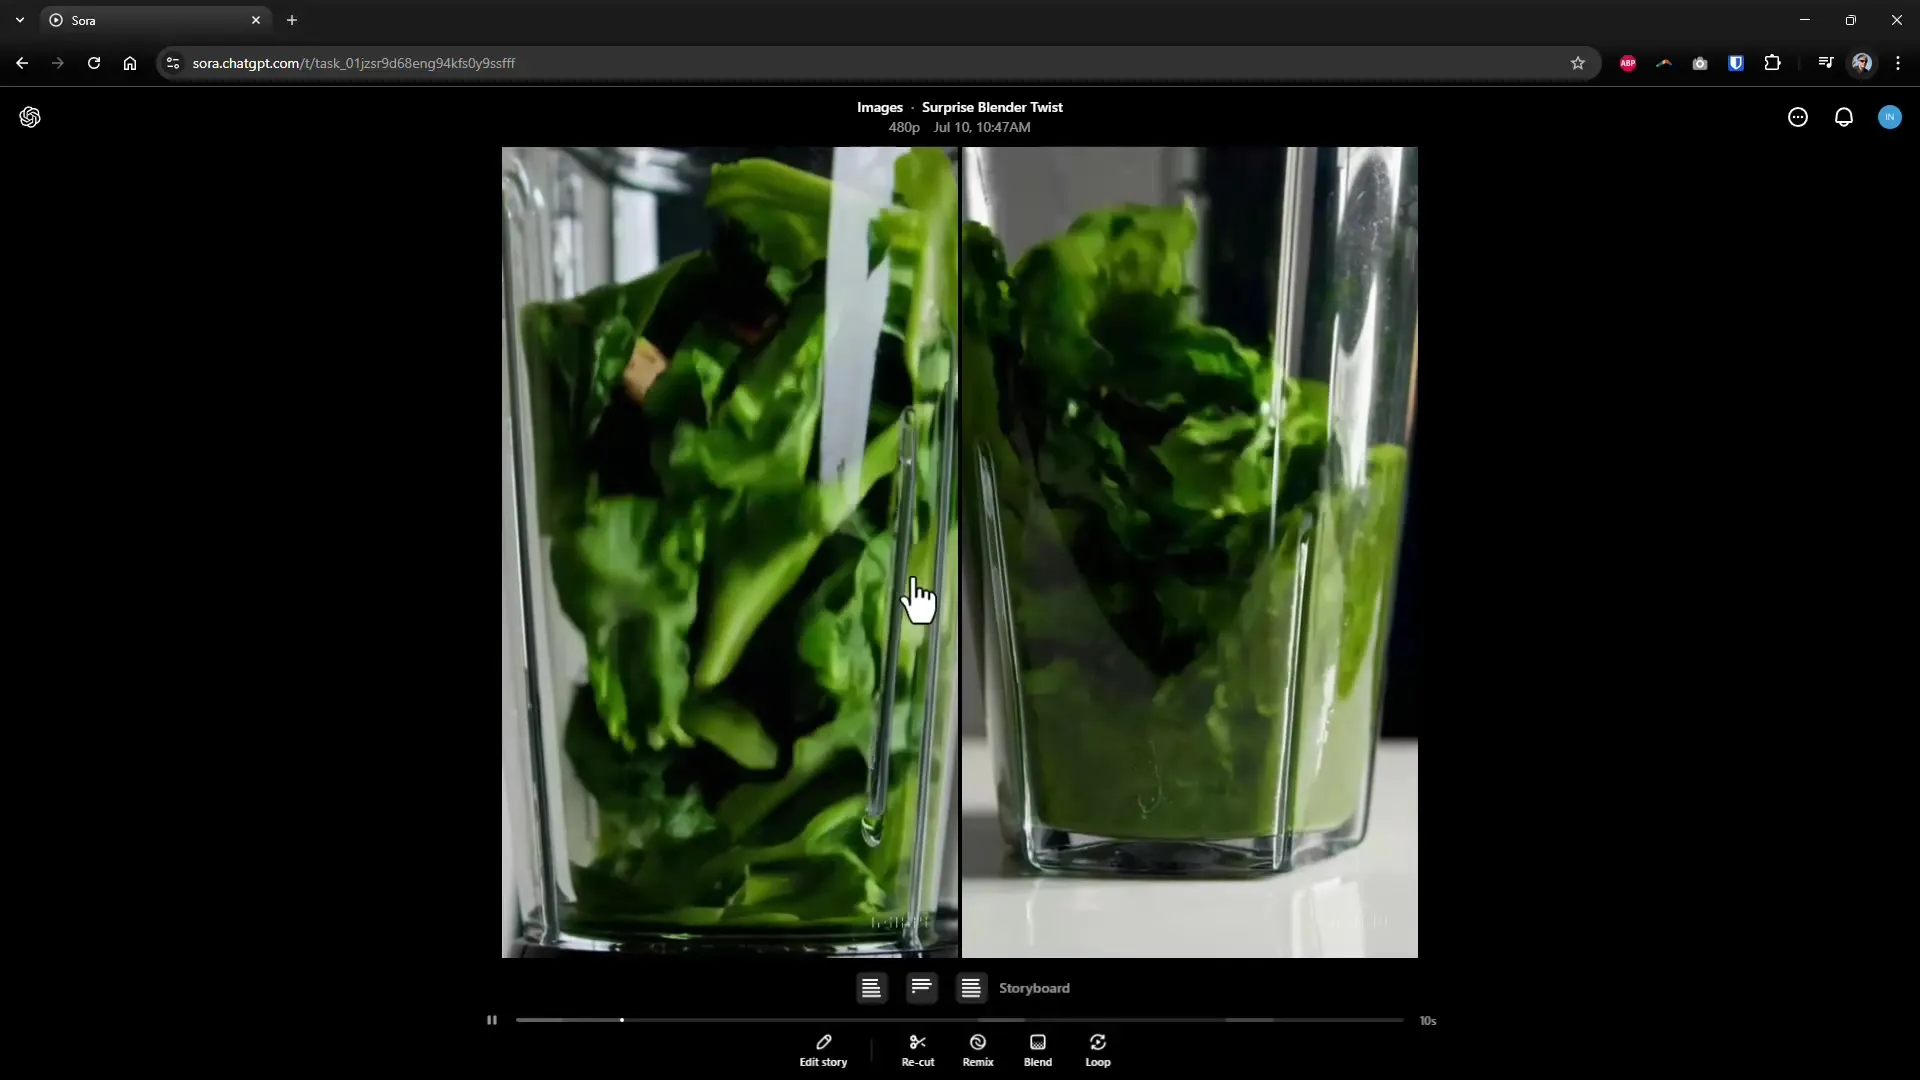
Now it’s time to define the first scene. Think about the theme of your video and add a description or upload images or videos. For example, you could createa scene where healthy ingredients like spinach fall into a blender – perfect for a smoothie video project.
Step 4: Add Music (optional)
Currently, you cannot directly add music, but this feature may be available soon. Instead, you can initially focus only on the visual design and add the music later, once the feature is available.
Step 5: Add More Scenes
Start describing the next scenes. For example, you could show a person in the next scene looking at a finished smoothie and experimenting with an unexpected ingredient. Make sure your scenes remain exciting and engaging to capture the viewers’ interest.
Step 6: Format Choice
The choice of format is crucial, especially if you want to use the video for platforms like YouTube Shorts. A 9:16 format would be optimal in this case for publishing your creative content.
Step 7: Review Activity
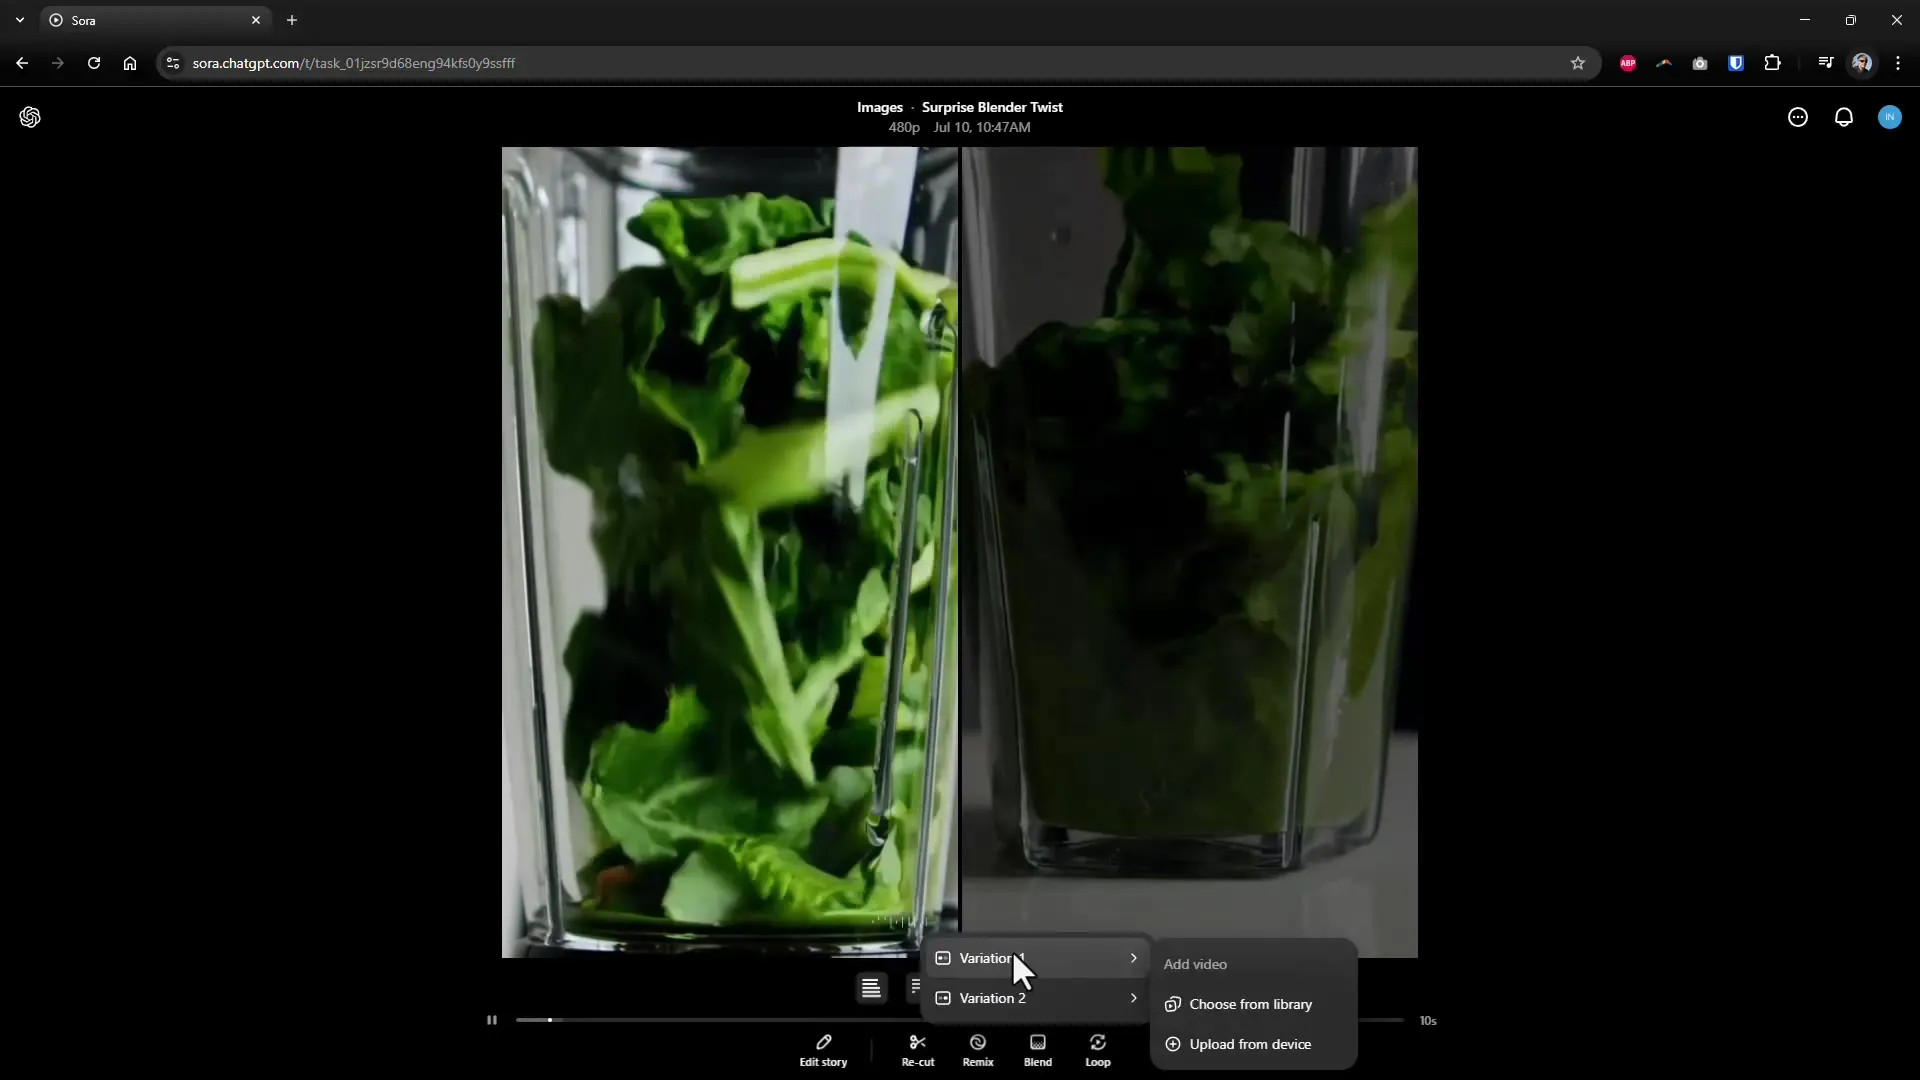
After you have created all the scenes, click on "Activity" to check what videos have been created. Here you can see if your scenes fit well together and if the overall picture is coherent. Check if there are any issues with the transitions between the scenes.
Step 8: Adjust Duration
Your scenes should have enough time to clearly convey the developments. If you notice that the scenes are running too quickly, it might be helpful to extend the duration a bit to optimize the storytelling.
Step 9: Combine Videos
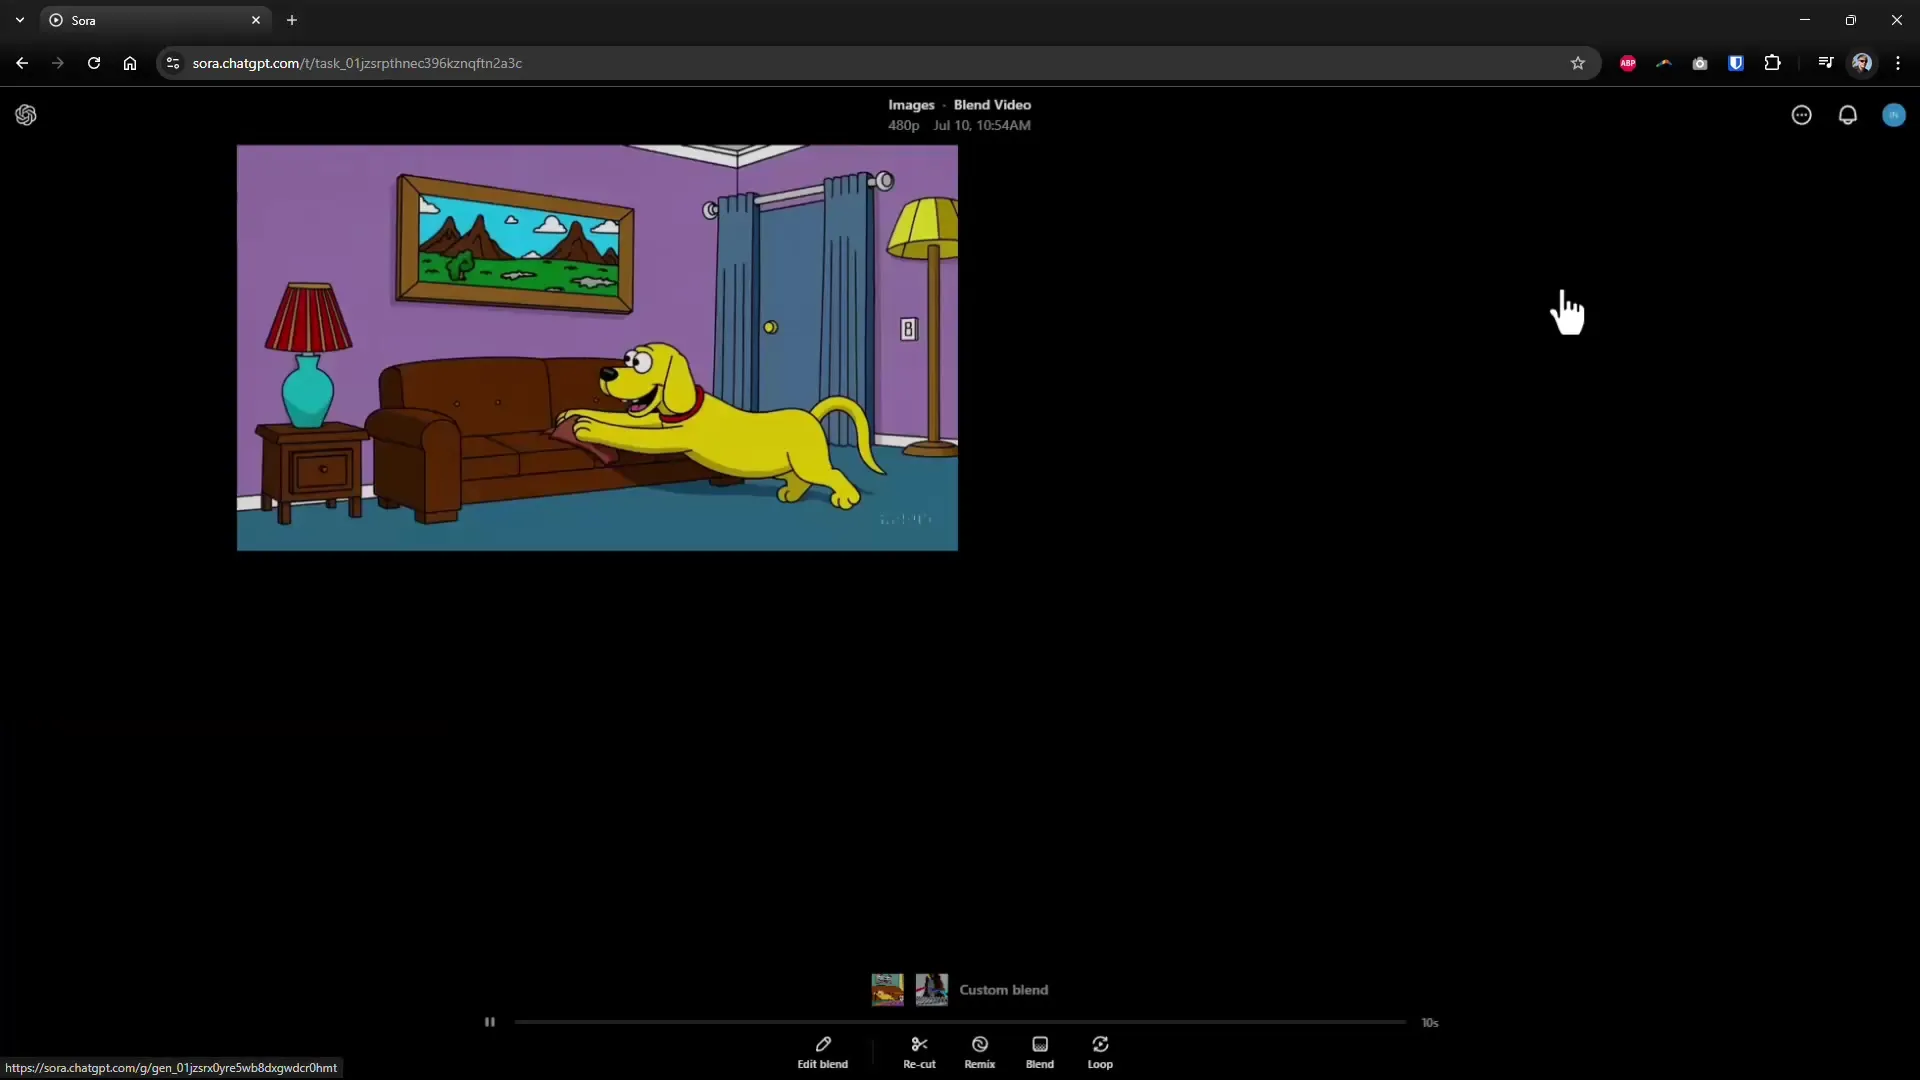
If you are satisfied with the individual scenes, you can use the "Blend" function to merge different clips. This function allows you to create impressive transitions between the scenes through crossfades.
Step 10: Review Results
After you have mixed your clips together, review the final result. Pay attention to whether the transitions are smooth and if the story is well told. Feedback from friends or colleagues can help you optimize the final version.
Summary – Create Complete Stories with the Sora Storyboard
Overall, the Sora Storyboard offers you a simple and efficient method for creating video content that tells stories. From scene design to music to combining multiple clips – each feature helps you fully tap into your creative potential. Start with your first project right away!
