When it comes to creating engaging advertisements, MicrosoftDesigneris a versatile and user-friendly tool. You can use it to createcreative graphics for various platforms like Facebook or Instagram without spending a lot of money. In this guide, you will learn how to easily design appealing social media posts.
Key Insights
- Microsoft Designer is a free tool that combines ease of use and creative possibilities.
- With the right prompt and some simple adjustments, you can create engaging graphics.
- Handling image styles and text design is straightforward and creative.
Step-by-Step Guide
Step 1: Open Microsoft Designer
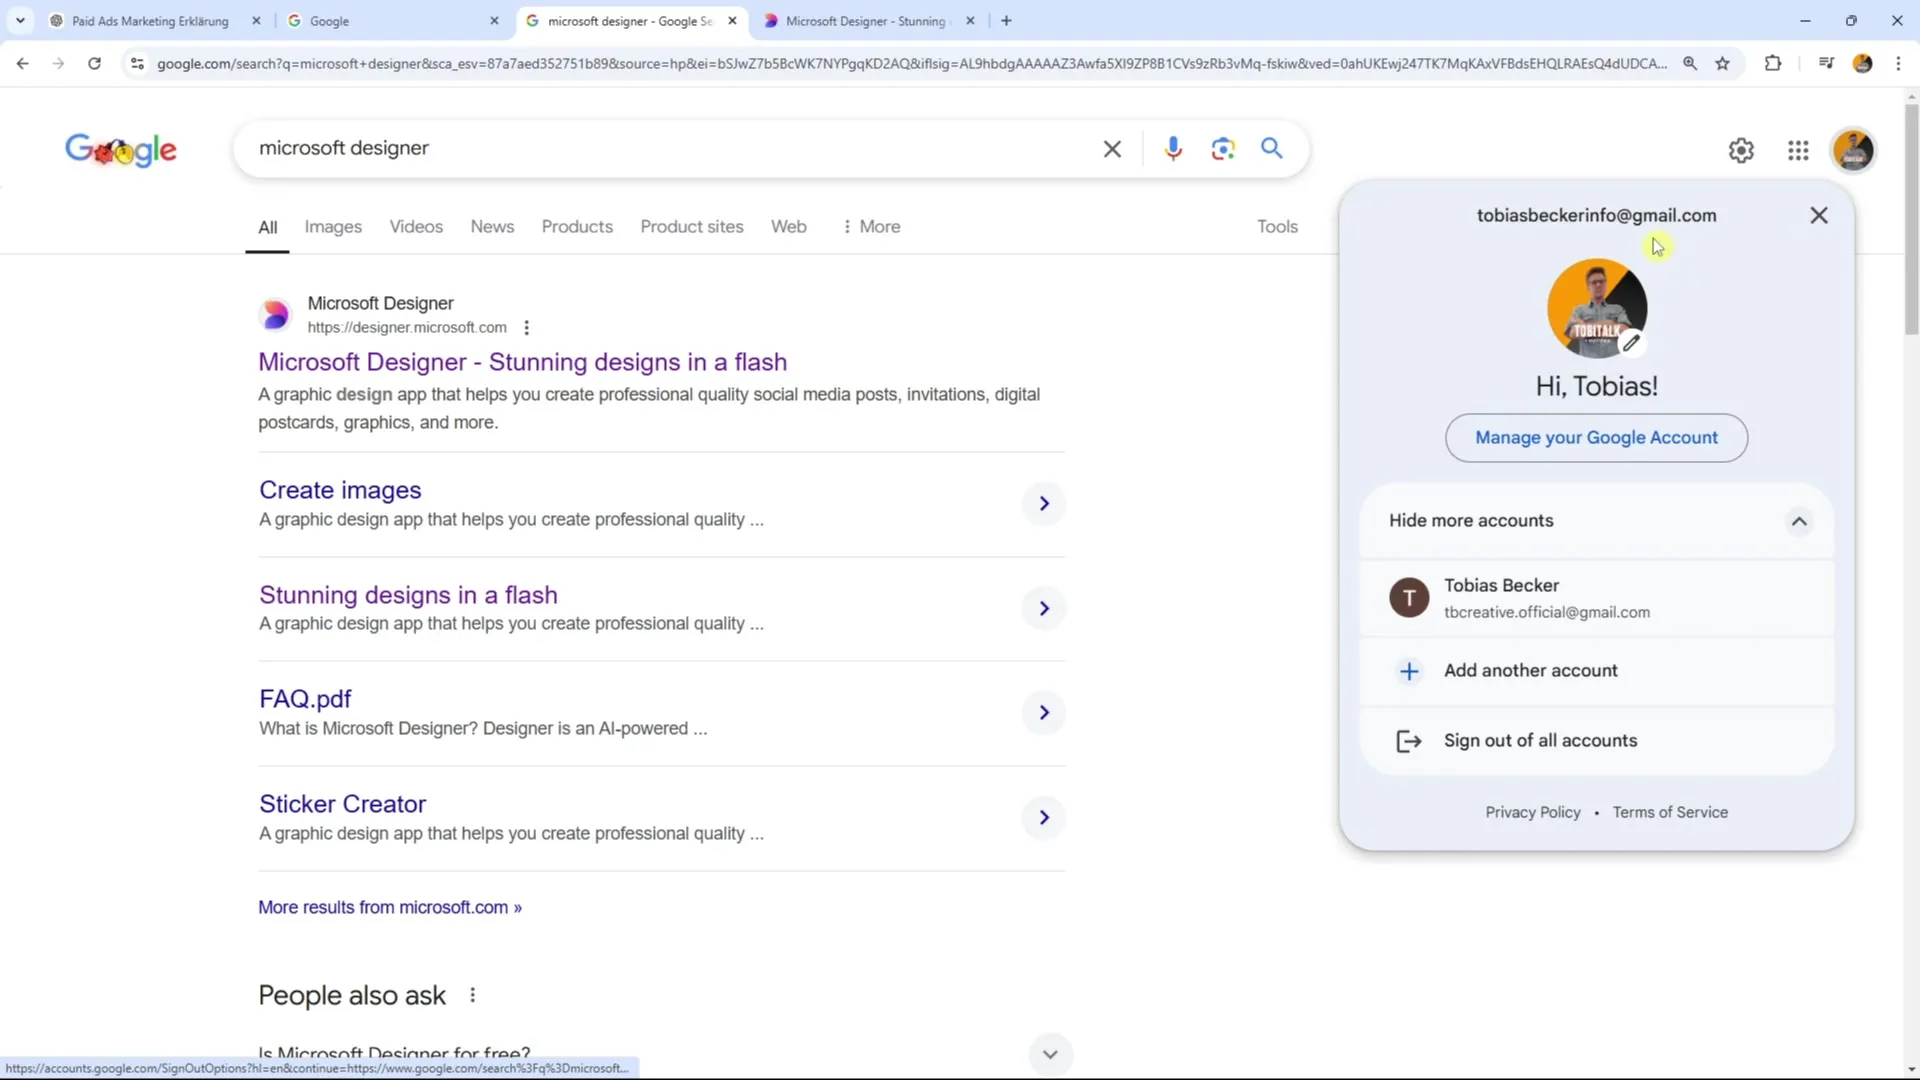
To get started with Microsoft Designer, you need to log in with a Microsoft account. If you don't have an account yet, you can create one for free.
Step 2: Select a Format
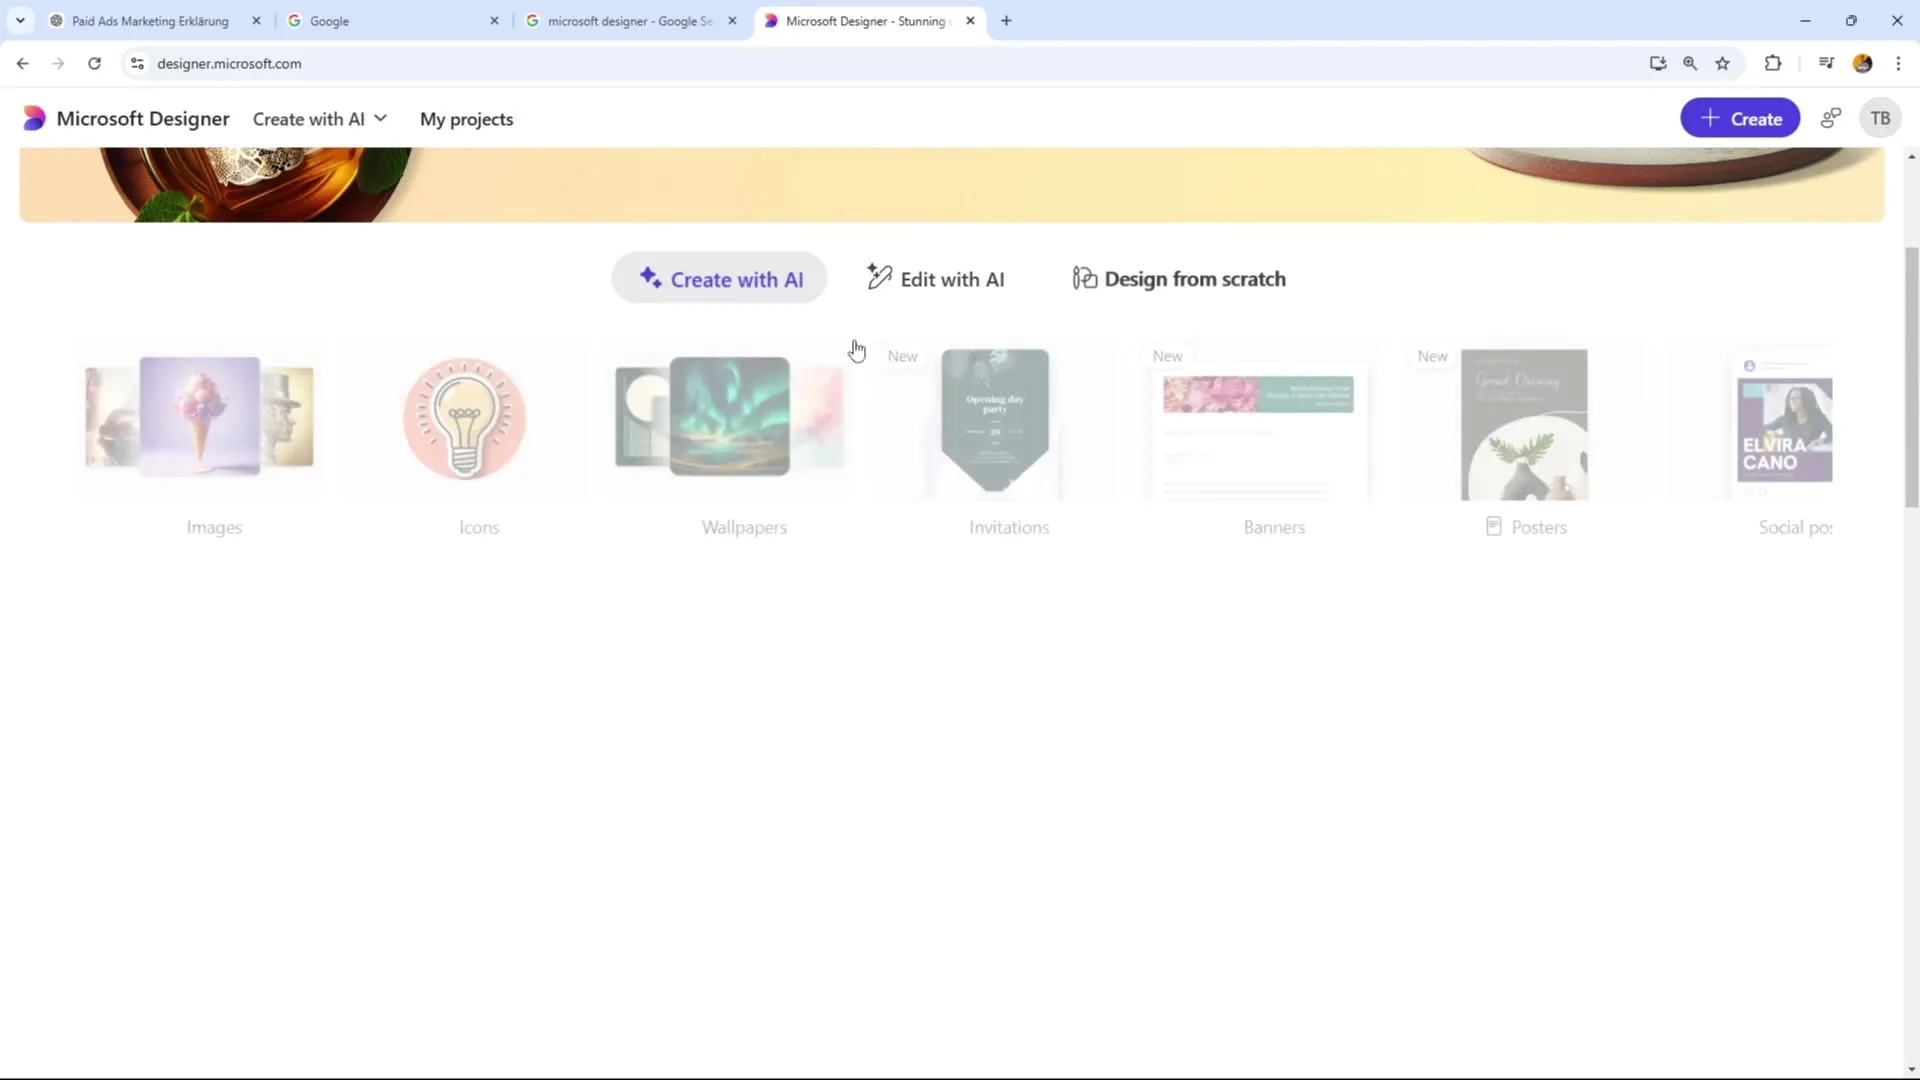
After logging in, you will see various options for graphic creation. Select "Social Media Post" to find an appropriate template.
Step 3: Explore Templates
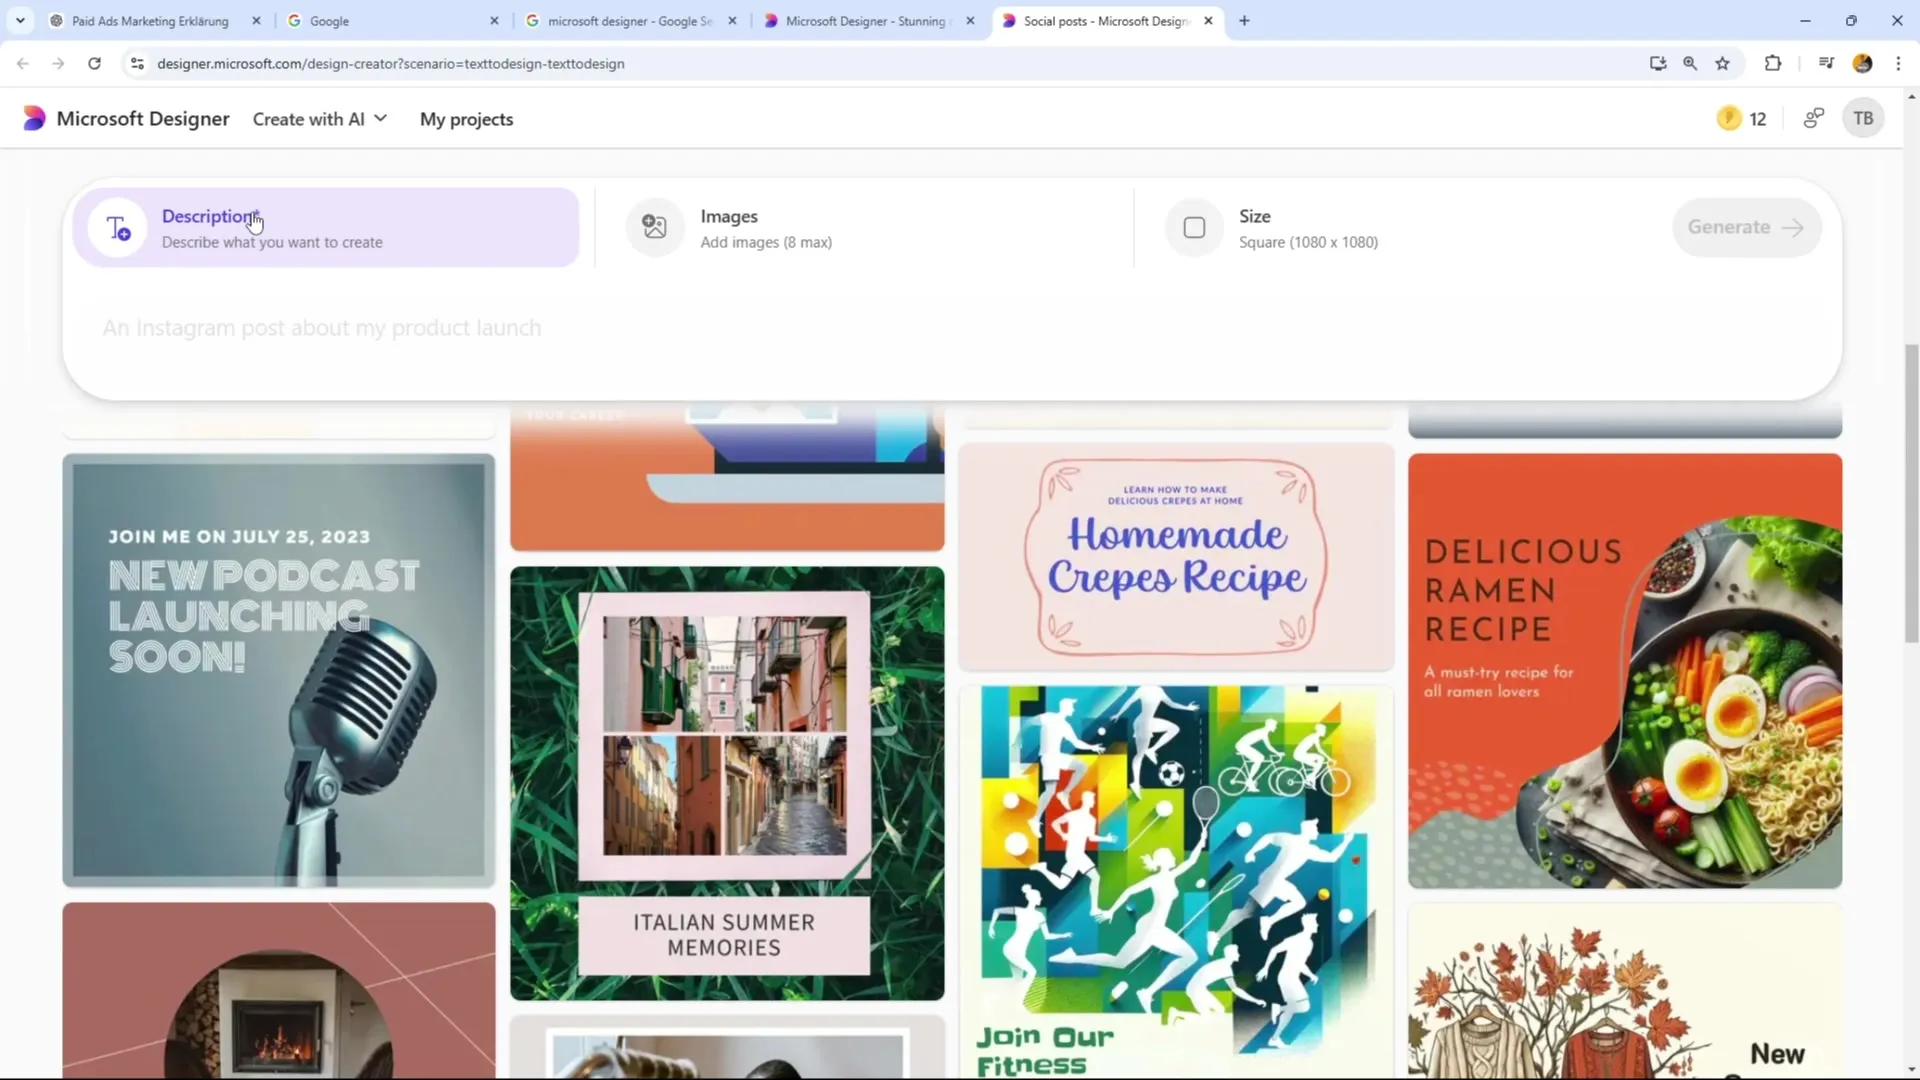
Once you have entered the social media post area, various templates will be displayed. You can explore them and choose the one you like. Use the suggestions to gather inspiration and create your own graphic.
Step 4: Customize the Template
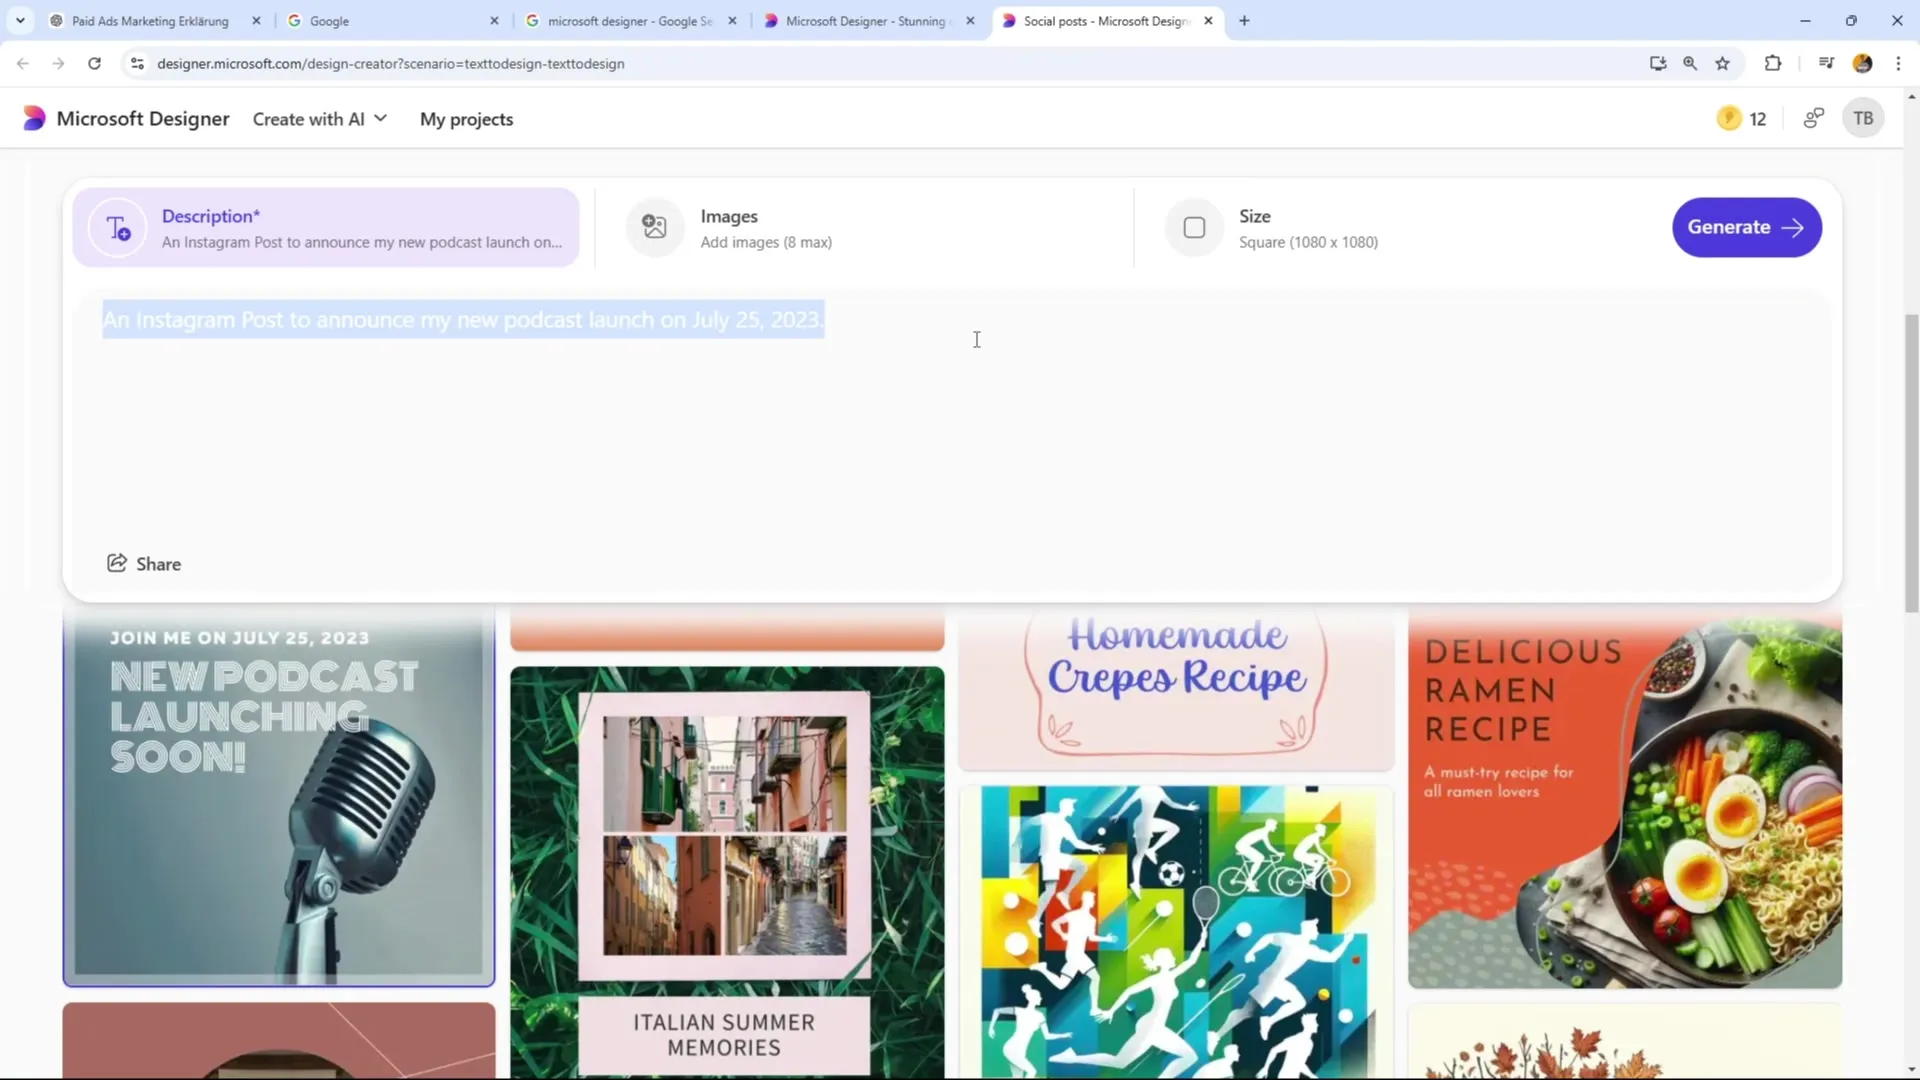
Once you have selected a template, you have the option to change the text and image. To customize the template, click on "Edit entire prompt" and fill in the fields according to your requirements.
Step 5: Narrowing Down the Design
Make sure to enter a clear description (prompt) for the image. You can also upload existing images and select the size of your social media post. A square format is best suited for most social media platforms.
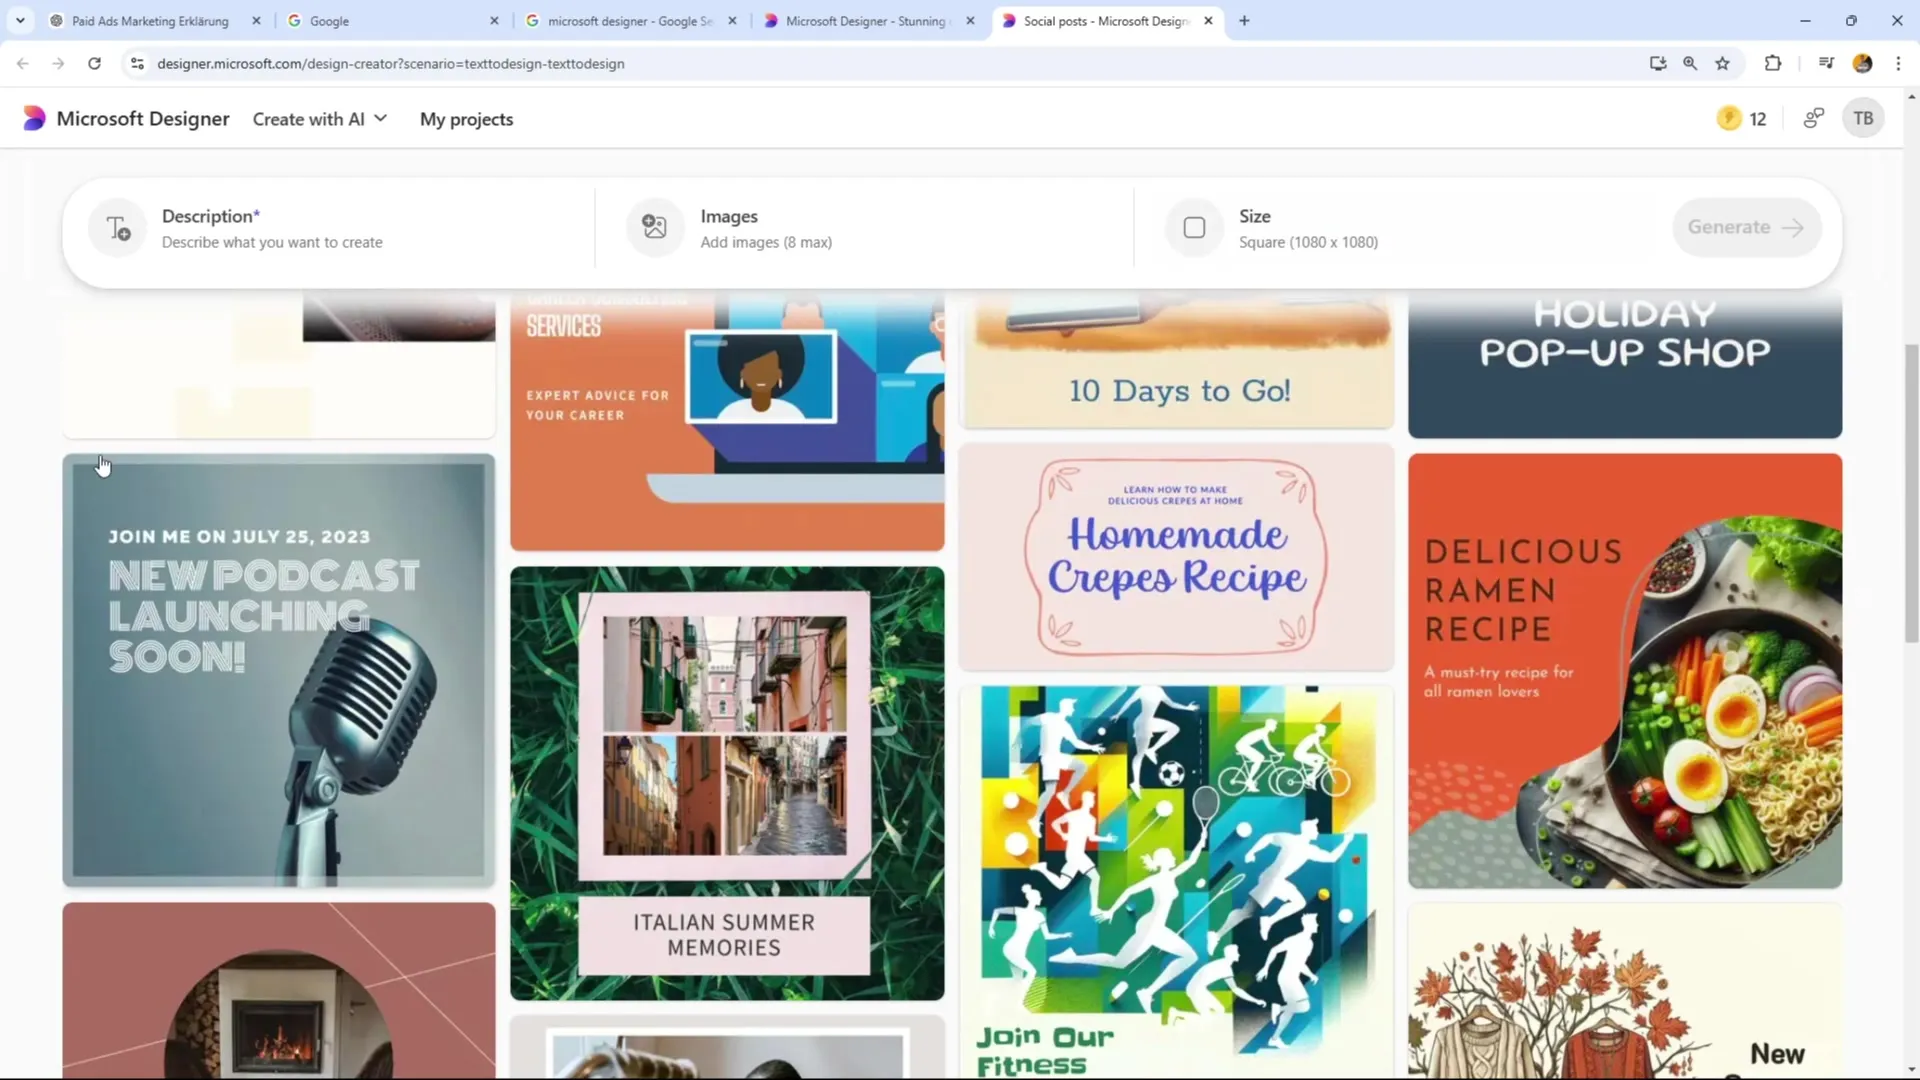
Step 6: Image Editing and Styles
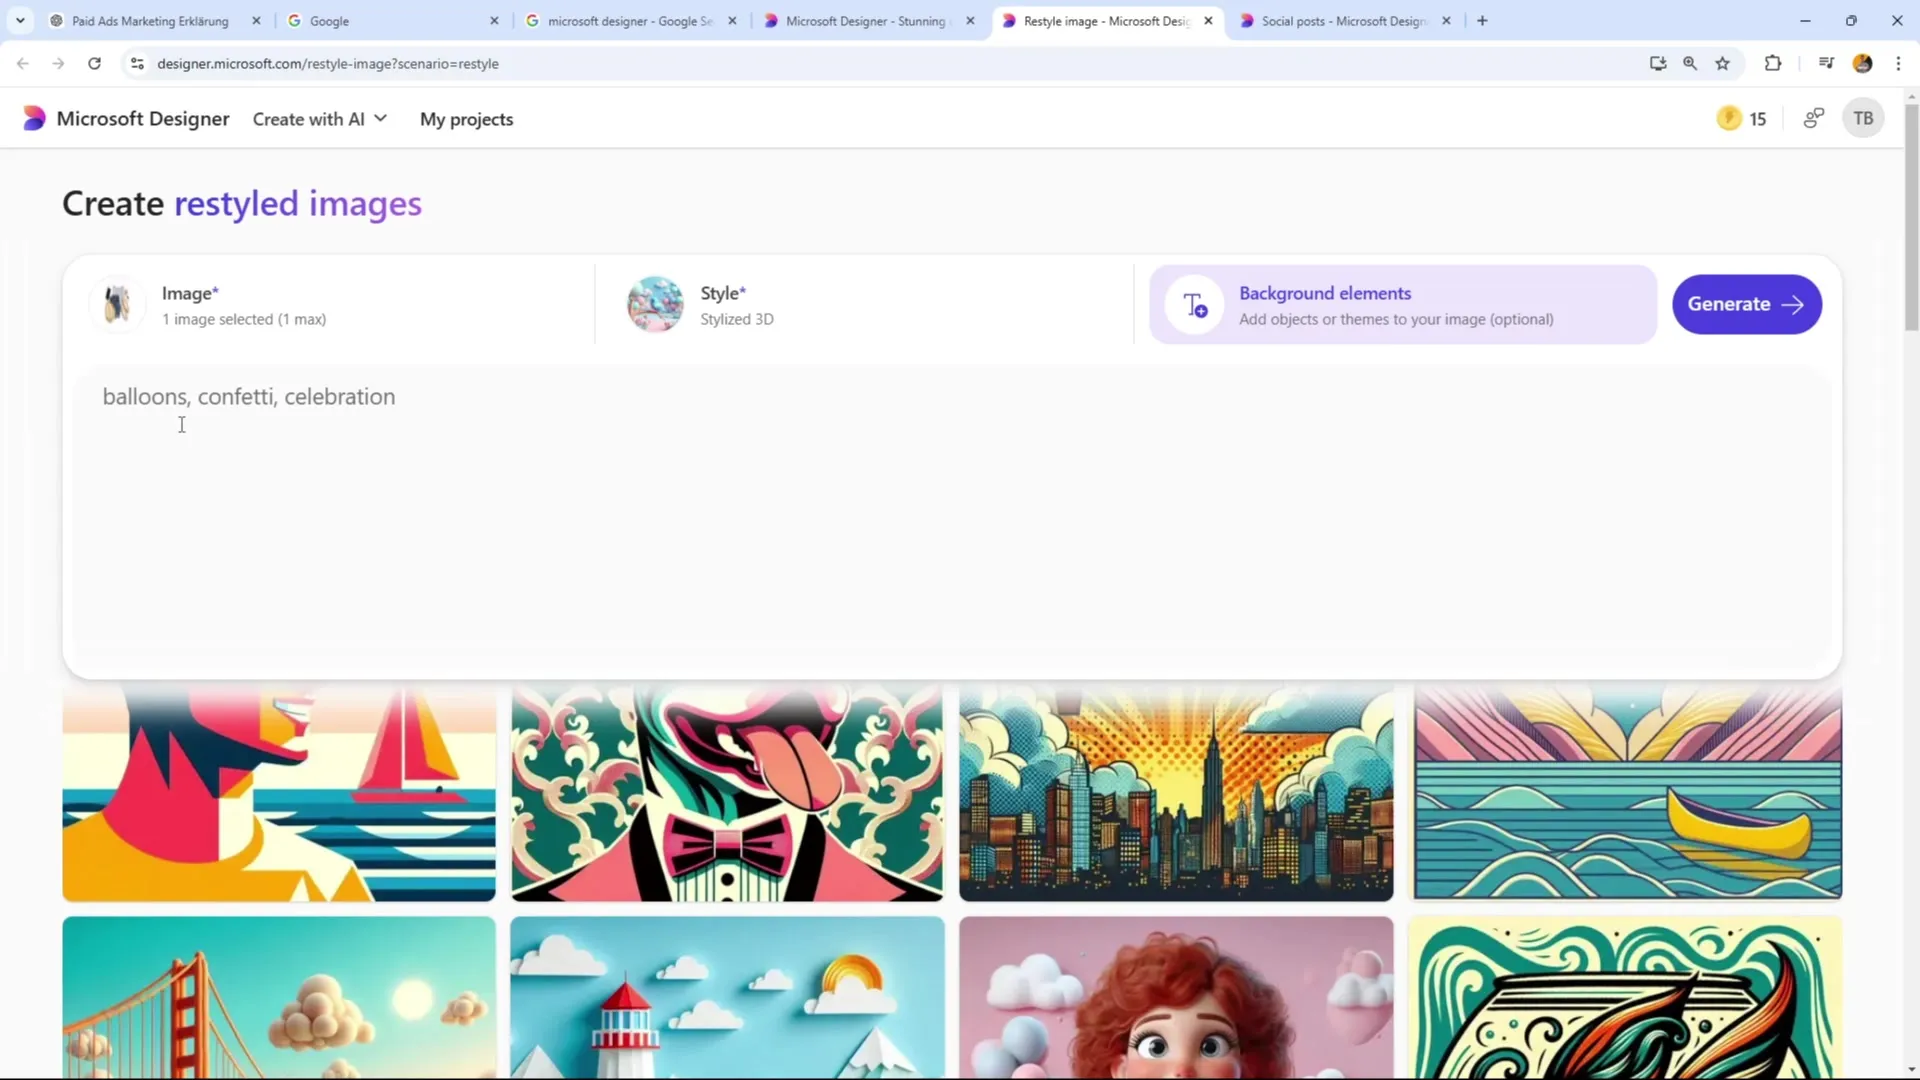
Now you can experiment with various image editing features. Upload an image, choose a style, and adjust the background. Be sure to select a specific graphic style like "Stylized 3D" or "Cartoon" to make your graphics unique.
Step 7: Creating Graphics with AI
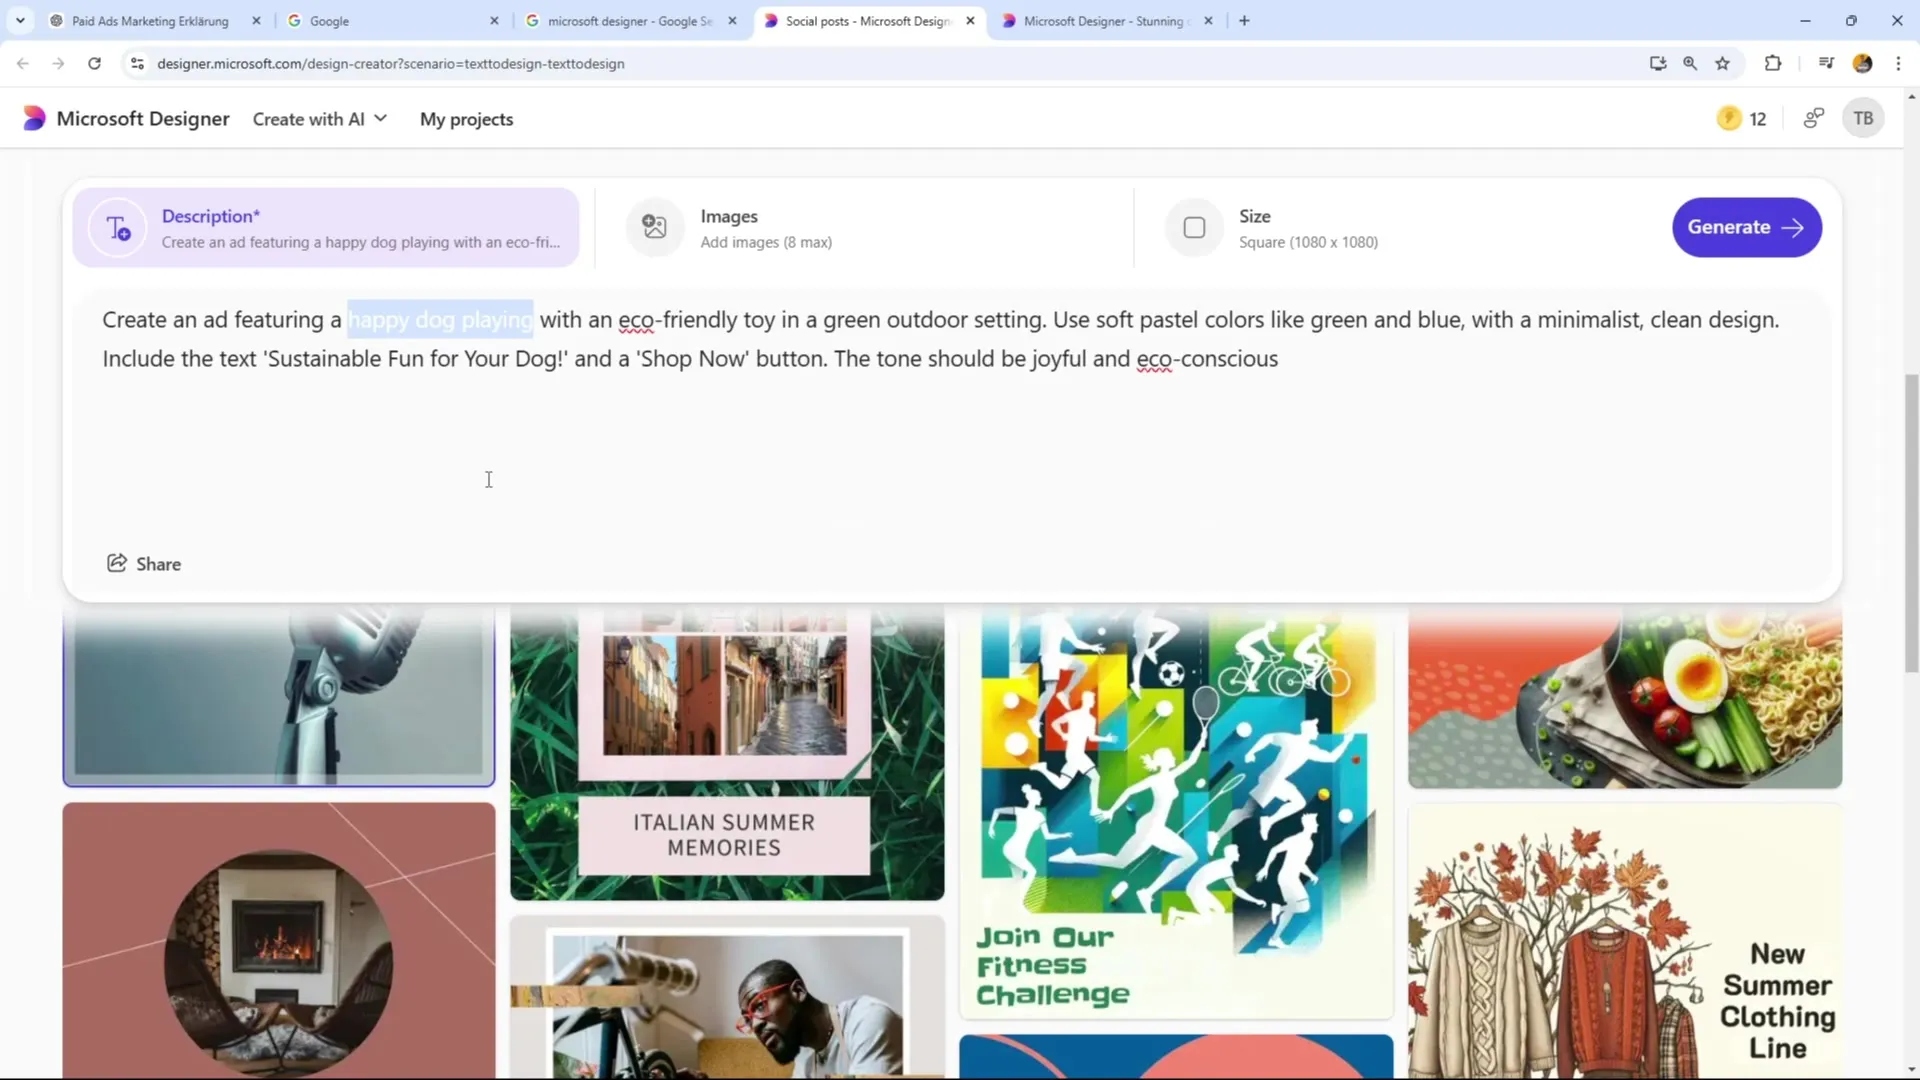
You can also work with AI to optimize the design. Formulate a clear prompt, such as "Create an image of a happy dog playing with an eco-friendly toy." Define the desired colors and style of the image.
Step 8: Review and Adjust Results
Once the AI has generated the image, you can review the results. If necessary, you can adjust the parameters or try a different style until you are satisfied with the final result.
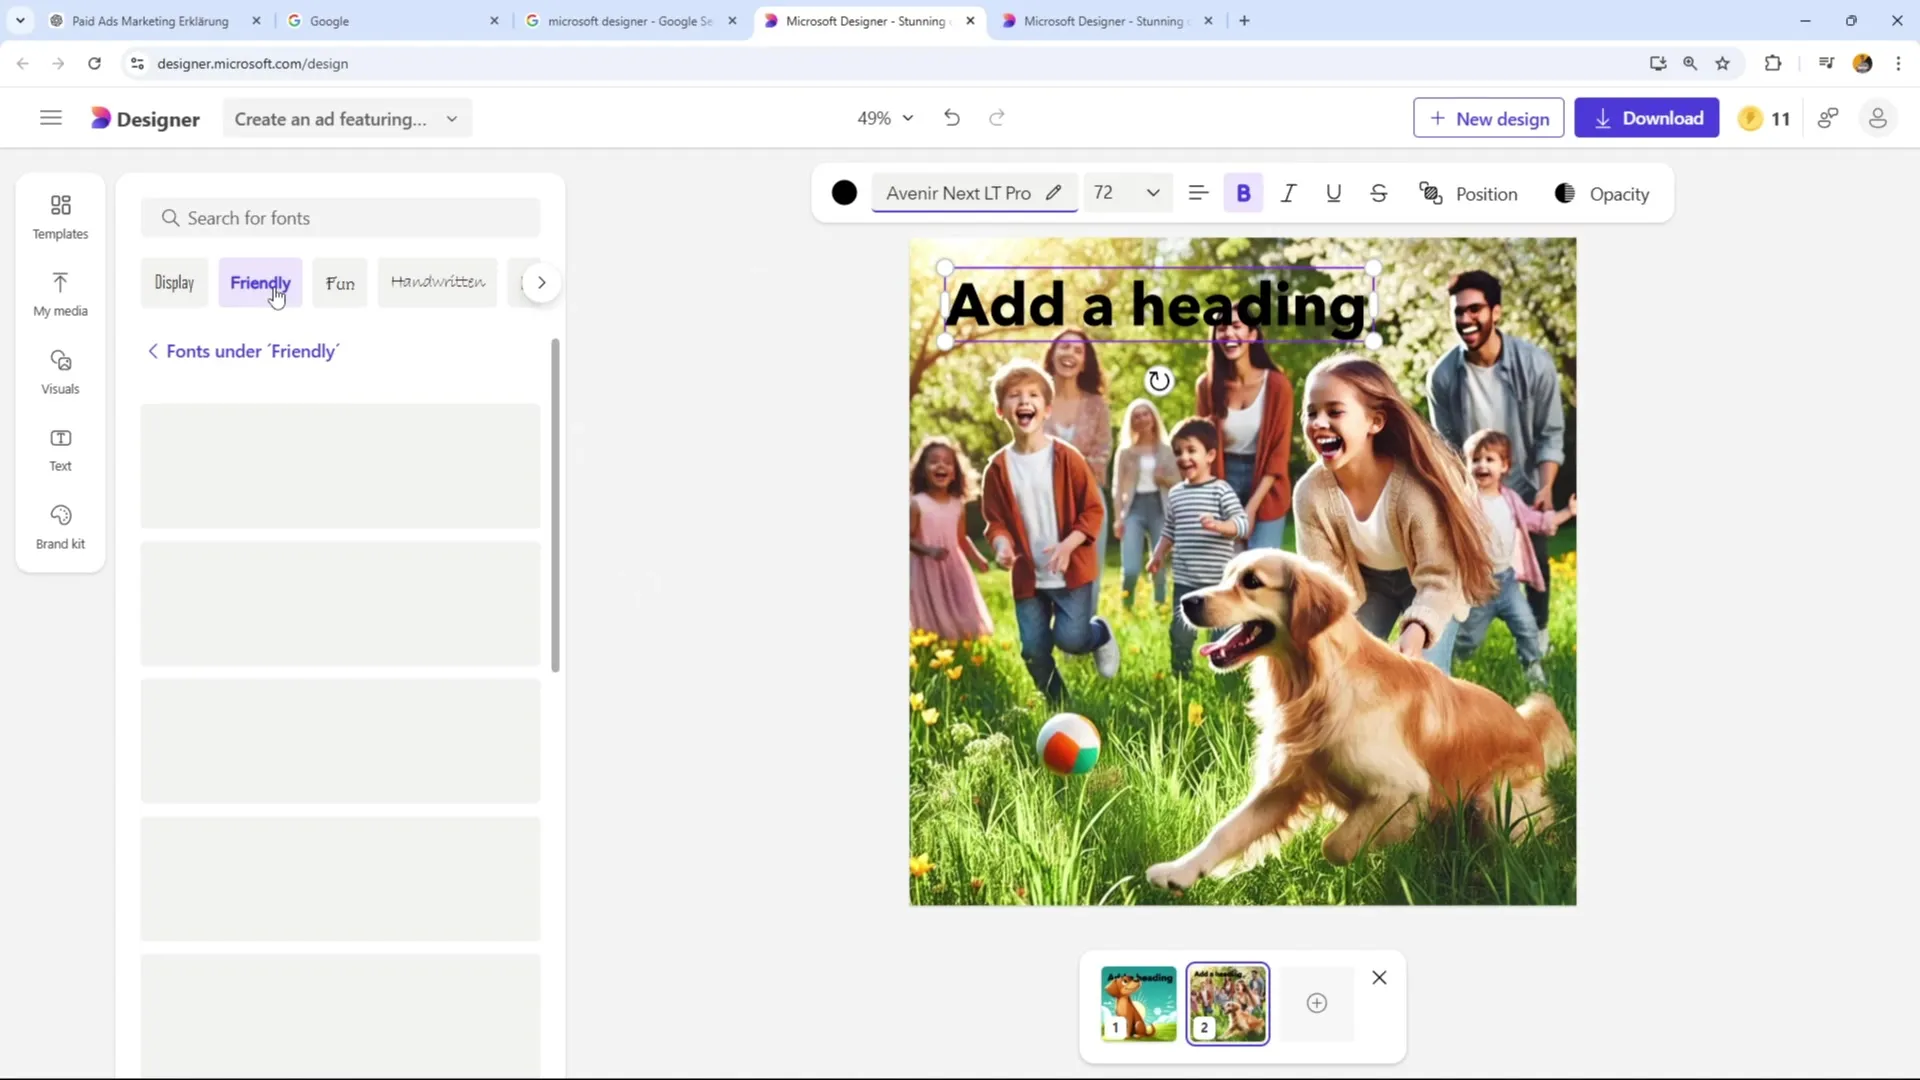
Step 9: Adding Text and Graphics
To give your design the finishing touch, you should add texts and shapes. Experiment with different fonts and colors to engage readers.
Step 10: Download Your Graphic
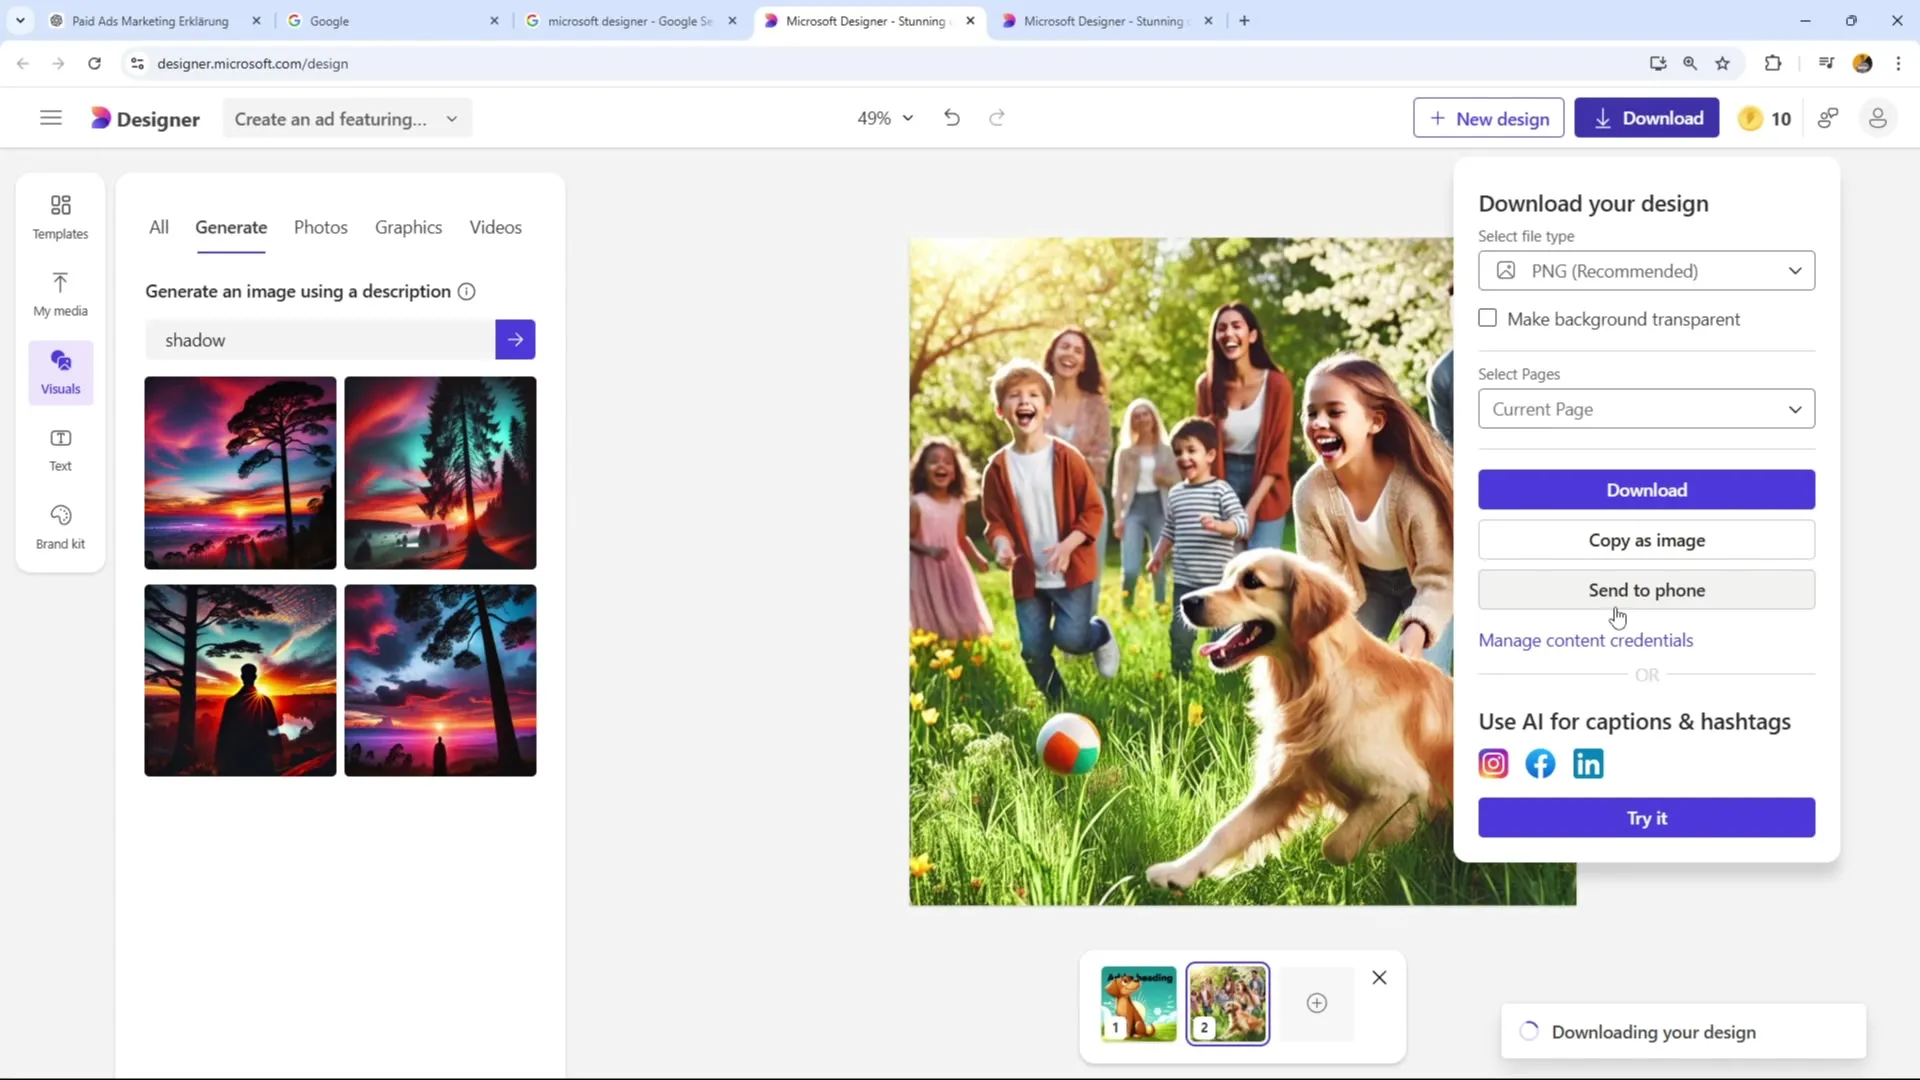
Once you are satisfied with your design, go to "Download" in the upper right corner and select the PNG format for the best quality. This way, you are well prepared to use your graphic in your advertisements.
Summary – Creating Eye-Catching Advertising Graphics with Microsoft Designer
With Microsoft Designer, you can easily create engaging graphics for social networks. The combination of templates, AI-powered image generation, and image editing tools allows you to produce creative content that appeals to your target audience.
FAQ
What do I need to use Microsoft Designer?A free Microsoft account is sufficient.
Can I also use my own images?Yes, you can upload your own media and customize your designs.
How many designs can I create with the free version?You can create up to 12 designs per day.
Can I remove the background of an image?Yes, Microsoft Designer offers a feature to remove the background.
Are there templates for different formats?Yes, the platform offers templates for social media, banners, and much more.
