Plain-Text-Newsletterare an effective way to communicate with your audience, share information, or announce news. Below you will receive a detailed guide on how to create such a newsletter with Mailchimp. You will be introduced to the process step by step.
Key Insights
- Creating a plain-text newsletter in Mailchimp
- Selecting the audience for sending
- Setting the subject line and preview text
- Creating content and sending the newsletter
Step-by-Step Guide
To createa plain-text newsletter in Mailchimp, follow these steps:
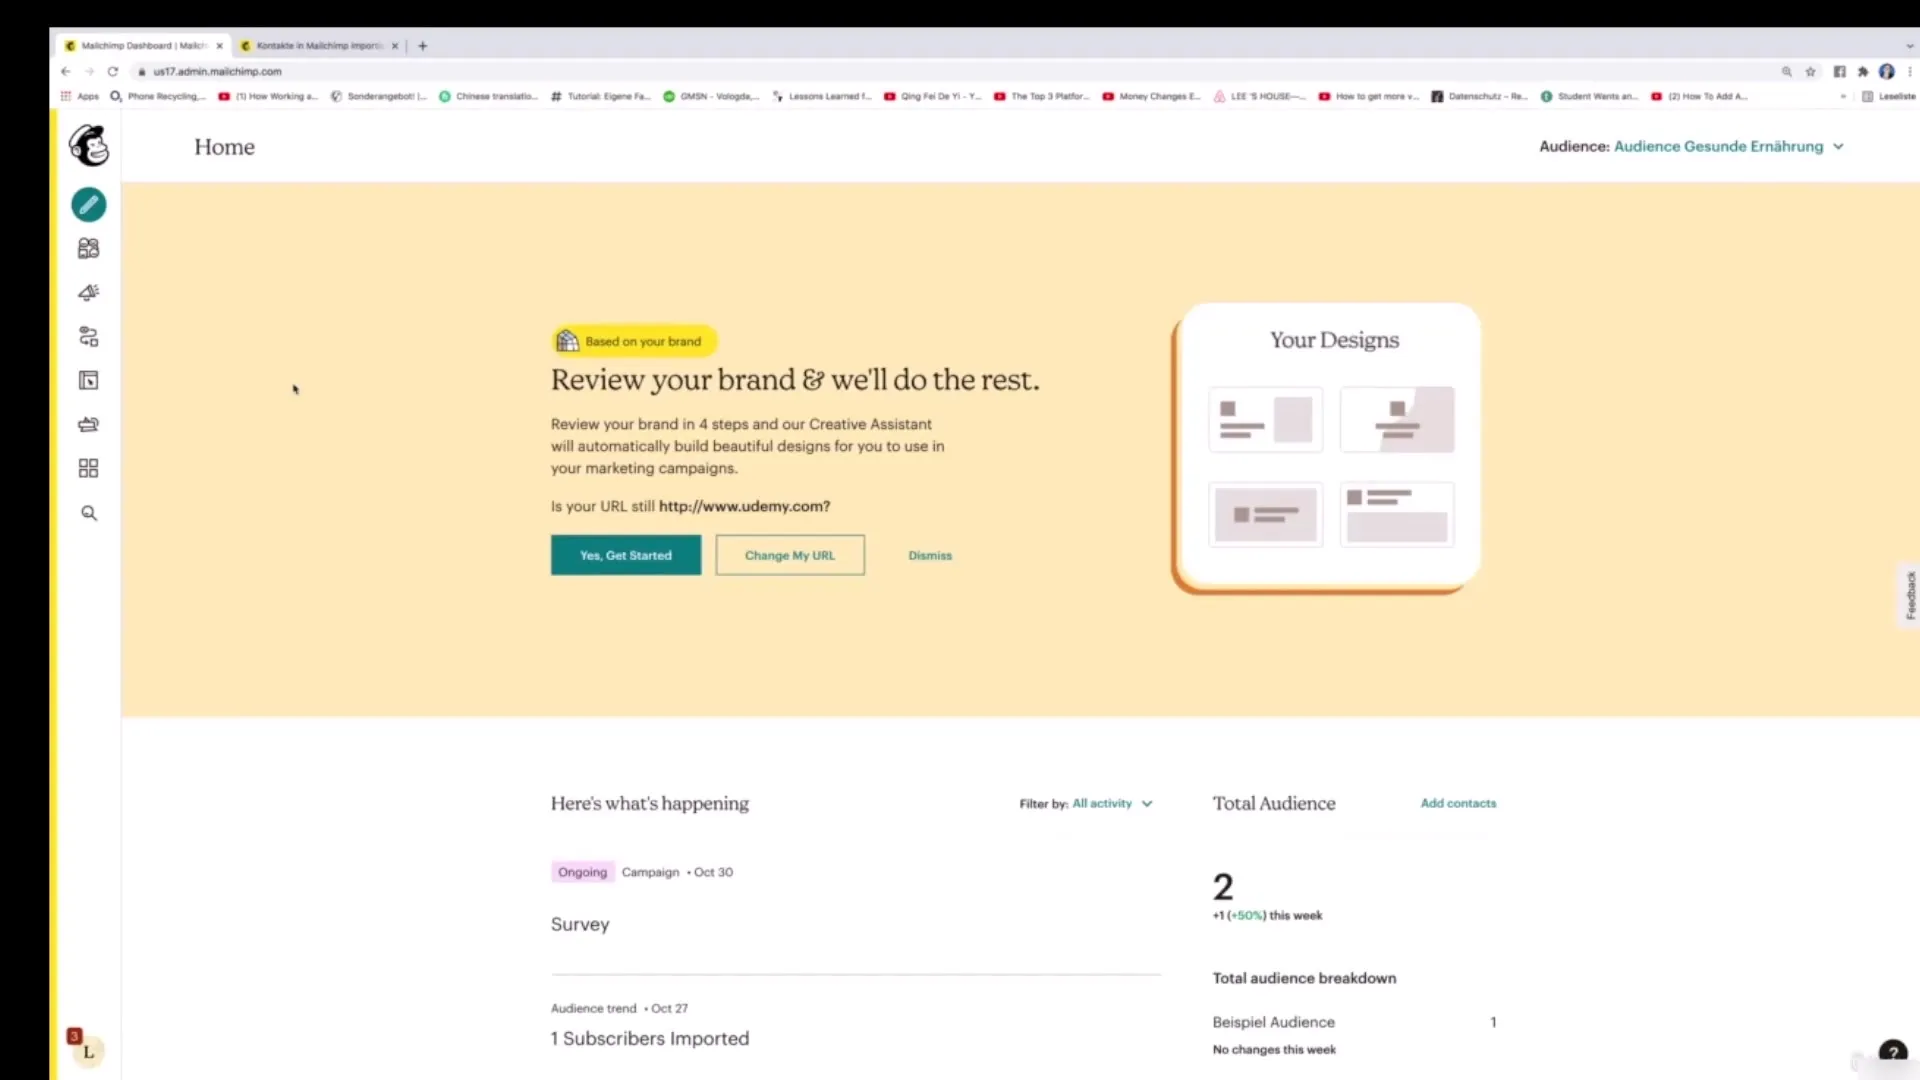
Start by logging into your Mailchimp account. On the left side, you will find the button "Create". Click on it to begin the creation process. Once you have done that, you will be redirected to a new page where you can select the type of newsletter. Here, you choose the option "Email" and then "Plain-Text".
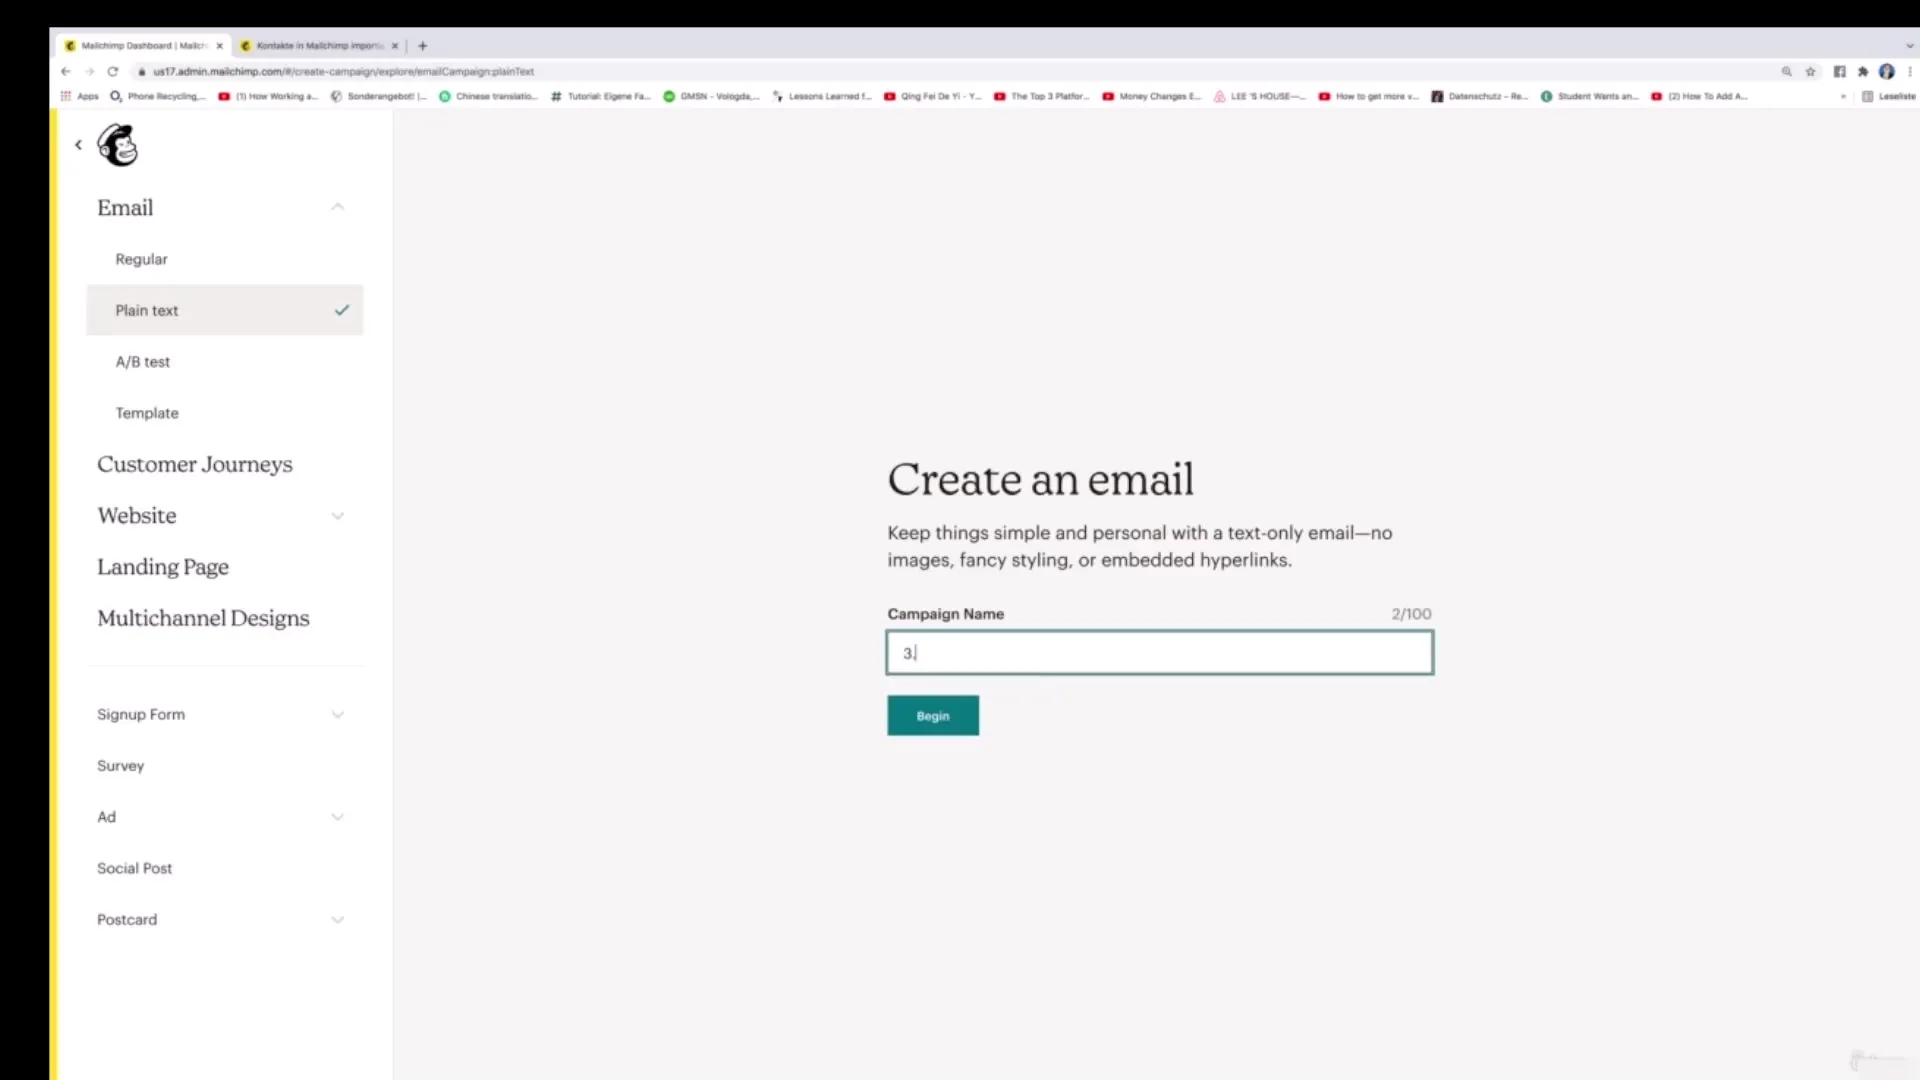
After selecting the "Plain-Text" option, you will be prompted to set a campaign name. In your case, it could be "Third Newsletter". This designation will help you easily find the newsletter later. Then click on "Begin".
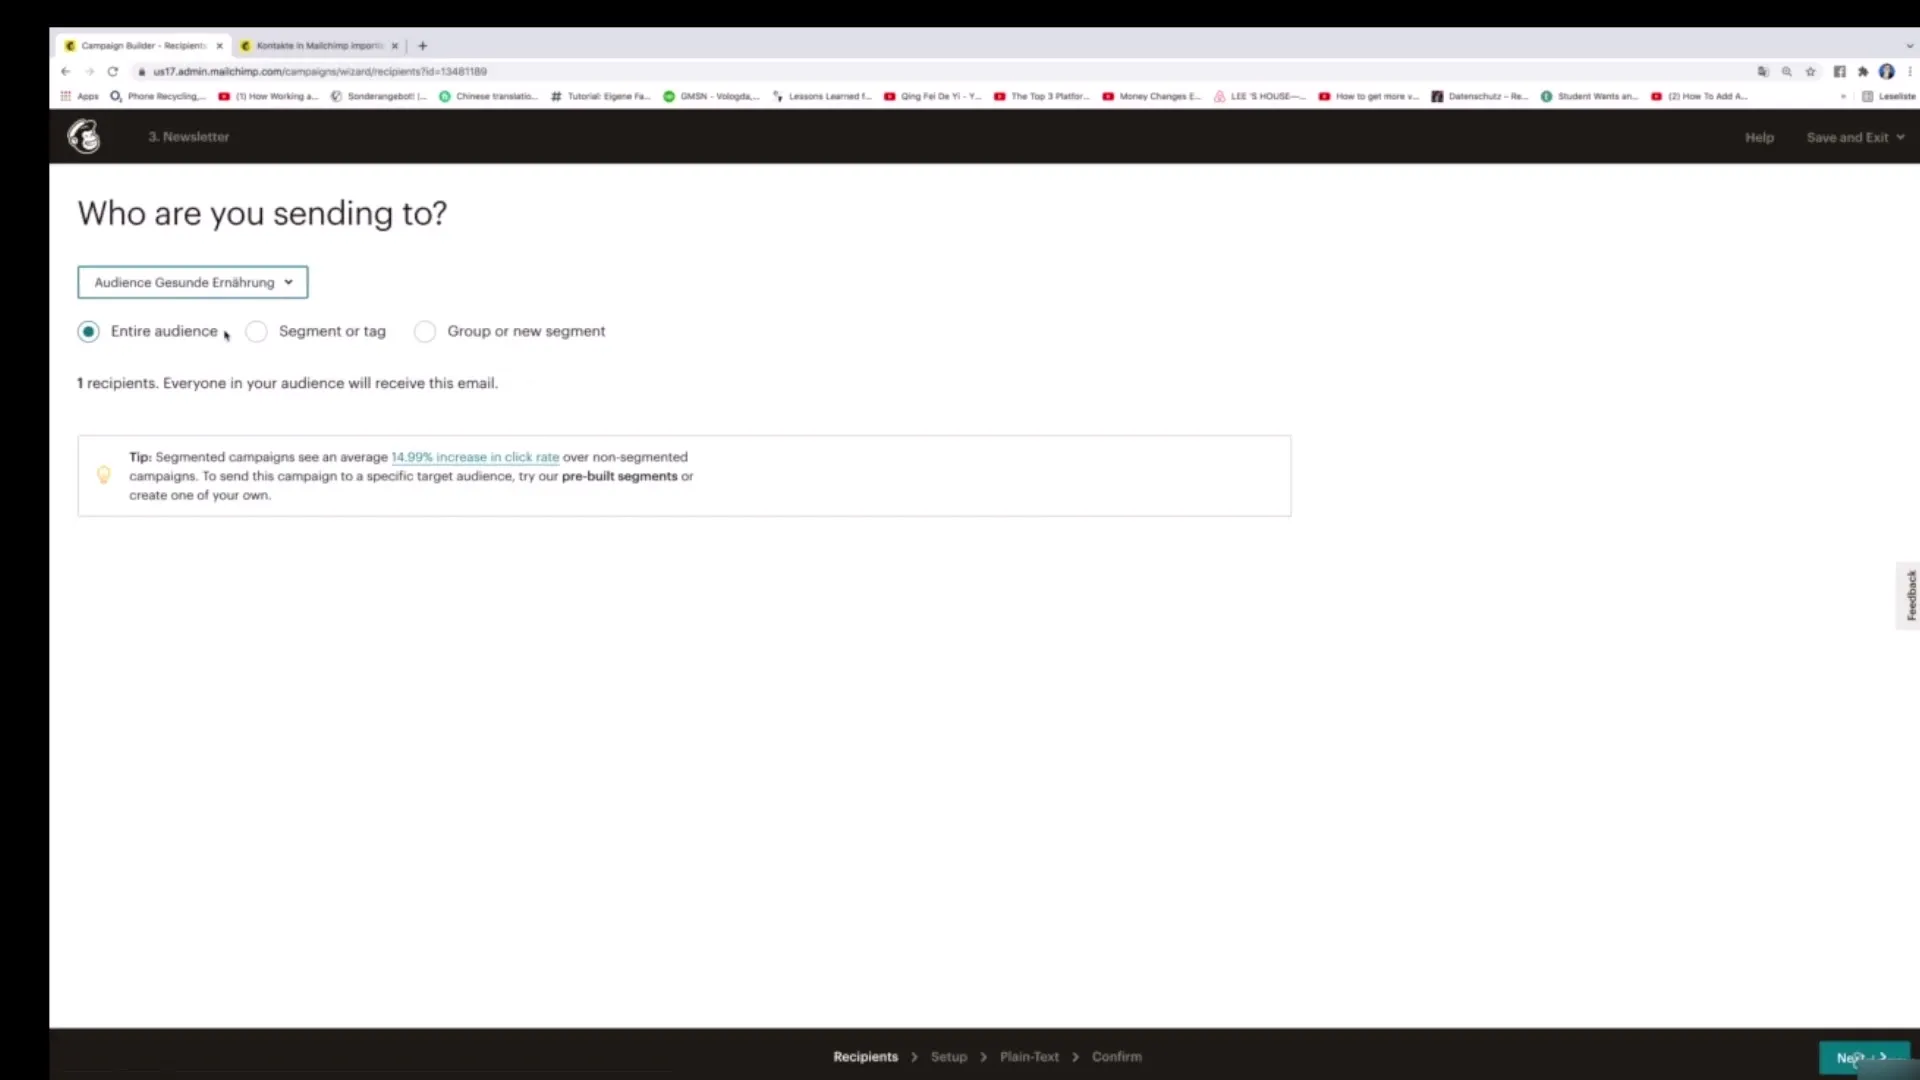
Now it is time to select the target audience to whom the newsletter will be sent. You have the option to either select the entire audience or just a specific segment. If you want to define a target audience precisely, you can use filters such as phone number, location, or language. In this example, select the entire audience and click on "Next".
Now you can enter the important information for your newsletter. First, enter the campaign name – here, for instance, "Third Newsletter". Then set the subject line. A possible suggestion could be: "Five ideas to stay healthy in winter". Also, add a preview text, such as "You won't believe what the first tip is...".
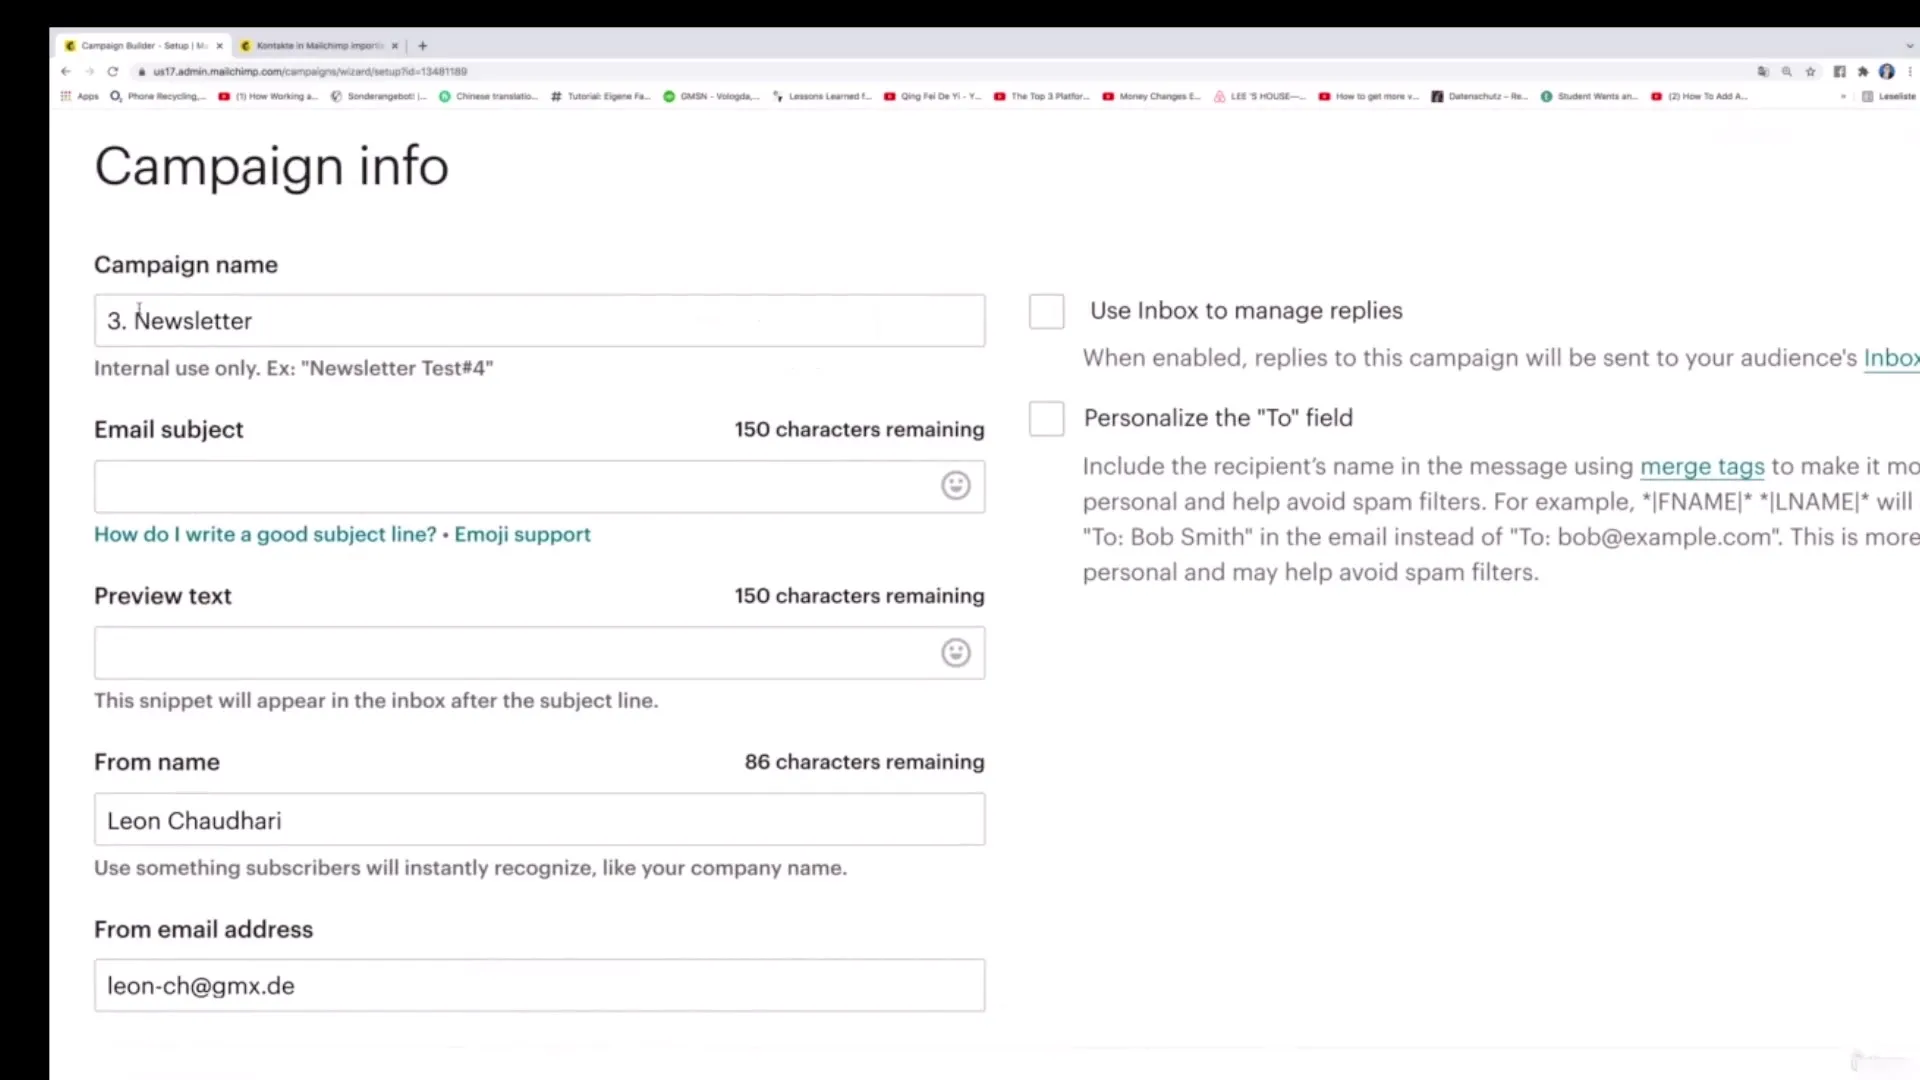
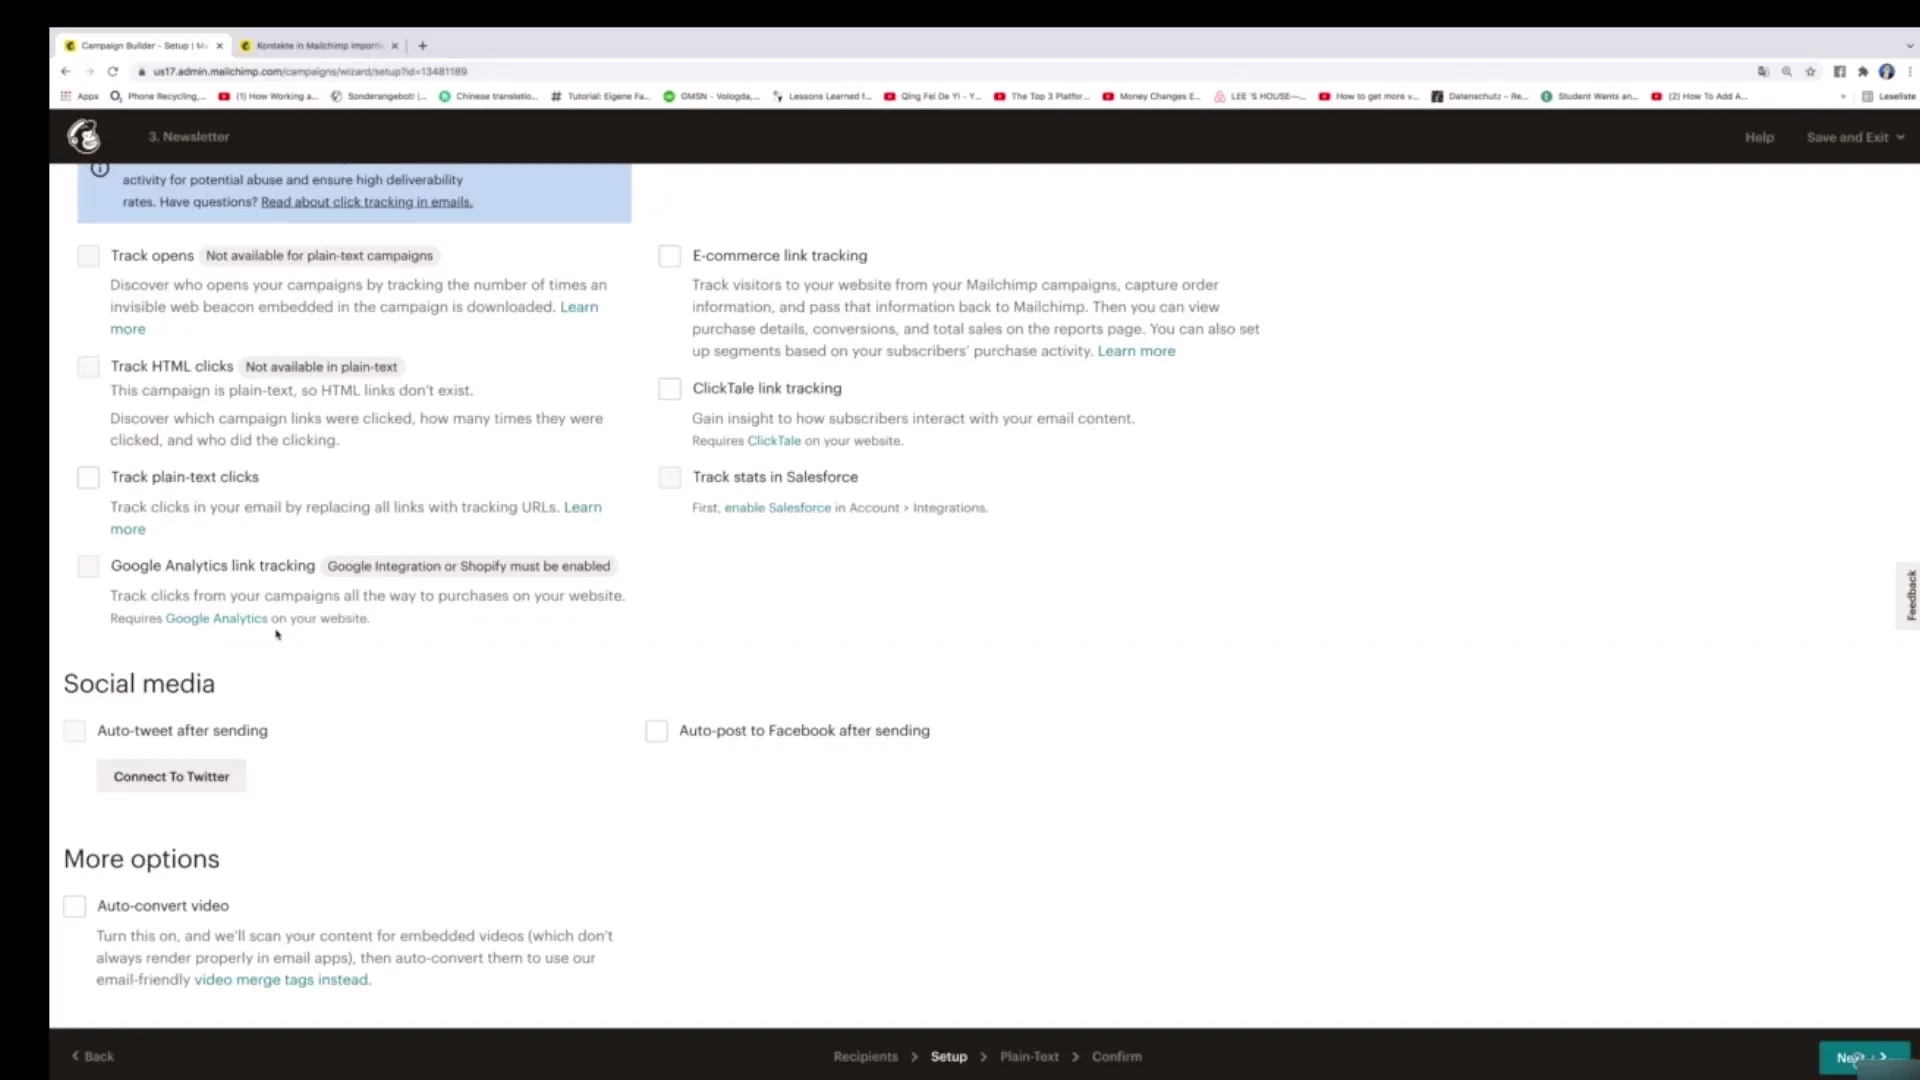
To identify the sender clearly, enter your name and the email address from which the newsletter will be sent. You then have the option to select various tracking options. However, these are not a priority at this step and will be addressed in more detail later.
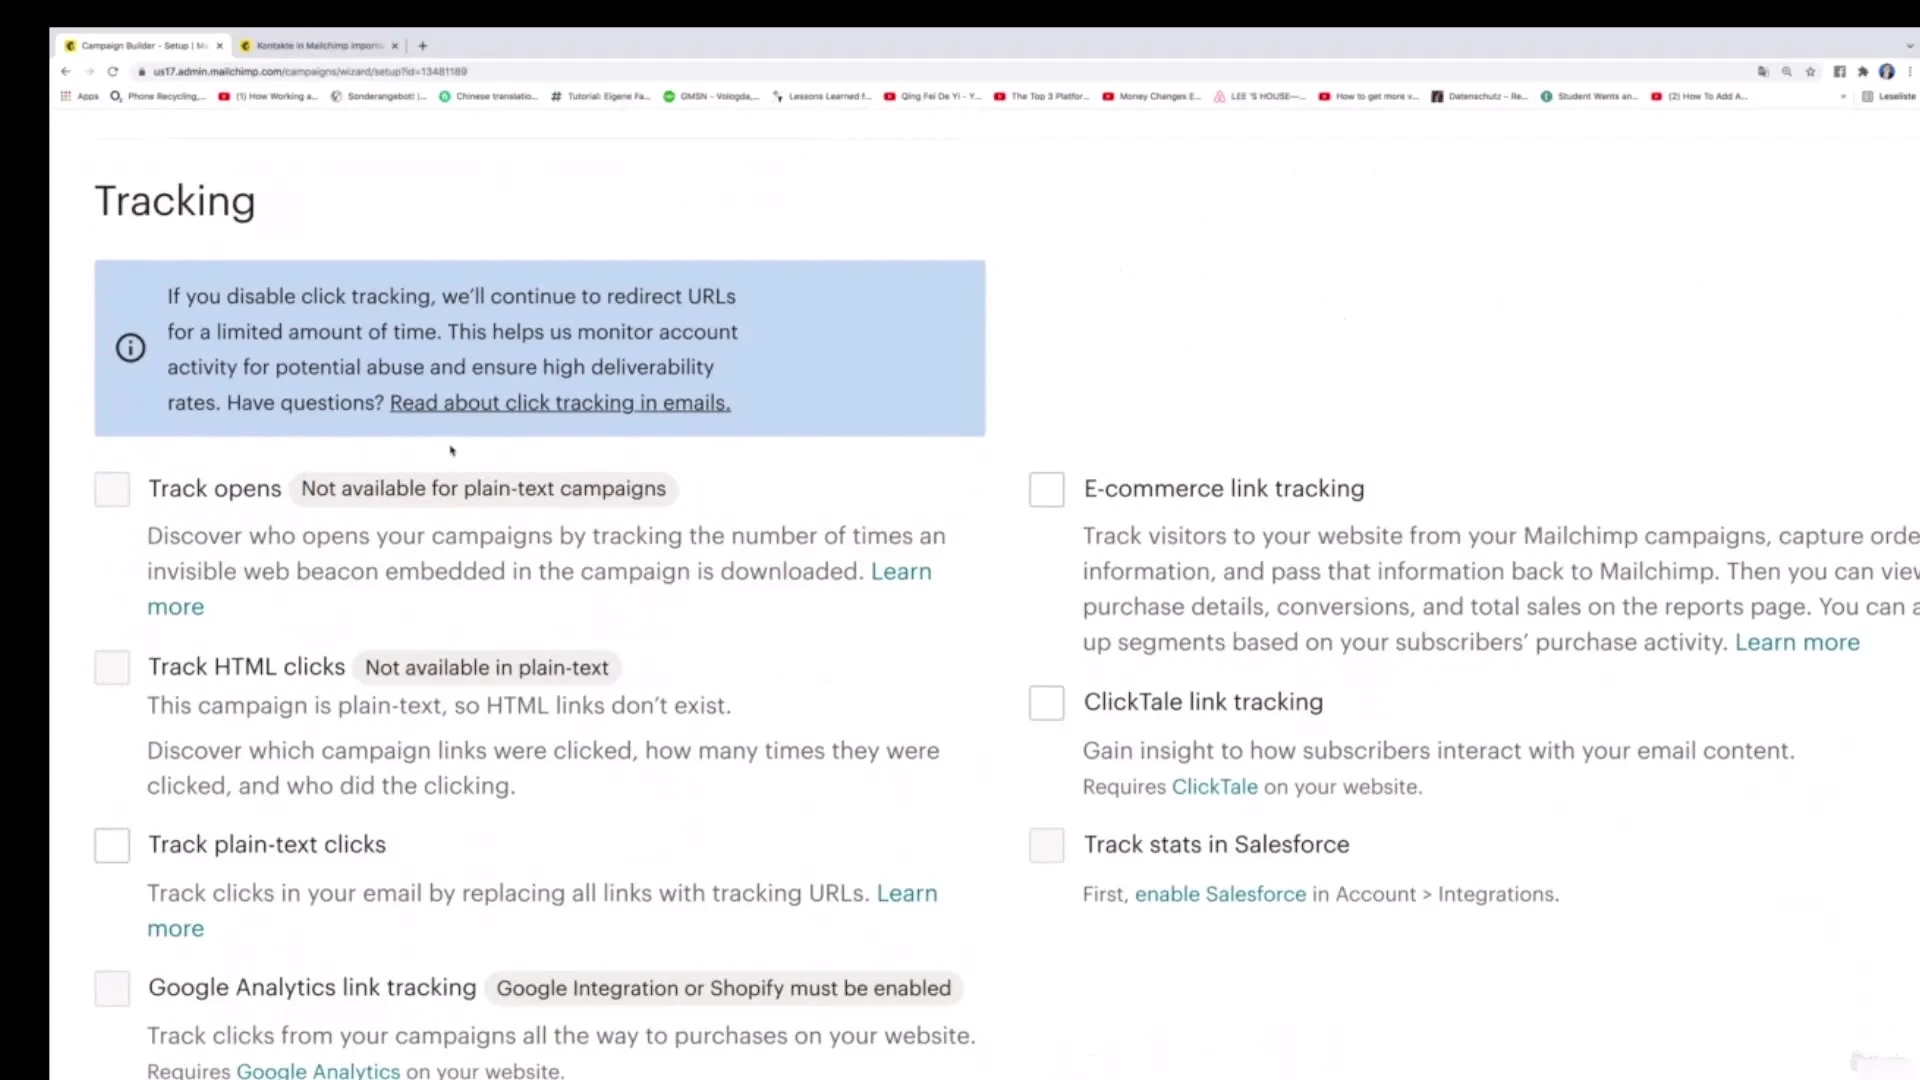
An interesting feature is the connection of social media accounts like Twitter or Facebook. For example, you could also share the video you communicate in the newsletter there. Then click on "Next".
In the next step, it is finally about designing the actual newsletter. The text area is easy to use – you simply enter the information. E.g., "Tip 1: Nutrition in winter" and then "Tip 2: Regular exercise". You can continue this process for all tips.
When you are finished entering the content, click on "Next" to move on to the final step. If necessary, you should edit texts here as well, before clicking the button below.
You are now ready to send the newsletter. Click on "Send", and your audience will receive your freshly designed plain-text newsletter.
At this point, the tutorial is almost finished. I hope you have learned a lot while creating your newsletter and can now implement the steps independently.
Summary – Creating a Plain-Text Newsletter with Mailchimp
Creating plain-text newsletters in Mailchimp is a simple process. With the right steps, you can effectively deliver your information and news to your audience, all in no time. A clear definition of the target group and engaging content are crucial here.
FAQ
How do I create a plain-text newsletter in Mailchimp?Go to "Create", select "Email", and then "Plain-Text".
How can I select my audience?You can select the entire audience or specific segments based on various criteria.
What are important elements of a newsletter?Campaign name, subject line, preview text, and the actual content are essential.
Can I use social media connections?Yes, you can connect your newsletter with social media accounts like Twitter or Facebook.
How do I send the newsletter?Simply click on "Send" to send your newsletter to the selected audience.


