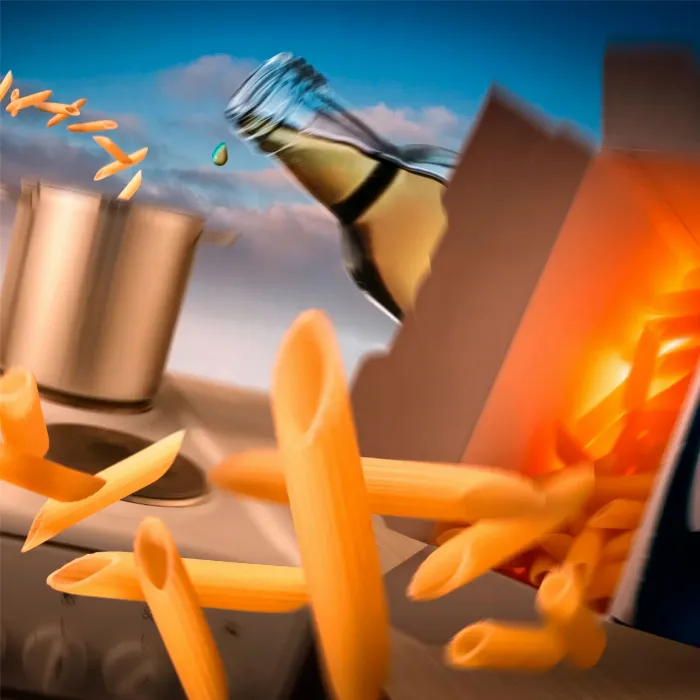
The creative processing of food is an art form in itself. It is particularly impressive when various types of pastaare staged in appealing arrangements. In this tutorial, you will learn how to skillfully integrate “PenneRigate” and other pasta into your images using Photoshop– whether with individual noodles or already grouped pasta pieces. The techniques presented here will help you not only with creative image editing but also in further developing your skills in Photoshop.
Key Insights
- You can use pasta either as individual images or in groups.
- The selection and masking of the noodles are done efficiently using the magic wand.
- Color corrections and contrasts are crucial for an appetizing presentation.
Step-by-Step Guide
To create your own pasta layout, follow this structured guide.
Selecting and Placing Individual Noodles
To include a single pasta in your image, first open the file with the individual noodles.
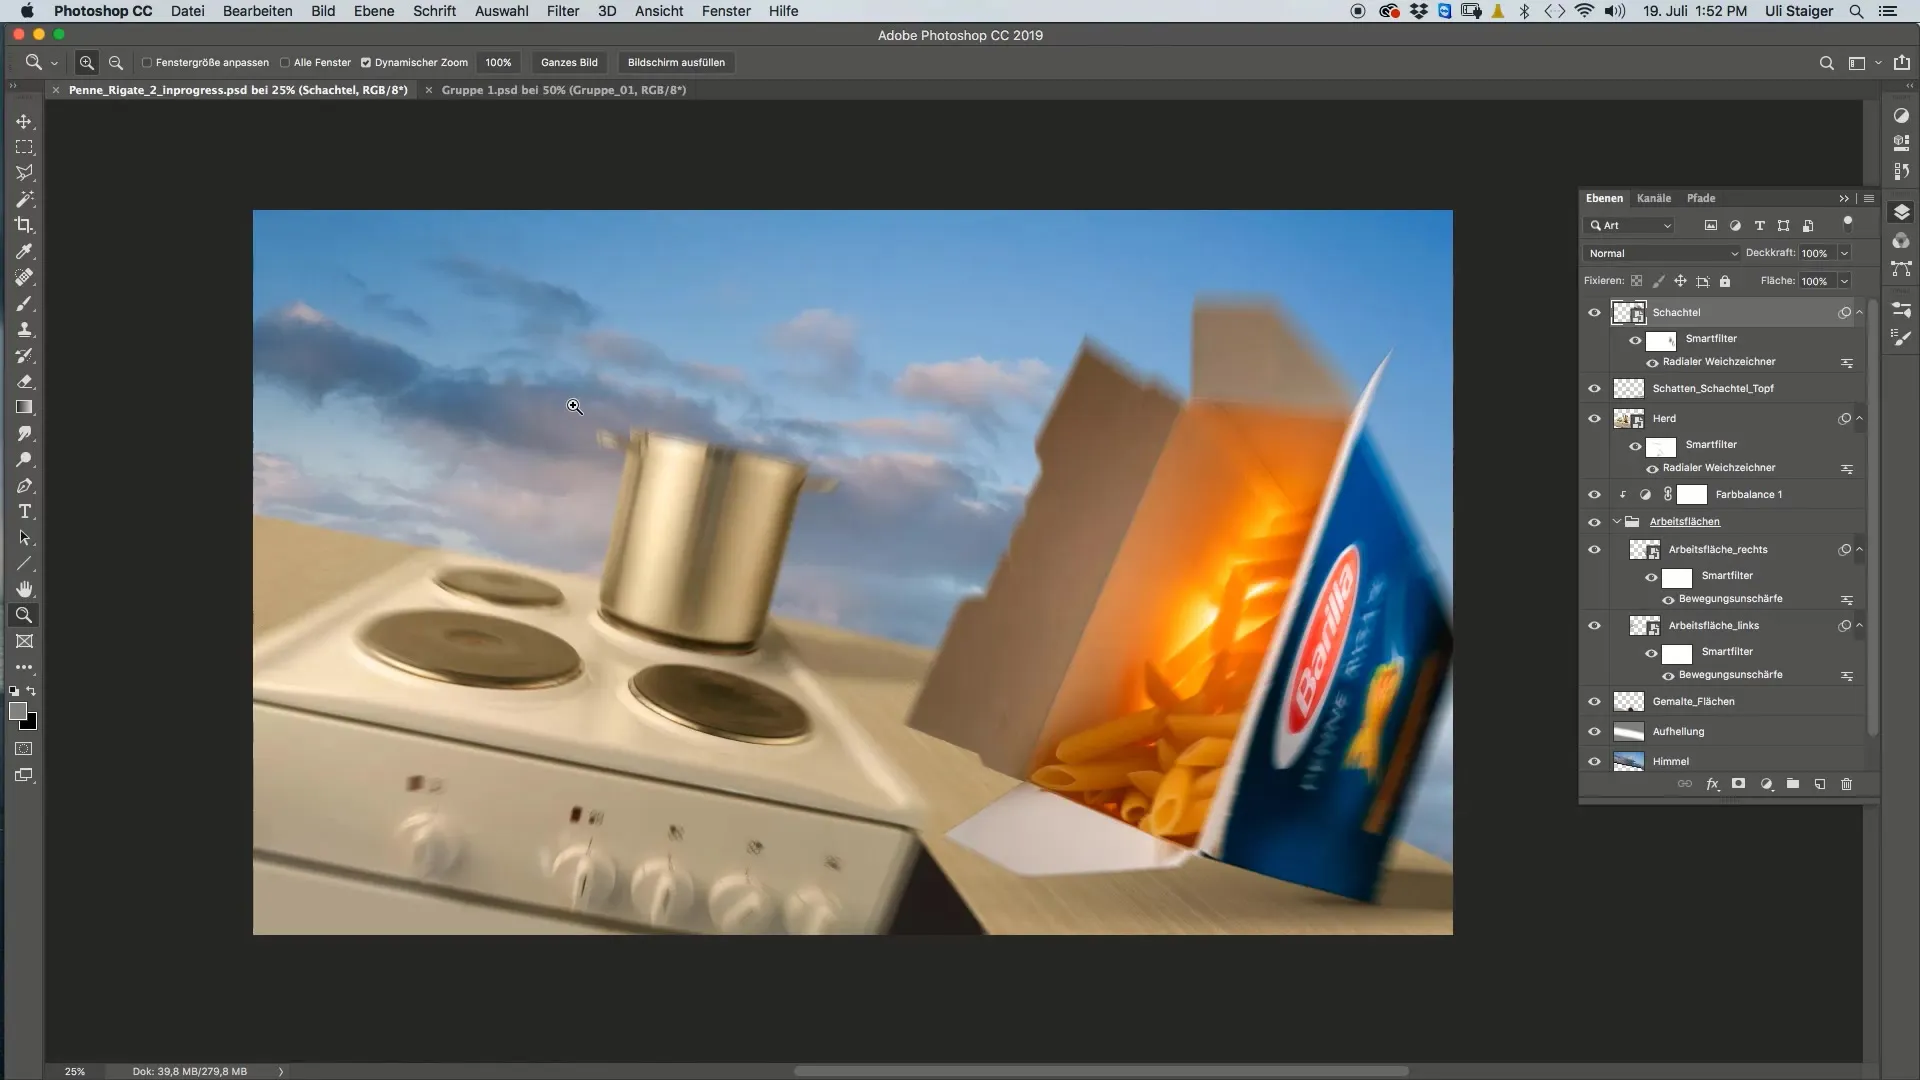
Here you will find the different noodles that have been photographed against a black background. These shots are important to present the noodles clearly without distracting backgrounds.
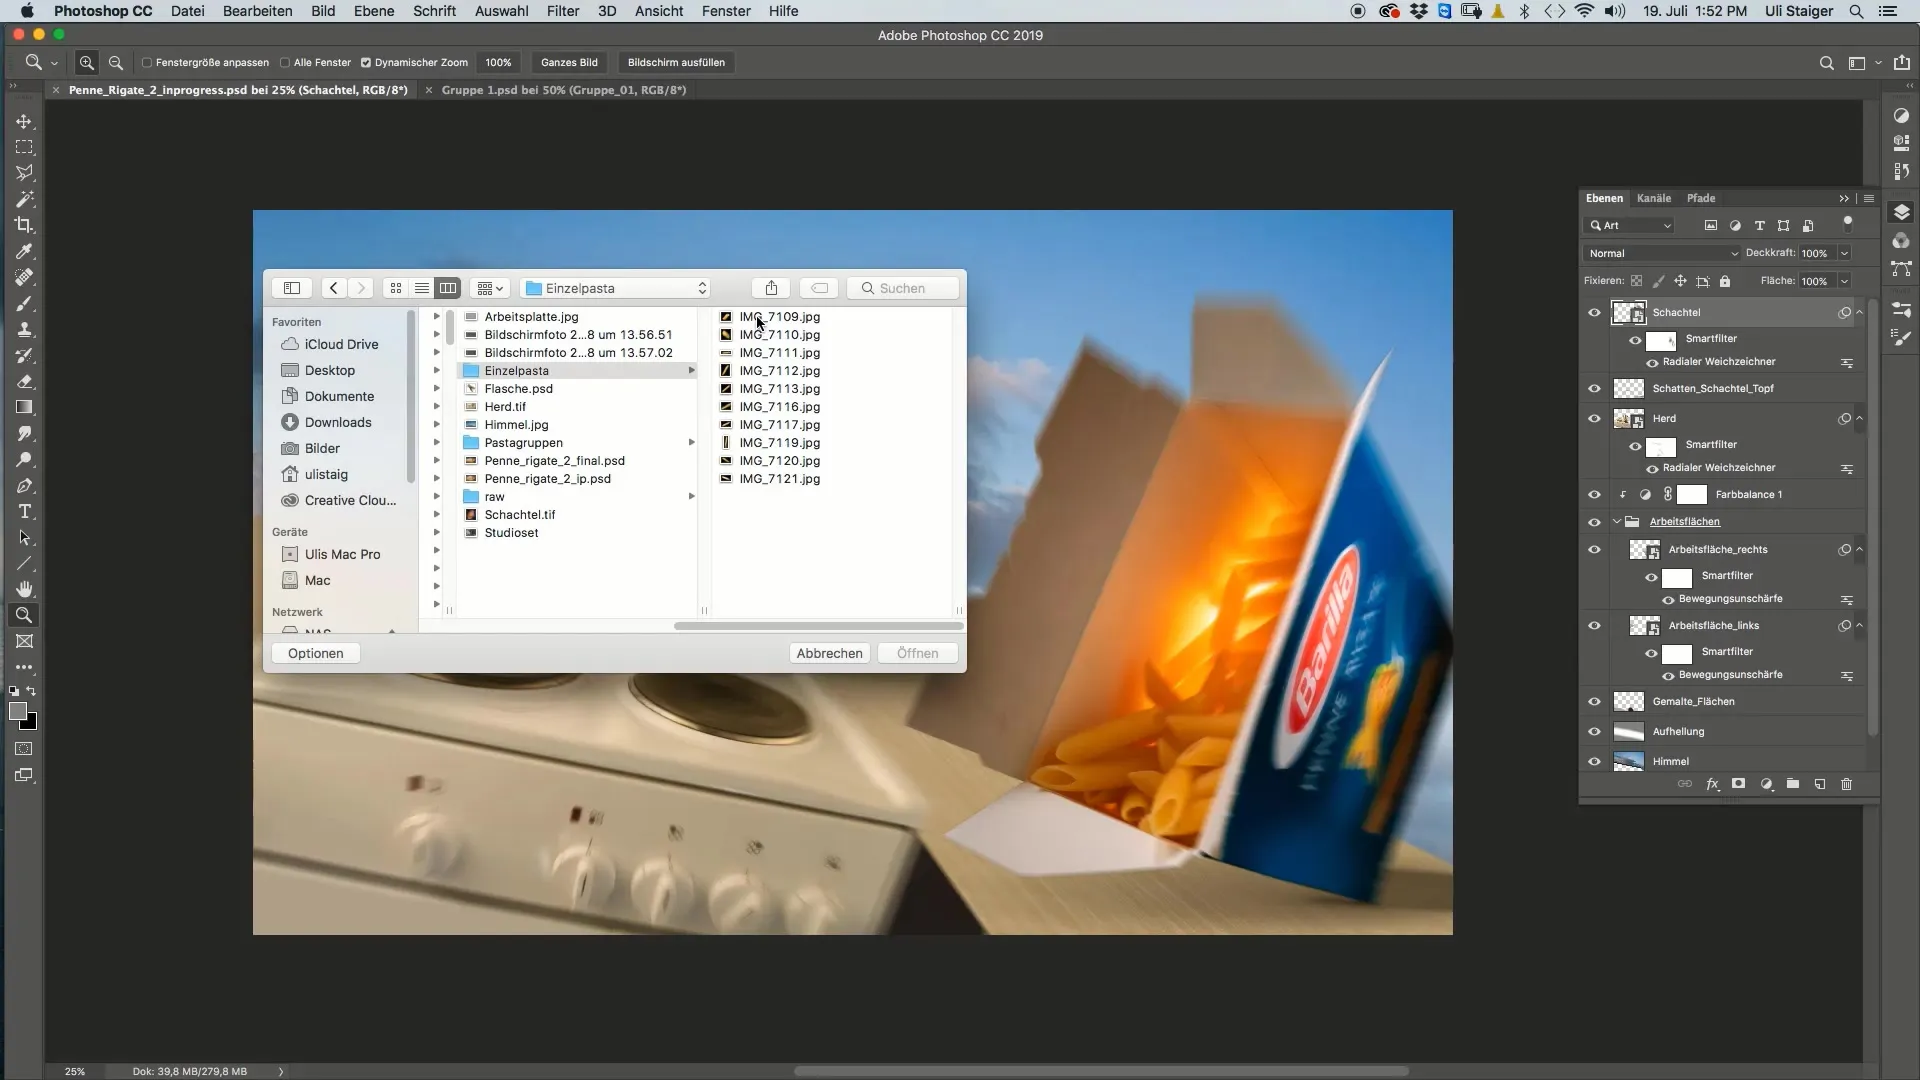
The magic wand is excellent for selecting the noodles. Set the tolerance to a higher value for precise selection.
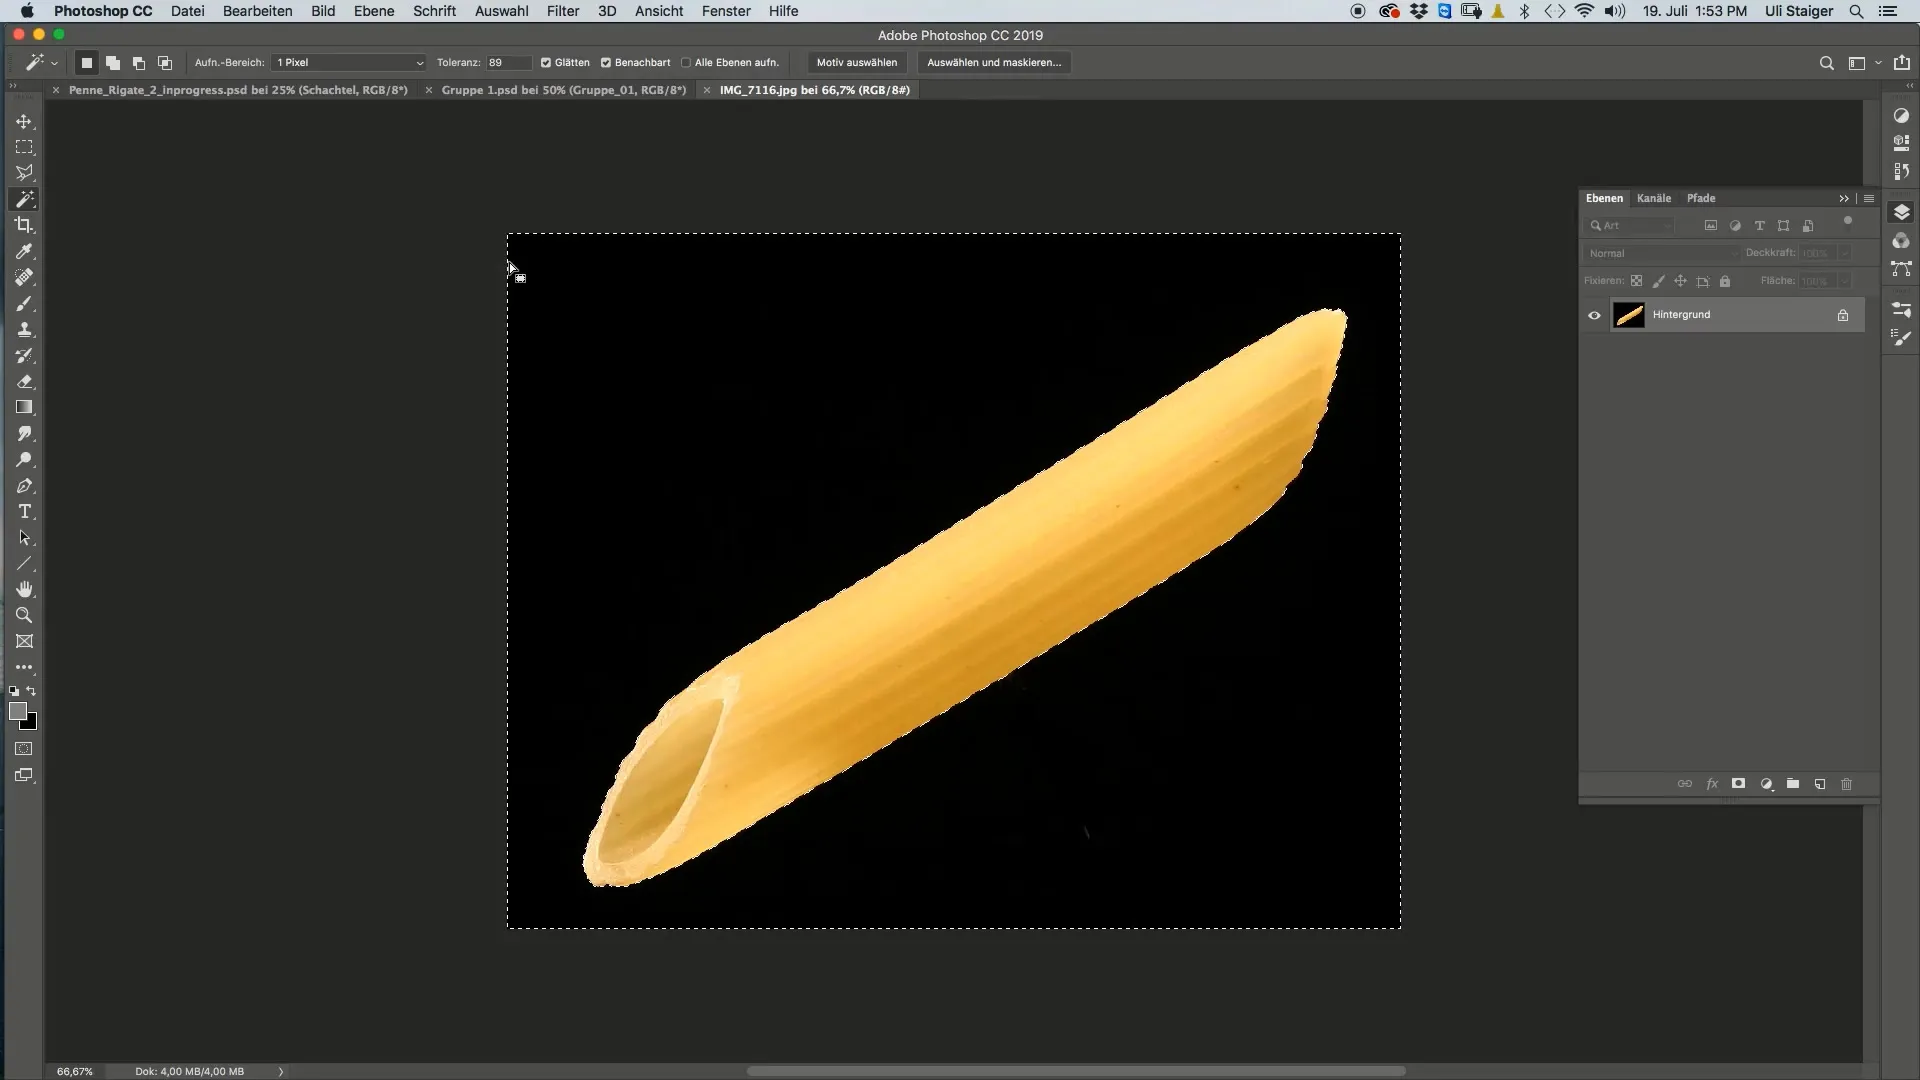
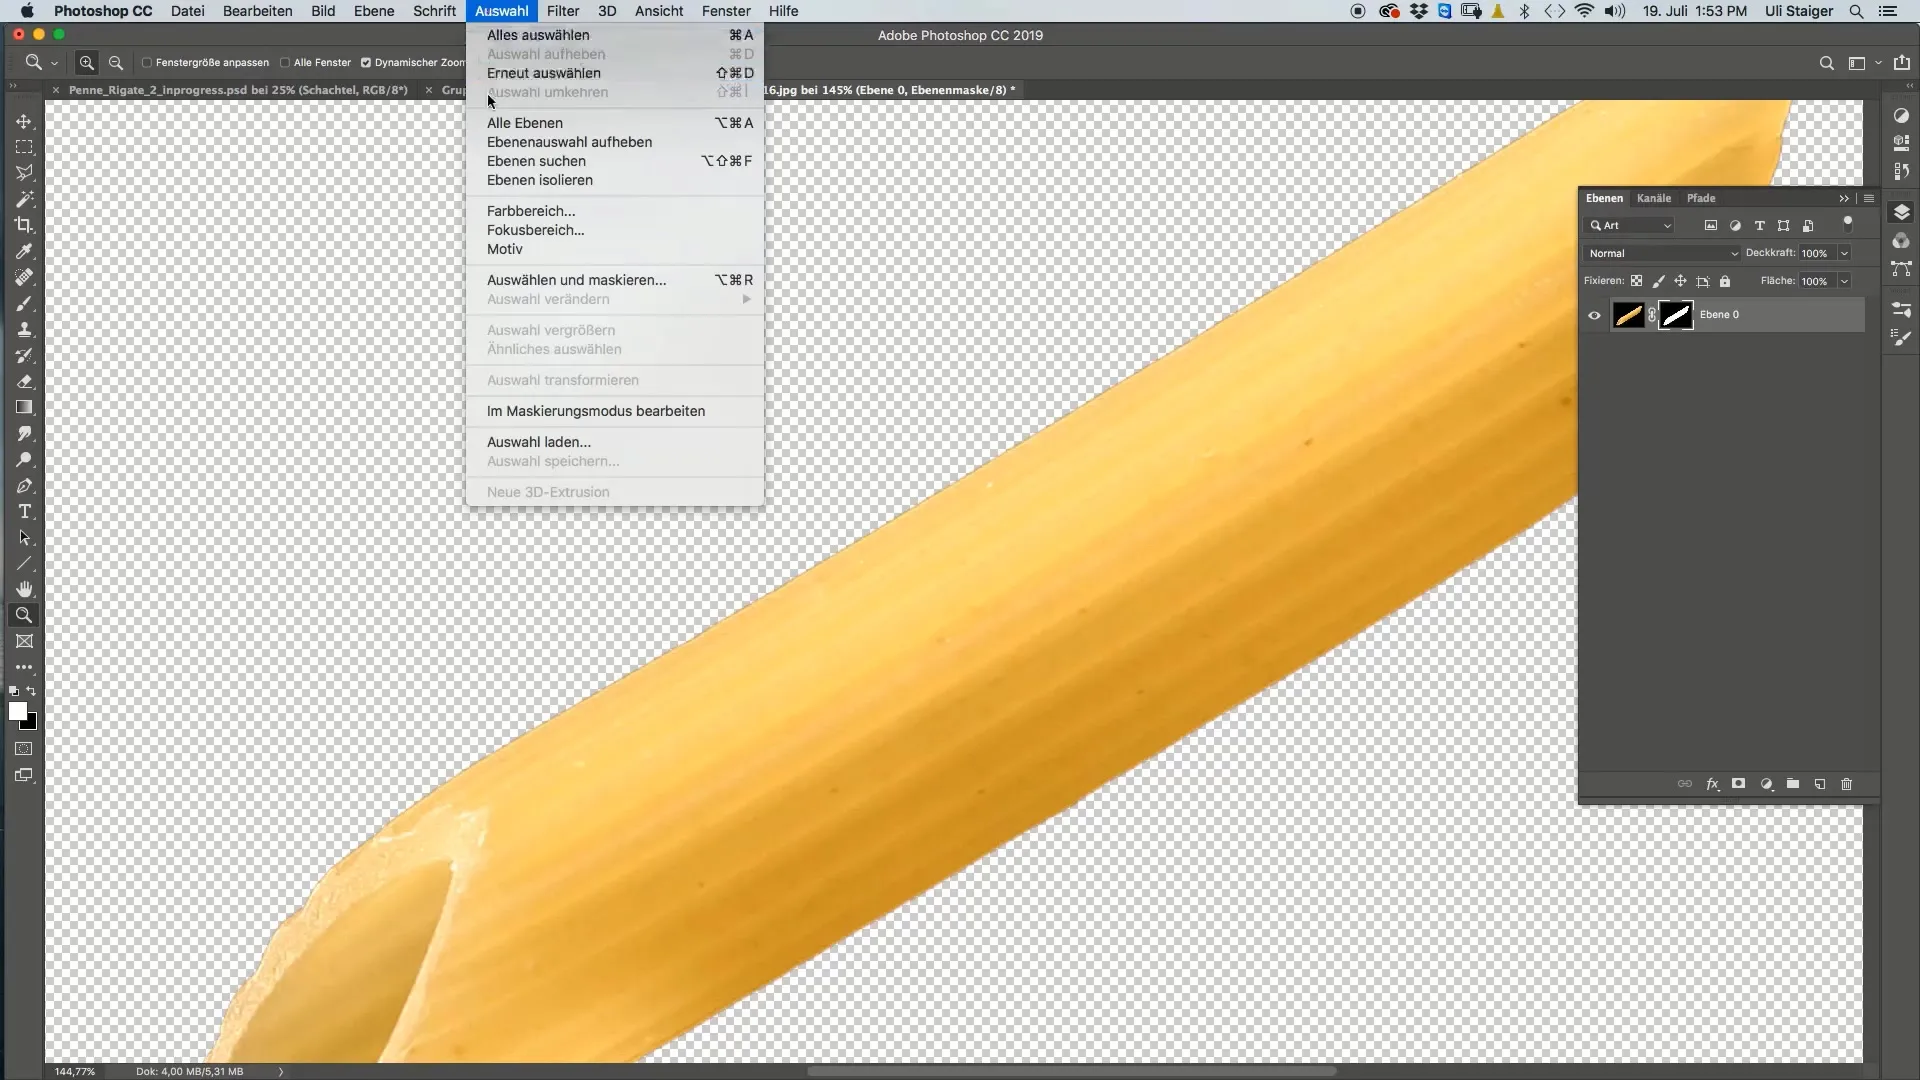
After making your selection, create a layer mask. Make sure that the mask is created correctly for an optimal result.
If you see an edge around the pasta, you can easily remove it by using the “mask selection” function. Here, you can shift the edges and set a soft edge to achieve a realistic appearance.
Placing the Noodles in Your Main Image
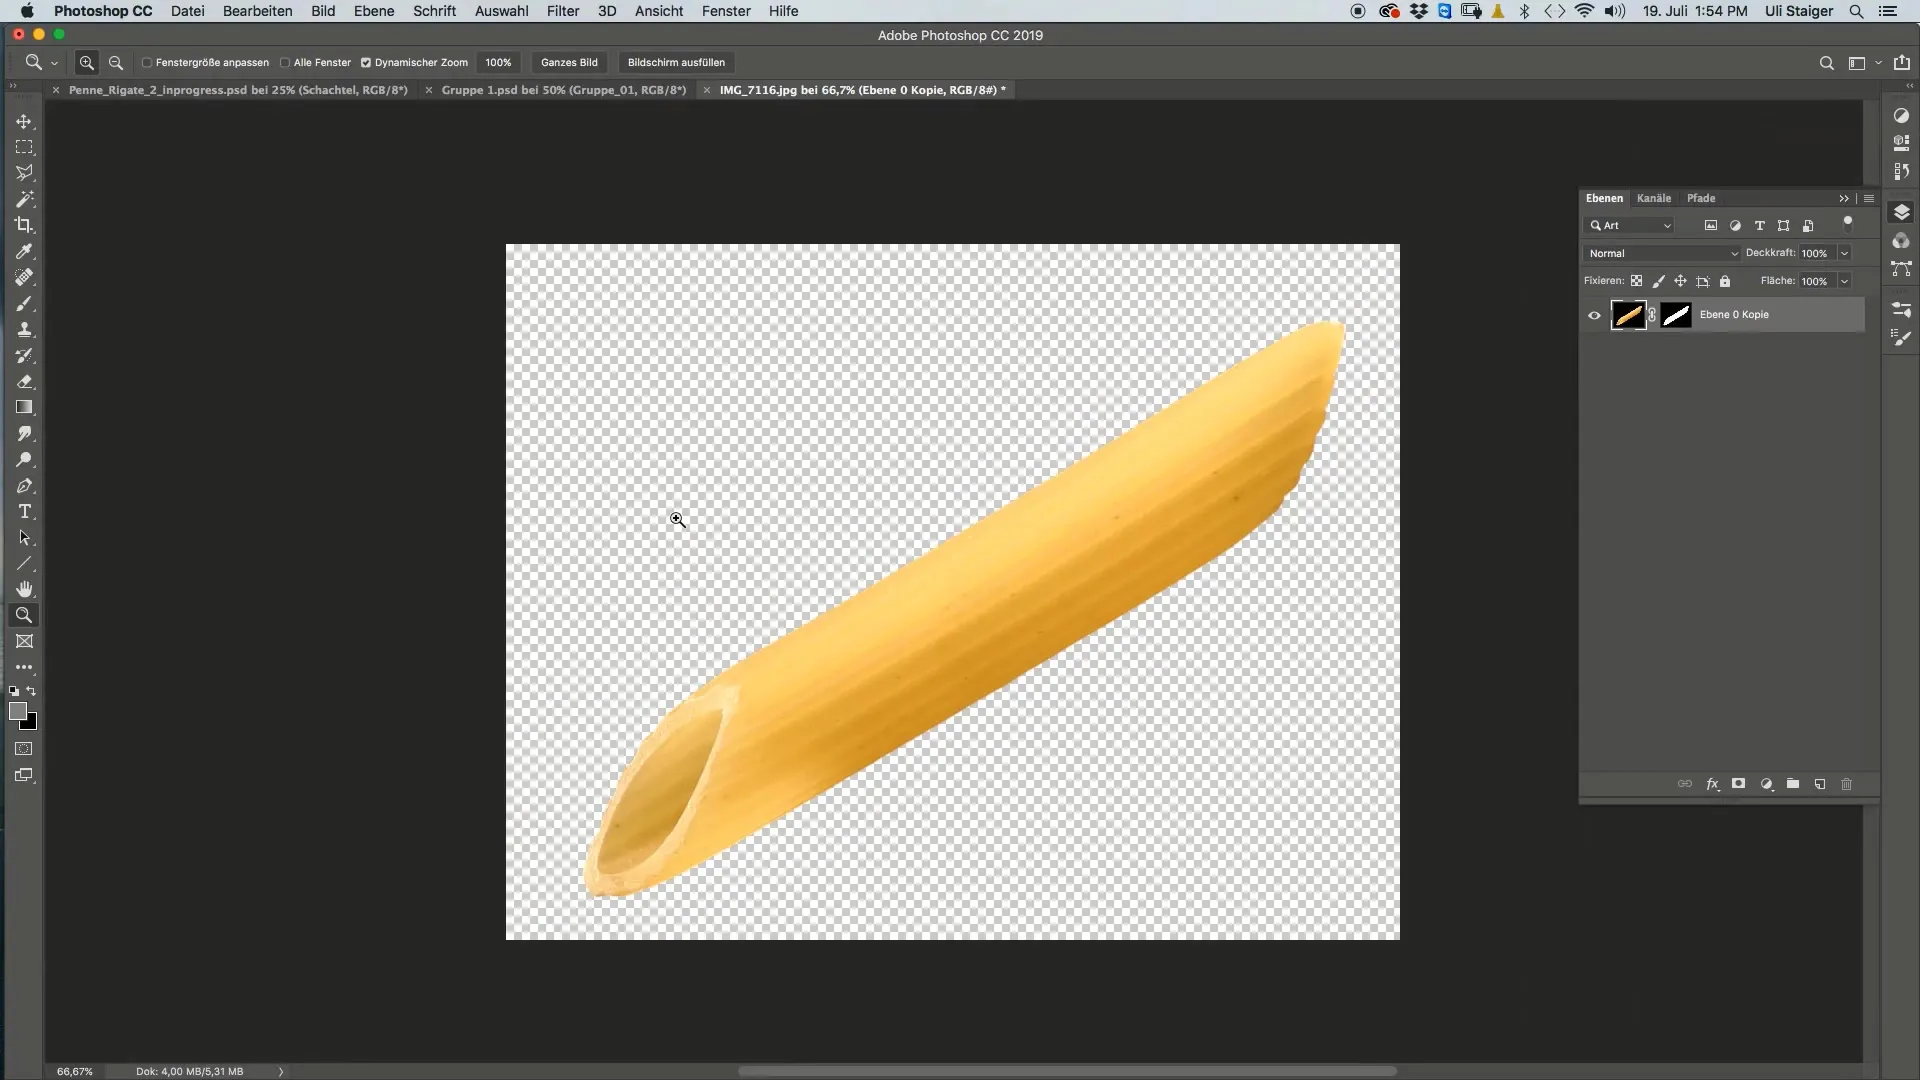
Once the noodles have been selected and edited, drag them into your main image titled “Penne Rigate.” Ensure that the pasta layer remains at the top in the layer order.
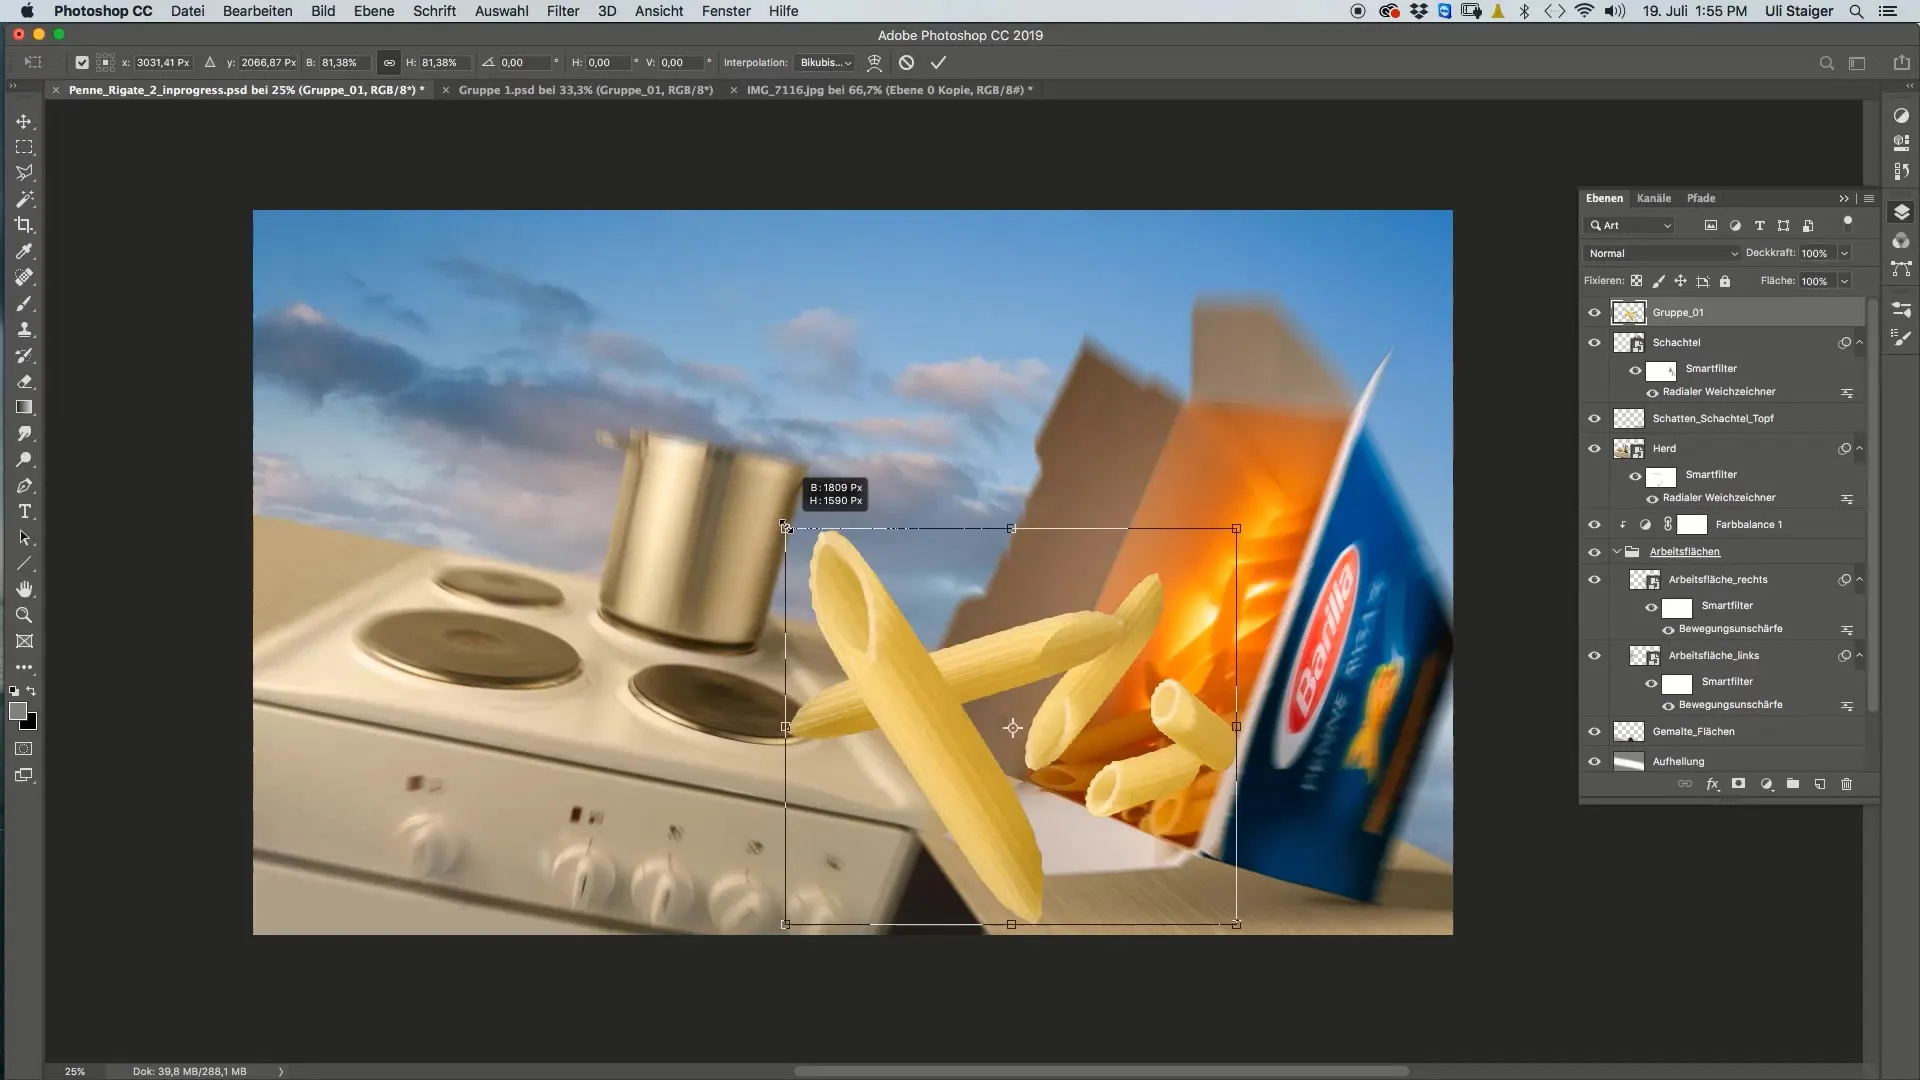
The size of the noodles may not be optimal at first. Using the transform function (Command + T), you can adjust the noodles and change their size to better fit into your design.
Experiment with whether you want to apply a smart object to facilitate future adjustments. This gives you greater flexibility.
Making Color Corrections
To make the pasta even more appealing, color corrections are important. Use the curve adjustment in Photoshop to change both the brightness and the color. Start with the RGB standard to adjust the brightness of the noodles.
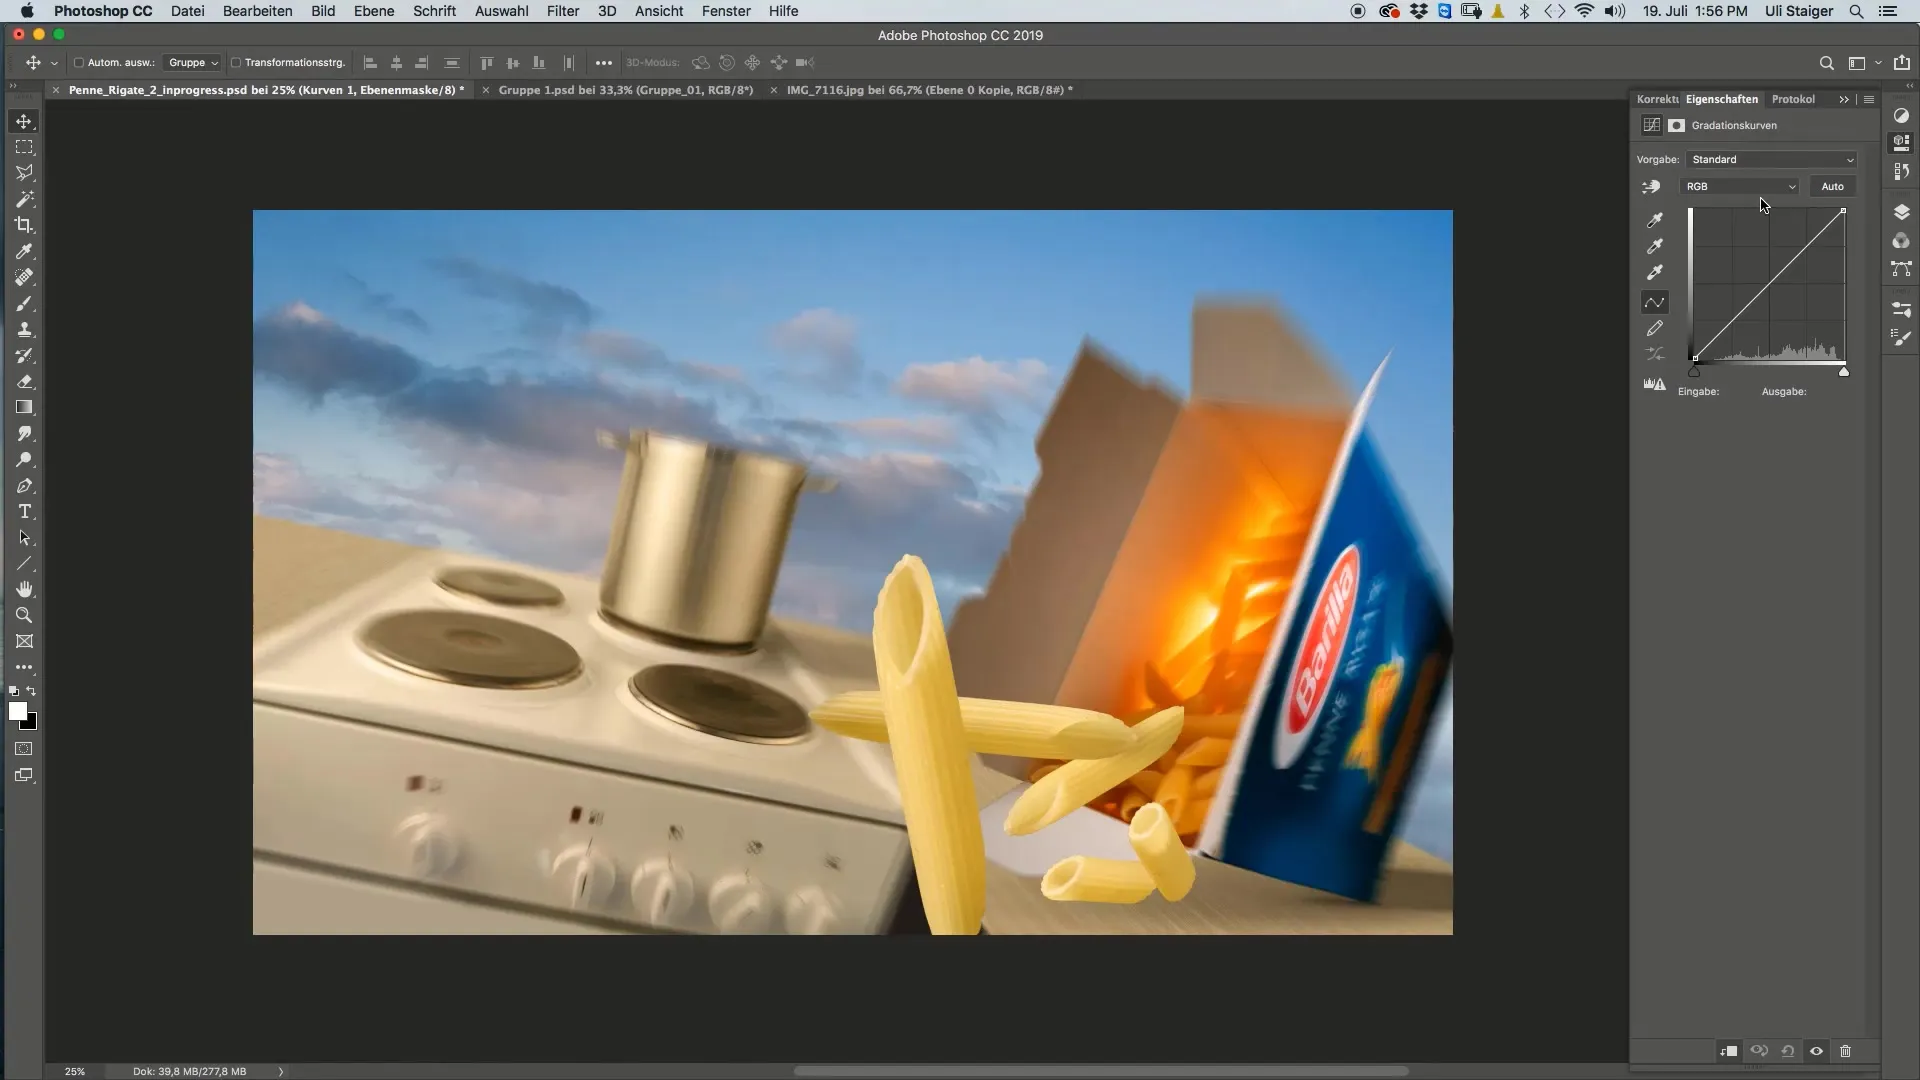
Then you can switch to the red channel and adjust the curve to give the noodles an appetizing color.

If the color is too dominant or the image is too bright, go back to the RGB channel and adjust the brightness until you are satisfied with the result.
Adding More Noodles and Completing the Image
Once you have successfully inserted the first noodle, you can work more noodles into your image. Follow the same steps and experiment with different pasta groups to create a harmonious overall image.
Summary - Pasta Design in Photoshop: How to Bring Penne Rigate into the Picture
In this tutorial, you have learned the basic steps to integrate various noodles into your images. From selection to color corrections to final placement – you now have the necessary knowledge to create creative pasta-based designs.
FAQ
How do I select the noodles with the magic wand?Set the tolerance of the magic wand high to precisely select the entire noodle.
Why should I work with a layer mask?Layer masks allow you to quickly hide unwanted areas without deleting the original images.
How can I optimize the pasta color?Use the curves for precise adjustments regarding brightness and colors.
Can I enlarge or reduce the noodles afterwards?Yes, using the transform function (Command + T), you can adjust the noodles at any time.
