If you want to work with images to enhance their visual impact, then the CameraRawfilter is an incredibly helpful tool. In this tutorial, I'll show you how to give your photos more depth through targeted adjustments. We'll go through the steps of image editing in Photoshoptogether – from general adjustments to specific color corrections that will give your image a unique look.
Key Insights
- The Camera Raw filter offers extensive adjustment options for exposure, contrast, and color.
- A vignette can draw attention to the main subject and enhance the depth of the image.
- Small adjustments in the HSL curve can have a significant impact on the overall image.
- Patience is important – let your edited image rest for a few days and then take another look.
Step-by-Step Guide
To achieve an appealing result, carefully follow the steps below. Each step is crucial to the overall composition of the image.
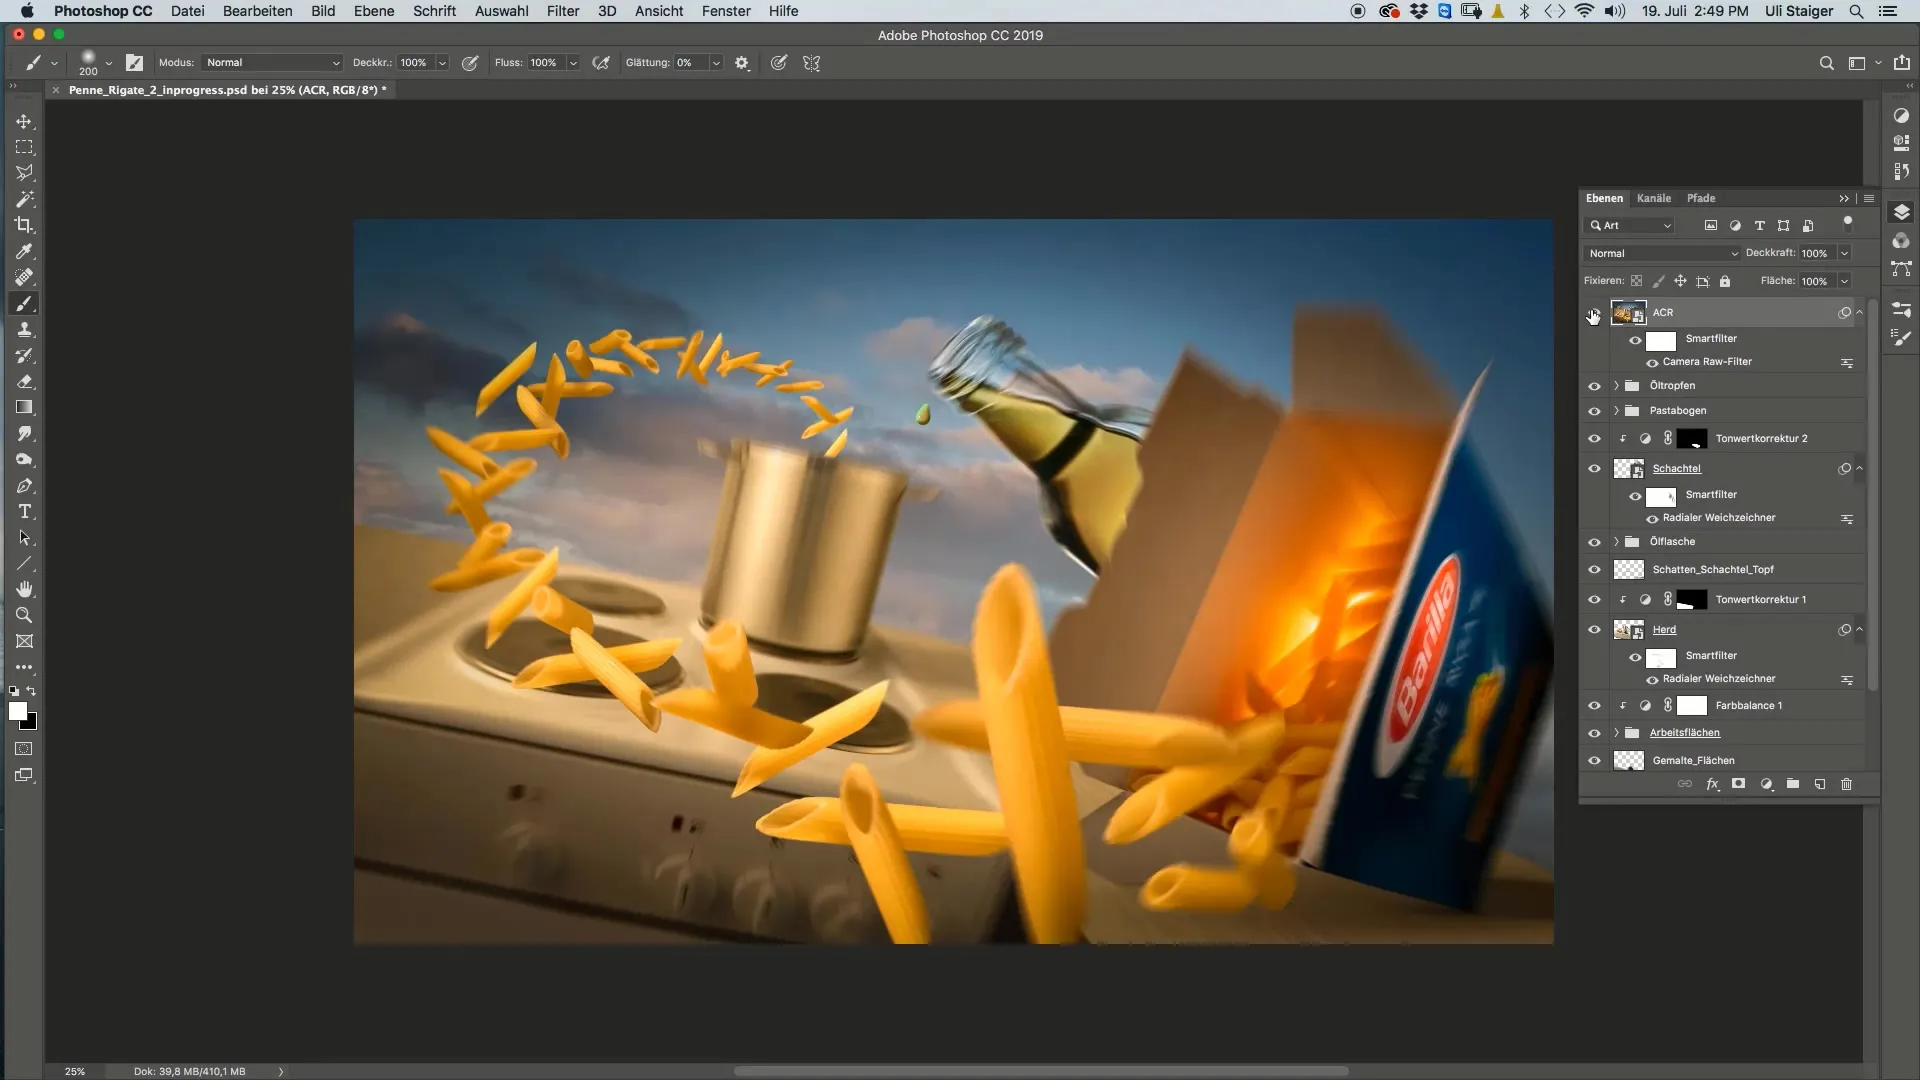
1. Merge Layers
Before you start editing, it's important to unite all your layers. This ensures that you have a coherent base to work on.
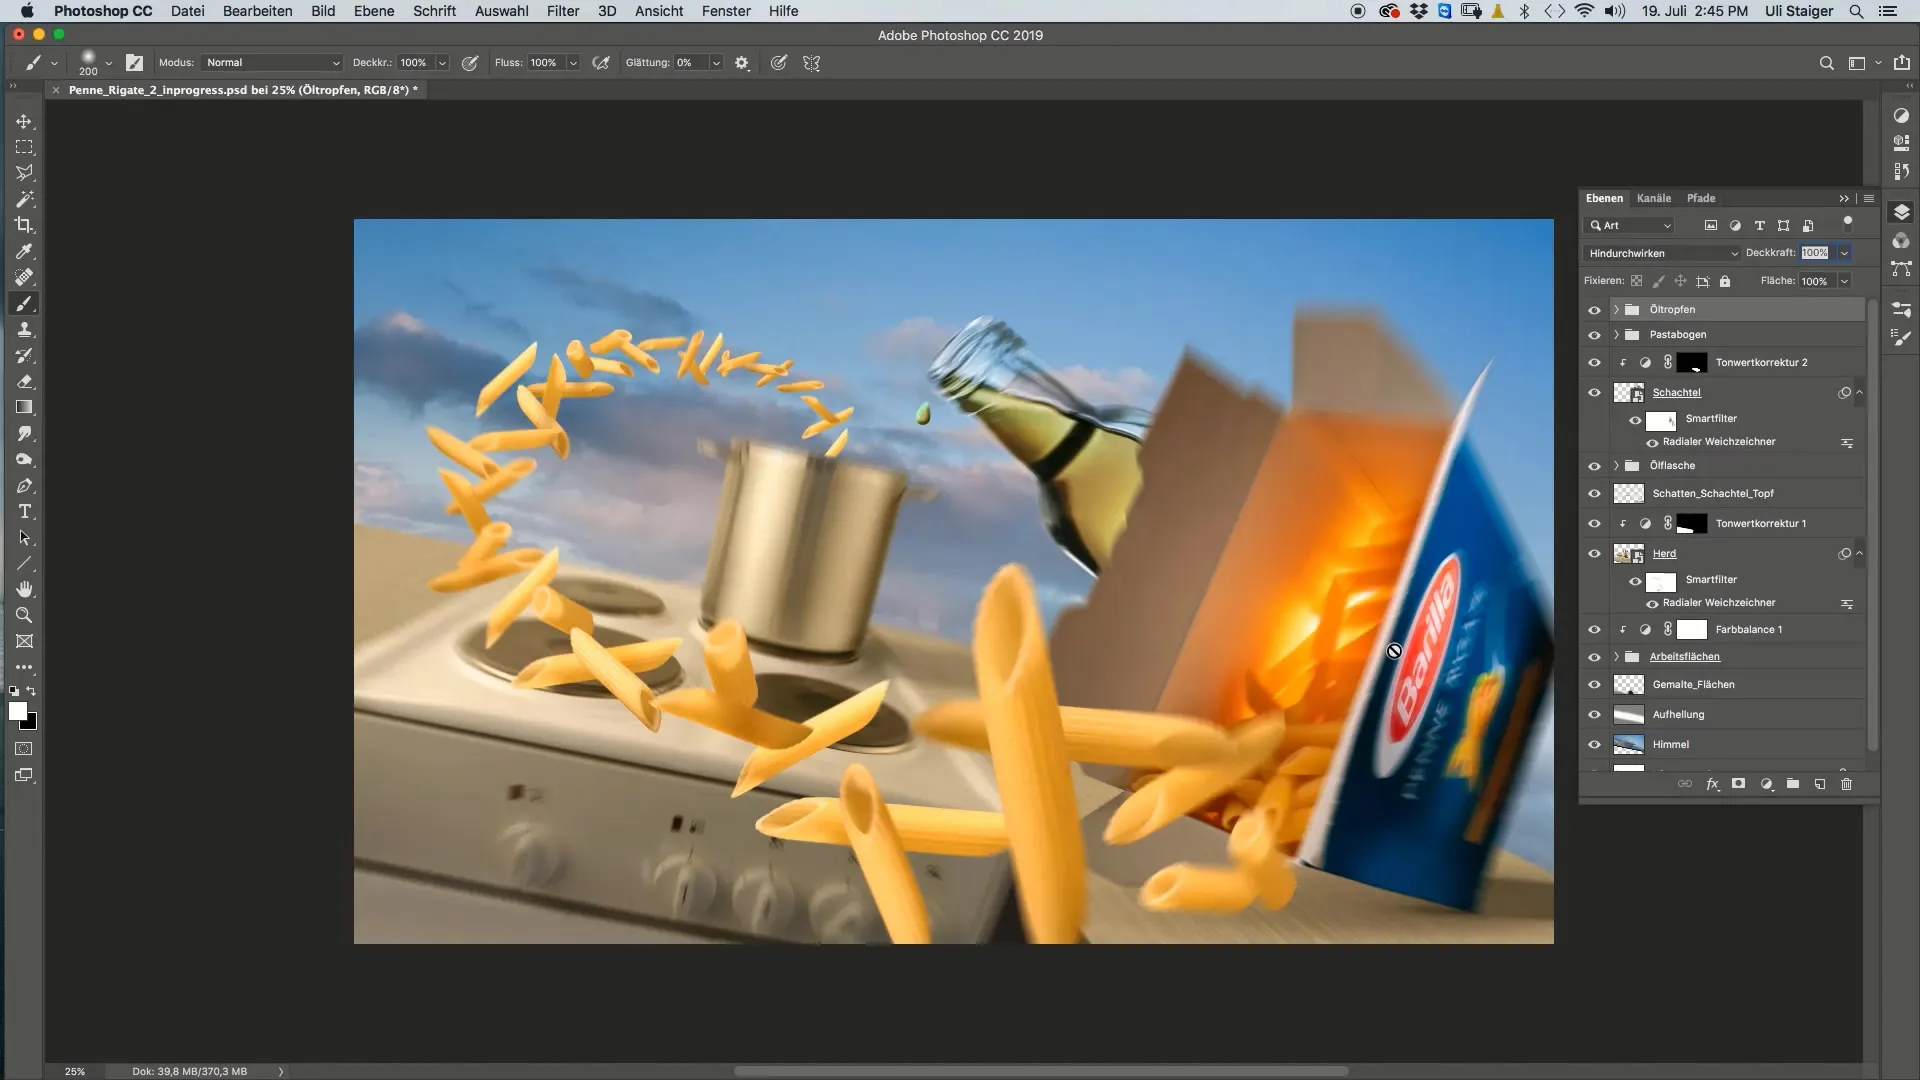
Using the shortcut Shift + Alt + Command + E (Mac) or Shift + Alt + Ctrl + E (Windows) creates a new layer that contains all the content below it. Avoid reducing the original layers, as this would limit the flexibility of your editing.
2. Create Smart Object
After creating the new layer, we will convert it into a Smart Object. This allows you to apply filters non-destructively and return to them at any time.
Use the menu and select "Layer" > "Smart Object" > "Convert to Smart Object". This is an important step to ensure your edits are not irreversible.
3. Apply Camera Raw Filter
Now comes the crucial part: using the Camera Raw filter. Go to Filter > Camera Raw Filter. This opens an interface that provides you with familiar functions from the RAW converter.
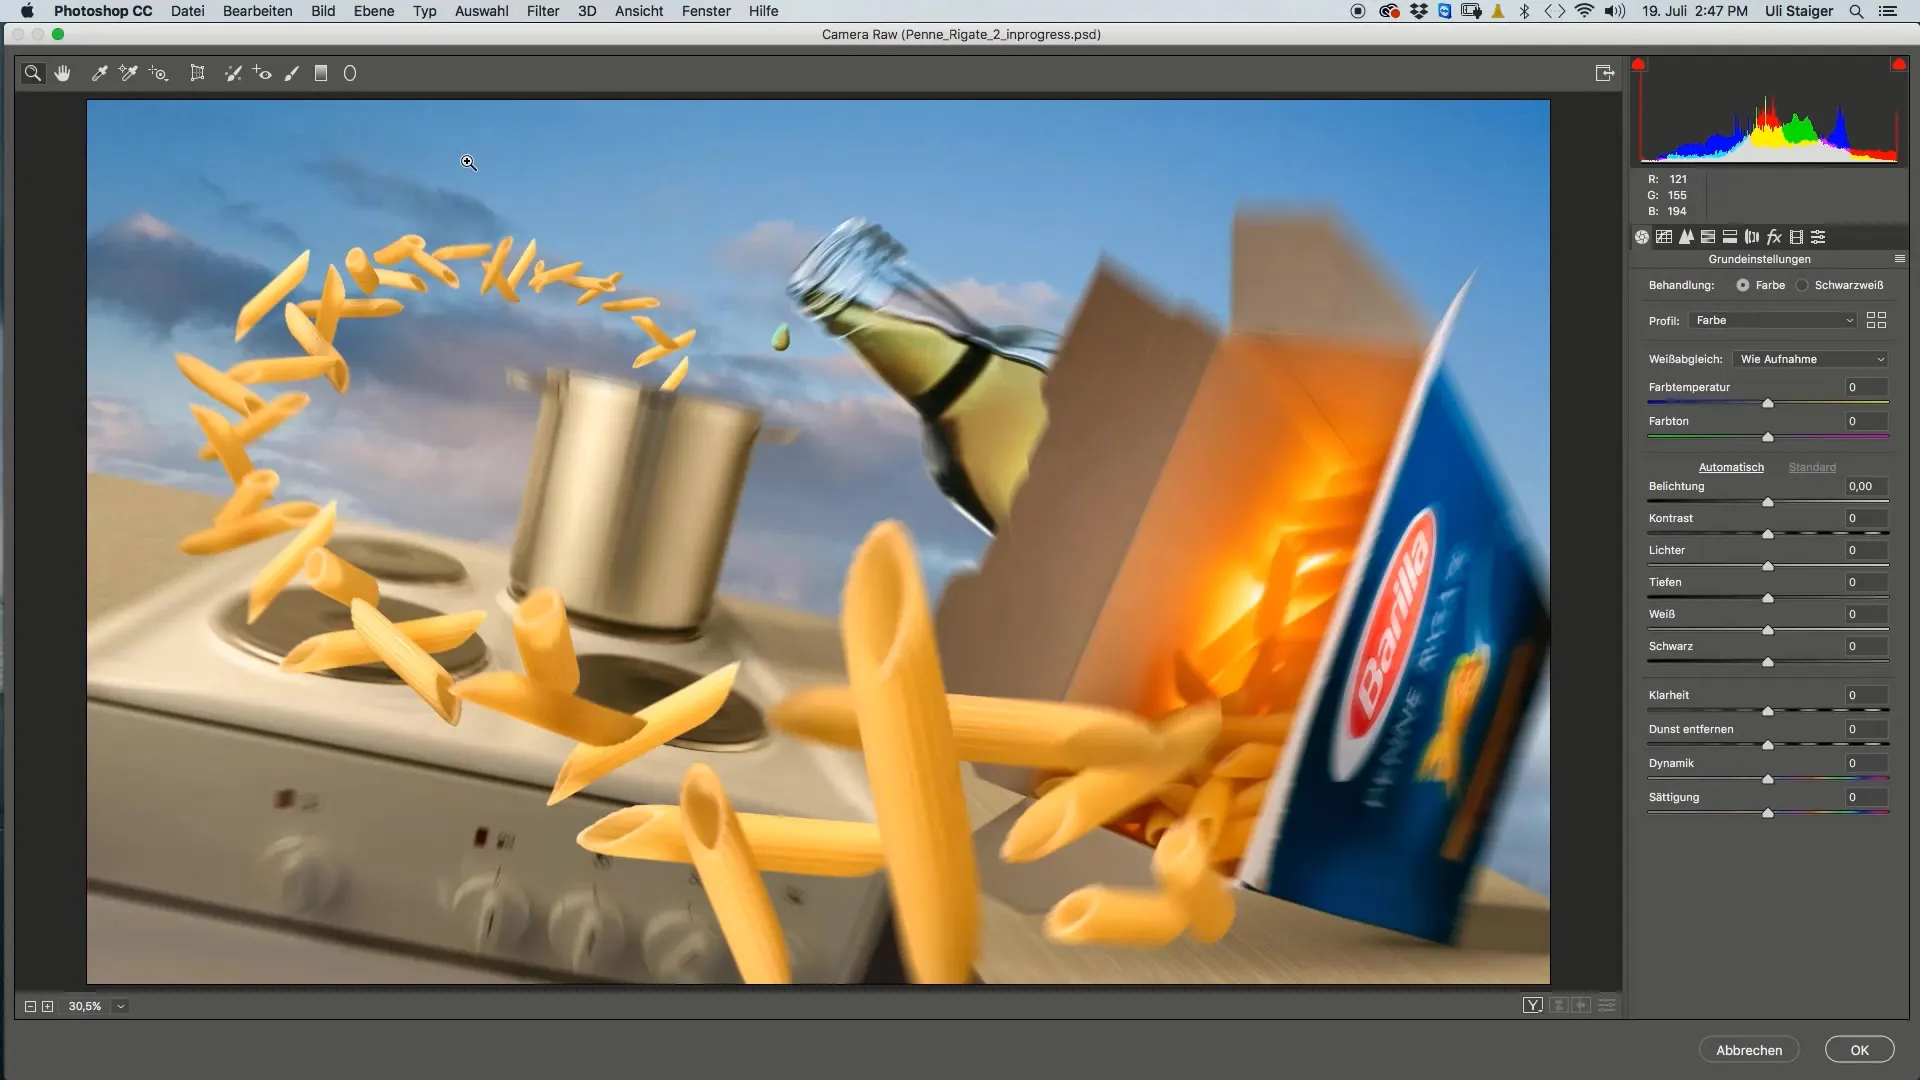
Here, you can experiment with various parameters to set the desired exposure and contrast. Start with the exposure: if the image is too bright, move the slider slightly to the left to reduce brightness.
4. Adjust Color Temperature
To change the mood of your image, you can also adjust the color temperature. Move the slider to the right to add more warmth, and be aware that you may need to adjust the exposure accordingly.
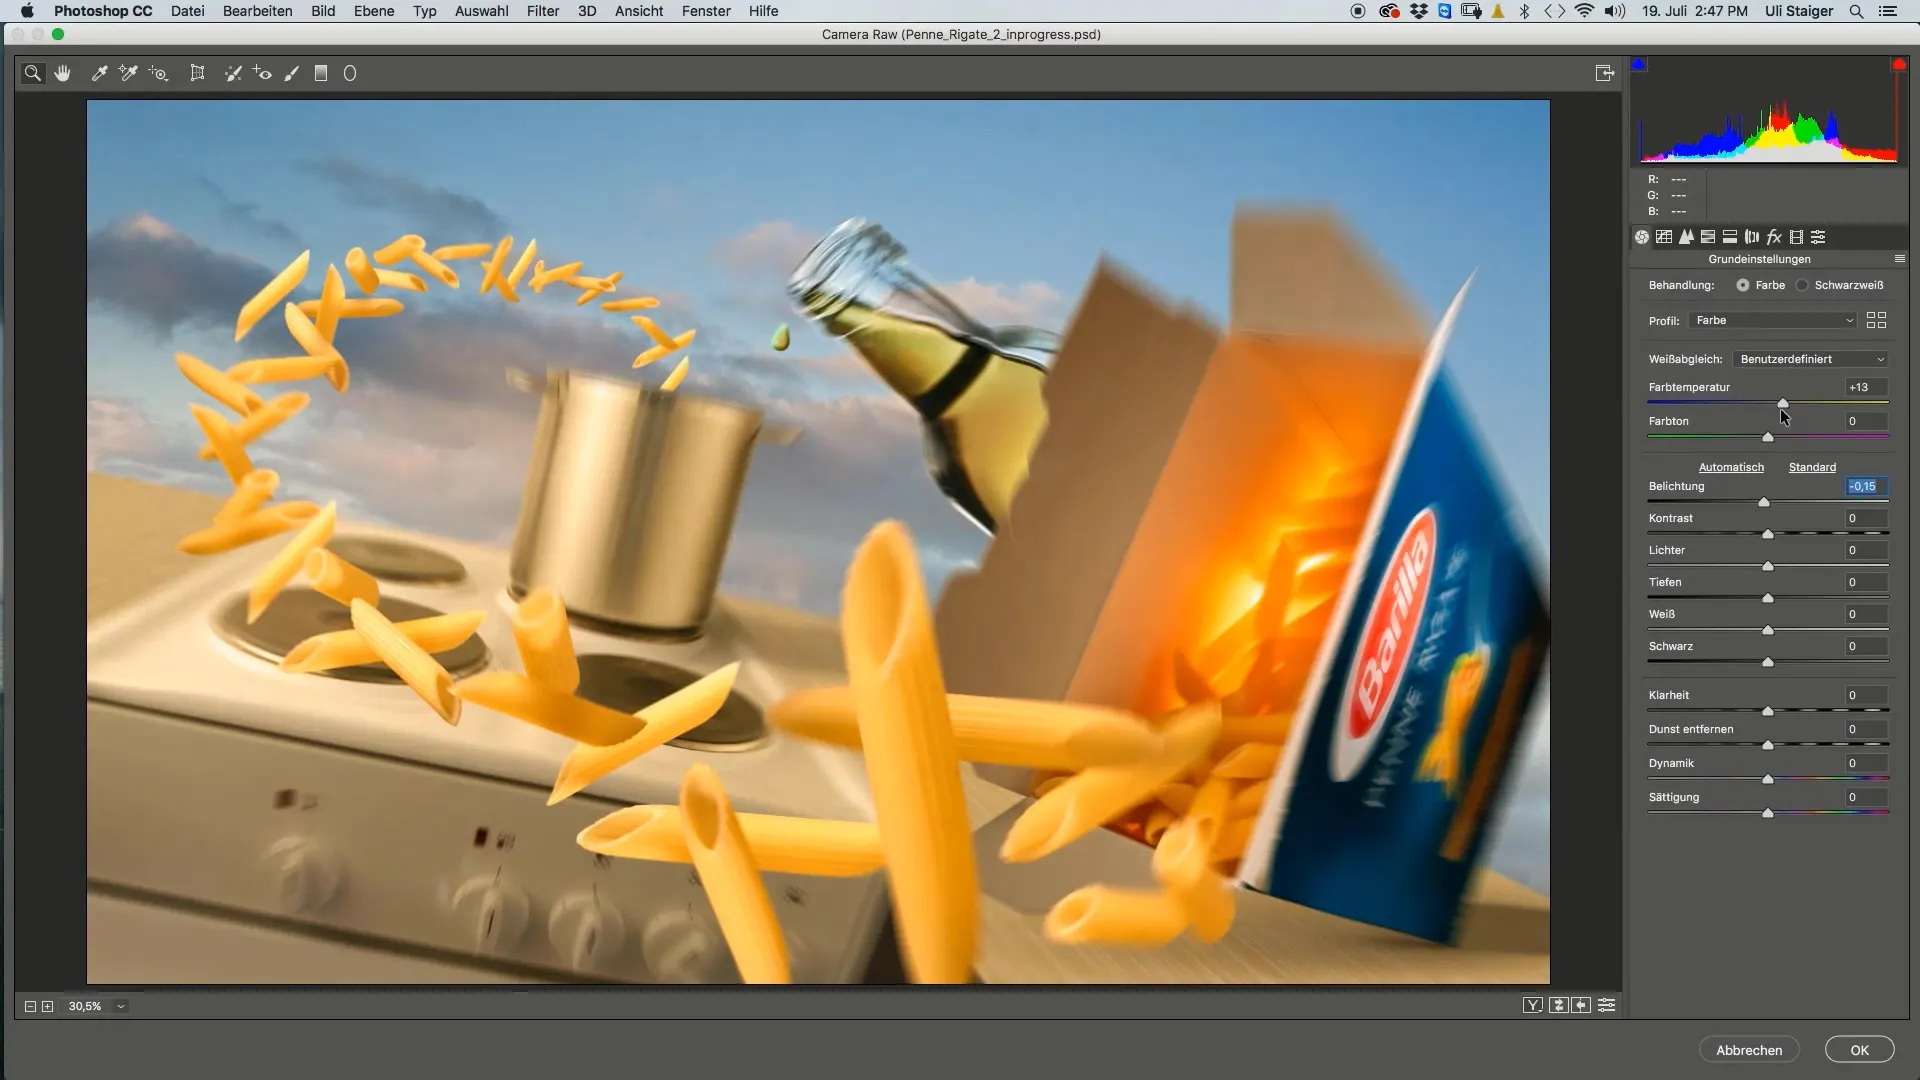
A warm hue can make the image more inviting andenhance its overall appeal.
5. Add Vignette
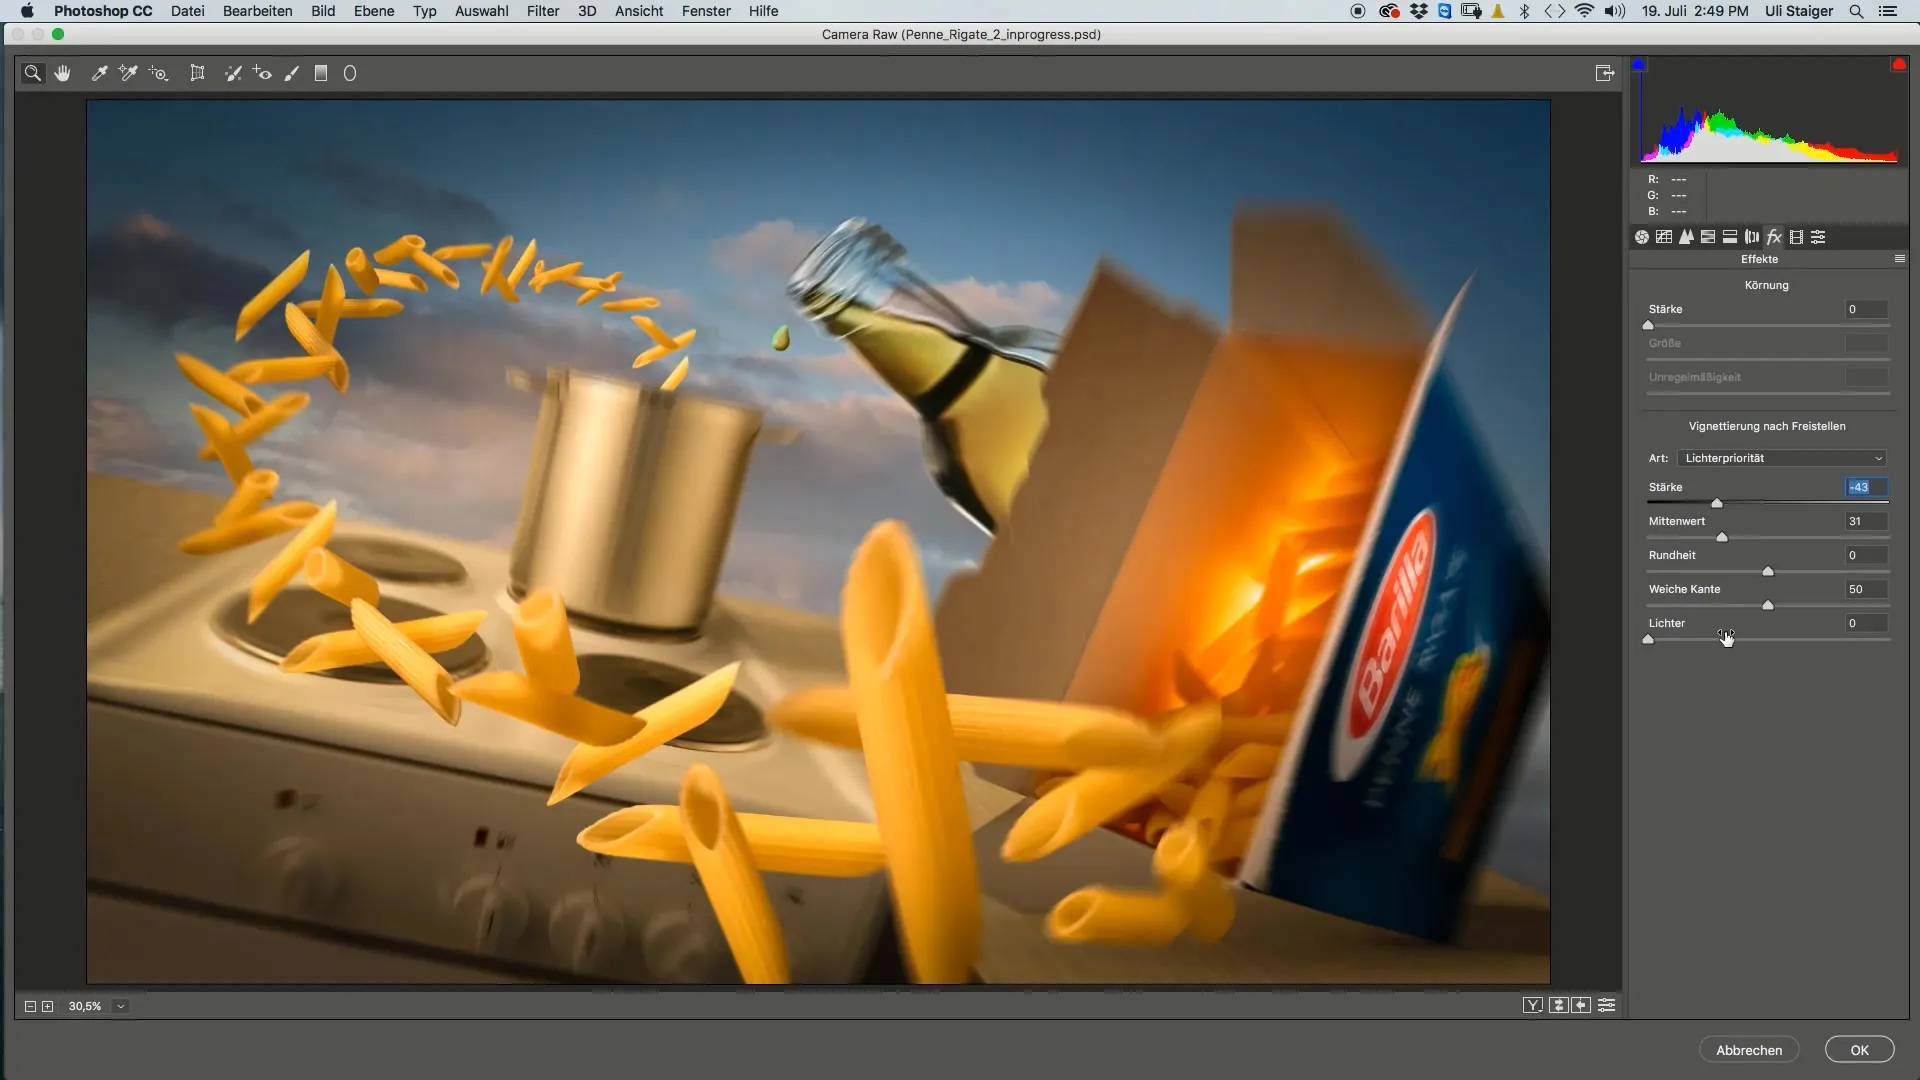
An effective design element is the vignette. You can adjust it by scrolling down in the Effects (FX) section and dragging the vignette slider to the left.
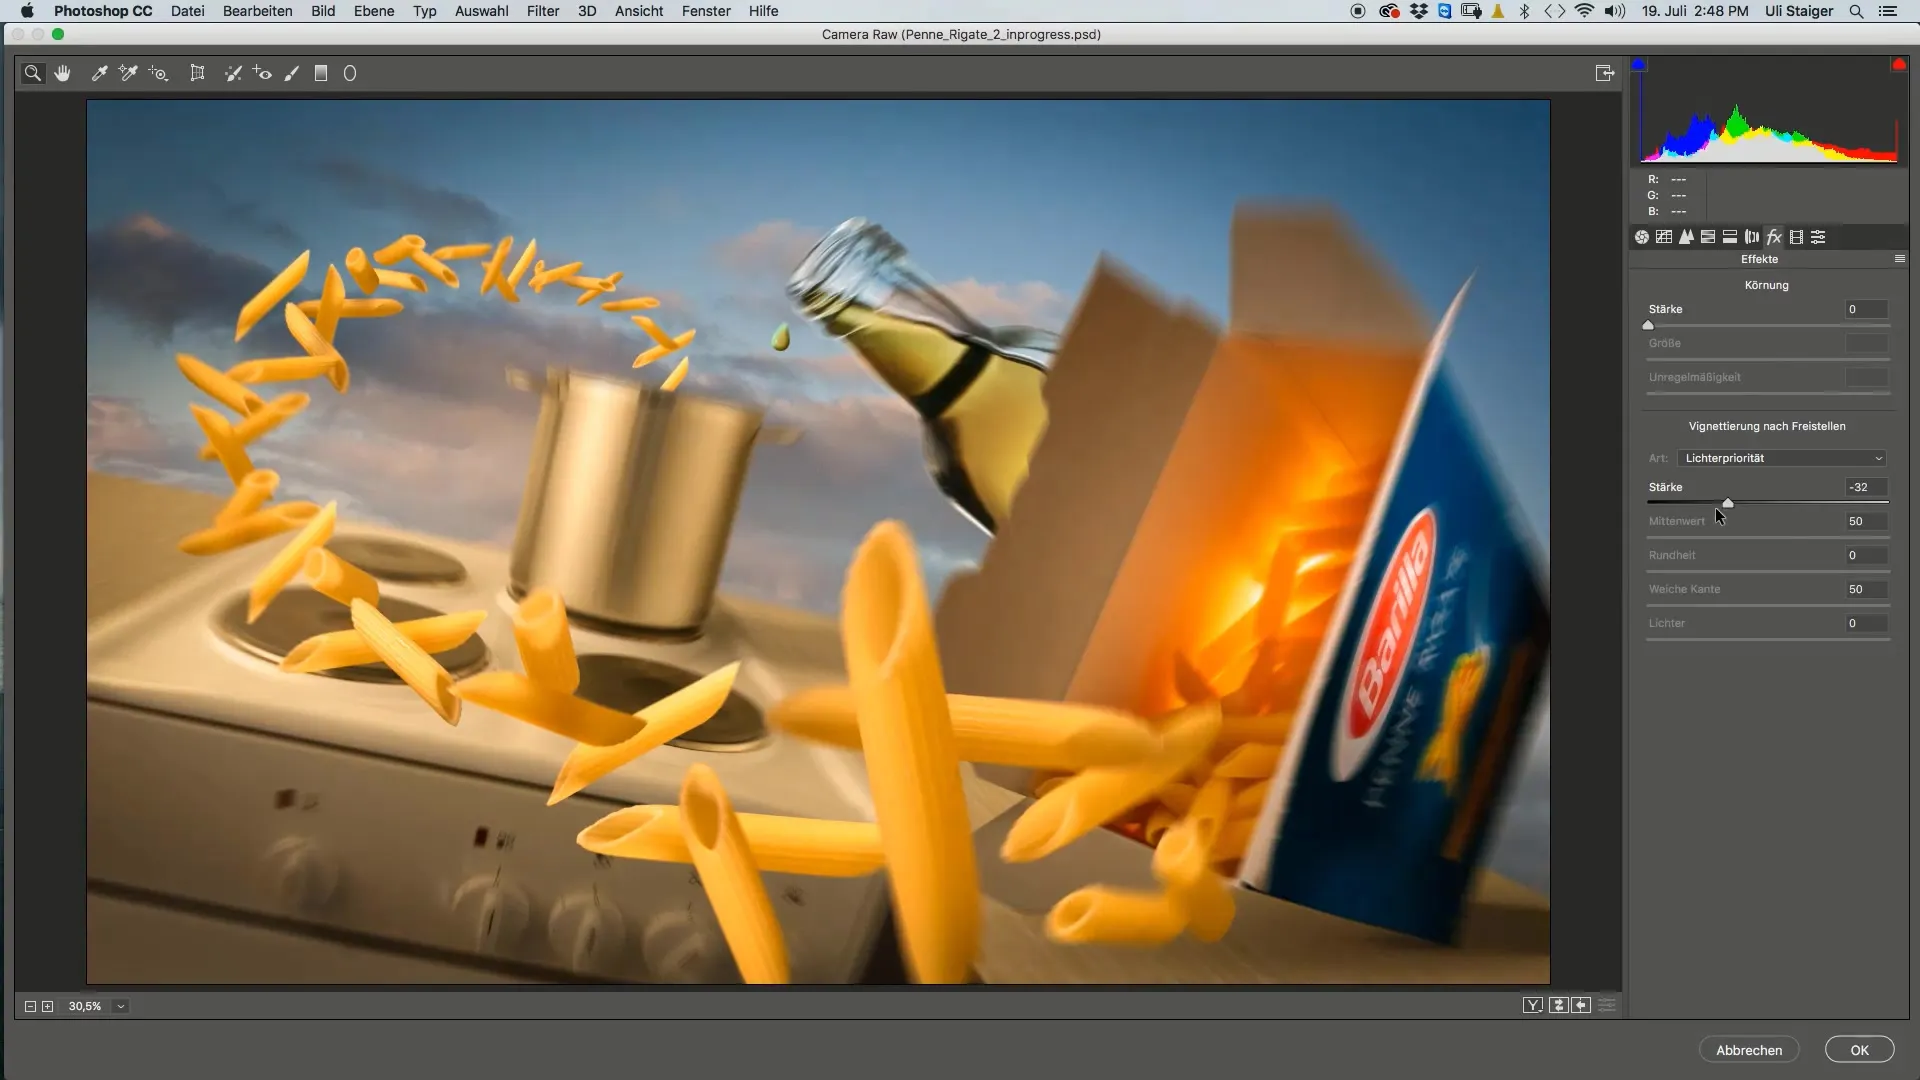
Be careful not to make the vignette too strong, as it should be subtle. A gentle vignette directs the focus to the main subject.
6. Adjust Sky
The sky is often an important part of an image. If it appears too bright, you can darken it selectively using the HSL adjustments. Select the appropriate blue tones and adjust their saturation and luminance.
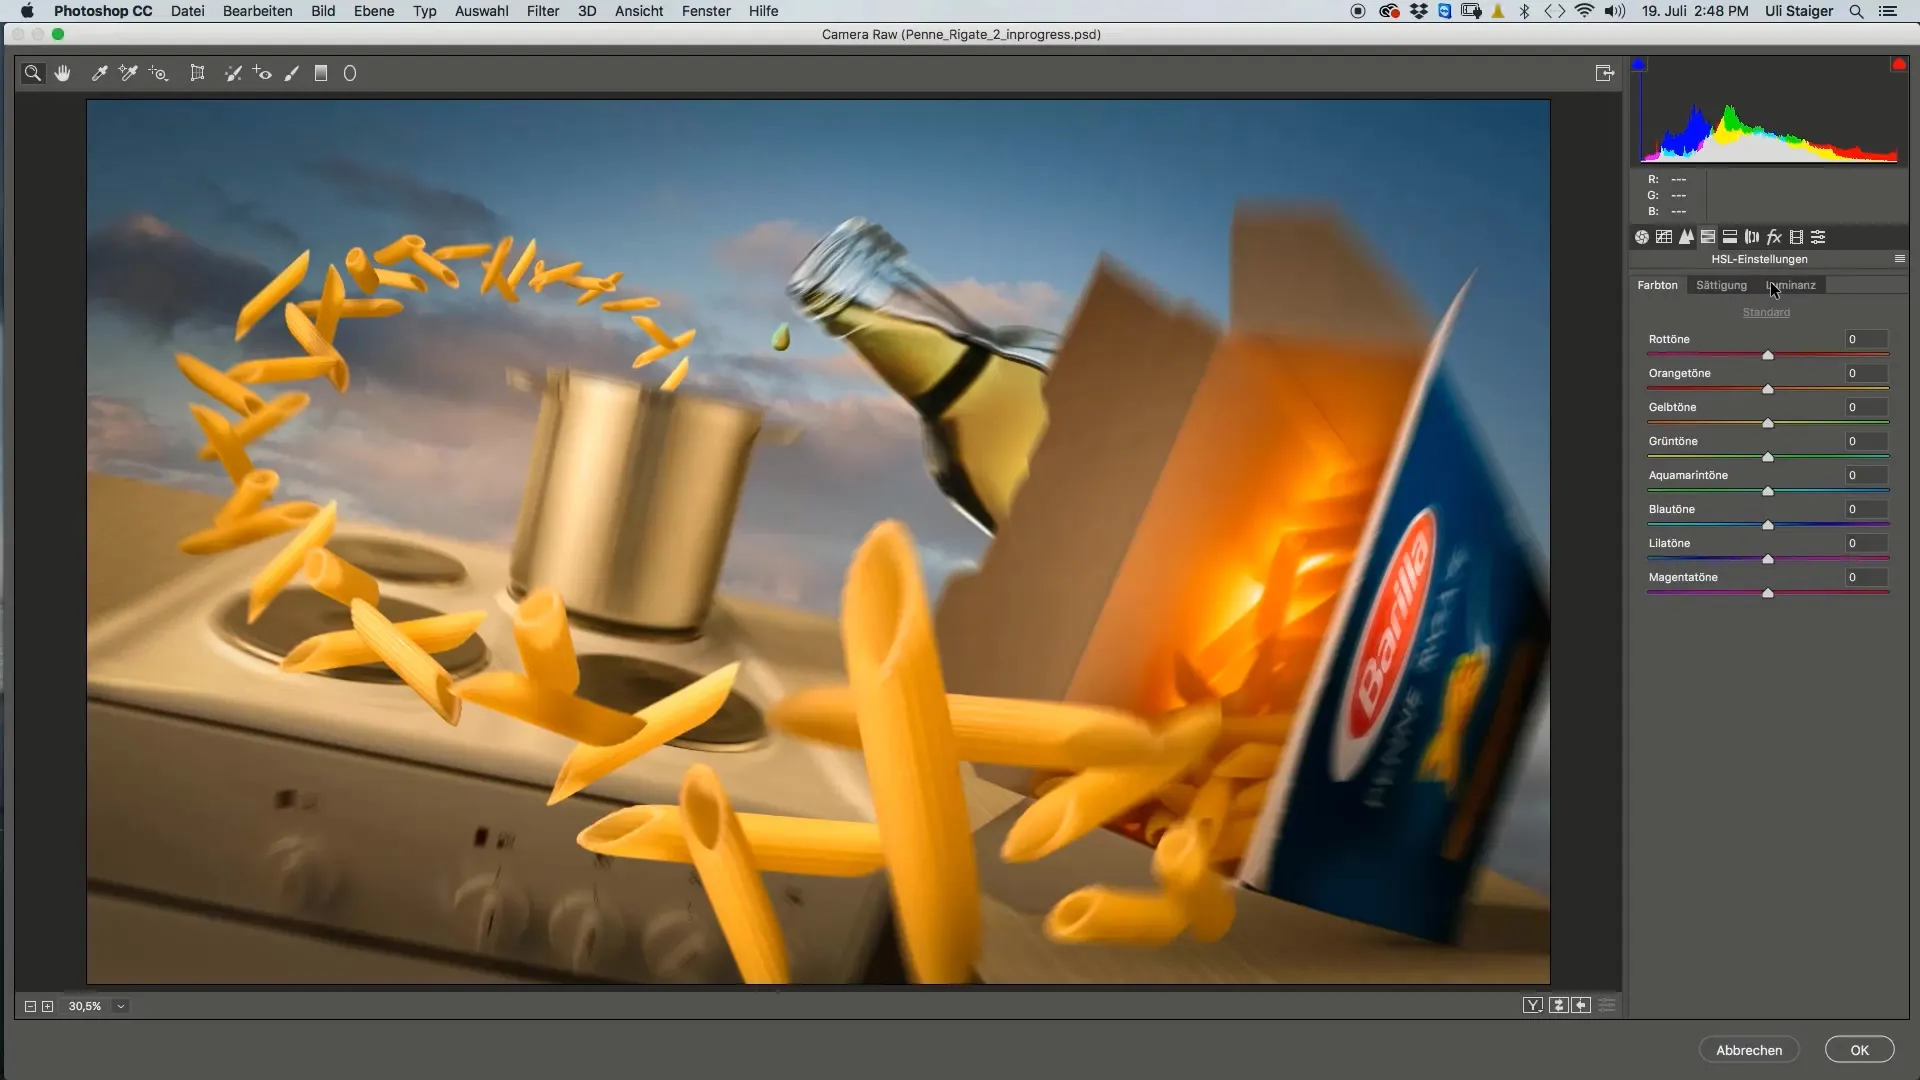
By slightly lowering the blue tones, you can achieve a more dramatic effect that contributes to the image depth.
7. Make Fine Adjustments
Feel free to enhance the vignette as well. Don’t hesitate to experiment with the sliders to find the best effect for your image. It's important to make your adjustments gradually and regularly check your image.
8. Save and Evaluate the Image
If you are satisfied with your editing, save the image. Let it rest for a few days before taking another look; often, you can discover small errors or opportunities for improvement after a short distance.
If you feel that certain areas are not ideal, you can always create a new copy of the layer and make specific adjustments without having to re-edit the entire image.
Summary – Photoshop Tutorial "Penne Rigate": Image Look with Camera Raw Filter
In this tutorial, you learned how to effectively use the Camera Raw filter to give your image more depth. By adjusting exposure, vignette, and specific colors, you can not only improve the aesthetics of the image but also enhance its impact. Be sure to take some time after editing to view your image from a new perspective.
FAQ
How does the Camera Raw filter work in Photoshop?The Camera Raw filter offers similar functions to the original RAW converter and allows for extensive adjustments of exposure, contrast, color, and more.
Why should I use a vignette?A vignette directs attention to the main subject and adds more depth to the image.
How do I adjust specific colors in my image?Use the HSL settings in the Camera Raw filter to adjust the saturation and luminance of specific colors to achieve the desired effects.
How do I save my edited image in Photoshop?Go to "File" > "Save As" to save your edited image in the desired format.
How can I ensure that my image looks good?Let your edited image rest for a few days, then take another look to get a fresh perspective.

