Do you want to create a realistic-looking oil drop in Photoshop?In this tutorial, you will learn step by step how to achieve the shape, color, and desired effect through layer styles with beveled edges and inner shadow. Let’s get started!
Main Insights
- Use the brush tools and layer styles to create the shape and texture of the oil drop.
- Apply layer styles to add edges, relief, and shadows to create a realistic appearance.
- Refine the drop with a highlight to simulate the reflection of a hypothetical light source.
Step-by-Step Guide
Step 1: Create a New Layer
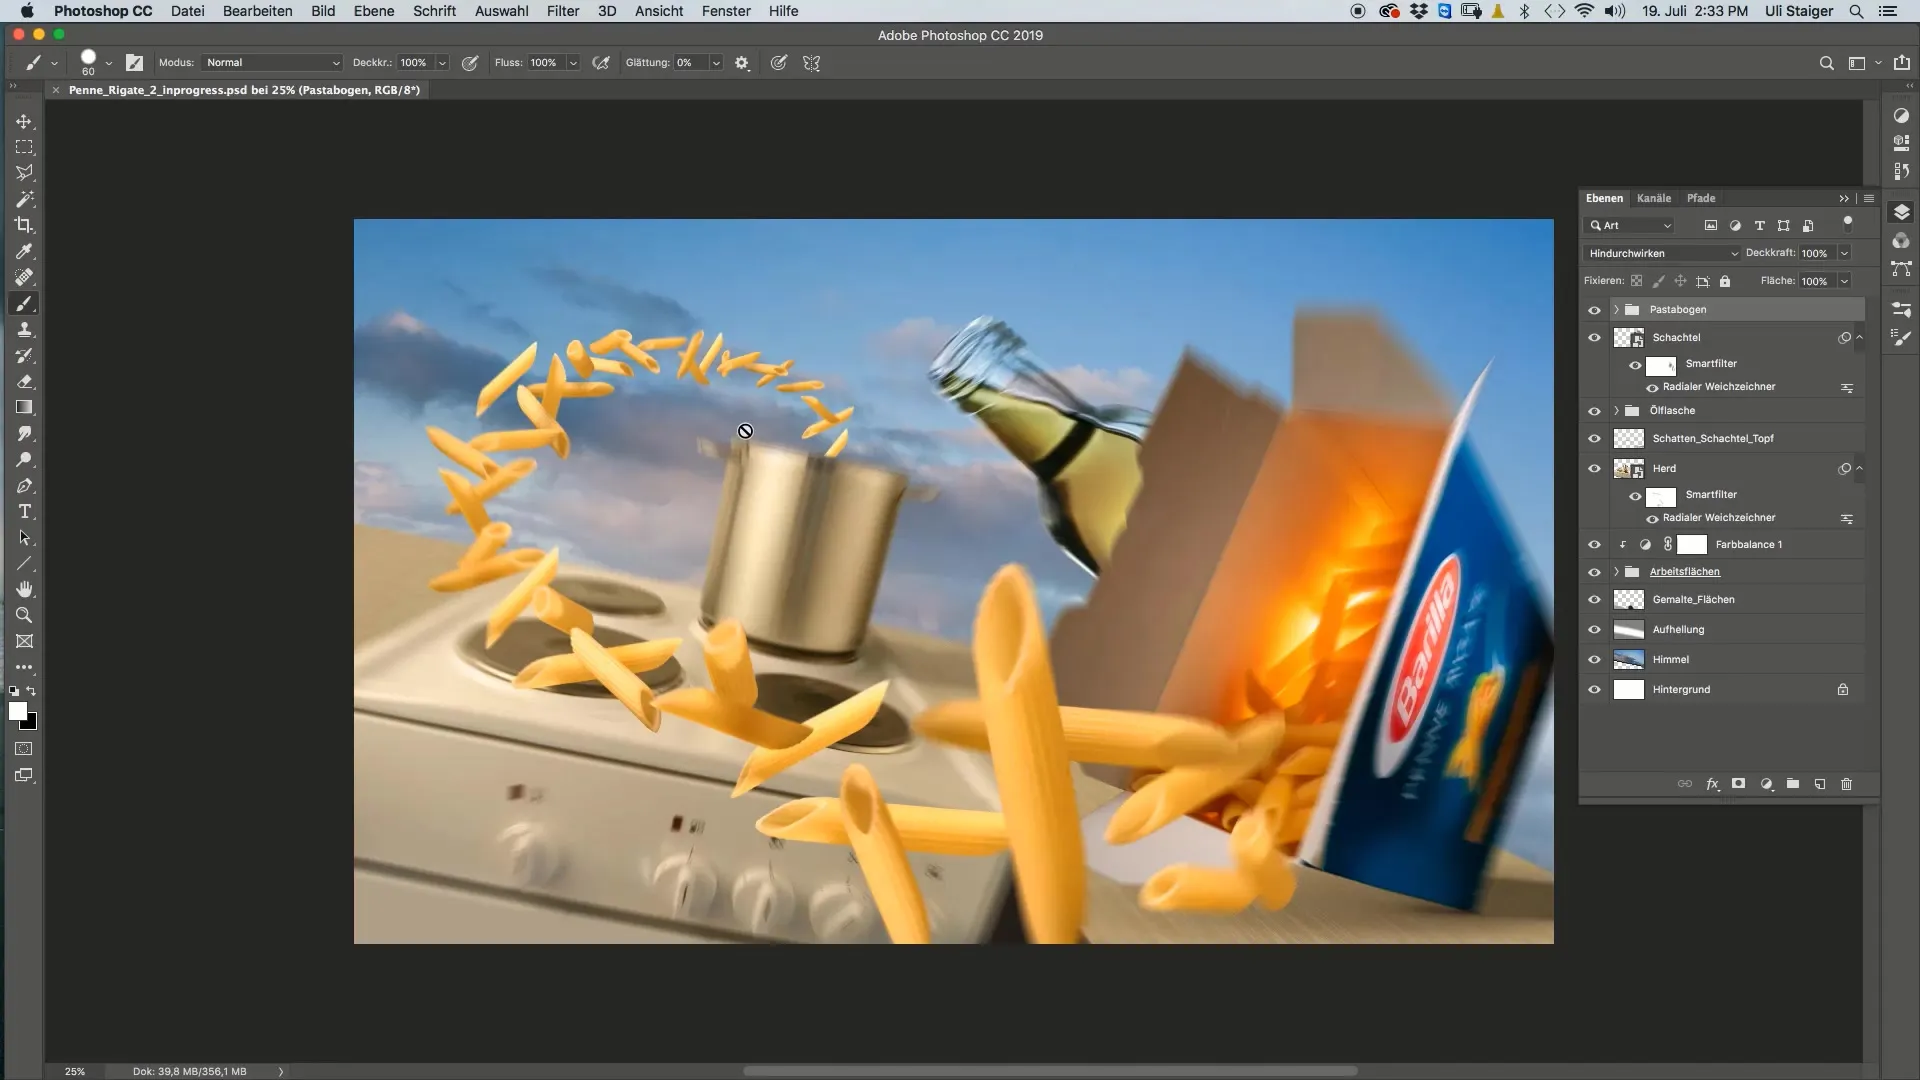
First, open Photoshop and create a new empty layer. Name the layer "Oil Drop". This will be the foundation for your drop.

Step 2: Select Brush and Color
Now take the brush and set it to a diameter size of 60 pixels. Make sure that the brush tip has a sharp edge. Choose the color of the oil, e.g., an olive green shade that you can sample from another area of the image.
Step 3: Paint the Drop
Now place a dot with the brush on your new layer to sketch the drop. If the drop doesn't look as desired, you can improve the shape with the Smudge Tool. Pull the bottom part of the drop slightly upwards to create a more realistic effect.
Step 4: Apply Layer Style
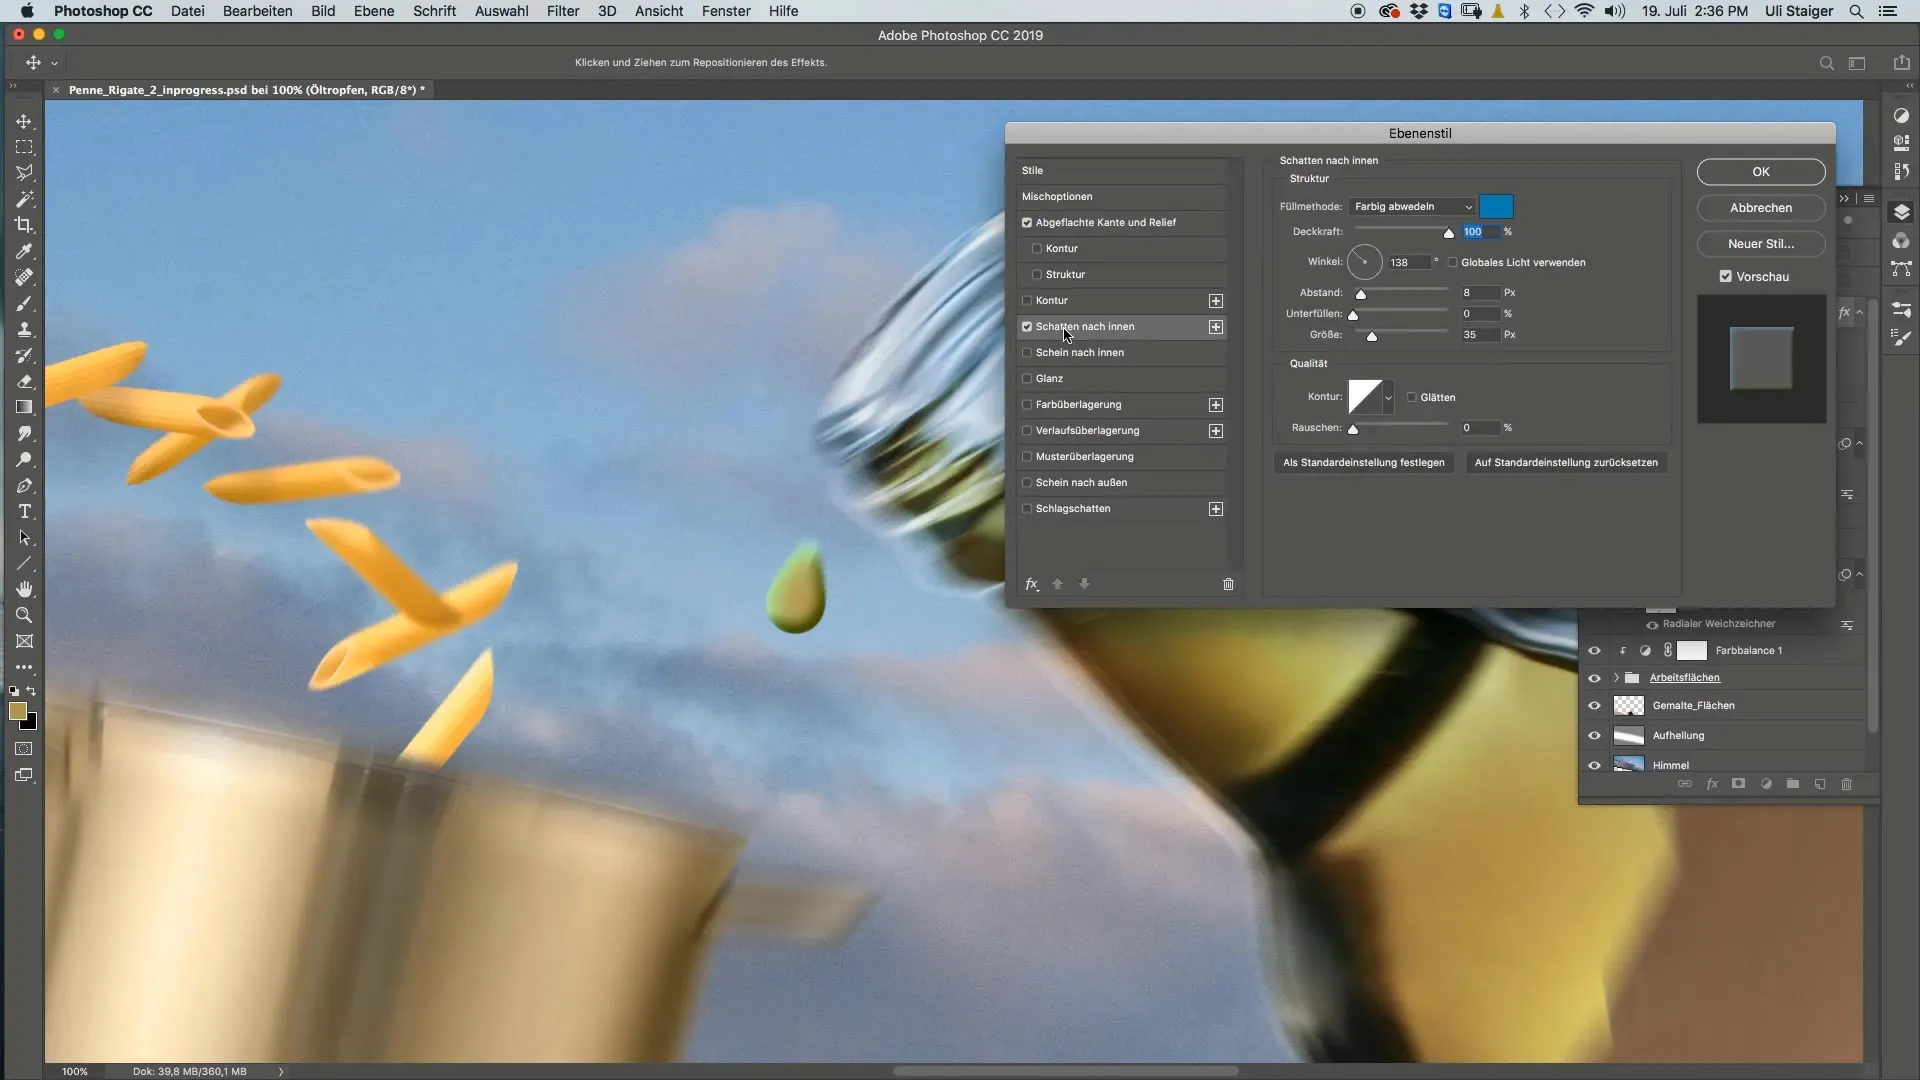
Now go to Layer Styles and click on "Blending Options". Activate the layer style "Bevel and Emboss". Make sure that the checkbox is not only checked but that you also click on the word to adjust the parameters. Here you can play with the depth; I recommend 147% to achieve a nice dark edge.
Step 5: Adjust Light and Shadow Effects
In particular, the inner shadows are important for a more realistic effect. You can use a blue color for the shadow to simulate transparency. Set the distance to about 20 pixels to achieve the desired effect.

Step 6: Add Highlight
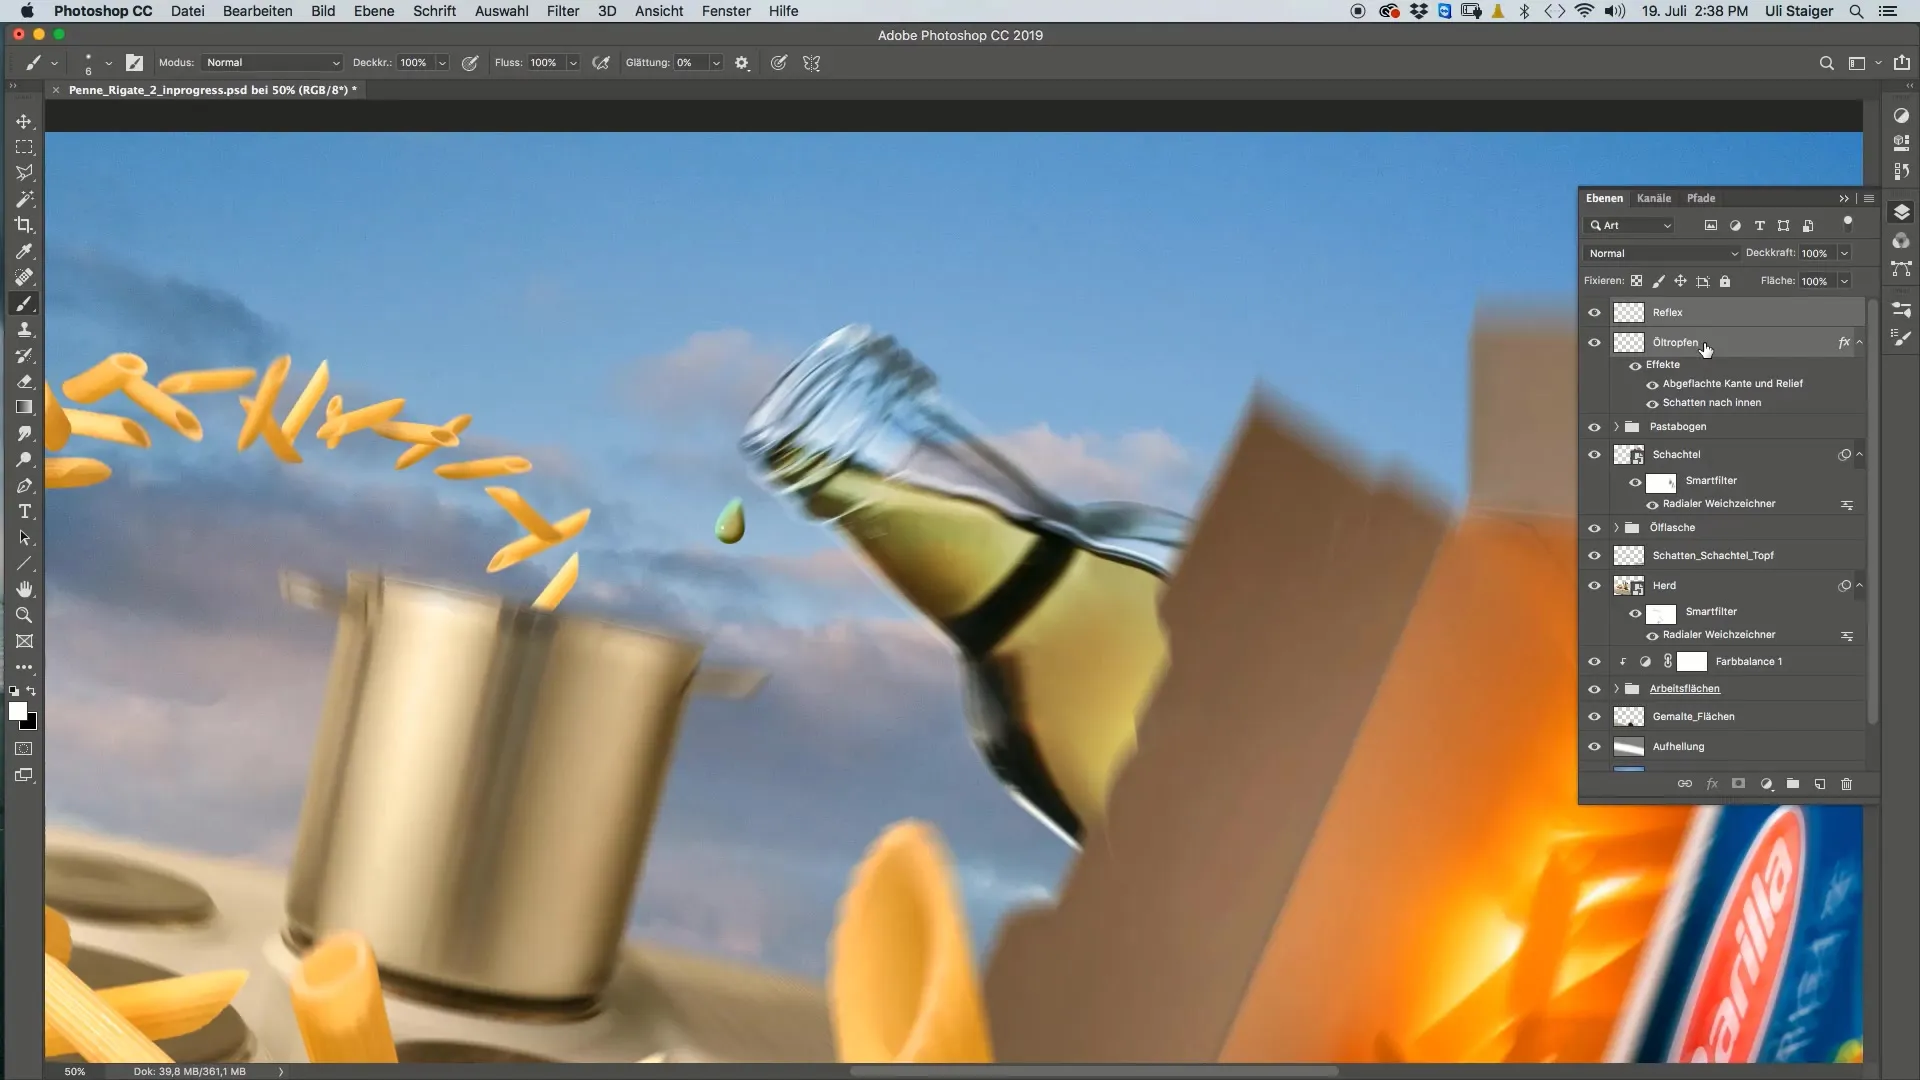
Create a new layer for the highlight. Choose a soft white brush and paint a small reflection on the top part of the drop where you suspect the light source is. This should create the illusion that light is shining on the drop.

Step 7: Name and Group Reflection
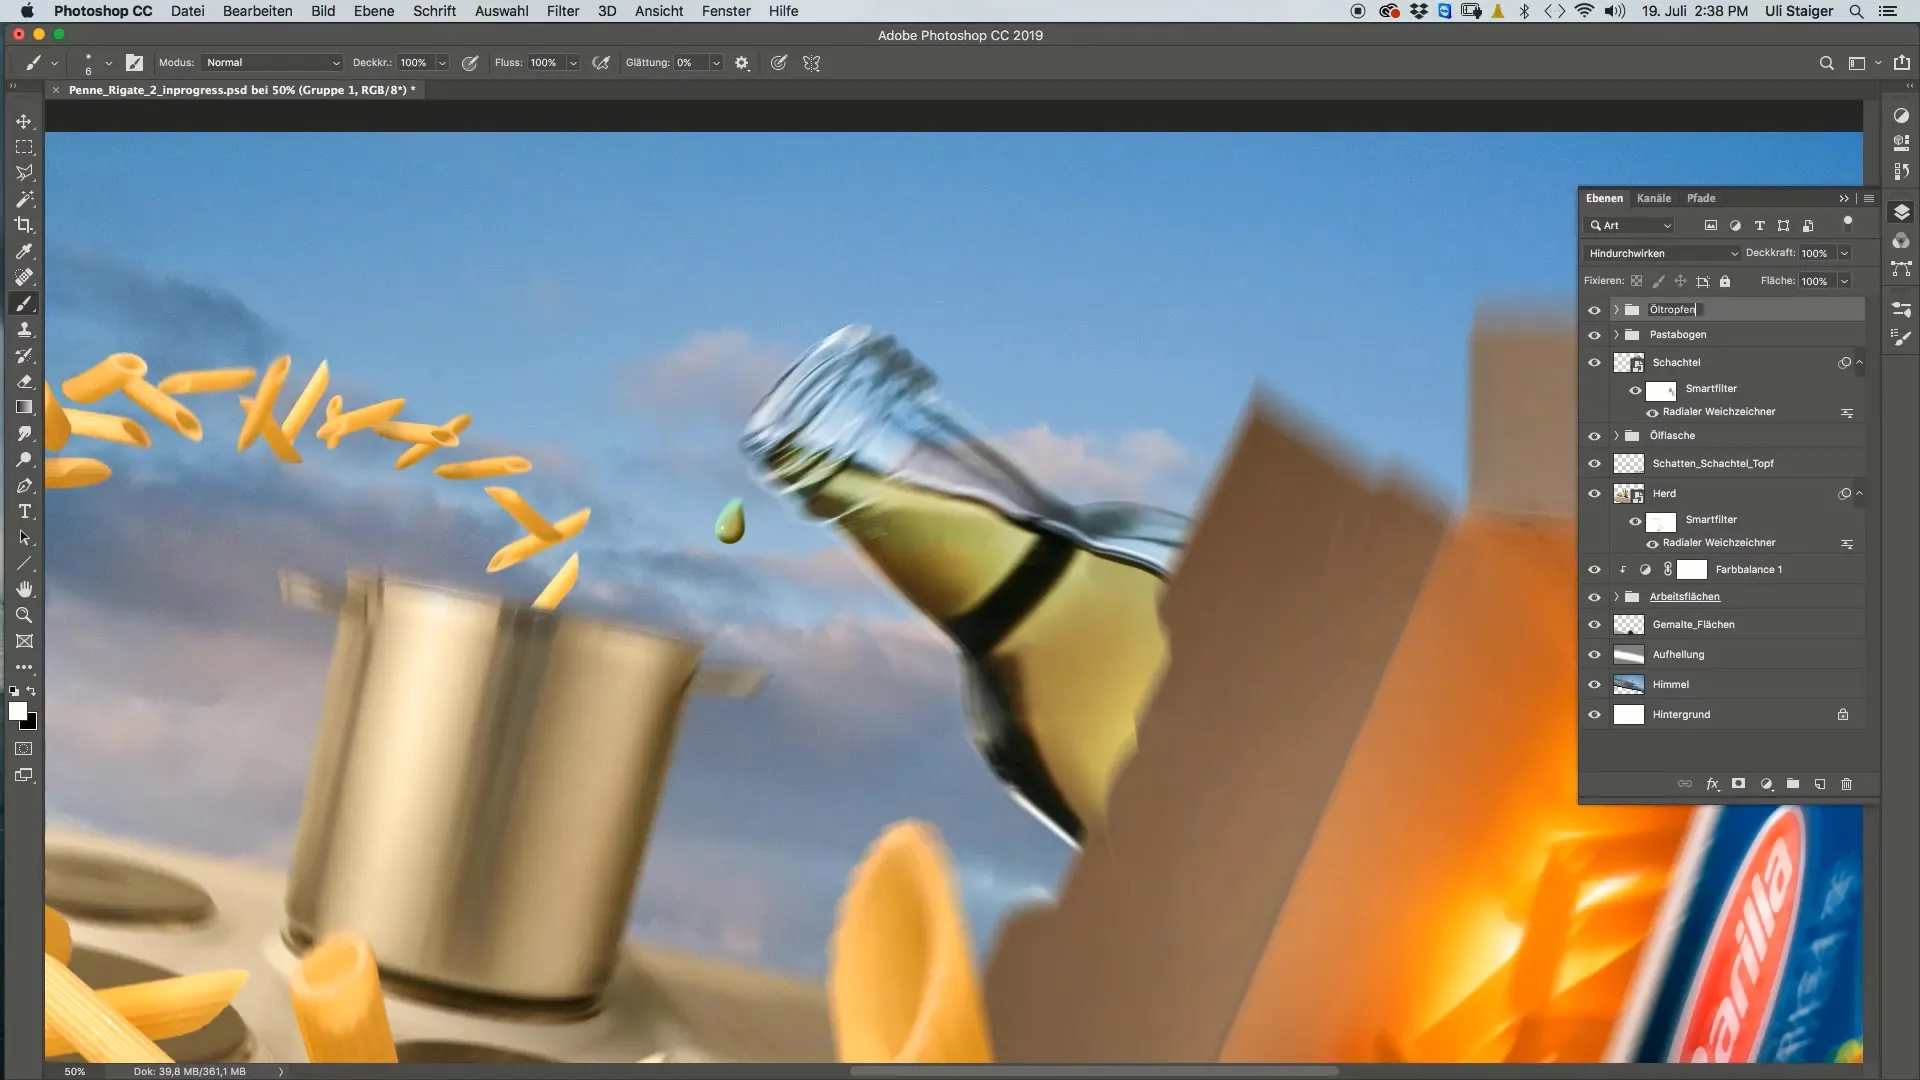
After painting the highlight, name this layer "Reflection". To better organize the layers, group the layers "Oil Drop" and "Reflection" and name the group "Oil Drop". This way, you keep track of the project.

Step 8: Duplicate and Adjust Drop
Now you can duplicate the oil drop, resize it, or place it in other areas of the image. This gives you the opportunity to create multiple drops and see how they work together.
Summary – Guide to Creating an Oil Drop in Photoshop
In this guide, you learned how to create an oil drop in Photoshop. From selecting brushes and colors to adjusting layer styles – each step brings you closer to a realisticresult. Experiment with the settings to develop your own style.
FAQ
How do I change the size of the brush tool?To change the size of the brush tool, you can adjust the brush options in the toolbar.
Can I change the color values for the inner shadow?Yes, you can adjust color values and other parameters at any time to achieve different effects.
How can I ensure that the drop looks realistic?Experiment with different layer styles, shadows, and highlights to enhance the effect.
Can I copy the oil drop into another file?Yes, you can easily copy the entire oil drop or individual layers into other documents.
Can I add more effects?Of course! Use the capabilities of Photoshop to integrate creative effects, such as reflections or additional textures.


