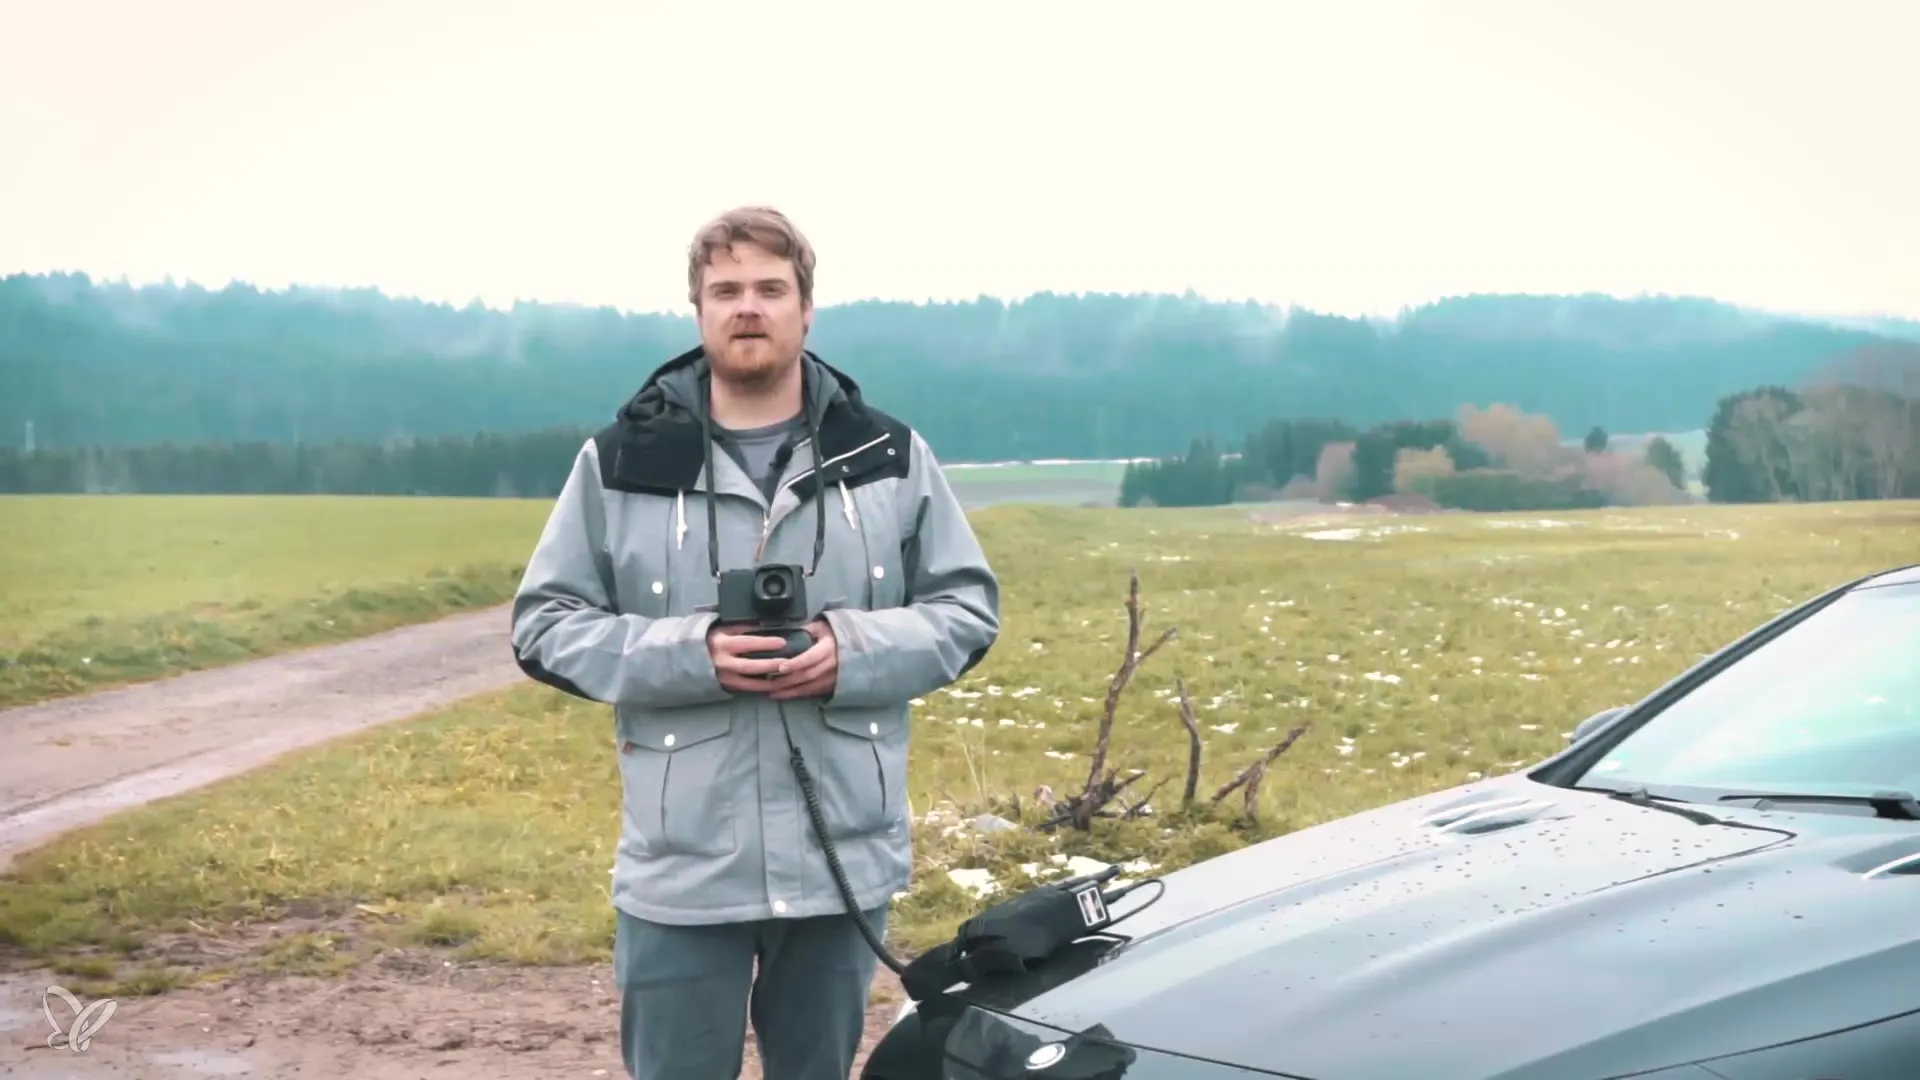
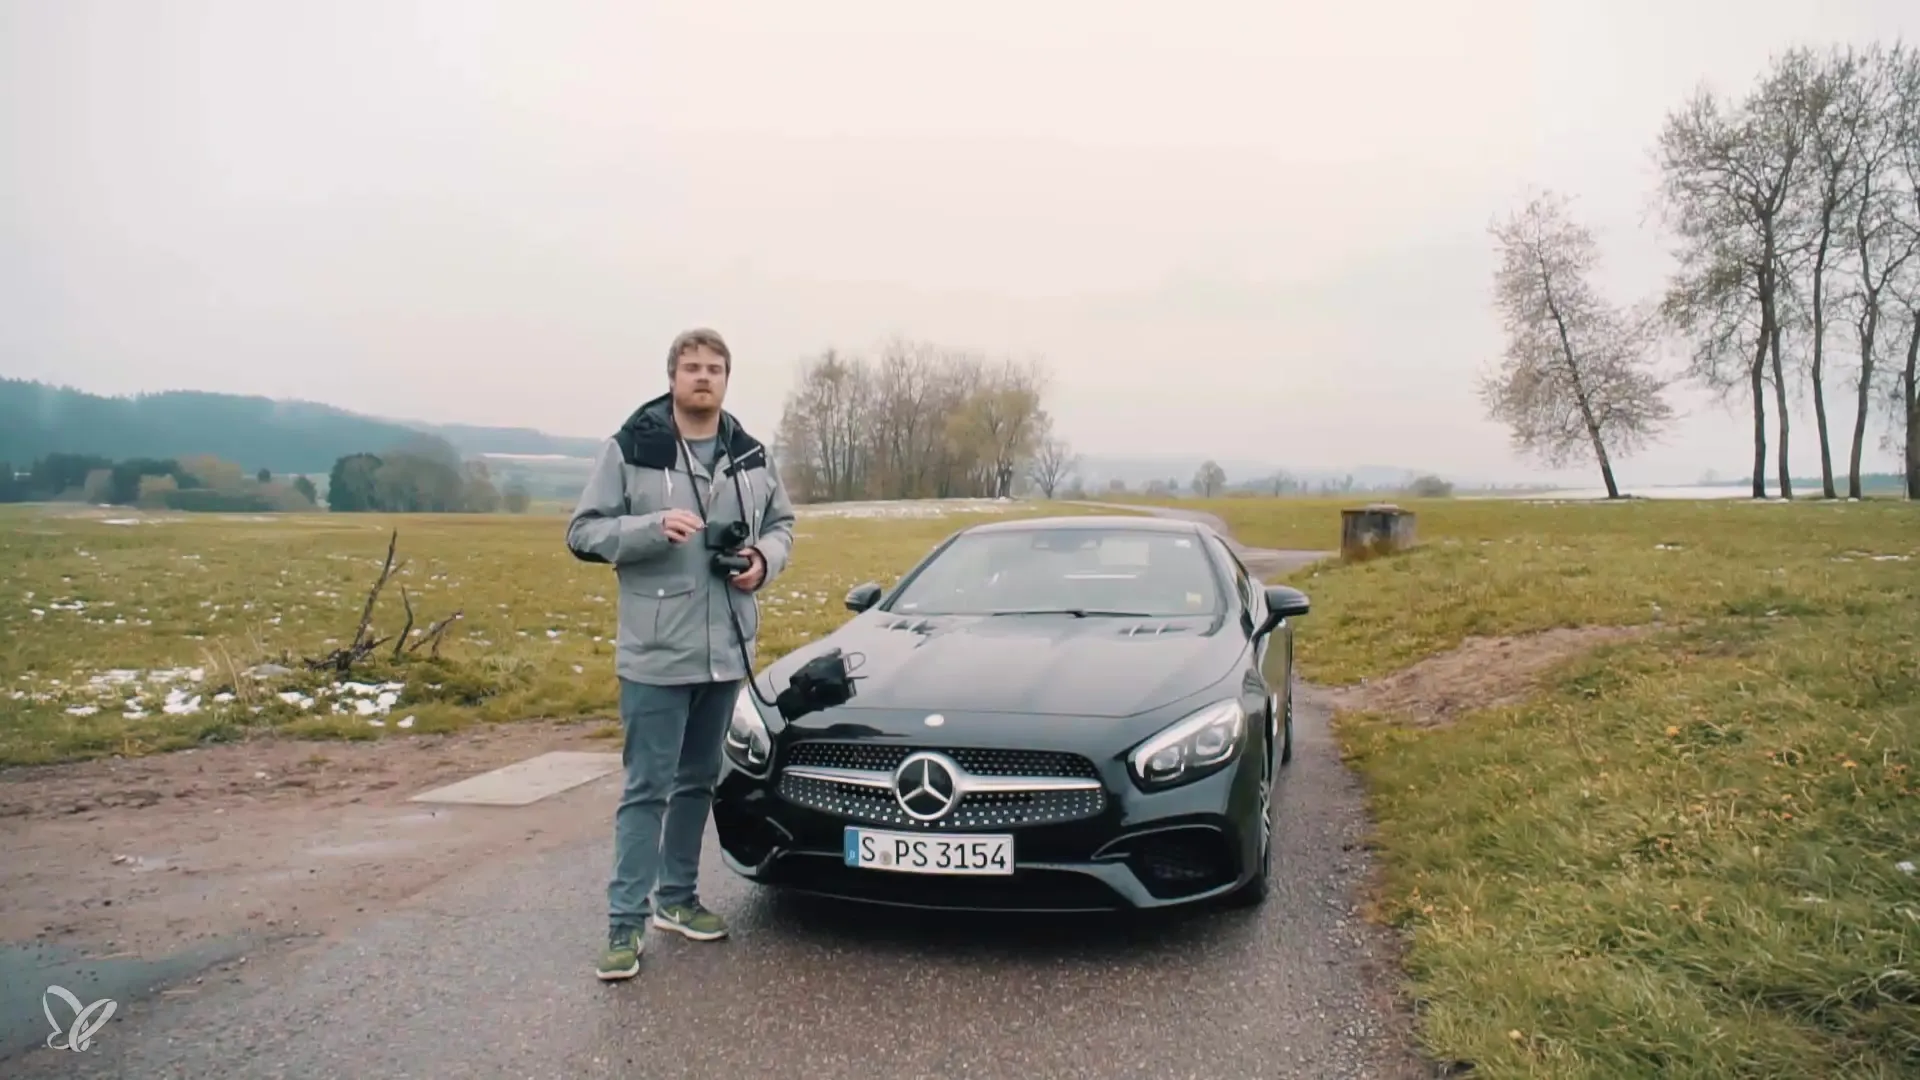
The Car-2-Car shooting opens up fascinating possibilities for taking impressive automotive photos from a moving vehicle. If you want to bring new momentum to your photography, this technique is an excellent tool for it. Here you will learn how to successfully conduct such a shoot, what equipment you need, and how to stay safe during the process.
Key Insights
- Pay attention to proper image stabilization, especially with a gyro.
- Communicate clearly with the driver of the other vehicle to avoid misunderstandings.
- Ensure your safety and that of other road users by choosing appropriate roads and taking precautions.
Step-by-Step Guide
Step 1: Preparing the Camera
Before you dive into the Car-2-Car shooting, it is crucial to set up your camera correctly. Use your gyro as an image stabilizer and ensure you choose the right exposure time. A time of 1/60 second is a good starting point. The aperture and ISO can be adjusted according to the lighting conditions.

Step 2: Communication with the Driver
Communication between you and the driver of the other car plays a central role in the Car-2-Car shooting. It is best to use walkie-talkies to convey instructions clearly and quickly during the drive. This saves you time and helps avoid potential misunderstandings.
Step 3: Safety During the Shoot
Safety first! Make sure you are safe when photographing from the trunk. It can help to use a climbing harness to secure yourself in the trunk. If you take photos from the window, be cautious and use a strap for the camera to secure it in case of an unforeseen fall. Also, ensure that your shooting does not endanger the safety of other road users.
Step 4: Choosing the Right Location
The choice of location is of great importance for a successful shoot. If possible, select private roads to avoid disturbances from traffic. A great time is often early in the morning on a Sunday when the streets are typically clear. Ensure that the road is clearly visible to react safely if another car comes towards you.

Step 5: Choosing the Right Camera
Using the right camera can make a difference. In this case, a lighter camera is advantageous as it is better suited for the gyro, which supports a weight of up to 2 kg. Smaller cameras offer the advantage of better stabilization. Consider which camera can deliver the best results for you.
Step 6: Conducting the Shoot
Now is the perfect time to conduct the Car-2-Car shooting. Position the car you want to photograph so that it is clearly visible from your vehicle. Pay attention to the distance and speed to achieve the best images without compromising safety.
Summary – Introduction to Automotive Photography: Car-2-Car Shooting for Beginners
The Car-2-Car shooting offers exciting perspectives in automotive photography. To be successful, it’s important to optimally set your camera, communicate safely, and always keep safety in mind. With the right preparation and knowledge of the processes, you are well-equipped for impressive vehicle settings.
Frequently Asked Questions
Which camera is best for Car-2-Car shooting?Lighter cameras are ideal as they can be better stabilized with a gyro.
How important is communication between drivers?It is crucial for smooth operations and to avoid misunderstandings.
How do I choose the best location for the shoot?Choose quiet roads without traffic interruptions and ideally do the shoot at low traffic times.
Is safety important during Car-2-Car shooting?Yes, it is essential to ensure your own safety and that of other road users.
What equipment do I need for a Car-2-Car shooting?A gyro, walkie-talkies, a suitable camera, and safety belts to secure yourself and the equipment.


