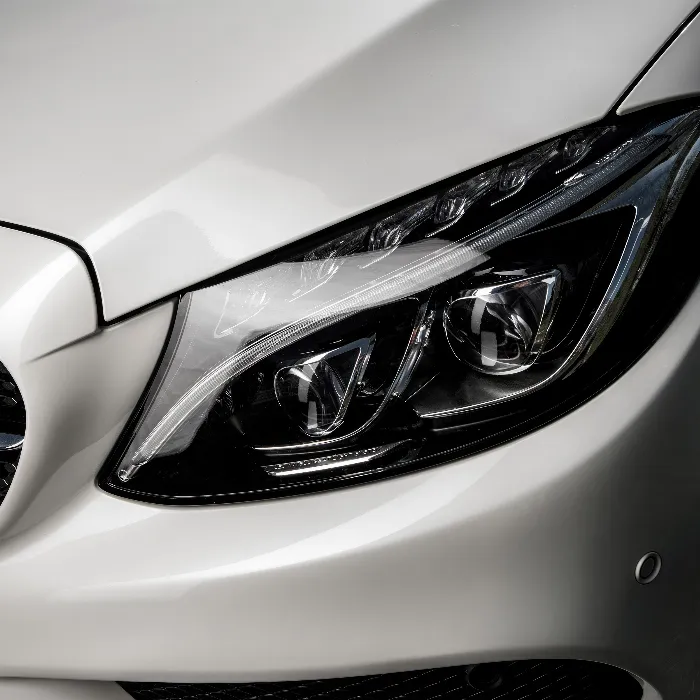
Automobile-Photography is a fascinating art form that allows you to capture the beauty of vehicles without using complicated tools. In this tutorial, you'll learn how to create great automobile images with simple means. The focus here is on using natural light and minimalist techniques to achieve the best results. Let's dive in and explore the world of automotive photography!
Key Takeaways
You only need a camera and a tripod to take effective photos of cars. Composition and framing are essential to optimally showcase the vehicle's aesthetics. It's all a matter of the right angle and lighting.
Step-by-Step Guide
Step 1: Preparation and Equipment
Before you start shooting, make sure you have the necessary equipment ready. You only need a camera and a sturdy tripod. Avoid using artificial light or other gimmicks, as they're not part of the concept. Given the importance of natural light, it's advisable to choose the best time of day to shoot, ideally during the golden hour just after sunrise or before sunset.
Step 2: Choose the Right Location
Location is crucial for the quality of your images. Look for a place that lends itself well to capturing natural light. Pay attention to backgrounds that don't distract. An open field or a quiet street can be great options to showcase the car. Think about how the background complements the image so the vehicle remains the focal point.
Step 3: Position the Car Optimally
Now that you have your location, it's time to position the car optimally. Consider various angles and perspectives. Pay attention to how the light falls on the vehicle. Small changes in position can significantly affect the play of light and reflections on the body. You can try angling the car slightly to the camera to add more dynamism to the shot.
Step 4: Framing and Composition
When shooting, framing is indispensable. Use the rule of thirds to create a balanced image. Place the car along one of the lines or at an intersection to generate tension and interest. Experiment with different heights for your shots; sometimes a lower perspective can make the vehicle appear more powerful.

Step 5: Find the Right Light
Natural light is your best friend. Pay attention to how the light falls on the car and adjust your position accordingly. Sometimes it can help to move the car slightly to take advantage of the best lighting conditions. Avoid harsh shadows and glaring highlights that could ruin the shot. Look for diffused light sources or shaded areas when sunlight is too harsh.
Step 6: Test Different Settings
Before you take the final shots, you should experiment with your camera settings. Vary the aperture, shutter speed, and ISO settings to achieve the best effect. A lower ISO value yields less noise, and a wider aperture lets in more light. Try different combinations to see how they affect the final image.
Step 7: Shoot and Review
Now that you've optimally adjusted your settings and positioned the car in its best stance, you can start shooting. Take multiple photos from different angles and settings. After the initial shots, it's important to review each angle and make adjustments if necessary. Make sure you capture the best moments.
Summary – Getting Started with Automotive Photography: Making Effective Use of Natural Light
To create stunning automotive photos, all you need is a camera and a tripod. The key lies in choosing the right location, optimally positioning the vehicle, carefully composing your shot, and effectively using natural light. With these tips, you'll soon be able to take beautiful shots.
Frequently Asked Questions
How important is natural light in automotive photography?Natural light is crucial because it effectively highlights the vehicle's colors and shapes.
What equipment do I need for automotive photography?You only need a camera and a tripod, no other gear.
When is the best time to take automotive photos?The golden hour, just after sunrise or before sunset, offers the best lighting conditions.
How does the position of the car affect the photo?The position can influence the play of light and reflections on the body, thereby changing the overall look of the shot.
What is the rule of thirds?The rule of thirds is a composition guideline that helps you balance your image by placing key elements along the lines or at the intersections.


