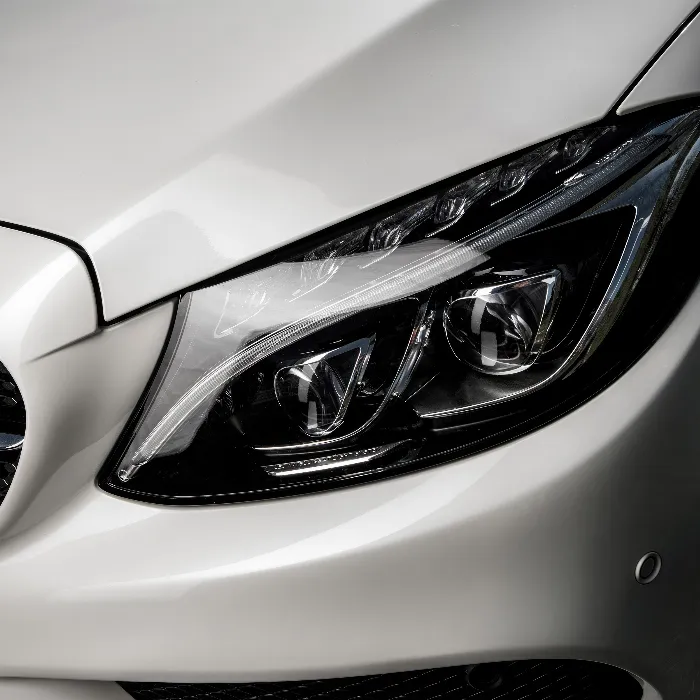
Detail shots are a fascinating part of automotive-photography. They allow you to highlight the beauty and fine features of a vehicle and present them artistically. To perfect these shots, post-processing is indispensable. In this guide, I’ll show you the steps you can take in Lightroom and Photoshop to elevate your detail shots to the next level.
Key takeaways
- Use Lightroom for basic adjustments like exposure, contrast, and clarity.
- Use Photoshop to remove distracting elements and further refine your images.
- Creativity and individual adjustments are crucial for successful detail shots.
Step-by-step guide
Preparing the image file in Lightroom
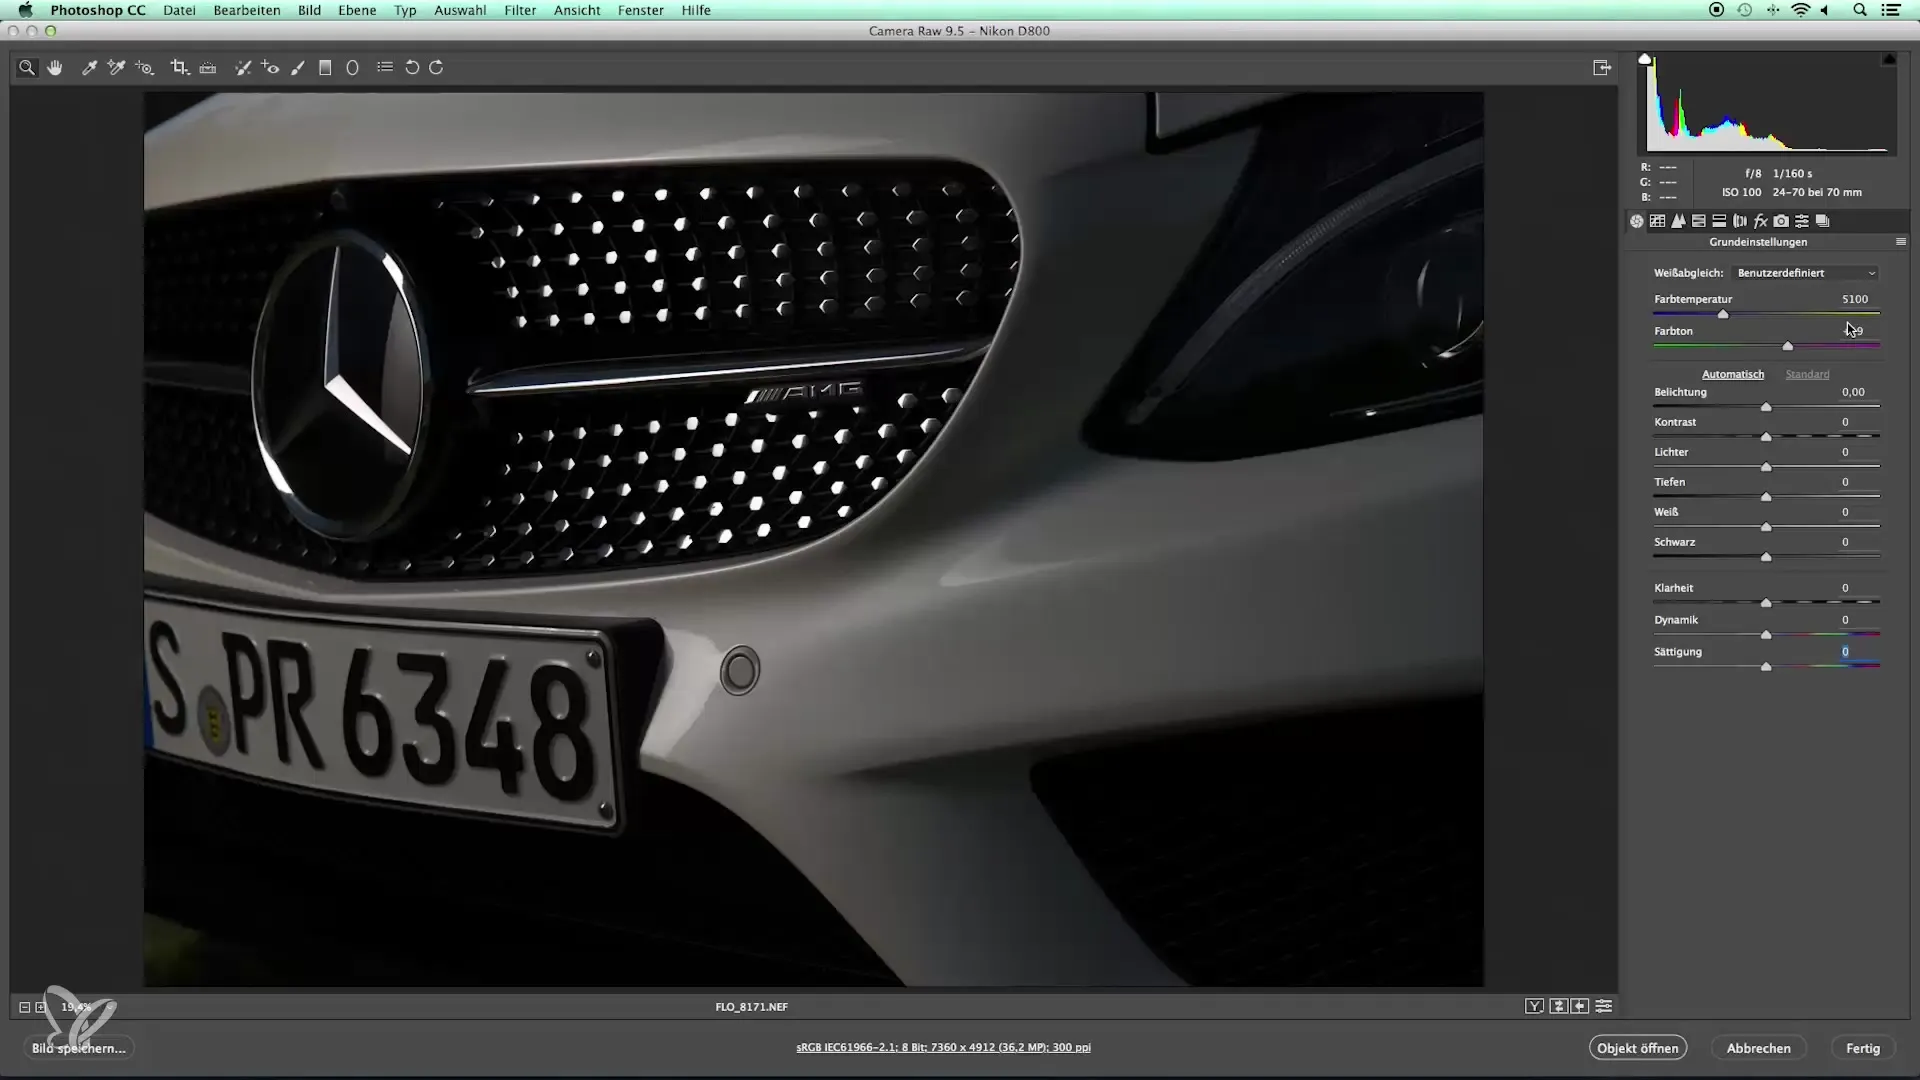
Start by importing your image into Lightroom. Select the detail shot you want to edit. Once the image is open, adjust the white balance setting to around 5000 Kelvin to achieve a natural daylight effect. This setting ensures that the colors in the image are accurately represented.
Adjusting exposure and contrast
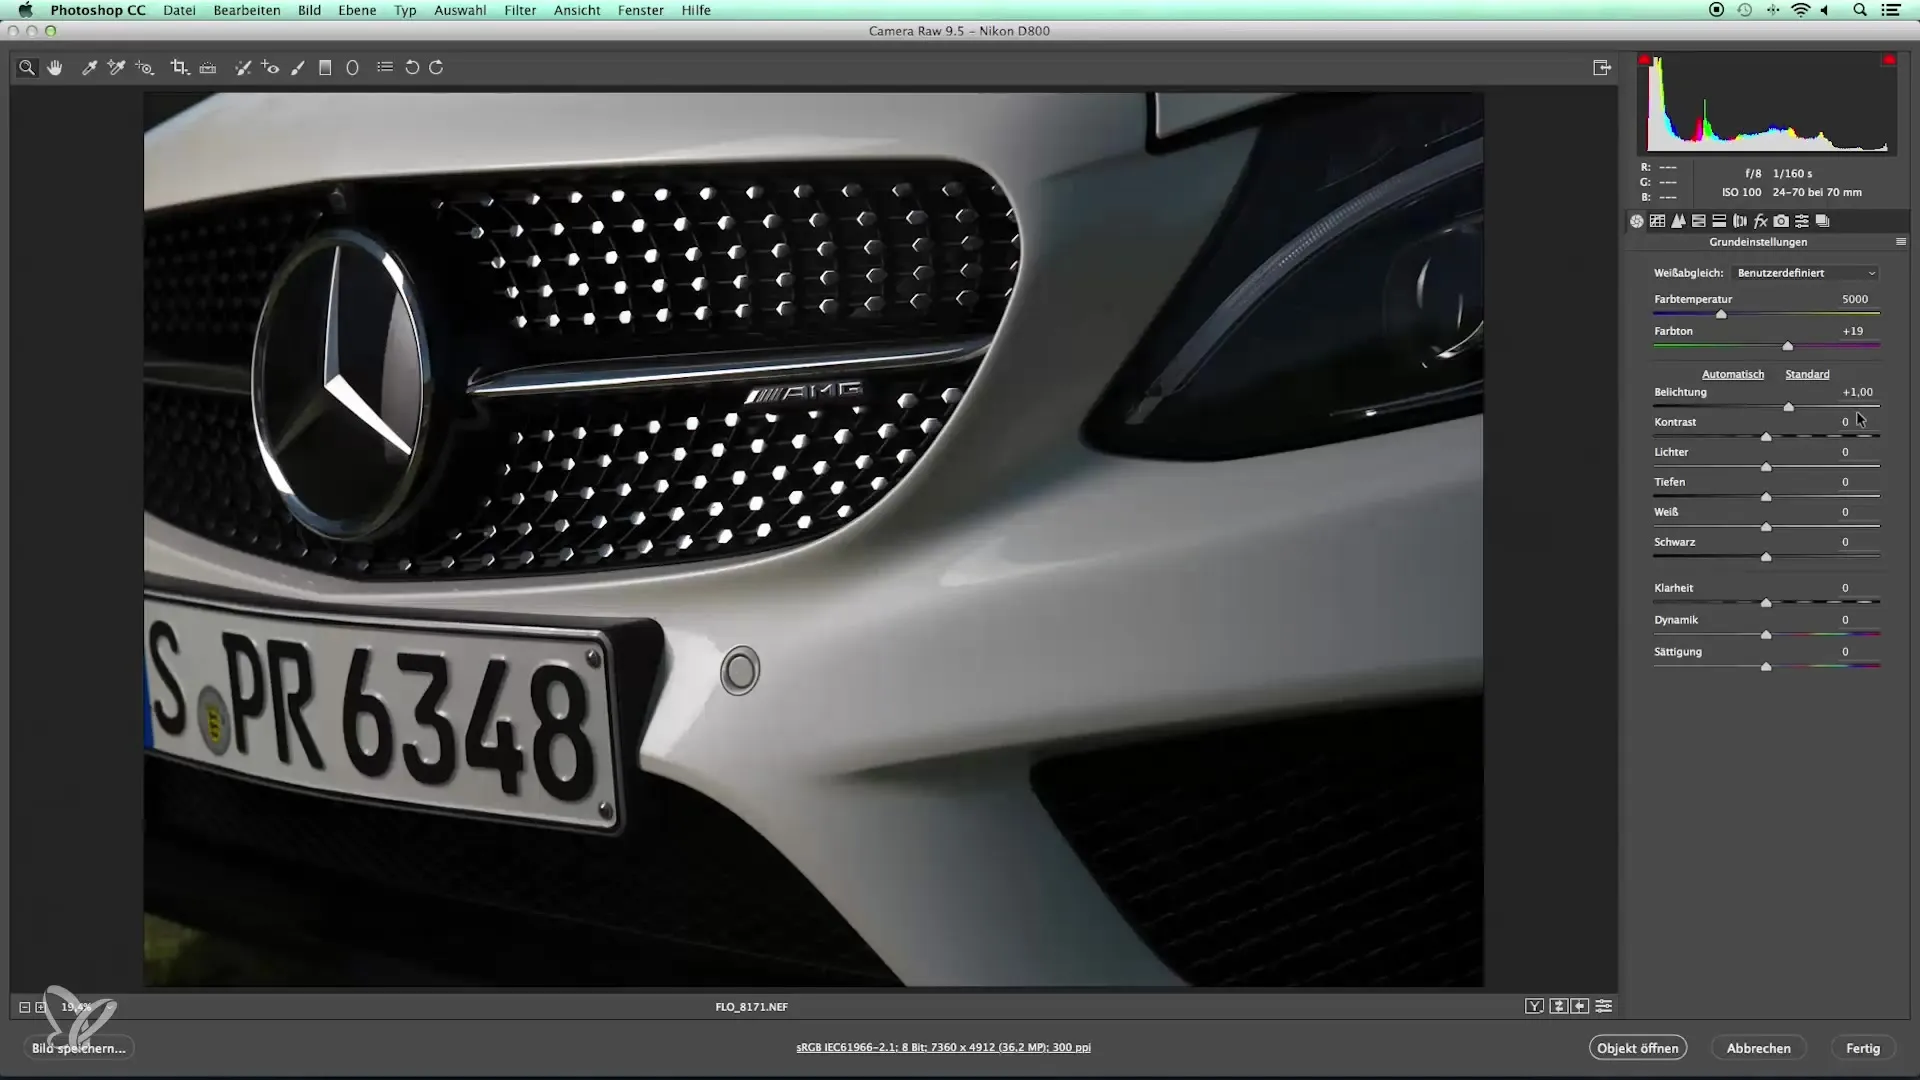
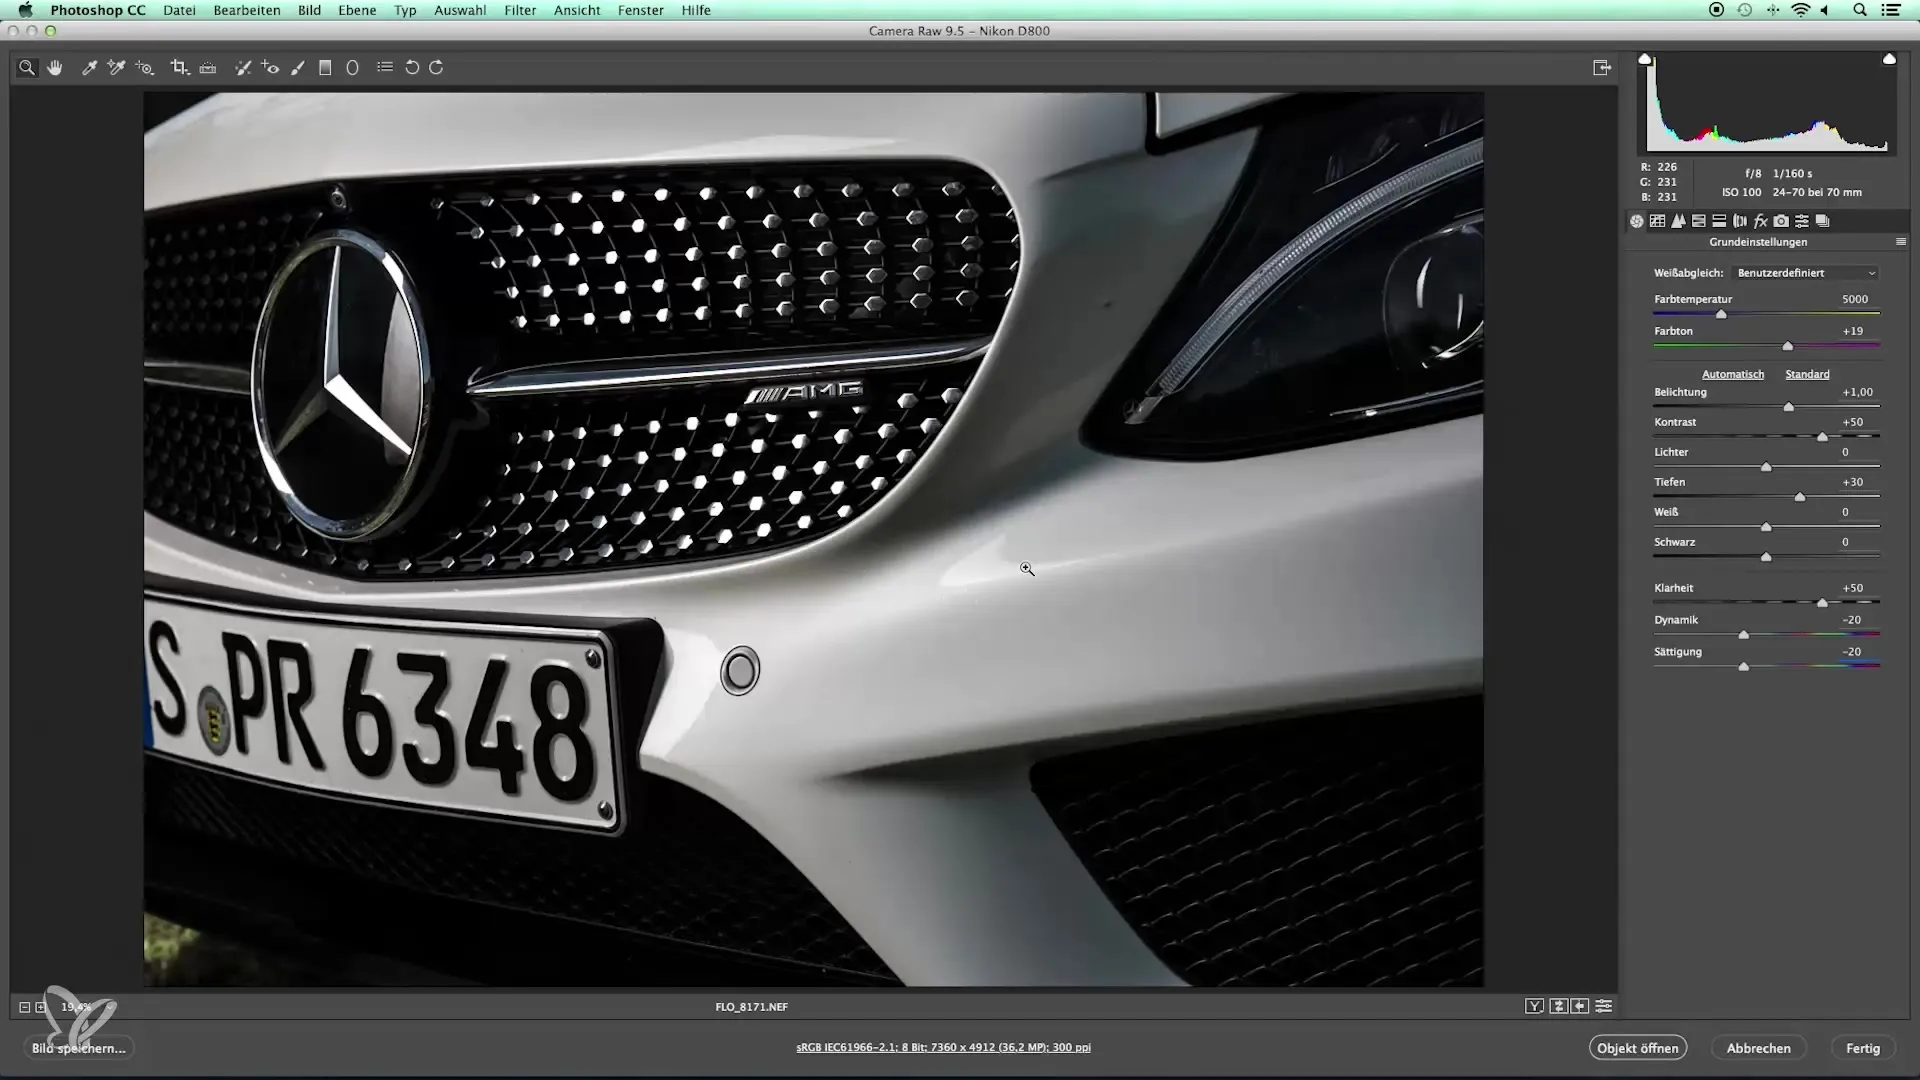
In the next step, optimize the exposure. Increase the exposure slightly so that the image brightness is balanced. Contrast and clarity are essential for detail shots; raise the contrast to 50 to emphasize the deeper tones and make the image more vibrant.
Regulating vibrance and saturation
Since you’re working with a white car, it’s advisable to dial back the vibrance and saturation slightly. This adjustment prevents unwanted color casts and ensures bright, clear colors.
Setting the tone curve and sharpening
Now move on to adjusting the tone curve. Here you can increase the midtone contrast, further enhancing the image. Make sure to keep the sharpening around 60 to 70 to bring out fine details without overdoing natural lines.
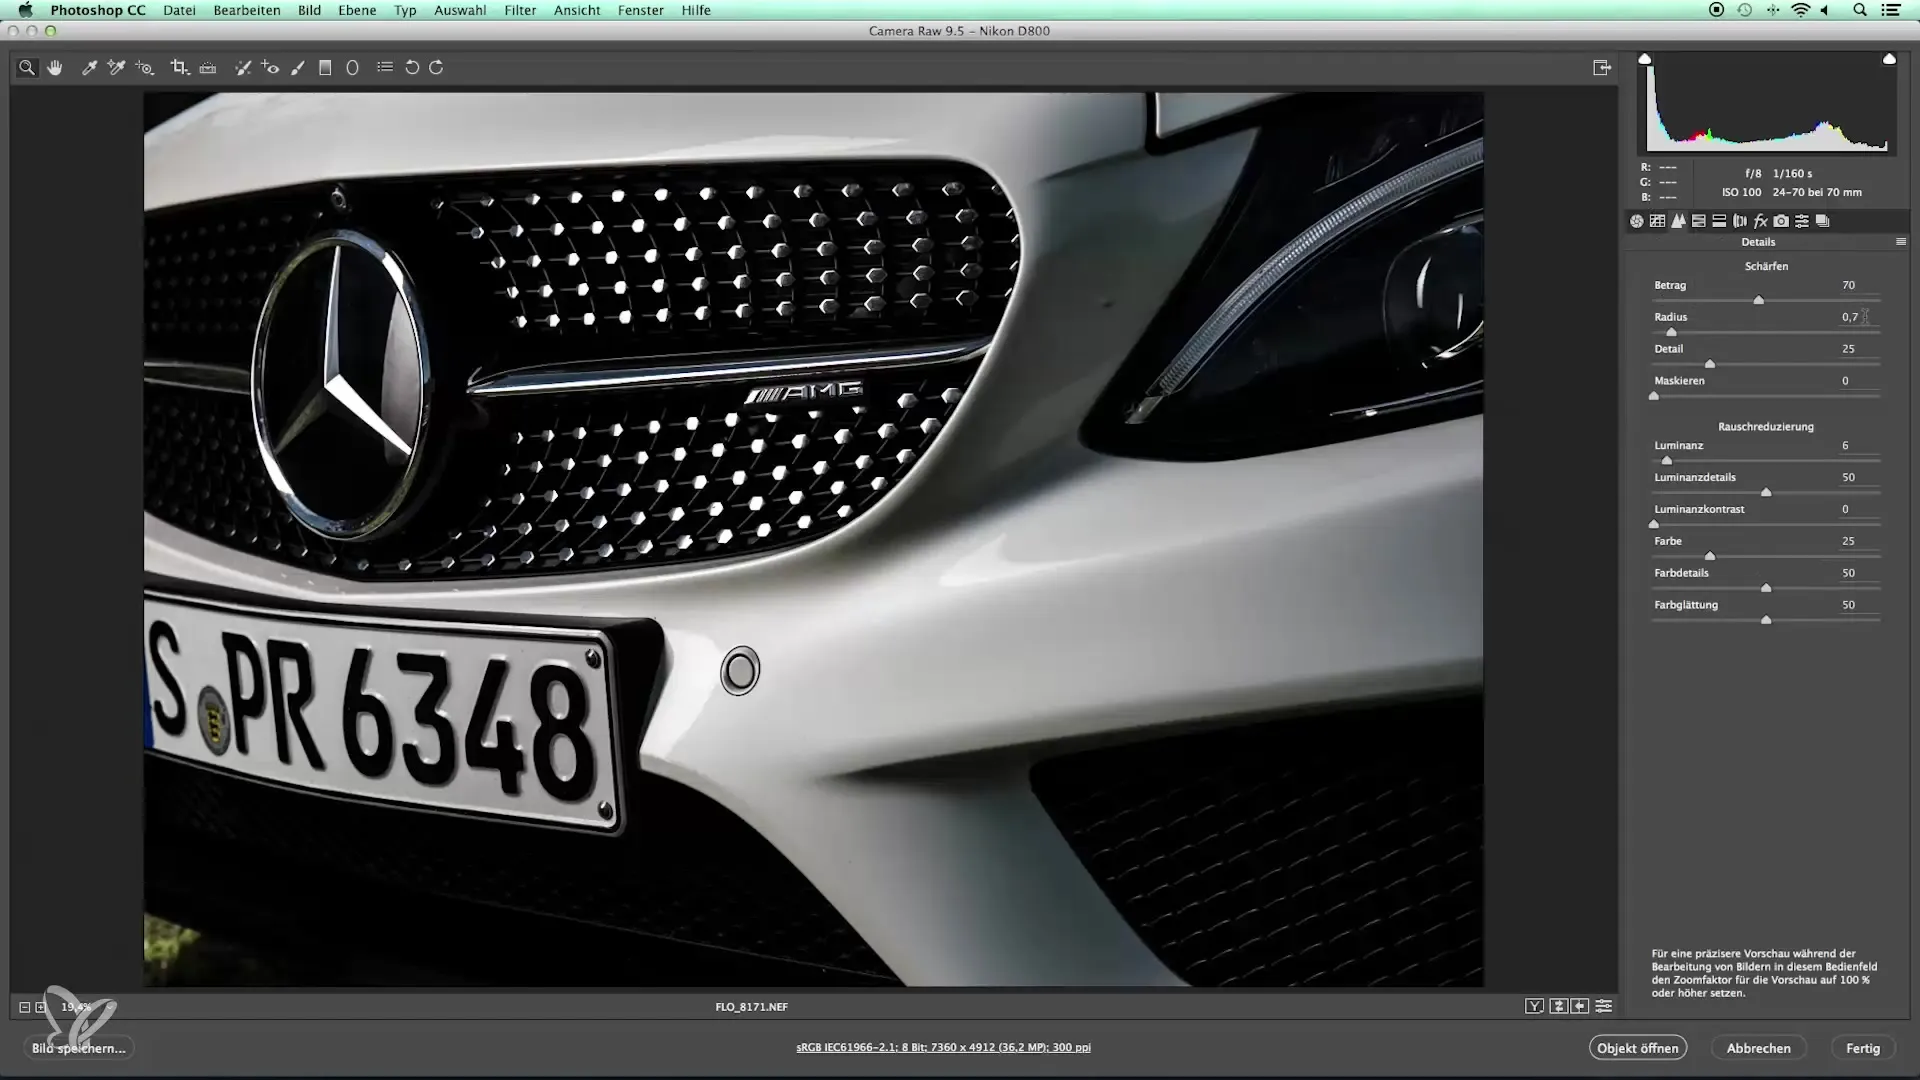
Pixel layers in Photoshop
Now open the image in Photoshop to finalize it. First, rotate and crop your image so that the focus is perfectly on the details, such as the AMG logo. Here you can get creative and choose an appealing composition.
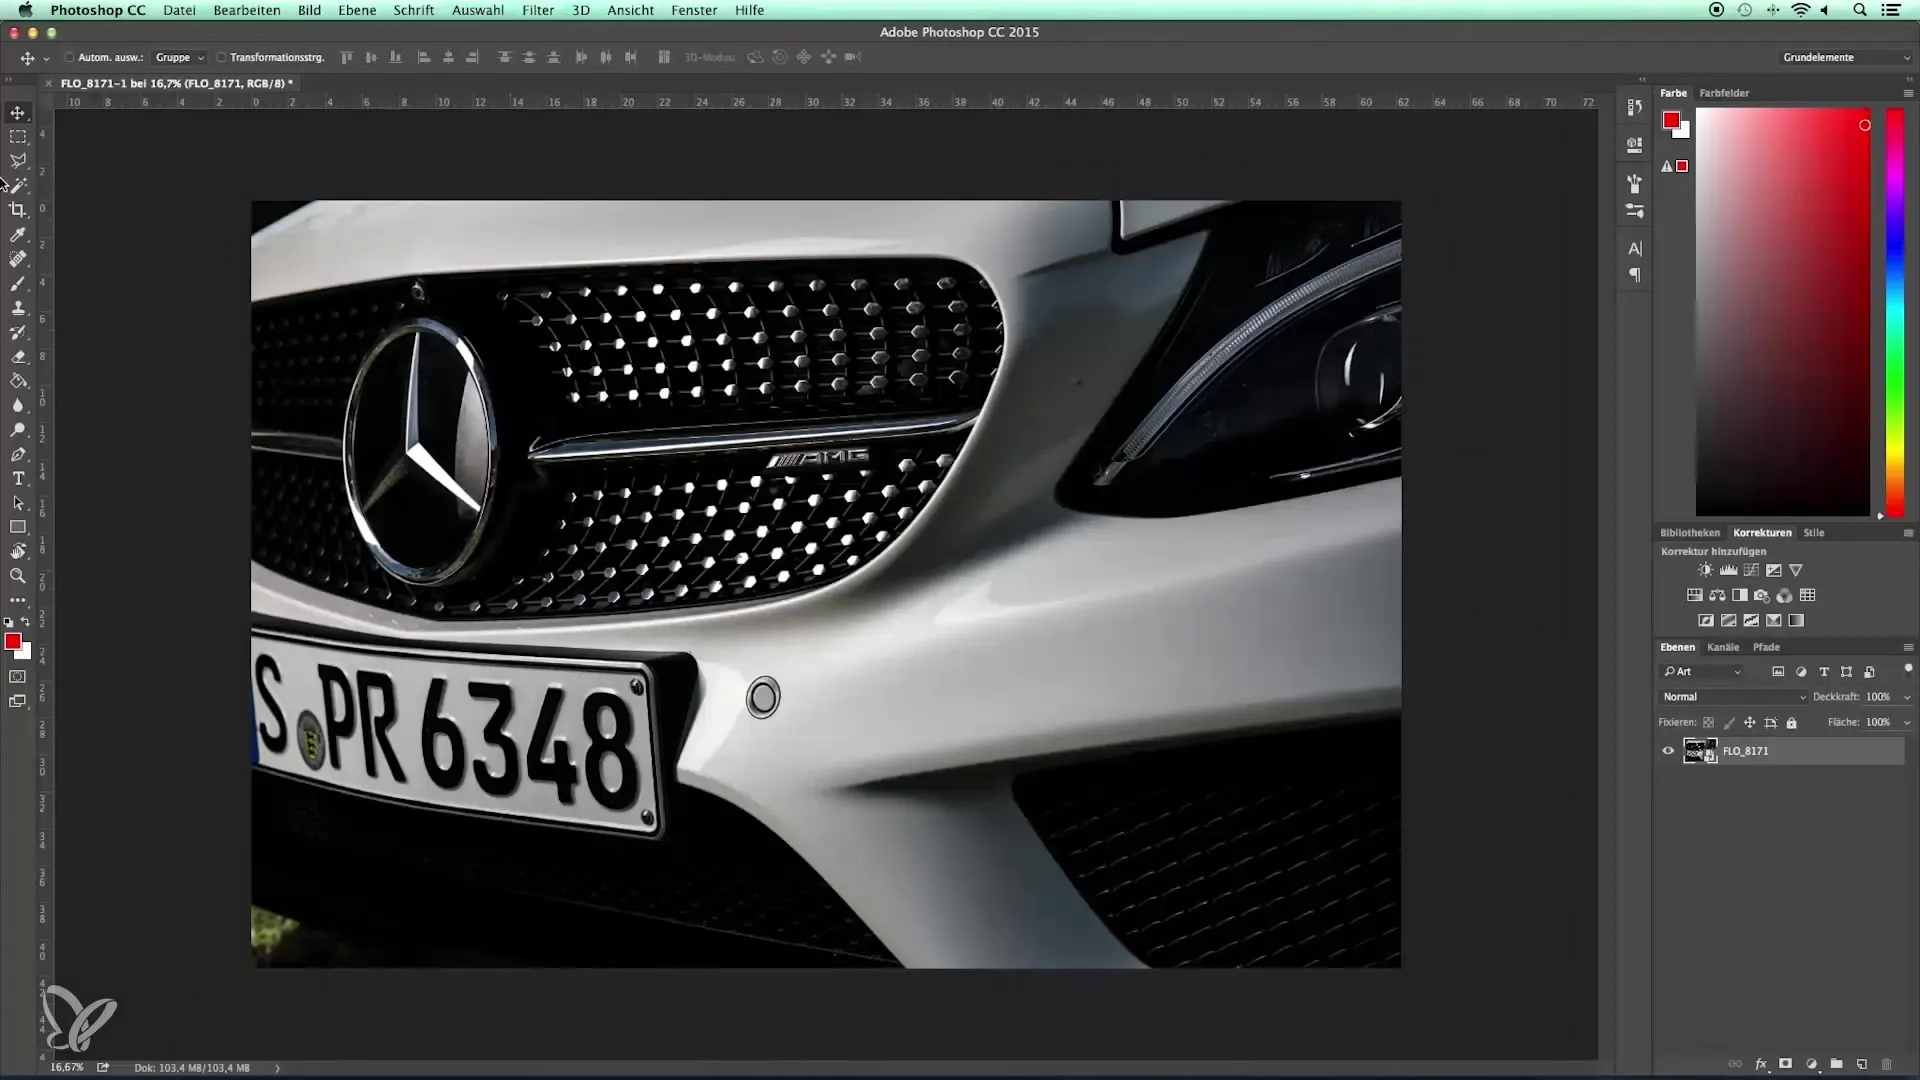
Removing distractions and imperfections
If small distractions like flies or other objects got into the frame during shooting, you can remove them now. Rasterize the layer and use the Clone Stamp or Healing Brush tool to selectively fix imperfections. This creates a clean and appealing presentation of your subject.
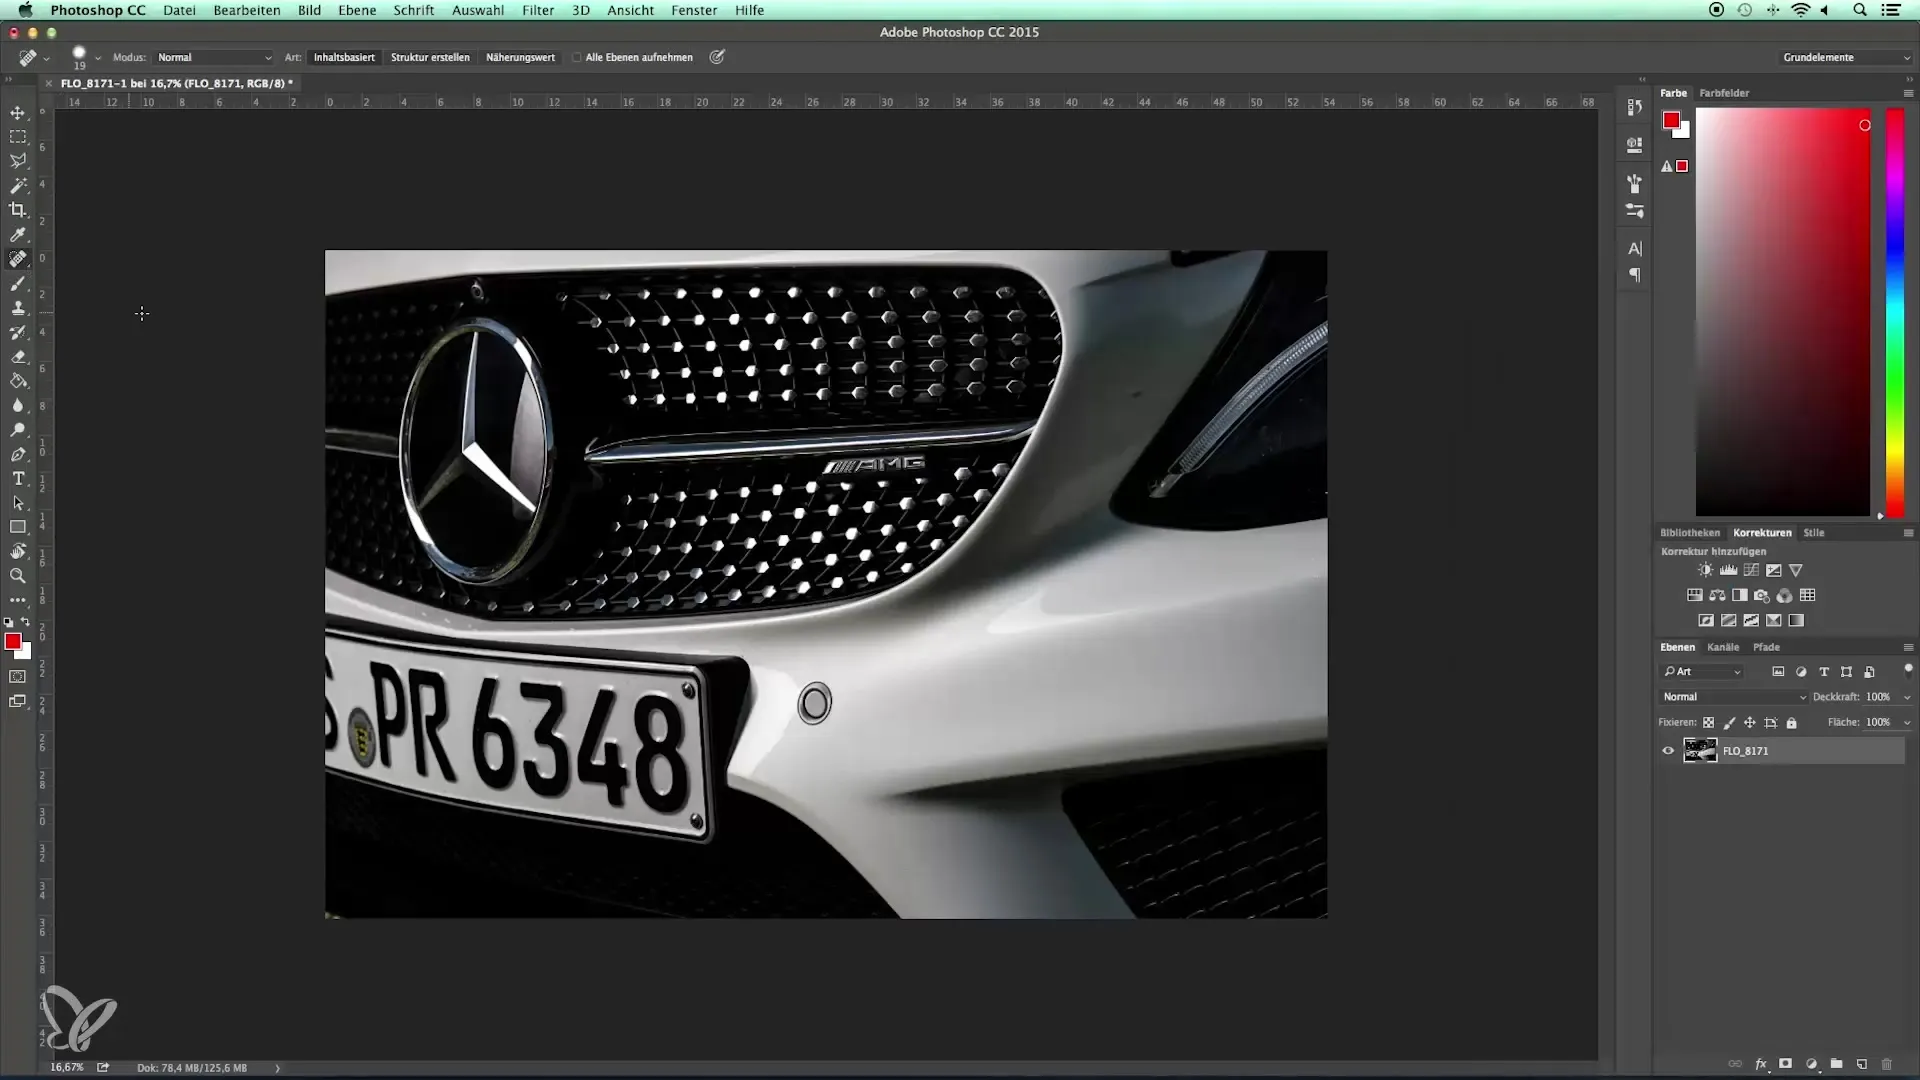
Final adjustments and retouching
Finally, it makes sense to give the image a minor retouch. Pay attention to small details that can improve the overall look. It’s meticulous work, but it makes the biggest difference in the quality of your detail shots.
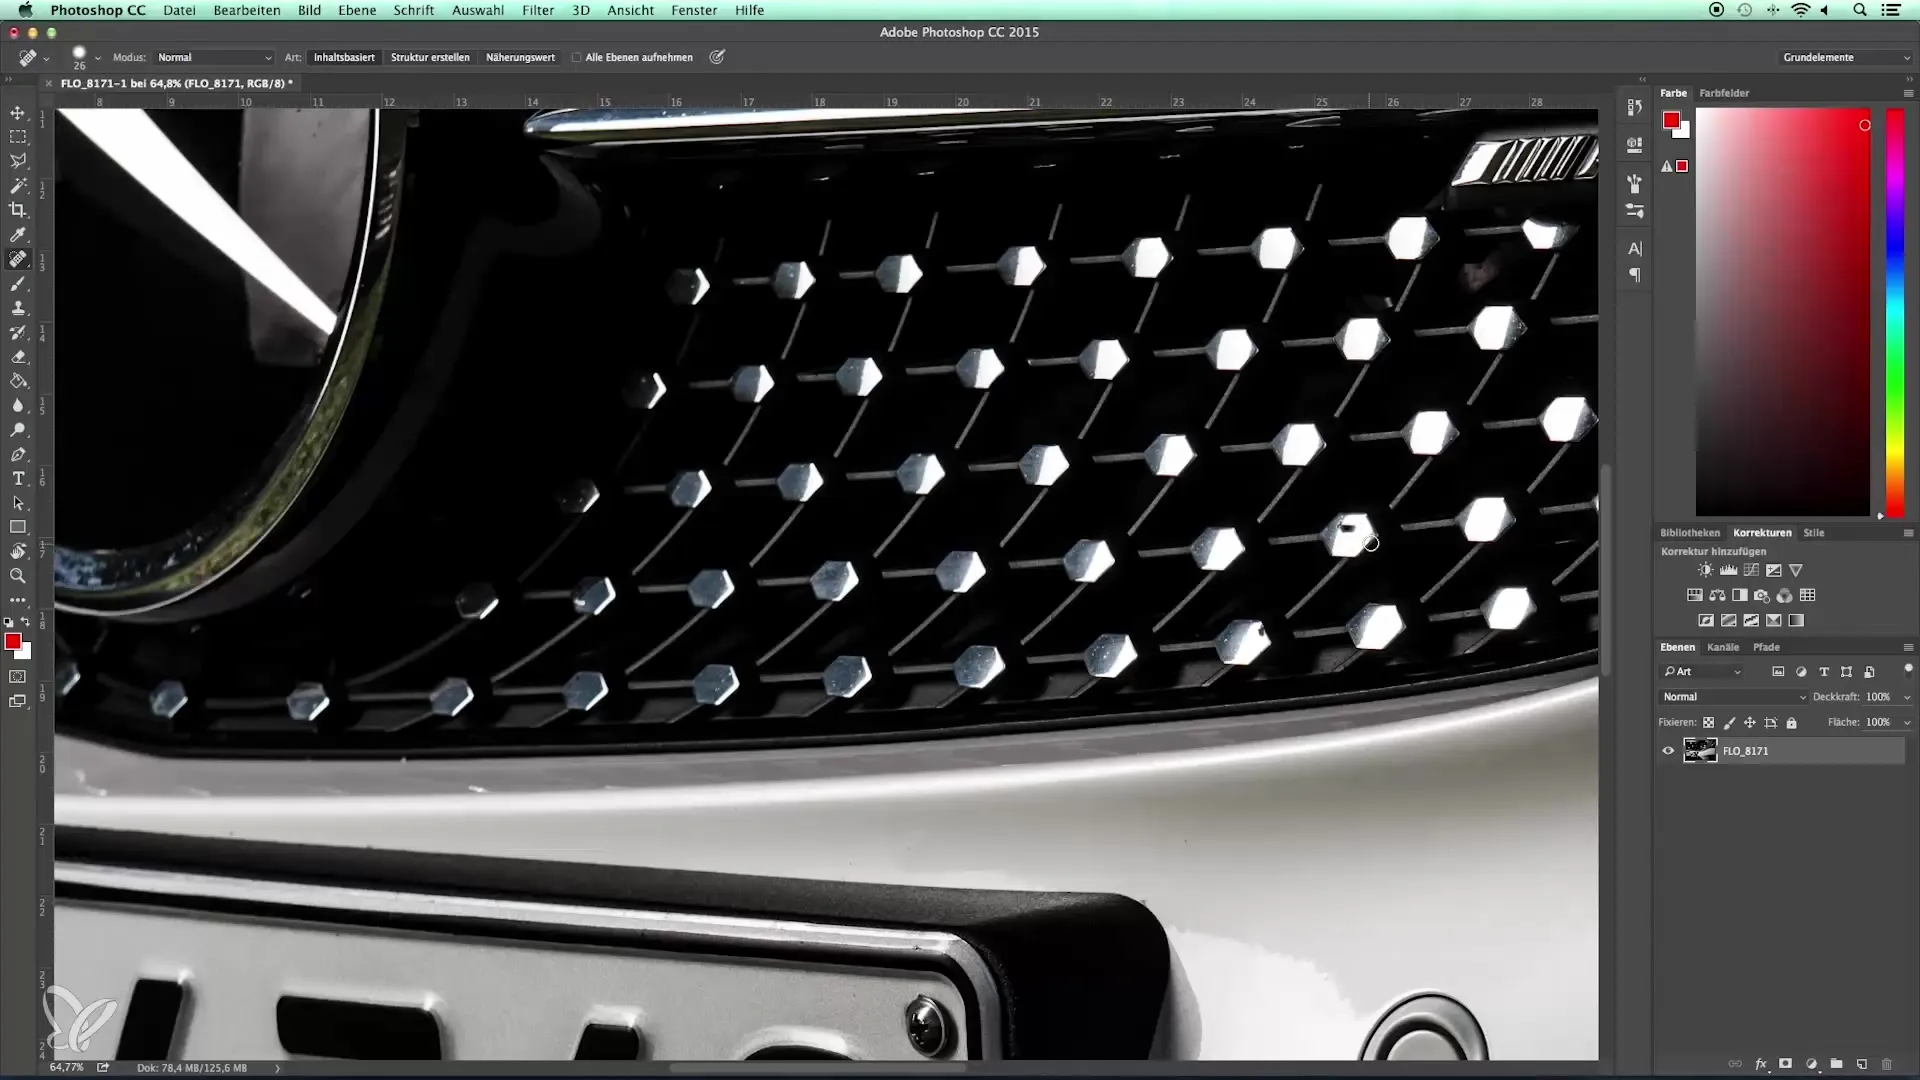
Summary – Introduction to automotive photography – developing the detail shot
By combining Lightroom and Photoshop, you can significantly increase the quality of your detail shots. Focusing on exposure, contrast, and creative retouching allows you to create impressive images that reflect the essence of your vehicle.
Frequently Asked Questions
What is the ideal white balance for detail shots of cars?A value around 5000 Kelvin provides a natural daylight effect.
How can I remove distracting elements in the image?Use the Clone Stamp or Healing Brush tool in Photoshop to fix imperfections.
What impact does sharpening have on detail shots?Sharpening at 60 to 70 brings out details without making the image look unnatural.
How important is saturation for a white car?It’s advisable to reduce saturation slightly to avoid color casts.
