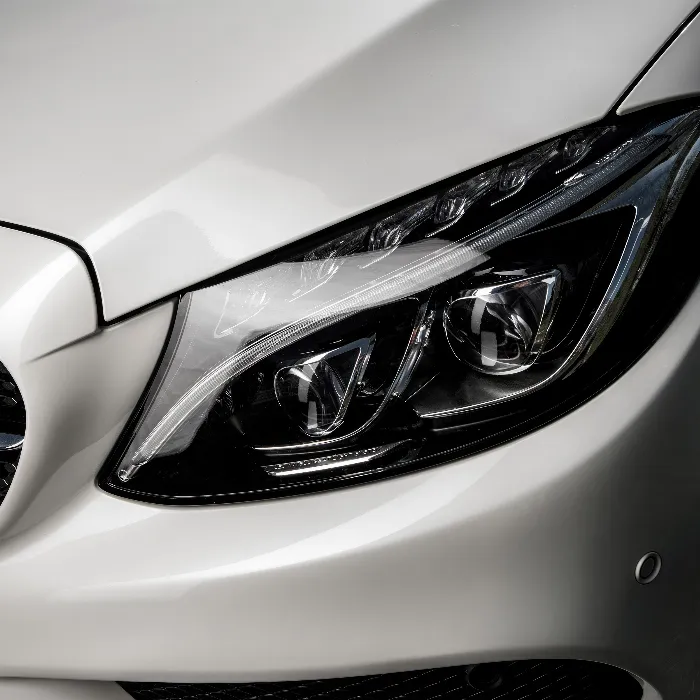
The art of automotive photography requires both technical knowledge and a trained eye for details. An essential task is to choose the right camera settings and apply the best techniques for shooting. In this guide, you will learn which camera settings are crucial for creating striking images of cars, and how a polarizing filter can help you minimize unwanted reflections.
Key Takeaways
- Use manual mode (M) for full control over aperture, ISO, and shutter speed.
- Set the aperture so that the entire image is sharp, e.g., f/8.
- Use a tripod for longer exposures to avoid camera shake.
- Set the focus manually in Live View mode.
- A polarizing filter can help reduce reflections and improve image quality.
Step-by-Step Guide
Step 1: Adjust camera settings
Before you start shooting, set your camera to manual mode (M). This gives you full control over the settings. In manual mode, you can ensure that your images are consistent without automatic adjustments affecting the quality. Make sure the ISO is set as low as possible, ideally between 100 and 200, unless the lighting conditions require increasing it.
Step 2: Aperture and shutter speed
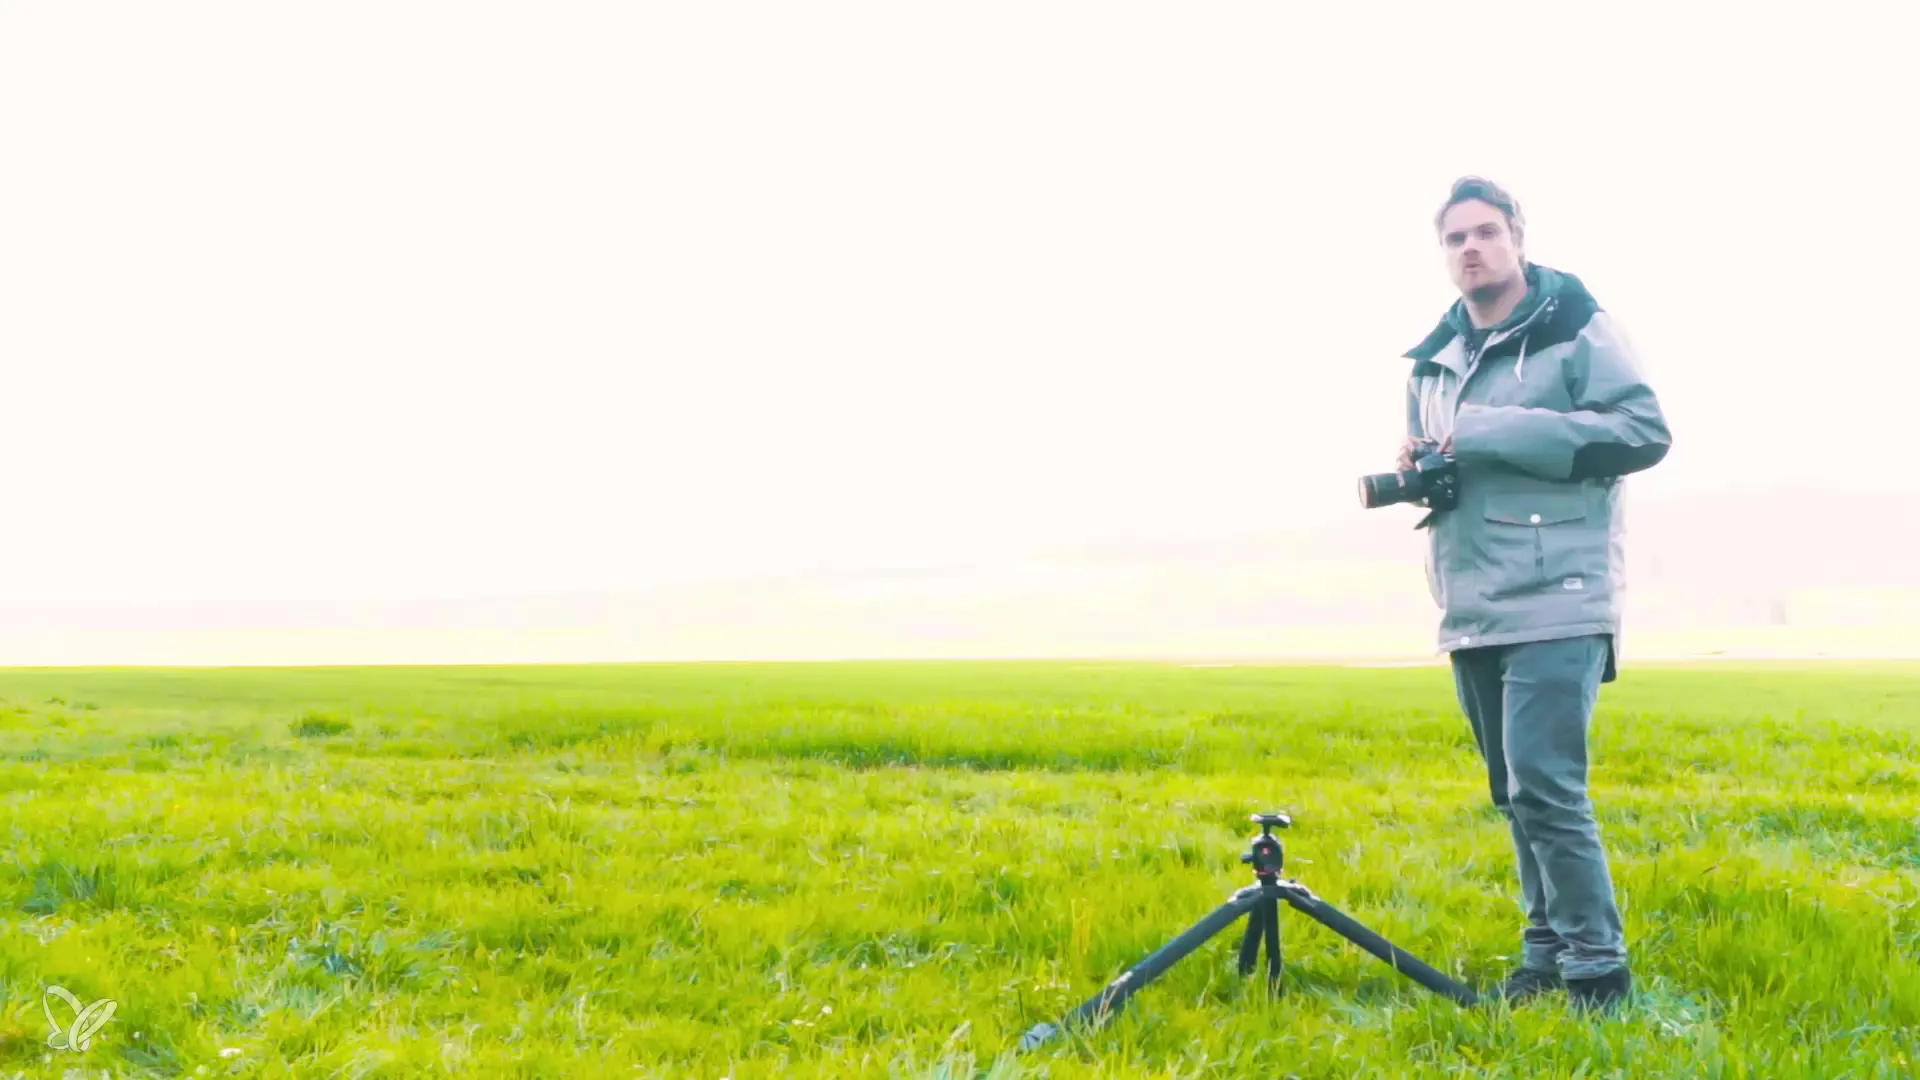
The aperture plays a crucial role in the depth of field of your image. If you want the entire car to be sharply rendered, choose an aperture around f/8. Make sure the shutter speed is adjusted sufficiently to get a correctly exposed image. A value around 1/20 second can work well according to the camera settings, but you should check this using the exposure meter.
Step 3: Set the focus
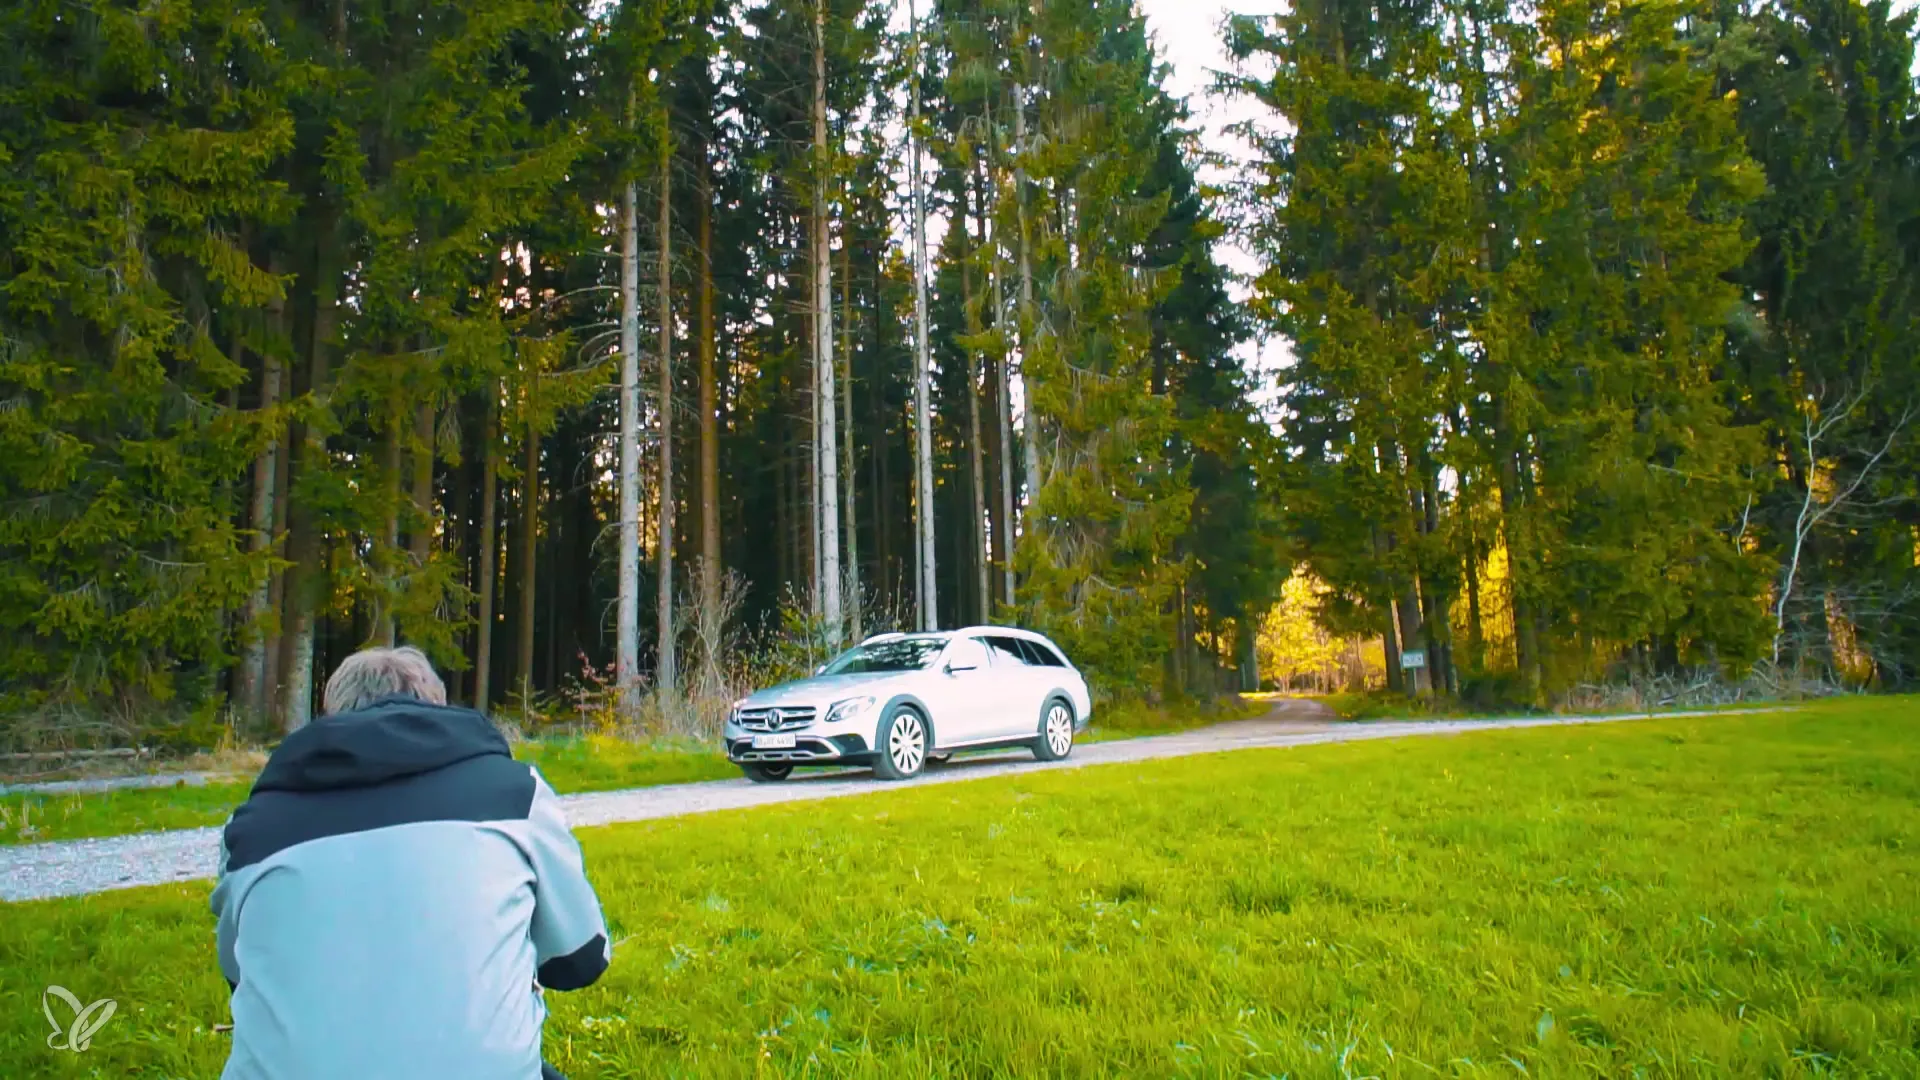
To ensure that your image is sharp, do not rely on autofocus. Switch your camera to Live View mode and use the zoom function. Manually focus on the specific areas of the car that you want to render particularly sharp, such as the headlights or other details. This allows for more precise focusing of the subject.
Step 4: Ensure camera stability
Since you are working with longer exposures, it is important to avoid camera shake. Use the self-timer to ensure that the moment of capture is not affected by touching the camera. Set the timer to 10 seconds to give yourself enough time to hold the camera in position.
Step 5: Using a polarizing filter
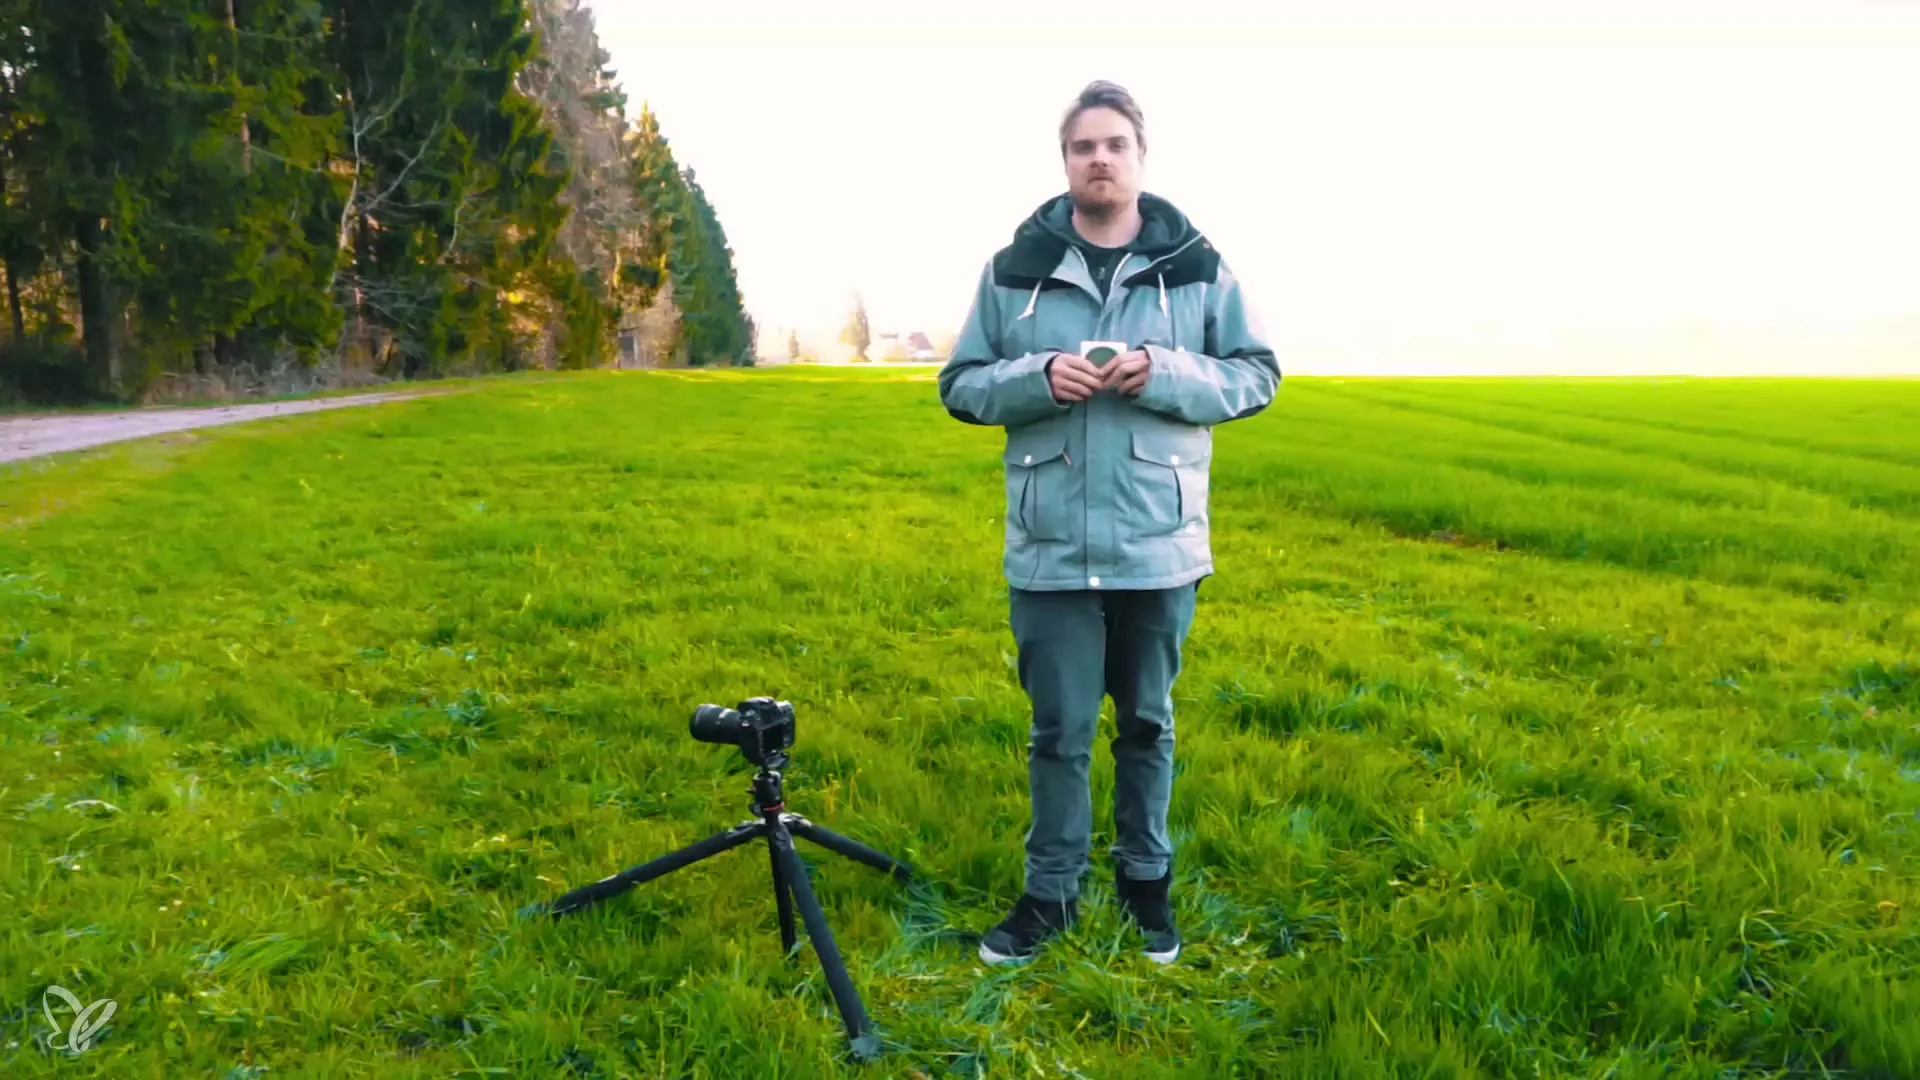
A polarizing filter can significantly enhance your shots, especially to reduce reflections on glossy surfaces. Make sure to choose a polarizing filter with the correct thread size for your lens. Mount the filter on your lens and ensure it is clean. Check in Live View mode how the reflections change when you rotate the filter.
Step 6: Minimize reflections
Rotate the polarizing filter until the reflections on the car’s body are minimized. Observe the changes in the windows and on the hood. You will notice that, depending on the angle, there are significant differences in how effectively the filter reduces reflections. Experiment with different positions and angles to achieve the best effect.
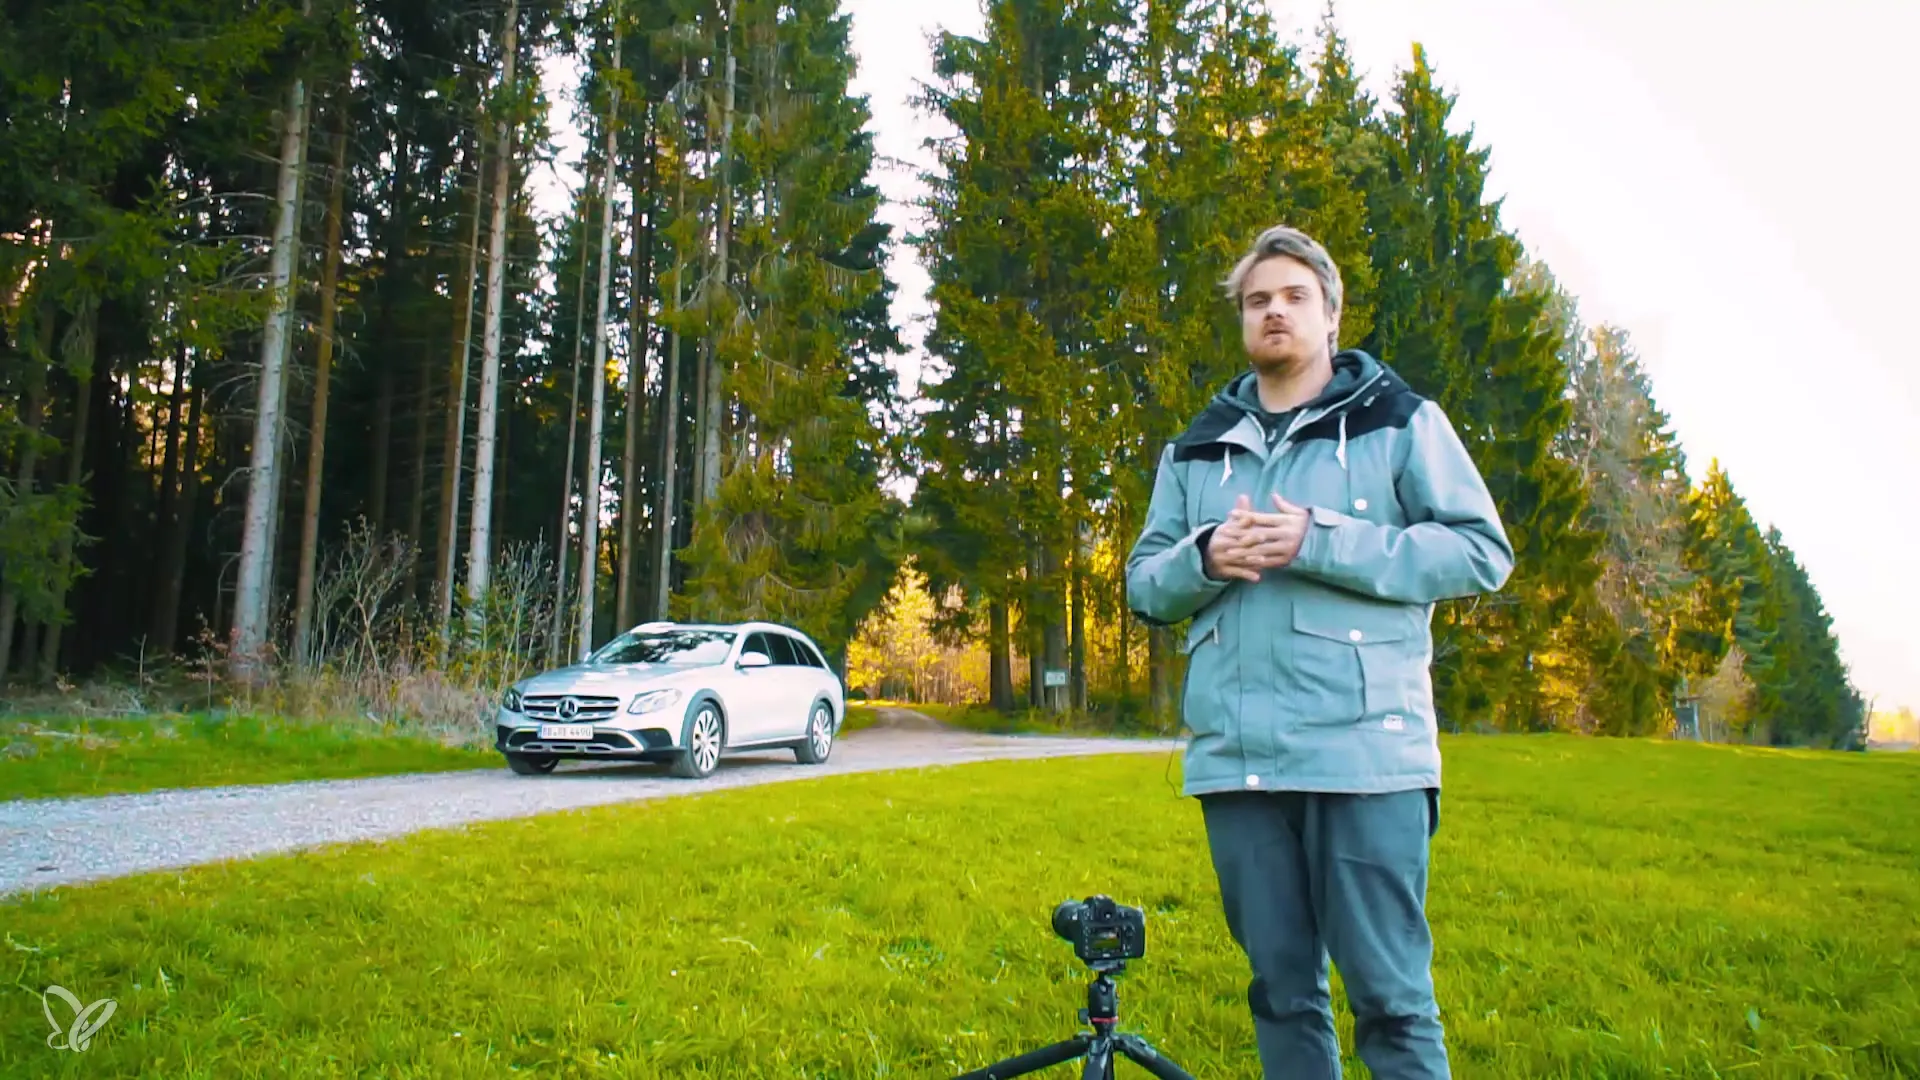
Step 7: Take final shots
Now that the camera is properly set up and the polarizing filter is in place, take the first shot. Check the results by zooming in on the image. If reflections are still present or the image remains blurry, repeat the process. If necessary, take additional shots from different angles to achieve varied effects.
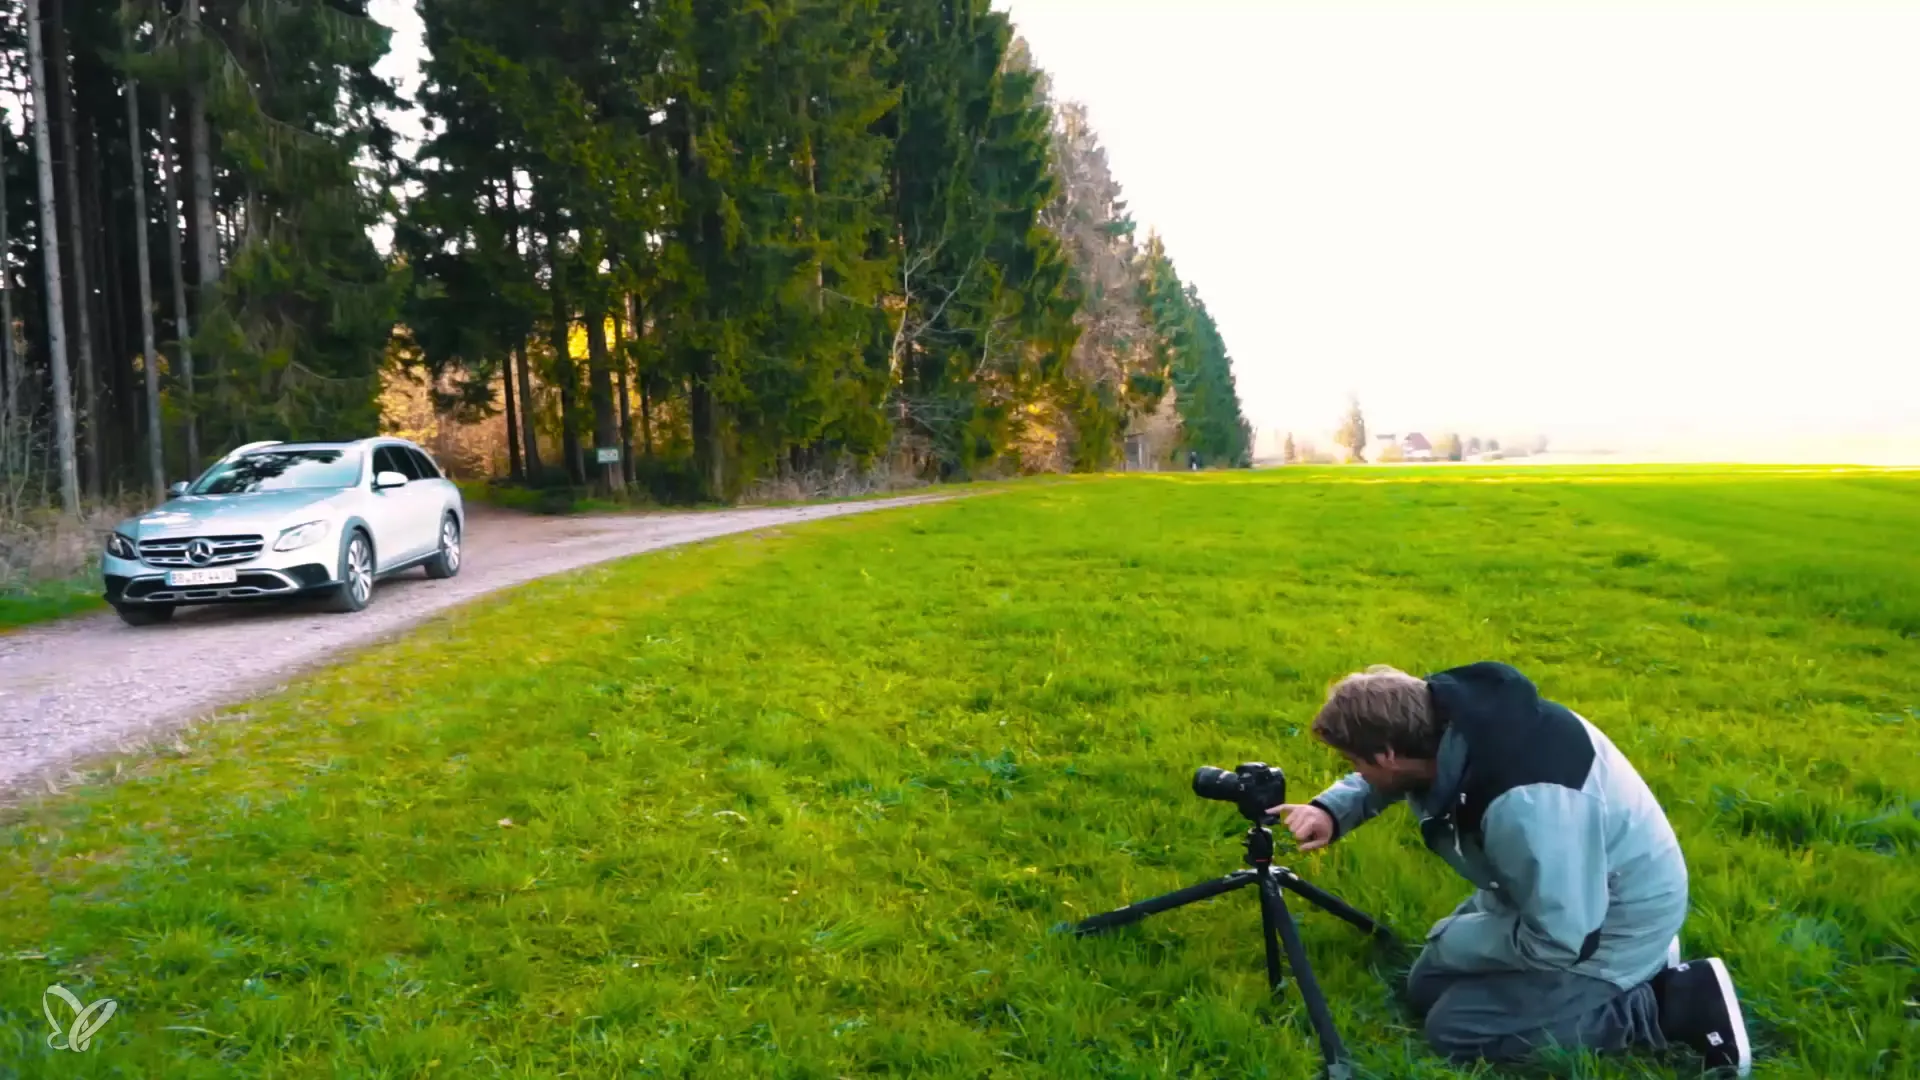
Step 8: Finalize the images
Use the best shots as a base and combine a series of images in editing software like Photoshop. Here you can merge the different images with varying polarizing filter settings to achieve the highest quality. Experiment with exposure and reflections to perfect the final image.
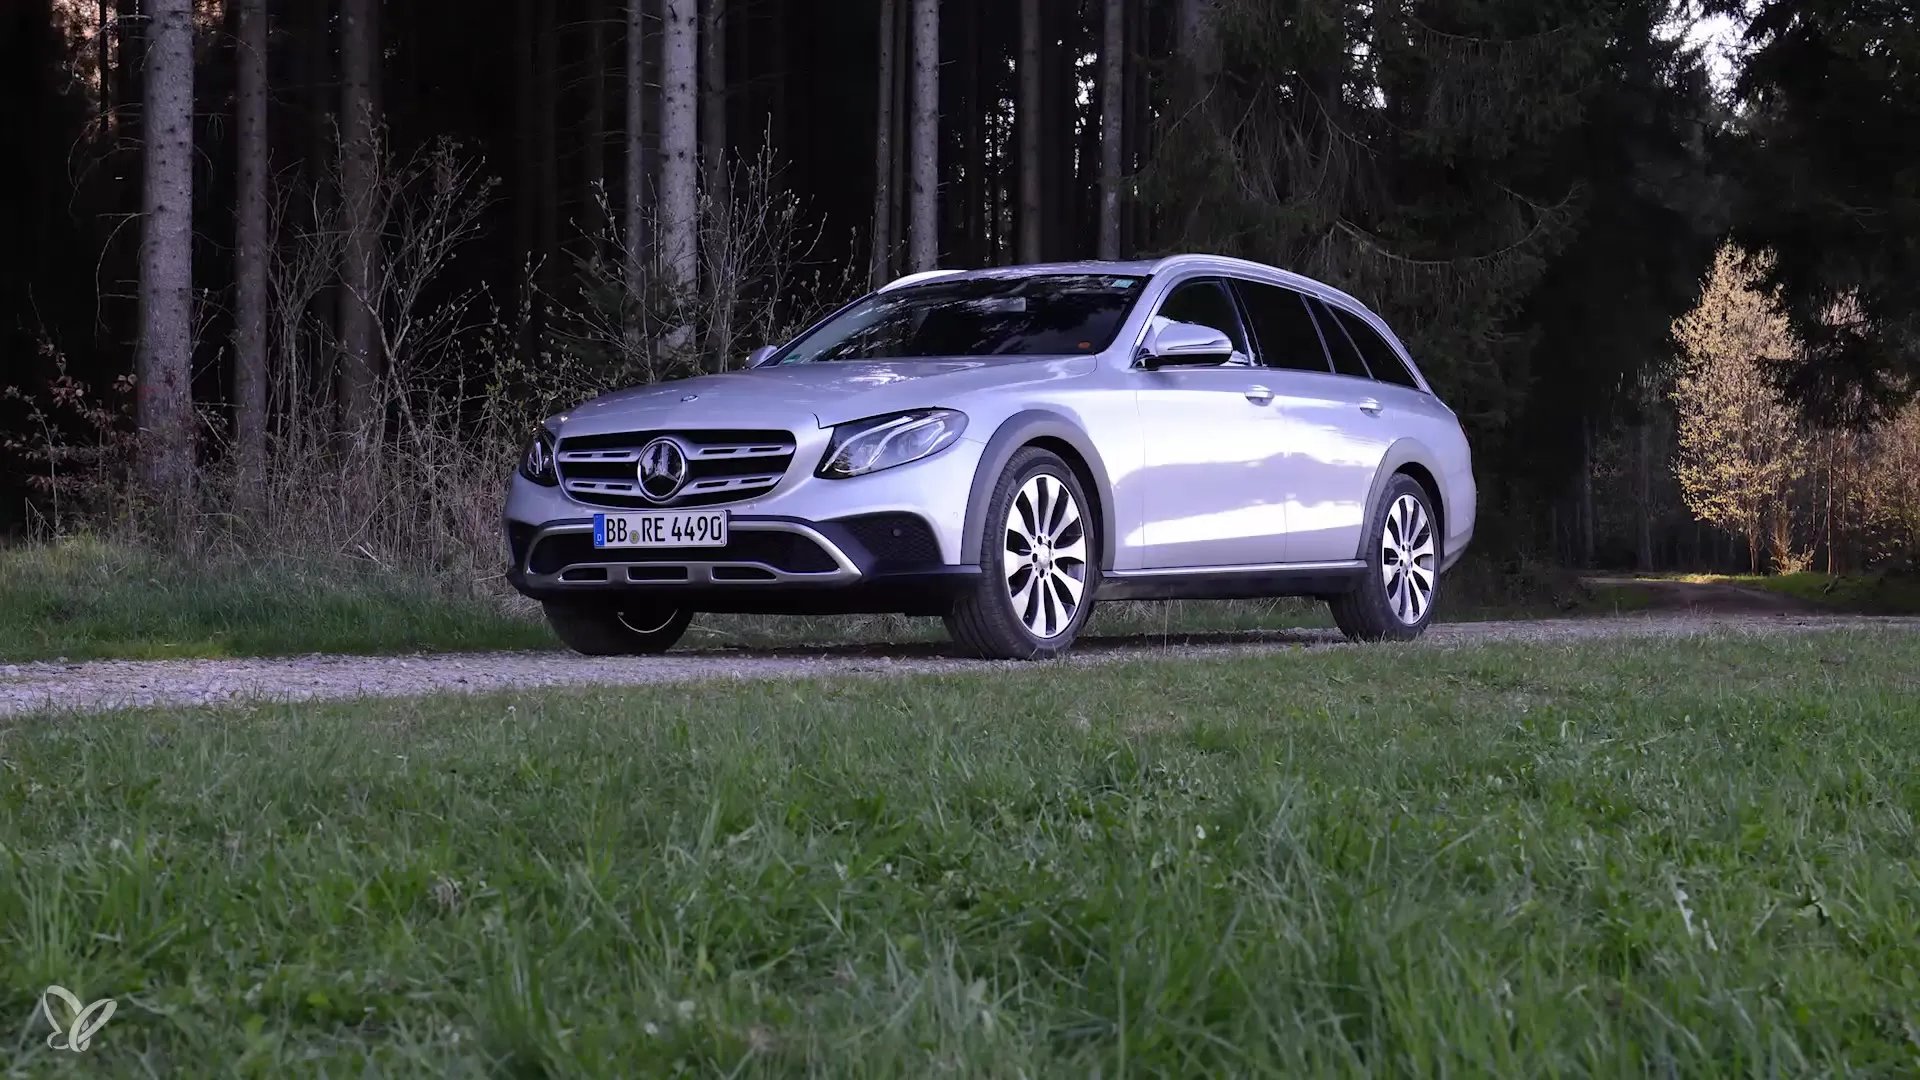
Summary – Getting Started with Automotive Photography: Camera Settings and Polarizing Filter
In this guide, you learned how important the right camera settings and the use of a polarizing filter are in automotive photography. By using manual mode, paying attention to aperture and shutter speed, and setting focus manually, you can achieve impressive images. The polarizing filter also helps you reduce unwanted reflections and significantly improve image quality.
Frequently Asked Questions
How should I set up my camera for automotive photography?You should select M mode, keep the ISO low, and set the aperture to around f/8.
What is the advantage of a polarizing filter?A polarizing filter reduces reflections and can significantly improve image quality on glossy surfaces.
How can I avoid camera shake while shooting?Use a tripod and set the self-timer to prevent the camera from shaking.
Is it better to use autofocus or manual focusing?Manual focusing is often more effective because you can specifically focus on certain areas.
Which lens should I use with a polarizing filter?Make sure that the polarizing filter has the correct thread size for your lens.
