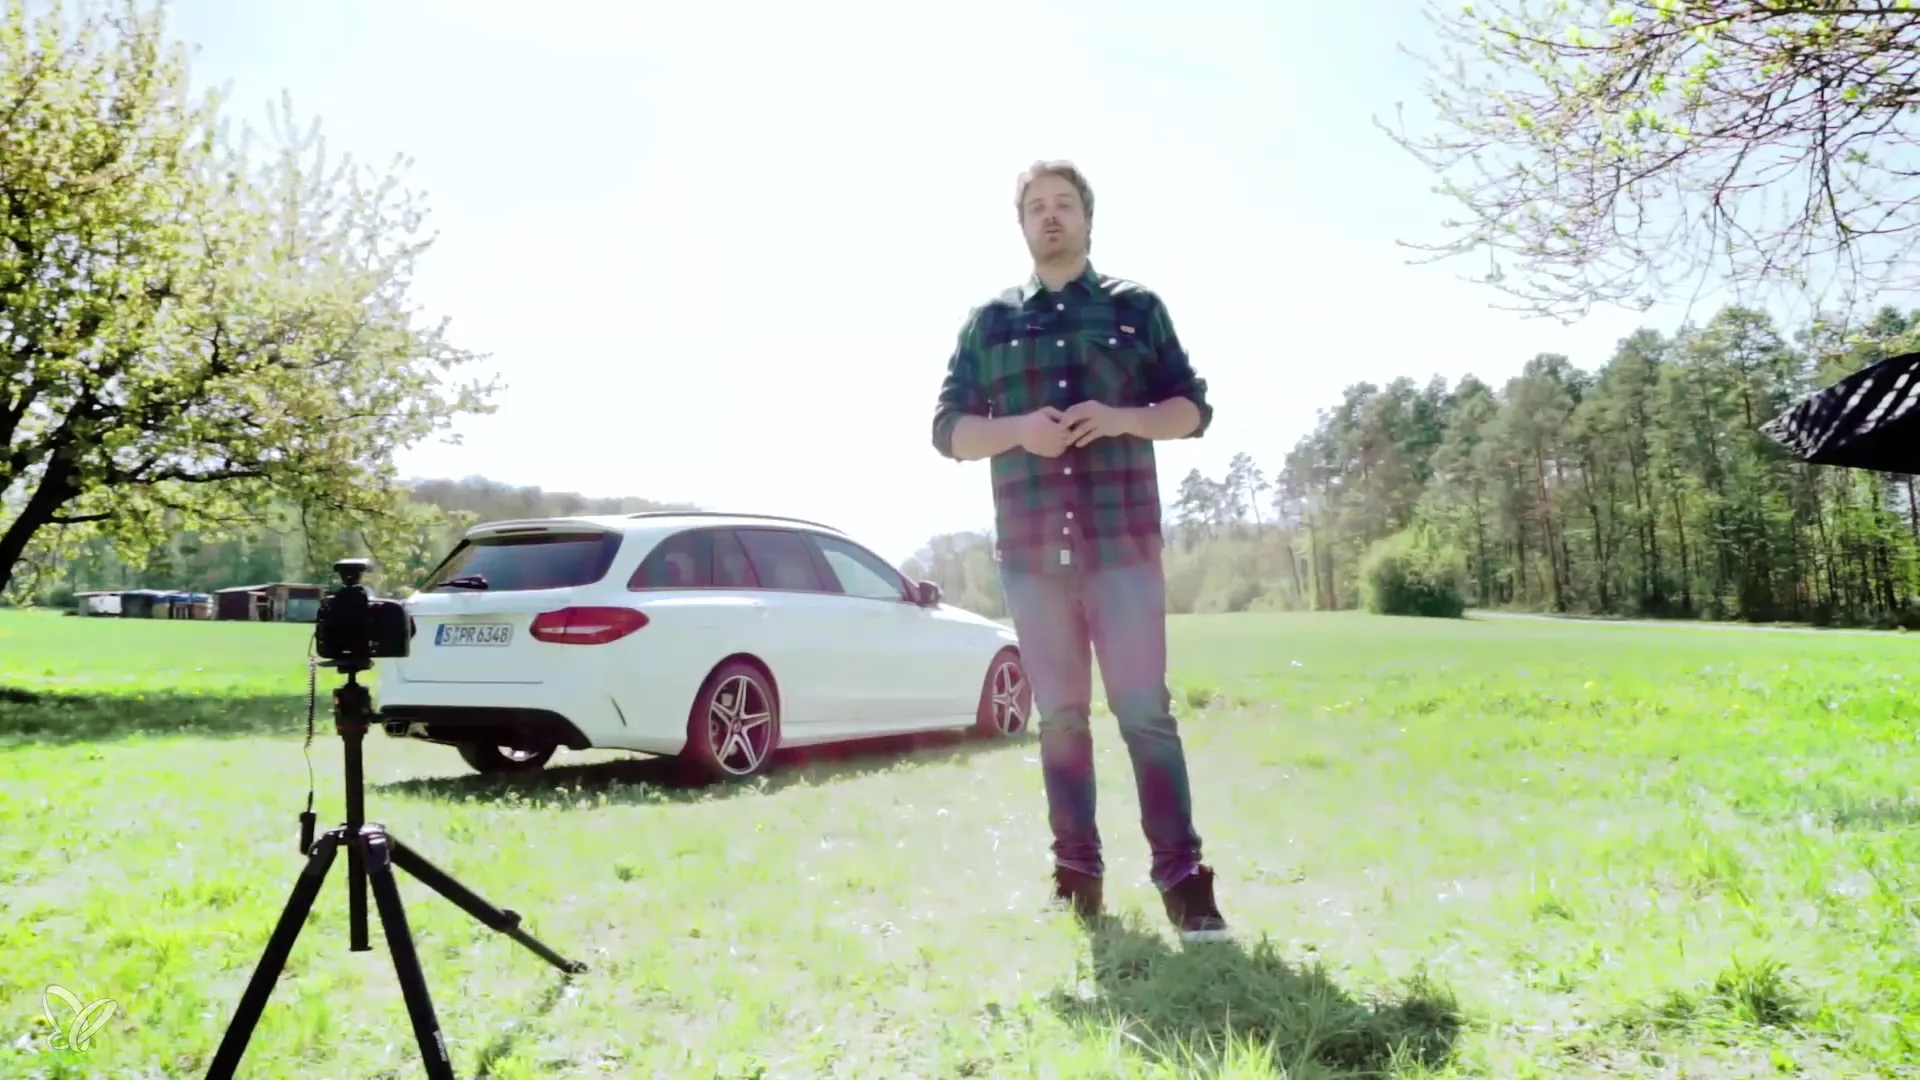
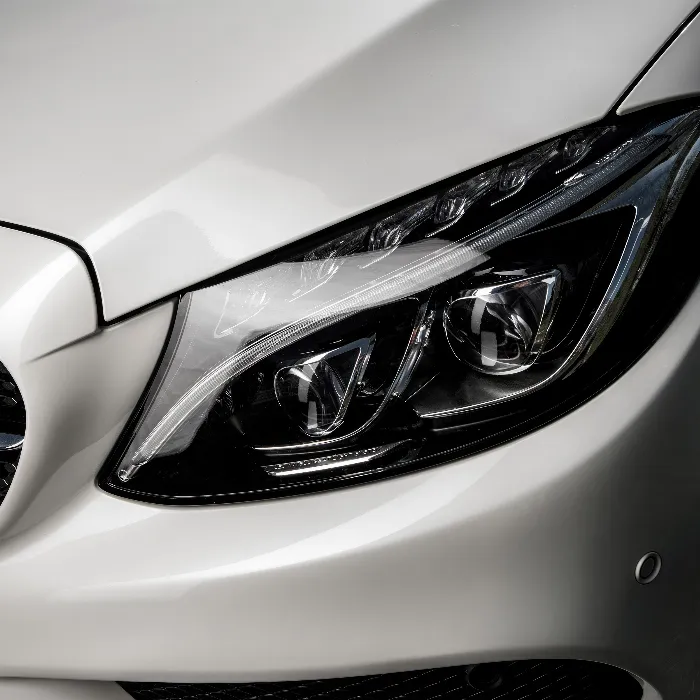
With the right technique and the right equipment, you can create stunning automobile photographs without needing a multitude of flash devices. Even if you may not have four or five flashes at your disposal, this guide will show you how to achieve excellent results with just one flash. You will learn how to combine multiple exposures step by step to create impressive visual effects.
Key insights
- You don't need many flashes to create impressive automobile photos.
- By effective flashing, you can highlight the car with light accents.
- The images need to be captured purposefully and strategically to be well combined in Photoshop.
Step-by-step guide
To achieve the best results, a systematic approach to photographing and subsequent image editing in Photoshop is required. This step-by-step guide will assist you.
1. Prepare location and camera
Before you start photographing, it is important to set up the location and the camera properly. Choose a suitable position for the car. In this example, we will look at a TH quarter shot and place the car so that two-thirds are visible from the side and one-third from the back.

2. Exposure with ambient light
First, take a shot of the car using available light sources. Set the camera in manual mode such that the exposure time is increased until the image is correctly exposed. Often, the preview shows that everything is fine.
3. Use flash
Once you have the correct setting with natural light, switch to using flash. Reduce the exposure of ambient light by adjusting the exposure values. Now take the flash and prepare to illuminate the car from multiple perspectives while photographing.
4. Position correctly
Make sure that you are not in the frame while walking around the car. If you are too close to the vehicle, your shadow may appear in the image. Ensure you always maintain at least half a meter distance.
5. Test shots
Test your setup by taking a test shot. Check if the flash works and whether the light is well distributed. These test shots are crucial to ensure that everything is ready for the next steps.
6. Walk around the car
Now you start to step around the car bit by bit. Take photographs from different angles to have a complete set of shots that you can later combine in Photoshop. Vary the distances and the angle of the flash to create interesting light effects.
7. Image review
After you have taken all the necessary photos, review the images on the camera. Check if you did not obstruct the shot and if the exposures meet your expectations. You will quickly see whether you can work with the images or if there is still room for improvement.
8. Preparation for Photoshop
Once you are satisfied with the quality of the images, it is time to combine them in Photoshop. You will learn how to harmoniously combine the different shots into one image to create an impressive multiple exposure.
Summary – Getting Started in Automobile Photography with Just One Flash
This guide has shown you how to create impressive automobile photos with just a single flash. The focus was on utilizing efficient techniques for image capturing while ensuring that the light is used advantageously. With the right technique, you can achieve appealing multiple exposures in Photoshop.
Frequently Asked Questions
How many flashes do I need for automobile photography?You can achieve impressive results with just one flash.
How do I set the camera for ambient light?Use manual mode and set the exposure time so that the image is correctly exposed.
How do I prevent my shadow from appearing in the image?Maintain at least half a meter distance from the car when walking around it.
How do I check the quality of my images?Check the images on the camera to ensure that you are not in the frame and that the exposure is correct.
How do I combine the images in Photoshop?Open the individual shots in Photoshop and use blending modes to combine them.


