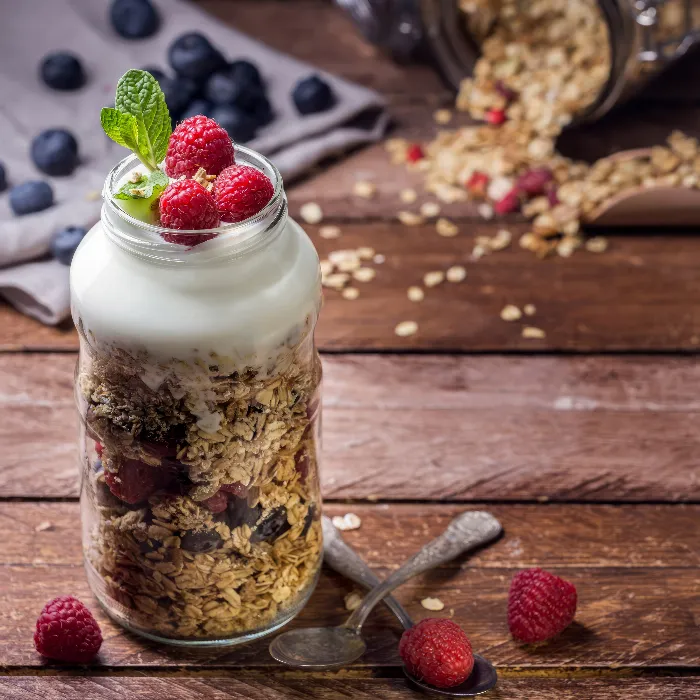
Food-photography is an exciting combination of art and technique. It allows you to capture the various elements of a dish in split seconds and thus enchant the senses of your viewers. In this guide, you will learn how to create impressive food still lives using "available light", meaning natural light, as well as some simple accessories. You will learn how to set up your scene, which perspectives are ideal, and how to work with different light sources. Let's dive straight into the details.
Key insights
- Trust in natural light.
- Use reflectors and absorbers for better light control.
- Strengthen the focal point by using a tripod.
- Use your camera’s self-timer function if no remote trigger is available.
Step-by-step guide
Set setup and design
To create an impressive food photo, the setup of your scene is crucial. Start by creating a stylish presentation. After gathering your ideas, it's important to know how to set up your scene. Think about where to place your ingredients, which backgrounds to use, and how to arrange the different elements in relation to each other. In particular, make sure to have a good light source from the window.
Using surfaces and backgrounds
The choice of the right surface is as critical as the choice of backgrounds. Wood, stone, or even a beautiful fabric can add depth to the image. Ensure that the colors harmonize and that the composition does not appear overloaded. A neutral background can enhance the colors of your dishes more effectively.

Perspective alignment
Perspective is a key factor when photographing food. Consider from where you want to photograph. A front-facing perspective can work well, while photographing from a slightly elevated position is often beneficial for showing details. Experiment with different perspectives to find the best angle for your dish.
Light control using reflectors
Now it's time to get creative! Use reflectors to direct the light intentionally. This way, you can brighten shadow areas and distribute the light more evenly. You can create simple reflectors from perforated paper or foil to adjust the lighting conditions accordingly. Try capturing light from different directions and note how it affects the surface of your dishes.
Working with absorbers
To shield certain areas from light, you can also use absorbers. These reduce the light that falls on a specific spot and promote a uniform illumination of your scene. Shadows give your images a dramatic effect and help draw attention to the main subjects. Experiment with varying exposure and distances to achieve the best result.
Using a tripod and remote trigger
For the sharpest shots, a tripod is essential, especially when using available light where exposure times can be longer. Make sure your tripod stands stable. To avoid blurriness, use a remote trigger – either wired or wireless. If you don’t have a remote trigger available, the self-timer function of your camera is an excellent alternative to ensure sharp images.
Finding inspiration
Before you start photographing, it's helpful to get inspired. An ideal platform for this is Pinterest. Look at similar food images to gather ideas for your own setup. This creative phase is essential to develop a true taste that keeps you motivated throughout the entire process.
Summary – Food photography with available light and flashes
In this guide, you learned how important it is to design your scene and light to create impressive food photos. The effective use of reflectors, understanding perspectives, and the correct handling of tripod and trigger are crucial for making your images unforgettable.
Frequently asked questions
How can I find my ideas for food photography?By looking at images on platforms such as Pinterest.
Why is a tripod so important with available light?It ensures stable and sharp images with longer exposure times.
What alternative options are there if I don’t have a remote trigger?Using the self-timer function of your camera is a good alternative.
How do I use reflectors effectively?Reflectors help to direct light intentionally and brighten shadow areas.
What perspectives are ideal for food photography?Experiment with different angles, especially a slightly elevated position.

