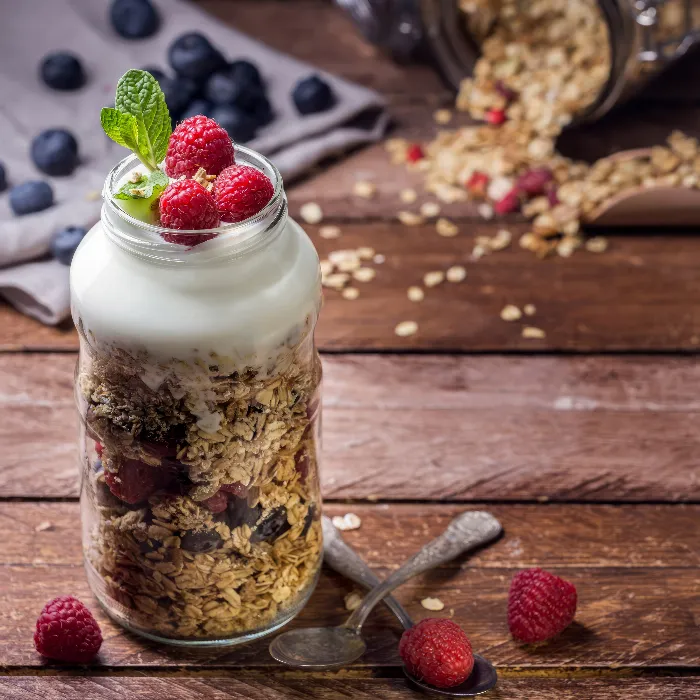
The art of food-photography is an exciting and highly creative discipline. To achieve the best possible results, the right preparation is crucial. In this chapter, I will discuss the important aspects of setting up your food photo setup. In particular, we will look at the location, surface, background, and perspective to create impressive images.
Key insights
To work effectively in food photography, you should pay attention to the following points:
- Choose a suitable location with adequate light, preferably near windows.
- Opt for interesting surfaces and backgrounds that showcase your dishes appealingly.
- Pay attention to the perspective to highlight the textures and colors of your dishes.
Step-by-step guide
1. Choosing the location
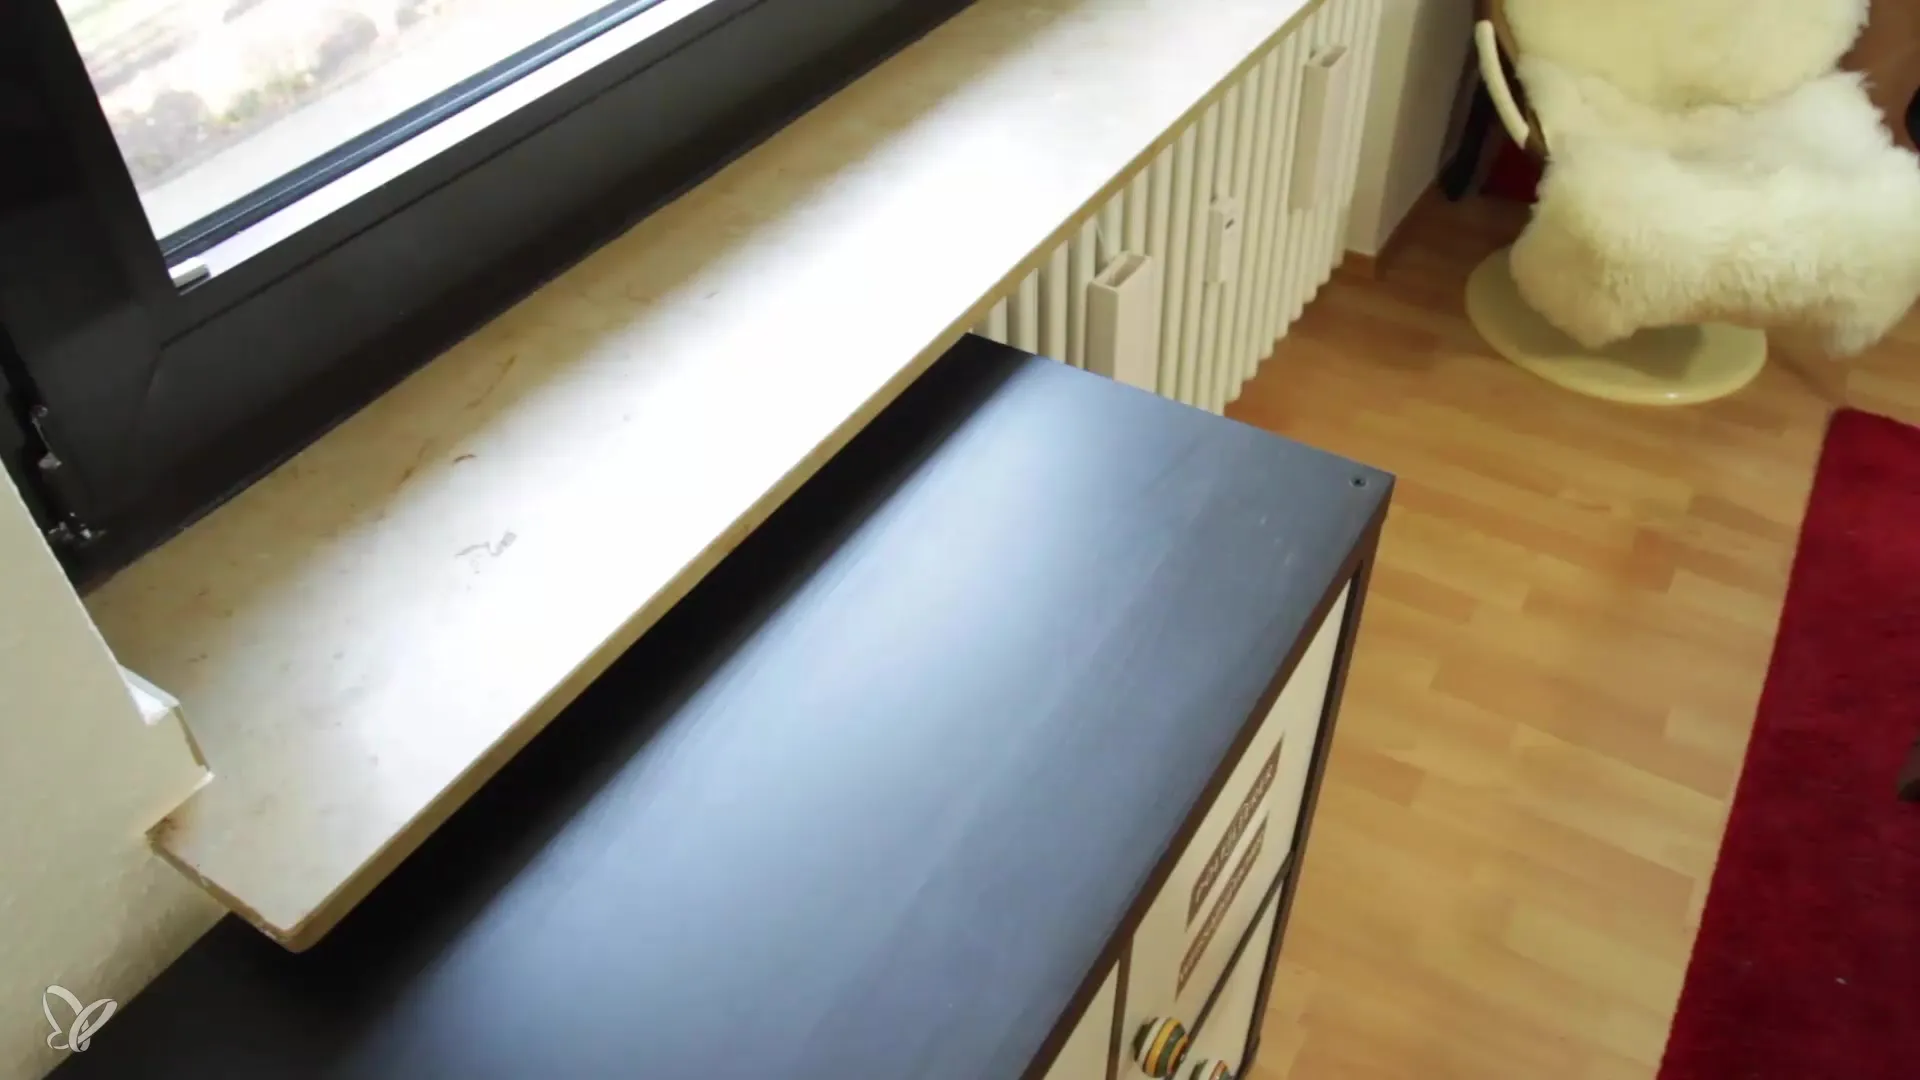
The first step is to select a suitable location for your food photo setup. When working with "available light," natural light is very important. In my case, I use my living room window as a light source. In daylight, you get a soft, pleasant light that adds impressive depth to your images.
Examine the lighting conditions at your chosen location closely. If the light is too harsh, you can use various aids, such as reflectors or softening materials like curtains or diffusers.
2. Choosing the surface
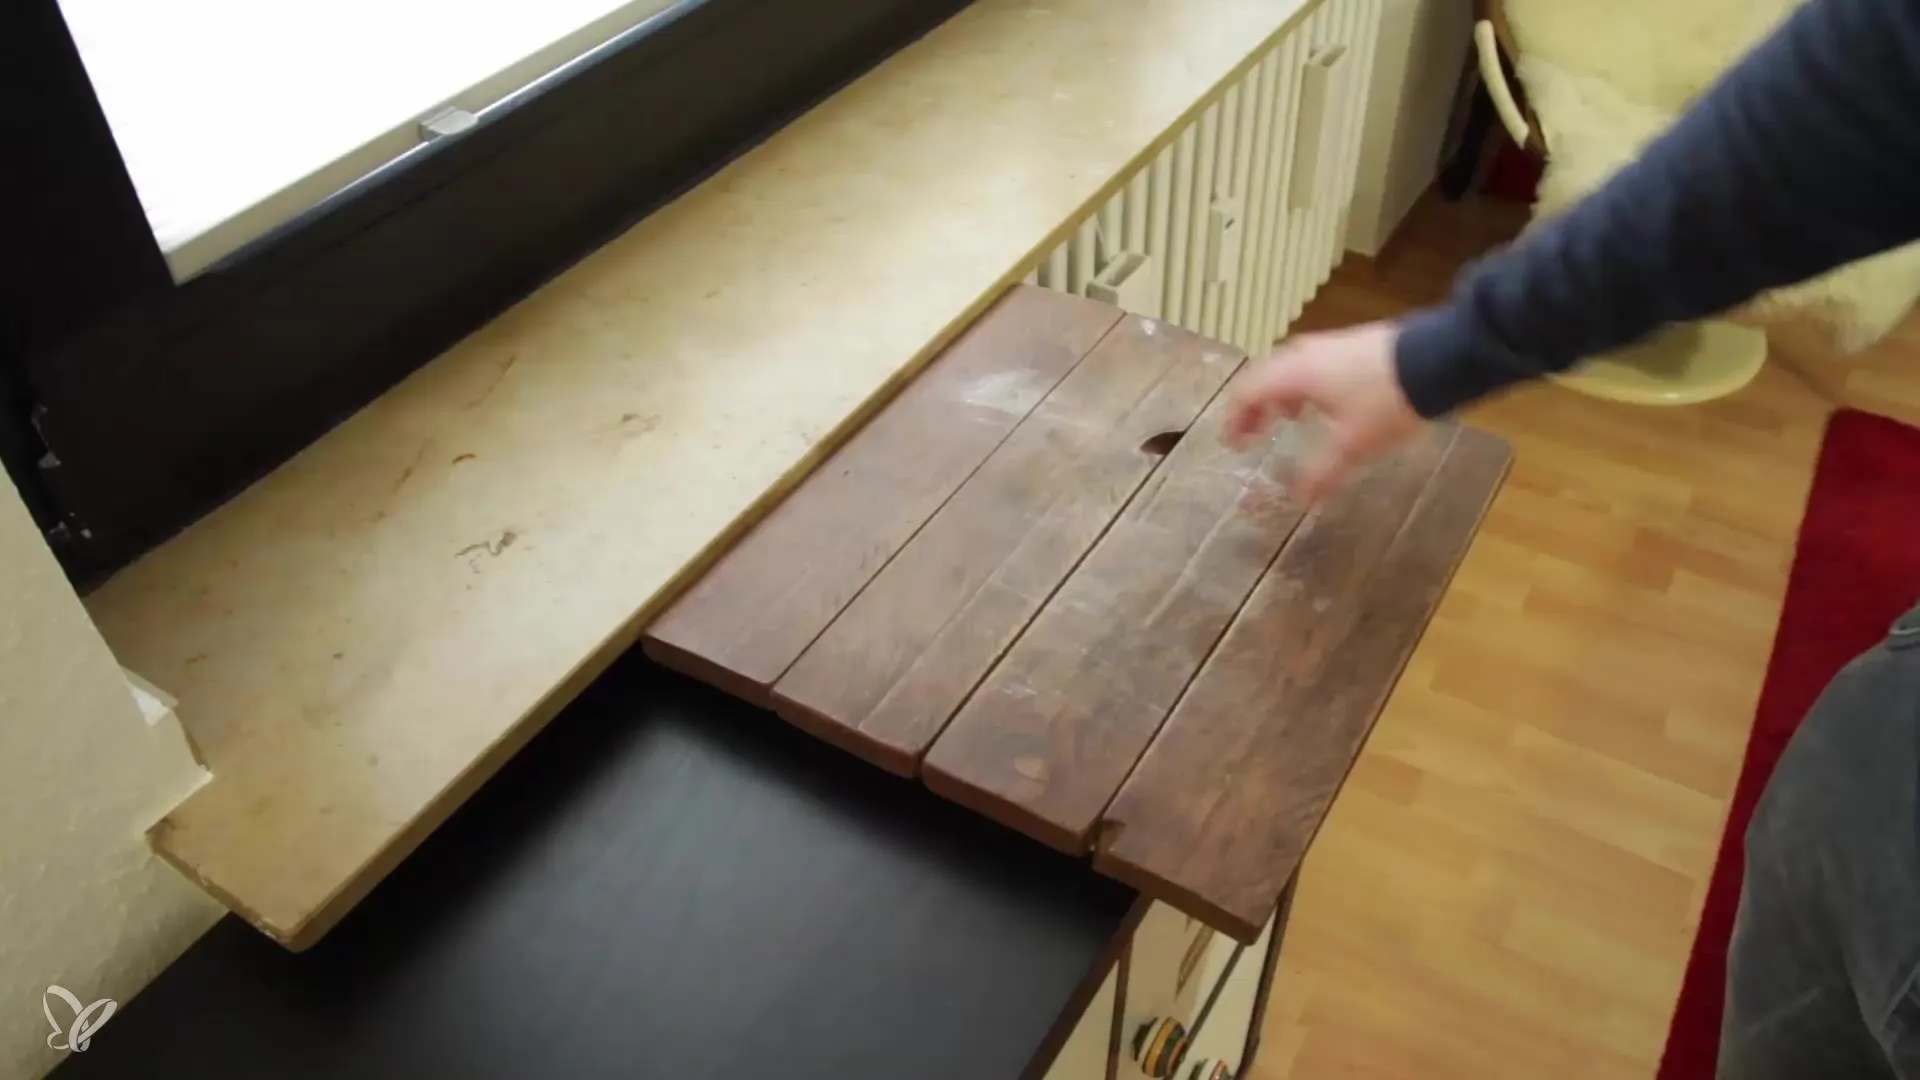
The surface is another important aspect. You want to ensure that the surface is not only functional but also contributes to the overall image. I chose a self-made wooden board coated with a dark brown wax layer. This texture adds an authentic touch to the images.
Wood has the advantage of having an interesting grain that gives your images charm. Consider what type of surface best matches the dishes you want to photograph. You may also want to choose a color that highlights the colors of your dishes.
3. Designing the background
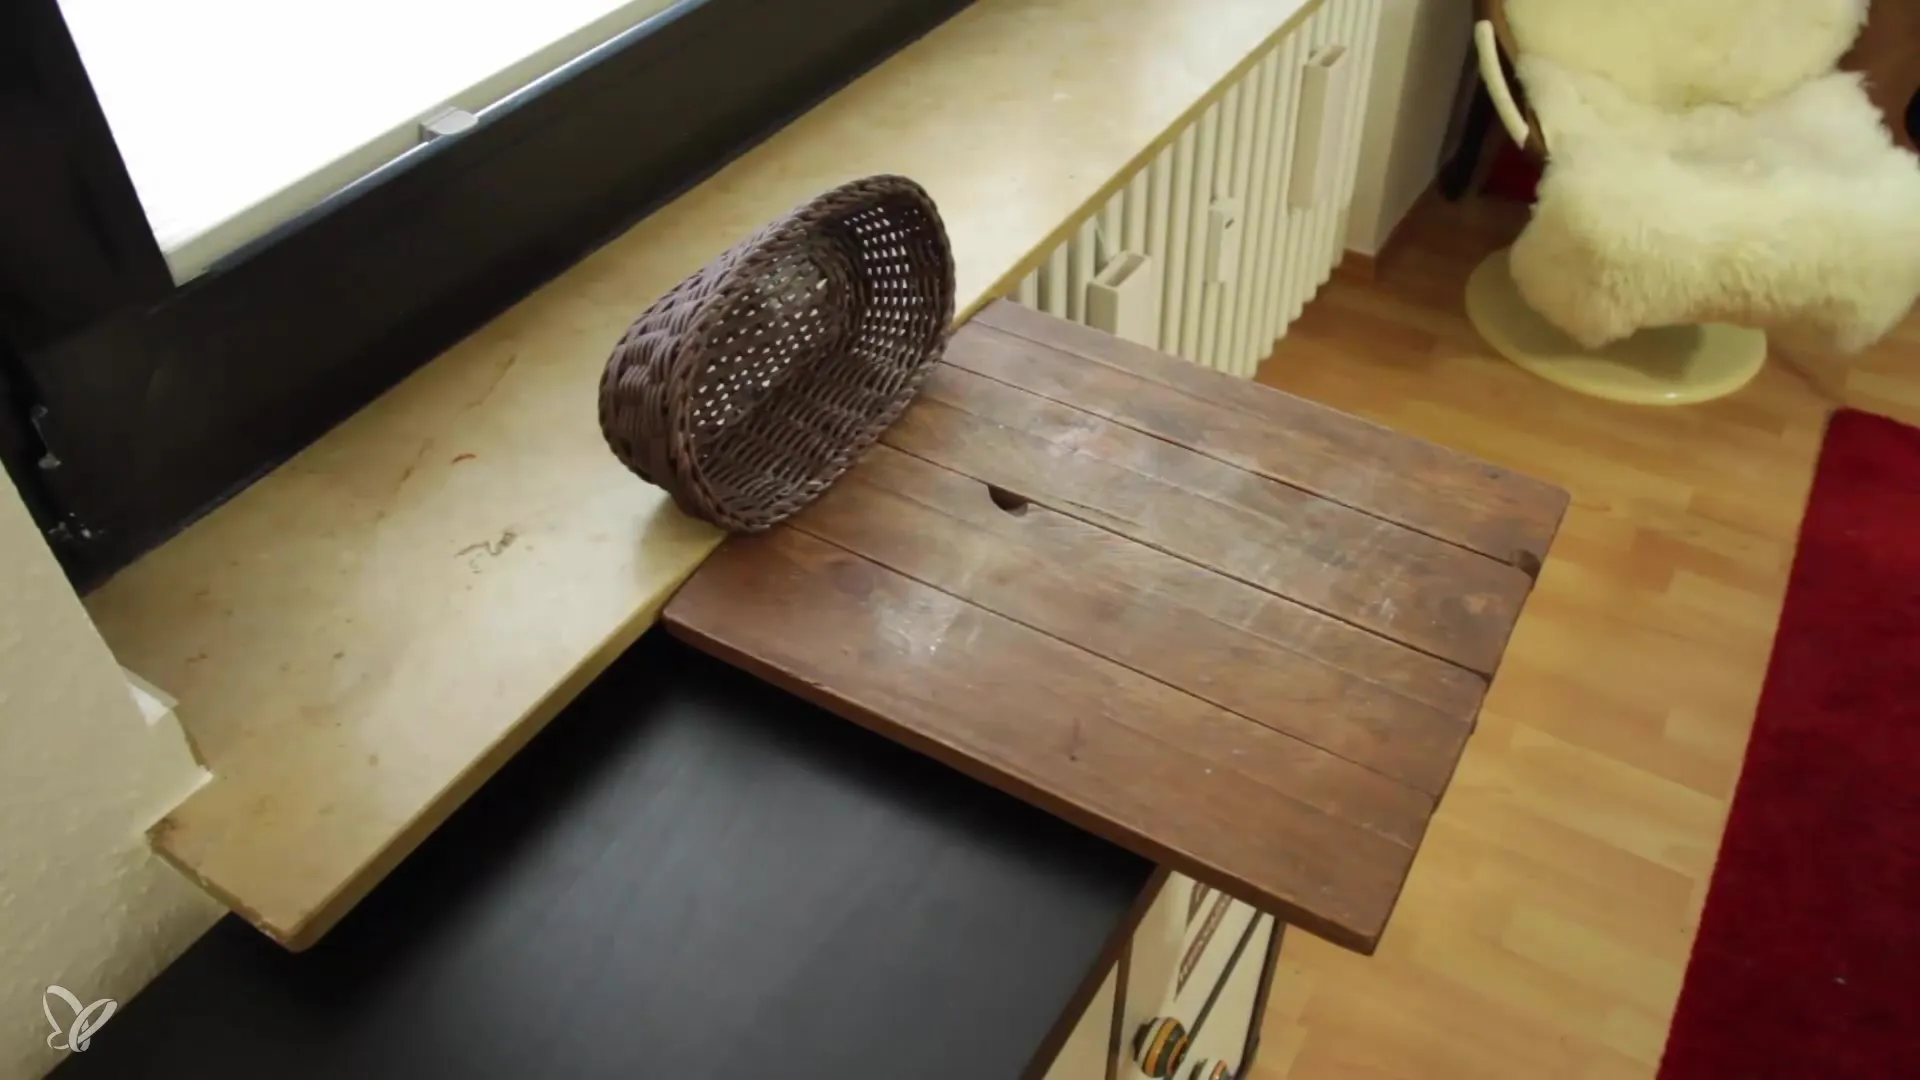
The background should be well chosen to draw attention to the dishes. I often use low backgrounds, such as a simple basket or a wooden board that is in the same color family as my surface. This creates harmony and aesthetics.
Keep in mind that a high background can obstruct the light. If the light comes from behind, an overly high background can cast shadows that negatively affect the image. Keep the background as low as possible to achieve the best results.
4. Establishing the perspective
The perspective is crucial for composing your image. You should position the camera so that the dishes appear in the best light and their textures and colors stand out. I recommend photographing the image from a slightly angled bird's eye view to keep the composition interesting.
Experiment with different perspectives to find out which best suits your setup. Be sure to deliberately work with the lines in the image to create a credible and appealing composition.
5. Checking the image composition
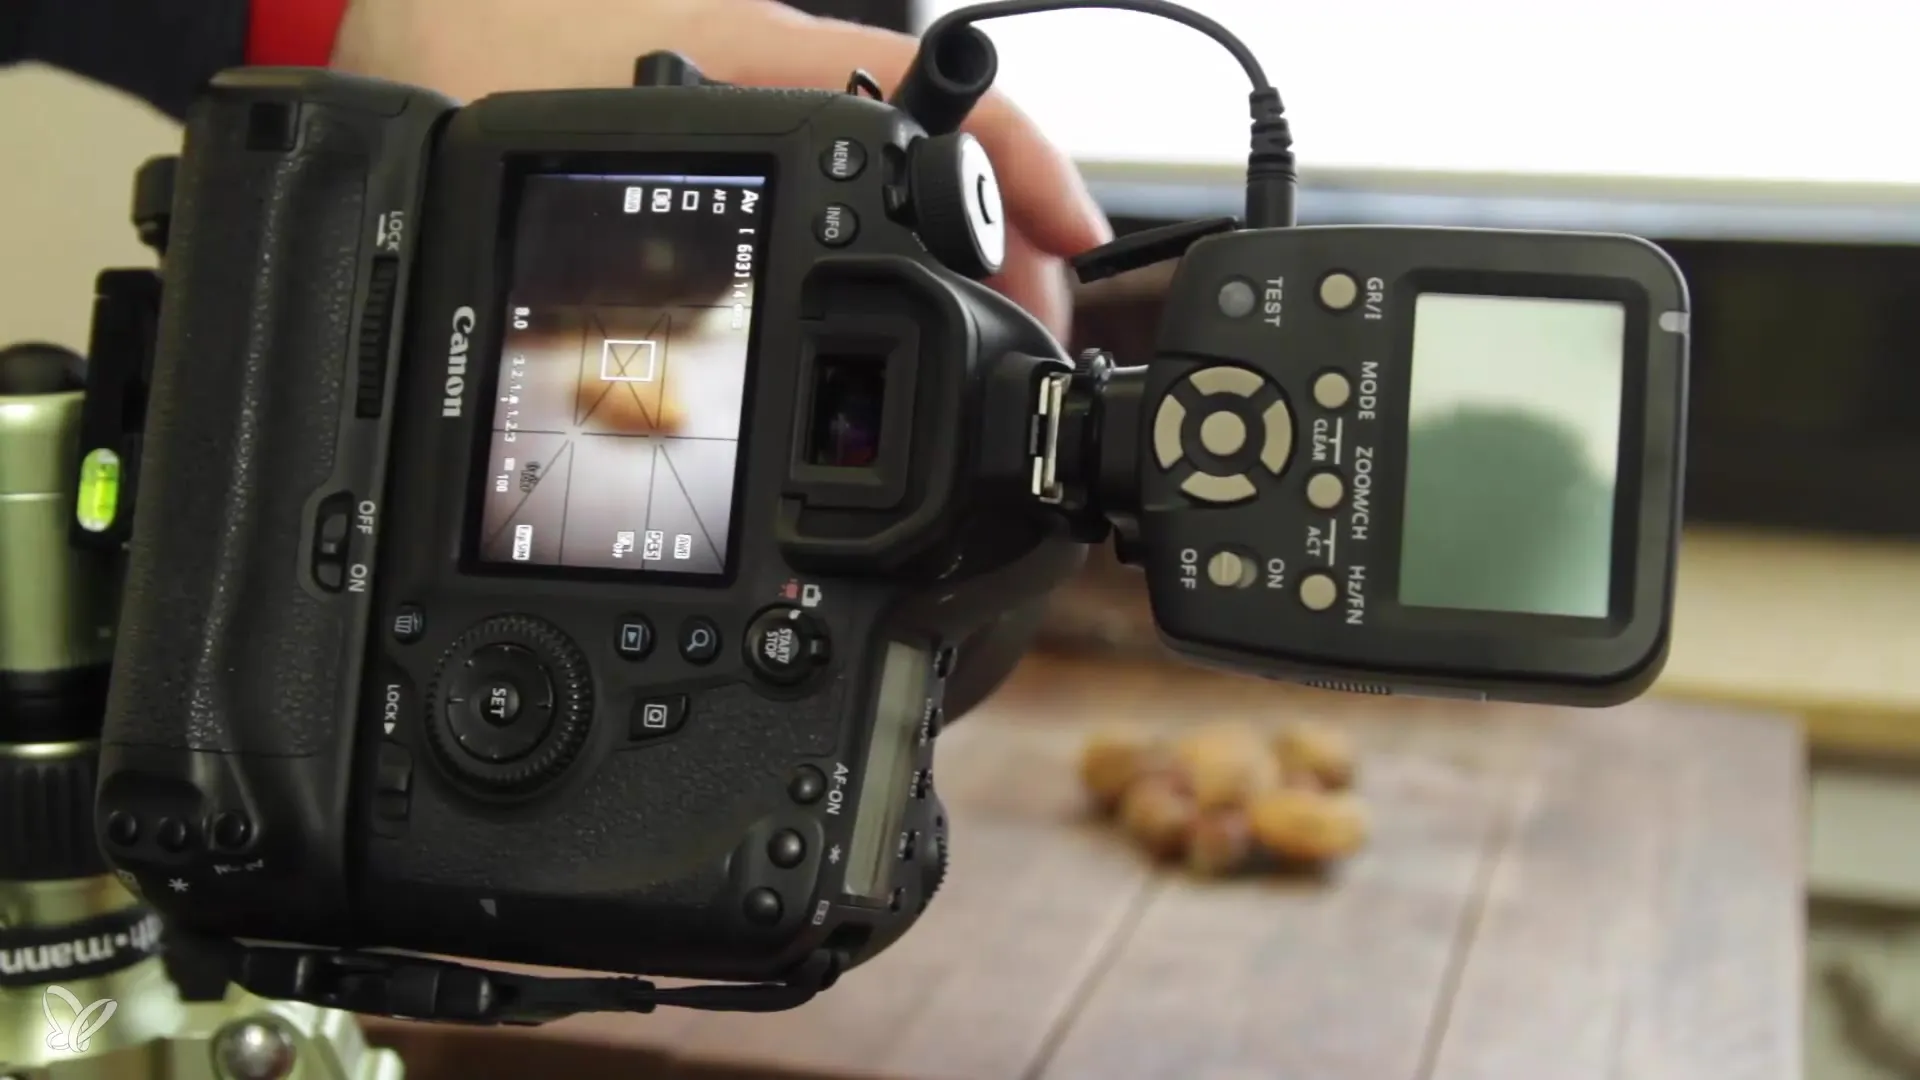
Now that you have set your location, surface, background, and perspective, it’s time to review the setup. What elements are still needed to achieve an appealing image? In the past, I have used nuts to add more dynamism to the image. Consider what props or ingredients you can include to enrich your picture.
Also, fill the image nicely. Your dishes should be the main focus of the image, but smaller items in the frame can help guide the viewer’s eye and tell a story.
6. Preparing the equipment
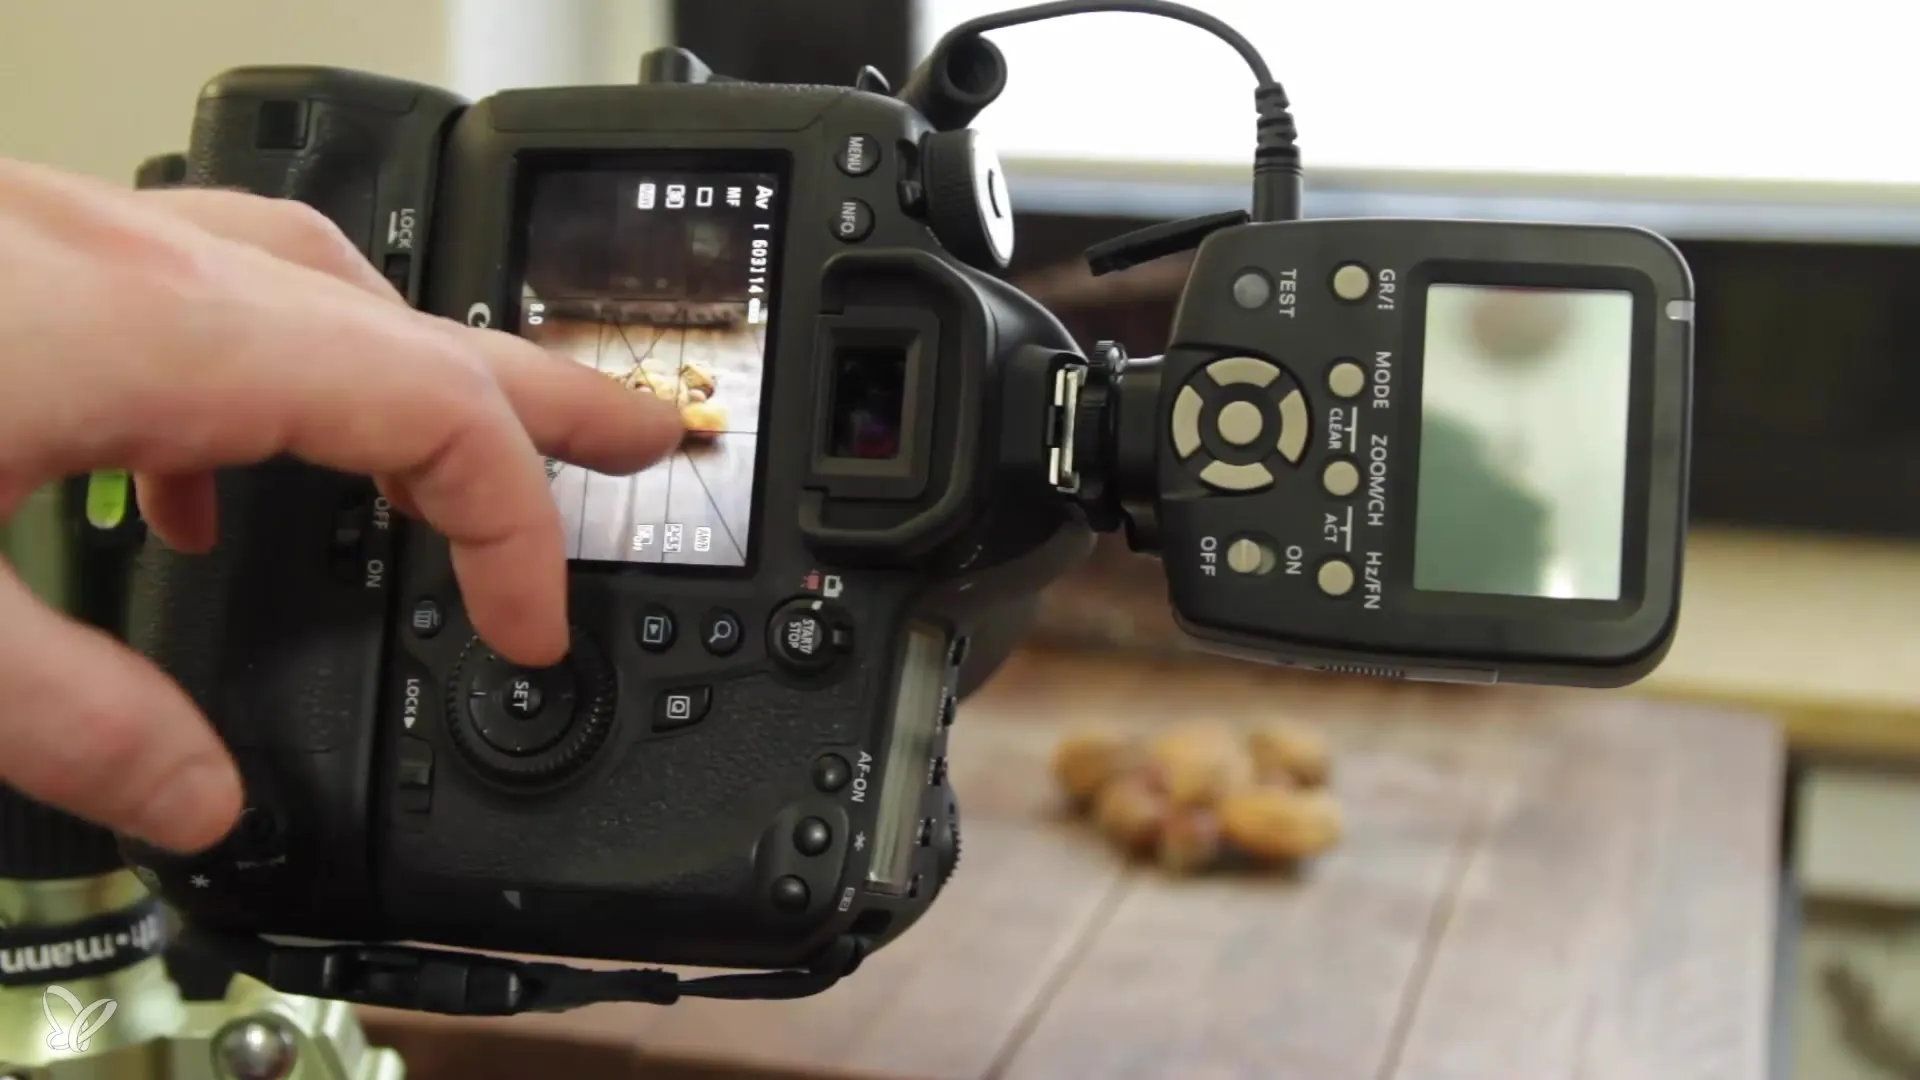
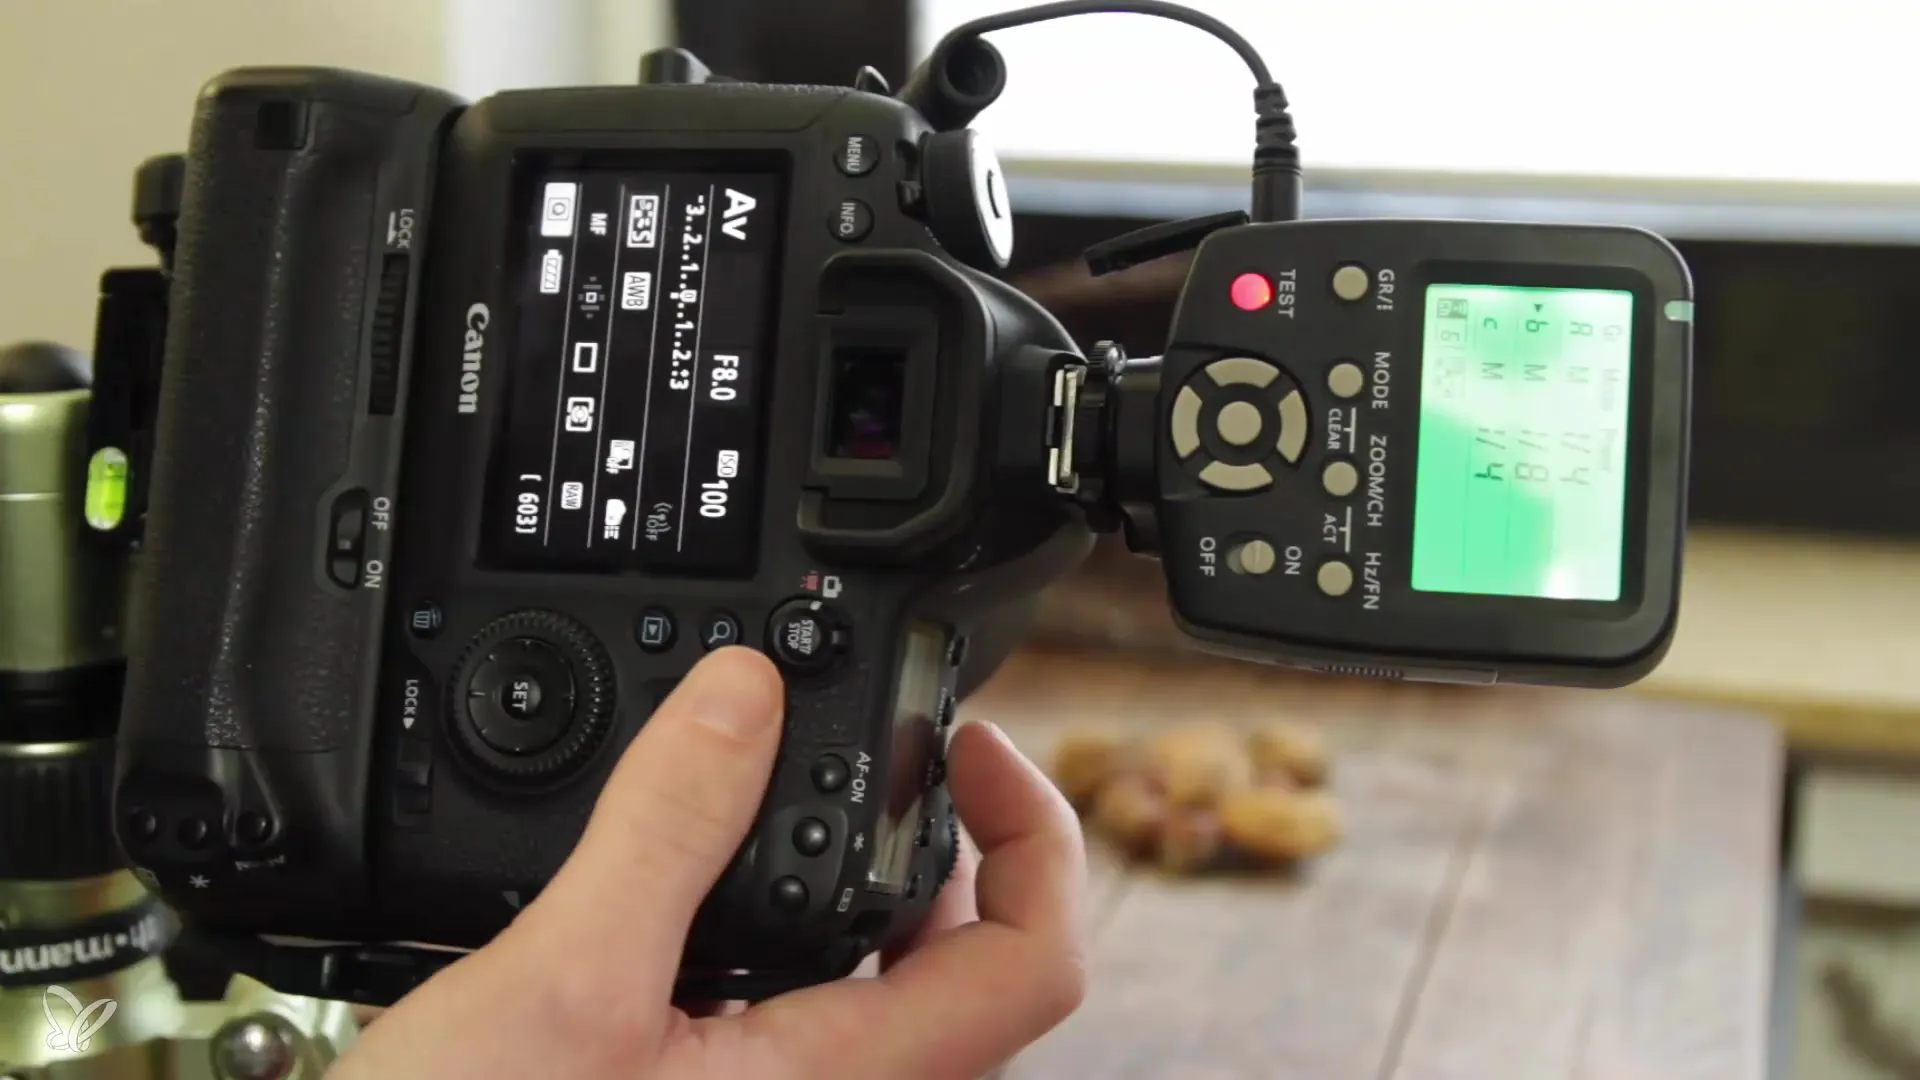
After you have set your setup, it's time for the technical implementation. Set your camera so that the white balance is optimally adjusted and focus on the main subject. I usually work in Av mode and ensure that the ISO values remain as low as possible.
Use manual focusing and adjust the aperture to best suit the depth of field. The best aperture values often range between 5.6 and 8 to ensure a soft background.
7. Test shots and fine-tuning
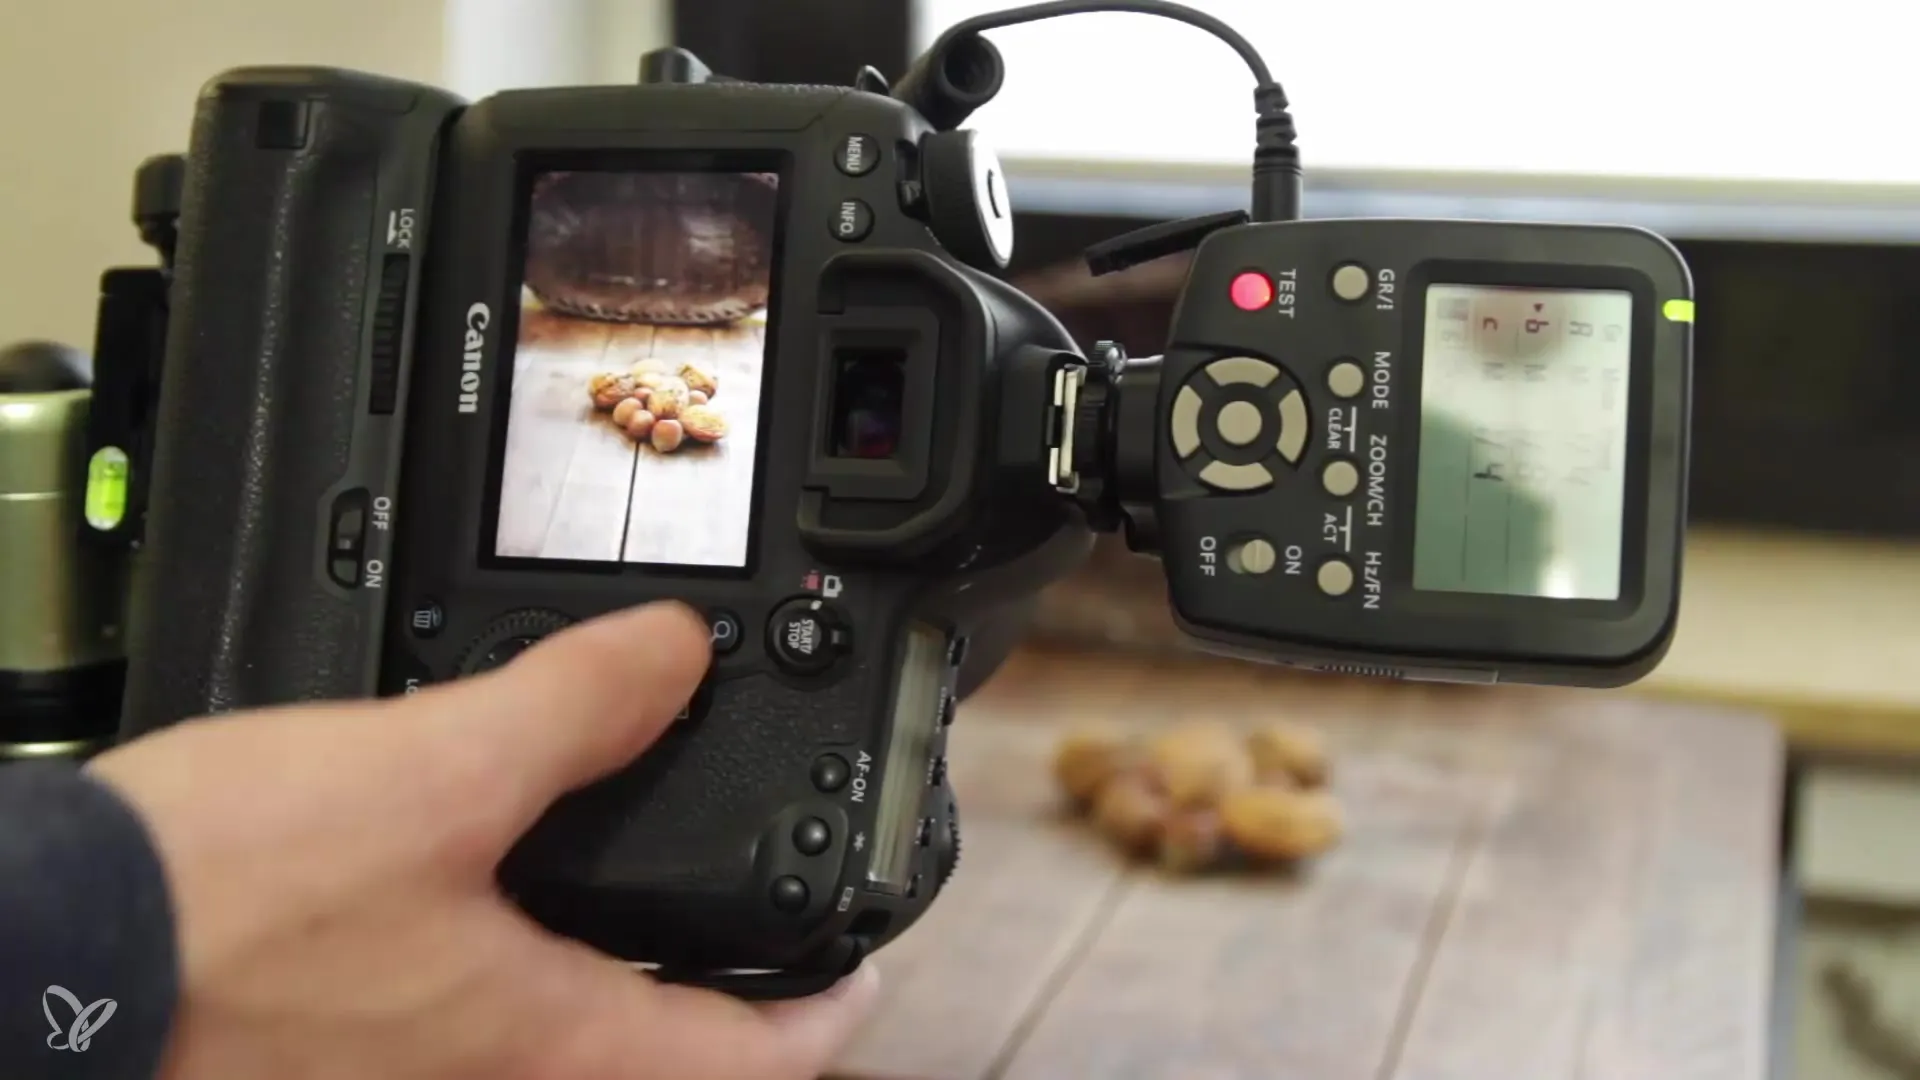
Before you take the final image, take a series of test shots to check the aperture and perspective. Experiment with different aperture values and observe how the texture of the background and the surface appear. Refine the crop based on the test results.
I tend to take at least two test shots to see how the composition looks. Ensure that the different elements work harmoniously together, and adjust the setup if necessary.
Summary – Food Photography: Choosing location, surface, background & perspective correctly
To create impressive food photos, the right preparation is essential. Pay careful attention to the location, surface, background, and perspective. Use the steps outlined as a guide to enhance your skills in food photography and produce stunning images.
Frequently asked questions
How do I choose the best location for my food photography?Choose a place with enough natural light, ideally near a window.
What are the best materials for a surface?Wood is often a good choice as it offers structure and texture, but stone or textiles can also be interesting.
How important is perspective in food photography?Perspective is crucial for highlighting the textures, colors, and details of your dishes.
How can I soften the light?Use diffusers like white curtains or external reflectors to make the light softer.
What camera settings are optimal for food photography?Low ISO values and manual focusing at aperture values between 5.6 and 8 are recommended.
