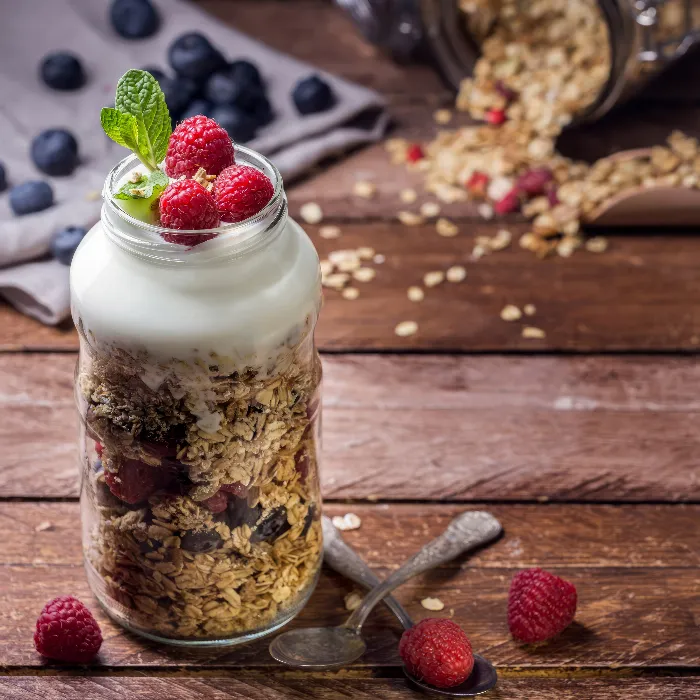
Food photography is not just a craft, but also an art form. The composition of an image determines how the viewer perceives the subject and how the overall impression comes across. In this guide, I will show you how to create an appealing composition using decoration elements and ingredients. The key lies in working with light and carefully placing each element of the image.
Key insights
- Use Live View to see your composition directly
- Start with the background and then build up the main elements
- Pay attention to negative space to allow room for text and other elements
- Focus on realism and small details for an authentic representation
Step-by-Step Guide
Step 1: Plan the Composition
Start by thinking about how the final image should look. Use your smartphone or a piece of paper to jot down ideas and inspirations. It's important to know which elements your image should contain.
Step 2: Set the Perspective
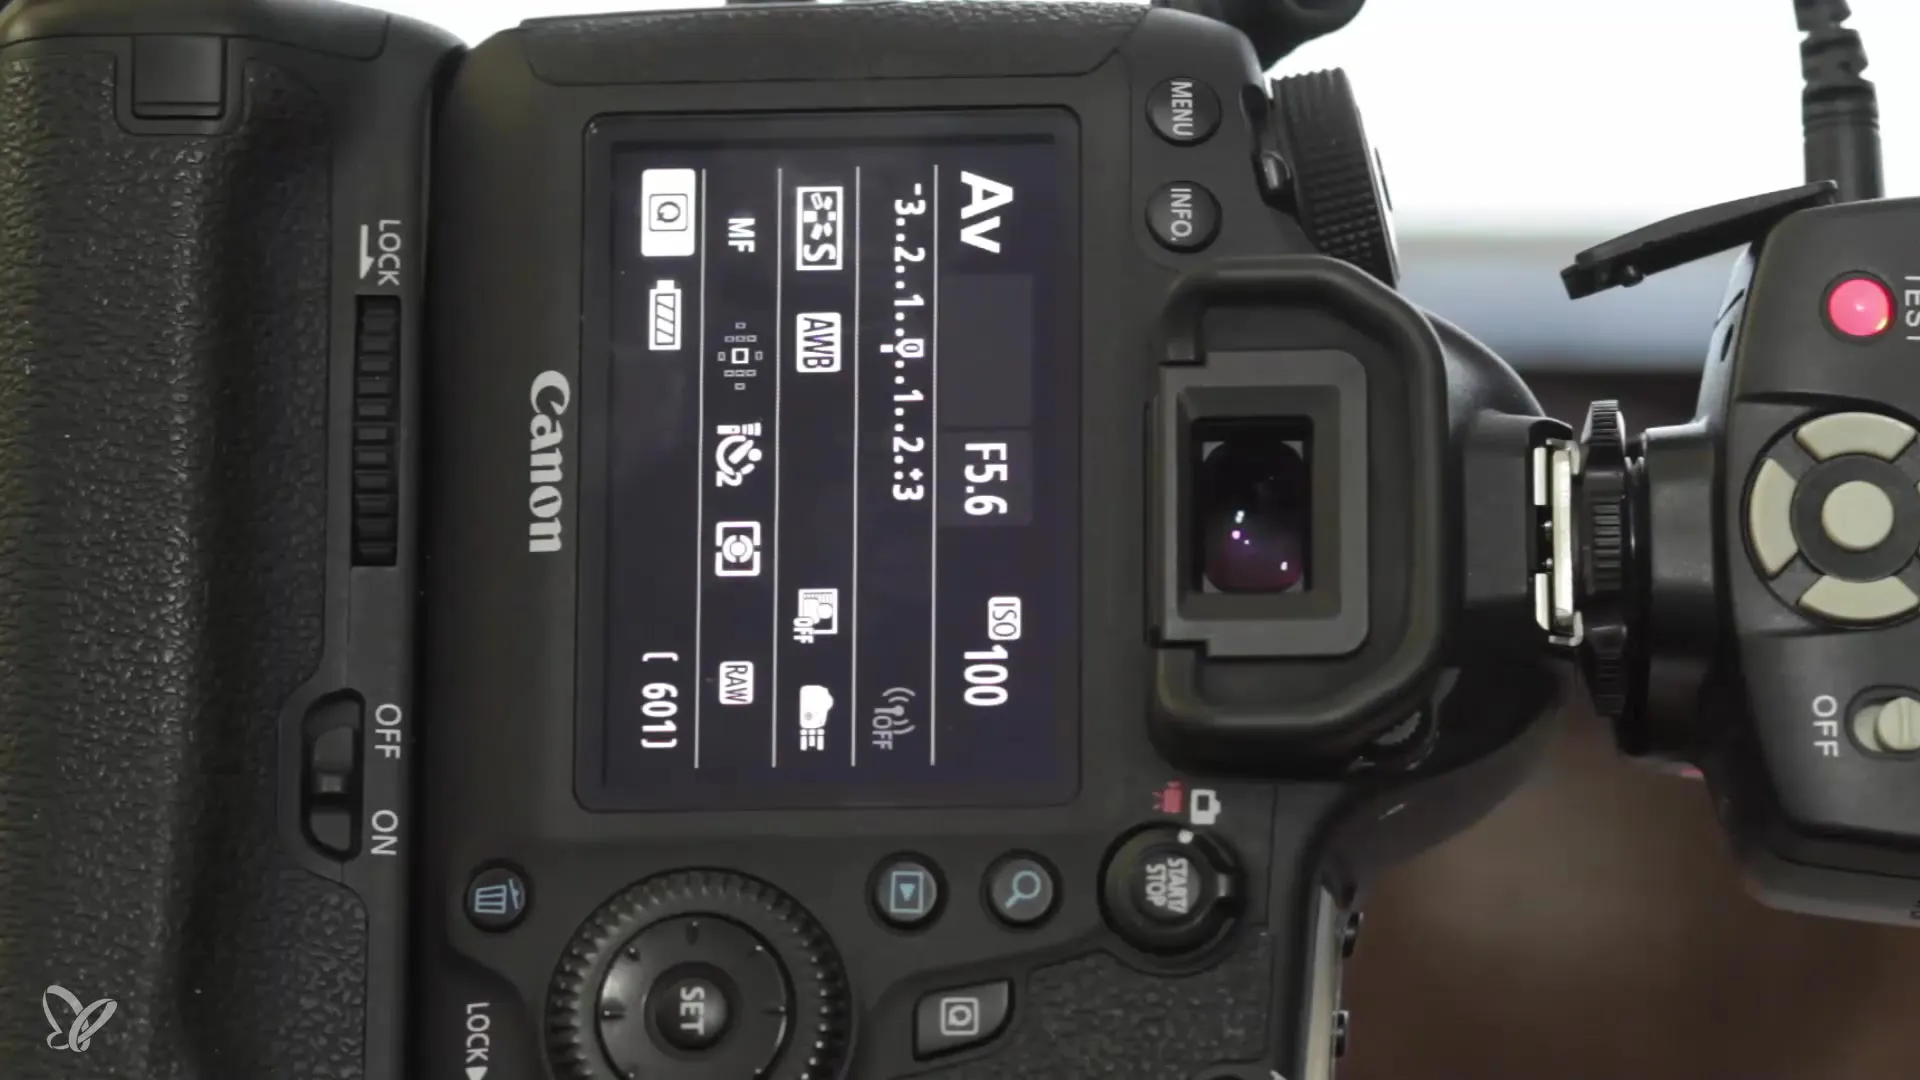
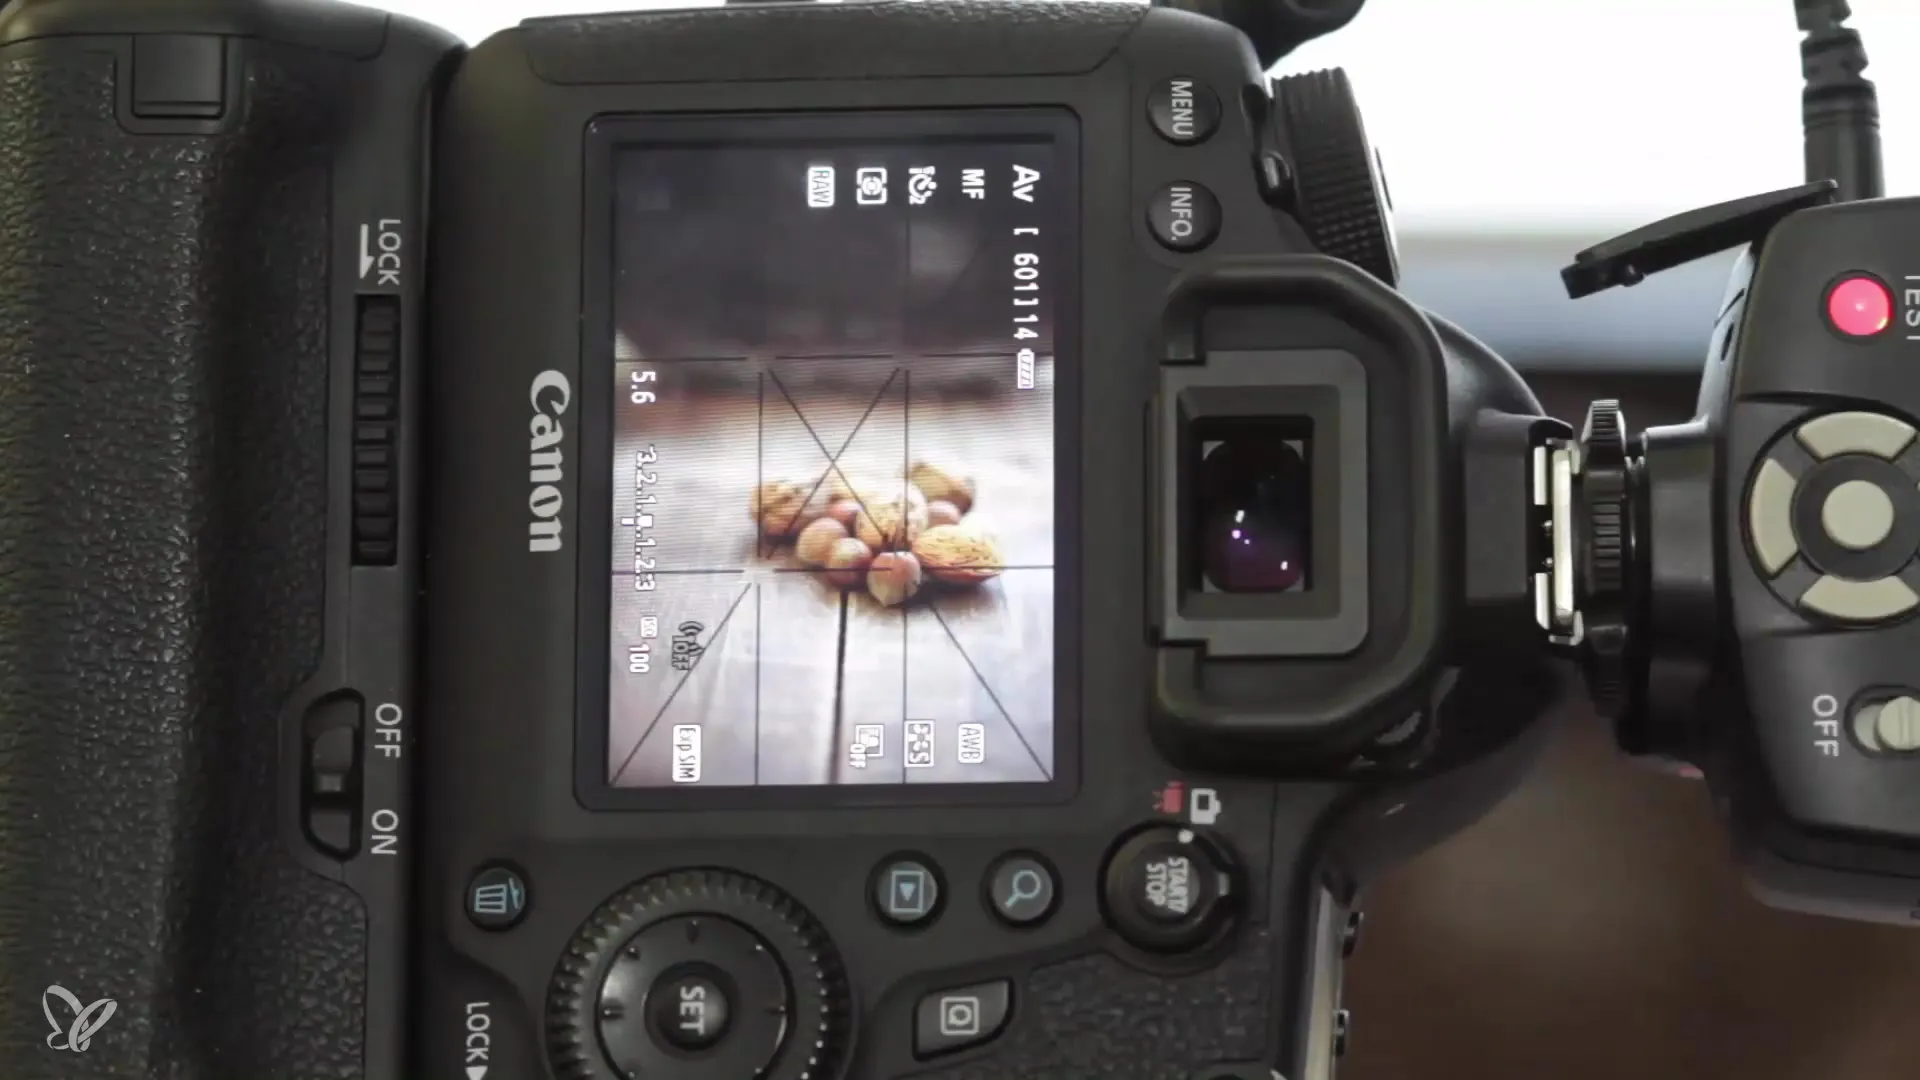
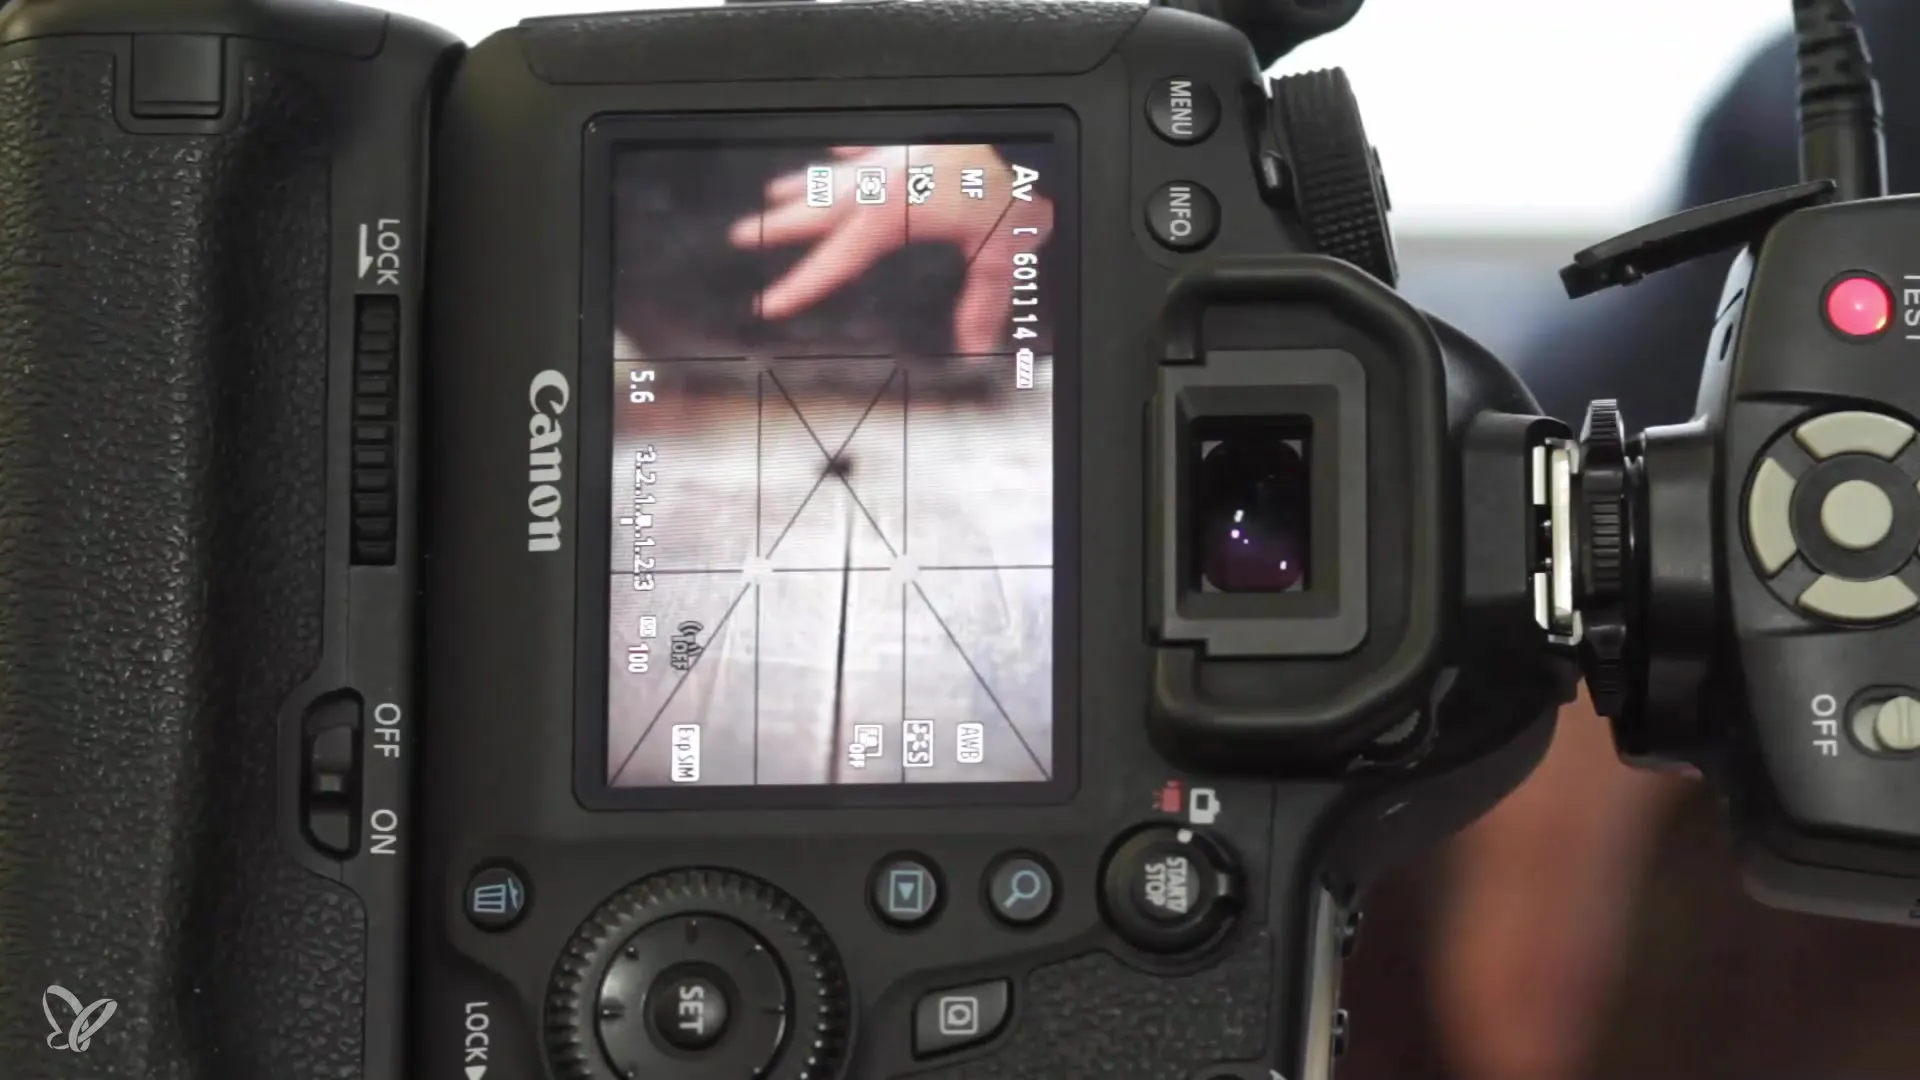
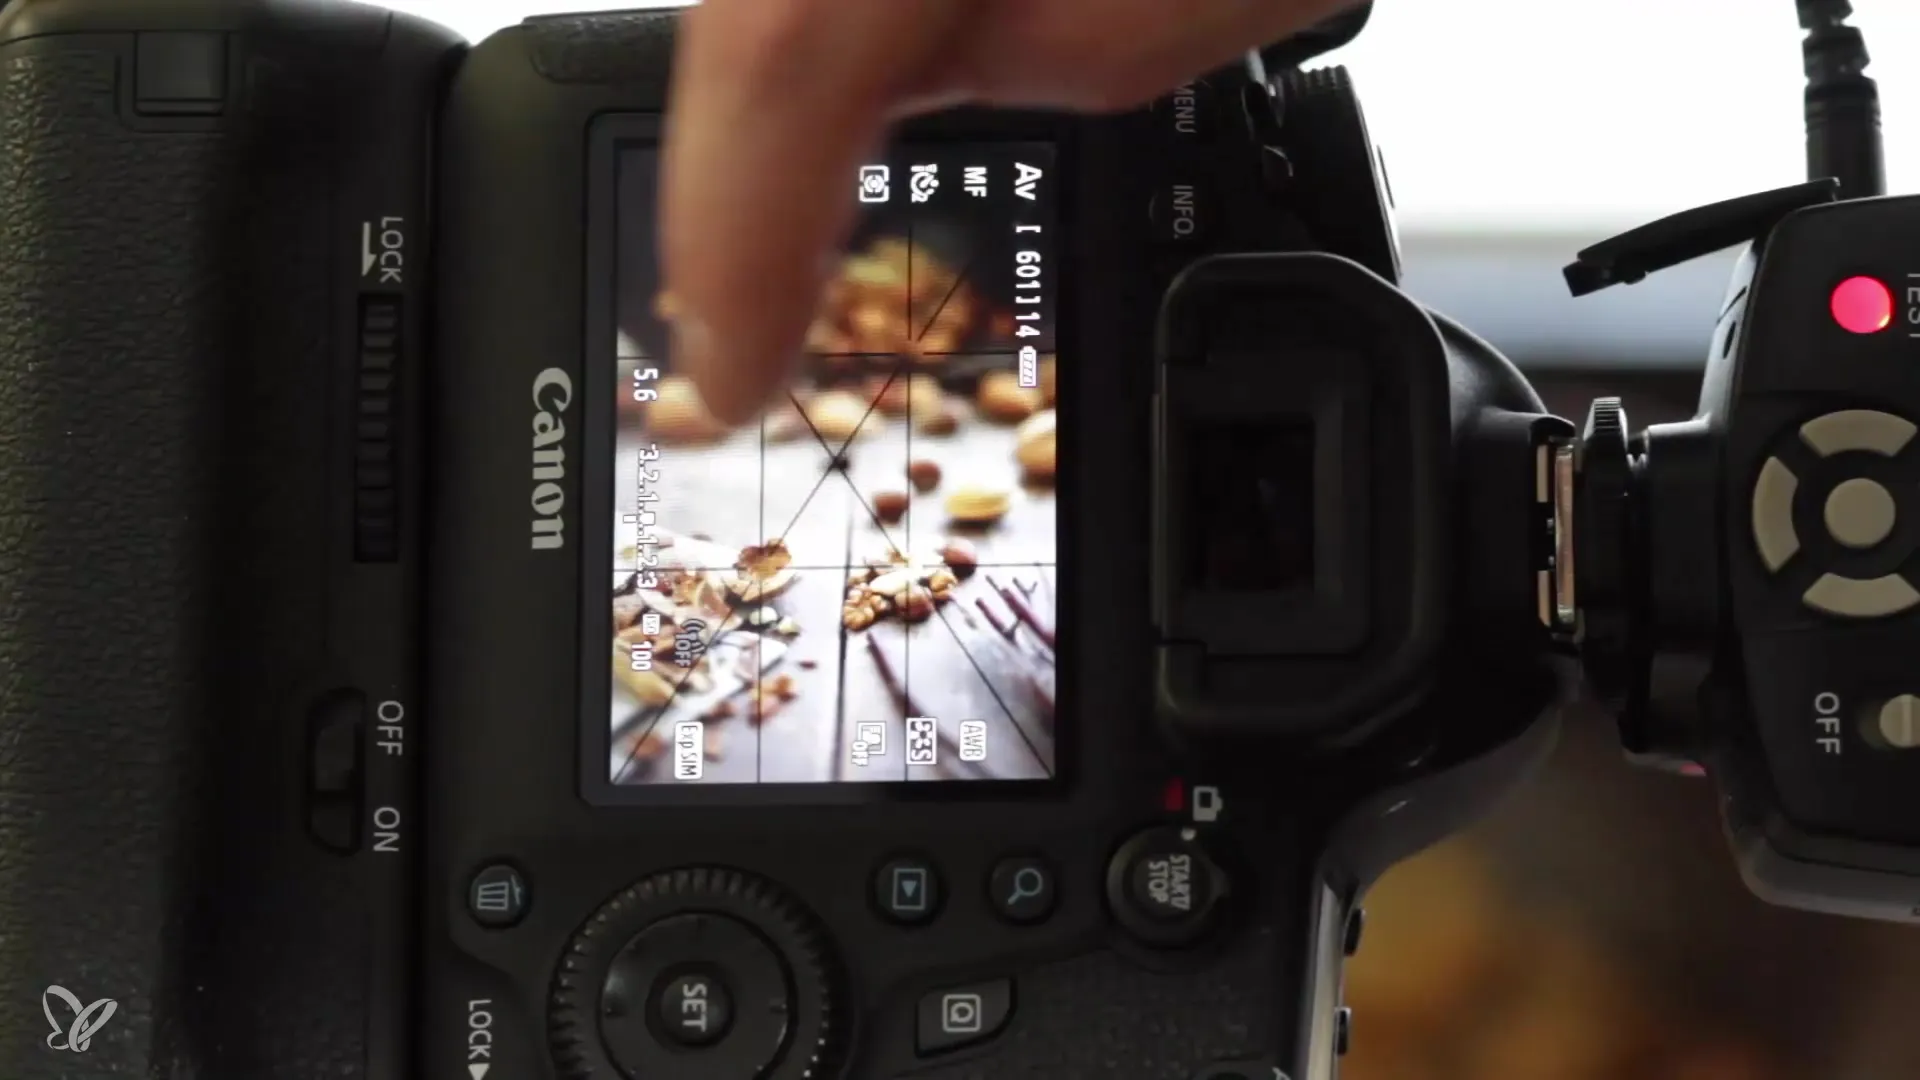
Make sure you have the camera in a position that gives you a clear view of the subject. Use your camera's Live View to see the framing in real time and make adjustments as you set up the subject.
Step 3: Start with the Background
First, choose your background element and place it. In this case, you can start with a basket, fill it with a decent amount of nuts, and let a few nuts fall out. This creates a natural impression and enhances the atmosphere of the image.
Step 4: Establish the Frame of the Image
Think about what format you want to capture the image in. Portrait orientation often works better for sales since many magazines operate in this format. This allows negative space for titles and texts without dominating the image.
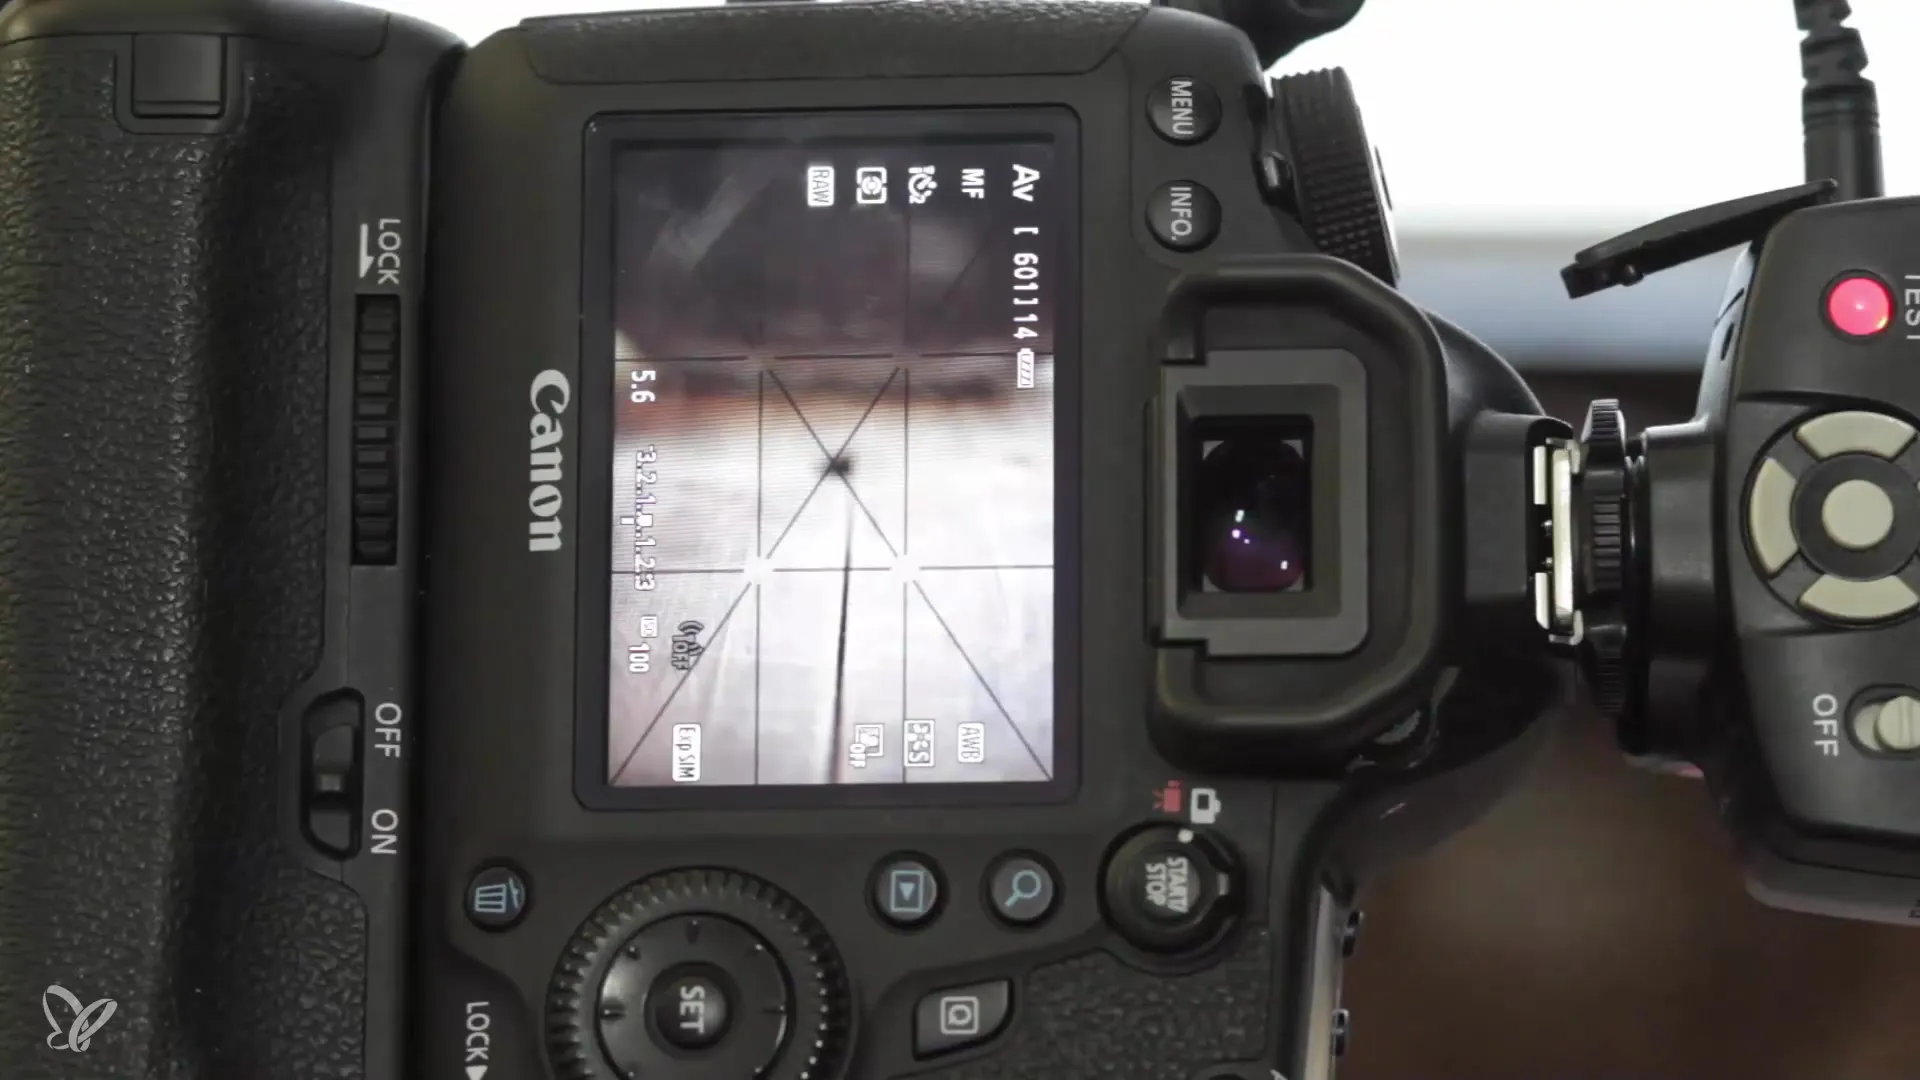
Step 5: Build Up the Main Elements
Then, start placing the main objects such as nuts and decoration elements. Position them to create an organic and authentic arrangement. Let a few nuts fall out to give the impression that they have spilled out of the basket.
Step 6: Design the Focal Point
Design the focal point of your composition by arranging nuts and other elements to attract the viewer's attention. Light-colored nuts should be placed in the center to draw the eye.
Step 7: Optimize the Background
Make sure your background doesn't appear too busy. If you have a nut that draws too much attention, such as a peanut, place it further back or in a position that does not obscure the main focus.
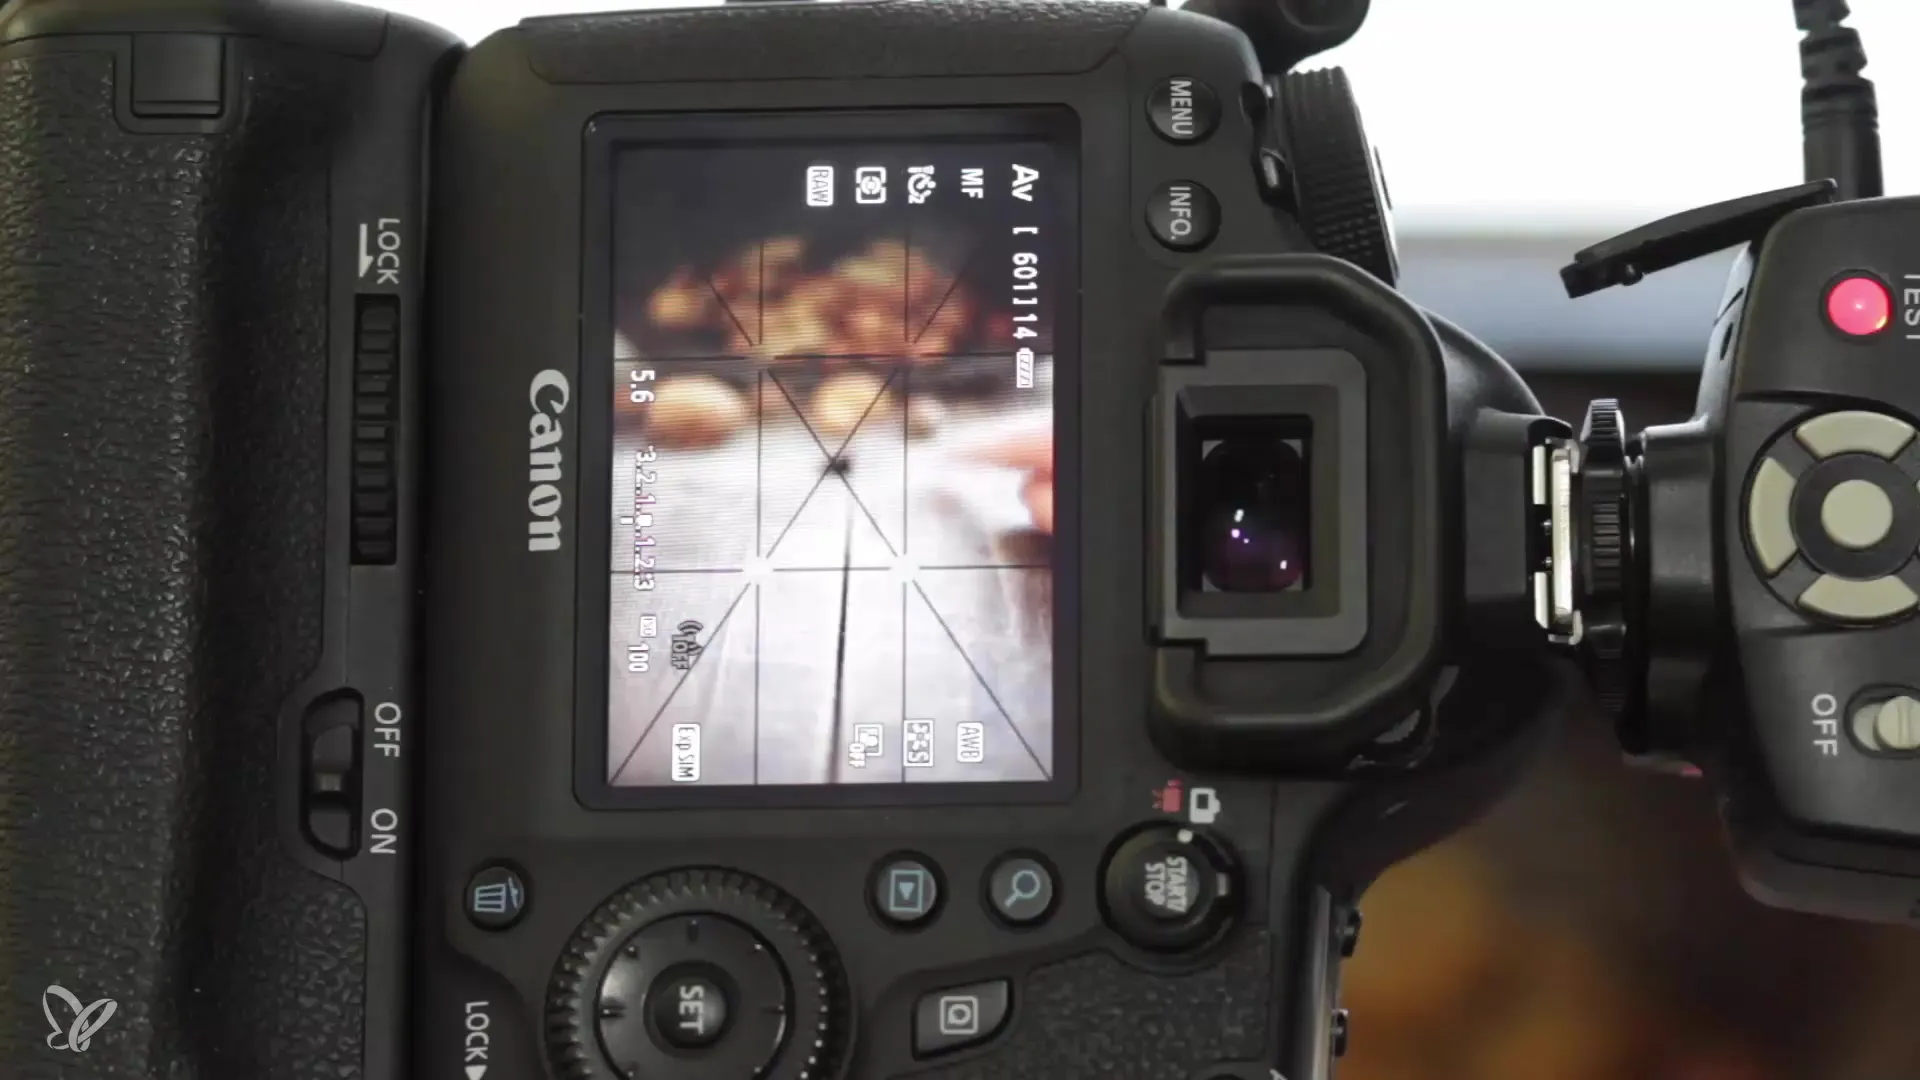
Step 8: Add Complementary Details
Now add small details like nut shells and crumbs. These elements give the image a realistic and dynamic character. Be sure to place them strategically to liven up the overall picture.
Step 9: Add Textures
To enhance the image further, you can add a linen cloth or another texture. This creates an additional dimension and draws the viewer's eye into the image.
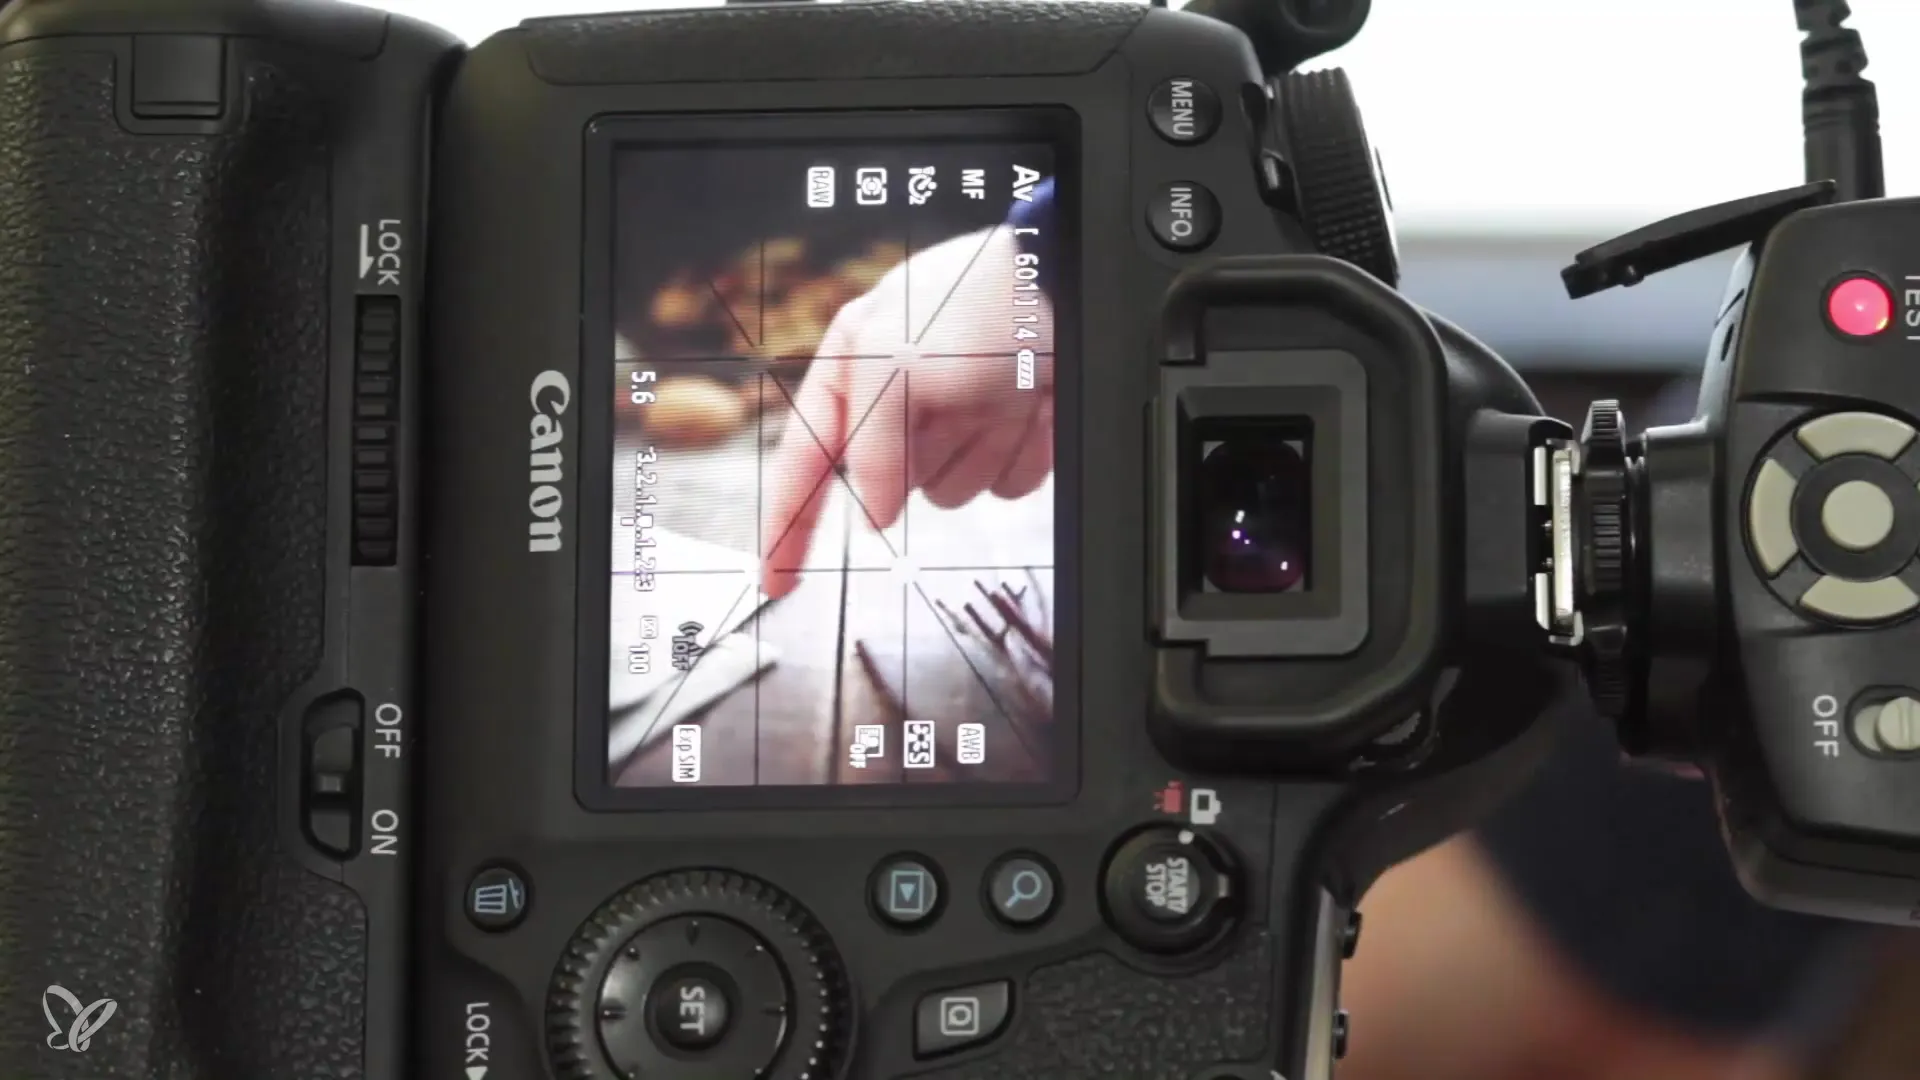
Step 10: Final Adjustments of the Composition
Now review the entire composition. Ensure that everything looks harmonious and that the transitions between the different image elements are smooth. Make the final adjustments and be ready to capture the image.
Summary – Food Photography: Composition for the Perfect Image
The composition in food photography is crucial for the perception of the image. By building from back to front and paying attention to details, you can create an atmospheric ambiance. Don’t forget to play with light and regularly check your arrangements.
Frequently Asked Questions
How important is the background in food photography?The background ensures that the main subject stands out and influences the mood of the image.
What to do if an element draws too much attention?Place it further back or at another location to maintain balance in the image.
How can I make the image more vibrant?Add authentic details like crumbs or nut shells to set realistic accents.
Why should I choose portrait orientation?Portrait orientation is often better for sales since many print media work in this format.
How important is Live View for composition?Live View allows you to see the composition in real time and make immediate adjustments.
