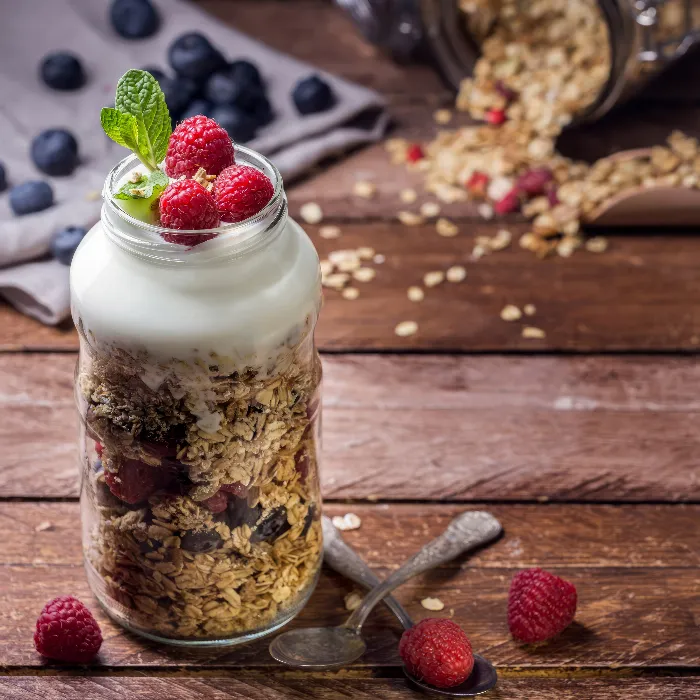
Light is the be-all and end-all in photography, especially when it comes to food photography. The right lighting setup has a significant impact on the aesthetic of the images. Often, flash is relied upon, but that doesn’t always have to be the case. In this guide, I'll show you how to optimally direct the light using simple reflectors and flags to achieve the best results. With a little creativity and the right know-how, you can produce stunning images with natural light.
Key Findings
- The use of reflectors is simpler and more effective than using multiple flashes.
- Reflectors and flags can easily be made from craft foil and photo cardboard.
- Observing the lighting conditions and the correct placement of reflectors is crucial for image quality.
Step-by-Step Guide
The Ideal Lighting Setup with Reflectors
To brighten the back area of your setup, begin with a simple white reflector. Position it so that light from the softbox reflects onto the internal area, but not directly onto the glass. This ensures that you properly expose the critical shadow areas without causing distracting reflections.
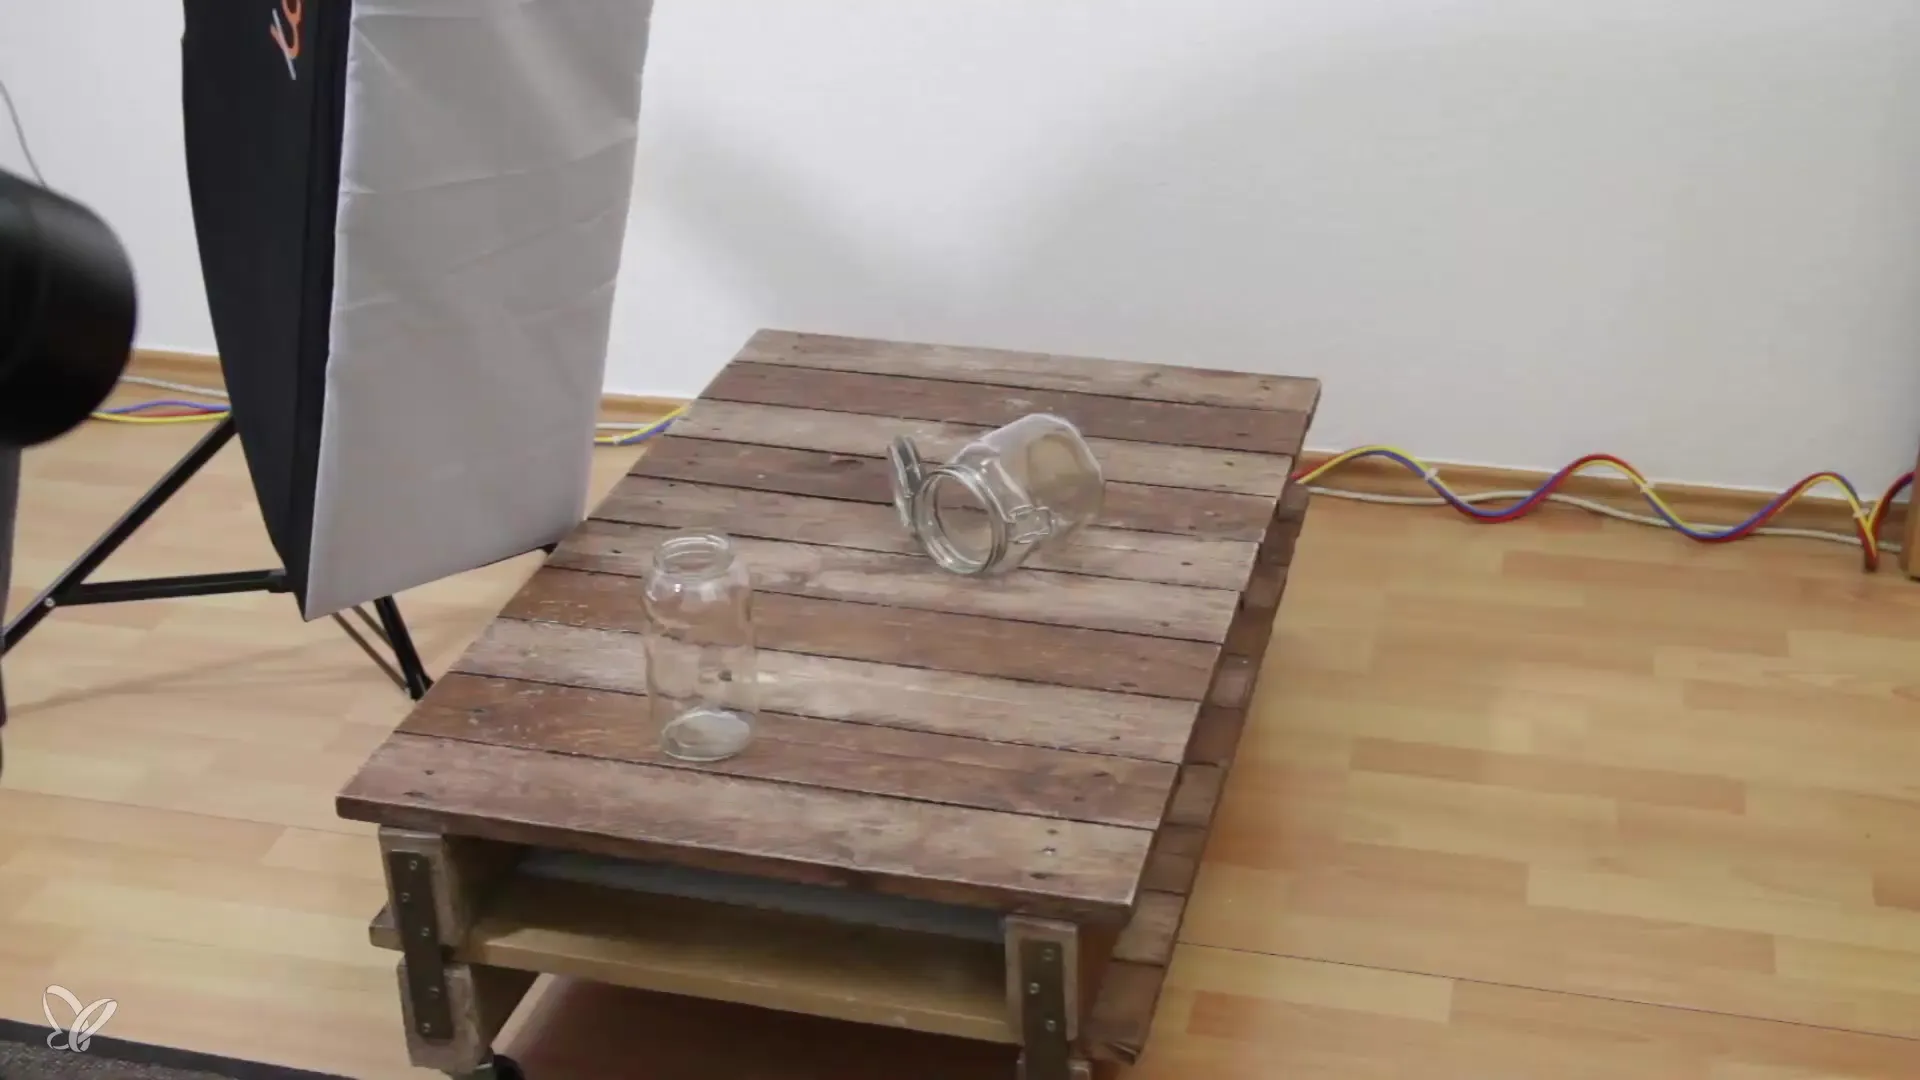
An alternative positioning would be to angle the reflector downward to focus the light. But be careful, as side lighting creates a nicer effect and leads to more contrast, which is especially important for food photography.
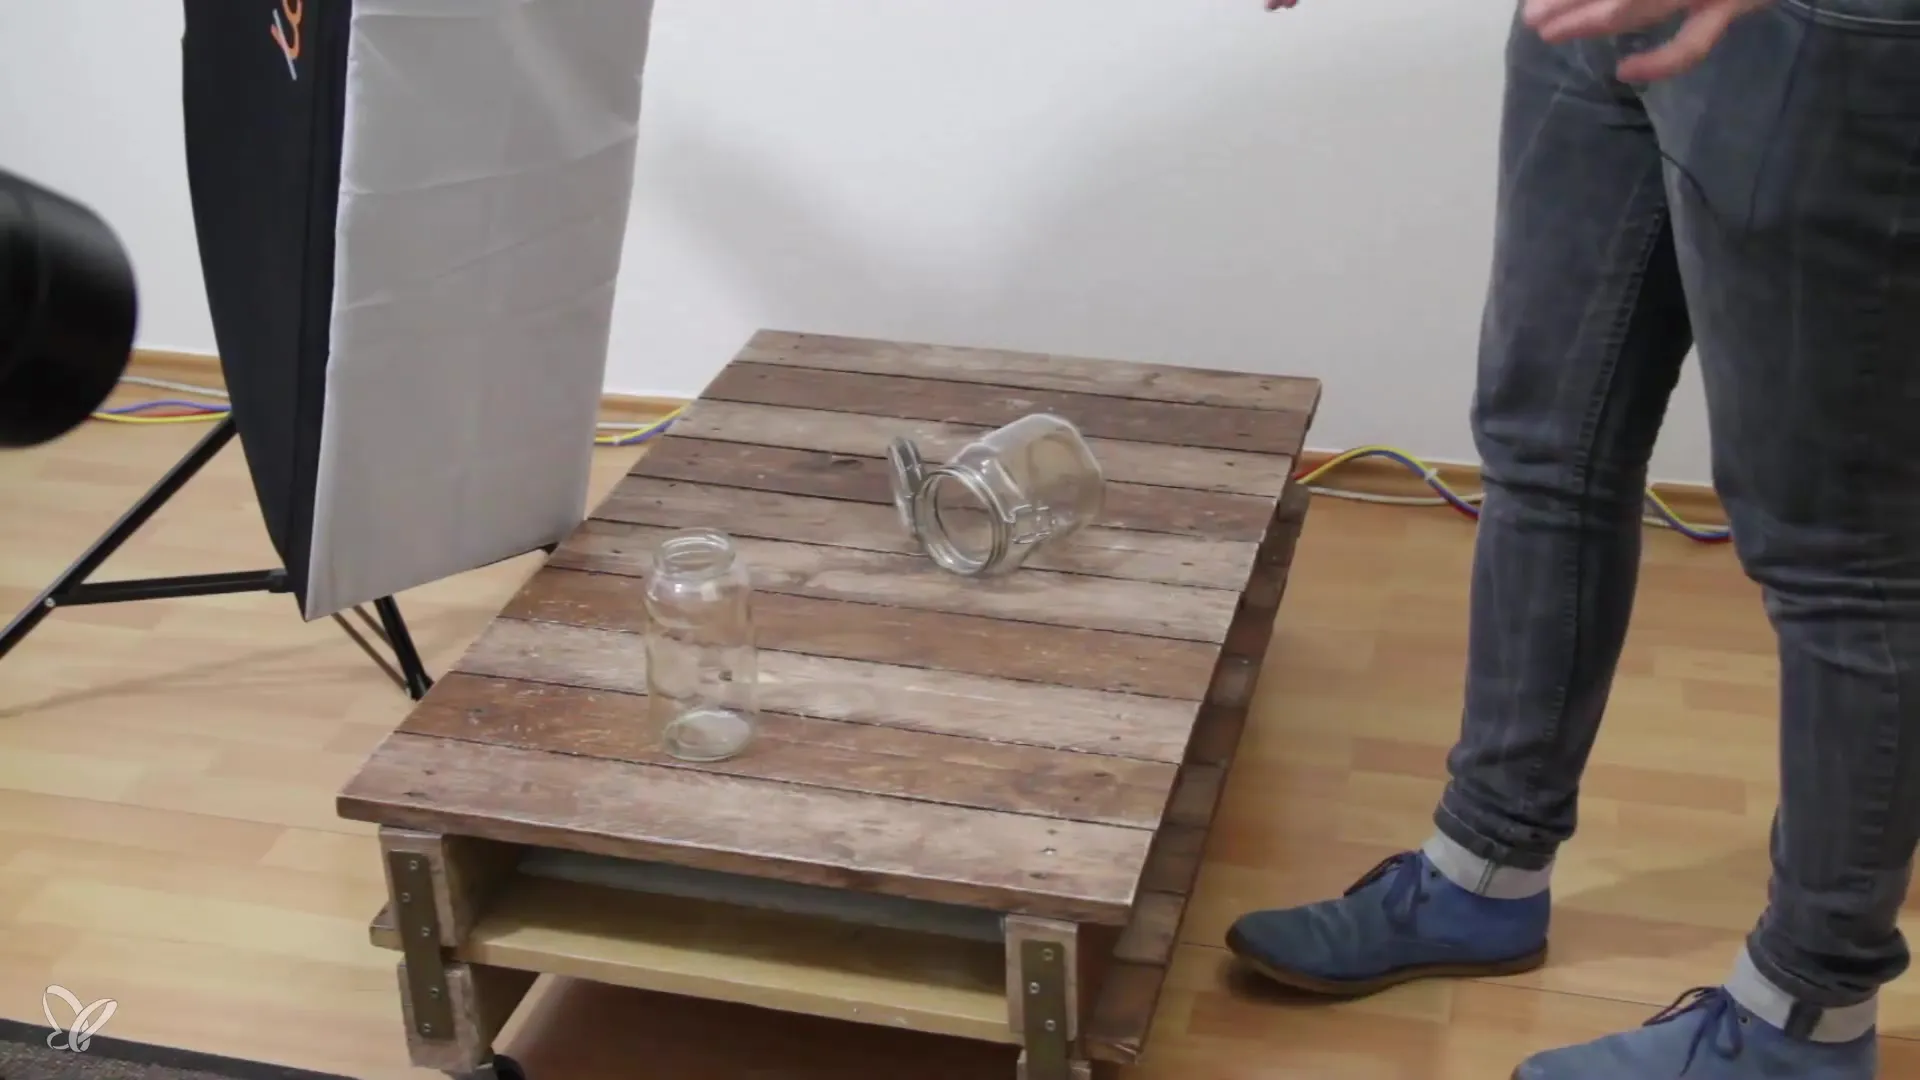
Using a Reflector Holder
To optimally position the reflector, a reflector holder is helpful. This can easily be mounted on a tripod. If you don’t have a reflector holder, you can also use multi-clamps or even an assistant to position the reflector. A stable mount improves the setup as it doesn’t allow for any movement variance.
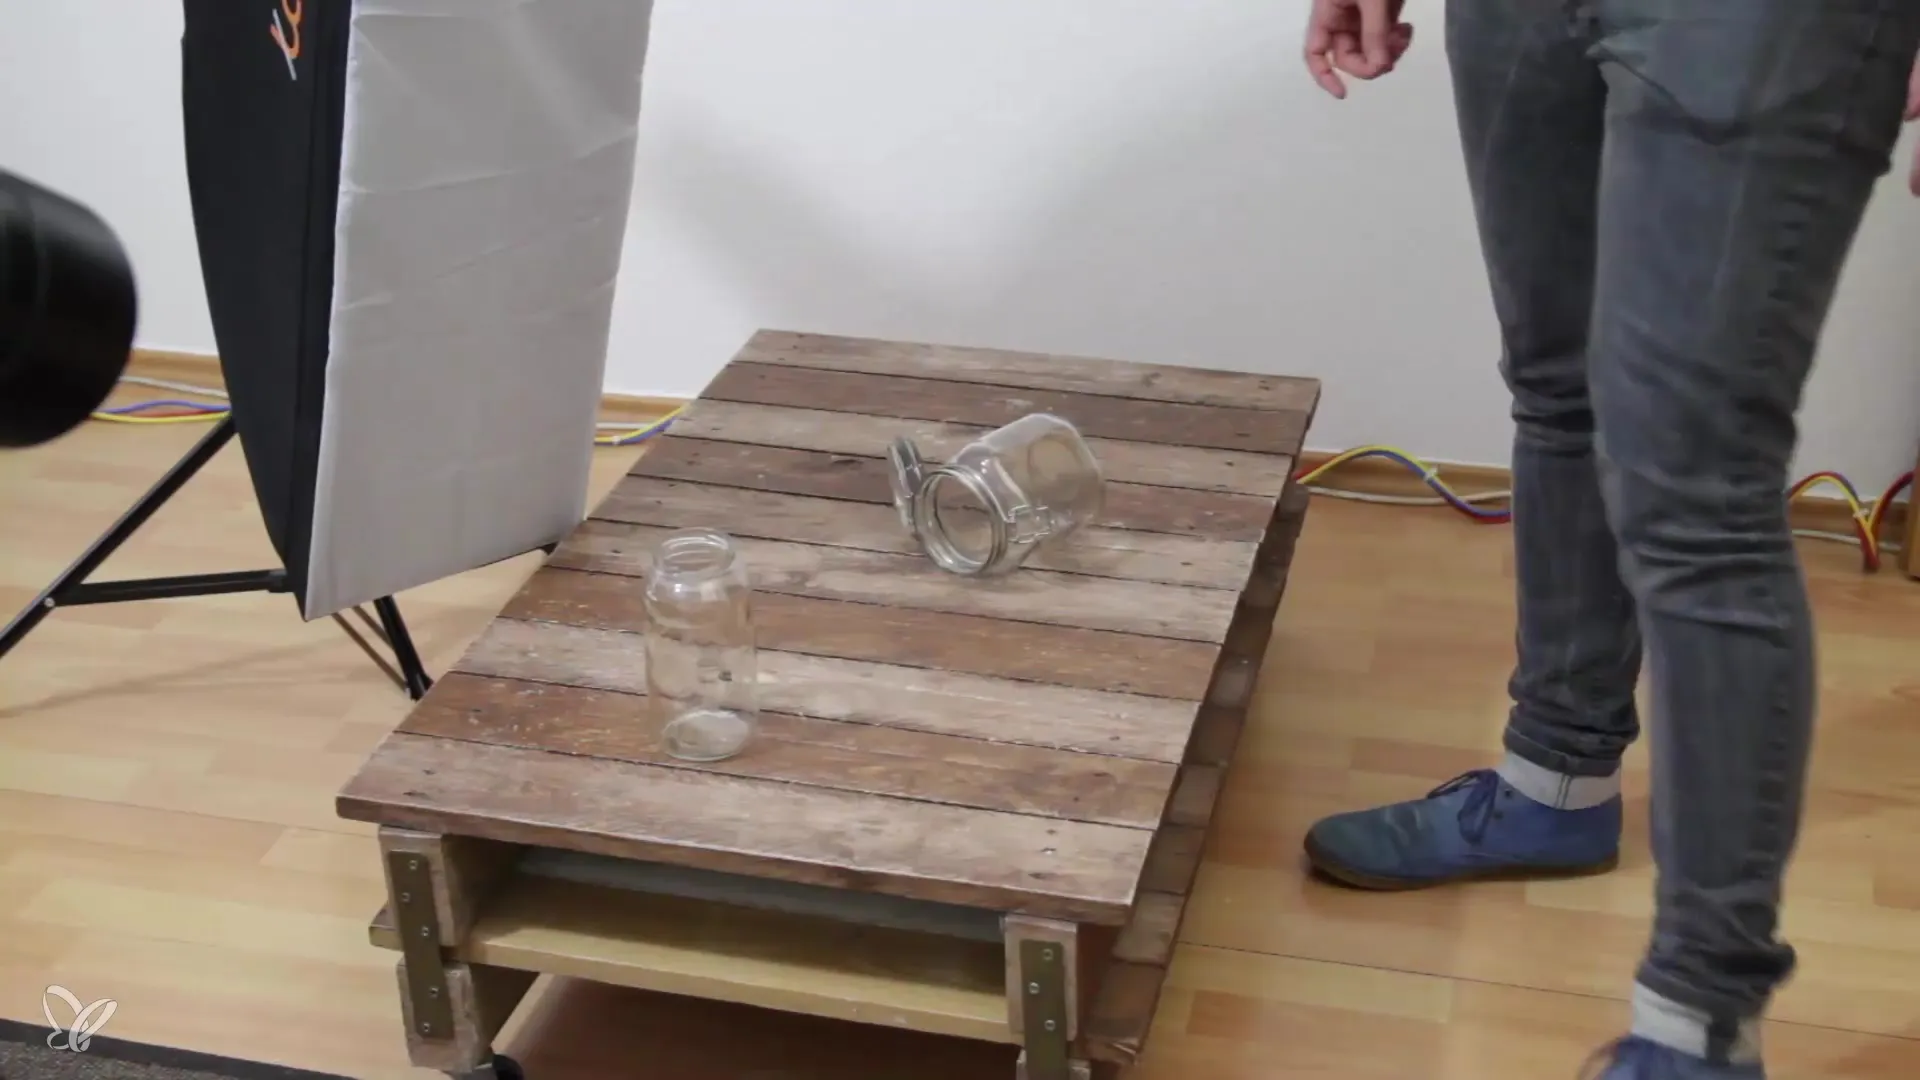
Test Shots for Fine-Tuning Lighting Conditions
After placing the reflector, you must take some test shots to determine if the angle and position are optimal. This can be somewhat time-consuming since you may have to run back and forth multiple times, but the result is worth it. Be sure to find the right balance between light and shadow.
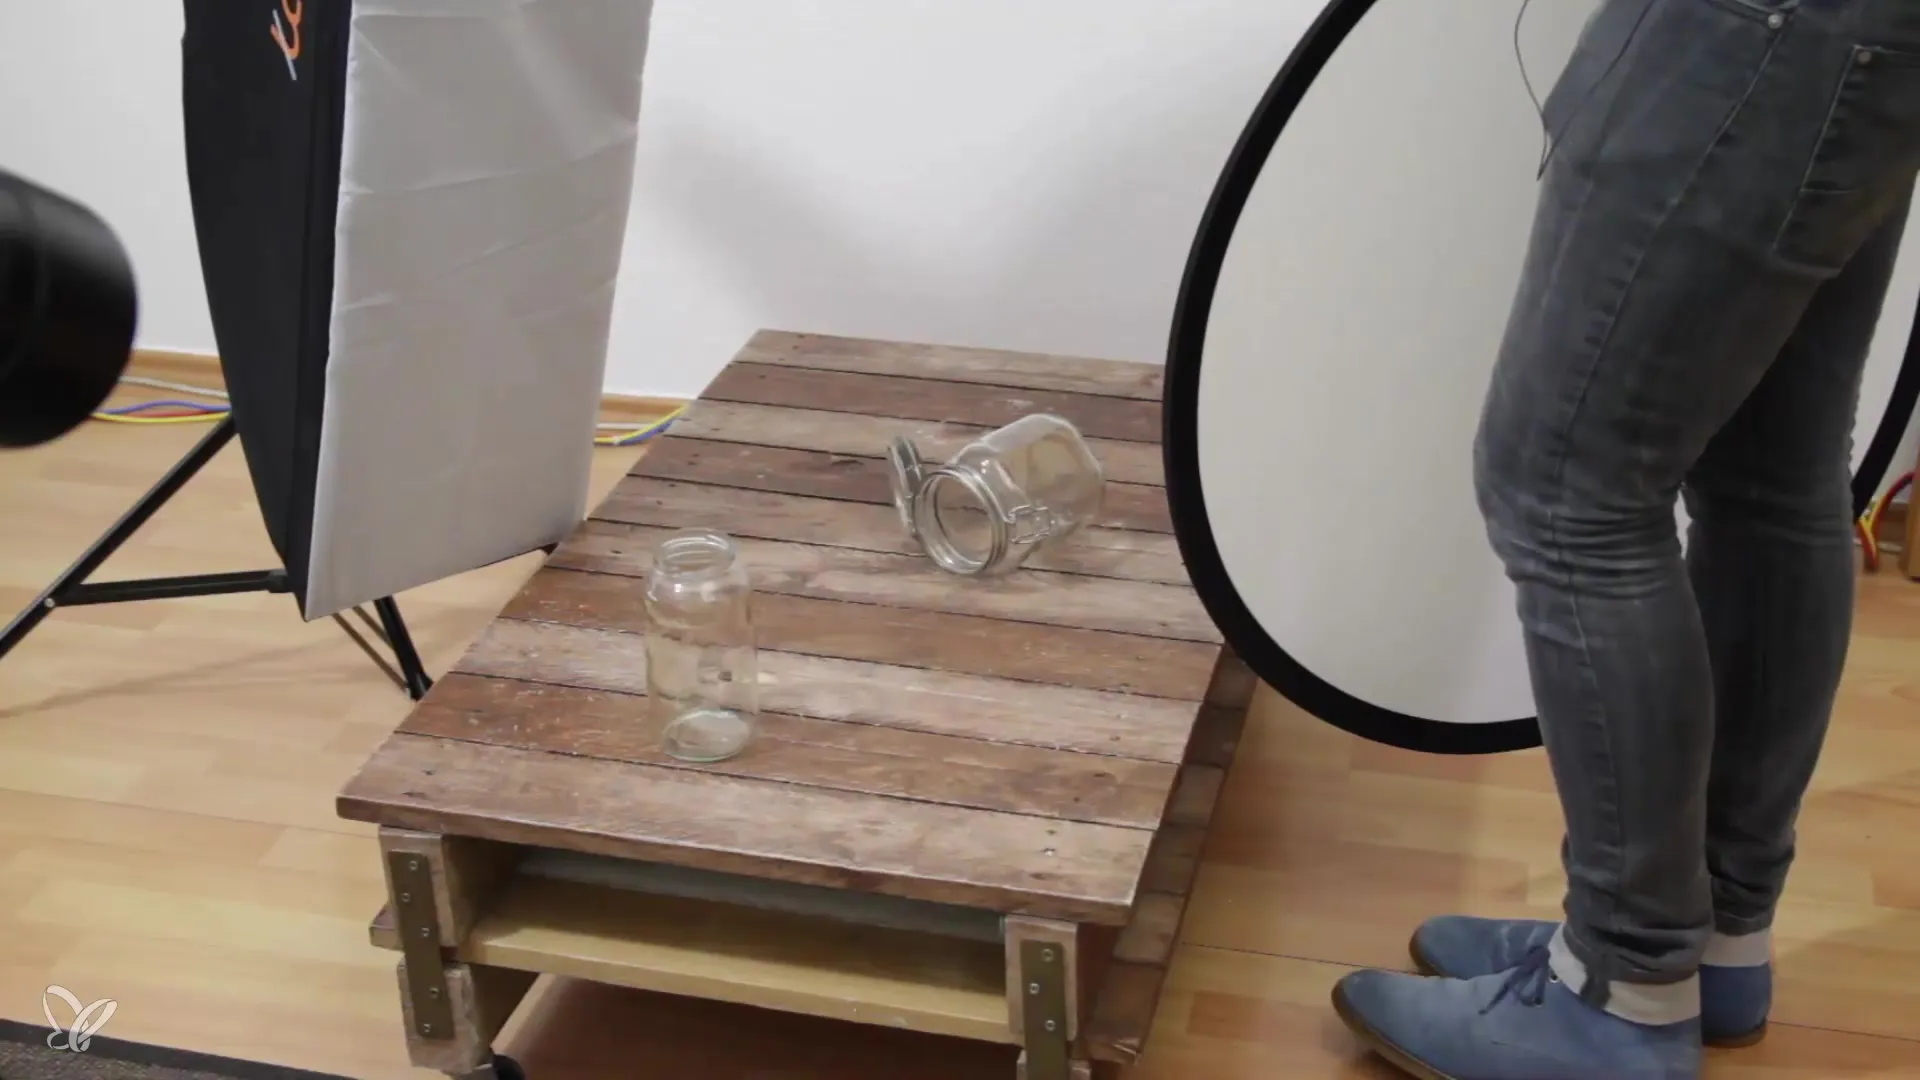
Maximizing Reflection with Optimal Material Choice
After taking some images, you may find that the reflector you used does not reflect enough light. For this, you can use special photo boards that are opaque and highly reflective on one side. Swap the first reflector for a stronger one to achieve better light distribution.
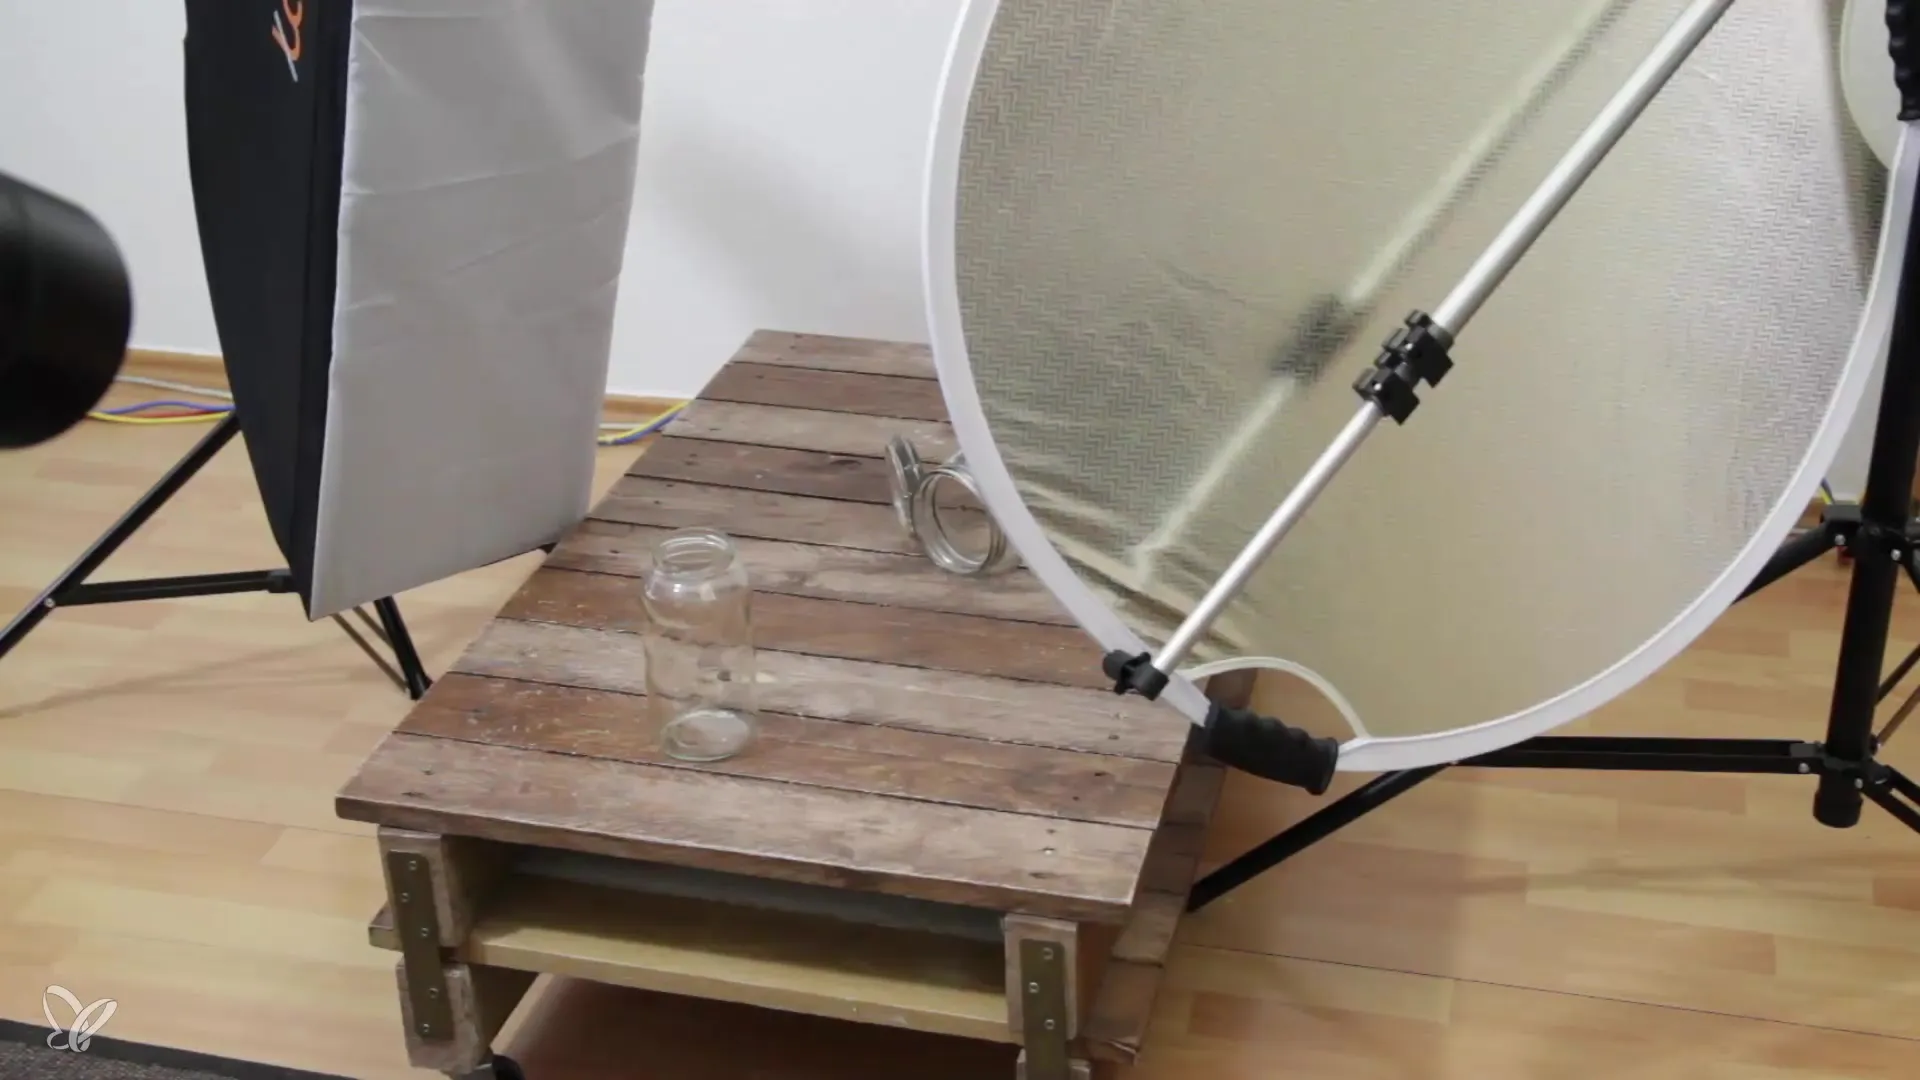
Working with Flags
To avoid unwanted reflections, use flags made of black cardboard. Position them so they block light from a certain side. This allows you to control reflections in the glass without losing overall brightness.
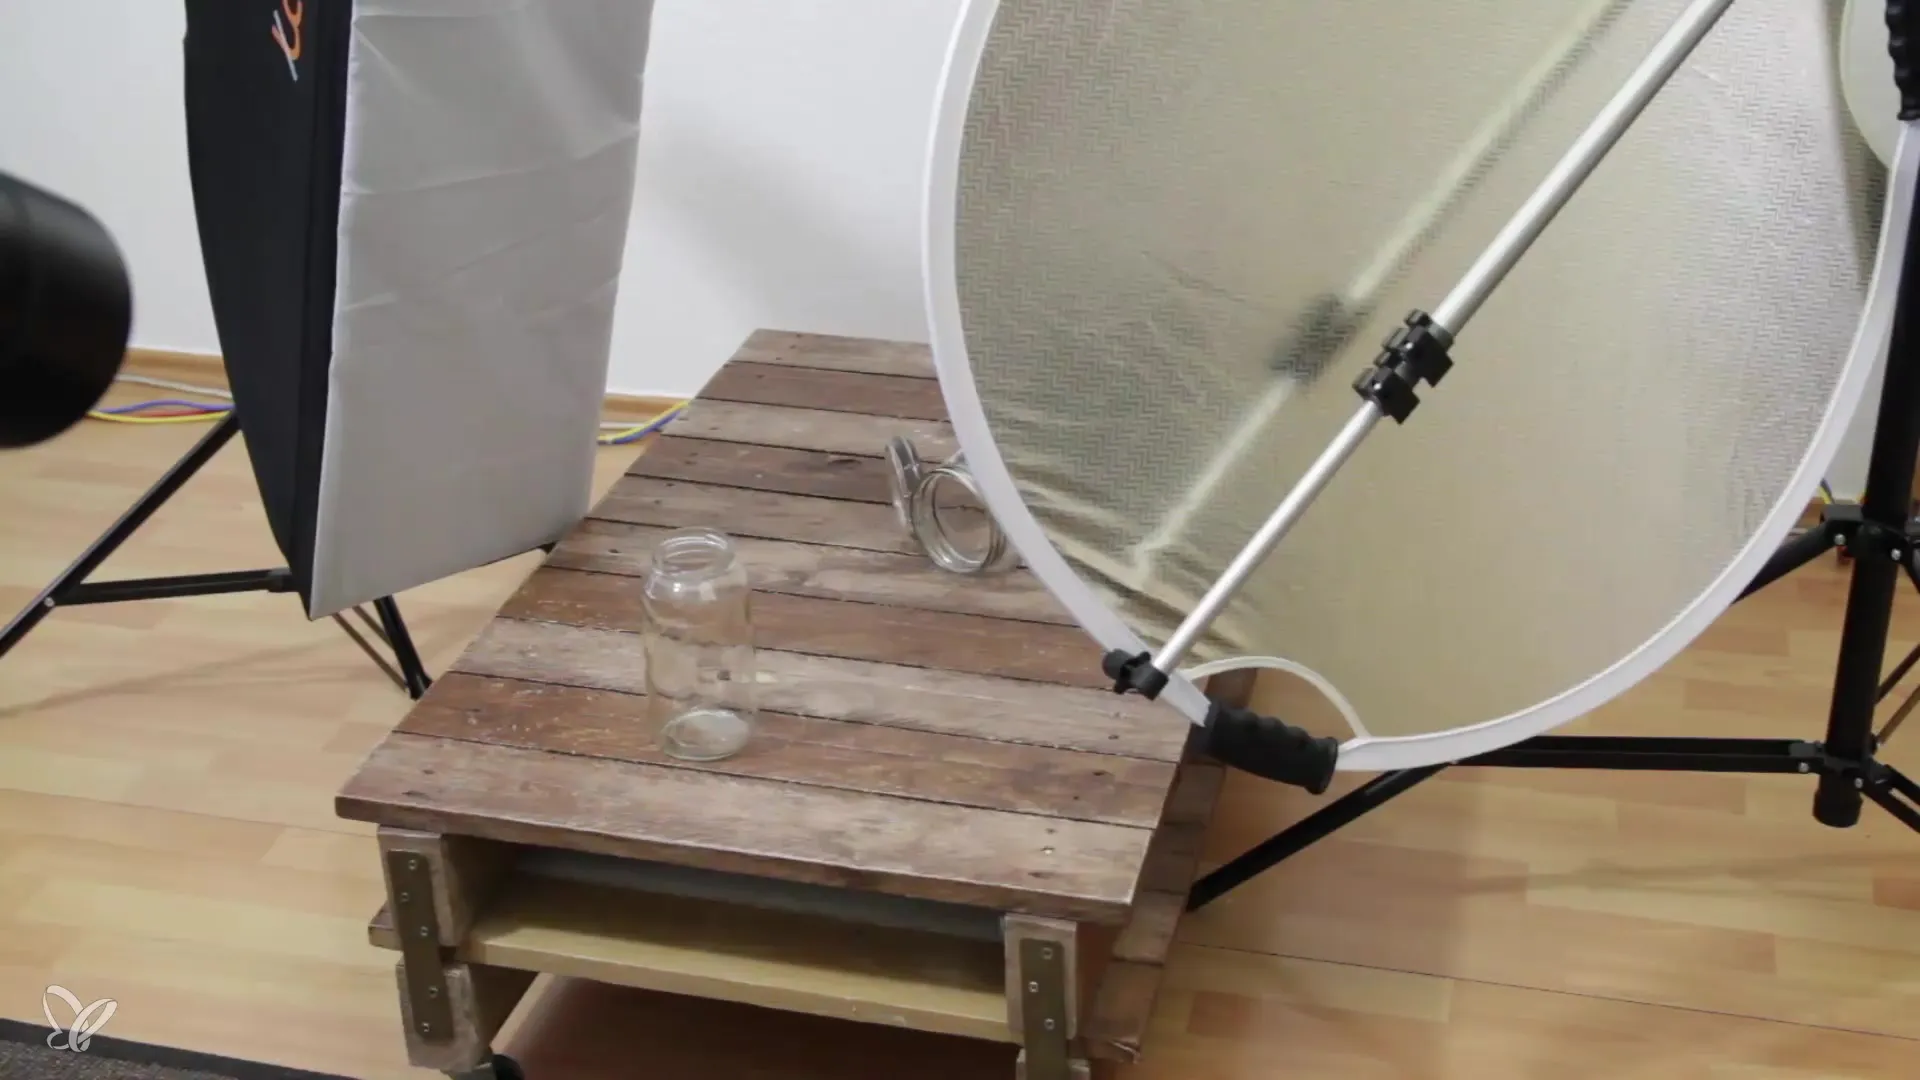
With this technique, you can immediately see how reflections in the image disappear. This way, we only have the desired light that enhances the effect.
Additional Reflectors for Overall Aesthetics
To further optimize the picture and create brightness at the edges of the image, you can also place a silver reflector in one corner of the setup. Make sure this reflector does not interfere with the main lighting but rather complements it optimally. Use craft foil from a craft store that is sturdy enough to stay in the desired position.
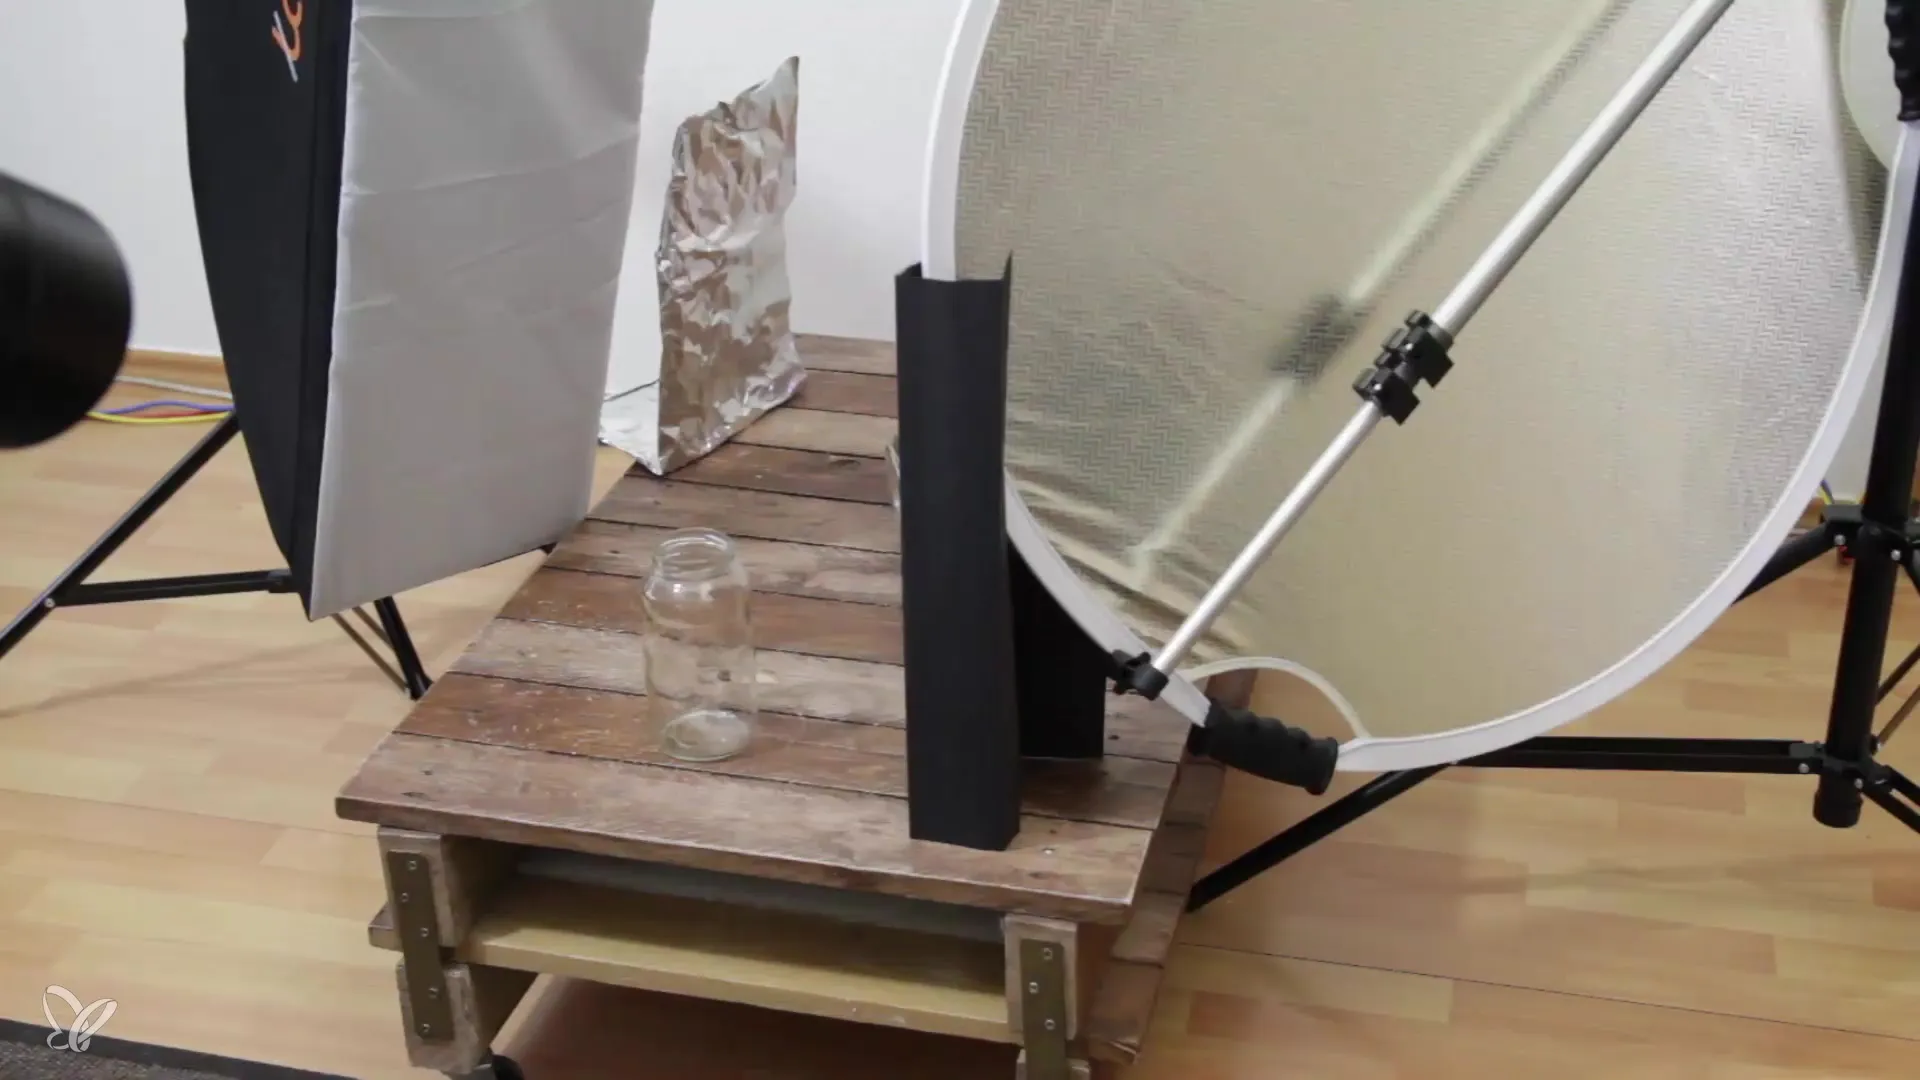
Evaluation and Adjustments
After setting up all the lighting components, you should take the picture again and compare the differences between before and after. Pay attention to brightness differences and overall image quality. If you notice that shadows in your glasses are bothersome, consider whether you want to further diffuse the light or use an additional reflector.
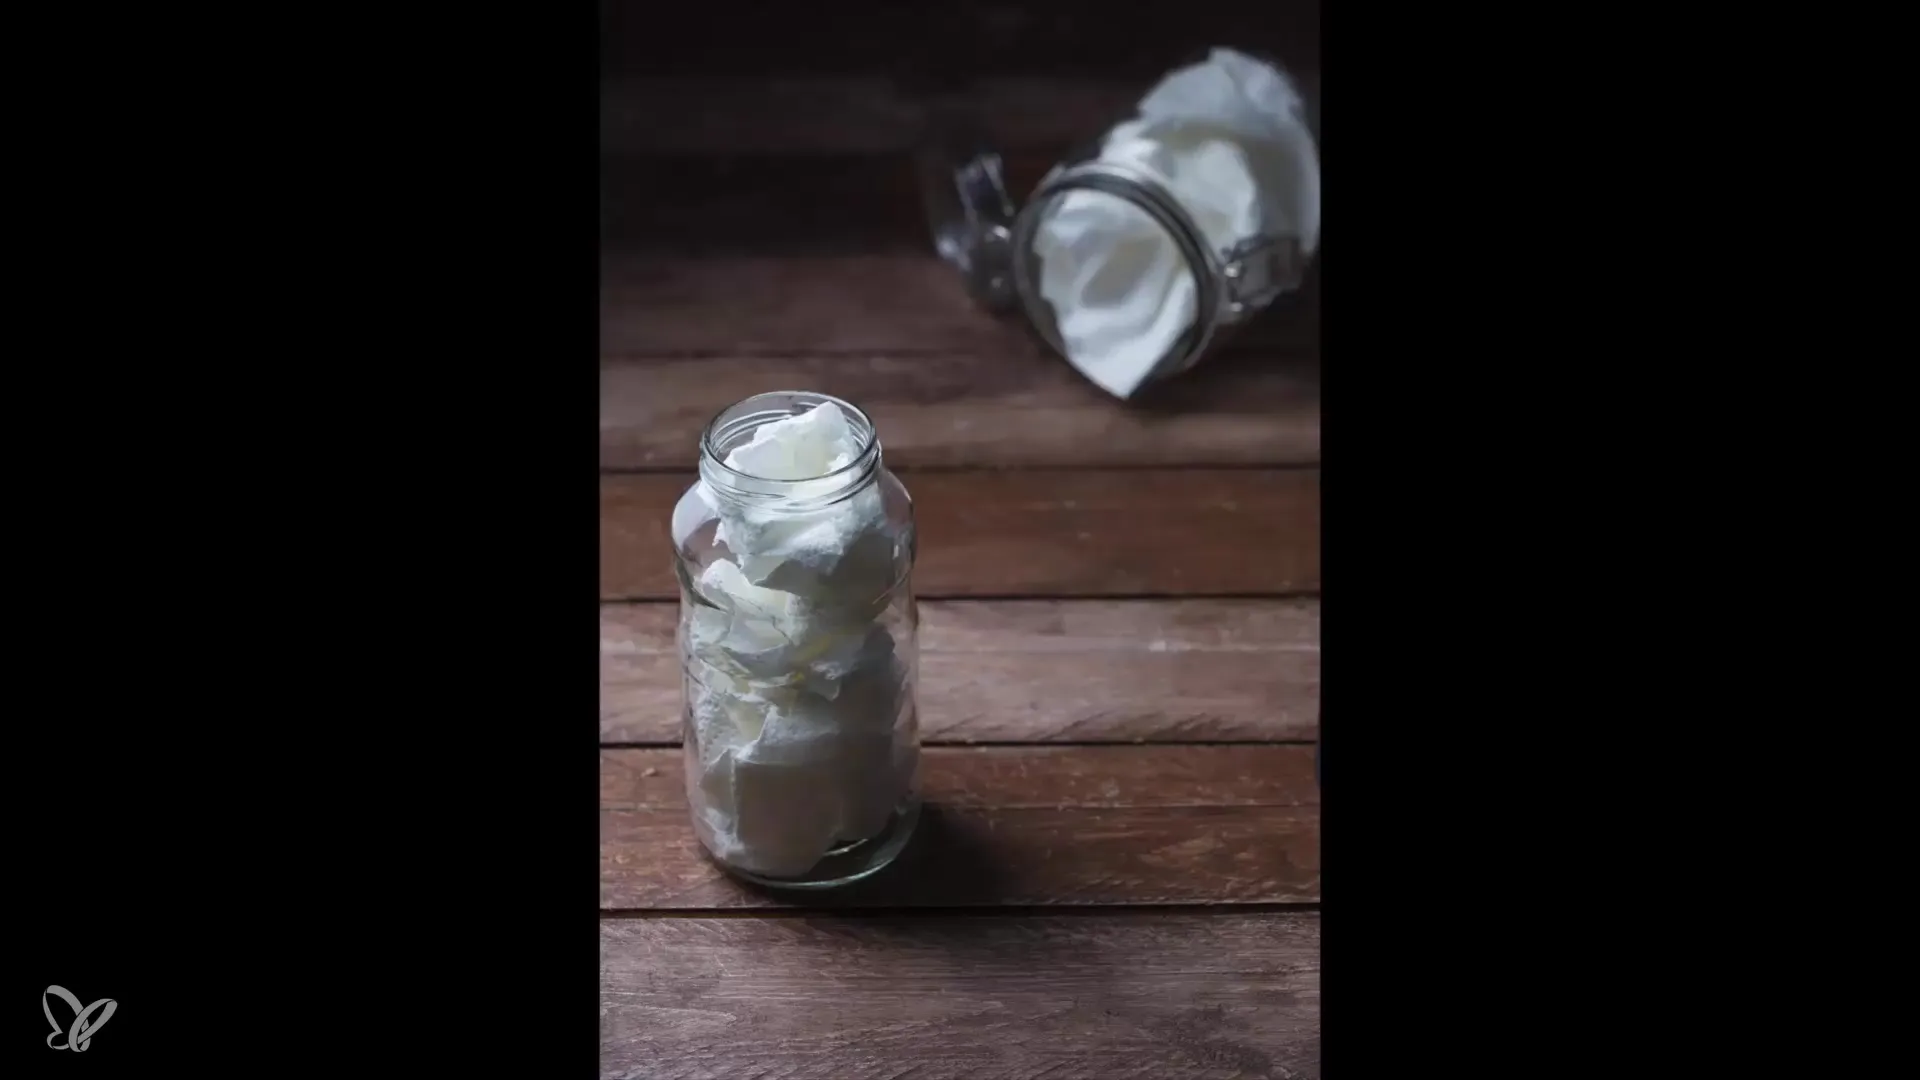
The Setup is Ready for the Creative Phase
Now you are ready to fill your glasses with dummies. Simply crumple up some paper and place it in the glasses. This prevents light from shining through the containers. This phase is crucial to accurately judge the shadows before adding your final decoration.
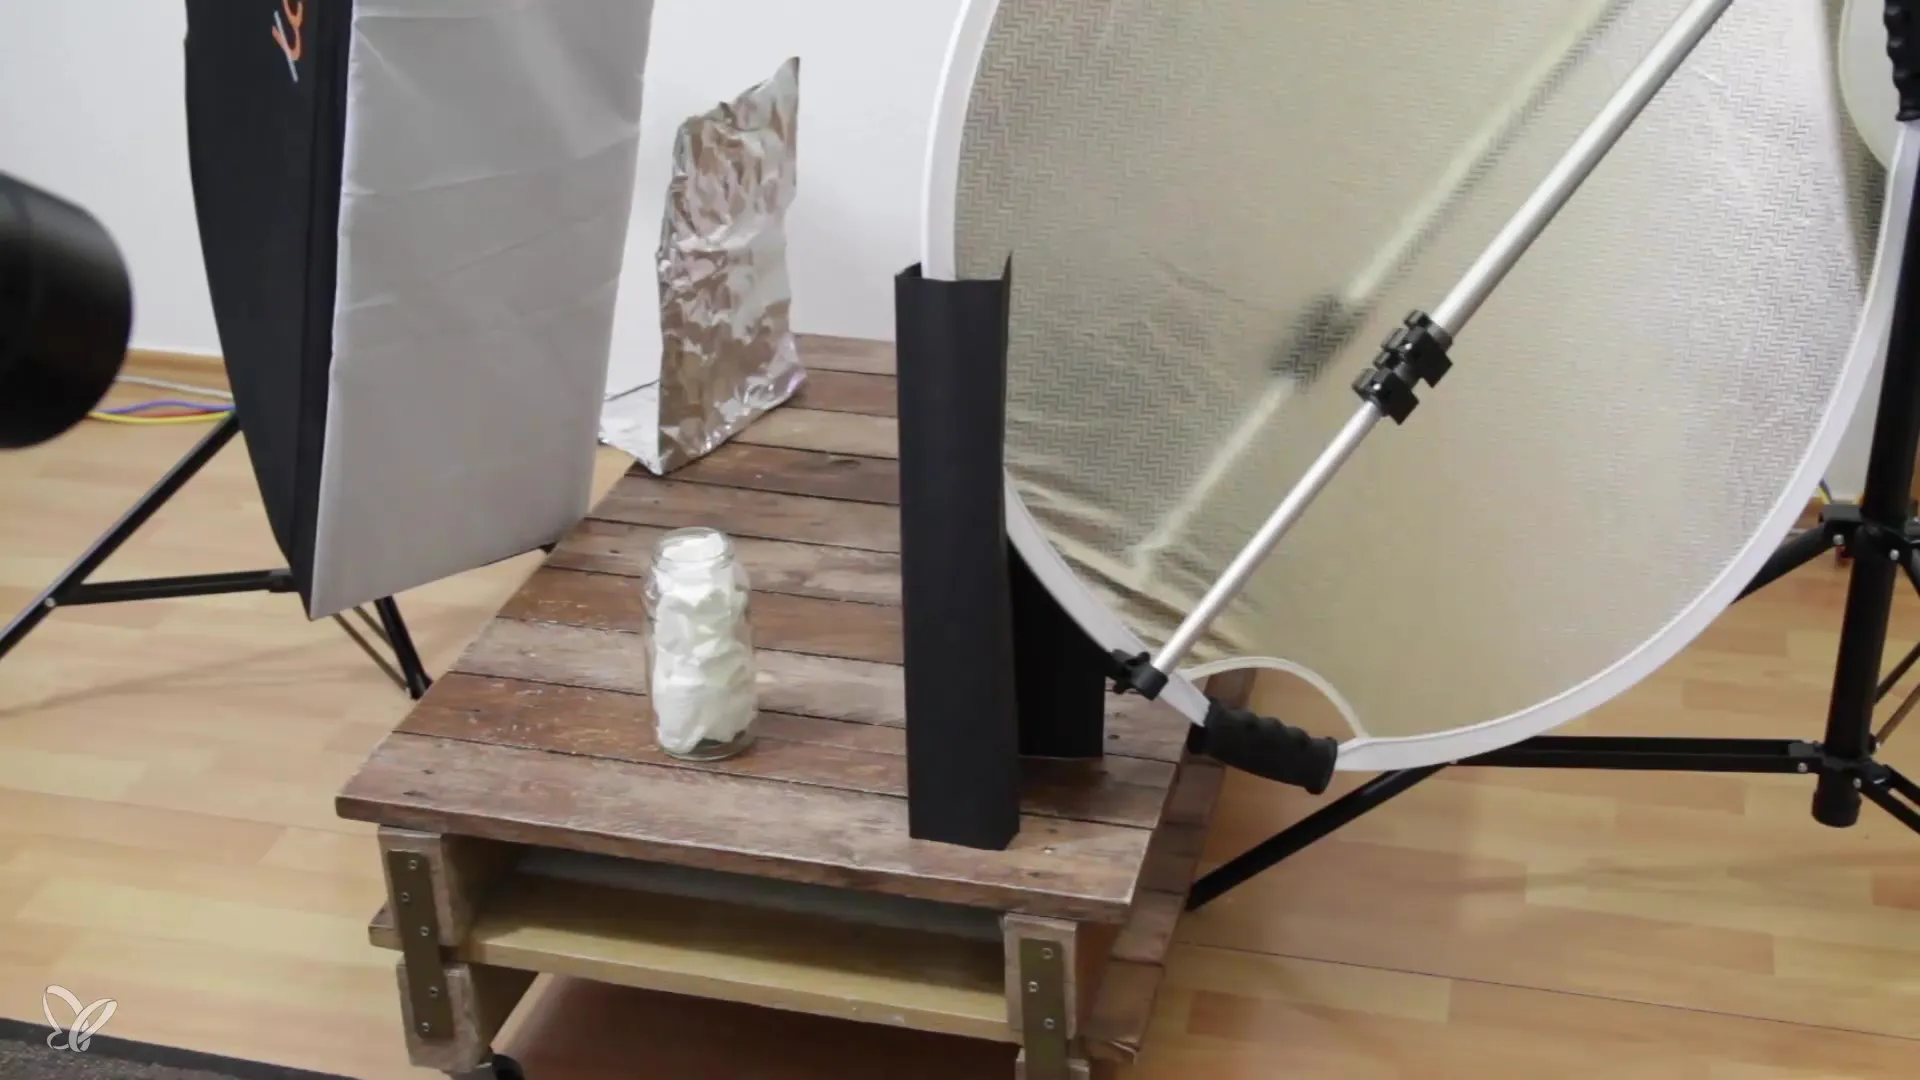
Once everything is set up, you can focus on decorating the elements on the table and ensuring that your final images reflect the desired look.
Summary – Food Photography with Reflectors and Flags: Optimizing the Lighting Setup
In this guide, you learned how to optimize your lighting setup using simple means to create impressive food photos. By employing reflections, flags, and clever arrangement of light sources, you can significantly improve image quality and bring out the wonderful texture and colors of your dishes.
Frequently Asked Questions
What is the advantage of reflectors in photography?Reflectors help brighten shadows and optimize light distribution without using additional flashes.
How can I make a flag myself?A simple piece of black photo cardboard that you fold correctly works perfectly as a flag.
Can I also use other materials for reflectors?Yes, you can also use aluminum foil or white cardboard, but special craft foils are sturdier and provide better results.
What can I do if I struggle with reflections on my glass objects?Use flags and adjust the position of the reflector to minimize unpleasant light reflections.
How do I avoid noise in the image during post-processing?Ensure that the light is evenly distributed and use multiple reflectors to minimize shadows.
