
Food photography workshop: food styling, equipment & tips

- Workshop with over 4 hours of video training on professional food photography
- Two workflows: from setup to post-processing, under available light and with flash
- Equipment tips: What do you need? How do you use it? - The approach and know-how of a professional!
- For practical learning and understanding of the content: including raw and Photoshop files
- Create food photos with spice, e.g. for restaurants, cafés, hotels, bars, blogs and cookbooks
Food photos at their very best! Here's the recipe: create appetizing scenes under available light or using flashes. Get two professional workflows in one workshop.
16 Videos, 251 minutes
Available Light
Food photography with available light and flashes - 1.1 Introduction
Here you will receive a summary of the topics you will encounter during the training and a brief introduction to accessories. You will also find out what you can do if you don't have a remote shutter release to hand.
Food photography with available light and flashes - 1.2 Getting inspired: using Pinterest mood boards to find ideas
In this chapter, I will show you how to develop an initial image idea using the Pinterest platform and how to summarize your inspirations in a mood board. Mood boards serve as a collection of ideas for your future picture so that you always have a direction for the look of the finished picture in mind.
Food photography with available light and flashes - 1.3 Preparations: Location, background, background & perspective
In this chapter, I'll show you the basic structure of a simple food photo setup. We'll talk about the right backgrounds and backdrops and decide on a suitable perspective for our picture.
Food photography with available light and flashes - 1.4 Image composition: Building up composition & image elements
In this chapter, we build up our picture completely. We use various decorative elements and ingredients to optimize our composition and create an atmospheric image.
Food photography with available light and flashes - 1.5 Lighting: optimizing light with reflectors & shading
In this chapter, we use small and large reflectors, diffusers and shading devices to optimize the lighting in our picture. I will also show you how you can easily make your own, very effective reflectors.
Food photography with available light and flashes - 1.6 Final setup: Overview of the entire setup
In this chapter, I'll show you an overview of the entire setup. You'll see how little space we need for the image and what influence the different light shapers have on the image.
Food photography with available light and flashes - 1.7 Post-processing: Image editing in Lightroom & Photoshop
In the penultimate chapter of this section, I'll show you how to post-process your image using Adobe Lightroom and Photoshop to give it the finishing touches.
Food photography with available light and flashes - 1.8 Final words
Final words on food photography with available light.
Food photography with available light and flashes - 1.2 Getting inspired: using Pinterest mood boards to find ideas
8 min OpenFood photography with available light and flashes - 1.3 Preparations: Location, background, background & perspective
15 min OpenFood photography with available light and flashes - 1.4 Image composition: Building up composition & image elements
18 min OpenFood photography with available light and flashes - 1.5 Lighting: optimizing light with reflectors & shading
23 min OpenFood photography with available light and flashes - 1.6 Final setup: Overview of the entire setup
3 min OpenFood photography with available light and flashes - 1.7 Post-processing: Image editing in Lightroom & Photoshop
40 min OpenLightning
Food photography with available light and flashes - 2.1 Introduction
I'll explain the basic equipment we'll be using to take the pictures in this video training. You'll get an impression of the flashes, light shapers and other equipment used.
Food photography with available light and flashes - 2.2 Inspiration: using Pinterest mood boards to find ideas
In this video, I'll show you how you can use Pinterest to develop an initial image idea and summarize your inspirations in a mood board. Mood boards serve as a collection of ideas for your future picture so that you always have a direction for the look of the finished picture in mind.
Food photography with available light and flashes - 2.3 Location, background, background & perspective
In this chapter, I'll show you the basic structure for our food photo and explain the most important basics about backgrounds and typical perspectives in food photography. You'll also learn how I use the live view on the camera to optimize the composition of the image.
Food photography with available light and flashes - 2.4 Light: Setting up and adjusting the light setup
In this chapter, you will learn how to set up your main light and which angle is ideal for food photography. The main light is the first and most important component in your lighting setup and should always be set up first.
Food photography with available light and flashes - 2.5 Reflectors: optimization & more complex lighting
Here I show you how you can optimize the light setup without additional flashes. I use reflectors and shading to direct the light and brighten up the critical shadow areas in the picture. And the best thing is: you can easily make your own reflectors and shading devices from standard craft film and photo cardboard!
Food photography with available light and flashes - 2.6 Table decoration: completing the composition
In this chapter, we return to our actual picture and decorate the table and the main objects according to our picture idea. We pay attention to authenticity and pleasant lines in the picture. Finally comes the main component of our picture. And we have to hurry so that the fresh ingredients don't collapse.
Food photography with available light and flashes - 2.7 Image editing in Lightroom & Photoshop
In the penultimate chapter of this section, I'll show you how to post-process your image using Adobe Lightroom and Photoshop to give it the finishing touches. I will show you various techniques for optimizing the exposure, colors and sharpness of the image.
Food photography with available light and flashes - 2.8 Final words
Final words on food photography with flash.
Food photography with available light and flashes - 2.2 Inspiration: using Pinterest mood boards to find ideas
5 min OpenFood photography with available light and flashes - 2.3 Location, background, background & perspective
16 min OpenFood photography with available light and flashes - 2.4 Light: Setting up and adjusting the light setup
10 min OpenFood photography with available light and flashes - 2.5 Reflectors: optimization & more complex lighting
15 min OpenFood photography with available light and flashes - 2.6 Table decoration: completing the composition
17 min OpenFood photography with available light and flashes - 2.7 Image editing in Lightroom & Photoshop
55 min OpenExamples of use
-
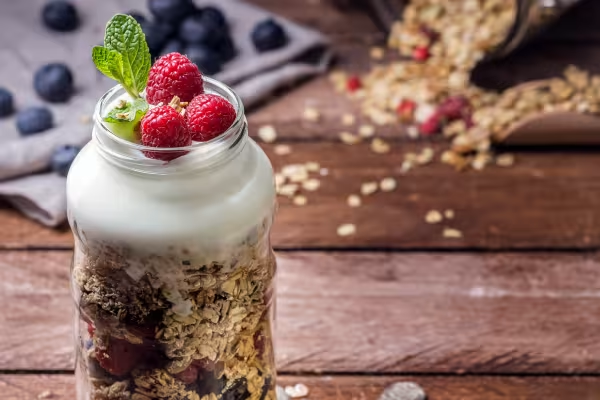 Take a food photo using flash: follow your trainer's practical tips!
 -
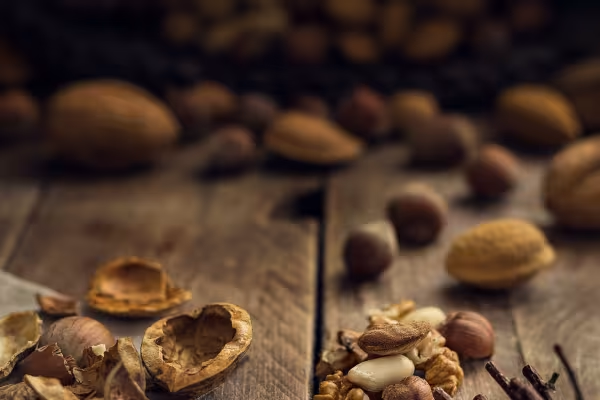 Fascinating food photos can also be taken without a flash: What to look out for.
You might also like

Save time with artificial intelligence

More style, more power, more templates!

Full power, more inspirations, maximum WOW effect!
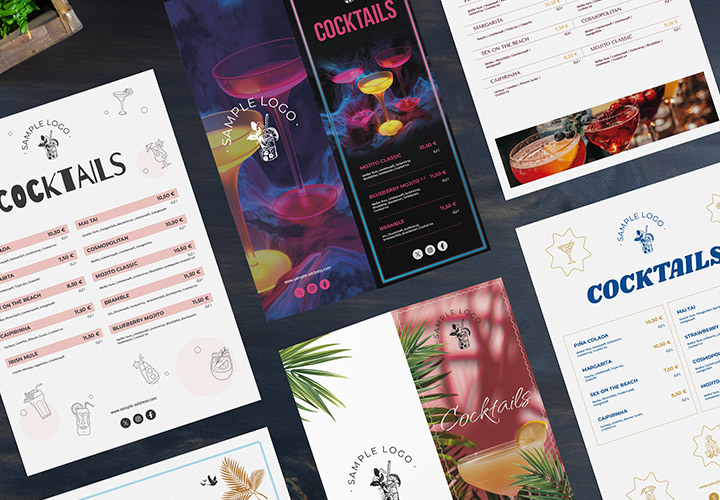
Exactly the right design mix!
Comment now „Food photography workshop: food styling, equipment & tips“