Suitable techniques are crucial for the quality of your music production, especially when you are working with FL Studio. In this tutorial, you will learn how to efficiently use Automation Clips and integrate effect samples into your projects. Using a sample production, we will show you how to meaningfully combine these elements.
Key insights
- Automation Clips simplify the adjustment of effects for various instruments.
- Effect samples give your track more dynamics and depth.
- Working with master channels can significantly improve your workflow.
Step-by-Step Guide
First, we need to set up the remaining instruments in our project so that they can ideally utilize the Automation Clips. In our example, we have already done this with a piano. Now, we will also equip the other instruments with an Automation Clip.
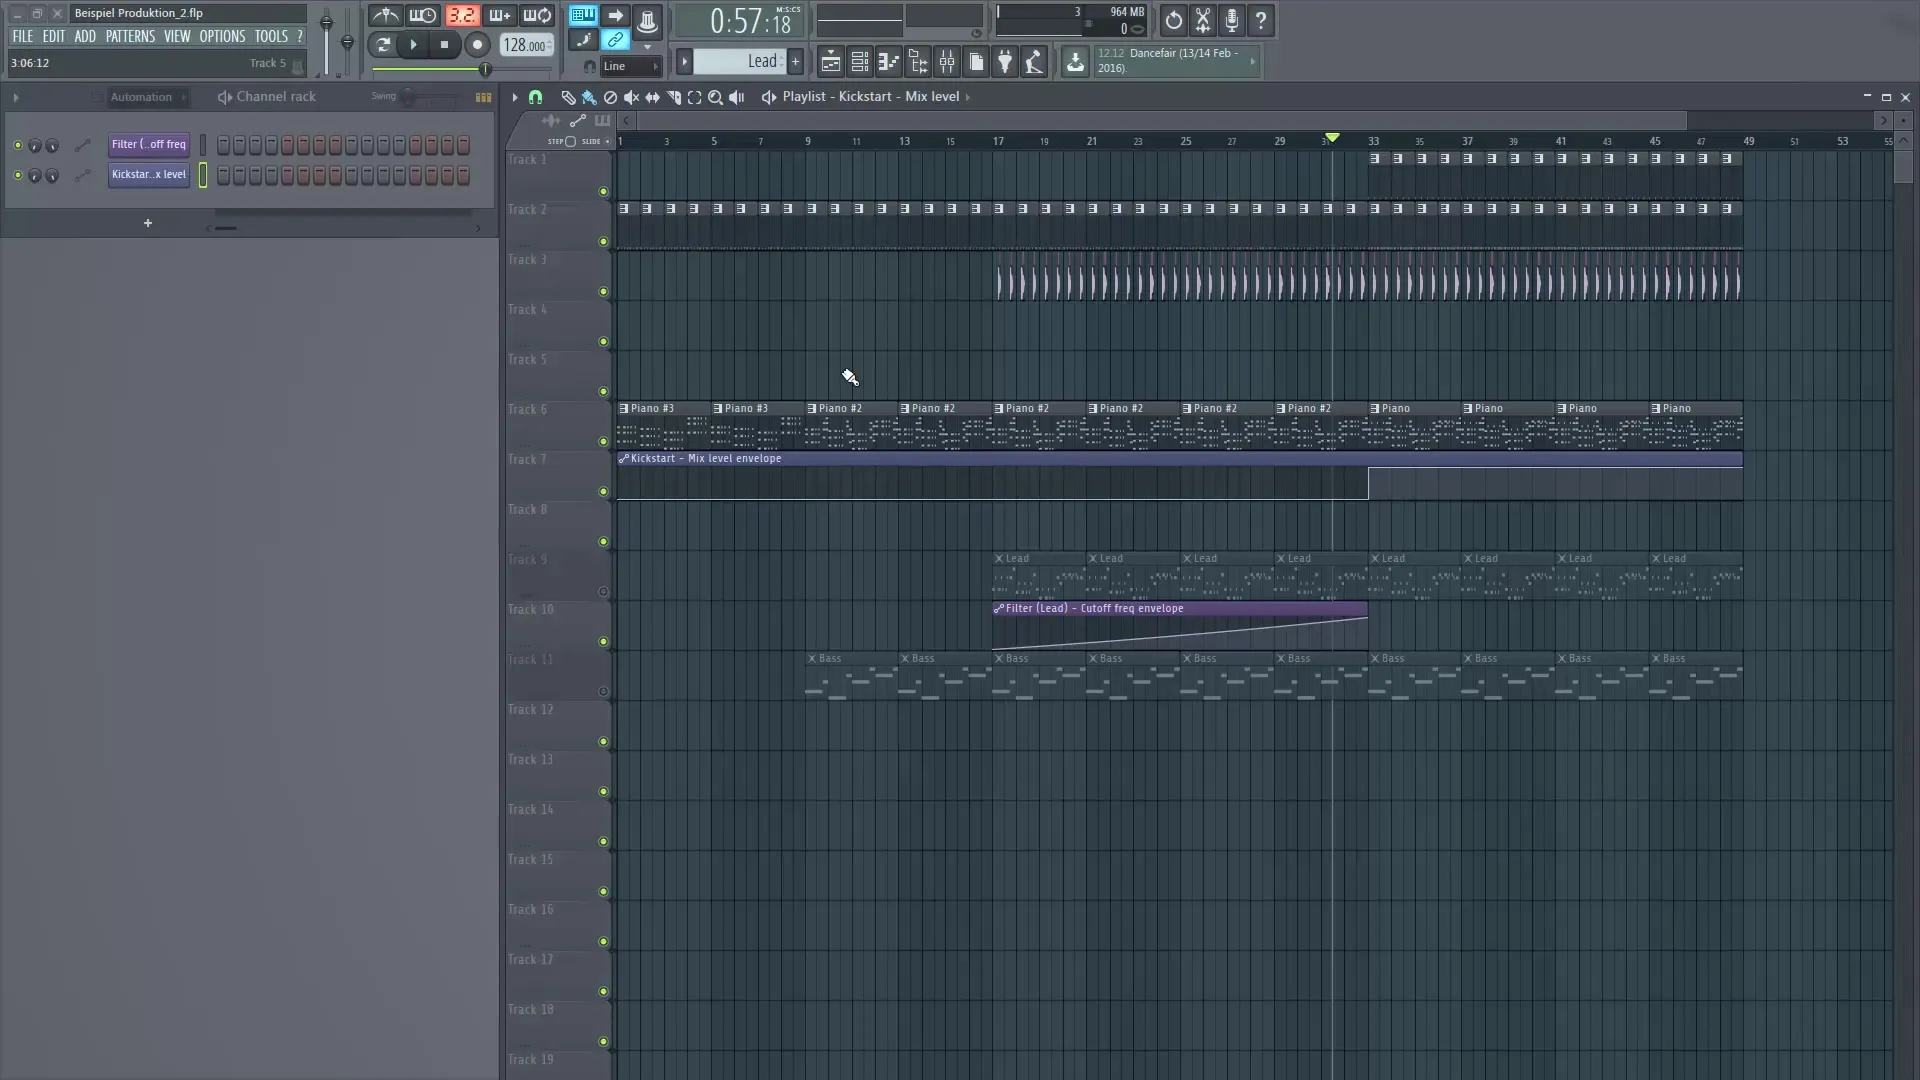
We will now combine the instruments into a new master channel. To do this, we will name the channel and give it a color for better distinction. This is particularly helpful to not lose track.
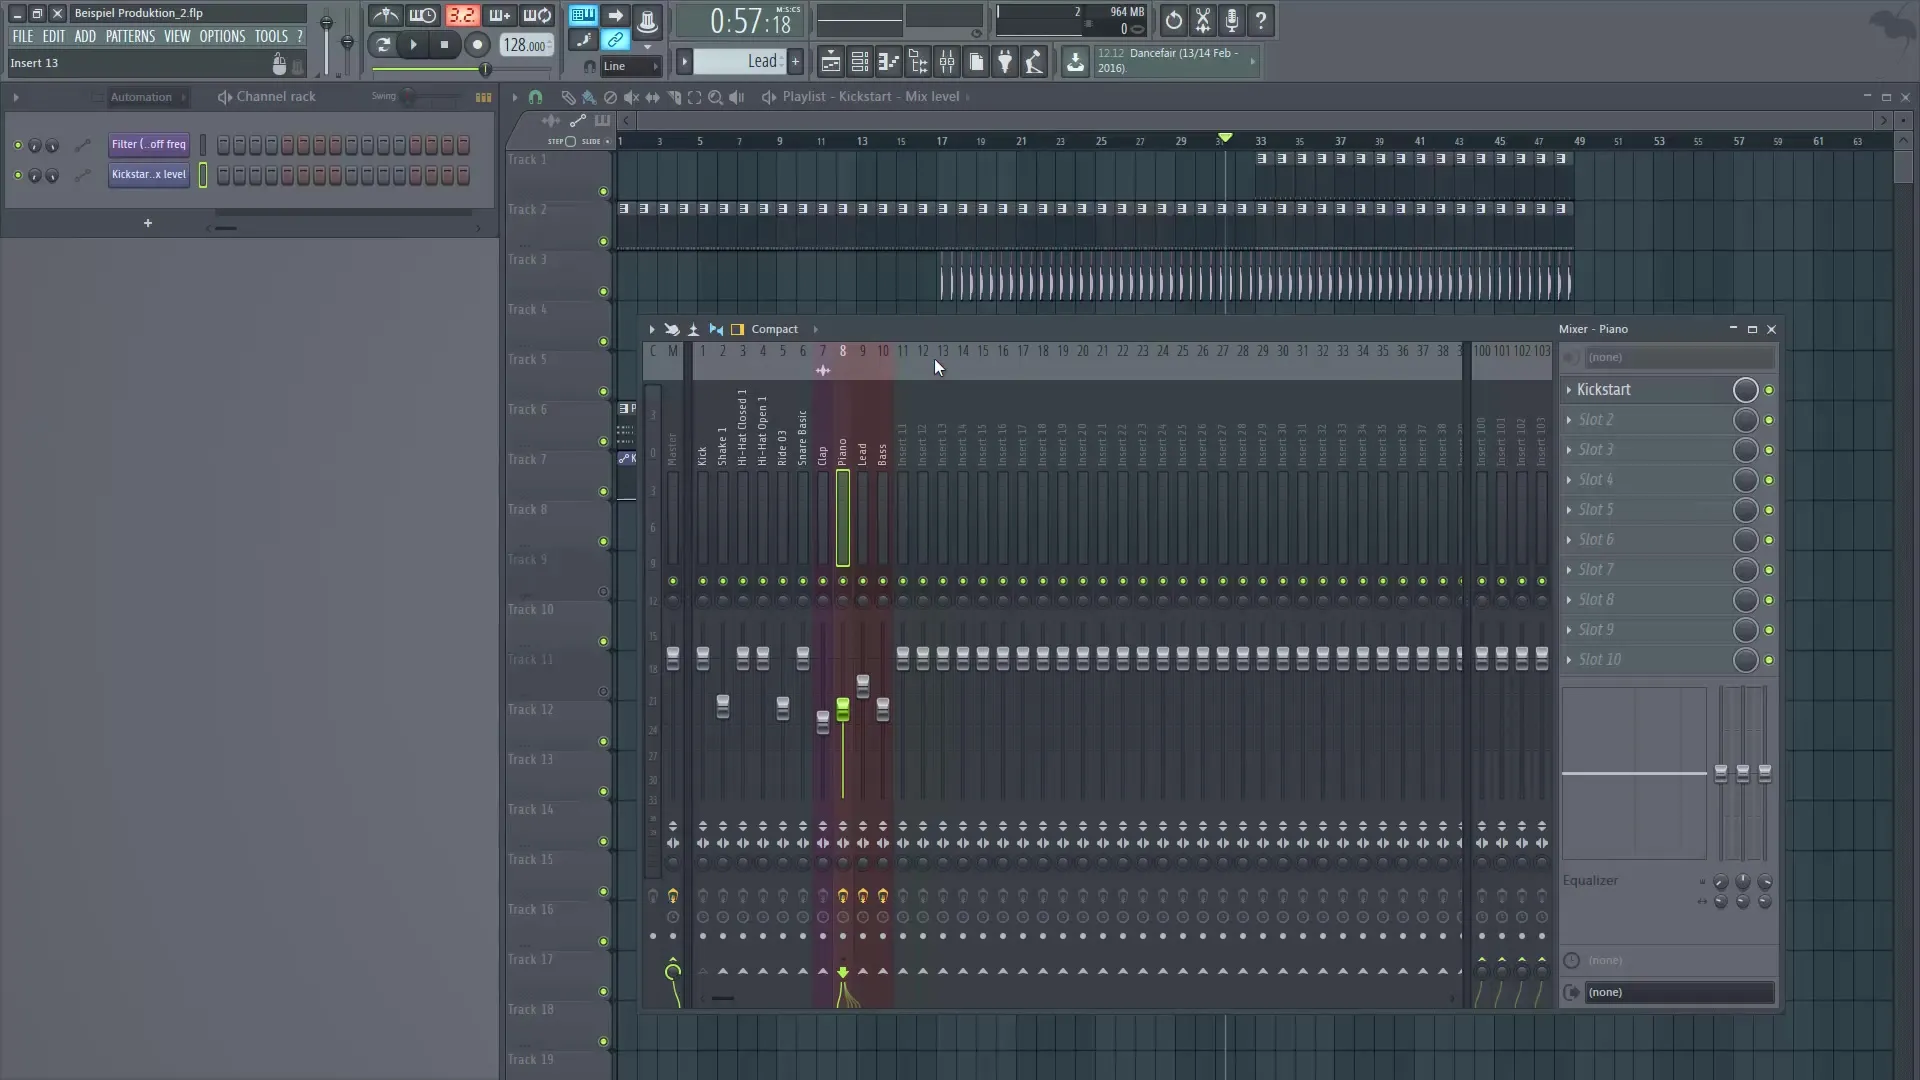
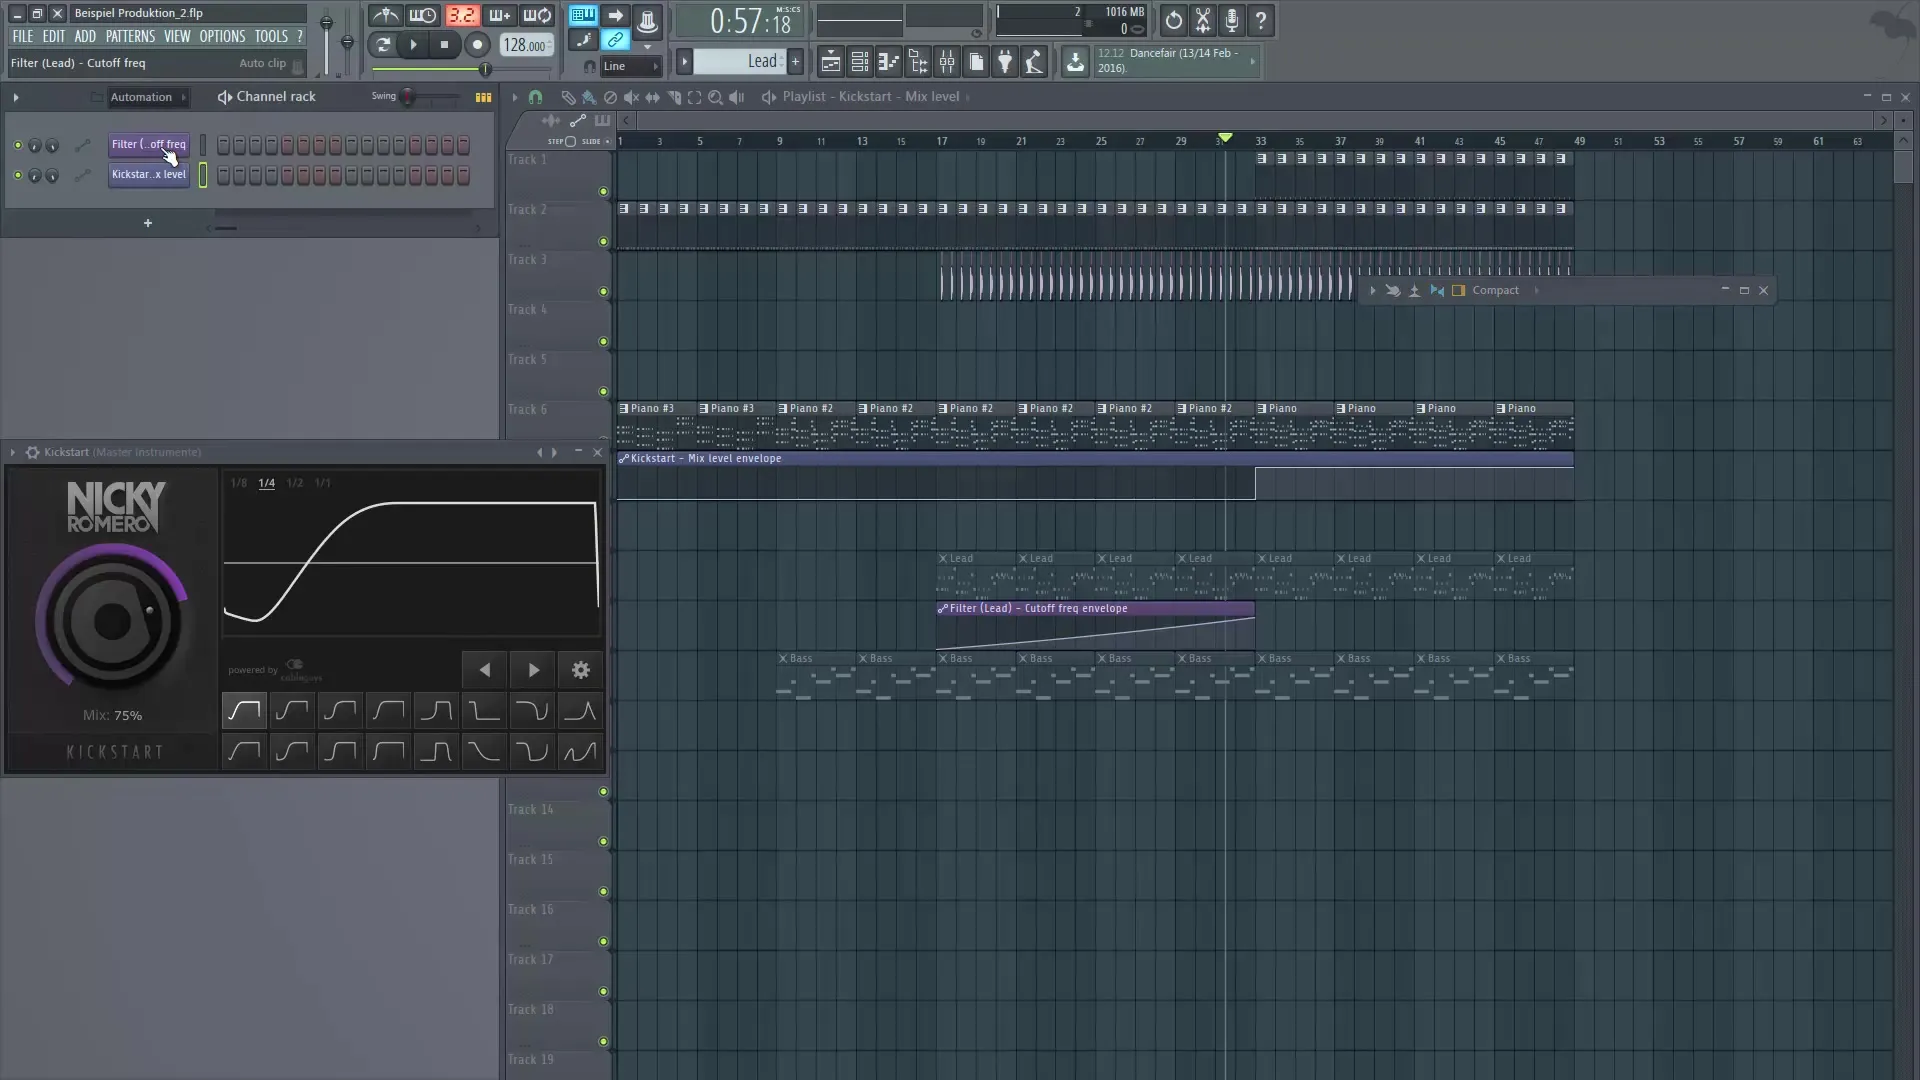
The next step is to disable all Kickstart plugins on the individual tracks and activate only the plugin in the master channel. This method saves space in the playlist and reduces the workload.
To recreate the automation for the master channel, go to the step sequencer, delete the existing automation, and create a new one. The handling of external plugins is slightly different here. You will need a little trick. Instead of right-clicking on the knob for the automation as usual, navigate to the menu in the upper left corner and select "Make Editor".
Once the browser opens, the selected plugin will be displayed on the side. Here you will find all the settings associated with your plugin. Select the parameter you want to change, in this case, the mix knob.
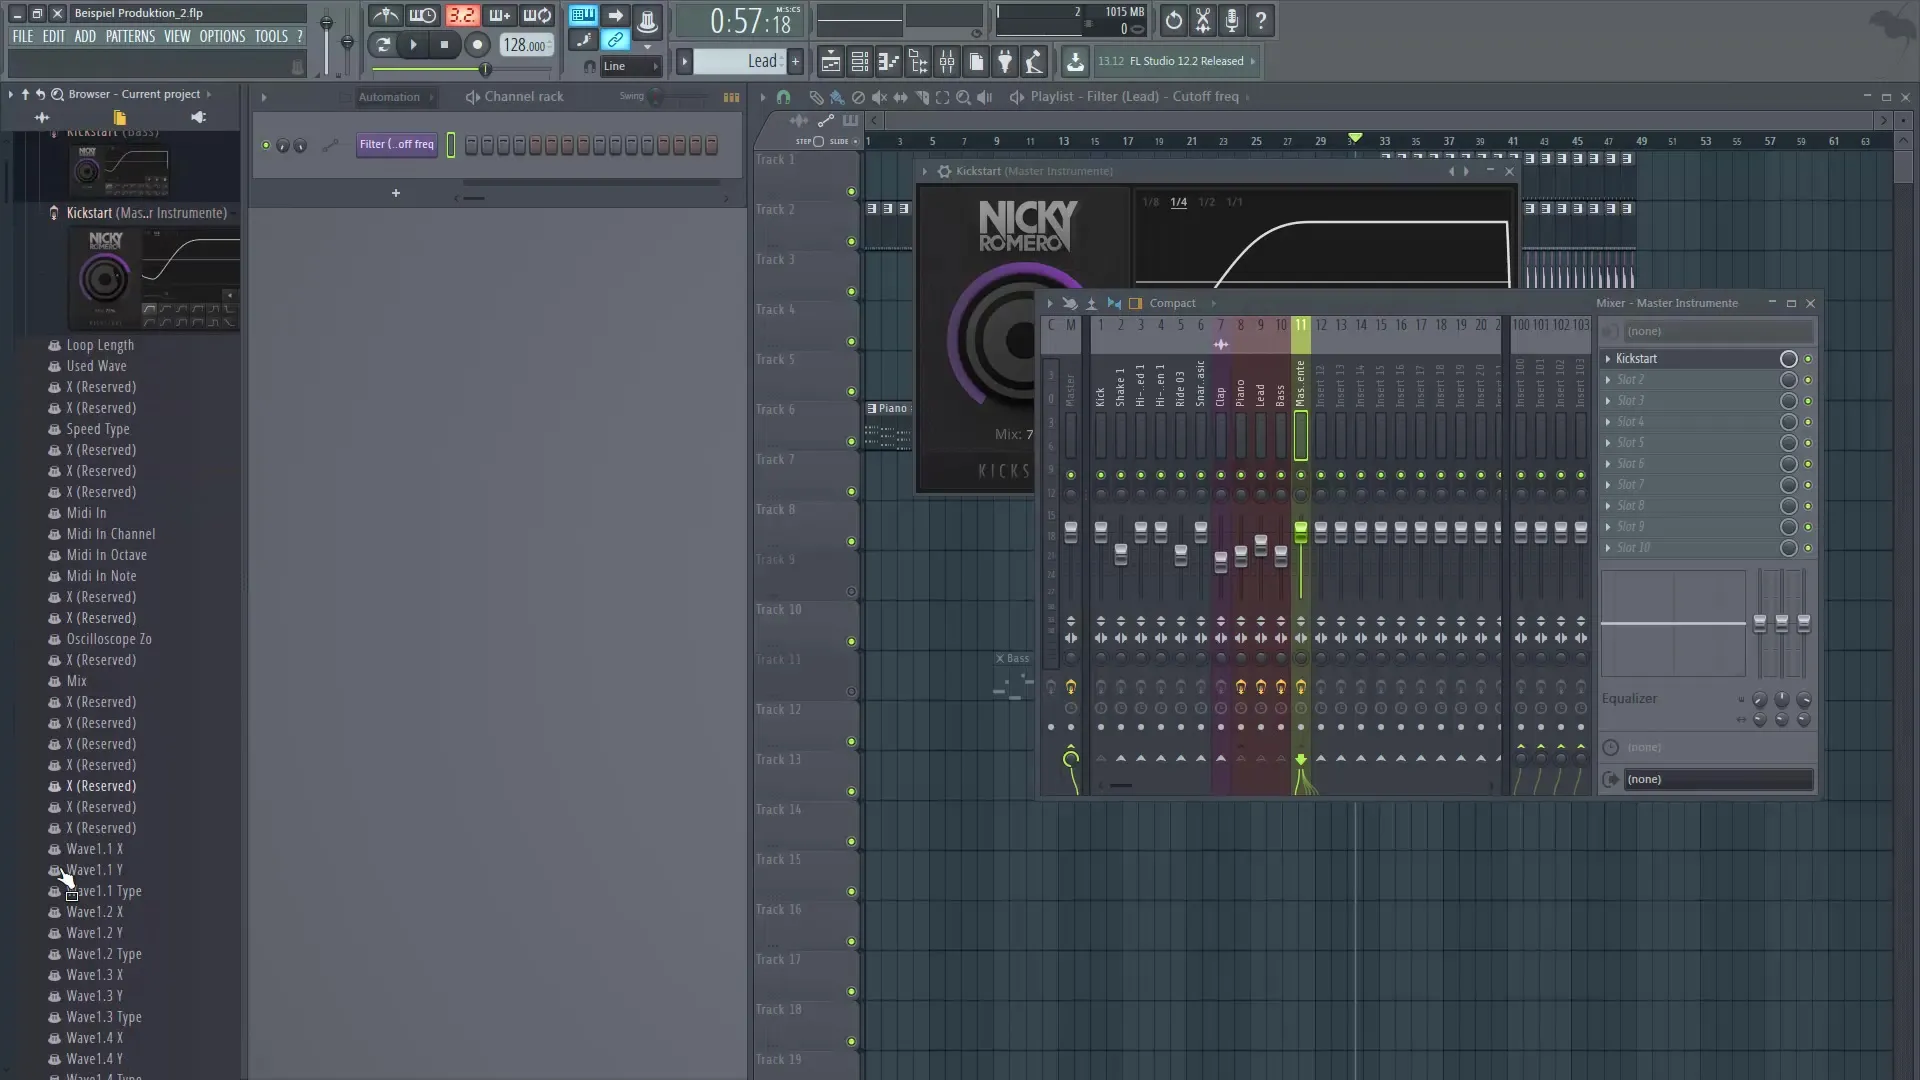
If you want to create the automation for this parameter, right-click on "Mix" and select "Create Automation Clip". The result is an automation curve in your playlist that you can adjust as you wish.
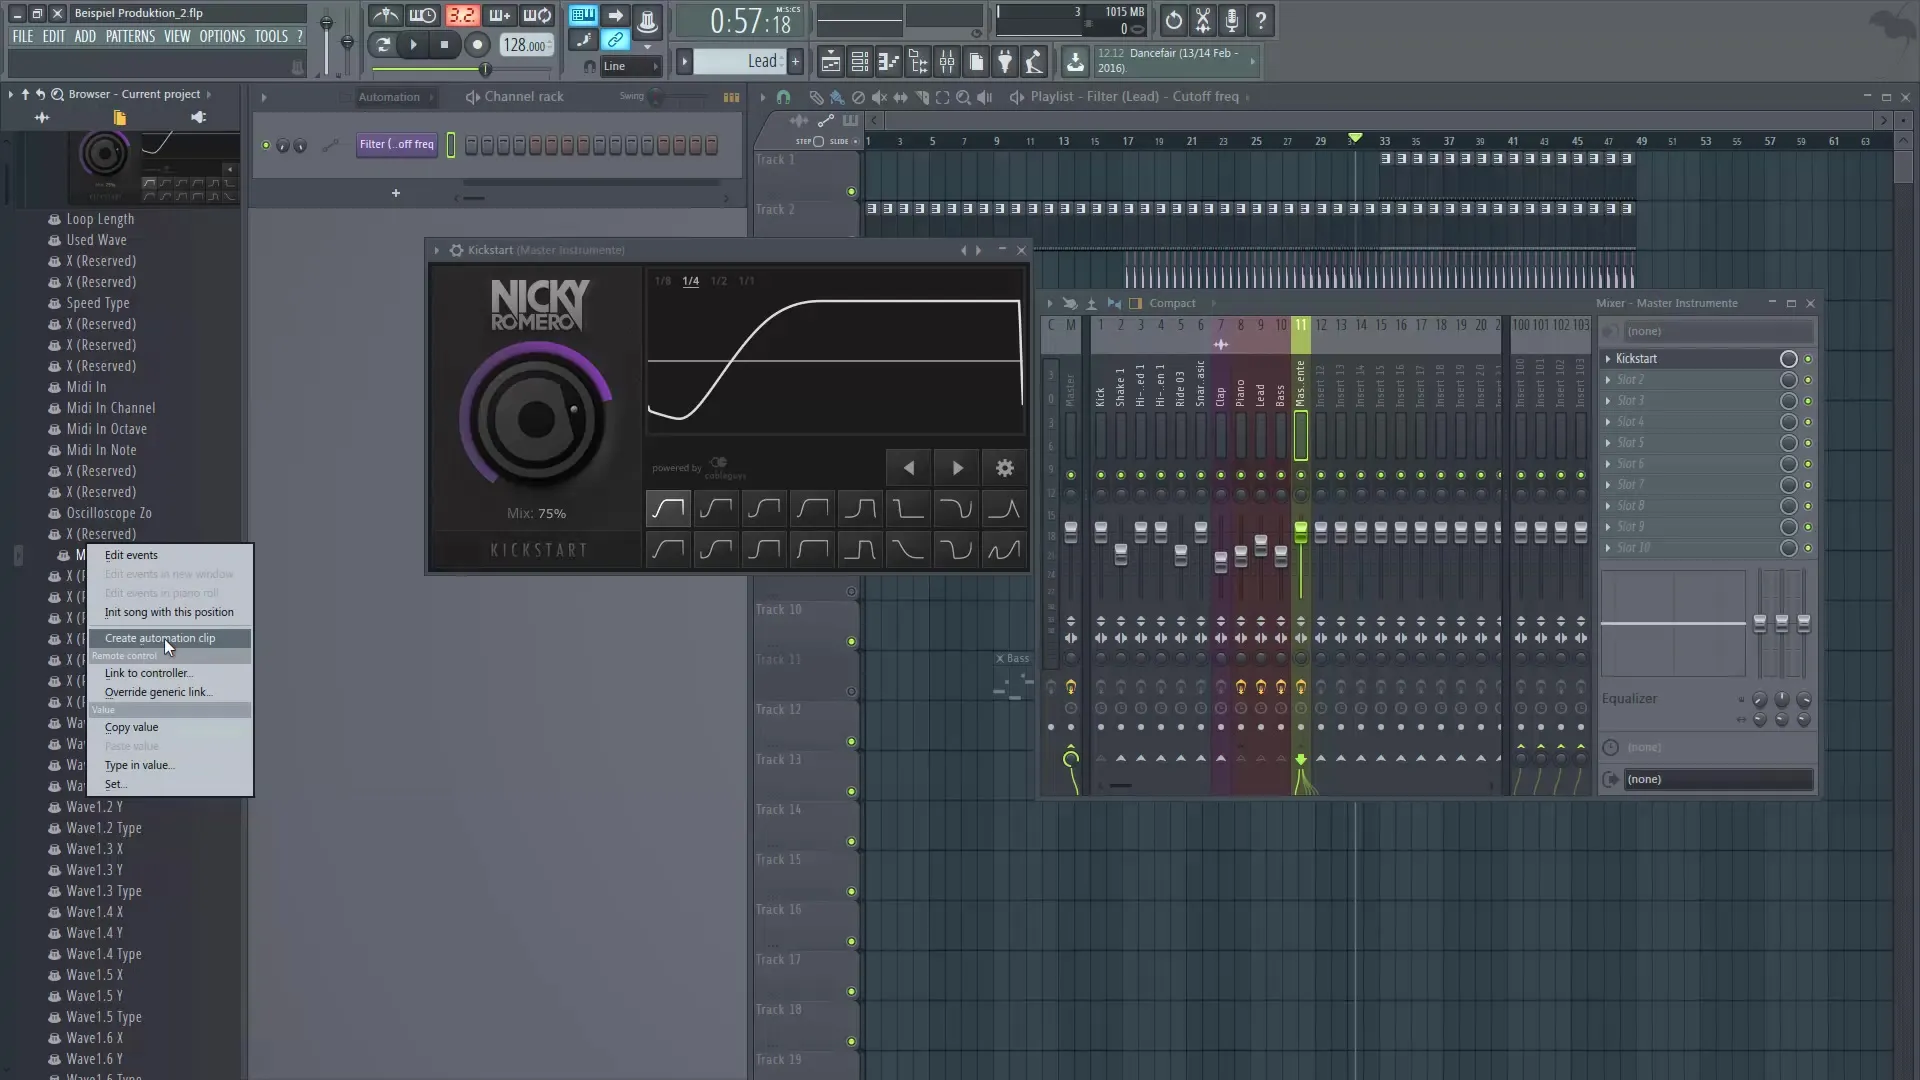
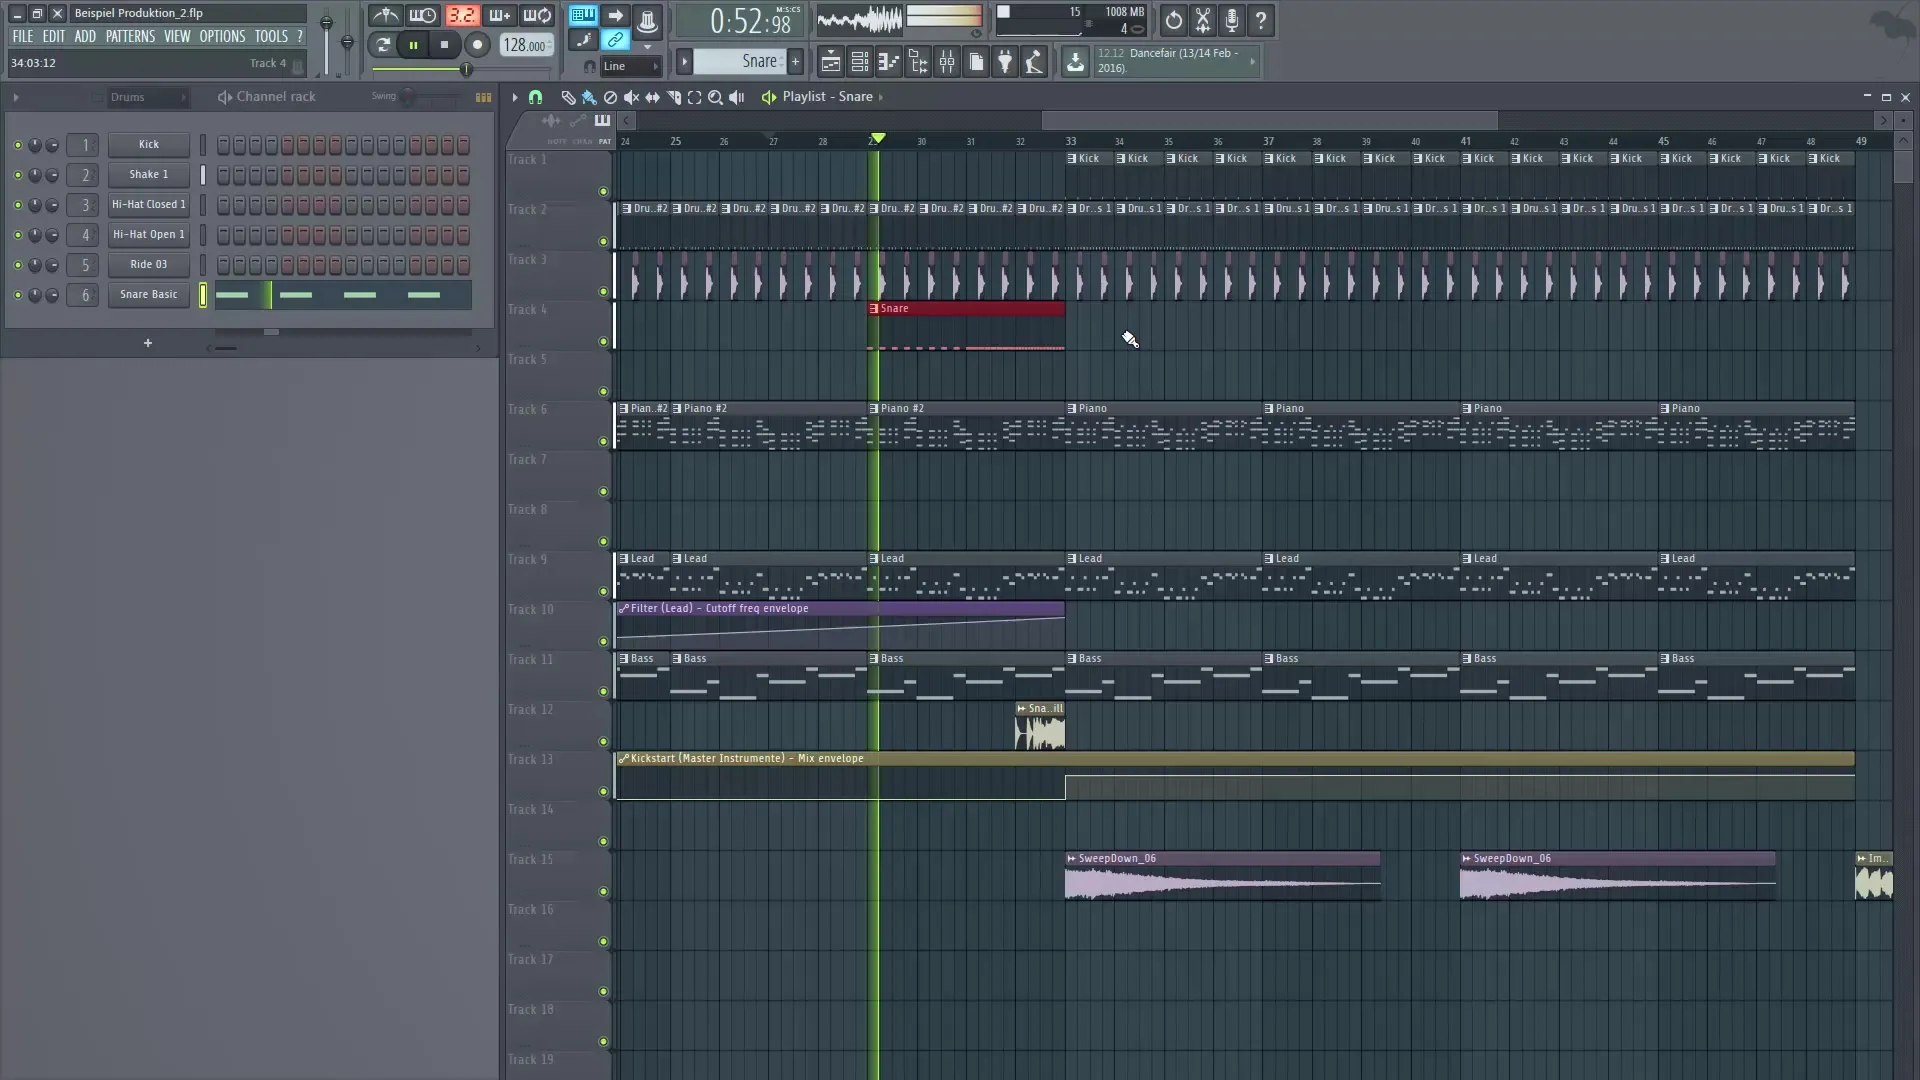
Now let's talk about the effect samples. To bring more dynamics into your track, you can insert various samples into the project. These can help you make transitions more dramatic. First, for example, place a sweep in your playlist.
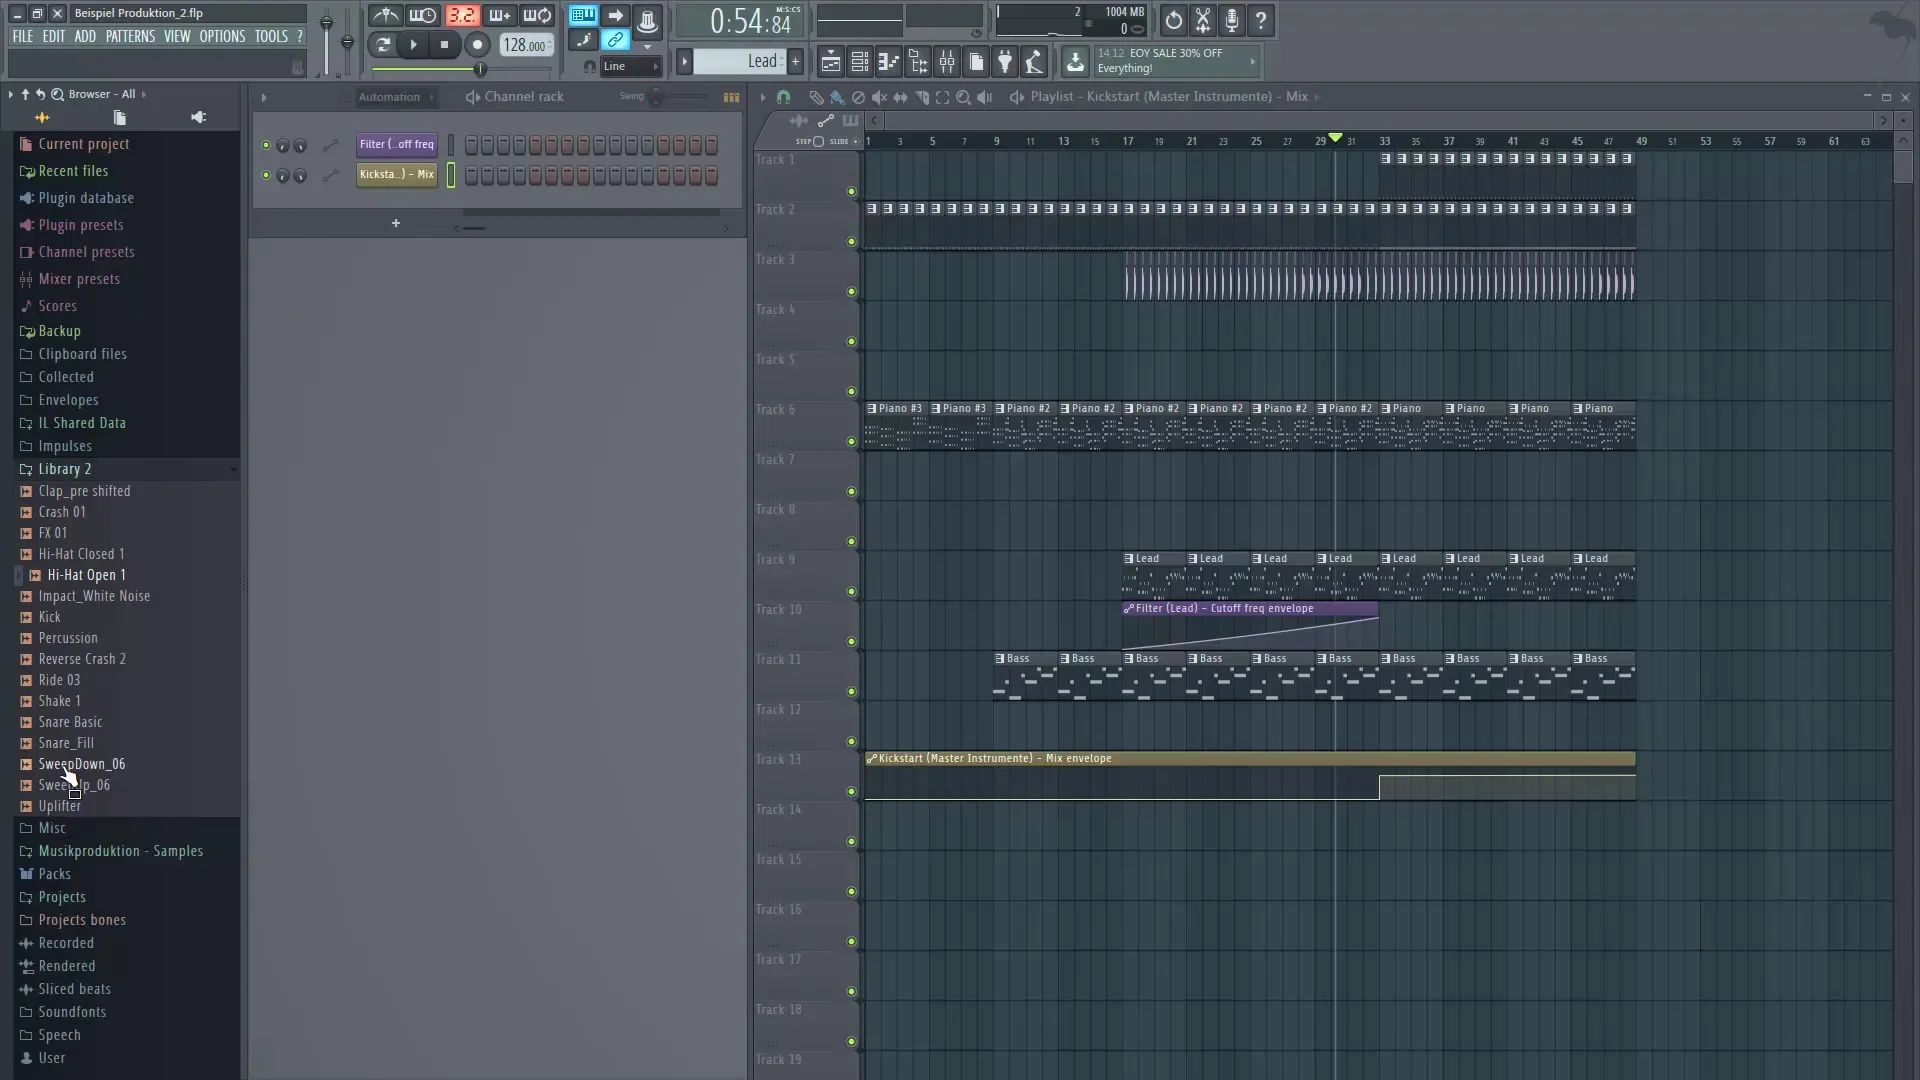
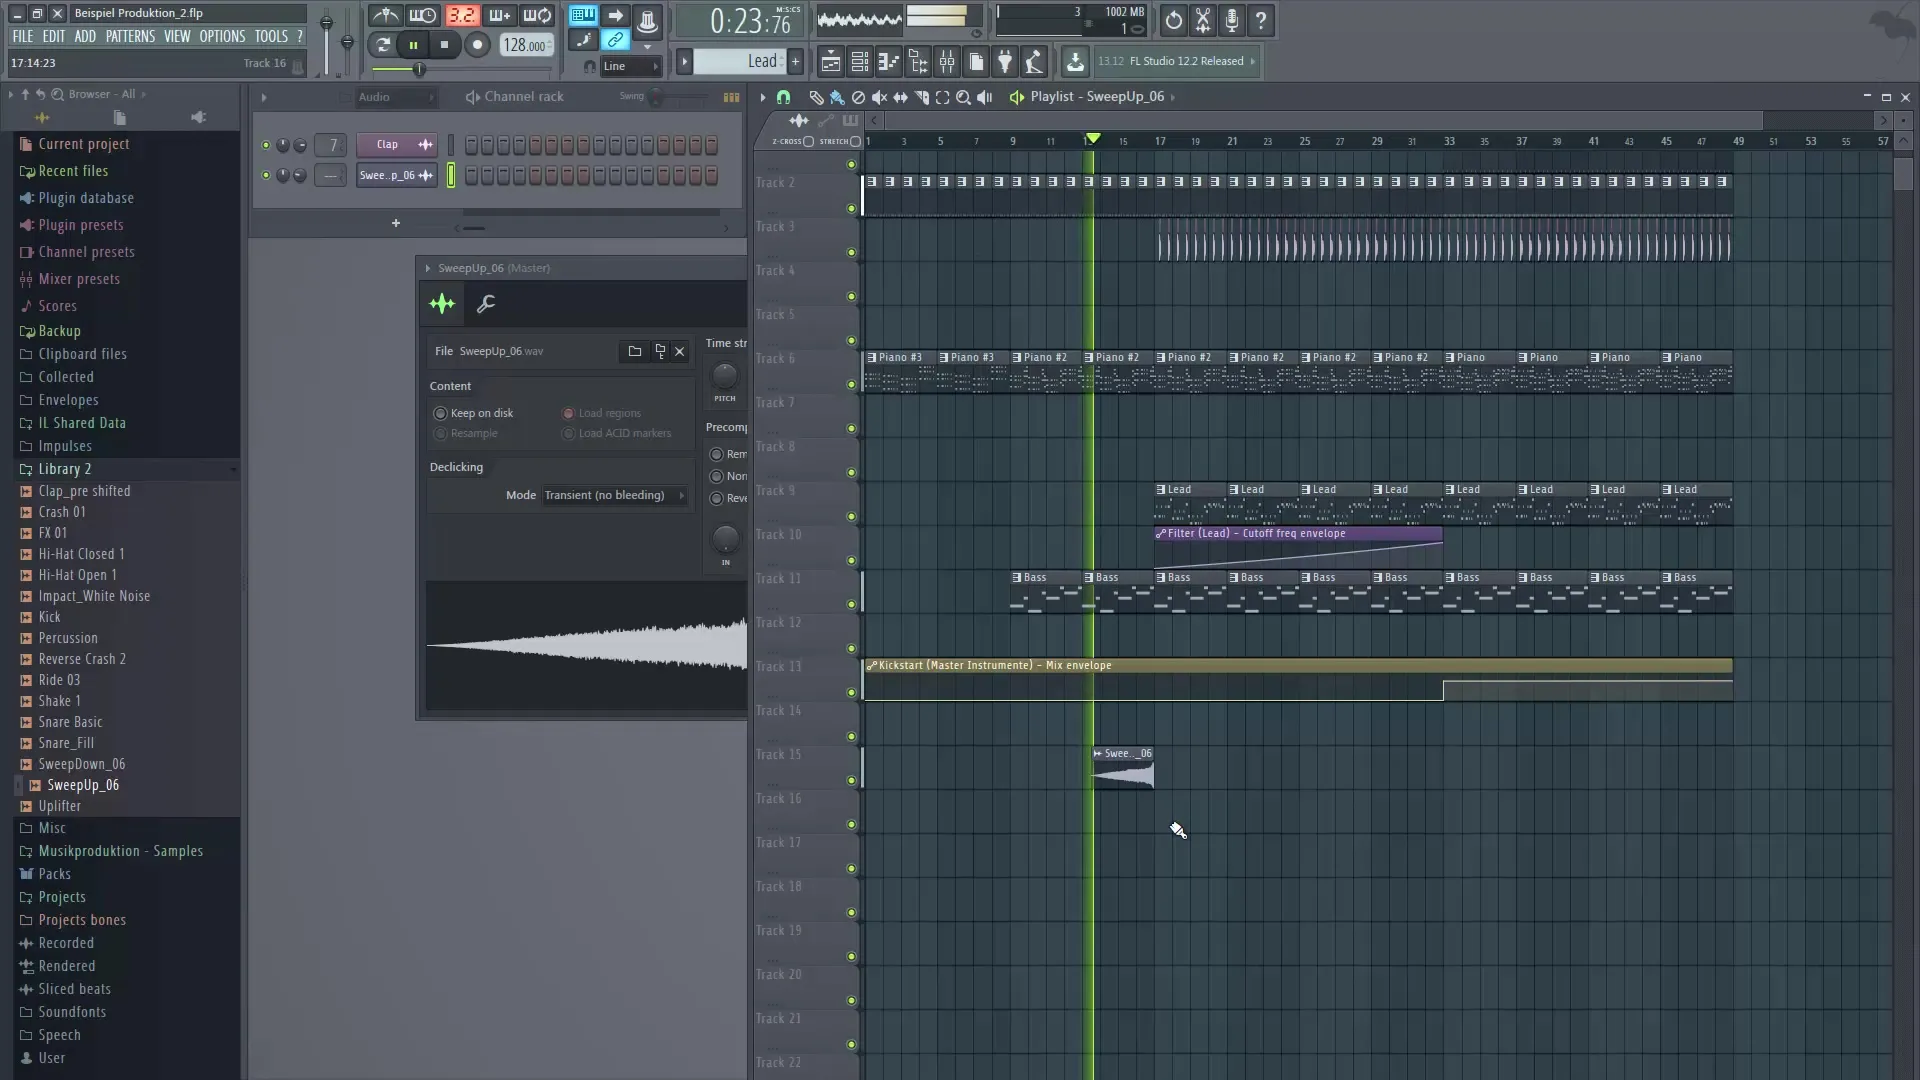
A sweep is a simple effect that is very good for transitions. Activate the sample and adjust the volume to achieve the desired drama.
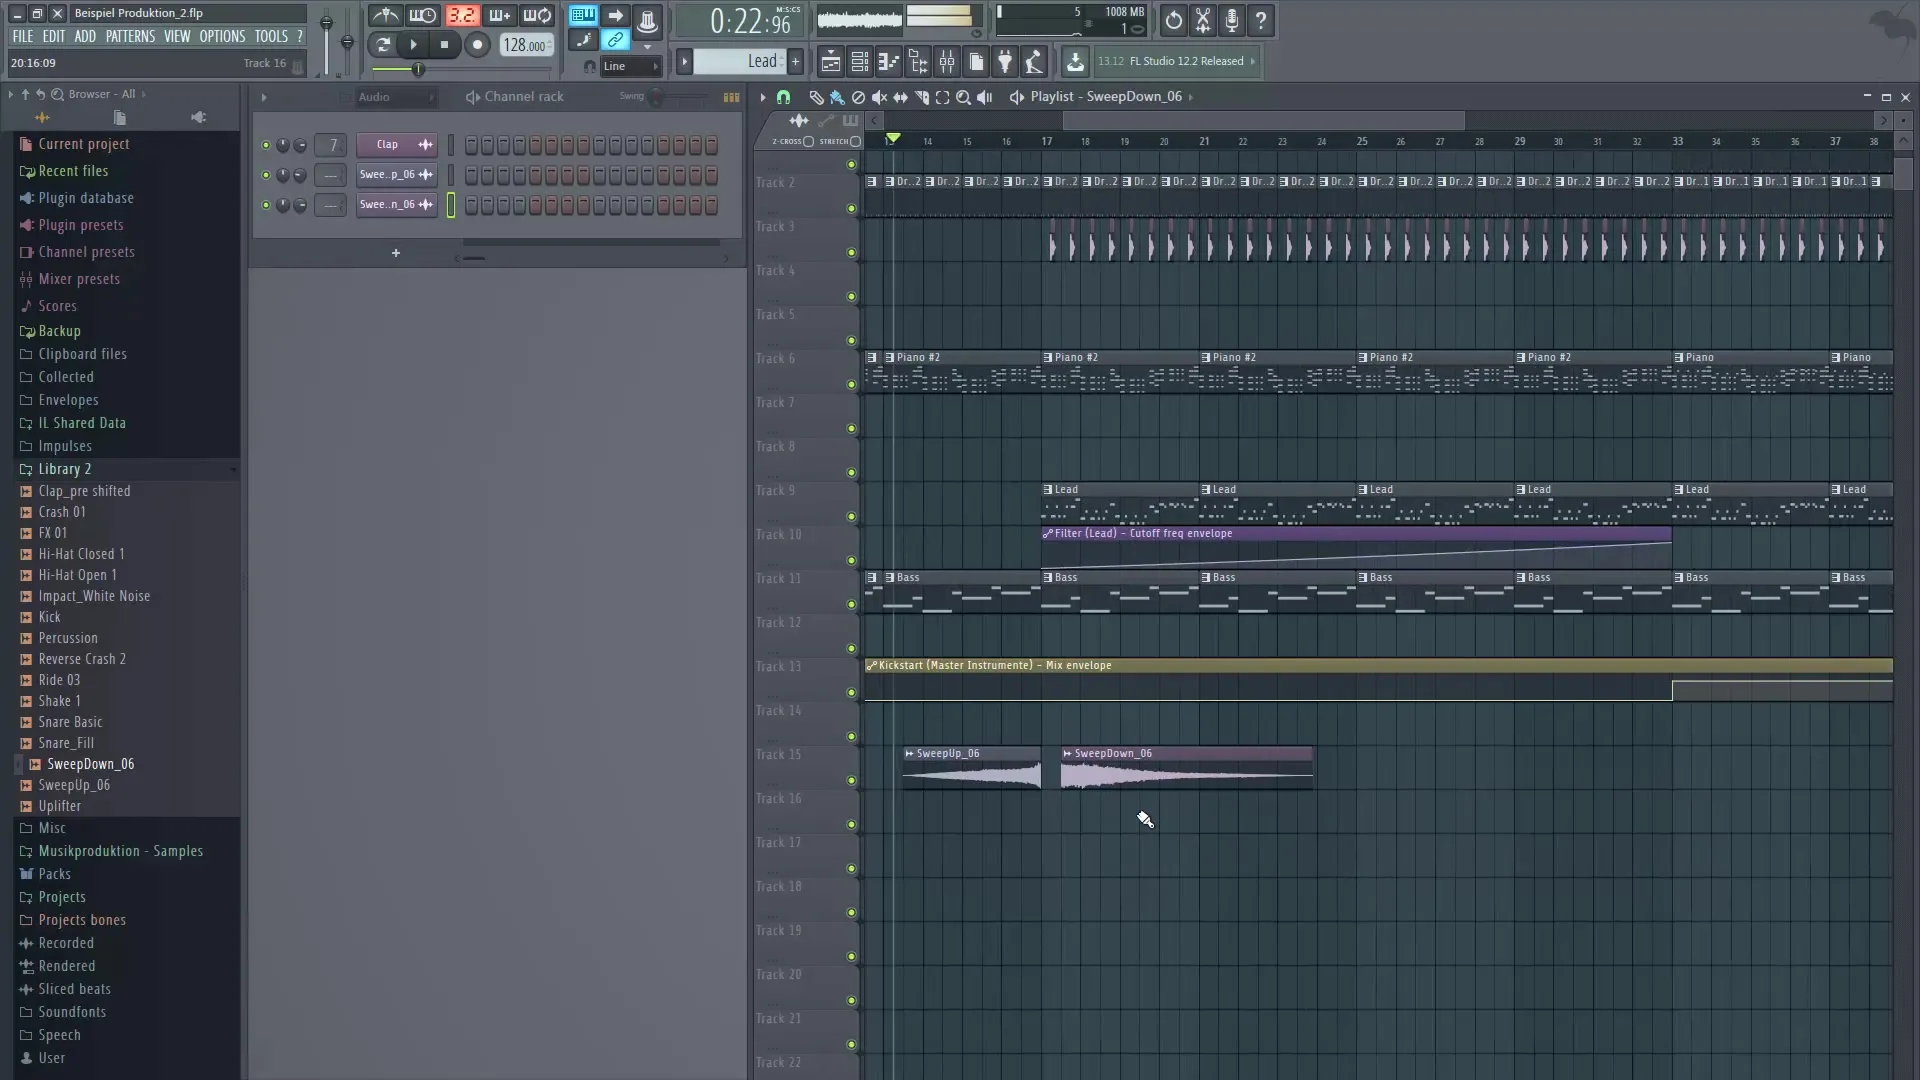
Additionally, you can also add a sweep down, which is ideally placed in the opposite spot.
To make the chorus even more exciting, we will add a snare roll. You can achieve this by creating a new pattern. Name it "Snare" and place the notes in the piano roll to achieve the desired effect.
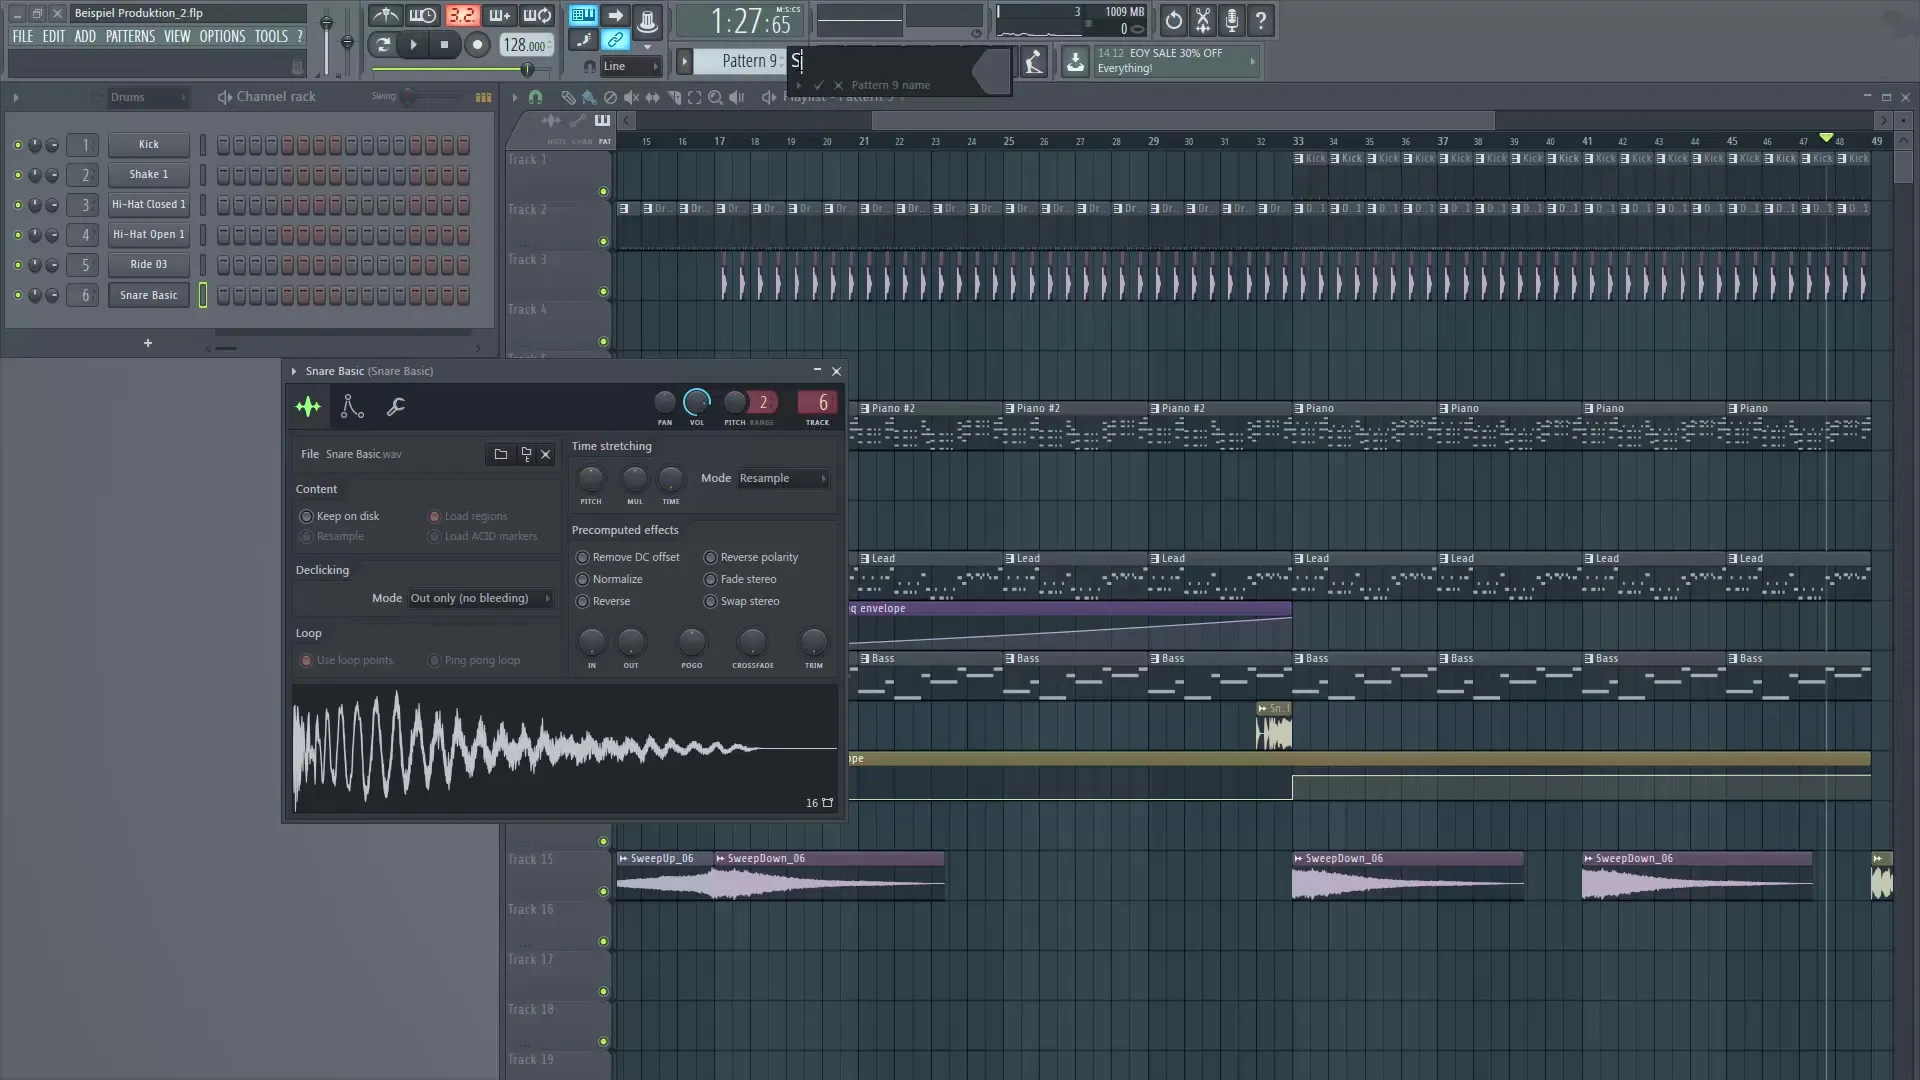
By combining your snare roll and the sweep samples, you already get a simple but effective setup that adds more structure and dynamics to your track. The flow between the various elements is improved, making for an exciting musical journey.
Summary — Digital Music Production with FL Studio: Automation Clips and Effect Samples
In this tutorial, you have learned how to effectively use automation clips and utilize effect samples to enhance the quality of your music production in FL Studio. By applying these techniques, you can make your tracks more dynamic and efficiently optimize your workflow.
Frequently Asked Questions
How do I create an automation clip for native plugins?You can do this by right-clicking on the parameter in the mixer or effect slot and then selecting "Create Automation Clip".
Can I also use external plugins with automation clips?Yes, for that you need to go through a workaround using the "Make Editor" to display and edit the parameters.
Why should I use a master channel for multiple instruments?The master channel saves space in the playlist and simplifies handling, as only one plugin is needed for all instruments.
What are effective samples for transitions?Samples like sweeps or snare fills are excellent for making transitions more exciting and dynamic.
How can I adjust the volume of a sample?You can easily do this by double-clicking on the sample and adjusting the volume in the settings window.
