If you want to unleash your creativity in CINEMA 4D and bring your ideas to life, you are exactly right. This guide is for everyone who already masters some modeling techniques and now wants to learn how to effectively implement creative concepts. We will focus on developing a model that represents a snow blower working through a magical sugar landscape. Your imagination will be supported by real references, and you will receive valuable tips for modeling, texturing, and lighting. Let’s get started right away!
Key Insights
- You can develop creative ideas from real references and combine them with your own imagination.
- The process includes several steps: from sketching to the complete model.
- Understanding basic shapes and their connection is crucial for modeling success.
- It is important to carefully consider the lighting to best showcase the model.
Step-by-Step Guide
Step 1: Finding Ideas
Before you start modeling at all, it is important to have a clear idea of your concept. Imagine you are sitting at your computer on a Saturday afternoon with an innovative concept in mind. You want to design a snow blower that looks futuristic and has special features. The idea is to shape this machine so that it is both functional and aesthetically appealing.

Step 2: Searching for References
To concretize your idea, it is helpful to find visual references. You could research in online databases or look at photos of real snow blowers. These references will help you understand the shape and function of your model. Remember that you not only want to depict reality, but also want to let your own creativity run free.
Step 3: The First Sketch
Now take some time to transfer your thoughts into a rough sketch. Sketch different views of your snow blower – front view, side view, and perhaps also a perspective view. These sketches are the first step to making your ideas tangible.
Step 4: Initial Shaping in CINEMA 4D
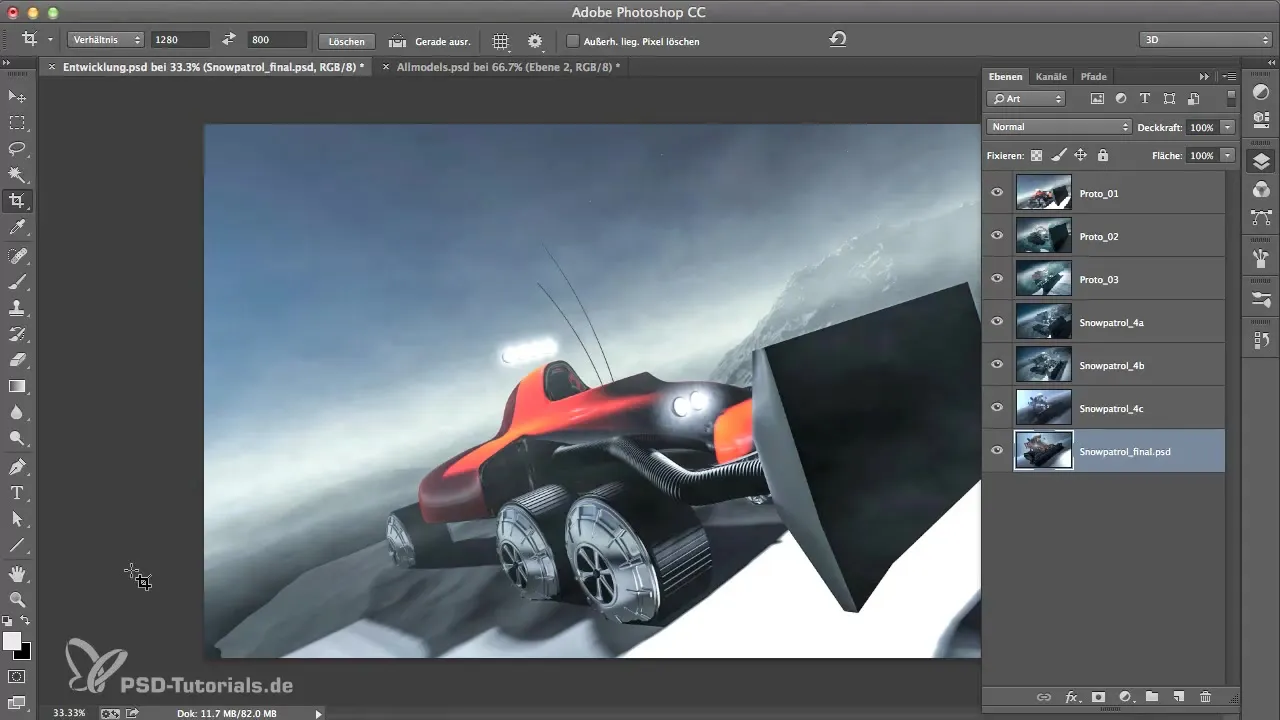
Now start CINEMA 4D and begin with the modeling. Start with the base structure of your snow blower. It is important to use simple geometric shapes that you can adjust later. Consider which geometric foundations you need for your model and how these will be combined.
Step 5: Adding Details
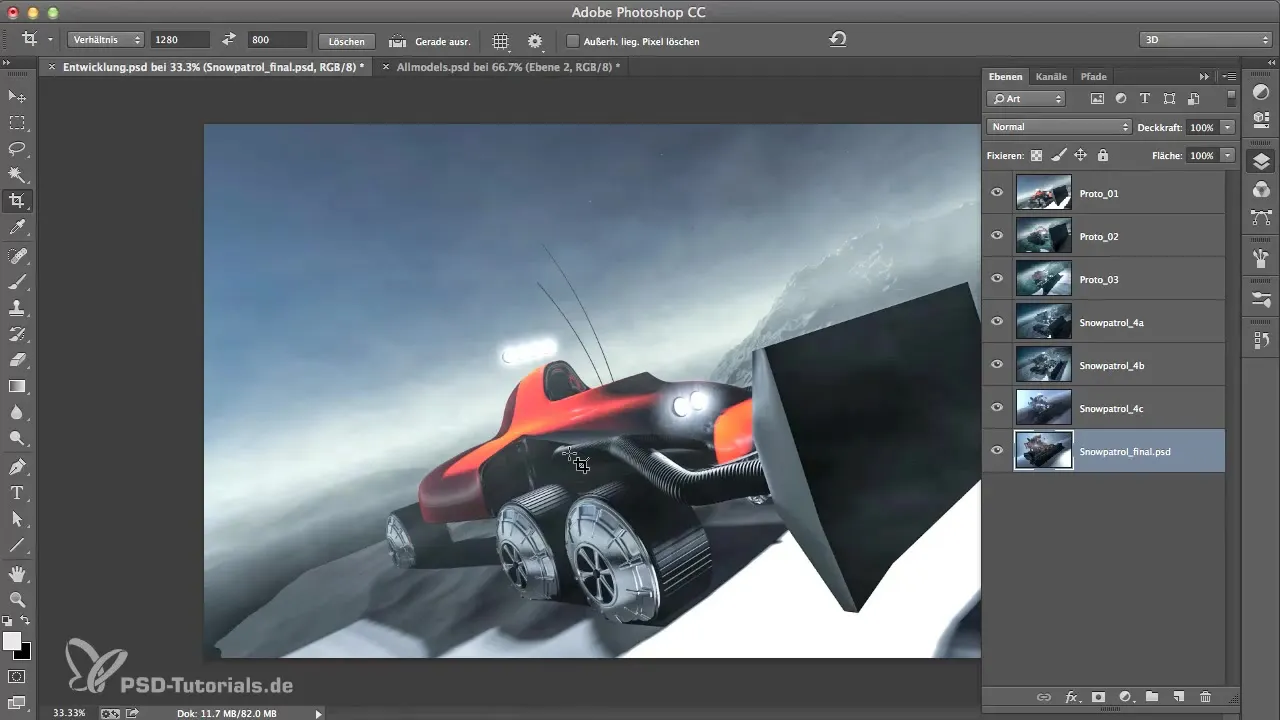
Once you have the basic shape, start adding details. This could include the shovel of the snow blower or special aerodynamic elements. Think about how these parts should function and integrate this into your design.
Step 6: Texturing
An important aspect of your model is texturing. Think about the materials you want to use. Should the snow blower be made of metal, plastic, or another material? Choose appropriate textures and apply them to your model to make it appear more realistic.
Step 7: Lighting Setup
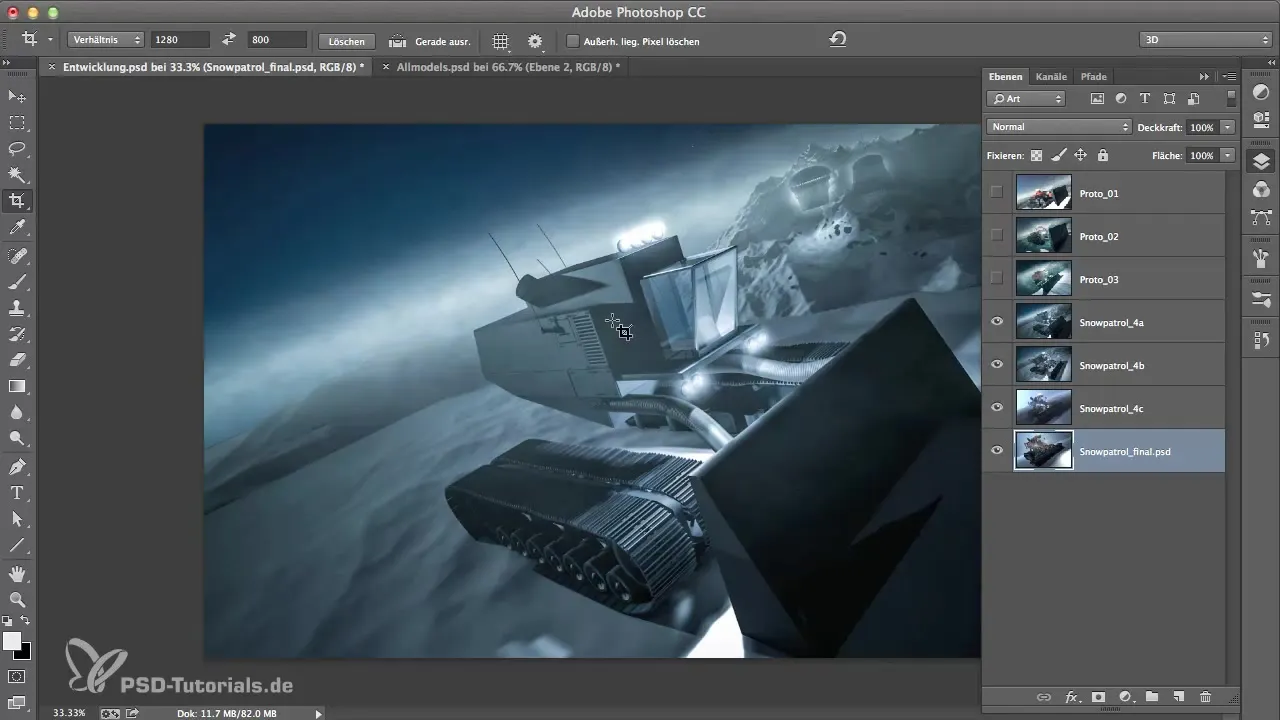
The lighting setup is the final touch for your model. Experiment with different light sources and their positioning to achieve the best effects. Think about how the light reflects off your model's materials and highlights the desired parts.
Step 8: Finalizing the Model
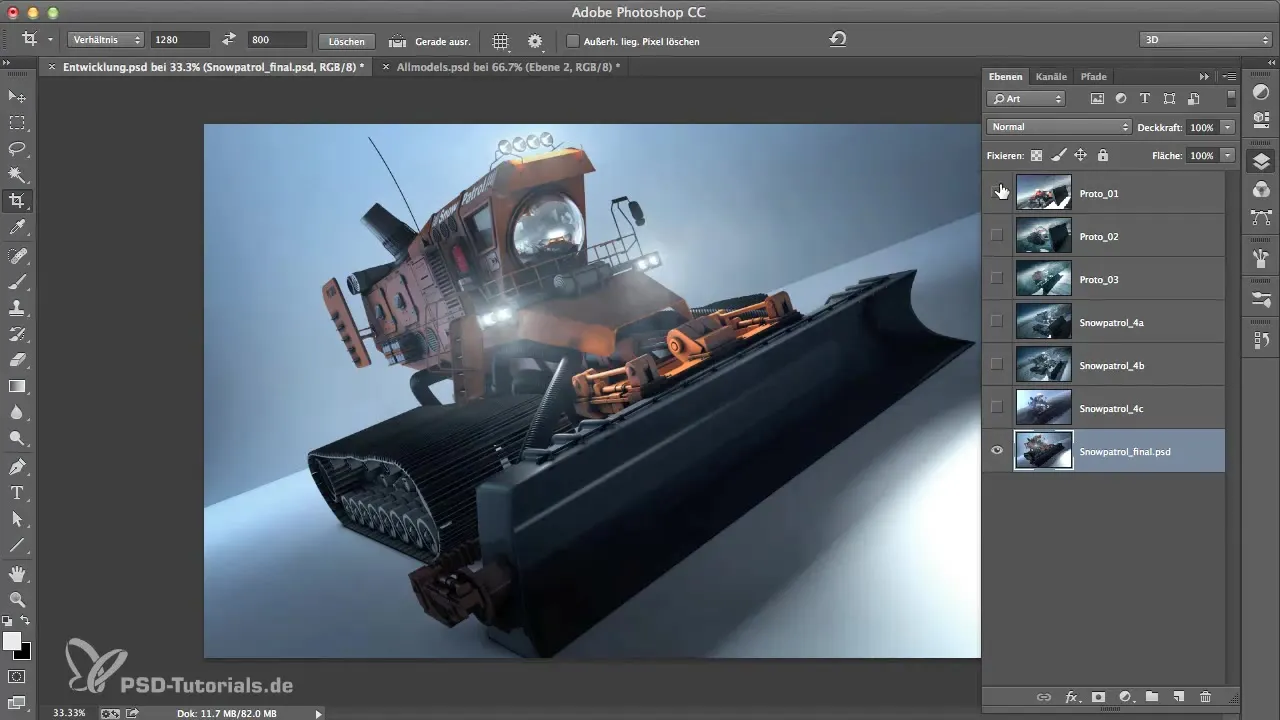
Now that everything is put together, take a detailed look at your model. Make sure everything looks harmonious and the details are consistent. Go through the various aspects of the model to ensure that it achieves the desired result.
Summary - Project Development with CINEMA 4D: From Idea to Final Model
With the right approach, you can go from your original idea to an impressive and imaginative model. Remember that every phase is important – from sketching the first idea to the correct lighting setup. Work creatively and try out new ideas to create your best work.
Frequently Asked Questions
How do I start finding ideas?Sit at your computer, think of a concept, and sketch your idea.
What role do references play?References help you understand the shape and function of your model.
How important is texturing?Texturing makes your model more realistic and gives it depth.
How do I use light correctly?Experiment with different light sources to achieve the desired effects.
What software do I need?For this tutorial, you need CINEMA 4D.
