Working with materials in CINEMA 4D opens up numerous creative possibilities for designing your 3D models. In this tutorial, I will show you how to efficiently apply materials to objects and when to choose which method. We will take a look at different mapping techniques and go through the process step by step.
Key Insights
- CINEMA 4D offers various methods for applying materials: from simple colors to graphics and complex textures.
- You can efficiently create, adjust, and apply materials to your objects.
- The choice of the right method depends on your specific project and the desired effects.
Step-by-Step Guide
1. Create and Adjust Material
To create materials in CINEMA 4D, click on the material manager and create a new material. Give it a name, e.g., "Pipes," and adjust the color. Make sure to activate the appropriate channels.
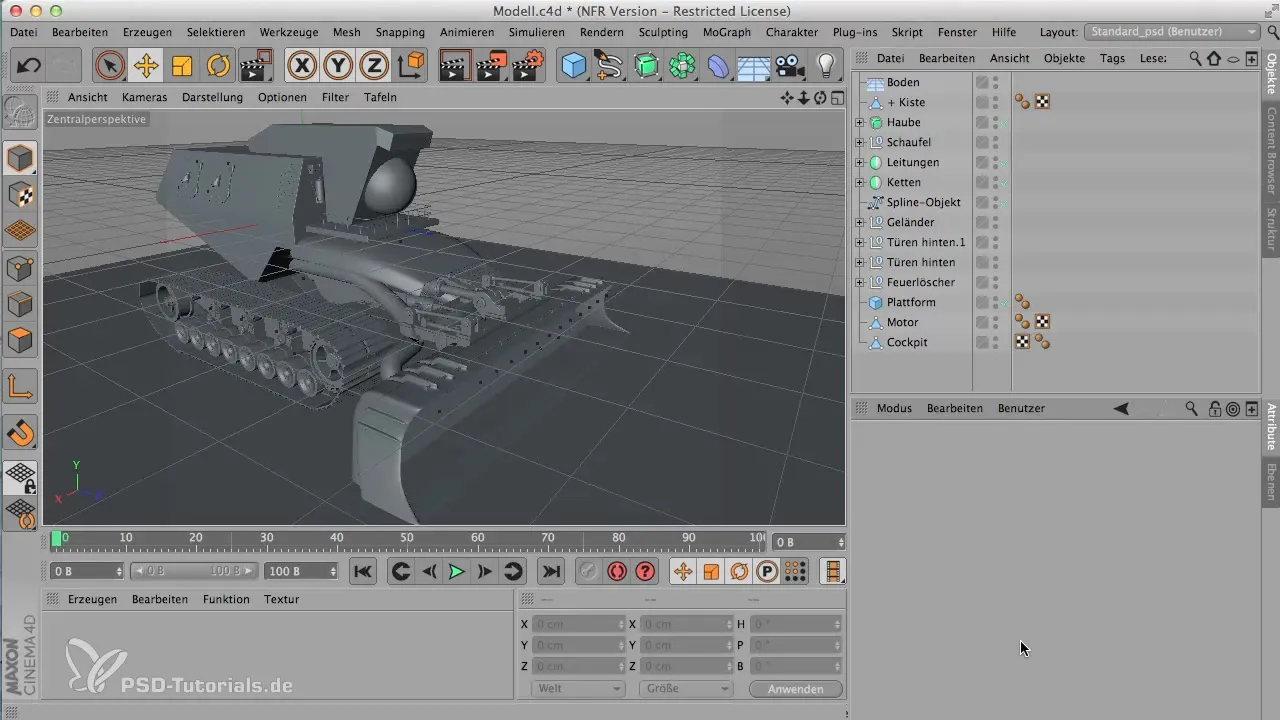
2. Use Displacement Channel
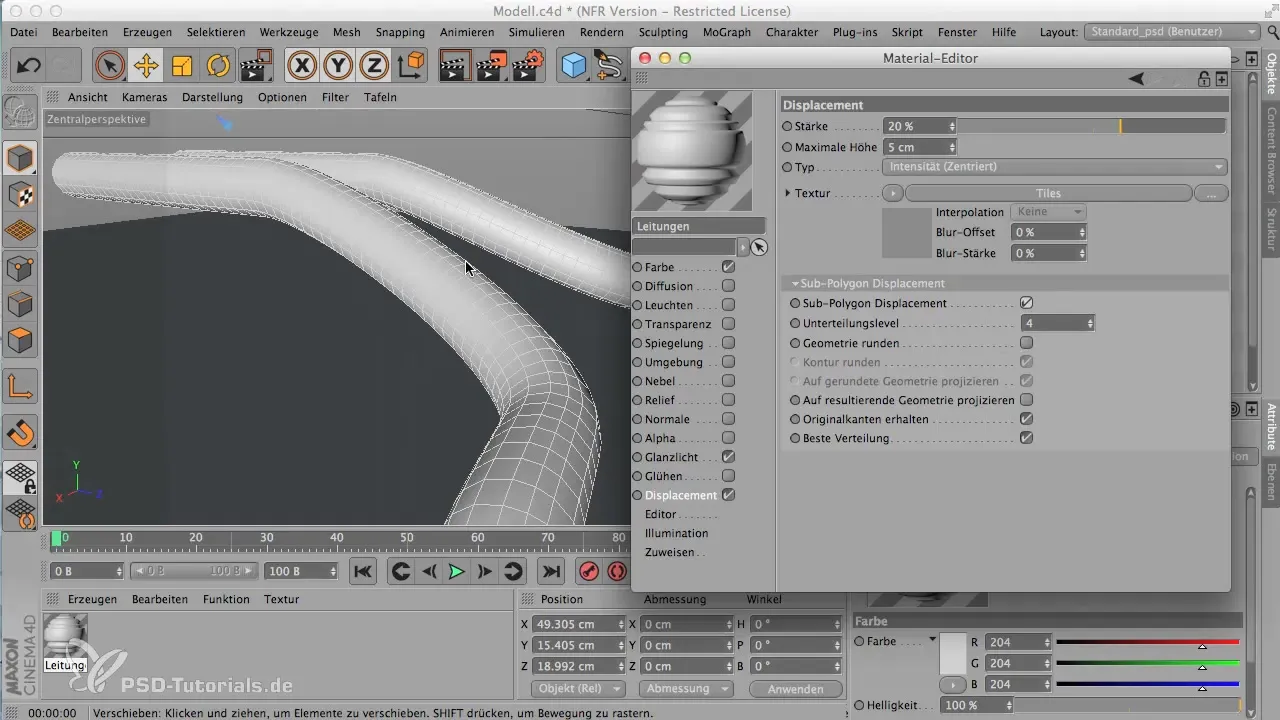
For a realistic appearance of hoses, keep the Displacement channel active. You can add various textures in the Displacement channel to alter the shape and achieve the desired effect. For example, use a line pattern.
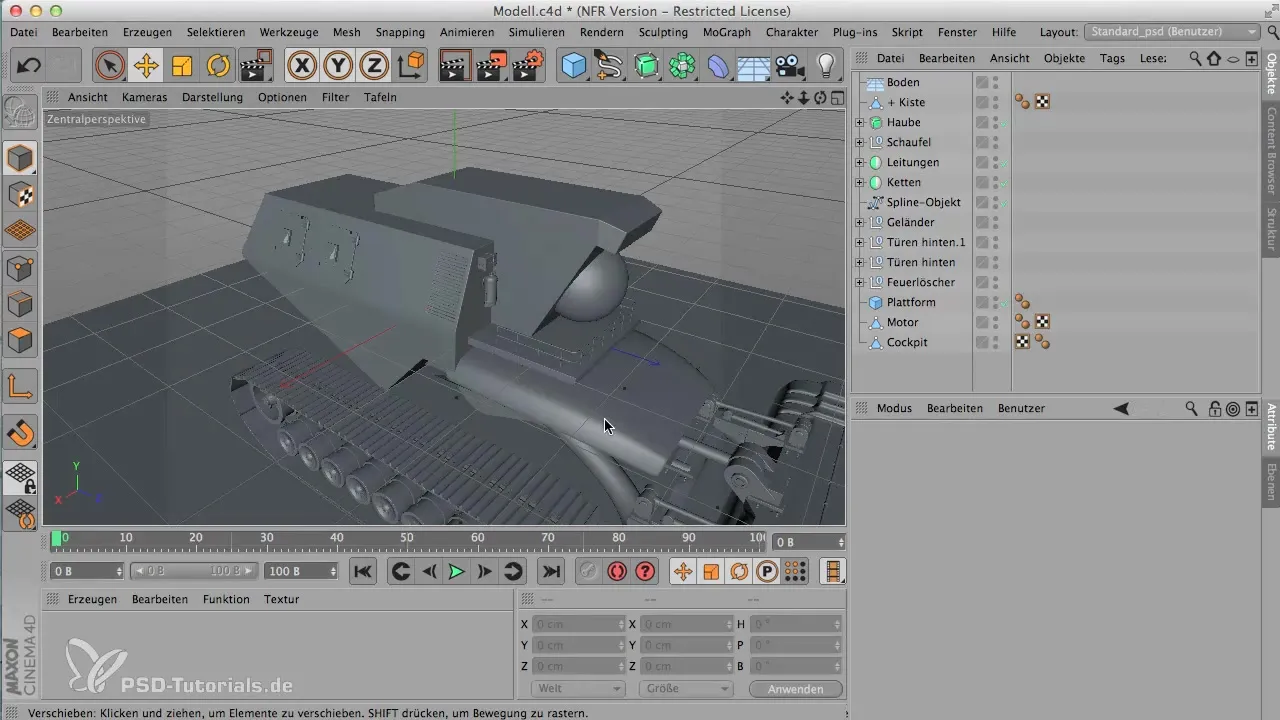
3. Select Object and Assign Material
Select your object and drag the new material over the object or assign it in the object manager. Make sure to apply it to the correct facet of the object.
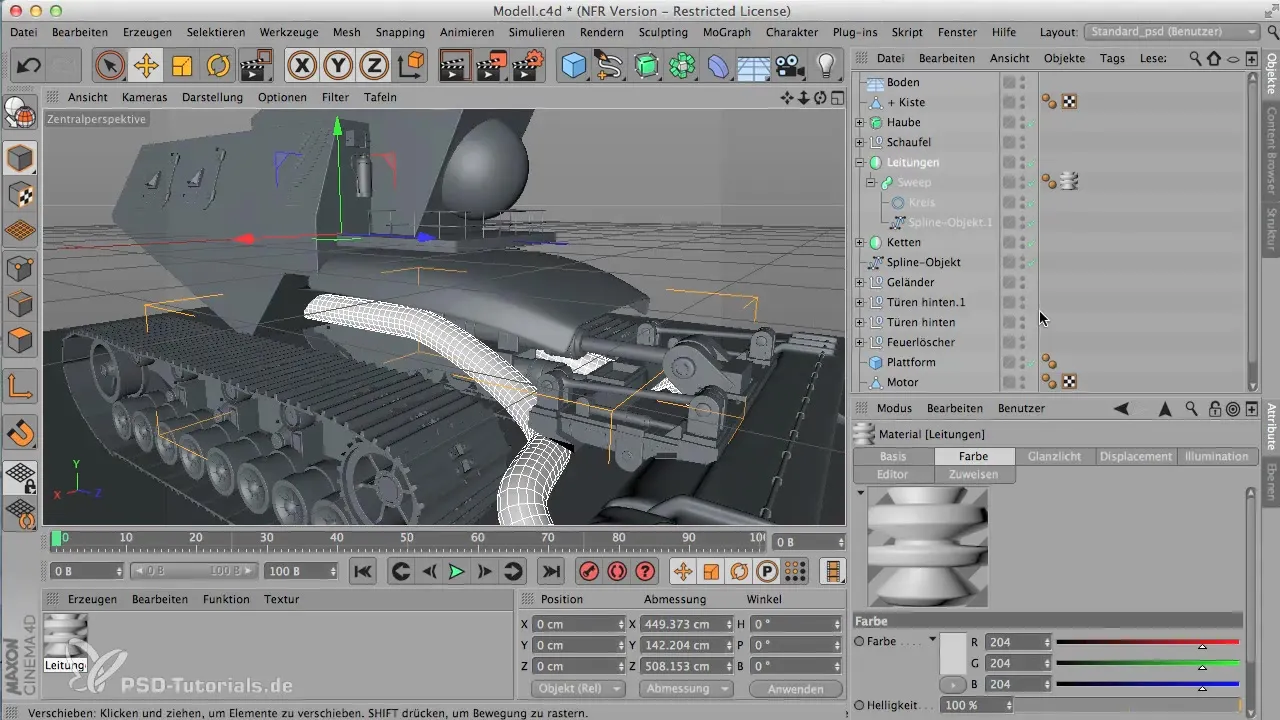
4. Fine-tuning the Displacement
To refine the appearance, you can adjust the maximum height and strength in the Displacement channel. Gradually reduce the values and check the result.
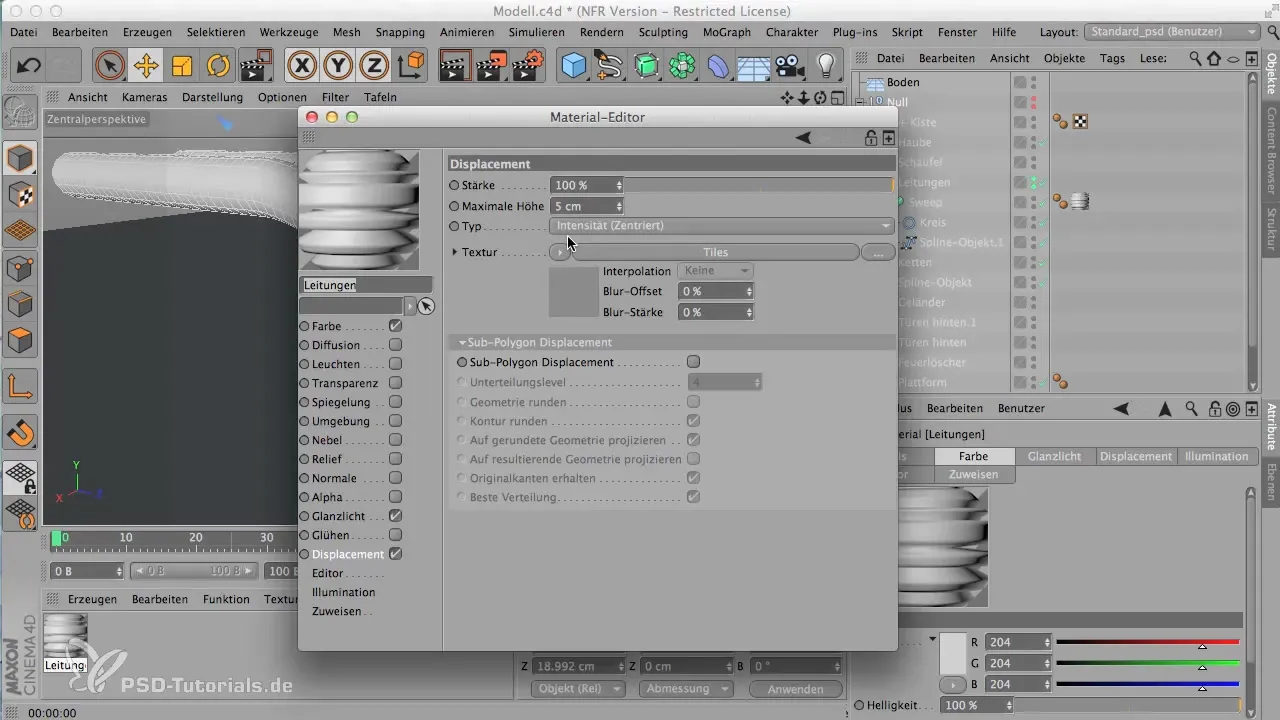
5. Enable Polygon Subdivision
Activate the polygon subdivision (Subdivision). This ensures that the displacement is applied efficiently to the geometry. The subdivision should be set to at least level 4.
6. Combine Materials and Textures
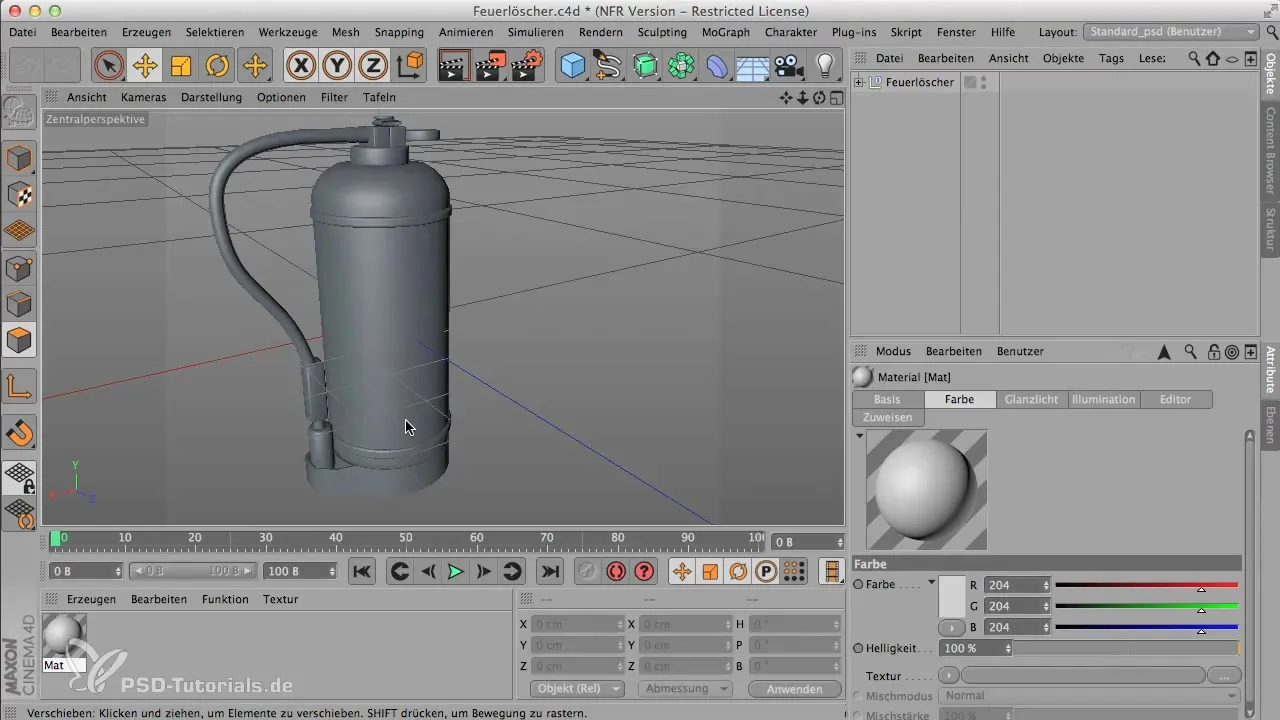
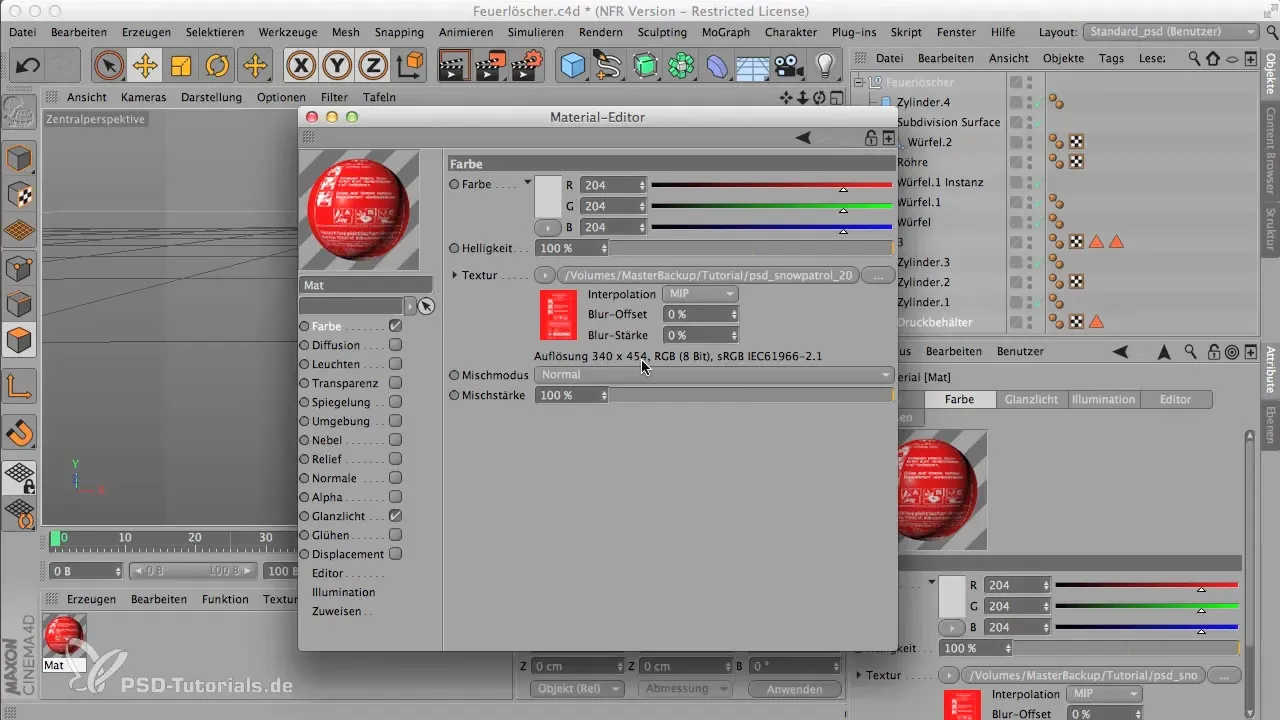
For more complex models like a fire extinguisher, you can use graphics as textures. Load an appropriate graphic into the color channel and project it onto your model.
7. Selection for Specific Areas
To apply a graphic only to specific parts of a model, you can create a selection and use it for the texture. Make sure the proportions of the graphic match the surface area.
8. Use Bodypaint for Detailed Work
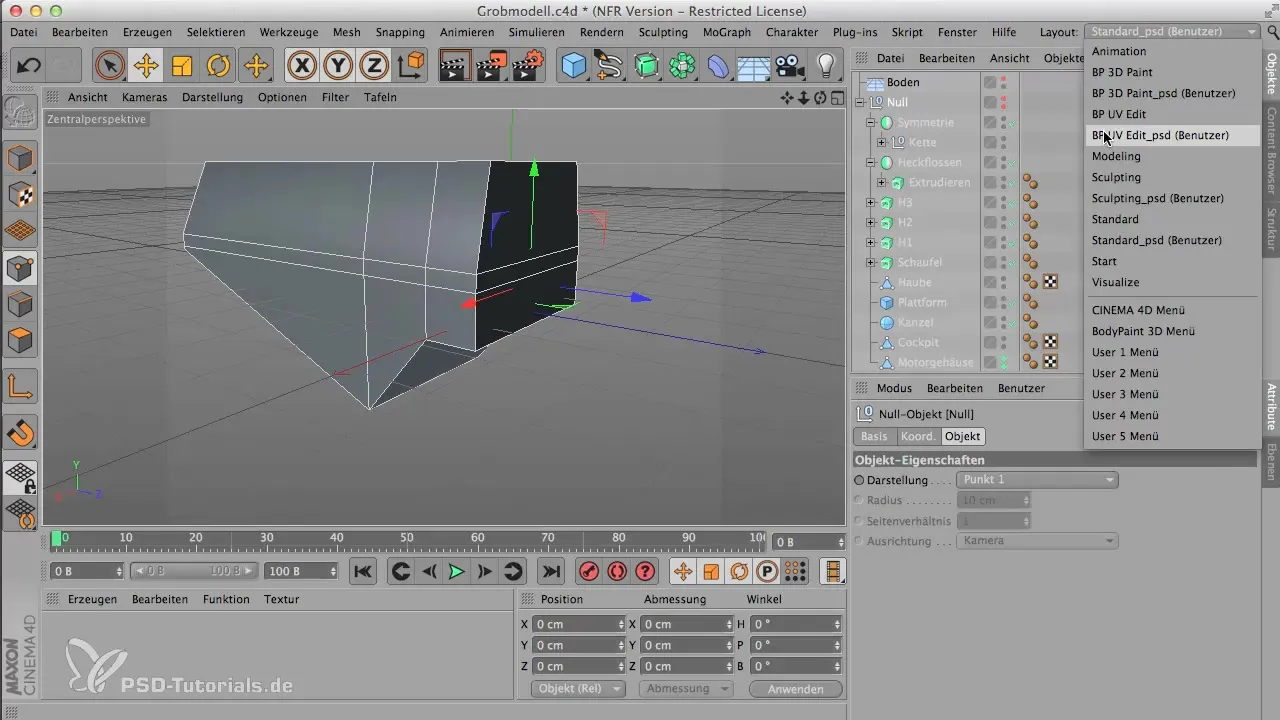
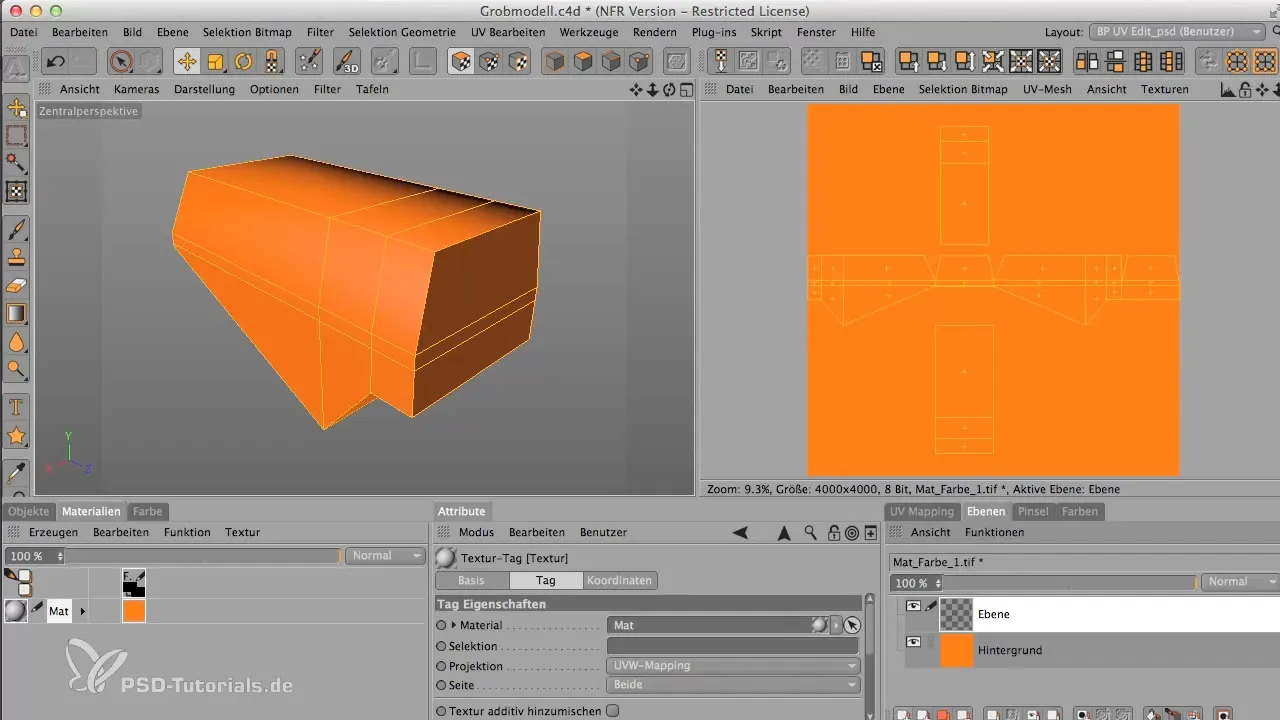
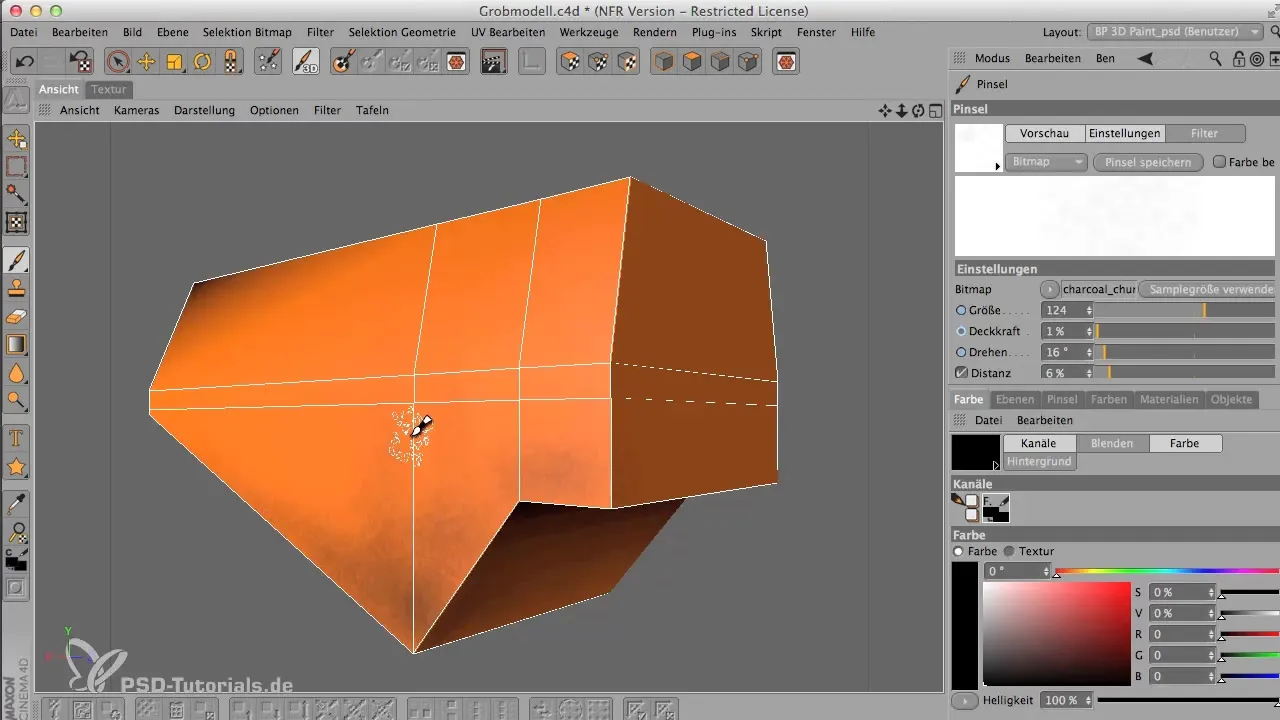
If you want even more detailed and creative results, you can use Bodypaint. This tool allows you to paint directly on your 3D model and even adjust UV layouts.
9. Manage Layers in Bodypaint
In Bodypaint, you can use multiple layers, similar to Photoshop. Use different creation modes to combine colors and effects without losing the original texture.
10. Finalizing and Rendering
After applying and adjusting all materials, it’s time to render your project. Ensure that all settings are correct and that the rendering process runs smoothly.
Summary - Focus on Materials: Step-by-Step Guide in CINEMA 4D
Creating materials in CINEMA 4D is an essential part of 3D development. With various techniques and tools, you can achieve impressive results. Use the steps described here to take your projects to the next level.
Frequently Asked Questions
What are the best methods to create materials in CINEMA 4D?There are several methods, including standard materials, textures from external programs, and Bodypaint for complex designs.
How can I efficiently assign a material to an object?Simply select the material in the material manager and drag it onto the desired object or use the assignment function in the object manager.
What role does the displacement channel play?The displacement channel ensures that textures and patterns are incorporated into the geometry of the object, resulting in a more realistic appearance.
How does the UV map work in Bodypaint?The UV map assigns the 2D surfaces of a texture to the 3D points of the model, allowing you to paint on specific surfaces.
What are the advantages of using Bodypaint?Bodypaint allows you to paint directly on 3D objects, leading to more creative designs and opening up many options for texturing.


