The design of a model often starts with the conceptual phase, where you think about the shape and functionalities. In this guide, I want to show you how to develop an effective design in CINEMA 4D that is both aesthetically pleasing and realistic. We will deal with finding references and templates and ultimately create a plan for the implementation of your idea.
Key Insights
- The use of references is crucial for a credible design.
- A functional design should be prioritized.
- Details and context are essential for enhancing realism.
Step-by-step Guide
1. Find a Source of Inspiration
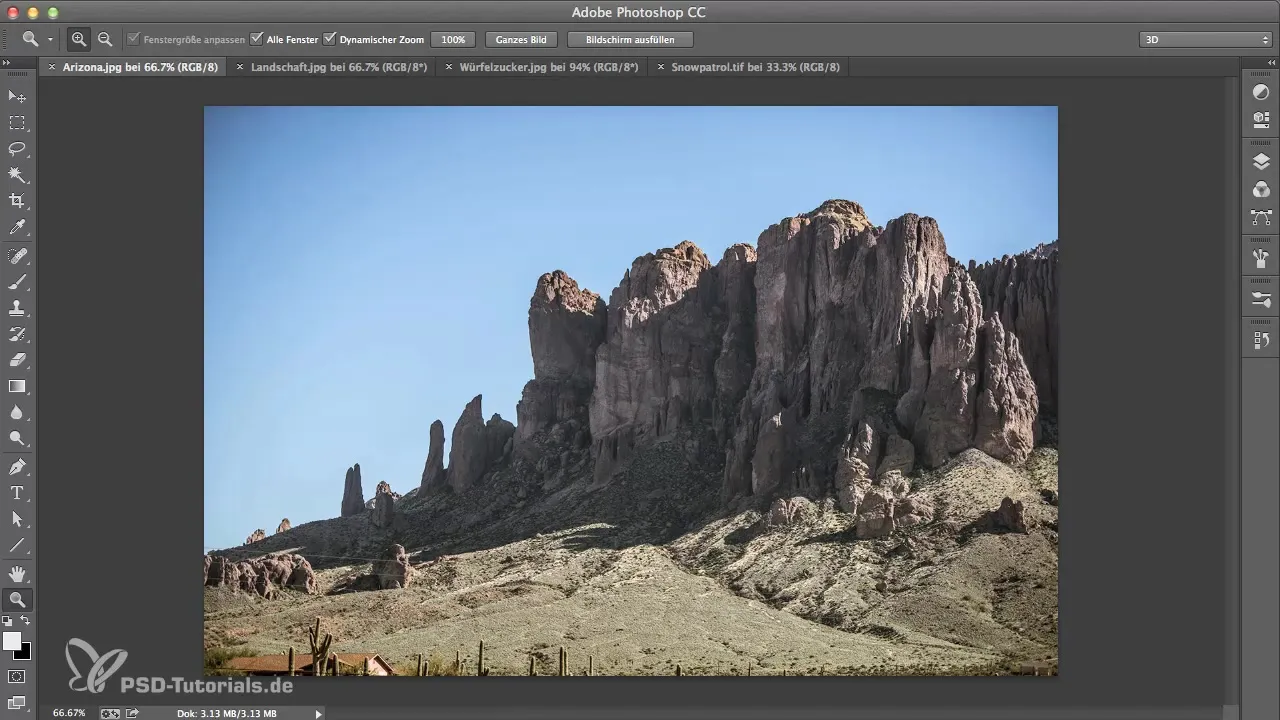
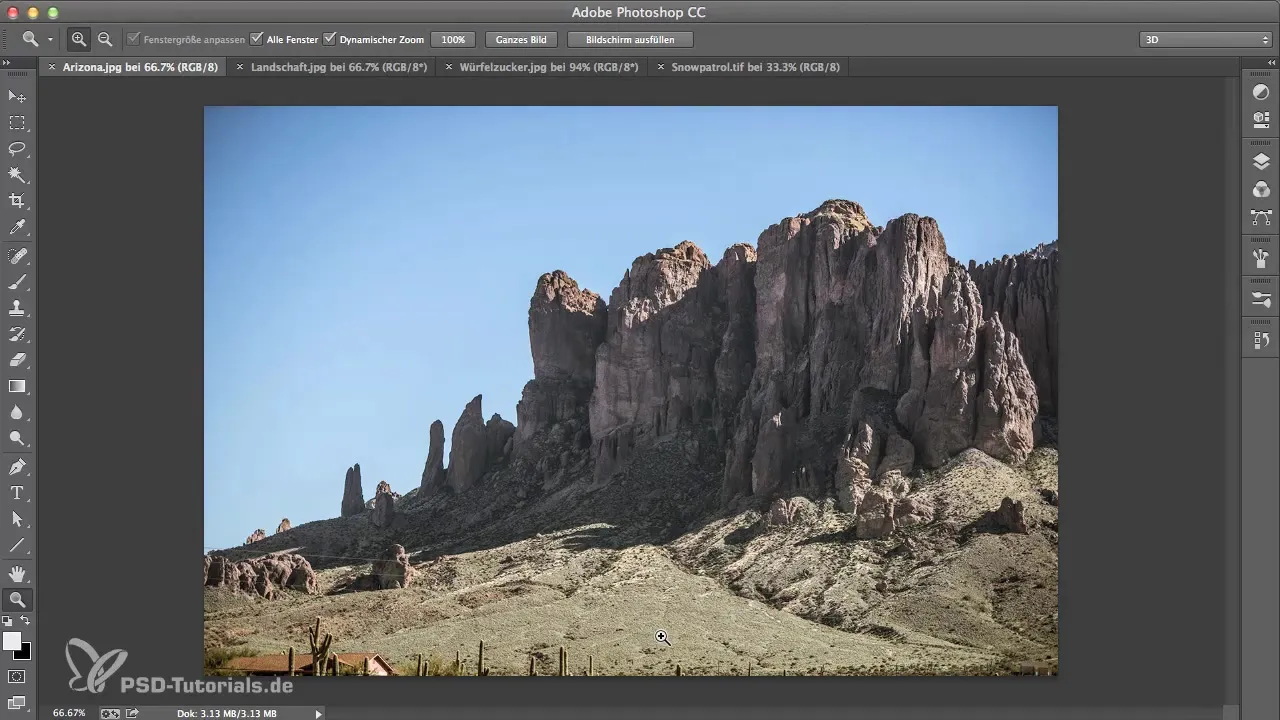
Before you start designing your model, it is important to collect inspiring references. Start by looking for images of landscapes or objects that can bring your idea to life. This helps you get a feel for the shape and context of your design.
2. Select Solid References
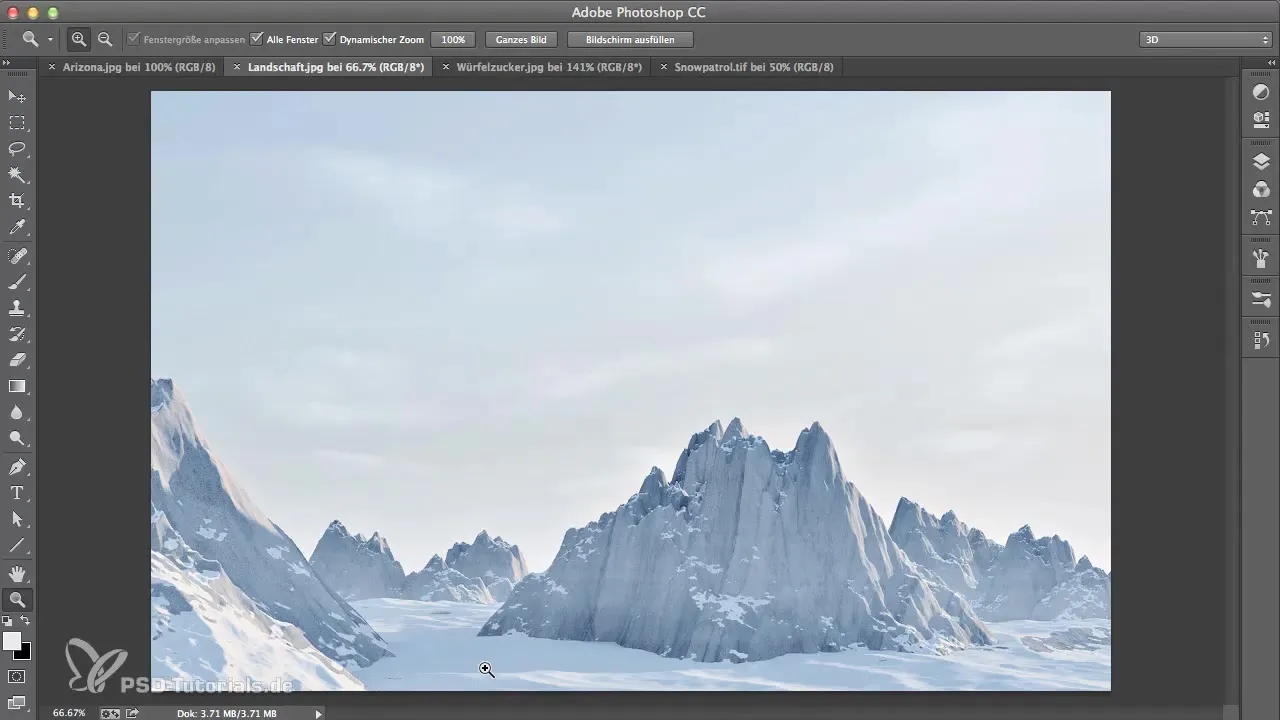
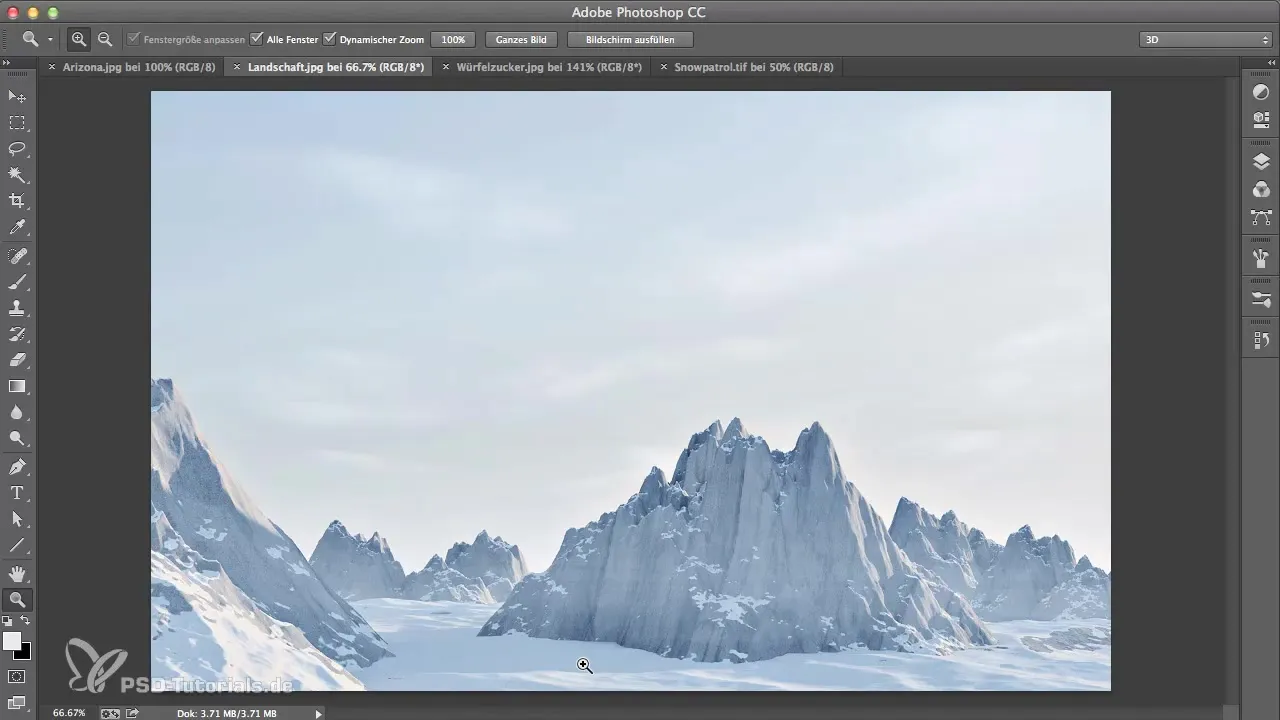
Not every reference is equally suitable. Keep in mind that the context of your model is important. Ensure that your chosen images fit the setting of your object. For a snow vehicle, an arctic landscape would be the most convincing.
3. Visualize the Setting
After you have gathered some references, the next step is to create a clear picture of how your object will look in its environment. You can combine several screenshots or photos to create a consistent visual language.
4. Define Functionality
Now it gets serious: The functionality of the design plays a major role. Every element of your construction should be recognizably functional. Think about how different parts work together and what technical details are important.
5. Add Details
Details are the key to every 3D visualization. Add as many relevant details as possible, whether through small objects or textures that give your design more depth and credibility. Use real-world examples to get accurate ideas.
6. Model and Plan
Now you have a solid foundation to start modeling in CINEMA 4D. Begin with the basic shapes and gradually work out the details. Plan the sequence of steps to make the process smoother.
7. Assemble Elements
Once the individual components are successfully created, it is time to put them together. Make sure that the proportions are correct and that everything works well together. Pay special attention to the connections between the different parts.
8. Rendering and Final Touches
To get the most out of your model, move on to the final step: rendering. Make sure that light, shadow, and materials are optimally set to bring your design to life.
9. Gather Feedback
Before considering the project complete, get feedback from friends or colleagues. Fresh eyes often help to identify problems that you might have overlooked.
10. Revisions and Final Adjustments
Take the feedback you received seriously and do not hesitate to make changes. The final tweaks can be crucial in determining how professional your design appears.
Summary - Project Development in CINEMA 4D - From Design to Implementation
In this guide, you learned how important it is to start with a solid idea and effective references. Through careful planning and adding details, you were able to create a credible 3D model. Remember to check each element for functionality and to use feedback from others to optimize your final product.
Frequently Asked Questions
How do I find the best references for my project?Look for images that provide similar starting conditions and give your object the right context.
What software can I use to support my designs?Photoshop is helpful for visually merging ideas and creating templates.
How much time should I invest in working on details?Invest enough time in the details to give your model credibility and depth.
What is the most important step in the design process?The most important step is the one where you define the functionality of your design and ensure that everything works well together.
