The targeted implementation of a design or model in CINEMA 4D starts with a rough model. This model helps you develop a visual sense of the design, allowing you to establish the basic proportions and shapes before diving into the details. A rough model is created with simple forms that are easily adjustable and lays the foundation for the next phase of modeling.
Key Insights
A rough model forms the basis for more detailed designs. Make sure the proportions and main shapes are correct before proceeding to the detail work.
Step-by-Step Guide
1. Preparing the Rough Model
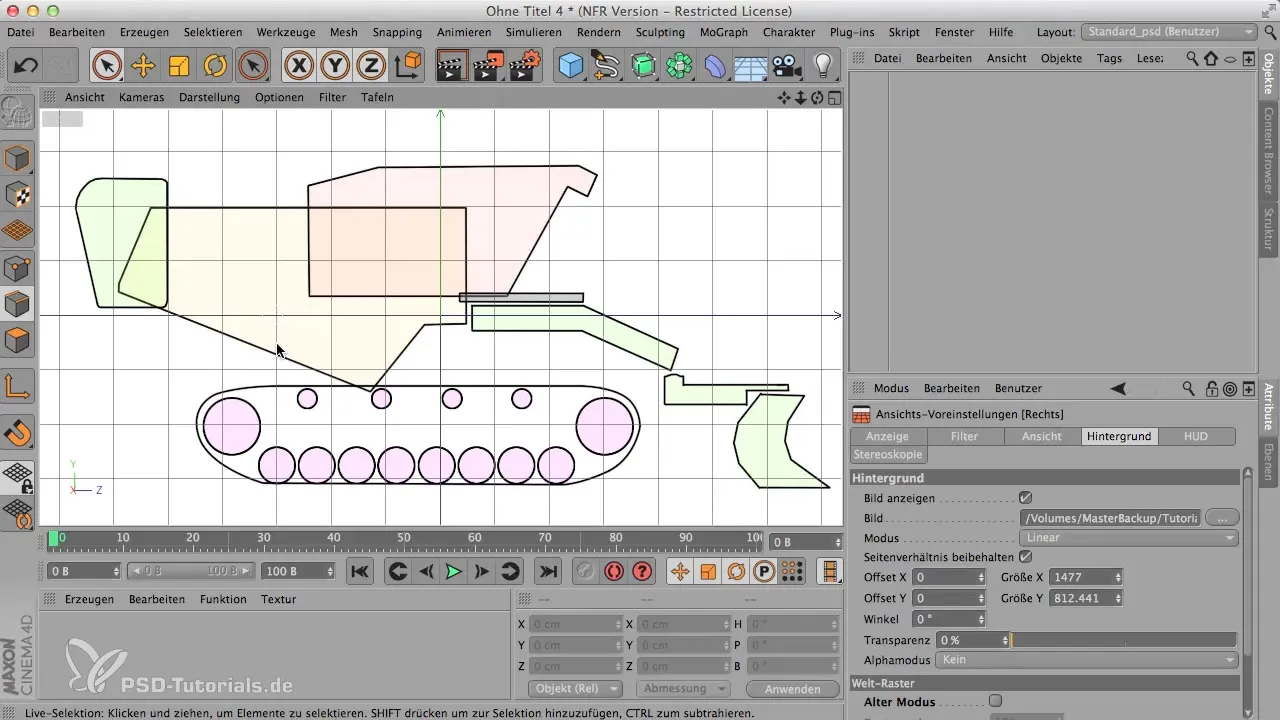
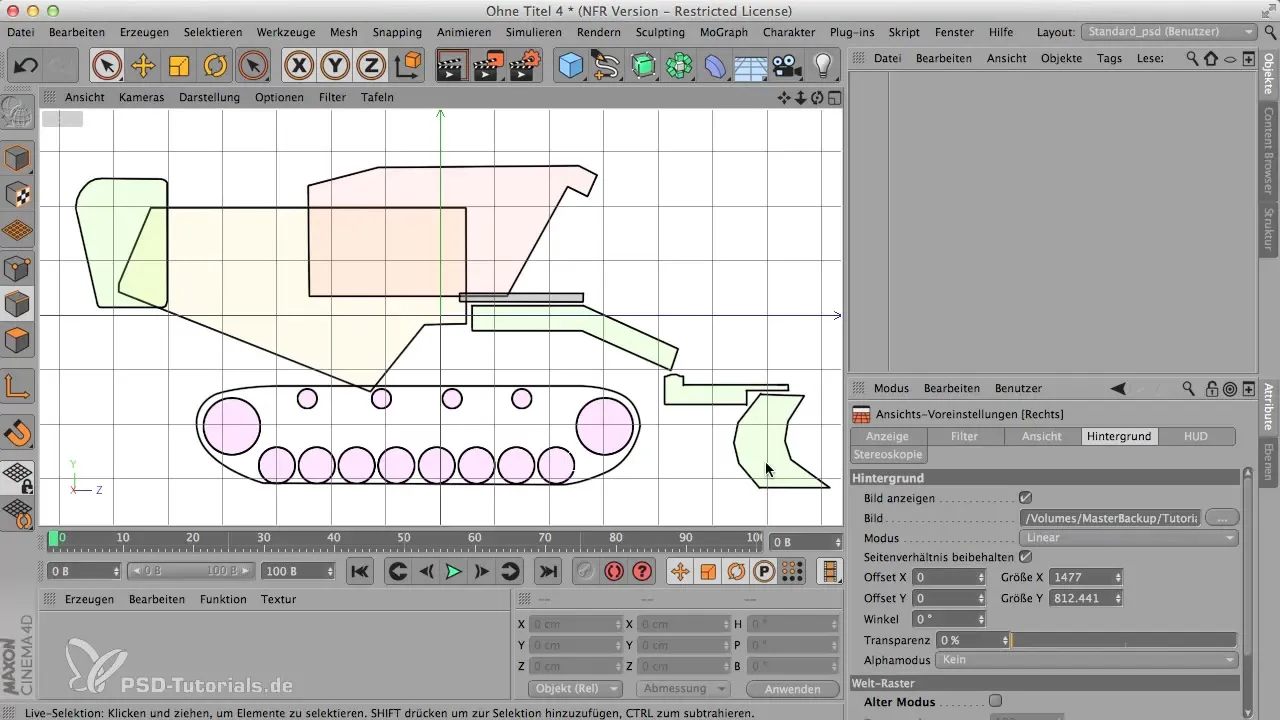
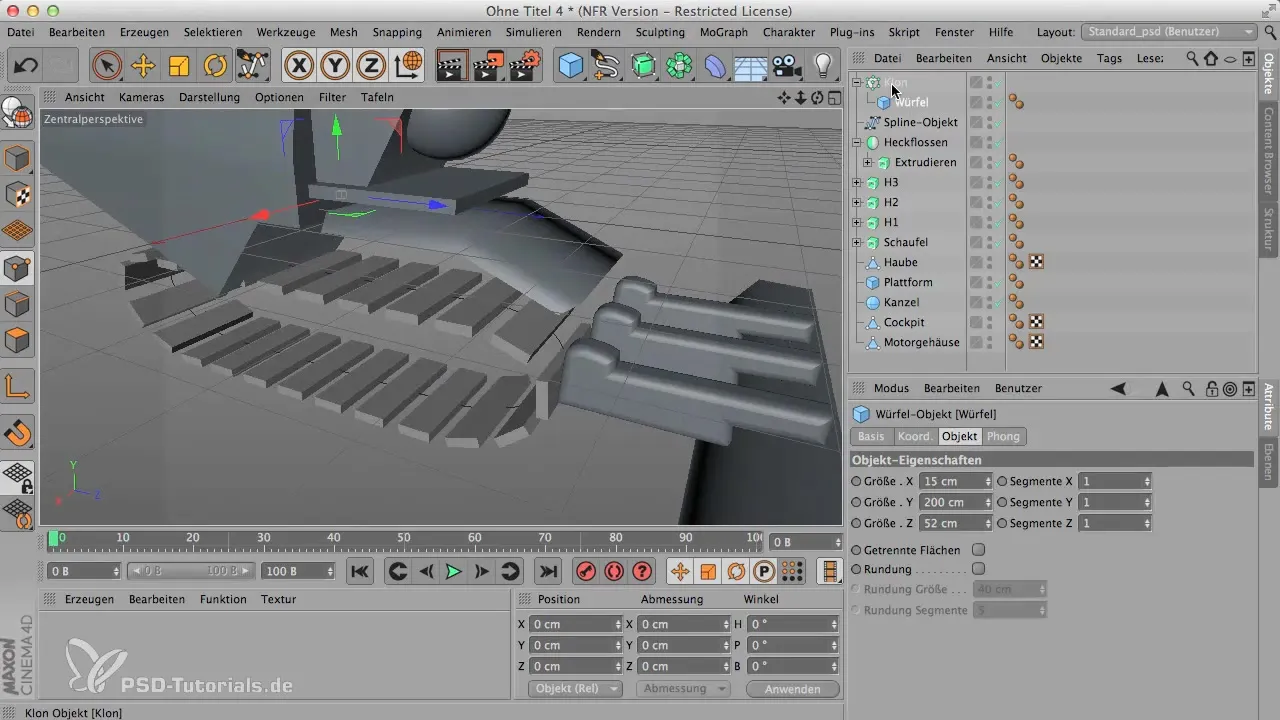
At the beginning, you need an overview of the components of your model. In this case, the rough model includes an engine housing, a cockpit, wheels, and wings.
2. Creating the Engine Housing
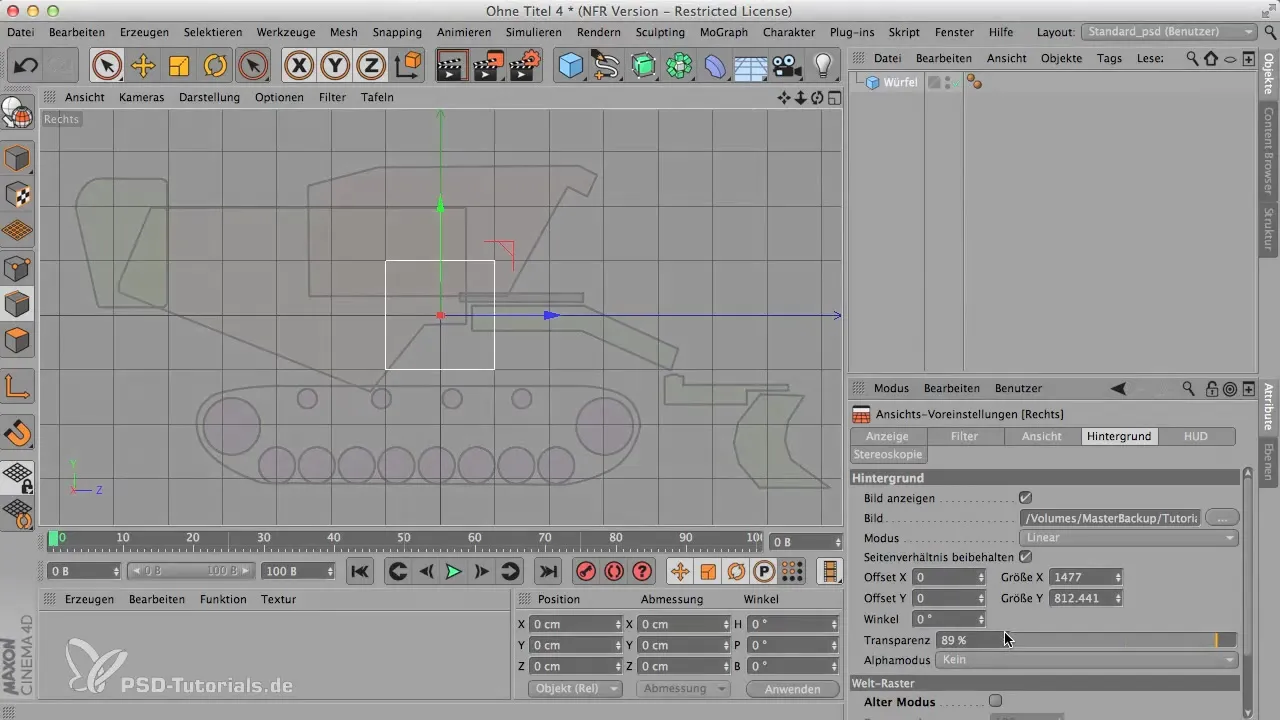
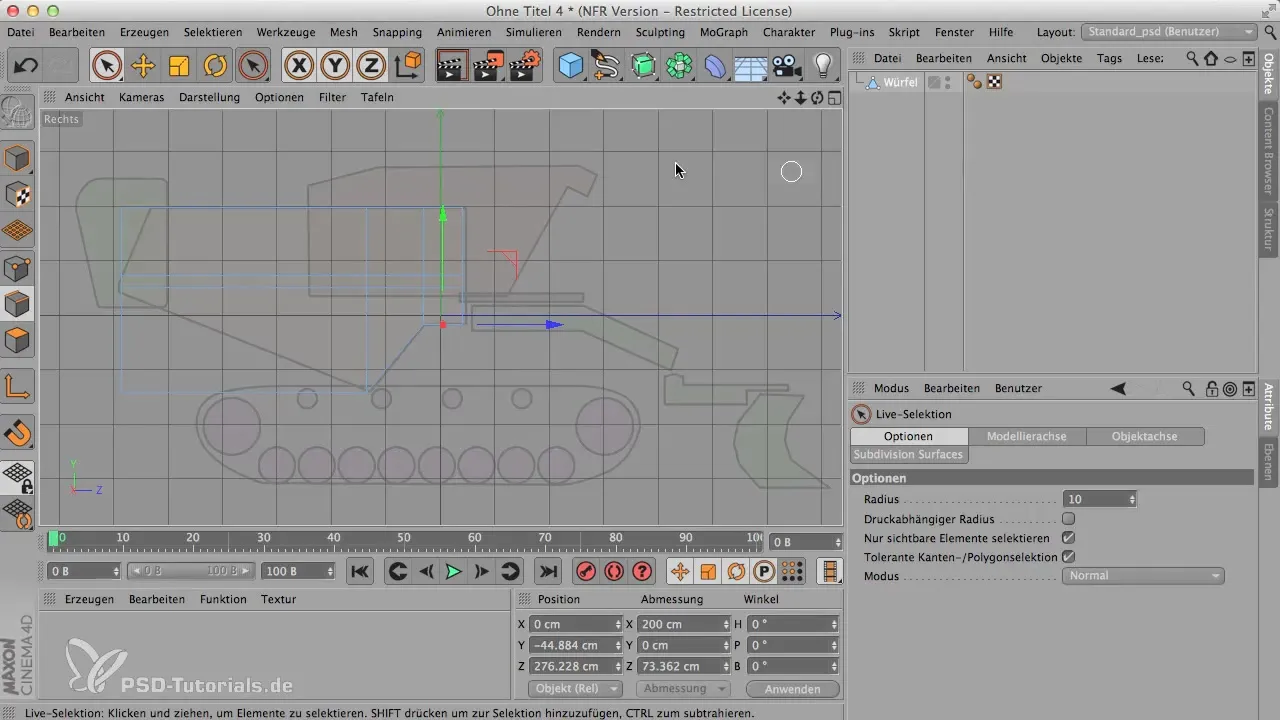
Start the modeling with the engine housing, which can be created simply from a cube. To establish the proportions, stretch the cube and ensure it is moved into the correct position in space.
3. Adjusting Transparency
To better see the cube in the context of your reference, go to the options and adjust the transparency of the background. This allows for a clear view of the lines of your model while keeping it present in the foreground.
4. Modifying the Cube
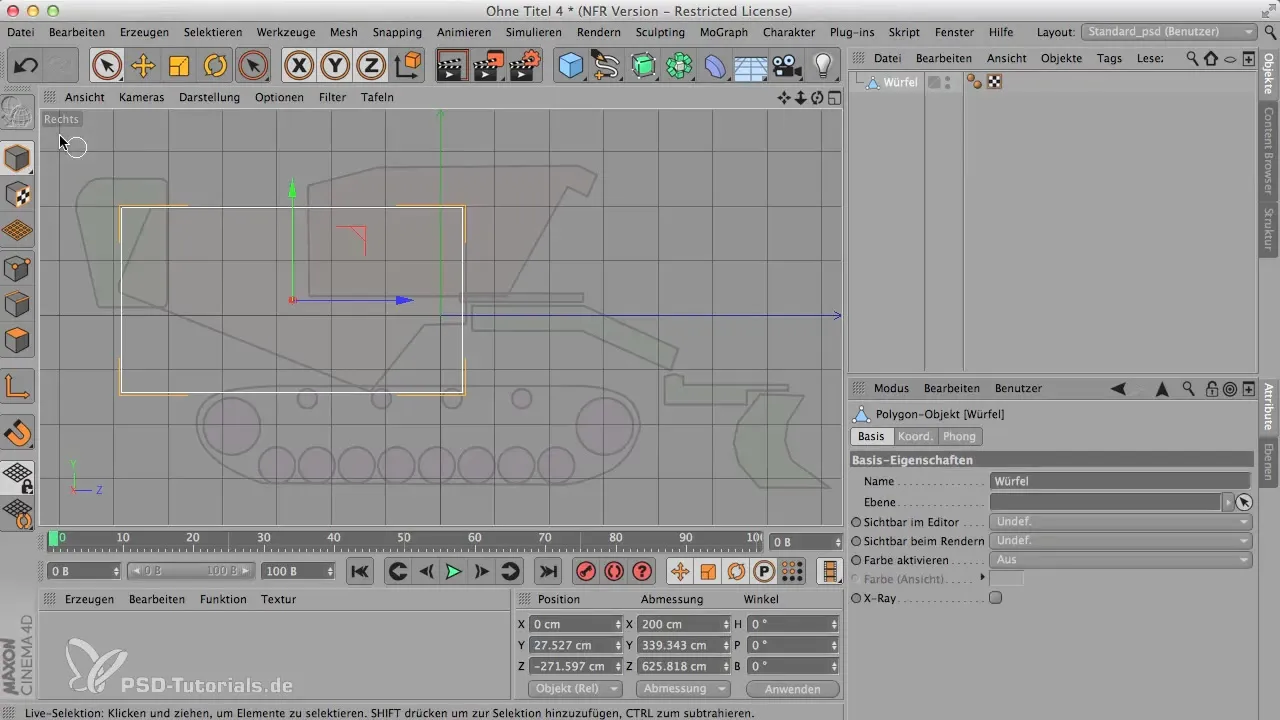
Of course, the cube must now be modified to obtain the specific shape of the engine housing. Select the "Knife" tool and create loops to define the desired edges.
5. Fine-Tuning the Edges
After creating the loops, select the correct edges to move them and create the characteristic shape. Switch to edge mode and modify your selection for a precise result.
6. Tapering the Engine Housing
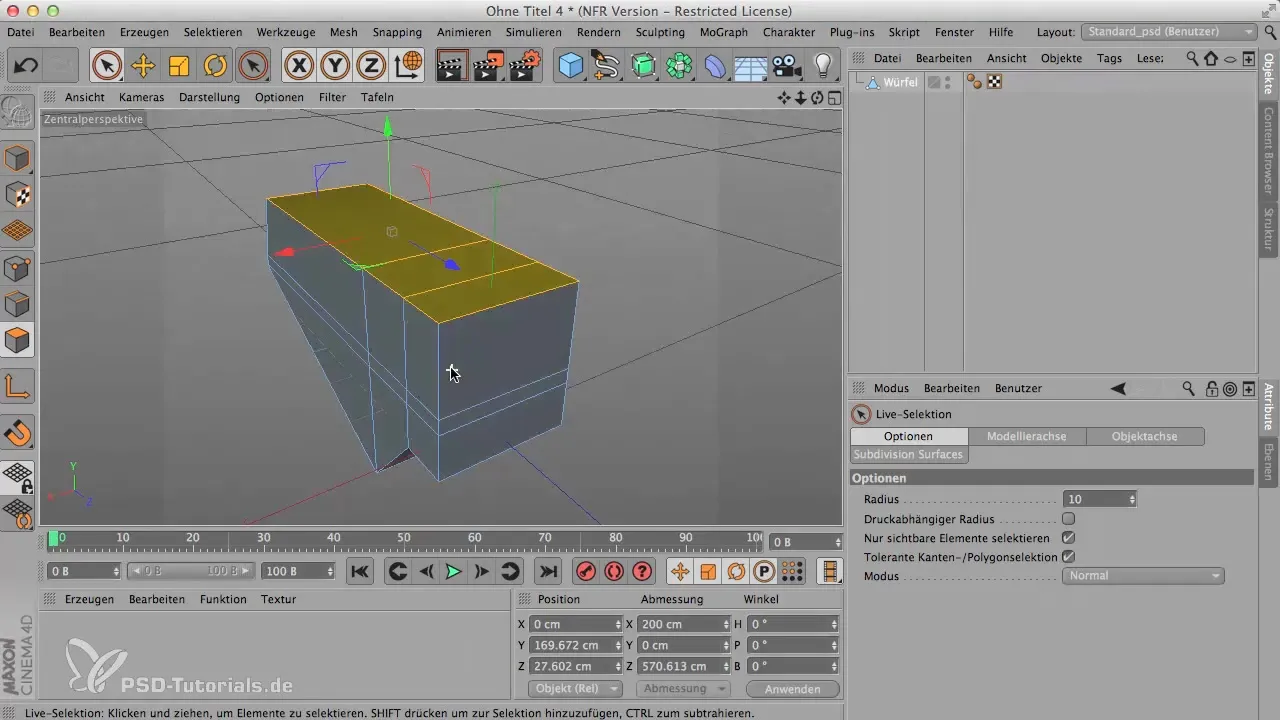
Once the basic shape is established, you can apply the tapering method described above. This gives the model a more dynamic effect. Select the polygons at the top of the engine housing and scale them closer together.
7. Adding More Components
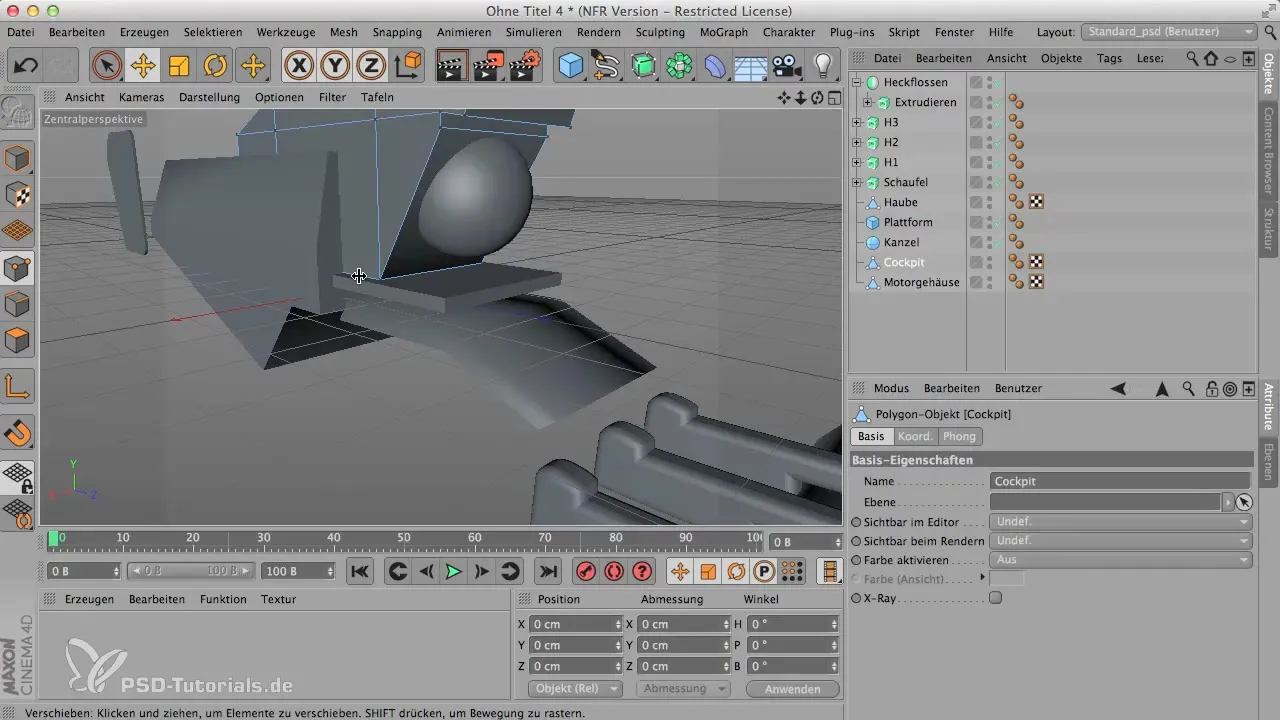
Next, take care of the other components such as the cockpit and the hood. The cockpit can be simply shaped from a sphere, while the hood should be made using the extrusion of polygons.
8. Modeling Wheels and Chain
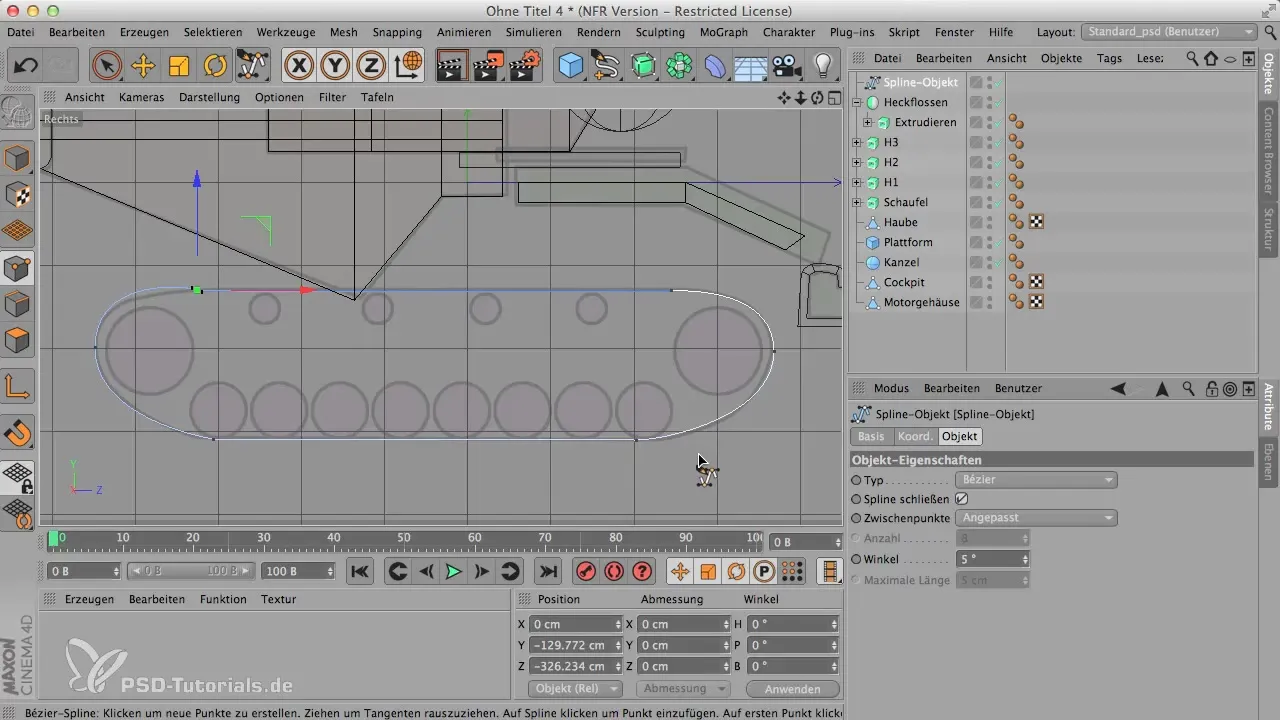
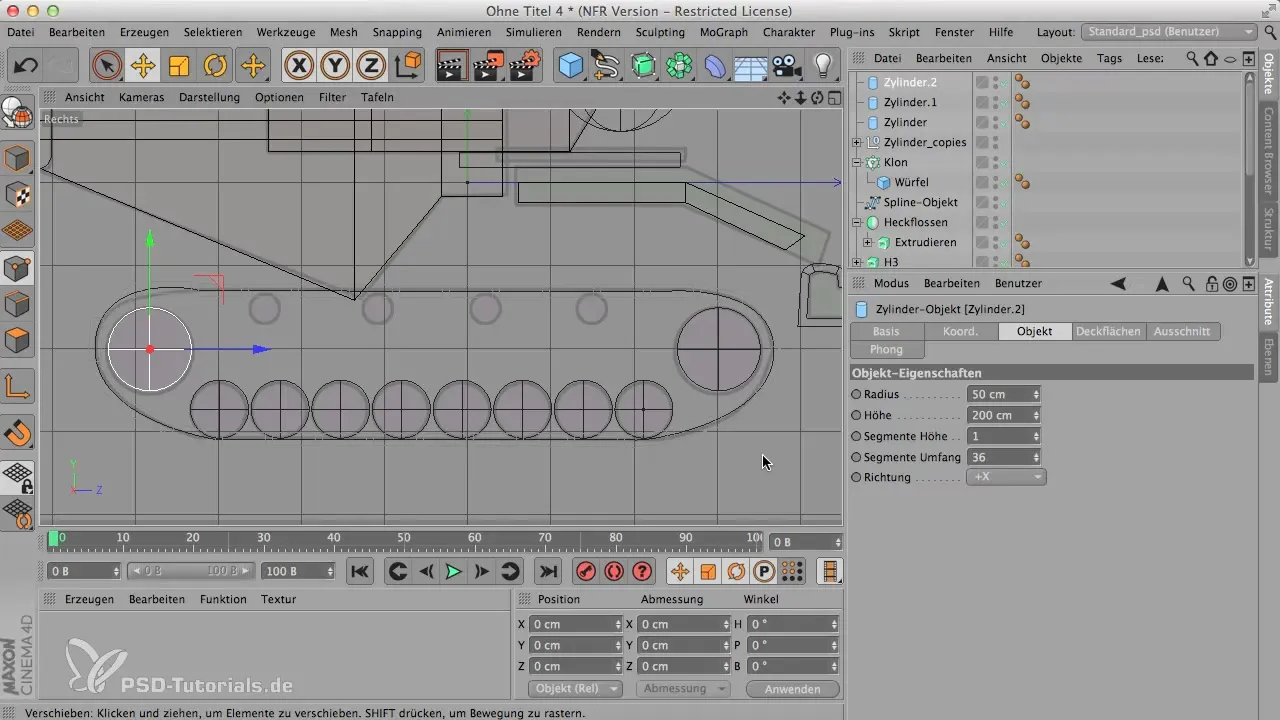
Now, move on to the wheels. The wheels should be created from cylinders and positioned at the right places to maintain the overall impression of the model.
9. Assembling the Parts
Now that all parts are designed, it's important to bring them together and organize them. Use null objects to clearly name and group the different components, which improves the visualization of the model.
10. Final Check
Finally, check the proportions and details of your rough model. This first version serves as the basis for fine-tuning in the later phases of development.
Conclusion - Rough Modeling with CINEMA 4D: How to Create Your First Design
In summary, creating a model in CINEMA 4D offers significant advantages by developing a rough model. This serves as a visual support and placeholder for further details. It's important to keep the proportions in mind to achieve a harmonious and coherent overall image.
Frequently Asked Questions
What is the first step in modeling in CINEMA 4D?Start by creating a rough model to establish the proportions.
How important is the transparency of the background?An adjusted transparency allows for better visibility of the model while it is placed in the context of a reference.
Can I use my rough model later for the detail work?Yes, the rough model can often be used as the foundation for the final model.
How do I give the engine housing the correct shape?Create loops with the knife tool and then modify the edges accordingly.
What should I consider when adjusting lights?Move the light source to simulate different lighting conditions and optimally showcase the model.
