The final fine-tuning of your renderings can be crucial in transforming a good image into an outstanding one. This is often seen in post-production, where programs like Photoshop showcase their strengths. In this guide, I will show you how to create an impressively three-dimensional effect with a creative combination of pattern layers and layer options, saving you a lot of work in CINEMA 4D while still delivering top-notch results.
Key insights
- Using pattern layers in Photoshop to enhance CINEMA 4D renderings.
- Applying the layer mask for precise control of texture and color.
- Efficient techniques for creating a three-dimensional effect with minimal effort.
Step-by-step guide
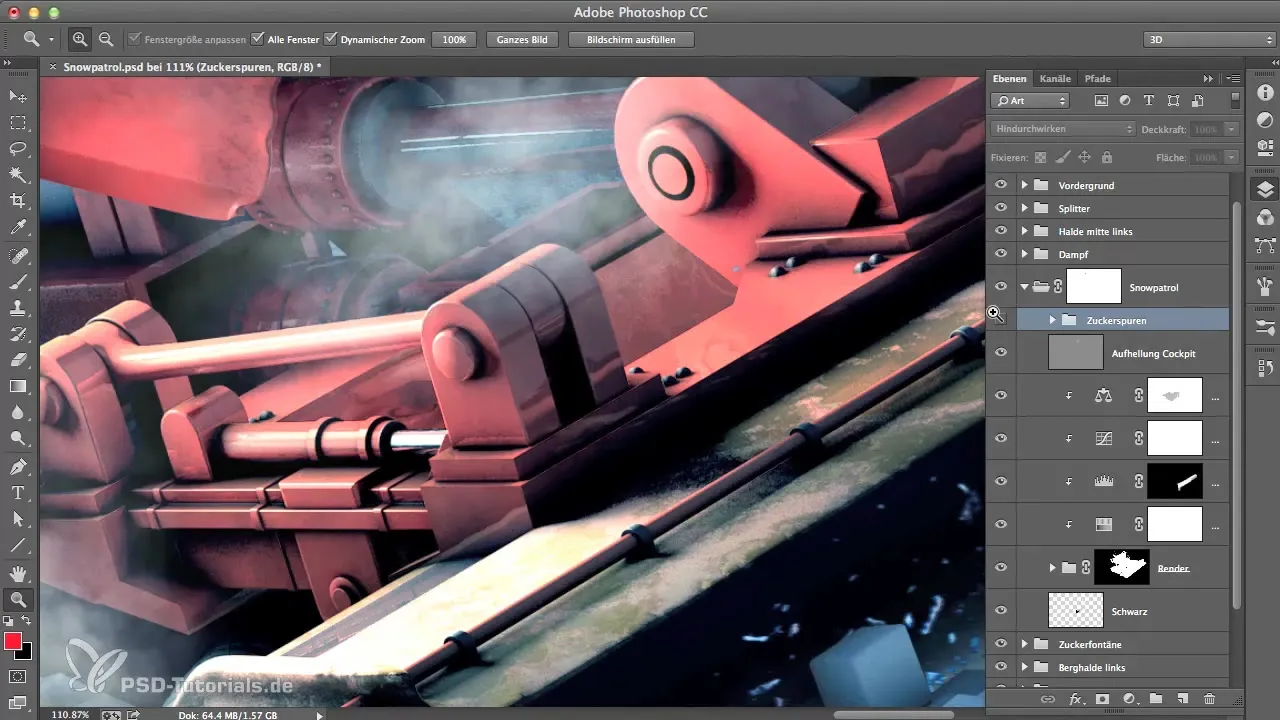
First, open your rendering in Photoshop. Here you can see that it may not have the desired depth and look. To achieve an appealing result, it may be necessary to work on the details.

Step 1: Create a new fill layer
First, select the group of your object in the layers panel and create a new fill layer with pattern content. To do this, click on "New Fill Layer" and choose the "Pattern" option.
Step 2: Select a pattern
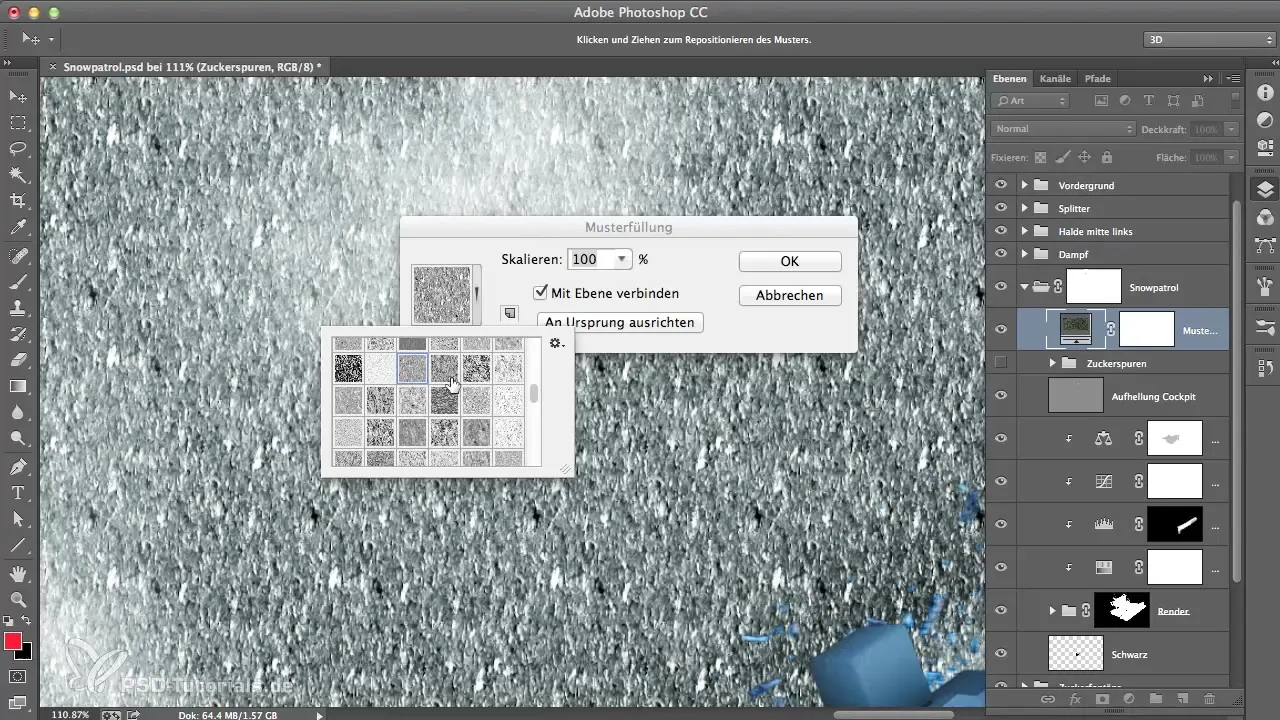
Select the desired pattern that comes closest to your desired look. The pattern content should represent a natural, detailed pattern that fits the color scheme of your object. Note that the size of the pattern typically needs to be reduced for it to look more convincing.
Step 3: Add a layer mask
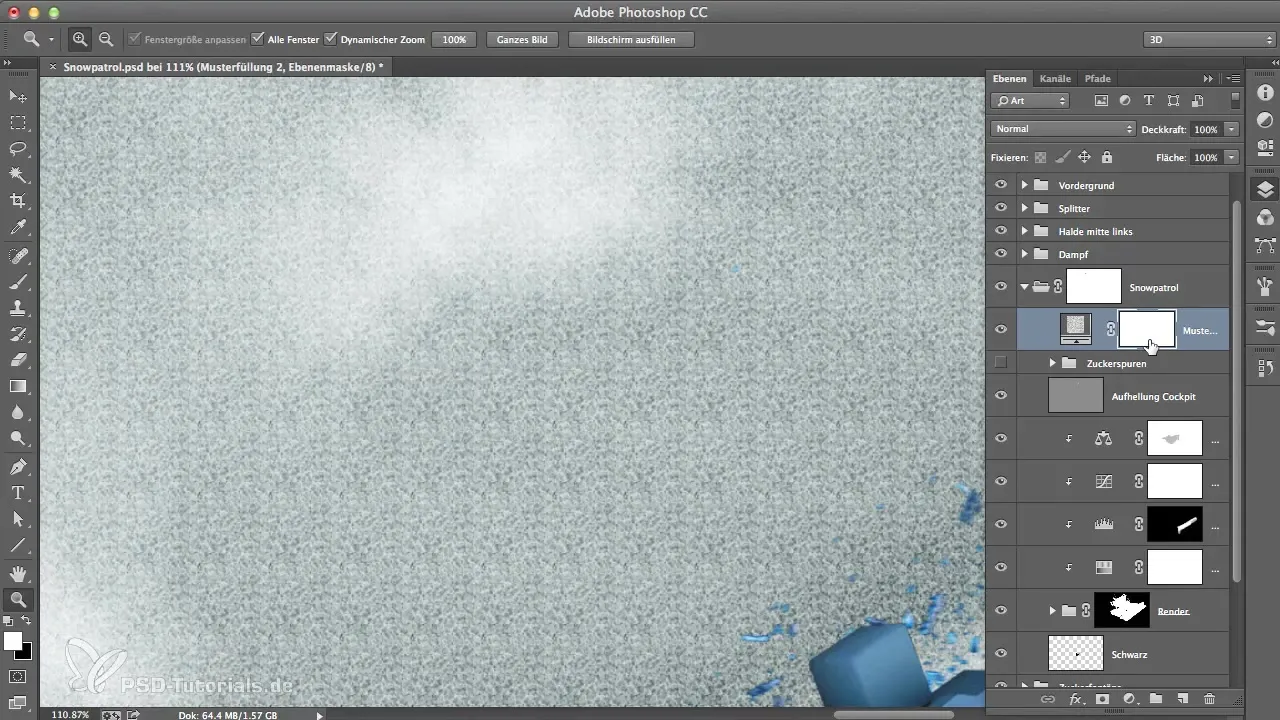
To make the fill layer usable, click on the layer mask and invert it. You need to do this to make the pattern visible again in the next step.
Step 4: Select brush and white color
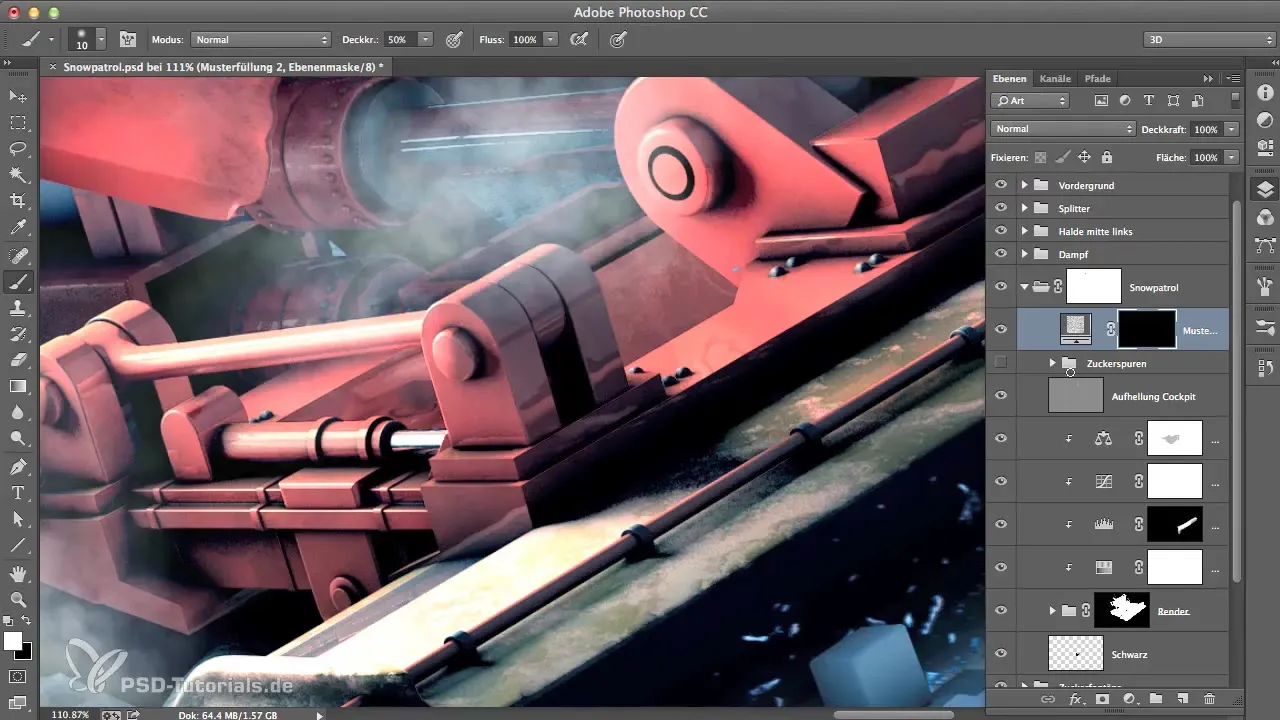
Select the brush and make sure you are working with white color on a black layer mask. Reduce the opacity of the brush to about 50 percent to gradually reveal the pattern.
Step 5: Apply the pattern
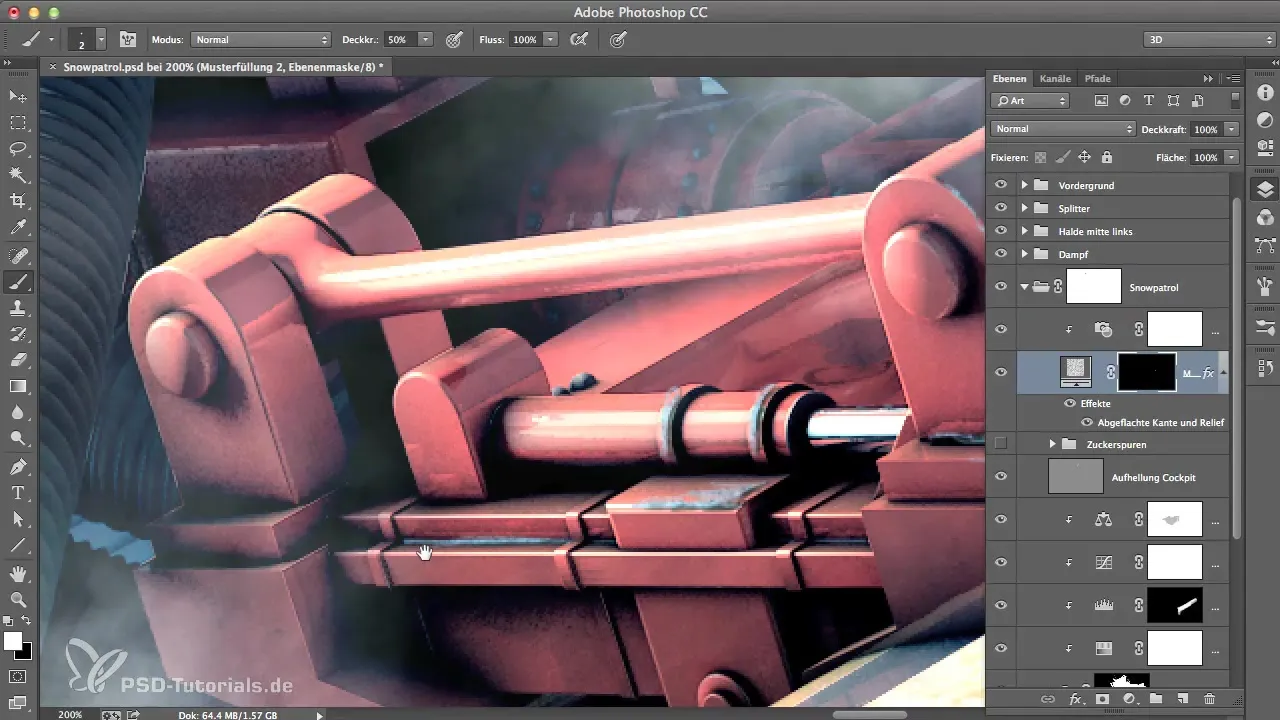
Start painting the pattern in the desired areas. Make sure that the brush is small enough to emphasize fine details. This creates the illusion of depth and texture.
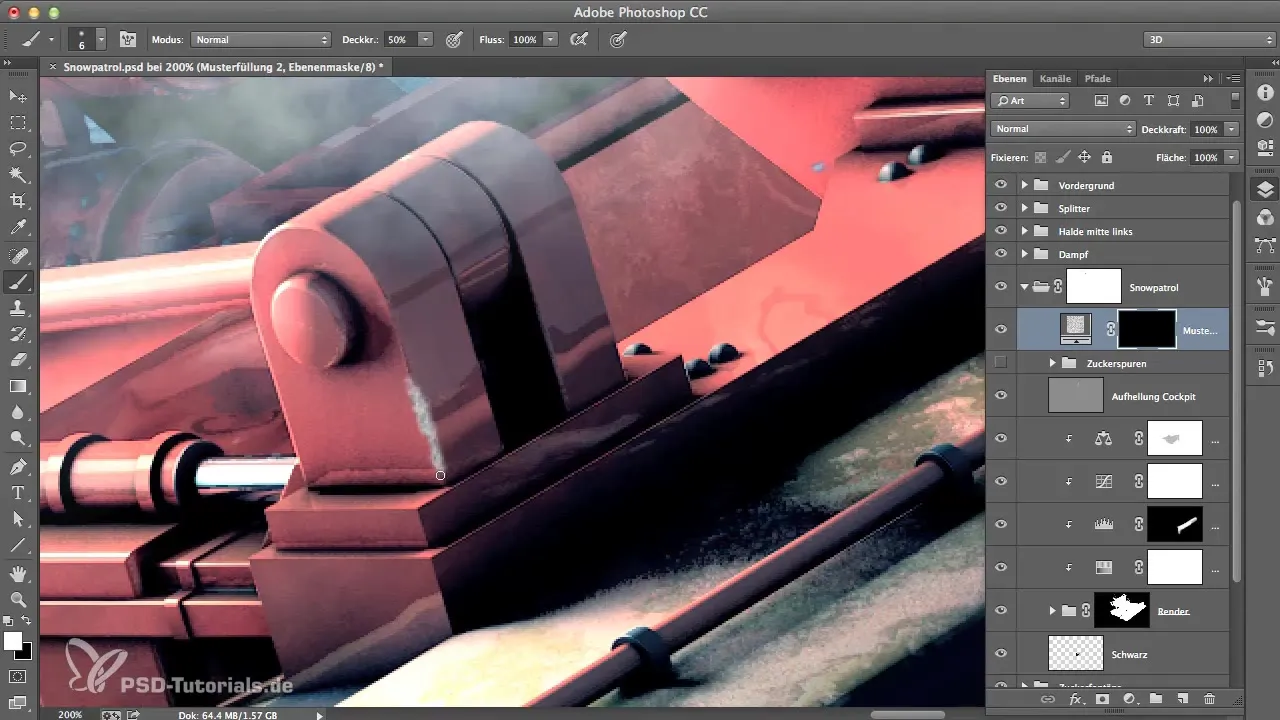
Step 6: Bevel and Emboss
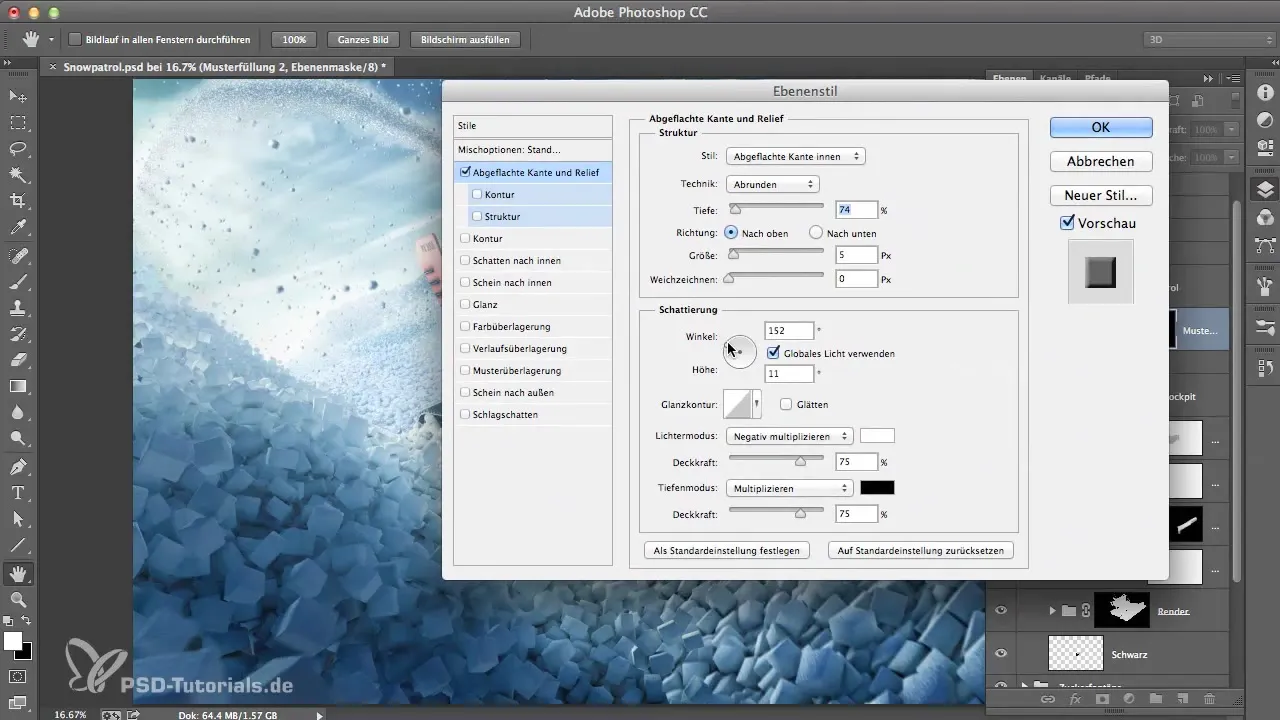
To enhance the three-dimensional effect, go to the layer style option and choose “Bevel and Emboss.” Play with the settings to achieve the desired effect.
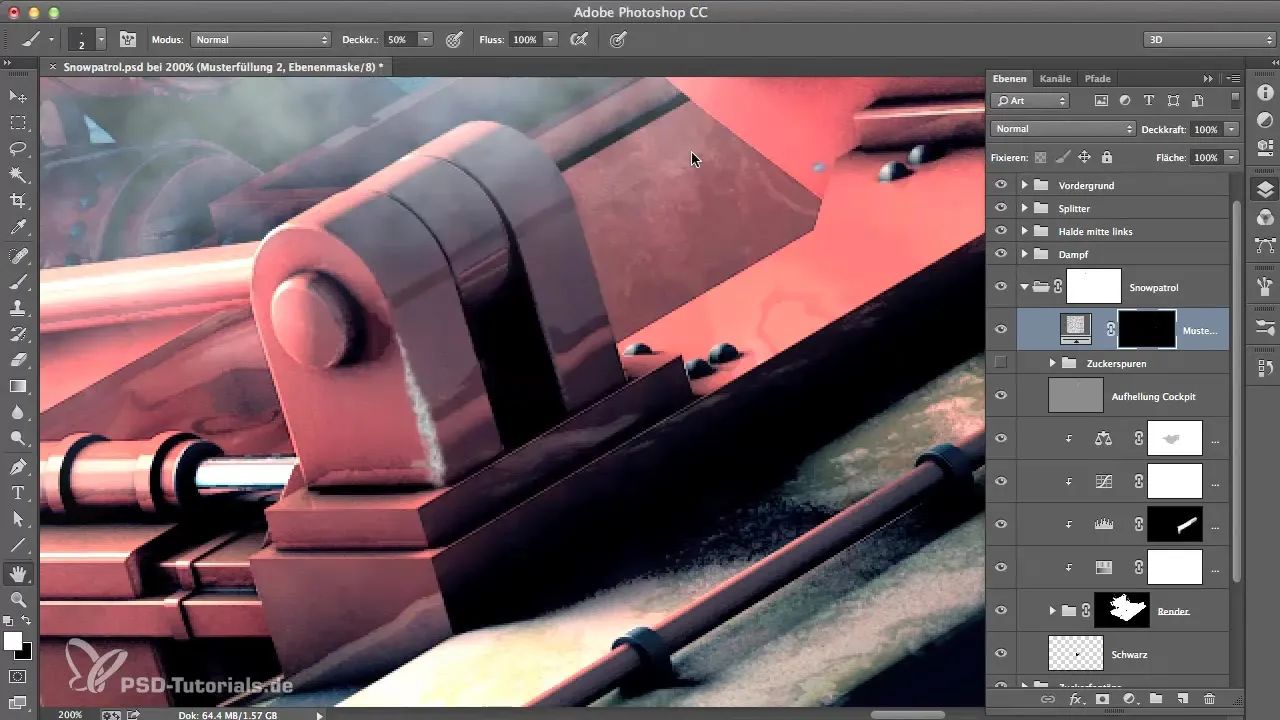
Step 7: Simulate light and shadow
Think about where the light is coming from. If the light is coming from a particular side, place your shadow accordingly. This helps you create realistic lighting conditions.
Step 8: Adjust color corrections
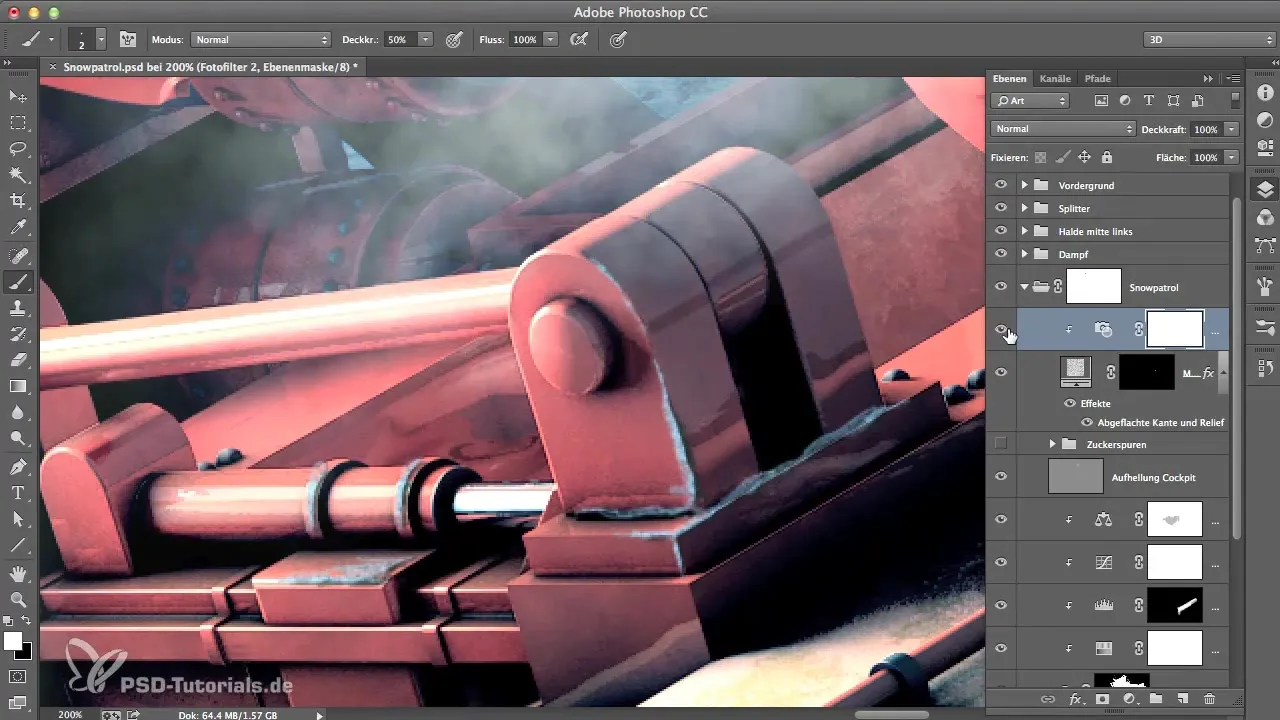
If the color of the pattern does not match your rendering, go to the adjustments in Photoshop and select a photo filter. Adjust the settings to make the colors cooler and more harmonious.
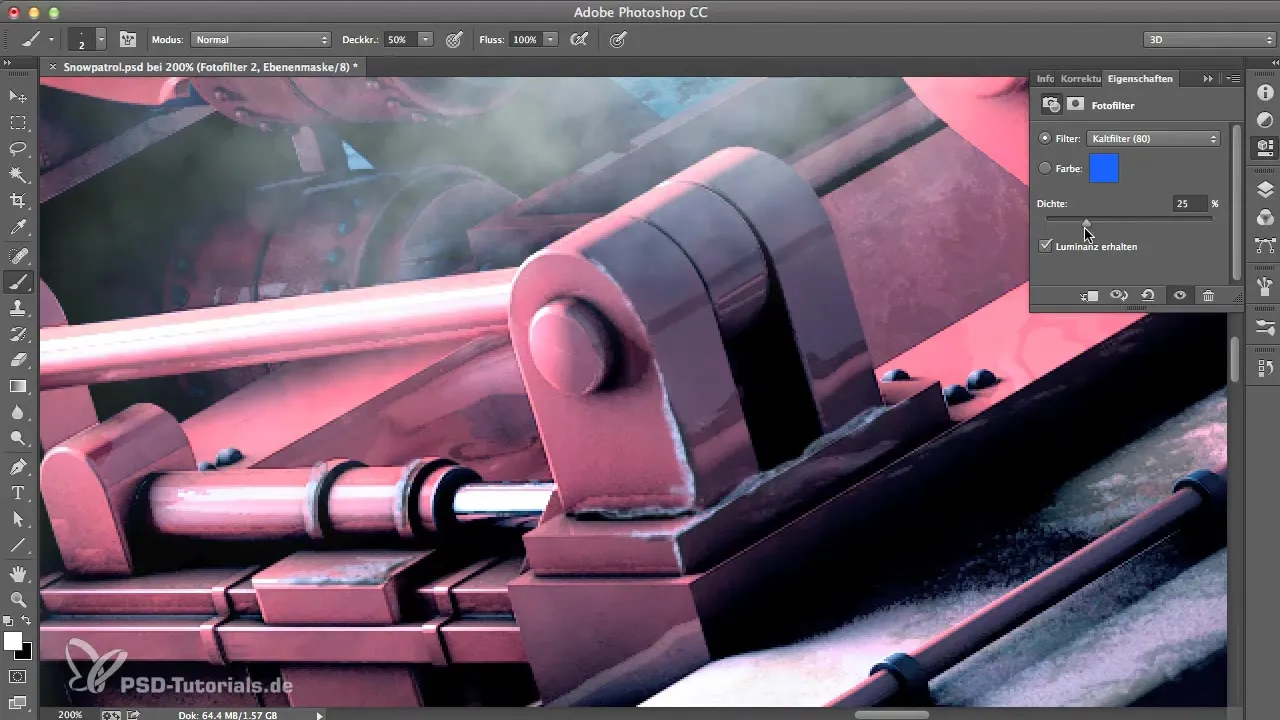
Step 9: Make final adjustments
To confine the colors you've applied strictly to the pattern layer, hold down the Alt key and click between the two layers to create a clipping mask.
Step 10: Final touch
Further refine the mask by painting on the mask layer until you are satisfied with the result. You should follow all these steps to perfectly finish your project and achieve the desired effect.
Summary - Effective finishing with Photoshop for CINEMA 4D render materials
Editing your renderings in Photoshop allows you to add the final refined touch and achieve impressive effects. With the right techniques such as pattern layers, layer masks, and color corrections, you unleash the full potential of your CINEMA 4D projects while minimizing the workload.
Frequently Asked Questions
How can I change the size of the pattern?You can adjust the size of the pattern in the fill layer settings.
What to do if the colors do not match?Use Photoshop's adjustments and photo filters to modify the colors.
Can I also animate the pattern layers?Yes, you can use the pattern layers in an animation by utilizing Photoshop's animation effects.
How long does it take to edit a rendering?This depends on the complexity of your image, but usually, you can make significant progress in 10-30 minutes.
Which PS features are useful for finishing?Useful features include layer styles, brush options, adjustments, and filters.

