If you are working with 3D modeling and want to apply textures to objects, understanding UVs is essential. UVs are two-dimensional coordinates that indicate how a 2D texture is projected onto the surface of a 3D object. Once you have acquired the basic knowledge of UVs, you will be able to fully unleash your creativity in 3D design. In this guide, you will deal with placing UVs, understanding basic terms such as “Angle or Cube Mapping”, “Distance Value” and “Unwrapping Steps” as well as applying textures to your 3D models using Maxon BodyPaint.
Key Insights
- UVs are necessary to effectively apply textures to 3D objects.
- You need to create materials and textures before you can start painting.
- The placement of the UVs is crucial for precise painting on the object.
- Understanding terms like Unwrapping Steps, Distance Value and Mapping Methods is important for the correct application of textures.
Step-by-Step Guide
First, you will create a material for your 3D object. You will use a simple pyramid, but any other object can also be used.
Step 1: Create Material First, you can create a material for your object. Click on it to generate a new material. Then drag it onto the object you want to edit, in this case, our pyramid.
After you have applied a light gray material, you are ready to start the UV Editing.
Step 2: Activate UV Edit To access UV editing, navigate to BodyPaint > UV Edit. Here you will work with the UV Editor, which will be familiar to you since there are some basic views that you already know.
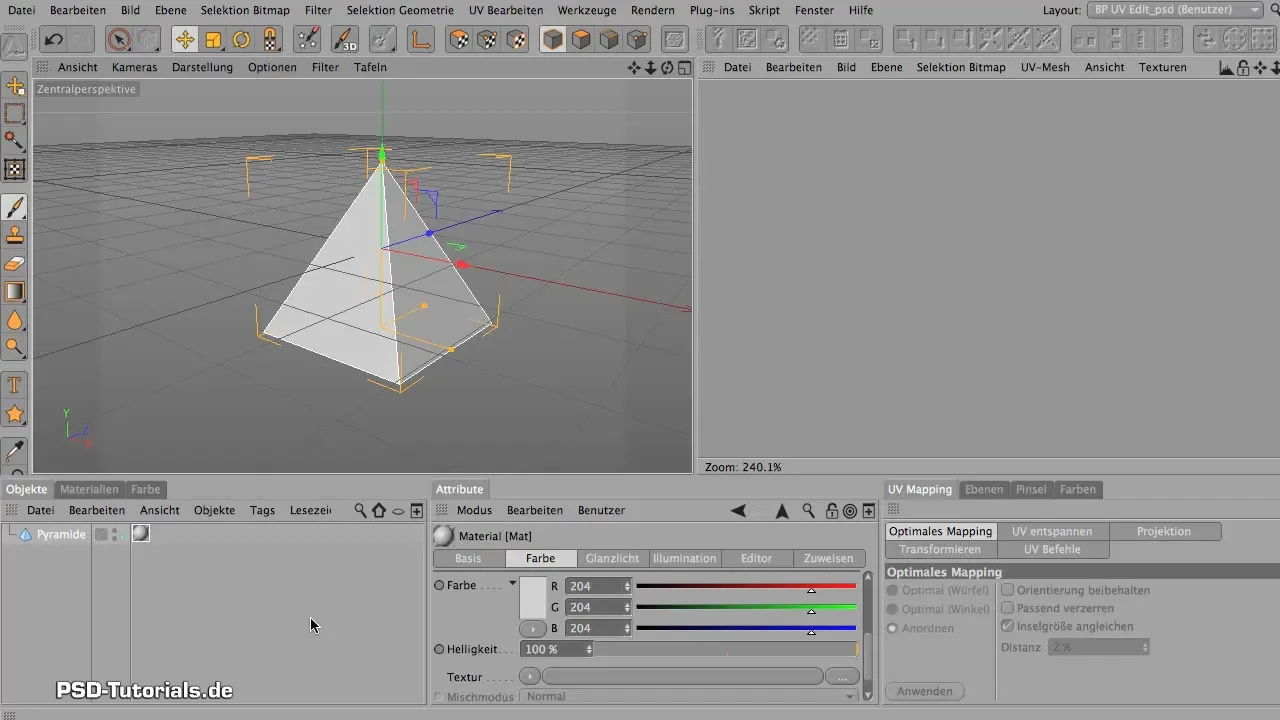
In the UV Editor, you will see the Attribute Manager and the Object Manager. These are important tools for managing your textures and materials.
Step 3: Create Texture Once you are in the UV Editor, it is important to create a texture. Click on the texture list and select a color channel. Make sure that the size is 1024 x 1024 pixels.
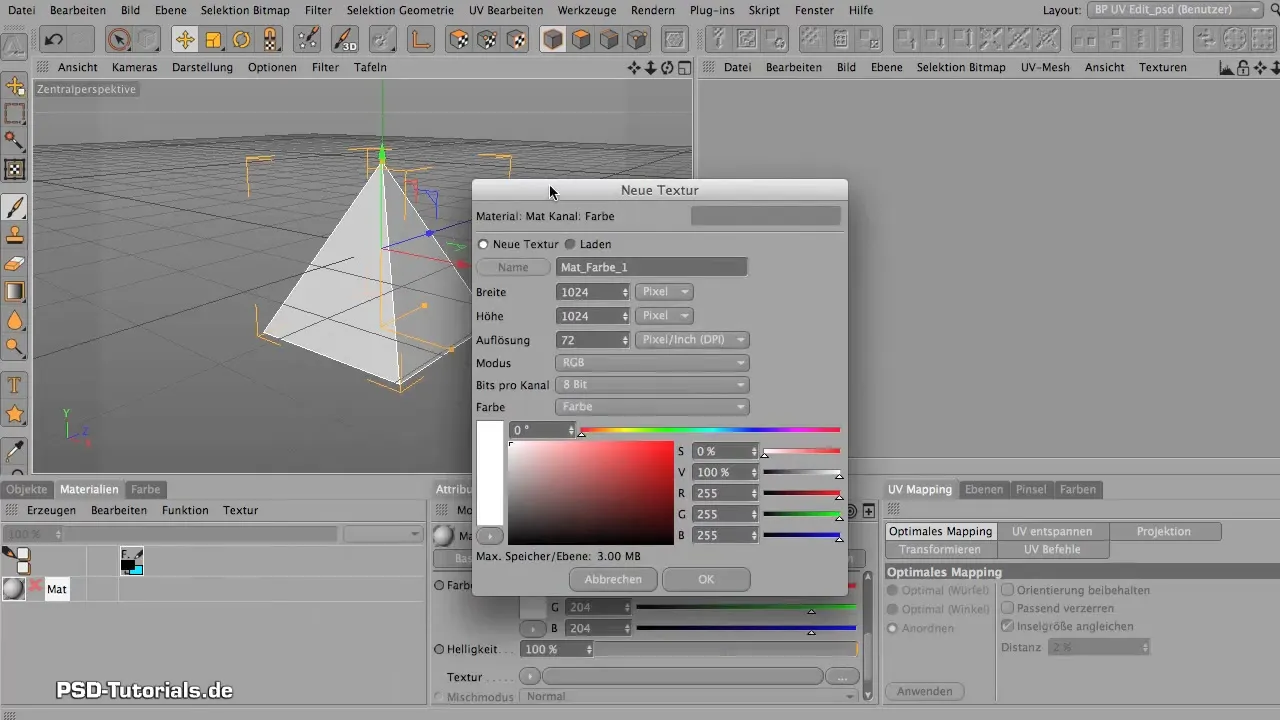
Give the texture a name, e.g., “Test”, and click OK.
Step 4: Paint on the Object Now it gets exciting! Click on the paint tool and choose a color to paint on your object. Note that your pyramid will be painted uniformly on all sides, which is not what you actually want.
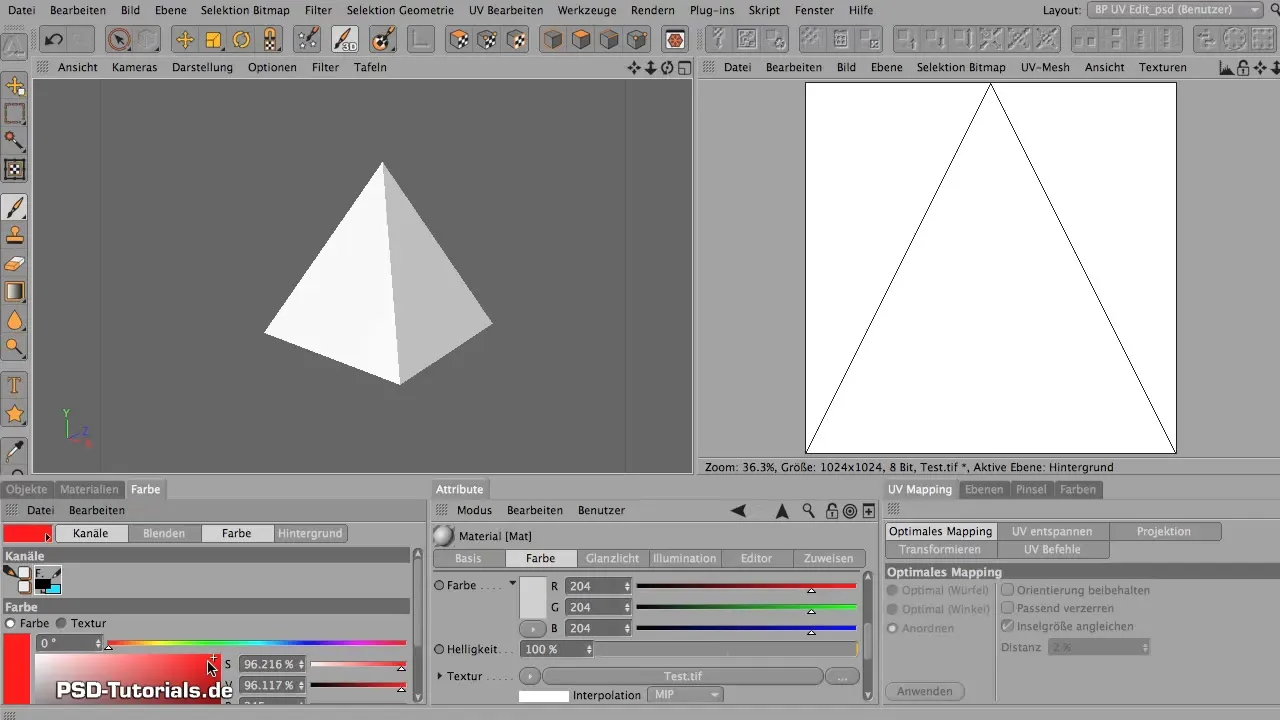
To paint specifically on certain surfaces, you need to edit the UVs.
Step 5: Adjust UVs Now you have noticed that all the UVs are overlapping and it is difficult to paint on a specific face. Make sure to select the appropriate polygons and unroll them to different areas.
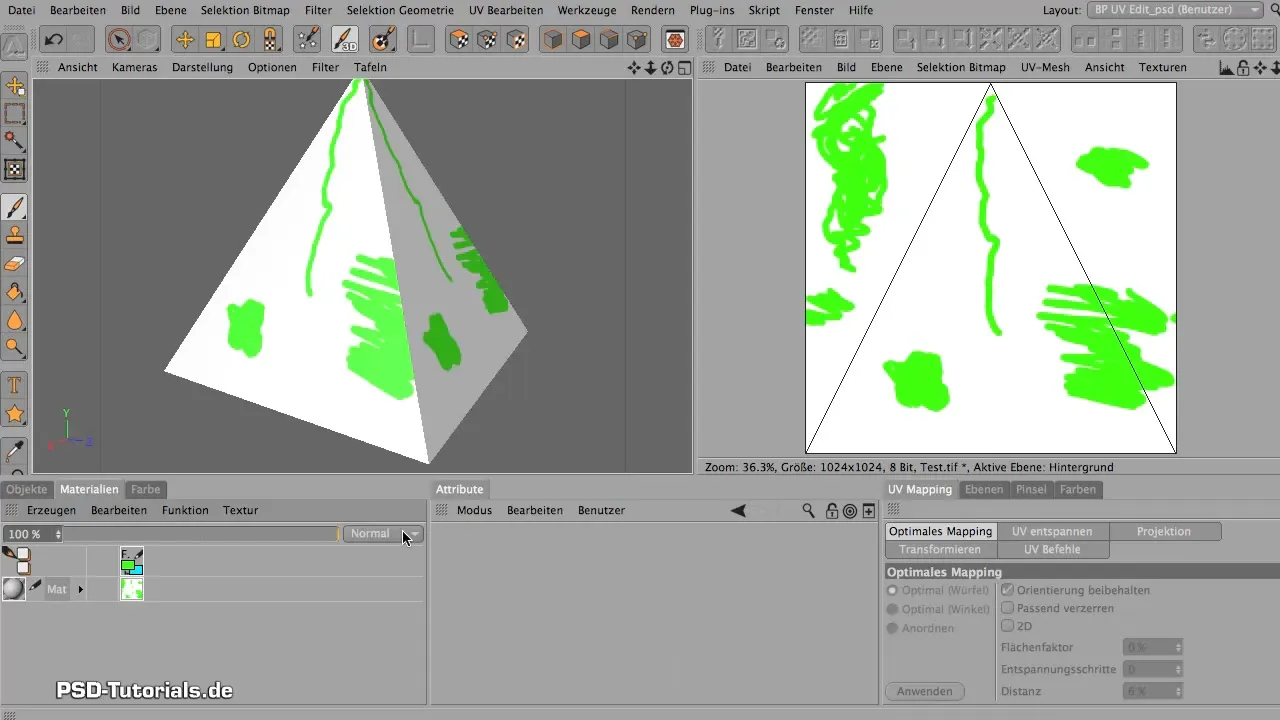
Start with the “Edit UV Polygons” settings in the UV Editor. Click on “Unwrap” and first select the “Angle” option.
Step 6: Apply Unwrapping To see what the unwrapping can achieve, use the “Angle” unwrapping. Click on Apply. You will see that your pyramid faces are now all presented separately.
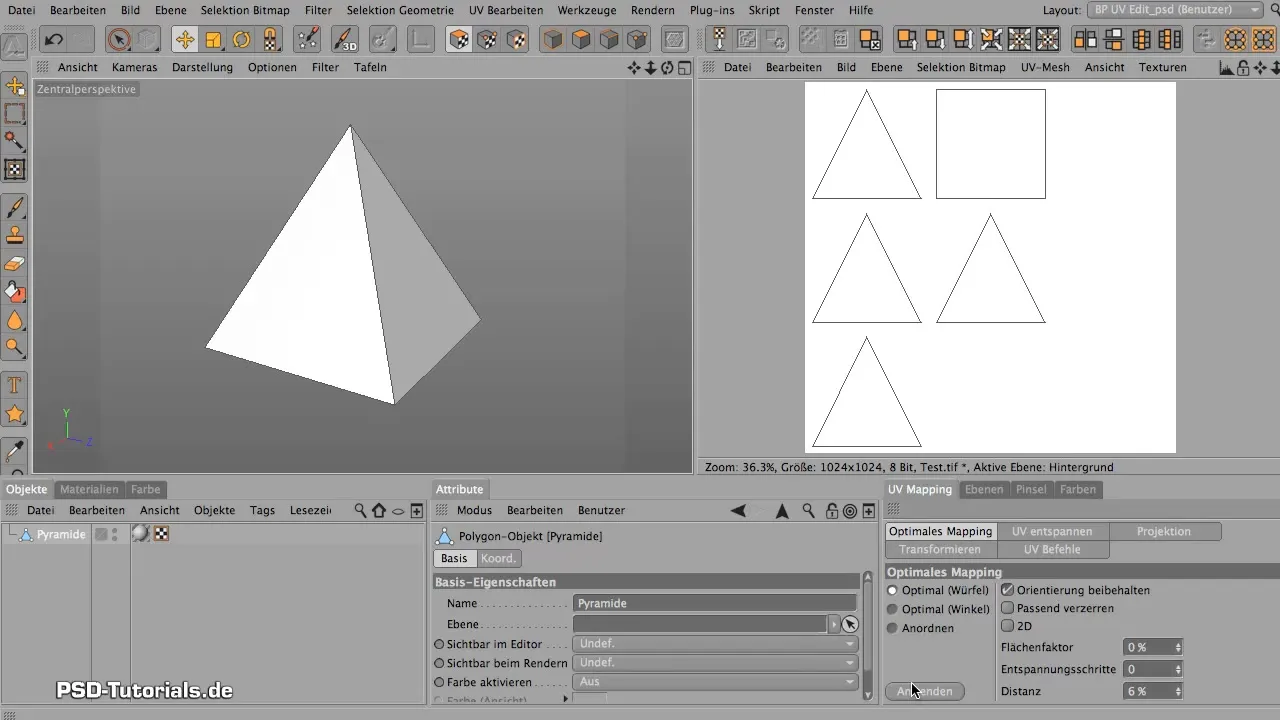
Now you can go back to paint mode and notice that you are painting only on the face you selected.
Step 7: Different Mapping Methods Also try the “Cube Mapping” option to see how it affects the object.
Both methods have their own benefits, and it depends on the complexity of your model which method you should apply.
Step 8: More Complex Objects To apply what you have learned to more complex objects, go to an object like a sphere.
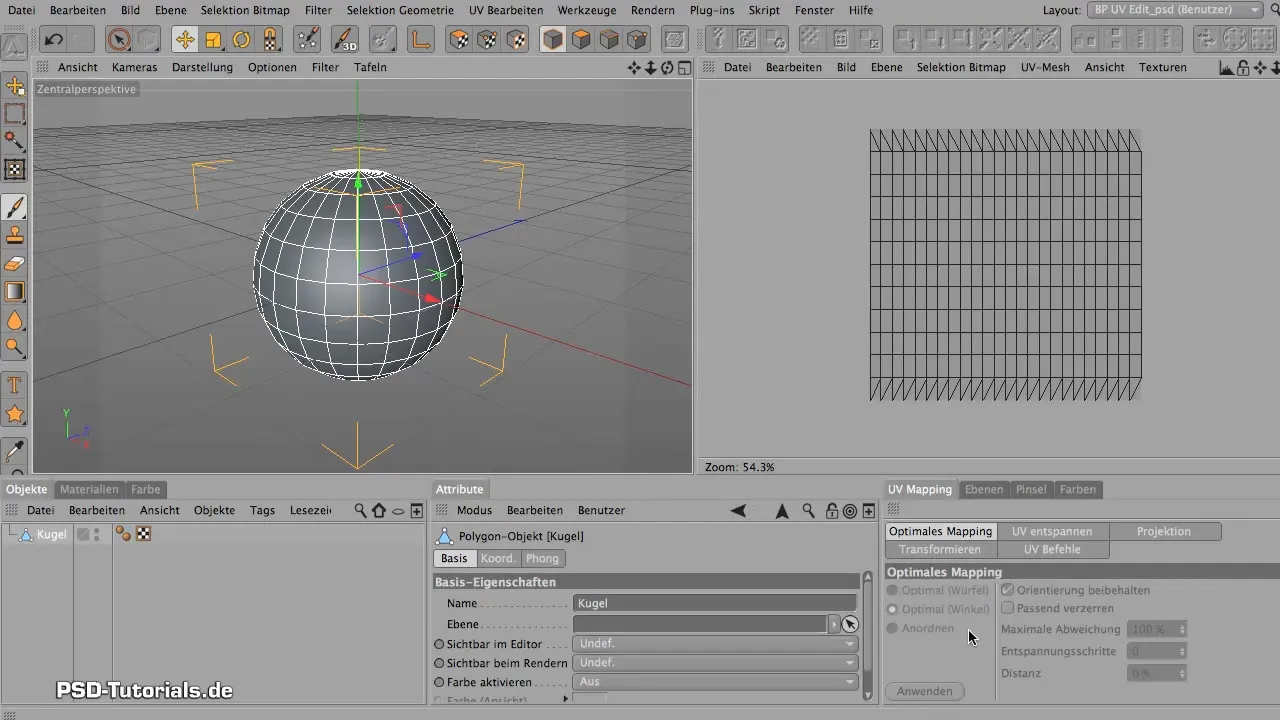
Make sure to convert the sphere into a polygon object beforehand.
Step 9: Unwrap Sphere Apply the same unwrapping options to the sphere. Here, the “Angle” option is ideal to ensure the UVs are evenly distributed.
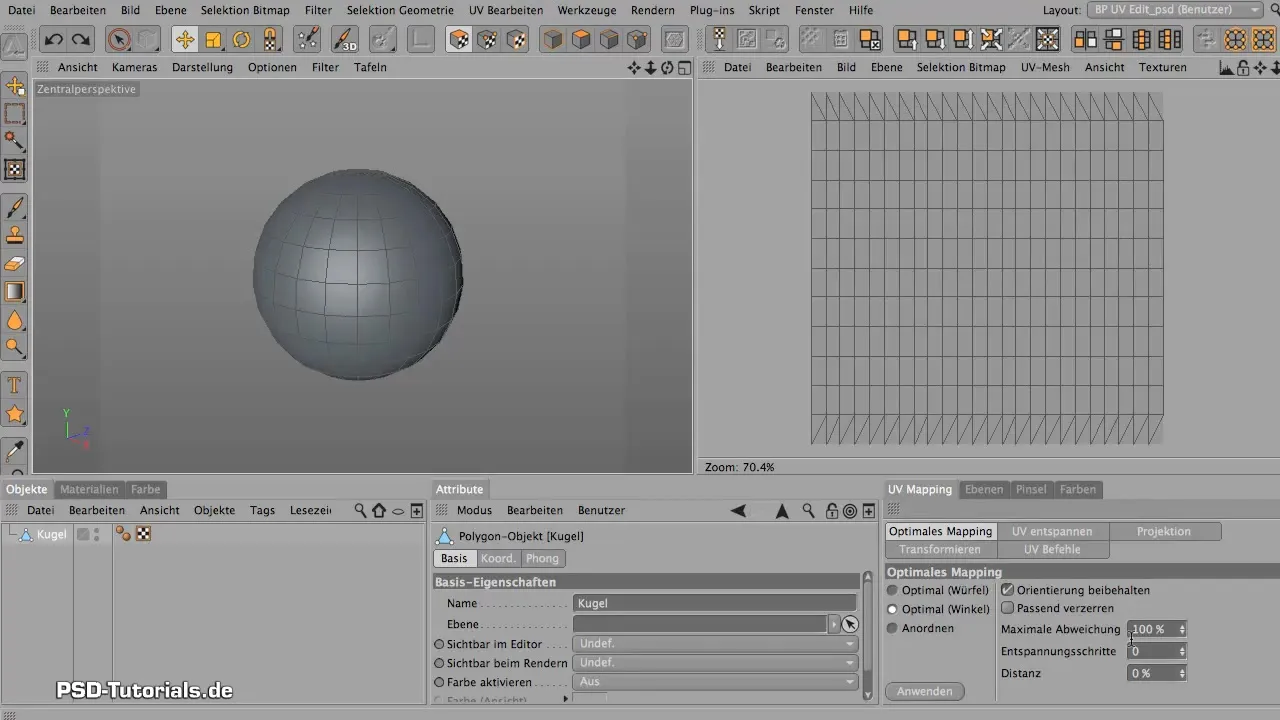
Step 10: Adjust Distance Value Use the distance value under the unwrapping settings to optimize the space between the polygons. Usually, increase this value to achieve a clear distance.
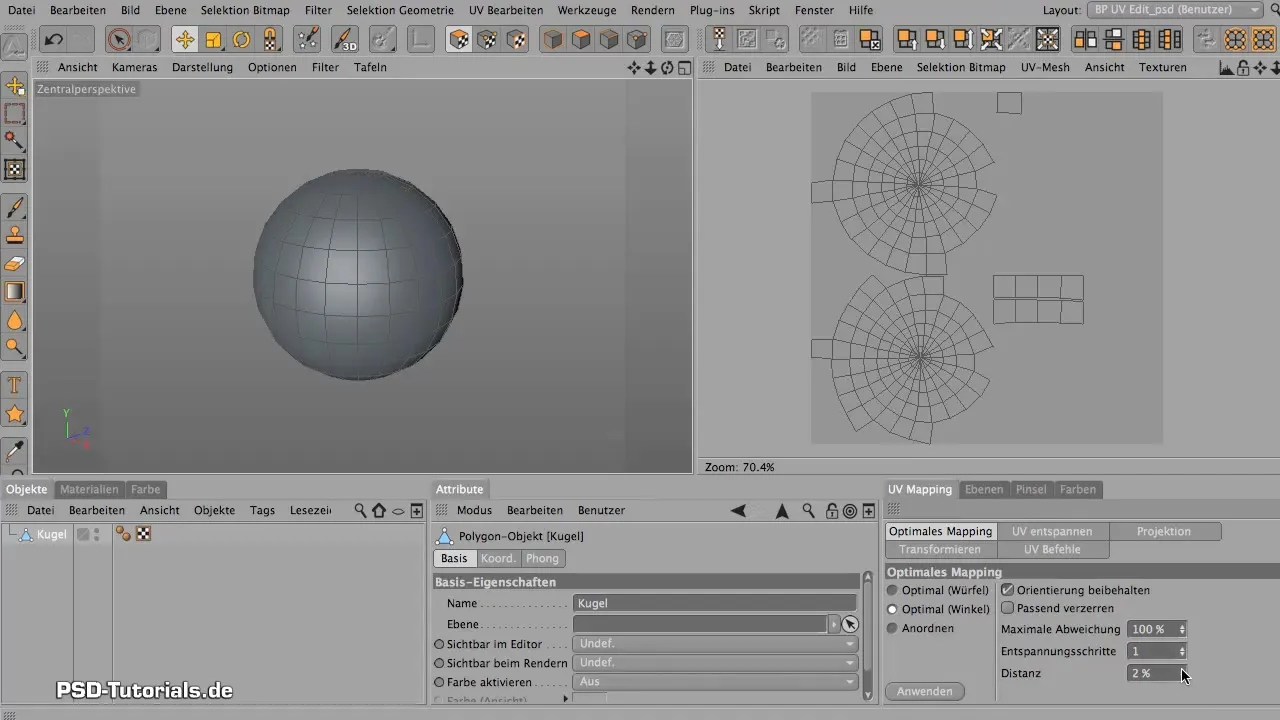
If you want a clear depiction of your textures while painting or rendering, it is important to use the right settings for distance values.
Summary - Maxon BodyPaint: Fundamentals of UV Editing
The fundamentals of UV editing in Maxon BodyPaint are crucial for the effective application of textures on 3D models. With the right material application, understanding UV structures, and correctly using unwrapping and mapping methods, you can work precisely and creatively with your textures.
Frequently Asked Questions
How do I create a material in Maxon BodyPaint?To create a material, simply double-click on the material box and then drag the material onto your 3D object.
What should I do if my UVs are overlapping?You need to adjust the UVs with the unwrapping tools on different surfaces to be able to paint precisely.
When should I use “Angle” and “Cube Mapping”?“Angle Mapping” is suitable for complex models while “Cube Mapping” is effective for simpler models.
How can I adjust the distance values for my polygons?The distance values can be adjusted in the unwrapping menu to optimize the spacing between the polygons.


