
Maxon BodyPaint 3D-Tutorial

- BodyPaint 3D basics
- Development of a creative project from A to Z
- Learn to turn your 3D space into photorealistic works of art
With BodyPaint, it is possible to create true works of art from simple 3D base models thanks to extensive sculpting tools and to paint them intuitively and simultaneously in multiple textures. Staiger yourself into pure creativity.
11 Videos, 188 minutes
Basics
Maxon BodyPaint 3D - Introduction
12 minThis video training is the introduction to the big topic of BODYPAINT! After you have seen what awaits you in this training, it is about recognizing which tasks you can still manage without BP and from where BP is useful. Immediately afterwards you will see how to get into BP and what the main differences are between BP 3D Paint and BP UV Edit.
Maxon BodyPaint - Basics UV Edit
16 minWhat are UVs and why are they all on top of each other? Once we have clarified this, you will learn how to place the UVs next to each other. Then we clarify a few terms such as "angle or cube mapping", "distance value" and "relaxation steps".
Maxon BodyPaint - UV basics
15 minUsing the BodyPaint 3D wizard, you can easily create a material, assign it to an object and perform an initial, simple relaxation. You will then learn how the UVs are connected to the actual polygons of the object.
Maxon BodyPaint - UVs relax
20 minFirst, we model a simple model and place it in an SDS object. We then look at various projection types and use an edge selection to relax the polygon object.
Maxon BodyPaint - Material layers
12 minThis chapter is dedicated to material textures that can be used to paint objects directly. You will learn how to paint on different textures at the same time and how to use layers that allow you to work non-destructively.
Maxon BodyPaint - Painting basics
19 minAfter relaxing, it's time to paint with various brushes. You can find out where to find them and what you need to bear in mind in this video training. You will also learn how to use the projection painting function and how to create a new UV tag in case you want to start from scratch.
Creative workshop
Maxon BodyPaint - Creative workshop - Part 01: Using XRef
11 minThe XRef object is not directly related to working with BodyPaint, but is very well suited to its functional principle. This allows you to render the object in the scene and edit it in a separate file.
Maxon BodyPaint - Creative workshop - Part 02: Cutting edges
13 minWe create several edge selections along which the object will later be relaxed. After the edges that you select with the path selection, the polygons of the torso and the horns are selected and the selections are frozen.
Maxon BodyPaint - Creative workshop - Part 03: Relax object
23 minThe torso and the two horns are now relaxed one after the other. You can see how useful the relaxation is if you hide the layers of the color channel. The checkerboard pattern makes problems visible and must be corrected by the correct display of the SDS.
Maxon BodyPaint - Creative workshop - Part 04: Painting an object
25 minFirst, we create new layers in the textures. Then the painting can take place step by step. Mirroring layers is also important to ensure that the symmetry of the painting is maintained.
Maxon BodyPaint - Creative workshop - Part 05: Relief and diffusion
23 minIn the relief channel, the structure is painted onto the object. This creates a much higher density of information; the soot painted in the diffusion channel also contributes to greater realism.
Examples of use
-
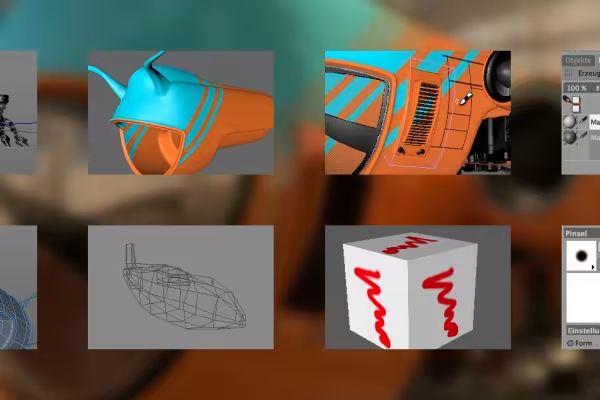 Participate in the tutorial! Learn from a practical example.
You might also like

Full power, more inspirations, maximum WOW effect!

More style, more power, more templates!
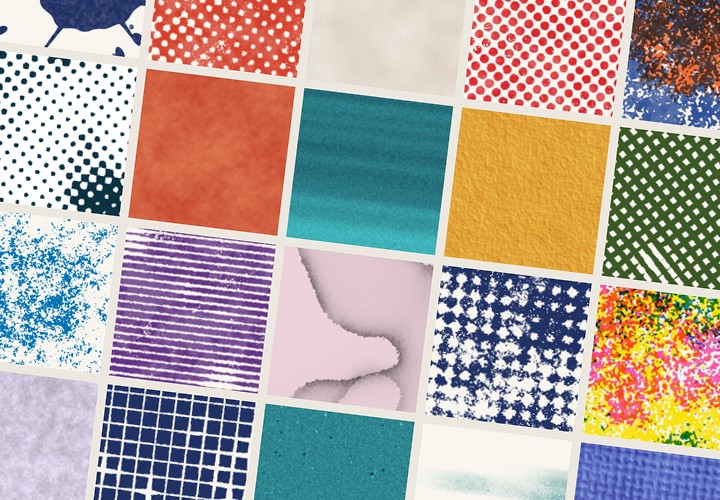
20 sets in 4K (4096 × 4096 px, 300 DPI) as JPG plus Photoshop patterns, calibrated to the fill method

Edit films, transitions, animations, and more
Comment now „Maxon BodyPaint 3D-Tutorial“