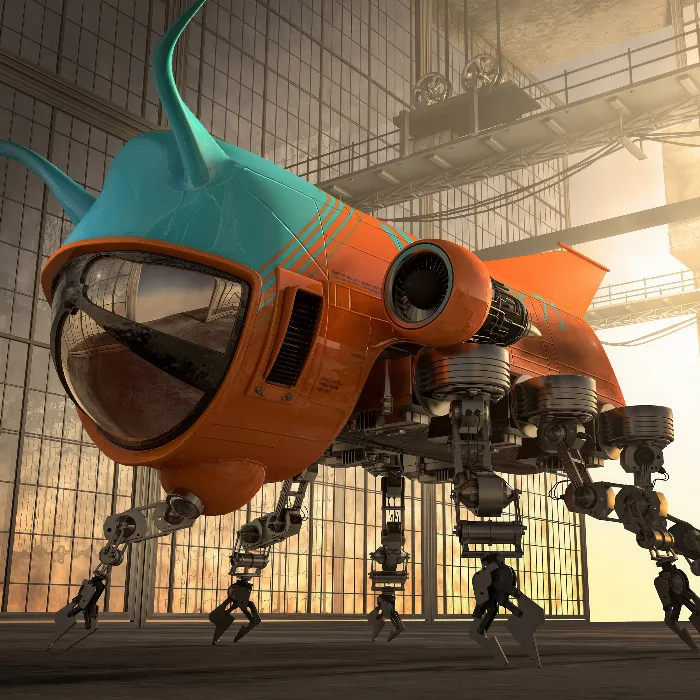
A professional 3D model not only requires an appealing geometry but also a well-thought-out UV layout structure. For complex objects like an aircraft fuselage, it is especially important to relax the UVs so that they are optimally suitable for texturing. In this guide, you will learn how to relax UVs in Maxon BodyPaint – from modeling to the final relaxation.
Main Insights
- The right modeling and symmetry are crucial to ensure easy UV relaxation.
- There are various projection types that can be preferred depending on the shape of the object.
- The seams should be strategically placed to create invisible joints.
Step-by-Step Guide
1. Create Model
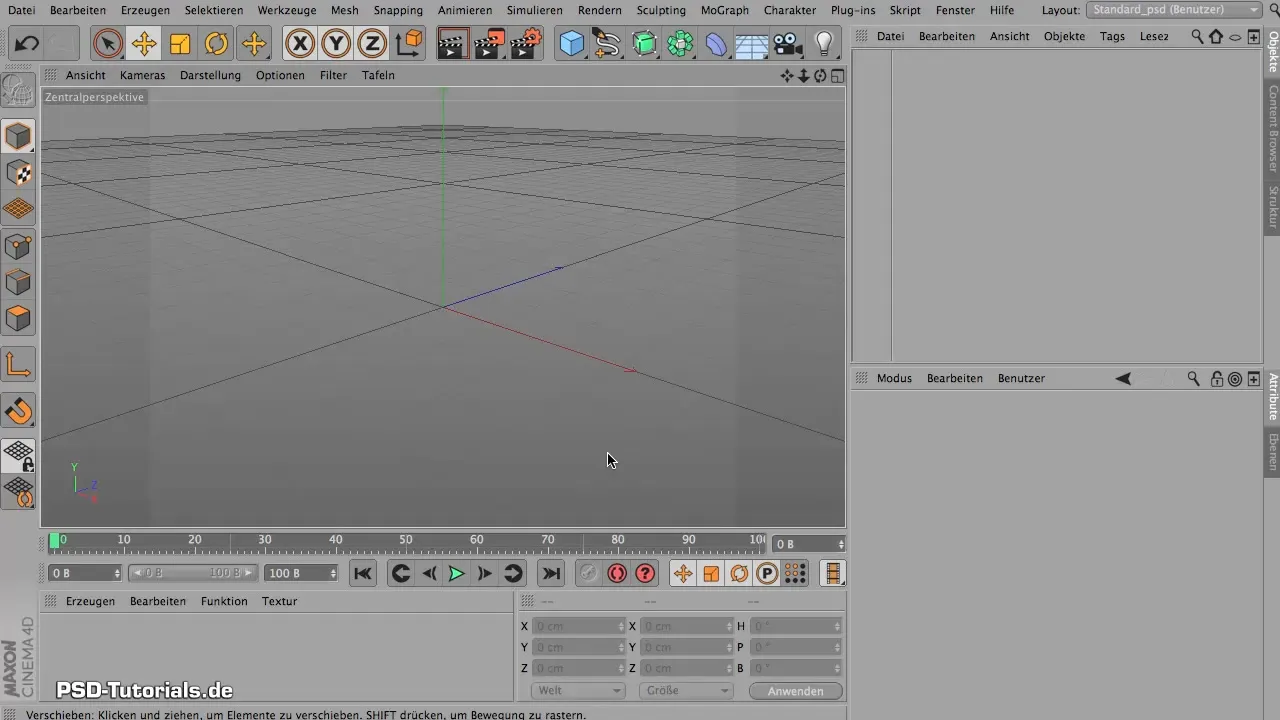
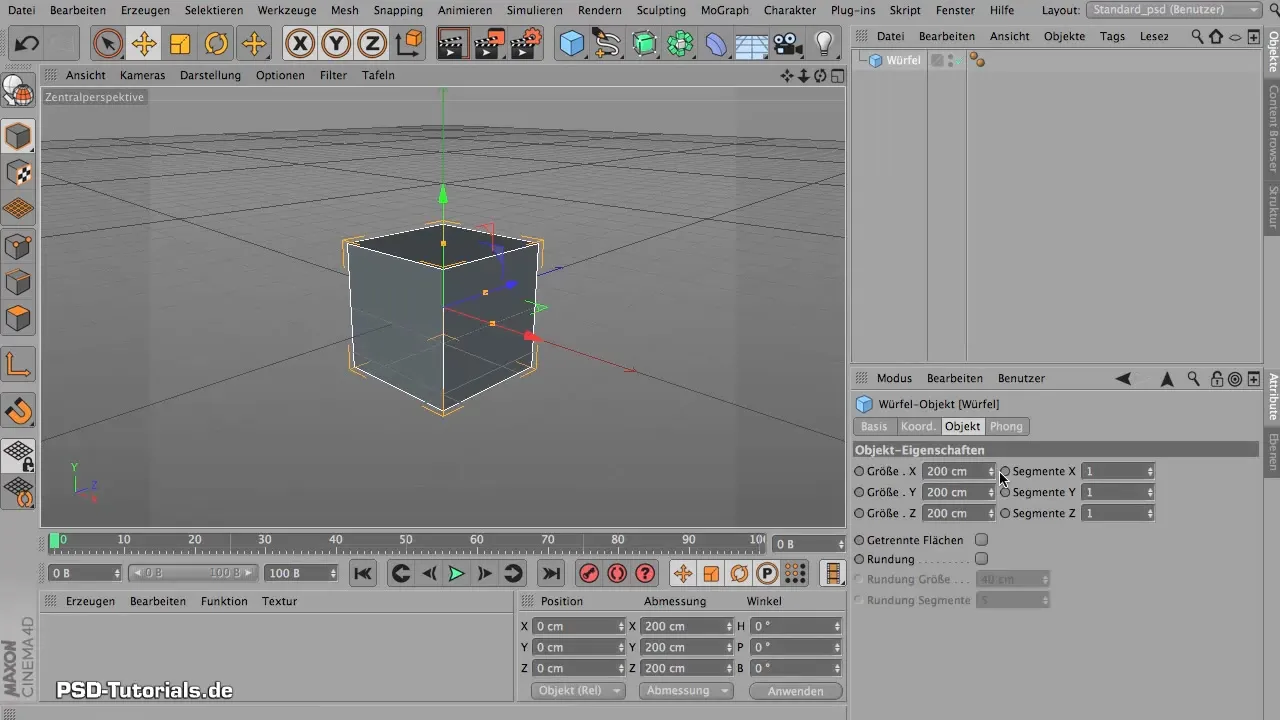
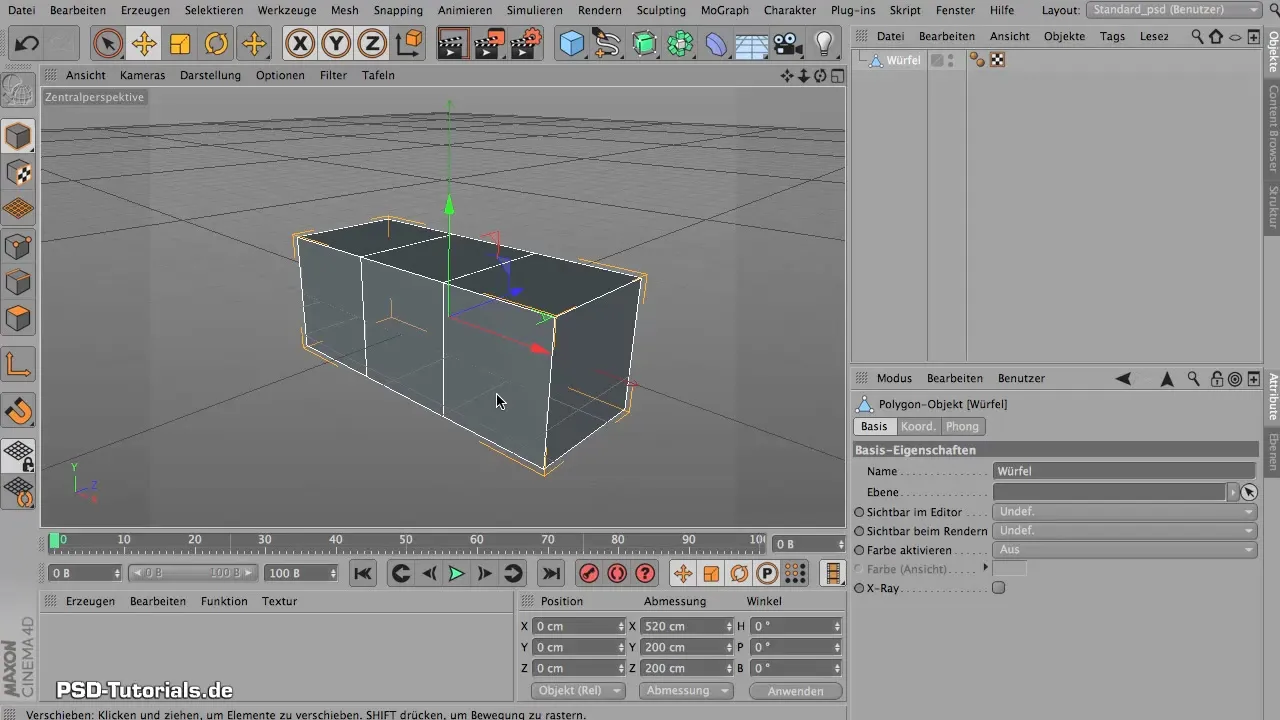
Start by creating a somewhat more complex object. A simple cube serves as the starting point. Select the cube in the 3D space and adjust the dimensions for an aircraft fuselage shape. Set the X direction to about 520 cm and add two subdivisions.
2. Convert to Polygon Object
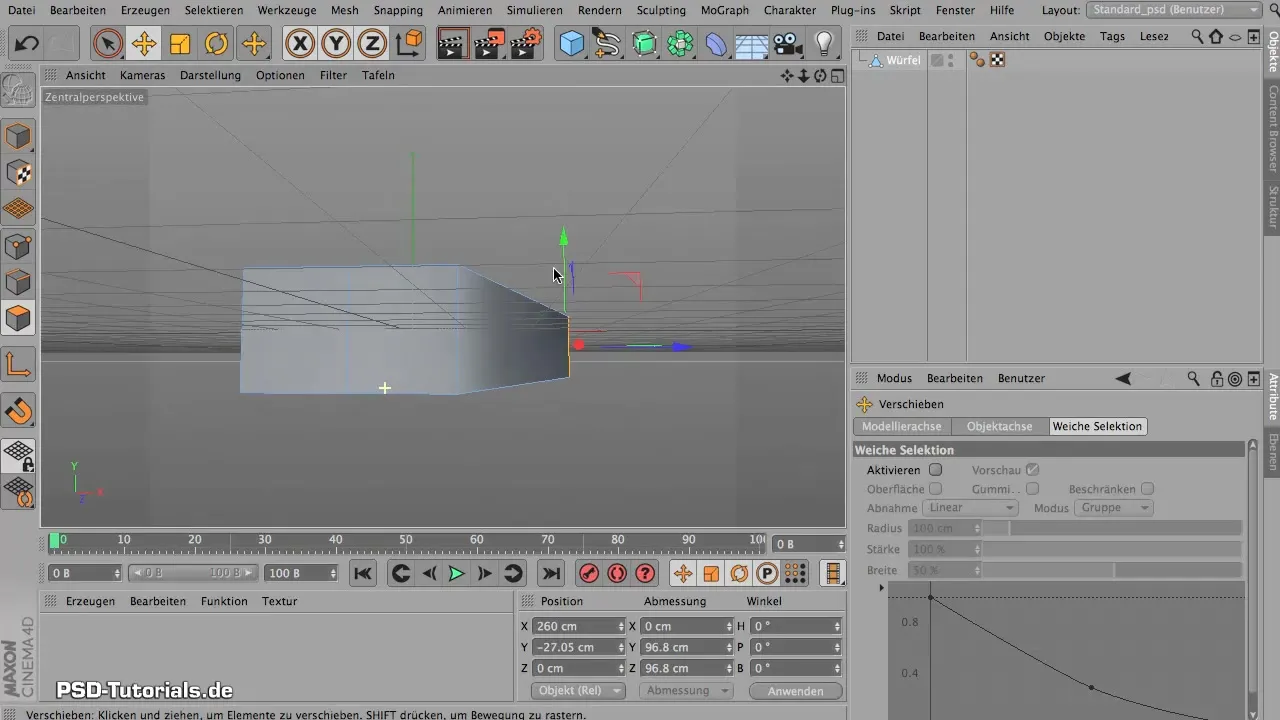
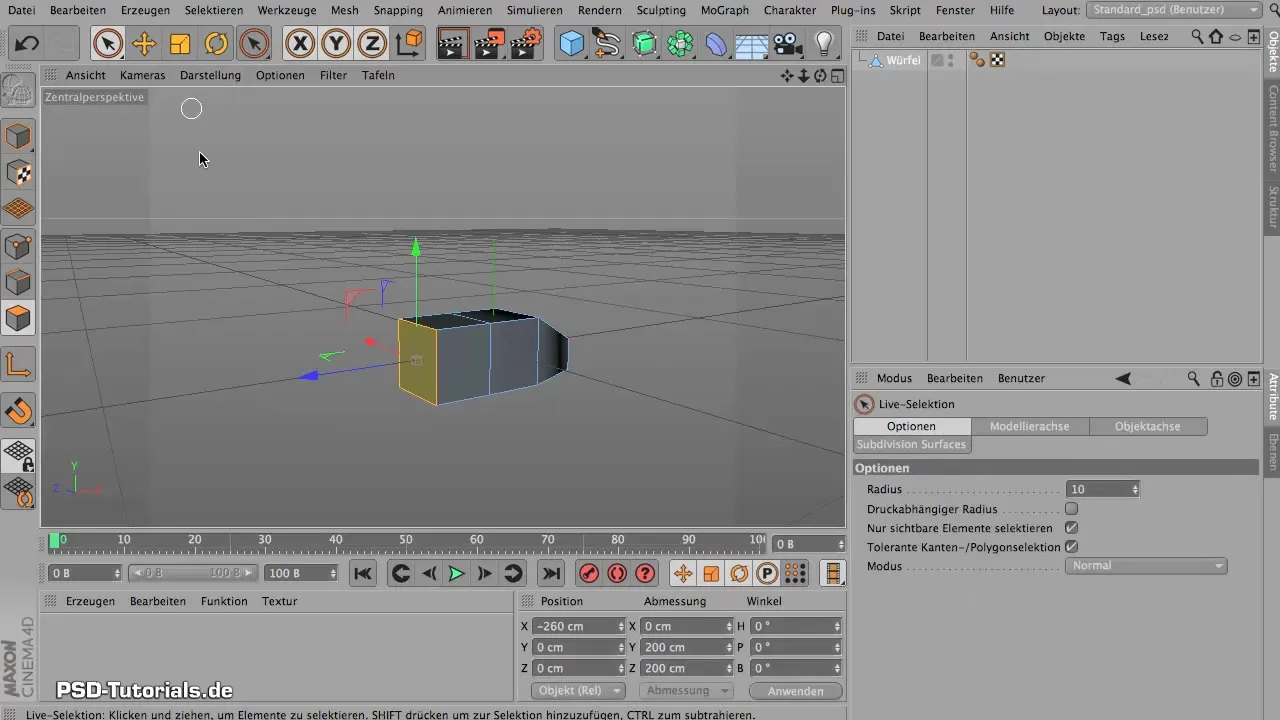
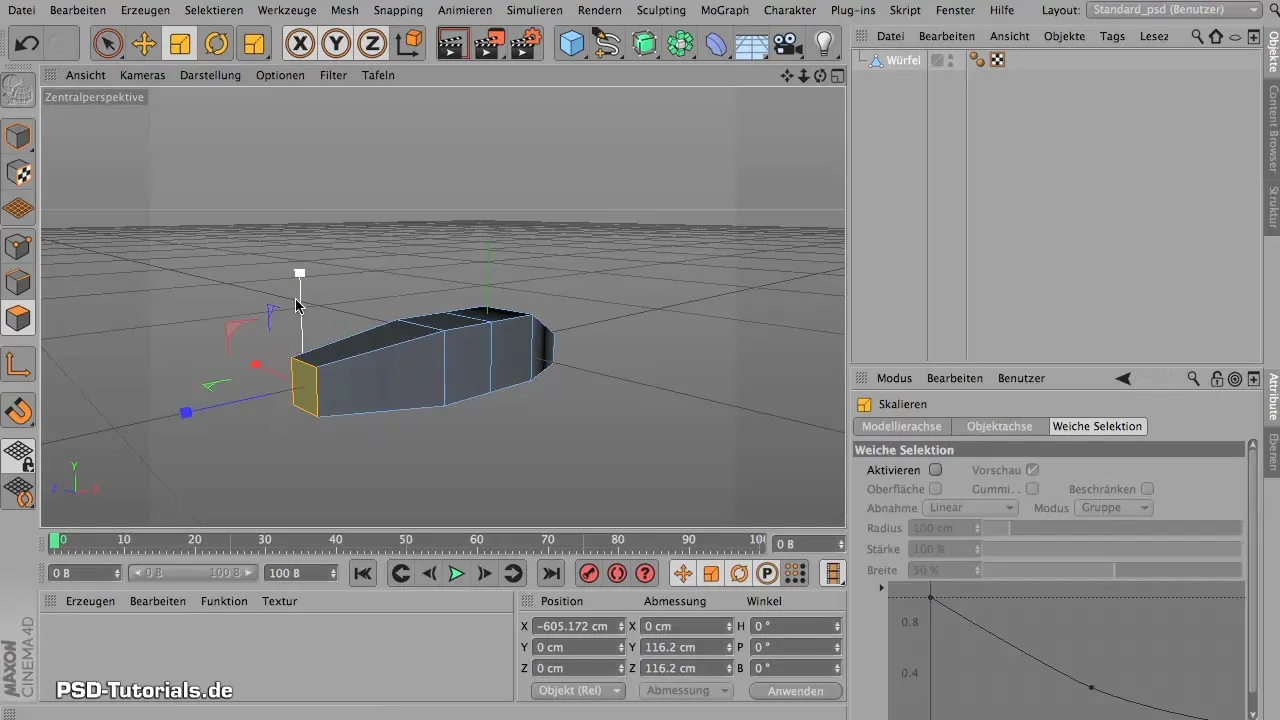
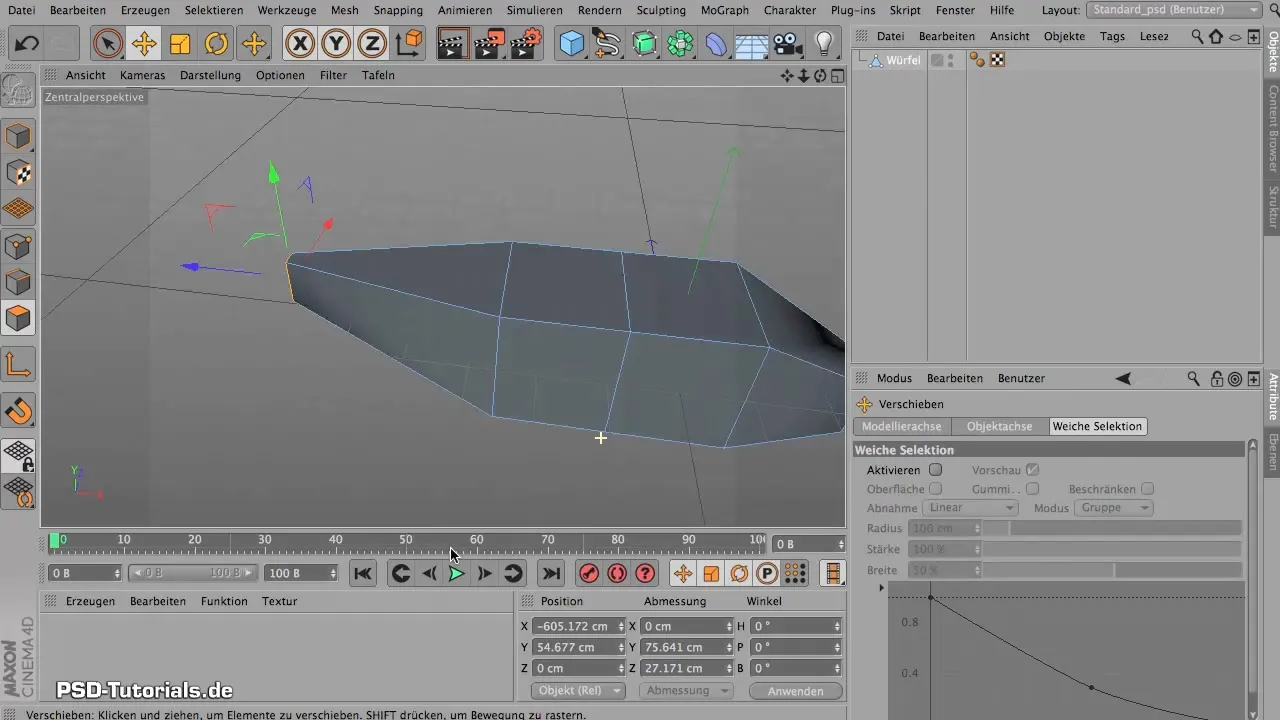
Convert the object into a polygon object to gain the necessary flexibility for editing. For this, select the "Convert to Polygon" option and start editing the nose of the aircraft. Use the live selection to choose the front edge and reshape it by scaling and pulling it into the desired form.
3. Create Tailplane
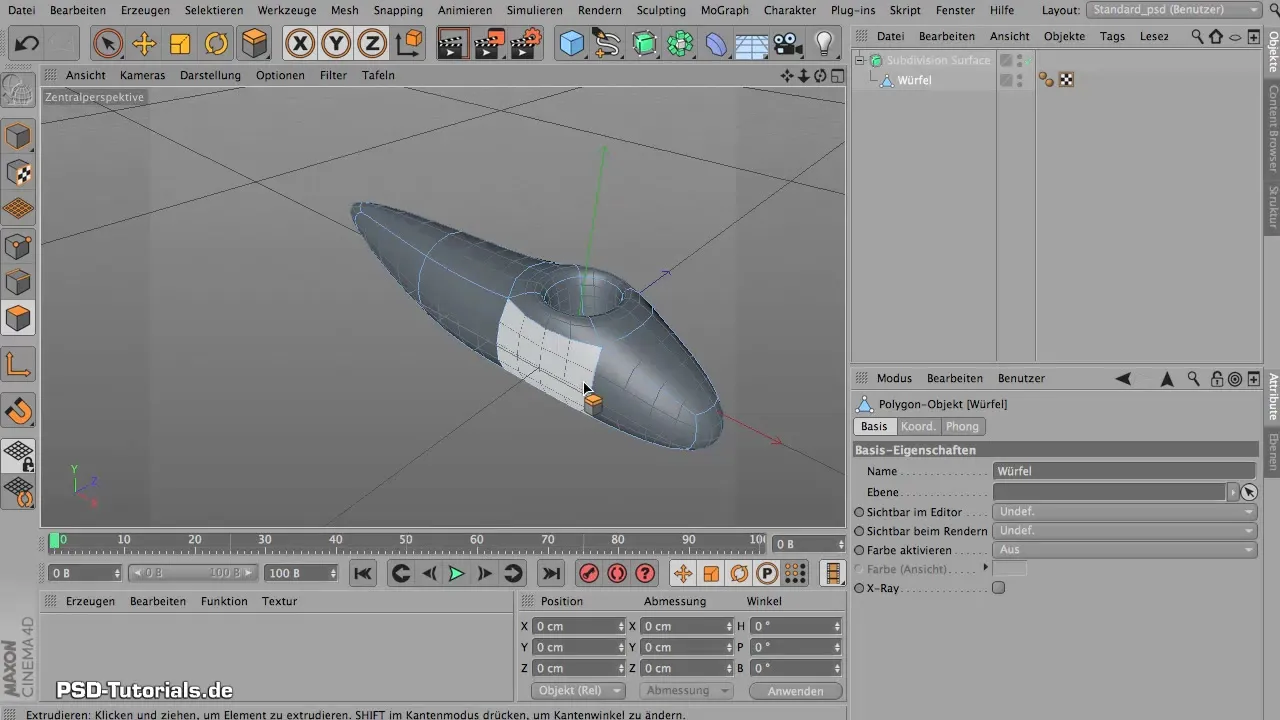
To construct a tailplane, select the rear side of the model and use the "Extrude" function. Taper the rear part in the Y and X directions. This step gives the model a certain elegance.
4. Design Cockpit
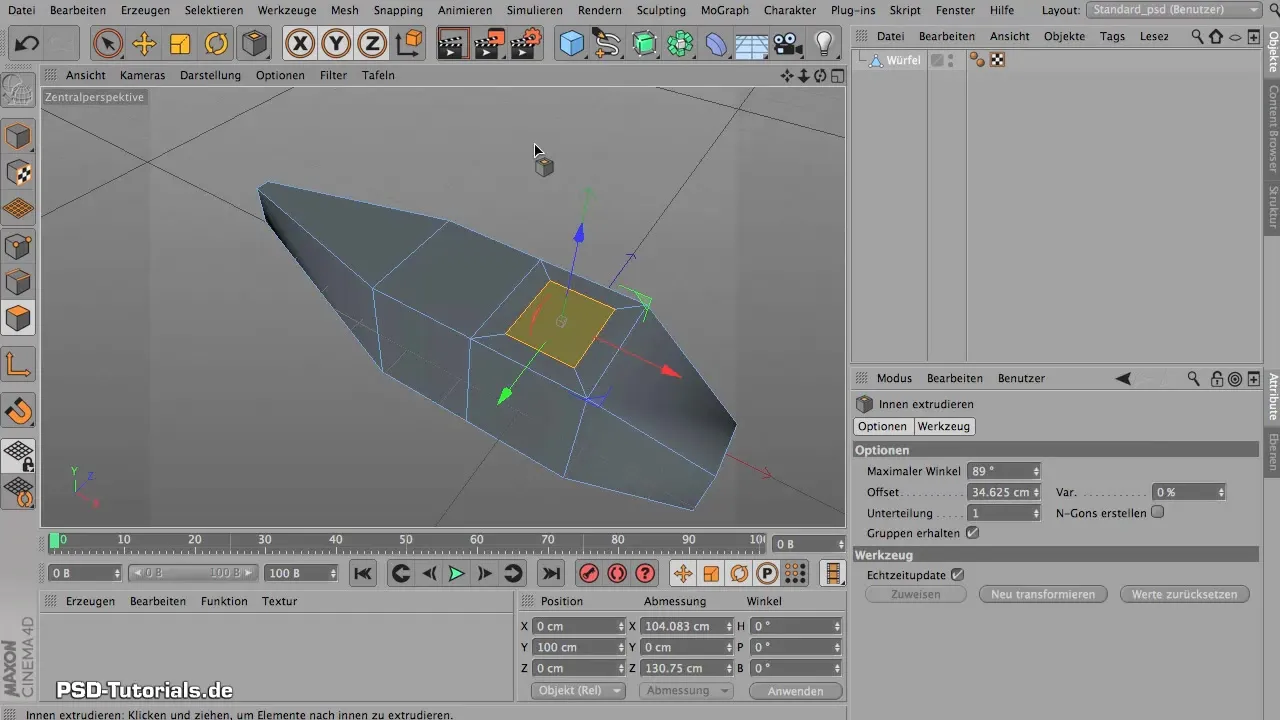
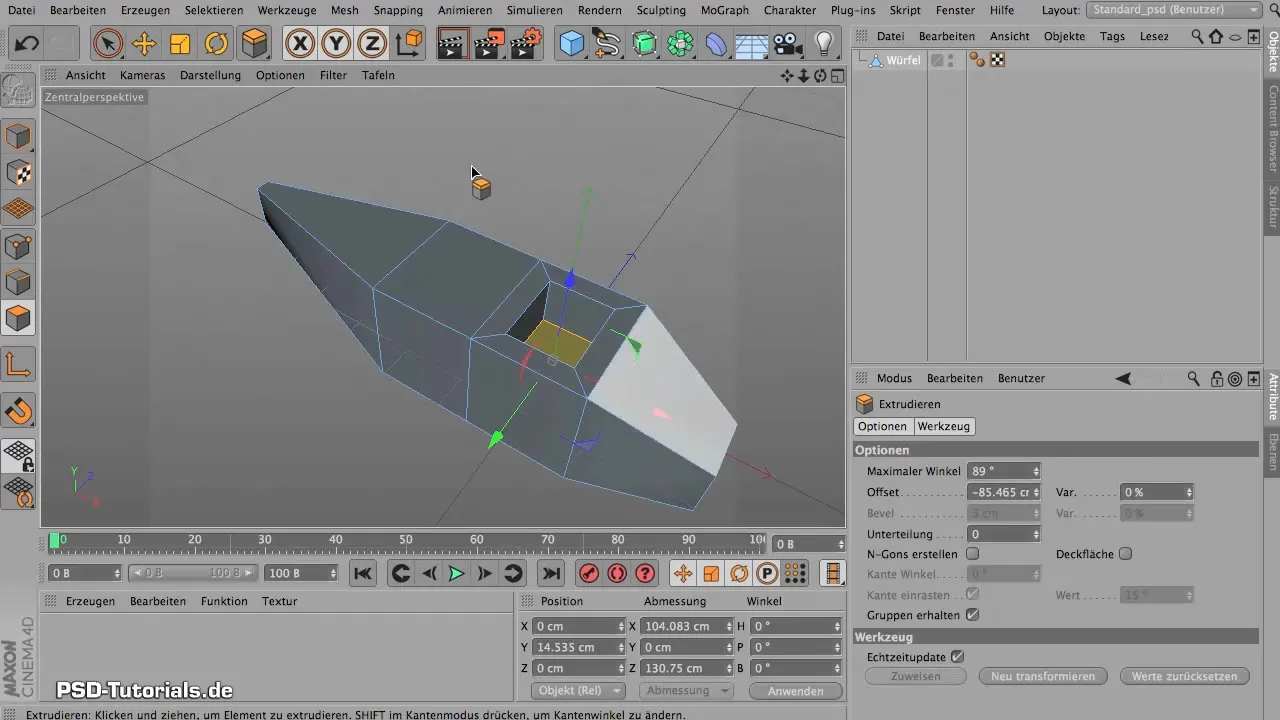
Create the cockpit by again using the live selection and selecting the middle section of the model. Use the extrusion tools to shape the cockpit to the correct size. Ensure that symmetry is maintained here as well.
5. Use Subdivision Surface
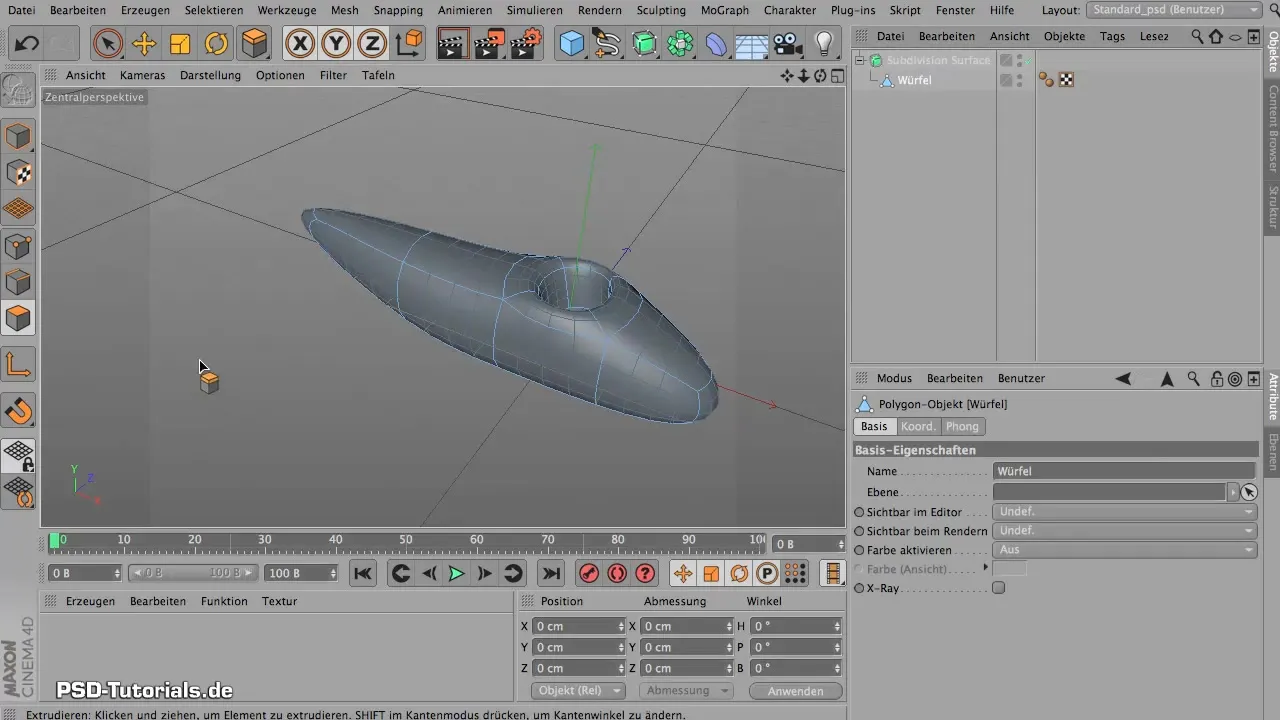
Add the Subdivision Surface tool by applying it to your background model to transform the entire model into a smooth surface. This function encloses all corners and edges of your model, providing a realistic look.
6. Save Model
Save your model to document the changes made. This allows you to revert to the current version at any time.
7. Select UV Projection
Switch to the UV editor of BodyPaint. There you will see that no UVs have been loaded yet. You now have the option to either drag your UV tags or manually create the UVs.
8. Define Cut Edge
Before you start relaxing the UVs, you need to define the cut edges for the relaxation. Carefully consider where the edges should be placed to ensure that no unattractive transitions are visible later on.
9. Make Edge Selection
Use the live selection tool to select precise edges. Make sure to select only the necessary edges. Alternatively, you can use path selection to create an even simpler selection.
10. Save Selection
After selecting the desired edges for relaxation, save this selection. This ensures that you can revert to it at any time.
11. Relax the UVs
Go back to the UV relaxation function of BodyPaint. There are two options to choose from – the conventional and a newer method (EFB). Test both to see which one yields the best results for your model.
12. Optimize UV Display
Now you should check and adjust the view of your UVs as necessary. Use the rotation and zoom buttons to better visualize and possibly edit the UV map.
13. Complete UV Relaxation
If you are satisfied with the result, click "Apply" and take a look at your now flattened mesh. Make sure that the symmetry is preserved, and make any final adjustments if necessary.
Summary - Relaxing UVs with Maxon BodyPaint
By properly modeling and stratifying your UVs with Maxon BodyPaint, you create the foundation for successful texturing. By applying the correct methods, you can ensure that your 3D model looks visually appealing as well.
Frequently Asked Questions
How do I best shape the nose of the model?Use the live selection and scaling tool to shape the form optimally.
What should I do if my model doesn't look symmetrical?Check the original modeling and adjust the edges afterward.
How can I ensure that no unsightly edges are visible?Place your cut edges in less visible areas of the model.
How often should I save my model?It is advisable to save regularly during the modeling process to avoid losing progress.
Can I change the UVs afterwards?Yes, you can always adjust and reorganize the UVs in the UV editor.
