Painting with Maxon BodyPaint can seem confusing at first, especially if you come from the Adobe world. In this tutorial, I will cover the basics of painting in BodyPaint, show you the capabilities of the brushes, and how you can work efficiently with the Projecting Painting function. I will also explain how to create a new UV tag if you want to start from scratch. Here you will find everything you need to get started in BodyPaint.
Key Insights
- Brushes in BodyPaint function differently than in Adobe applications.
- It is important to work with the right settings to achieve the desired results.
- The Projection Painting function allows for flexible painting without distortions.
- Creating a new UV tag is essential for optimizing texture work.
Step-by-Step Guide
1. Overview of Brushes and Tools
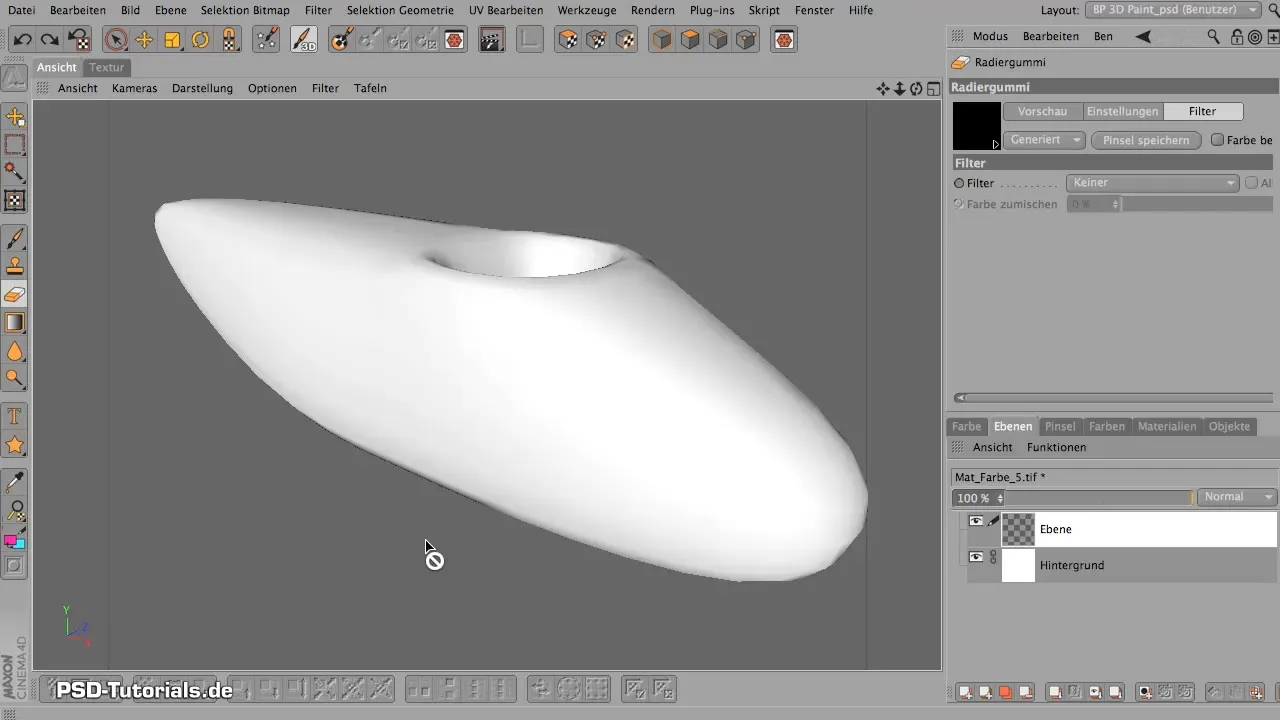
Before you start painting, familiarize yourself with the tools in BodyPaint. Through the tool panel, you can find various brushes, erasers, and additional painting tools. Choosing the right brushes is crucial, as they behave differently in BodyPaint than you might be used to.
2. Selecting the Right Brush
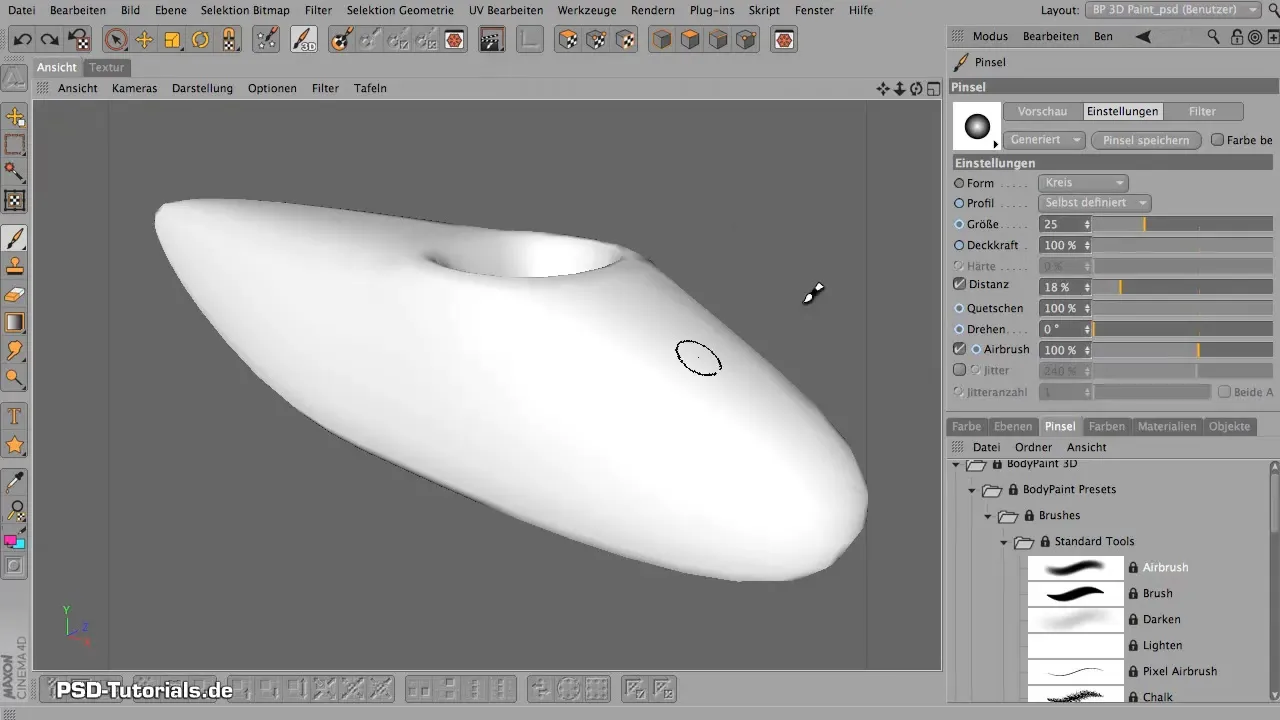
Choose a brush tool that suits your needs. You can navigate through the various brush folders and discover the many brushes available. The airbrush brushes, in particular, are great for smooth color gradients.
3. Adjusting the Brush Properties
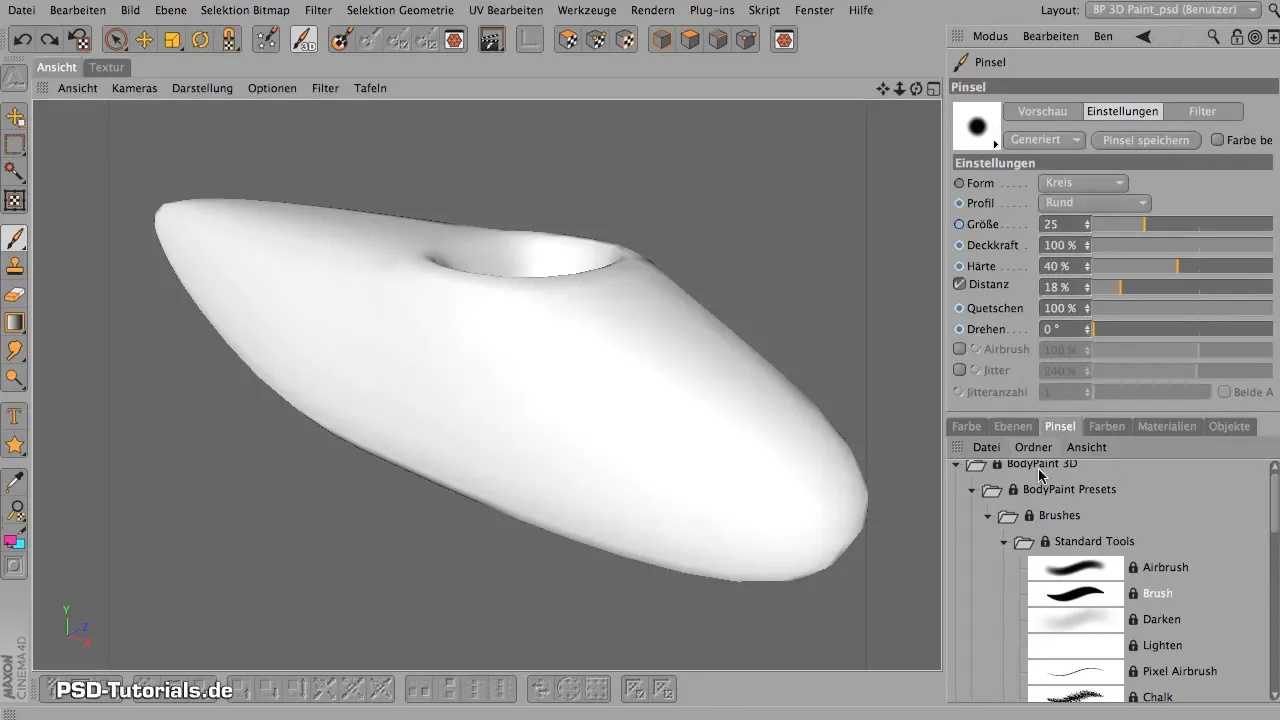
Each brush has its own properties that you can adjust. These include shape, size, opacity, and jitter. Be sure to regulate the opacity to achieve an even application of color. Experiment with the settings and observe how this affects the results.
4. Using the Jitter Function
The jitter function ensures that the brush strokes appear more random and thus more natural. You can increase the effect, but be careful, as too much jitter can lead to inaccurate strokes. Find the right mix for your project.
5. Using Filters with Brushes
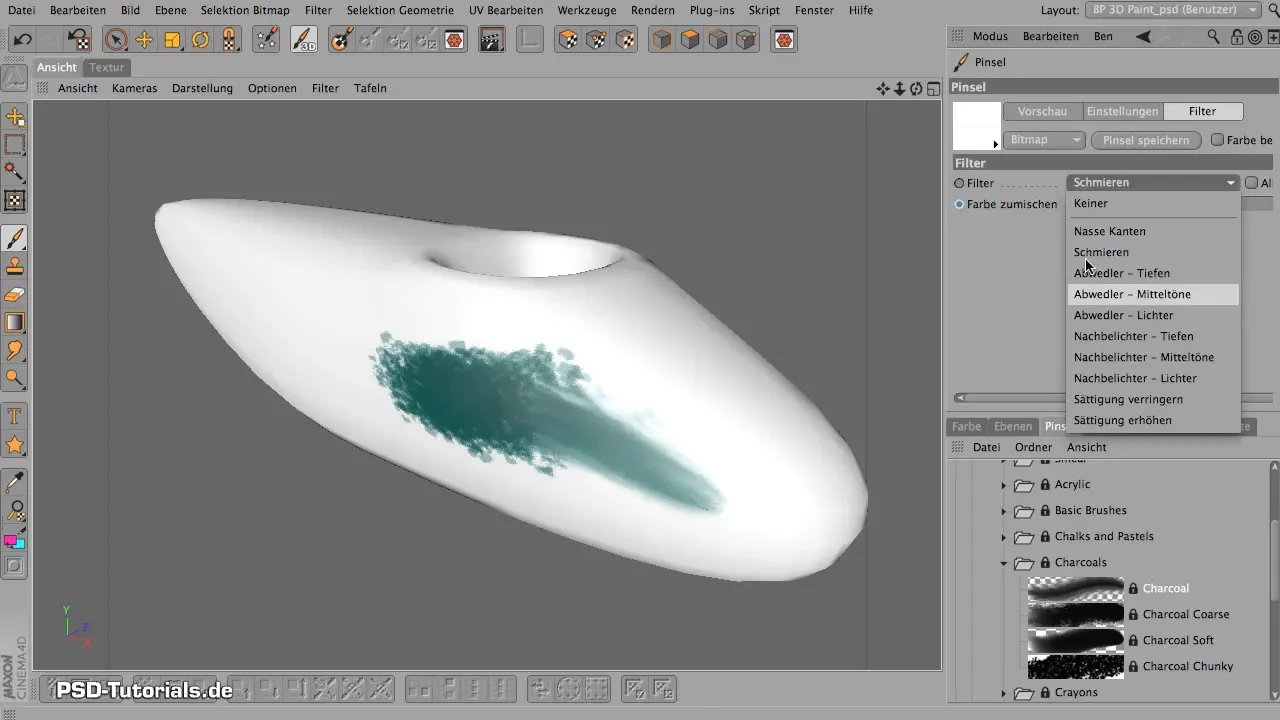
In BodyPaint, you can not only paint with brush tips but also use filters. Make sure you have the correct filter activated, as depending on the setting, a brush can act as an eraser or a blurring tool instead of painting.
6. Working with the Graphics Tablet
To optimize painting, I recommend using a graphics tablet. This gives you more control over pressure and color intensity, allowing you to achieve more nuanced results.
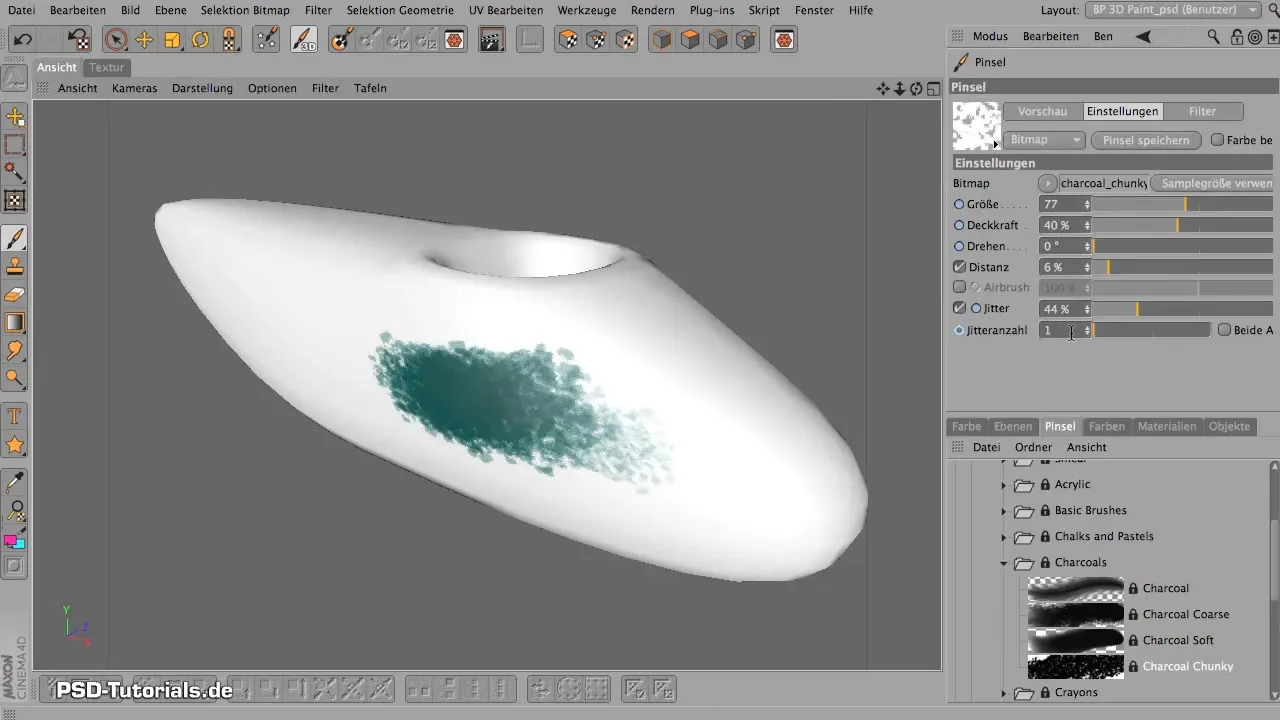
7. Using the Projection Painting Function
One of the strongest features in BodyPaint is the Projection Painting. Activate this function and ensure that you are working on the correct layer. This allows you to paint over edges without creating distortions.
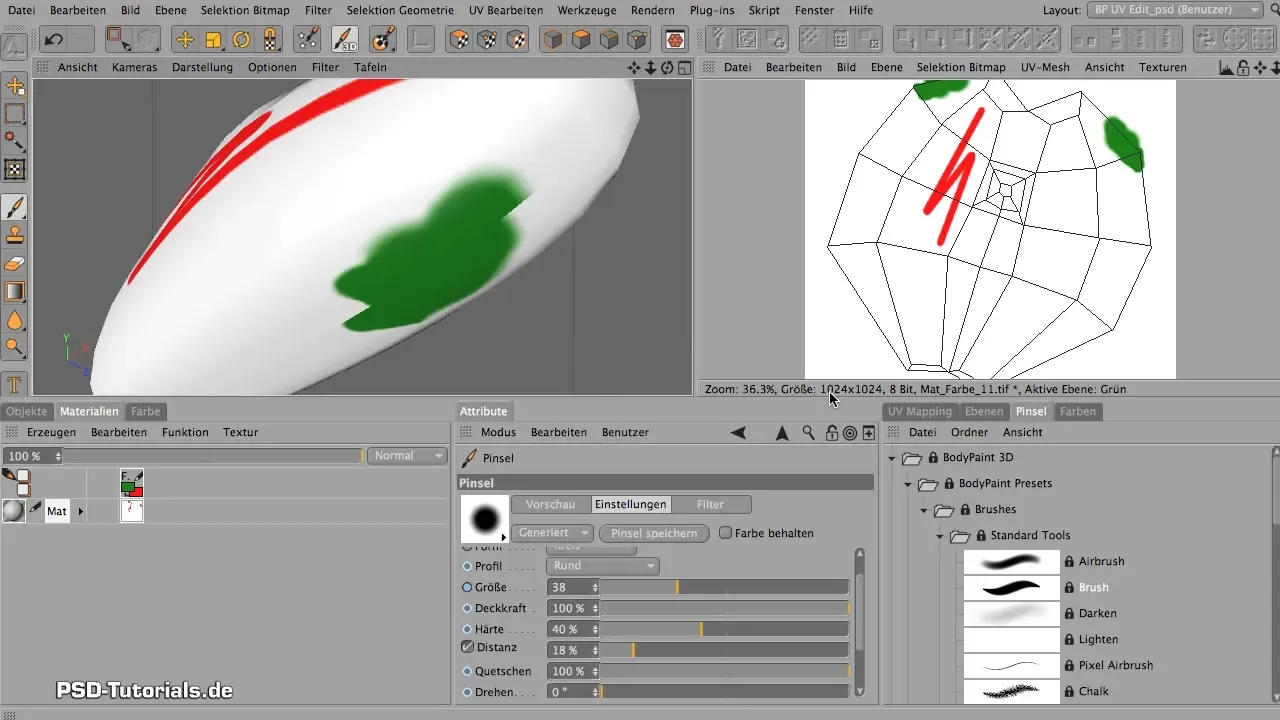
8. Adjusting the UV Tag
If you are dissatisfied with the current UV coordinates, it may be necessary to create a new UV tag. First, delete the old material and the associated UV tag before creating a new UV tag. This ensures that all textures can be applied correctly.
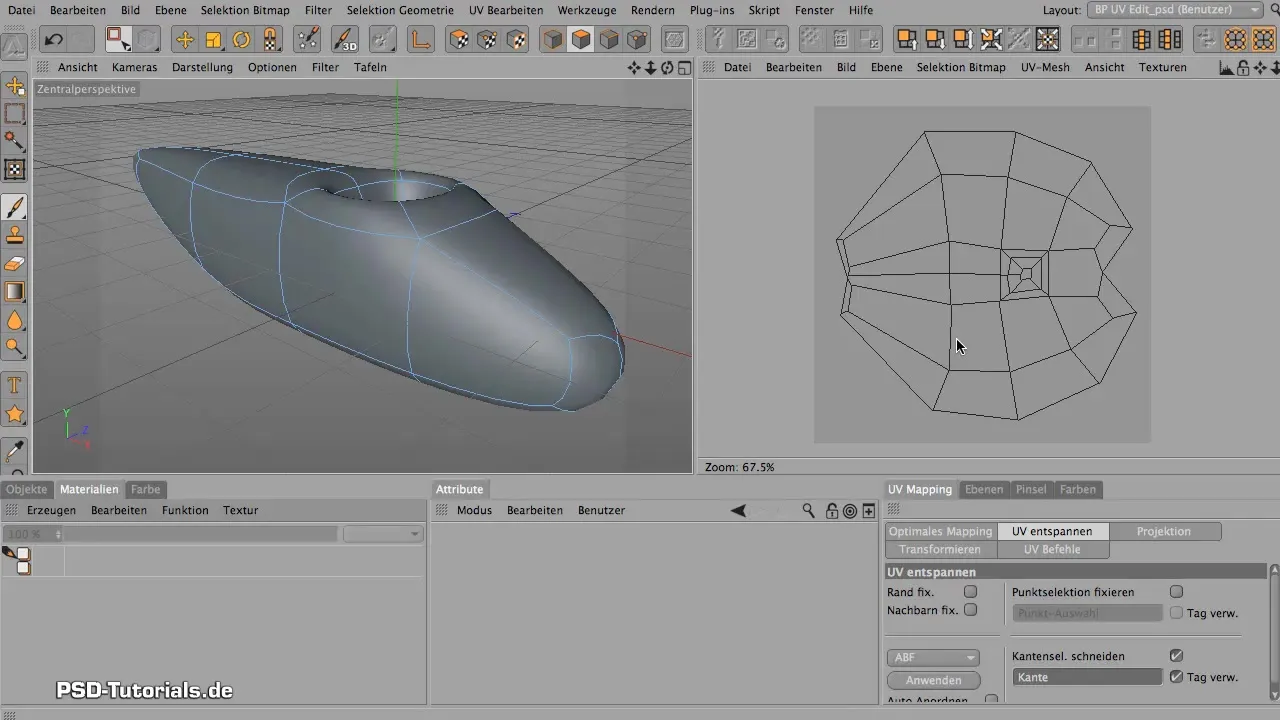
9. Creating a New UV Tag
Go to the objects menu, select the desired mesh, and then create a new UV tag. This is an important step that allows you to use precise textures and materials in your projects.
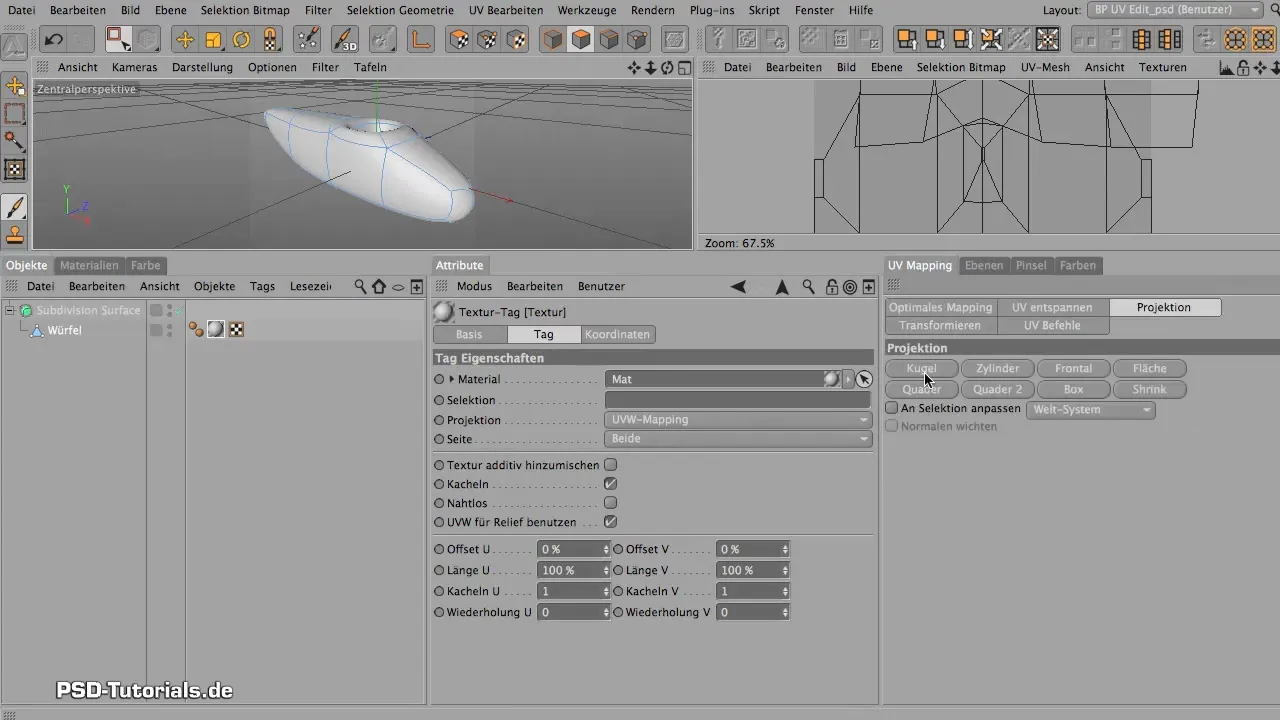
10. Completion and Review of the Work
Before finalizing your project, review all layers and their settings. Ensure that all colors and textures appear as desired and that there are no artifacts present. If you are satisfied, you can save the painting project.
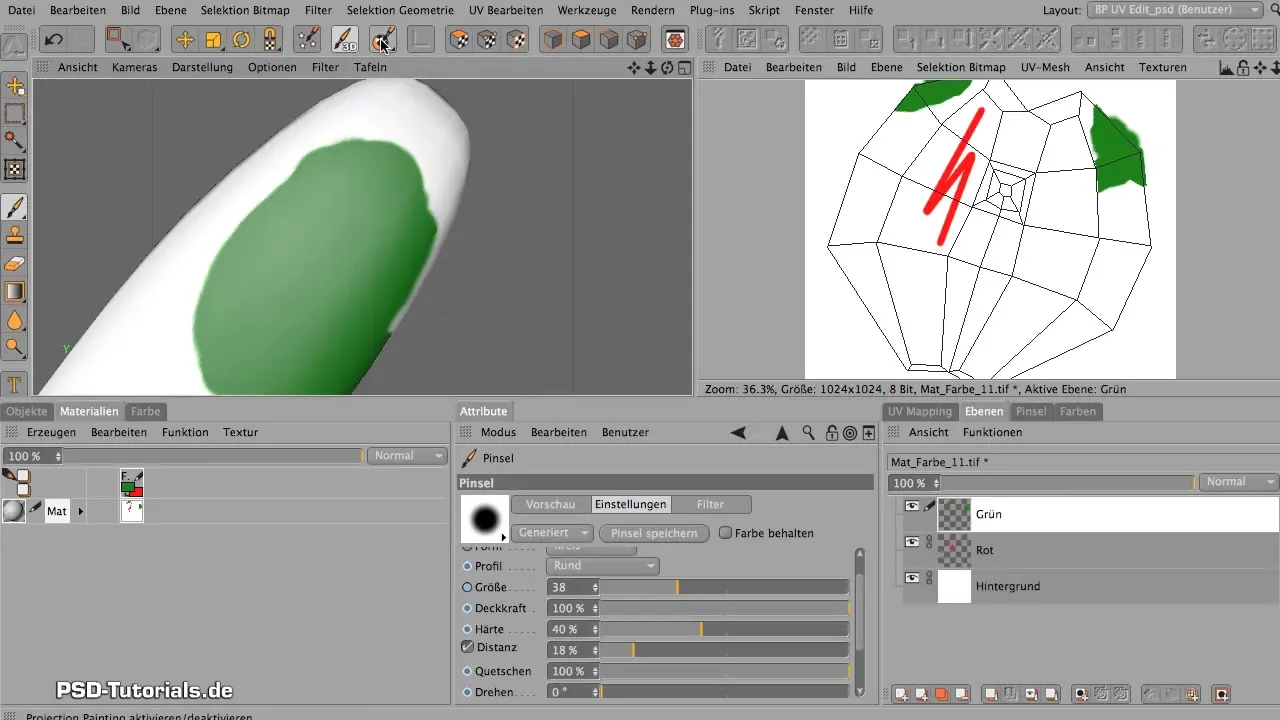
Summary - Maxon BodyPaint: The Basics of Painting Explained Simply
In this guide, you learned how to effectively work with the different brush tools in Maxon BodyPaint, utilize the benefits of the Projection Painting function, and how to create a new UV tag. With this knowledge, you are well-equipped to bring your artistic visions to life in 3D.
Frequently Asked Questions
What is the main difference between BodyPaint and Adobe programs?BodyPaint brushes behave differently than Adobe brushes; you should adjust the properties and settings accordingly.
How can I change the opacity of a brush?The opacity can be adjusted using the corresponding slider in the brush menu.
What is Projection Painting and how does it work?Projection Painting allows painting on a 3D model without creating distortions by placing a virtual glass layer between the brush and the object.
How do I delete a UV tag?Go to the objects in your project, select the corresponding UV tag and click on delete.
Can I save my brushes with custom settings?Yes, you can save each brush with your adjustments by using the appropriate function in the brush menu.


