The use of Maxon BodyPaint opens up numerous creative possibilities for texturing and painting 3D objects. A particularly helpful concept is the XRef object, which allows you to work on your model in a separate file while viewing it in your scene. In this guide, I will show you how to effectively use the XRef object to optimize your workflow.
Key Insights
- Use the XRef object to edit 3D models in separate files.
- Keep the scene tidy by working with XRefs to focus only on what’s essential.
- Use XRefs to facilitate collaboration on projects with multiple people.
Step-by-Step Guide
First, it is important to set up your working environment correctly. Here I will explain the individual steps you need to follow to use the XRef object in BodyPaint:
1. Create Your 3D Model
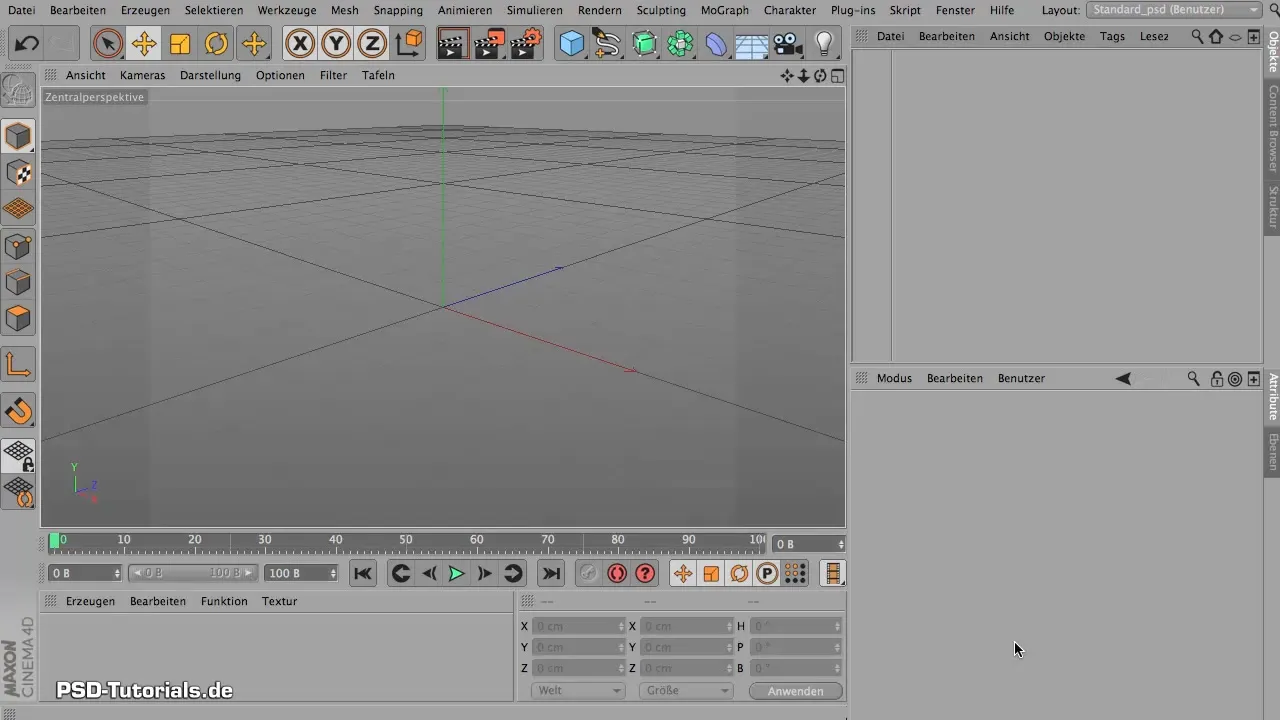
First, you need to ensure that you have a 3D model that you want to edit. In this example, we will use a figure. Save the model under "File" > "Save As" and name it, for example, "Guy".
2. Create a New Scene
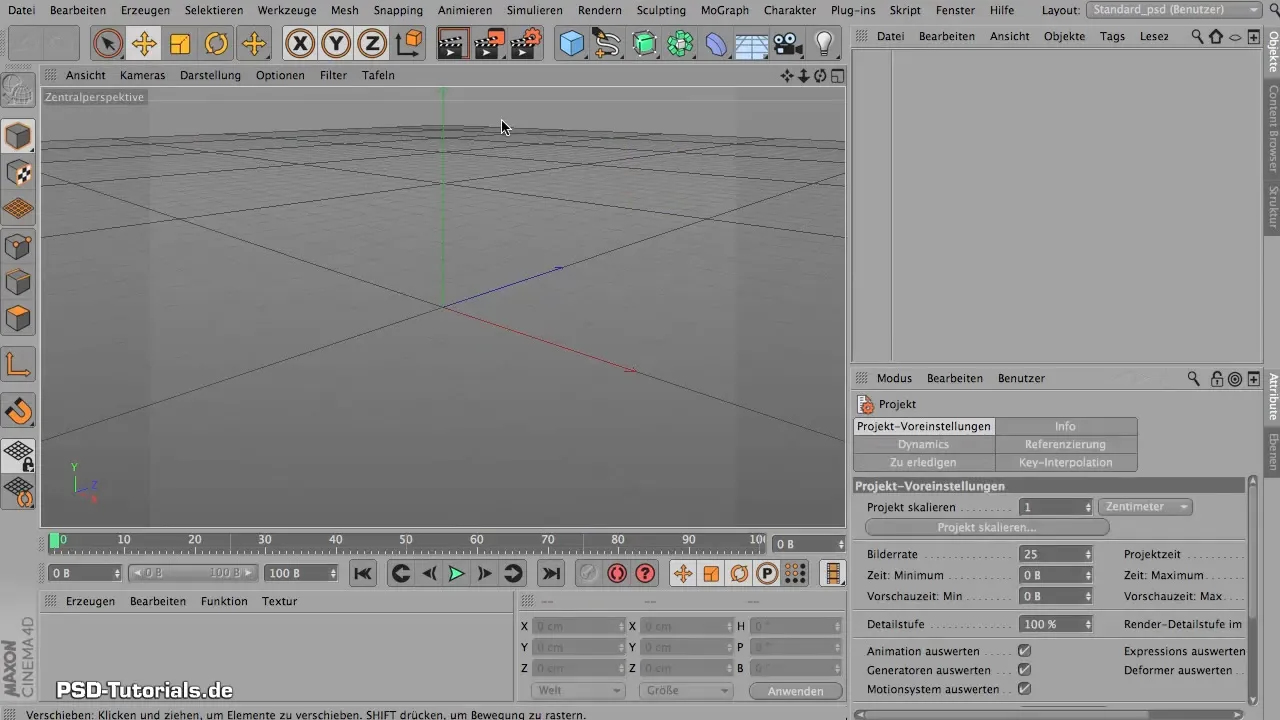
Now you need a new scene where you can see and edit your model. Create a new scene with a simple cube and position it accordingly. You might also add a second cube and a sphere to create a rudimentary environment.
3. Add the XRef Object
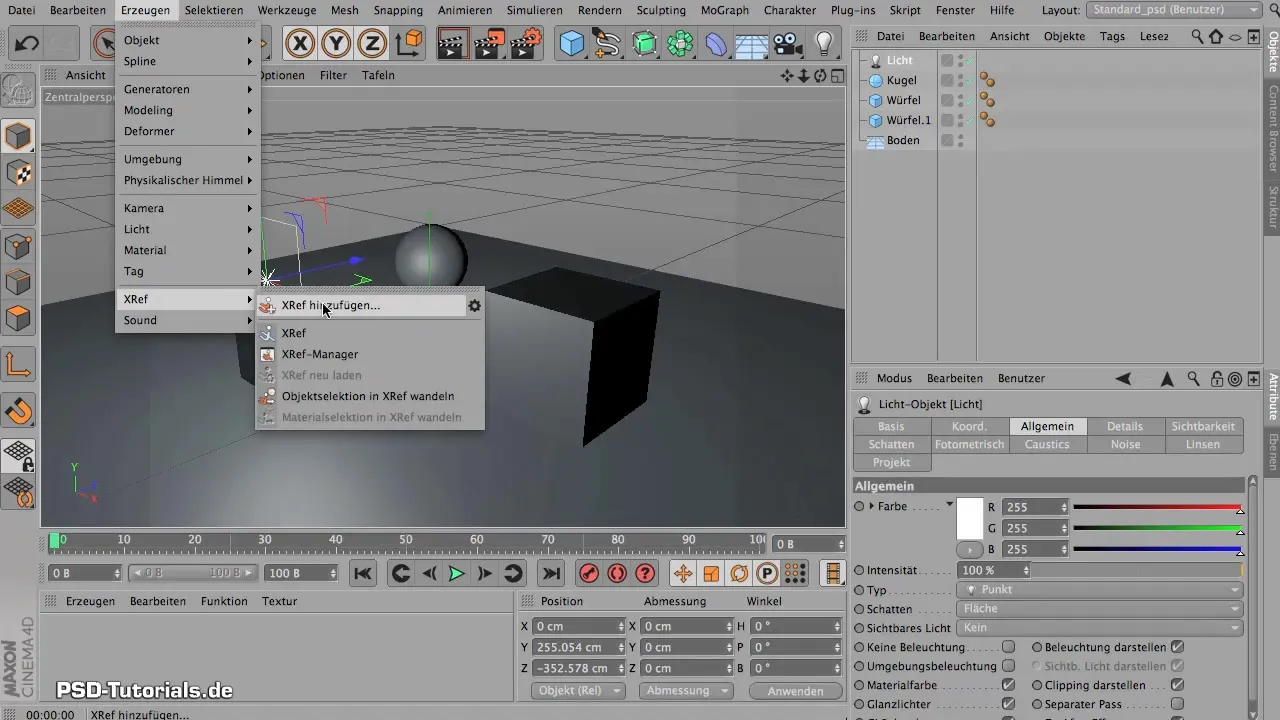
To make the model visible in your new scene, go to "Create" > "XRef" and add your previously saved model ("Guy"). You will be asked where it should be placed. Make sure it doesn’t sink into the ground, and lift it if necessary.
4. Work on Your Model
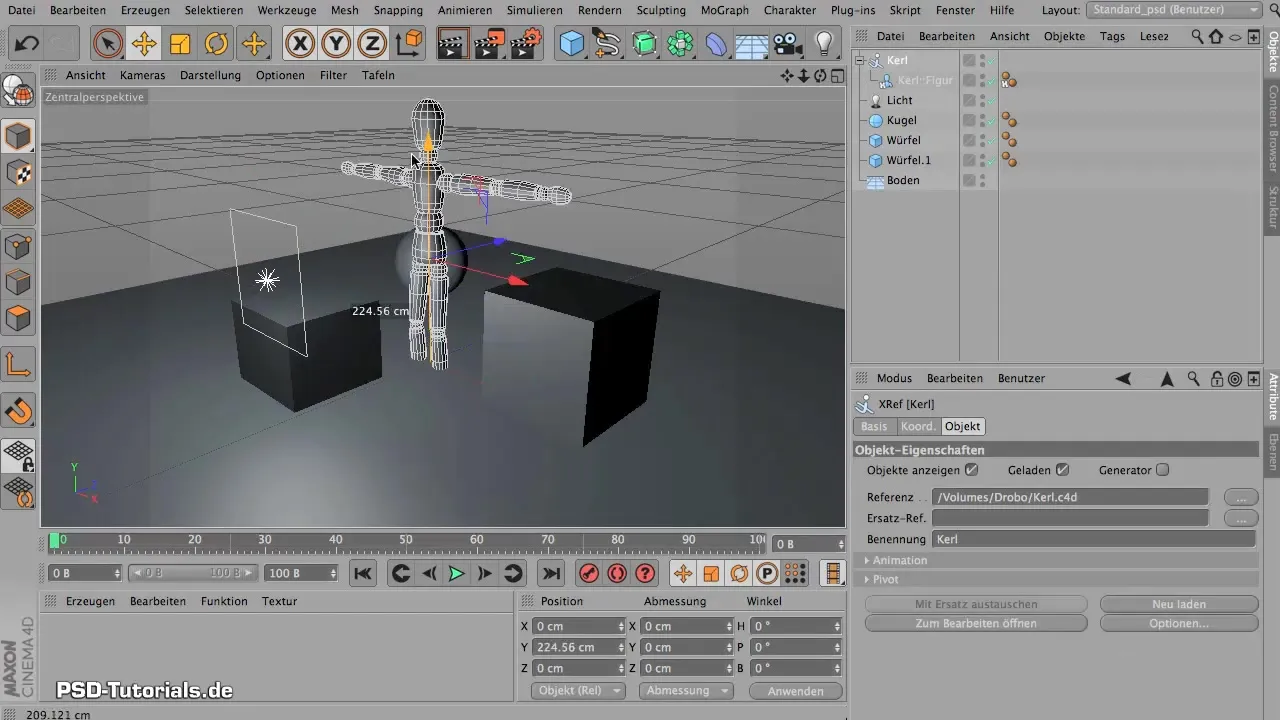
Now you have your model in the scene. You can view it from all sides and work on the edges without distractions from other objects in the scene.
5. Edit the Model in the Separate File
To edit the model with the XRef object, open the file that contains the model and make the desired changes. You can transform and adjust the model as you like.
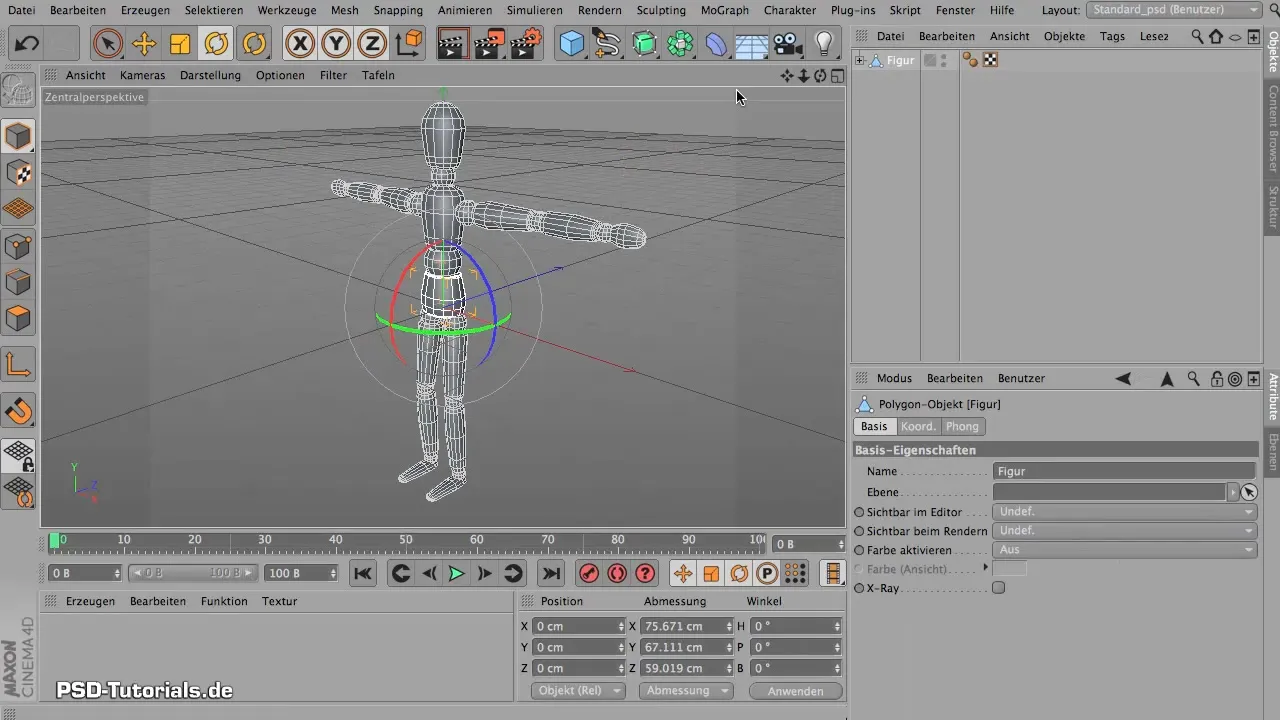
6. Save Your Changes
After making your edits, save the file with "File" > "Save". Then close the file to return to your main scene.
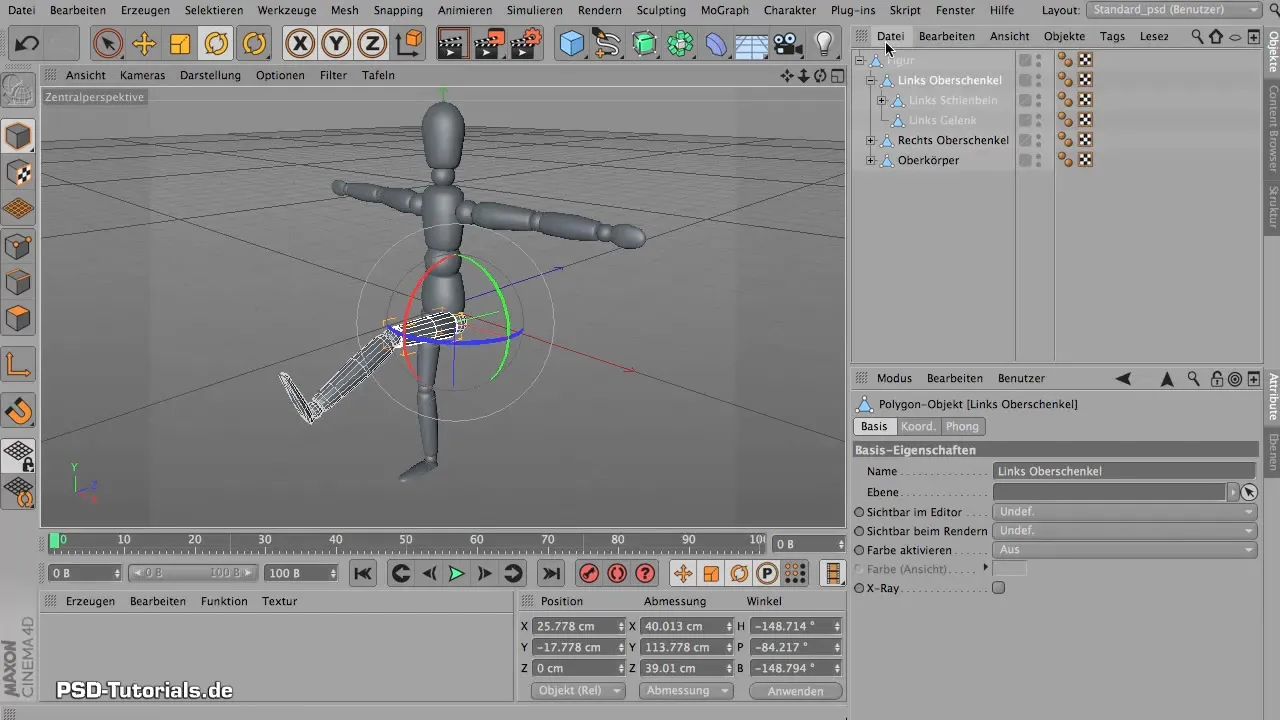
7. Update the XRef in the Scene
Go back to your main scene and reload the XRef object by going to "Create" > "Reload XRef". Now you will see the changes you made to your model.
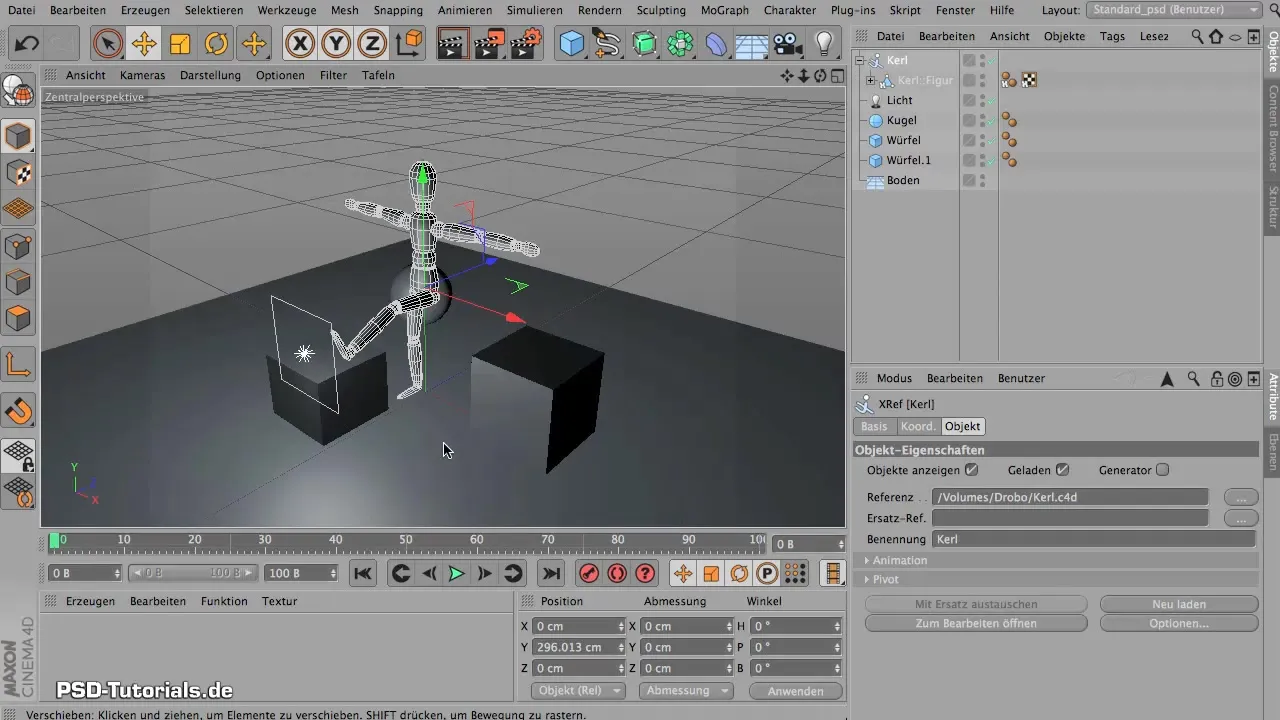
8. Check the Materials
Check the materials of your model to make sure everything is assigned correctly. You can adjust the materials in the scene and see if there are areas that still need editing.
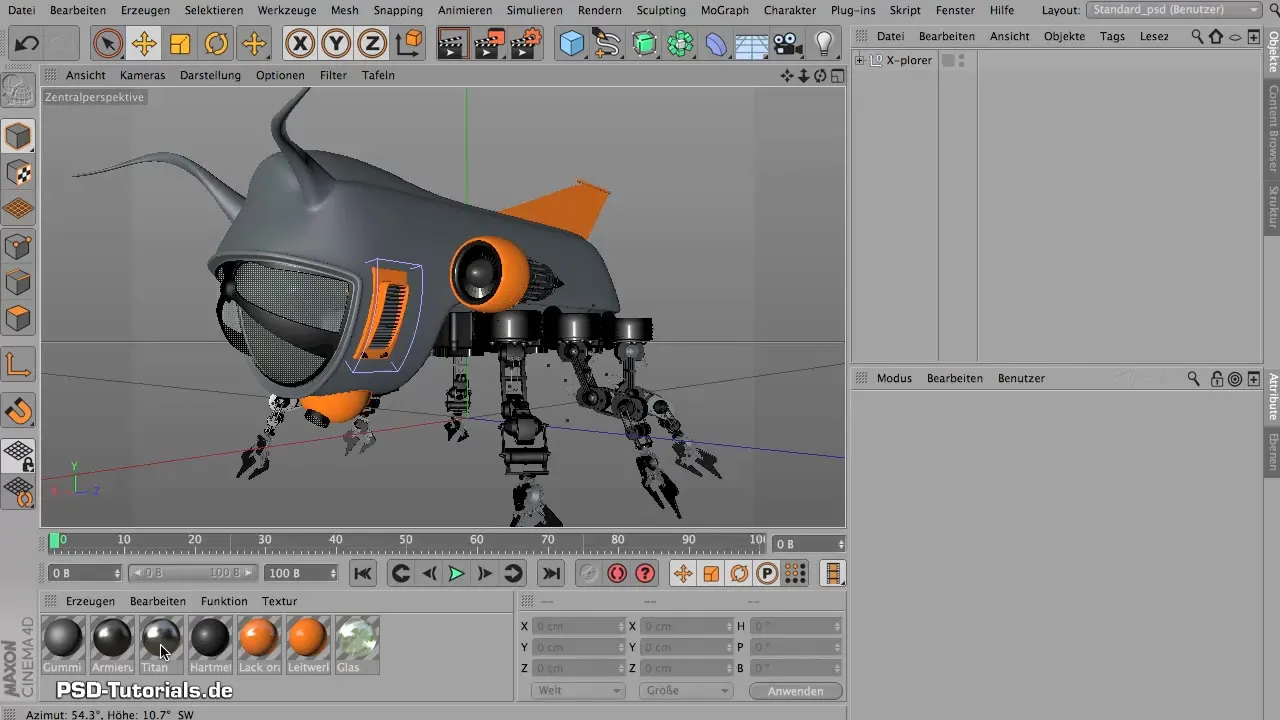
9. Prepare the Model for Painting
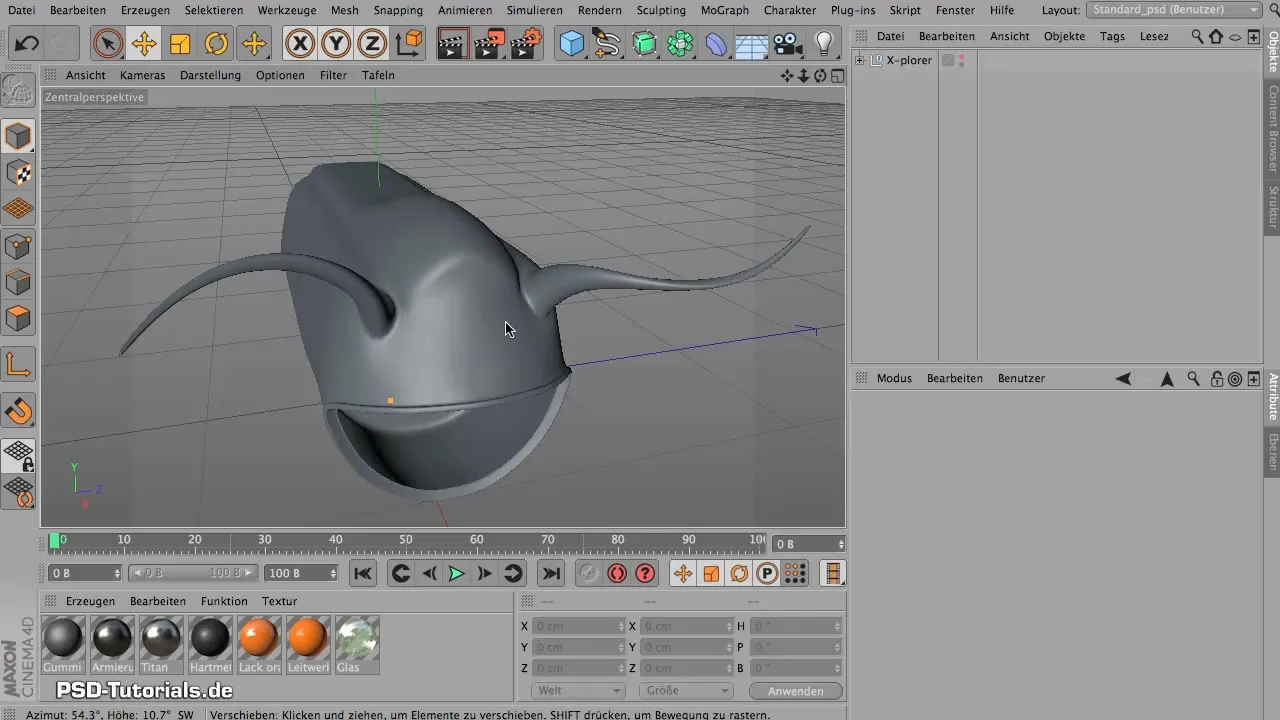
Before you start painting, it is important to "unpack" your model. This means optimizing the UVs to ensure everything is symmetrical and the colors appear evenly distributed. To do this, select the appropriate parts of the model and set seam edges.
10. Start Painting
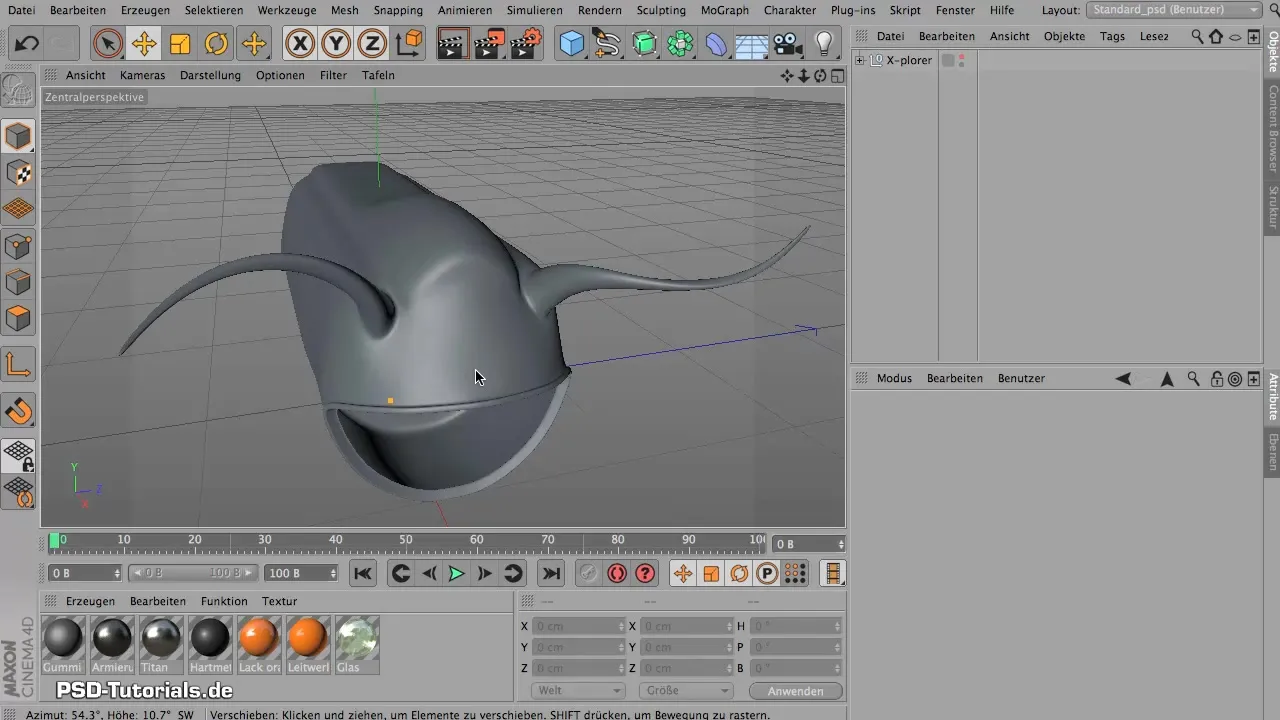
Now you can begin painting your model. Select "UV Edit" or "3D Paint" to work directly on your model. This way, the details can now also be considered.
Summary — XRef in Maxon BodyPaint: Effectively Working with External References
By using XRef objects in Maxon BodyPaint, you can significantly optimize your workflow. This technique helps you manage separate models and scenes, allowing you to work more efficiently and fully unleash your creativity.
Frequently Asked Questions
How do I save my 3D model in BodyPaint?Go to "File" > "Save As" and choose the location and name for your model.
How do I load an XRef object into my scene?Go to "Create" > "XRef" and select the previously saved file.
Can I use multiple XRef objects in one scene?Yes, you can add multiple XRef objects to create complex scenes.
How can I edit my materials in BodyPaint?You can adjust and assign materials in BodyPaint's Material Manager.
What happens if I edit my XRef model?If you make changes to the XRef file, you can update the XRef in your main scene to see the changes.


